
A Familiar Dance is the eleventh chapter in Bayonetta 3 following Bayonetta as she goes through the streets of Paris in search for the Chaos Gears. During her search, she meets a version of her long-dead mother.
In this guide, we will go through Chapter 11: A Familiar Dance, listing along any collectibles as well as Bewitchments that can be acquired in the chapter.
See previous Bayonetta 3 Walkthrough Chapter 10 - Cover of Night
Chapter 11 – A Familiar Dance Objectives and Collectibles
- Paris: 8th Arrondissement
- Figure Box #1
- Verse #1
- Verse #2
- Mictlantecuhtli
- Card Pack #1
- Card Pack #2
- Umbran Tears of Blood – Crow
- Record #1
- Bewitchment #1
- Umbran Tears of Blood – Toad
- The Gates of Hell
- Broken Witch Heart #1
- Echoes of Memory #1
- Umbran Tears of Blood – Cat
- Verse #3 / Broken Moon Pearl #1
- Verse #4
- Verse #5 / Broken Witch Heart #2
- Broken Witch Heart #3
- Verse #6
- Verse #7
- Figure Box #2
- Verse #8
- Bewitchment #2
- Verse #9
- Bewitchment #3
- Bewitchment #4
- Bewitchment #5
- Broken Moon Pearl #2
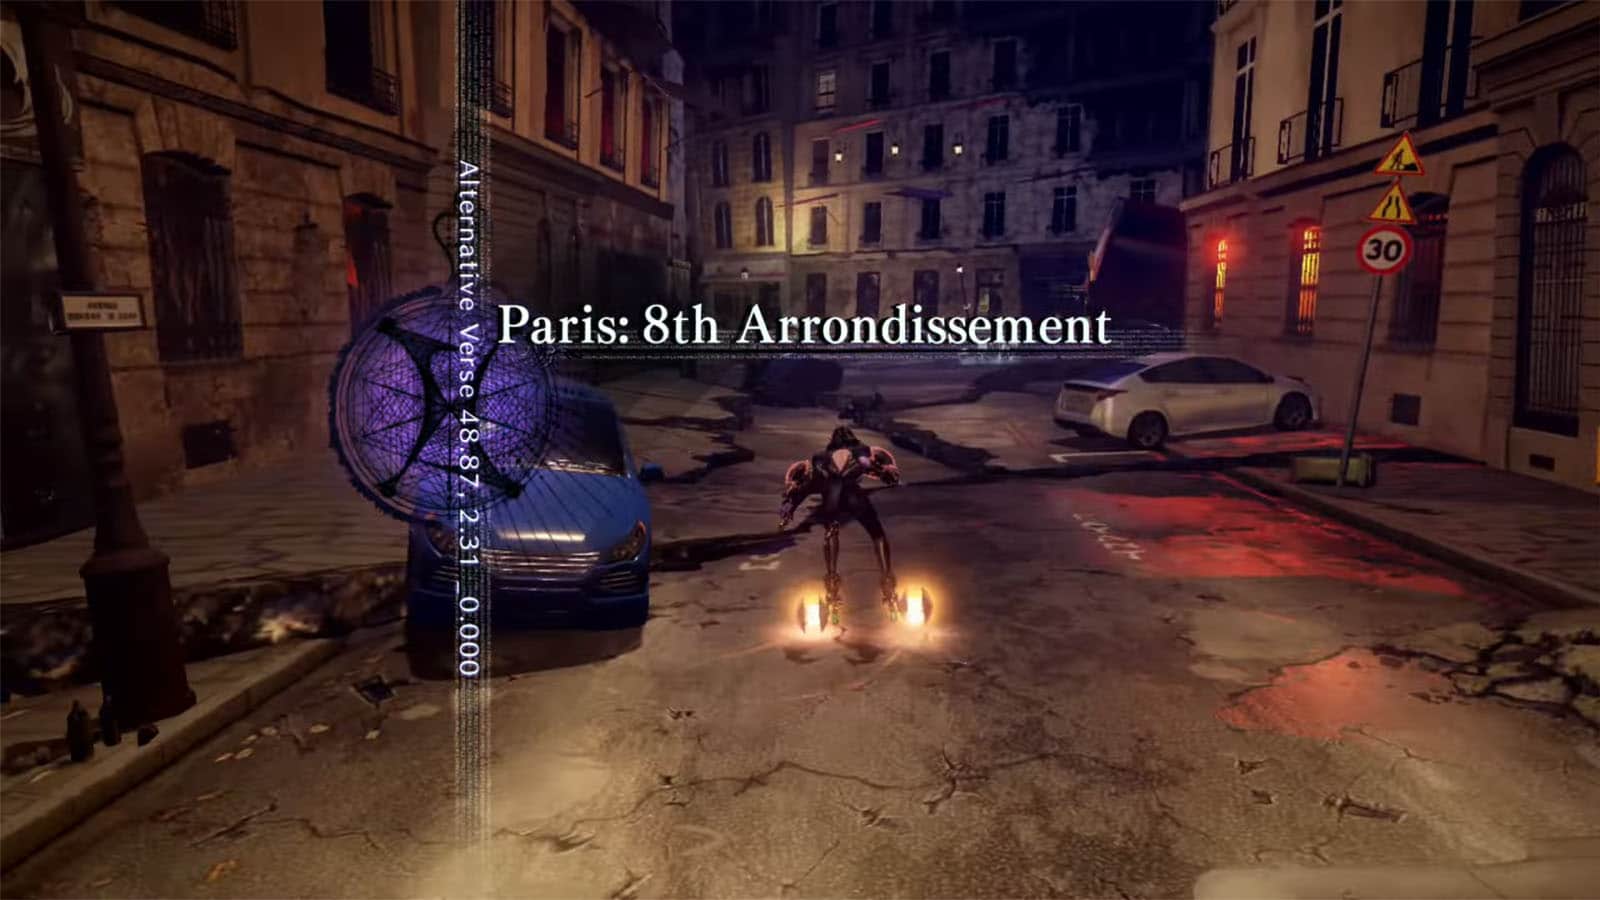
Paris: 8th Arrondissement
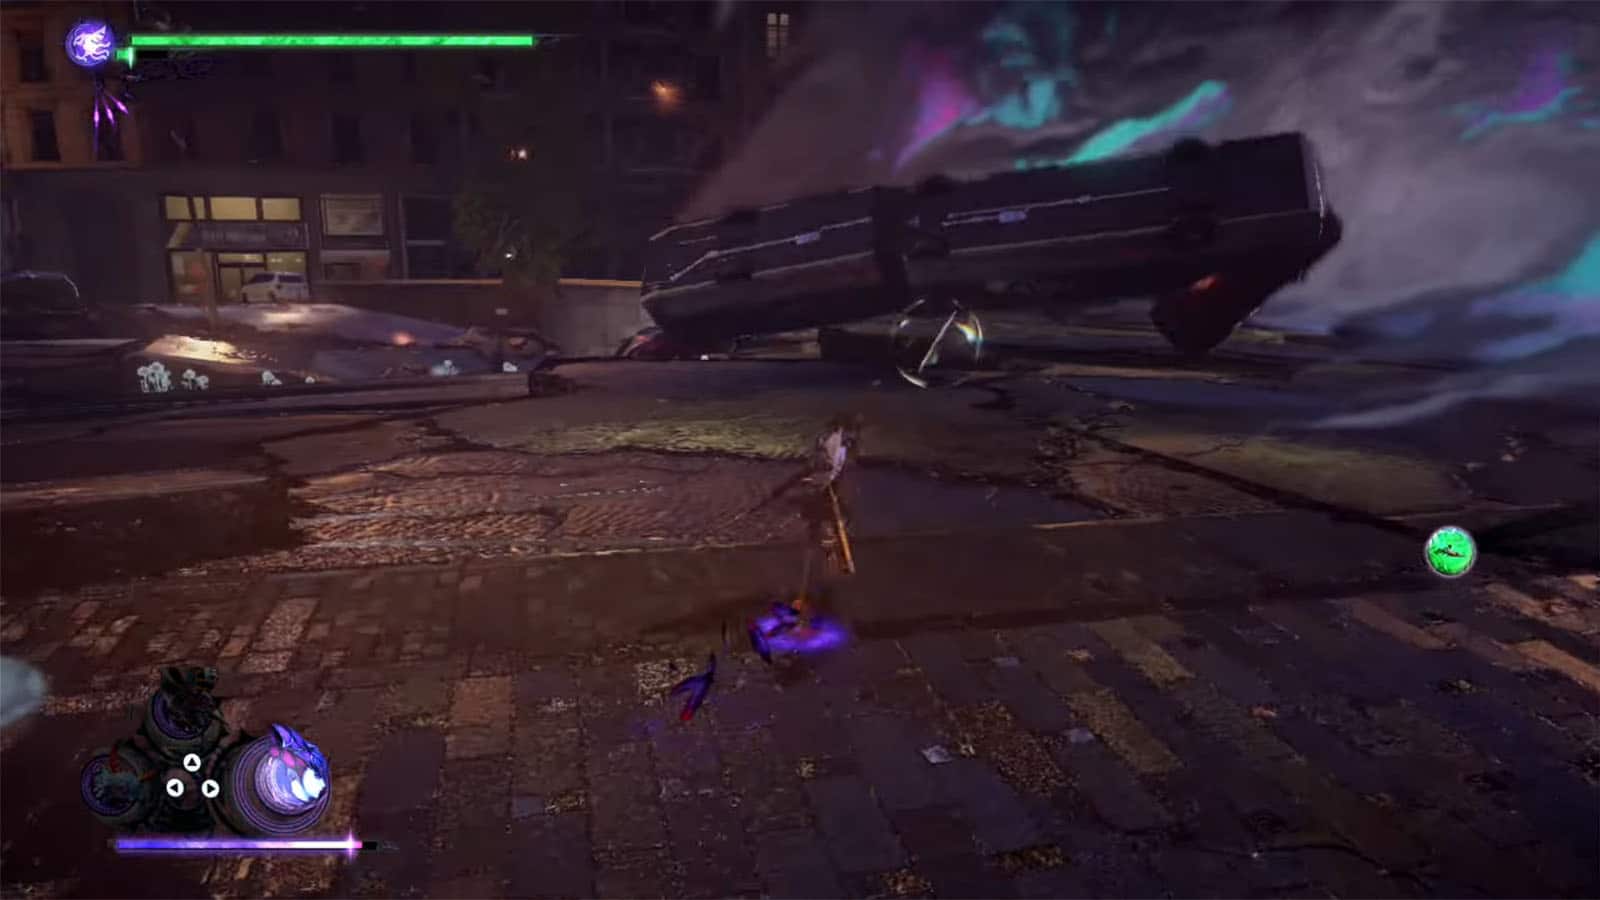
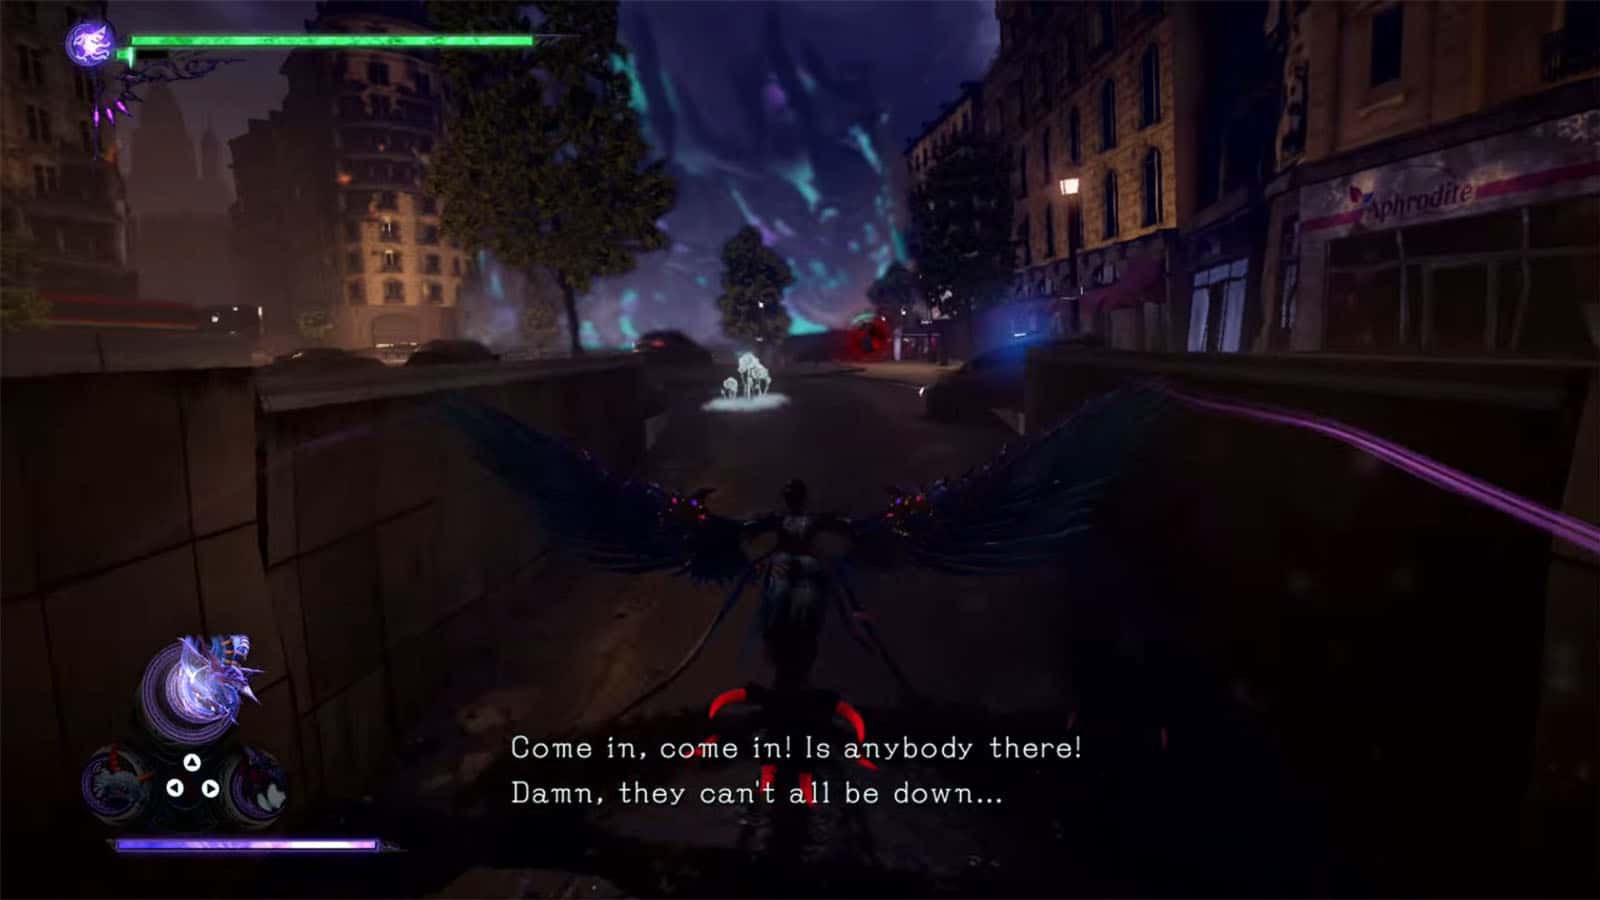
We’re back on Bayonetta as she arrives in Paris and gets a premonition about Viola. Take time to explore the place for some collectibles.
Figure Box #1
Pass under the collapsed bride and look behind the debris to the left to find the figure box.
Verse #1
Head to the main road and you’ll encounter another Virga. Defeat it to proceed.
Verse #2
Just near the first verse is the glowing marker for the second one. Clear the enemies to proceed.
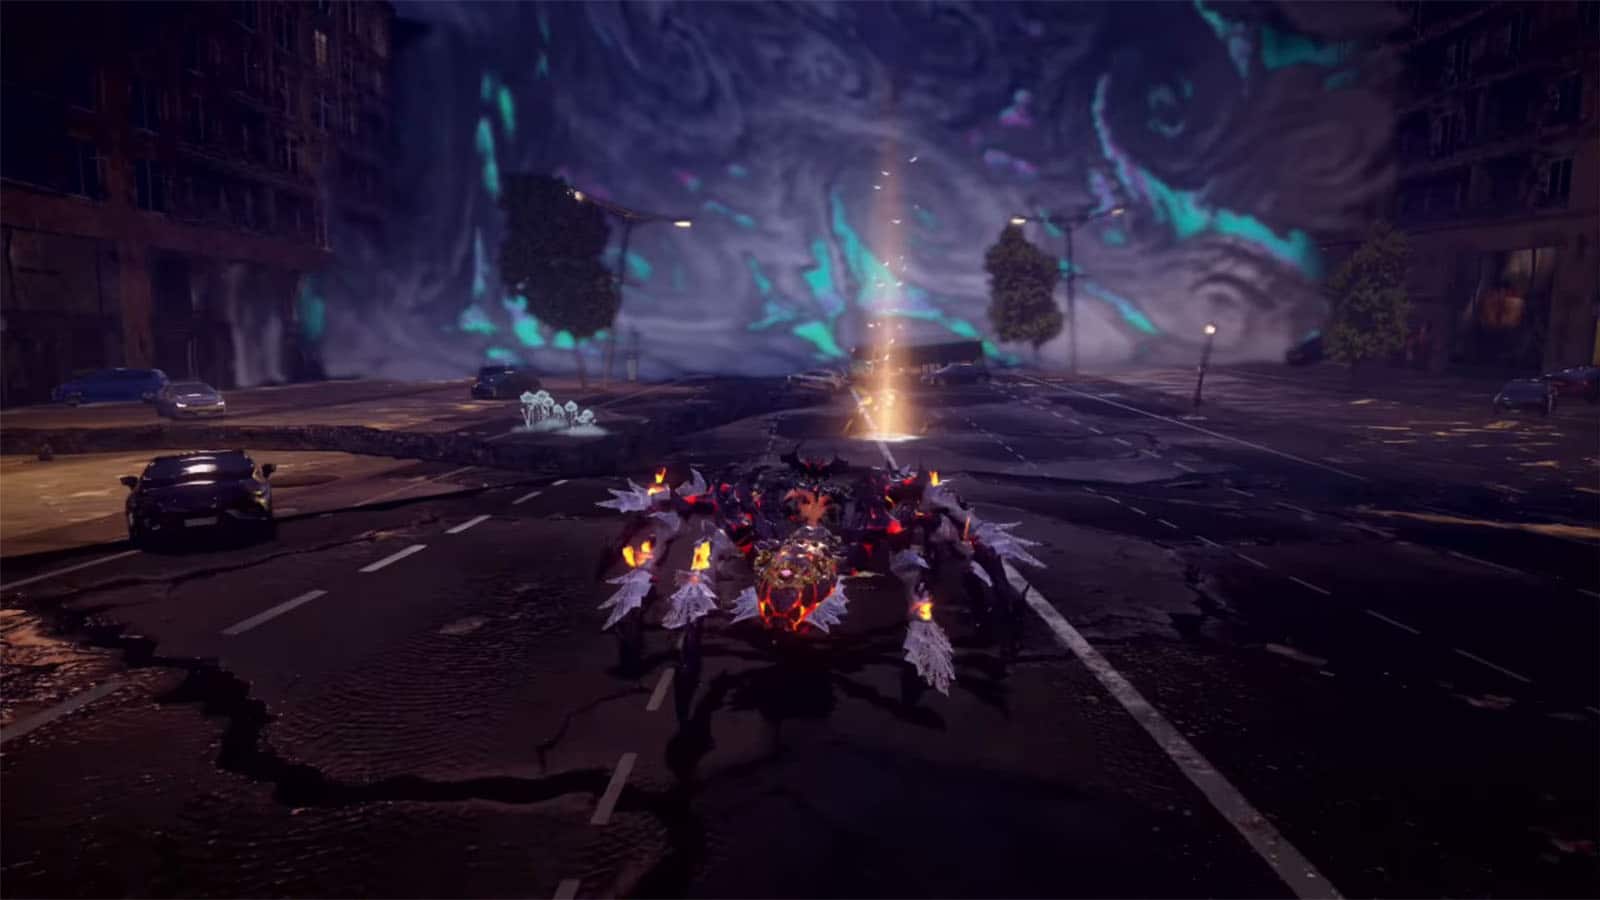
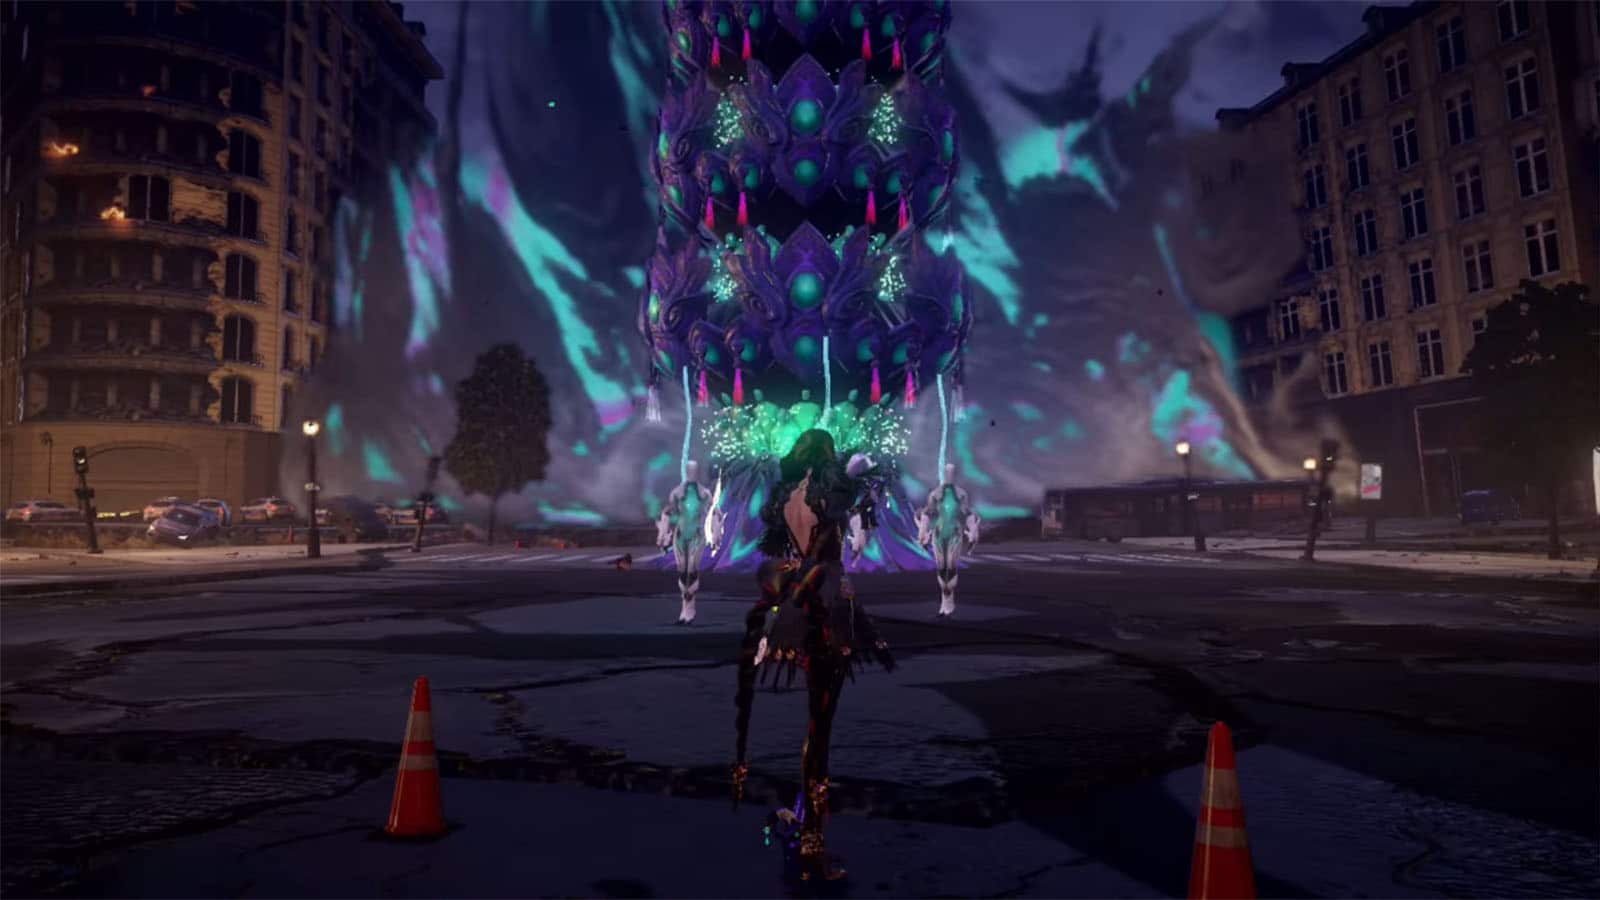
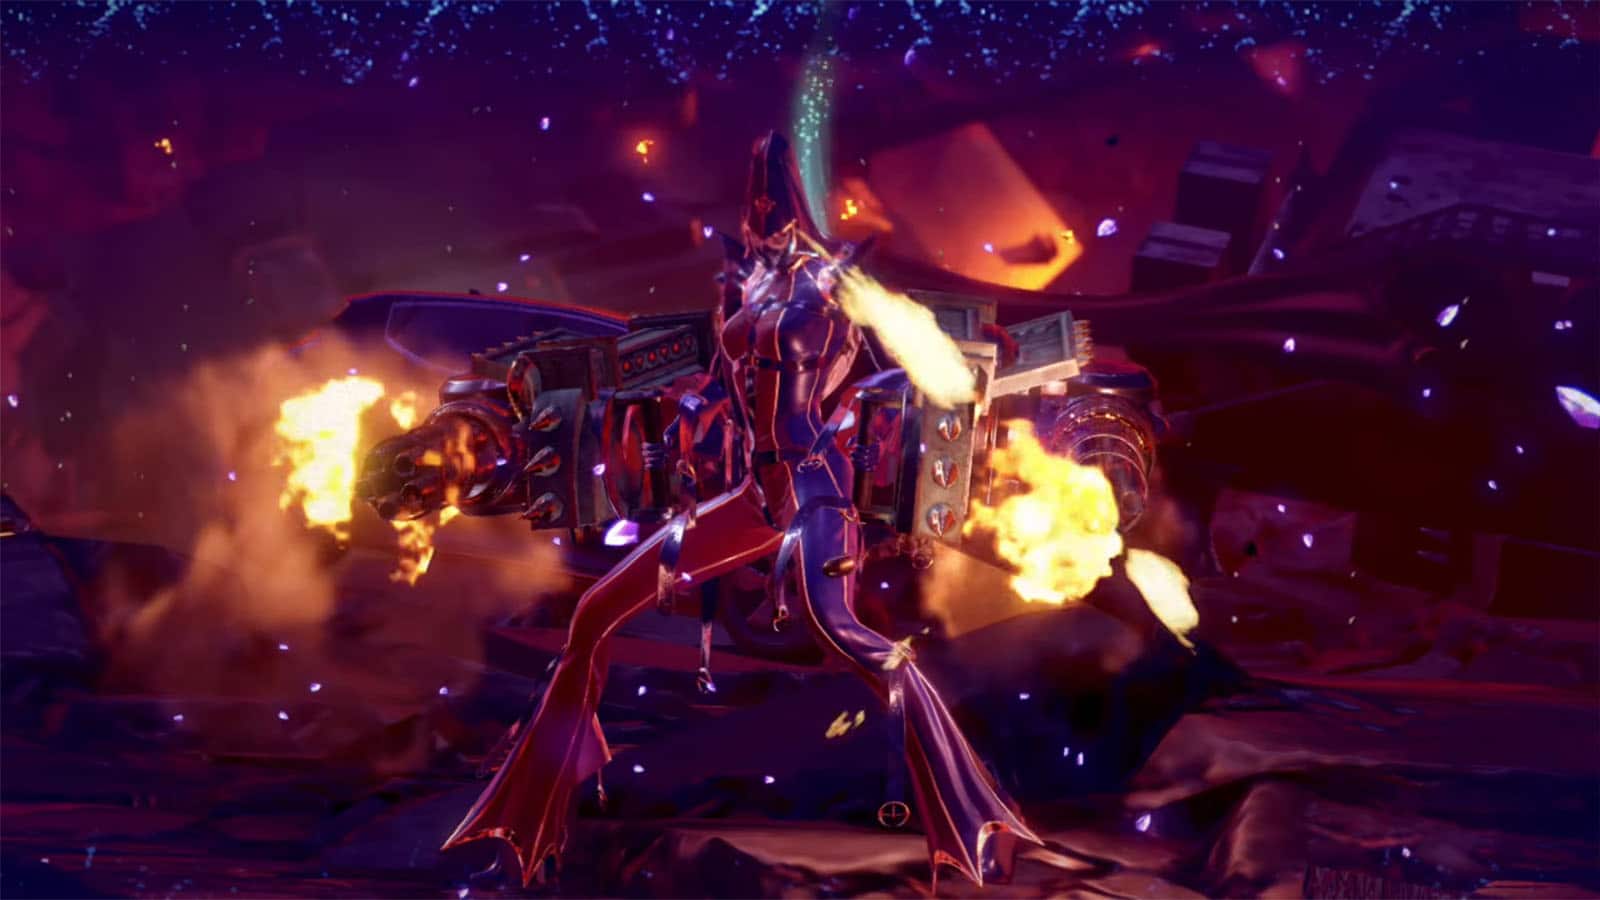
Mictlantecuhtli
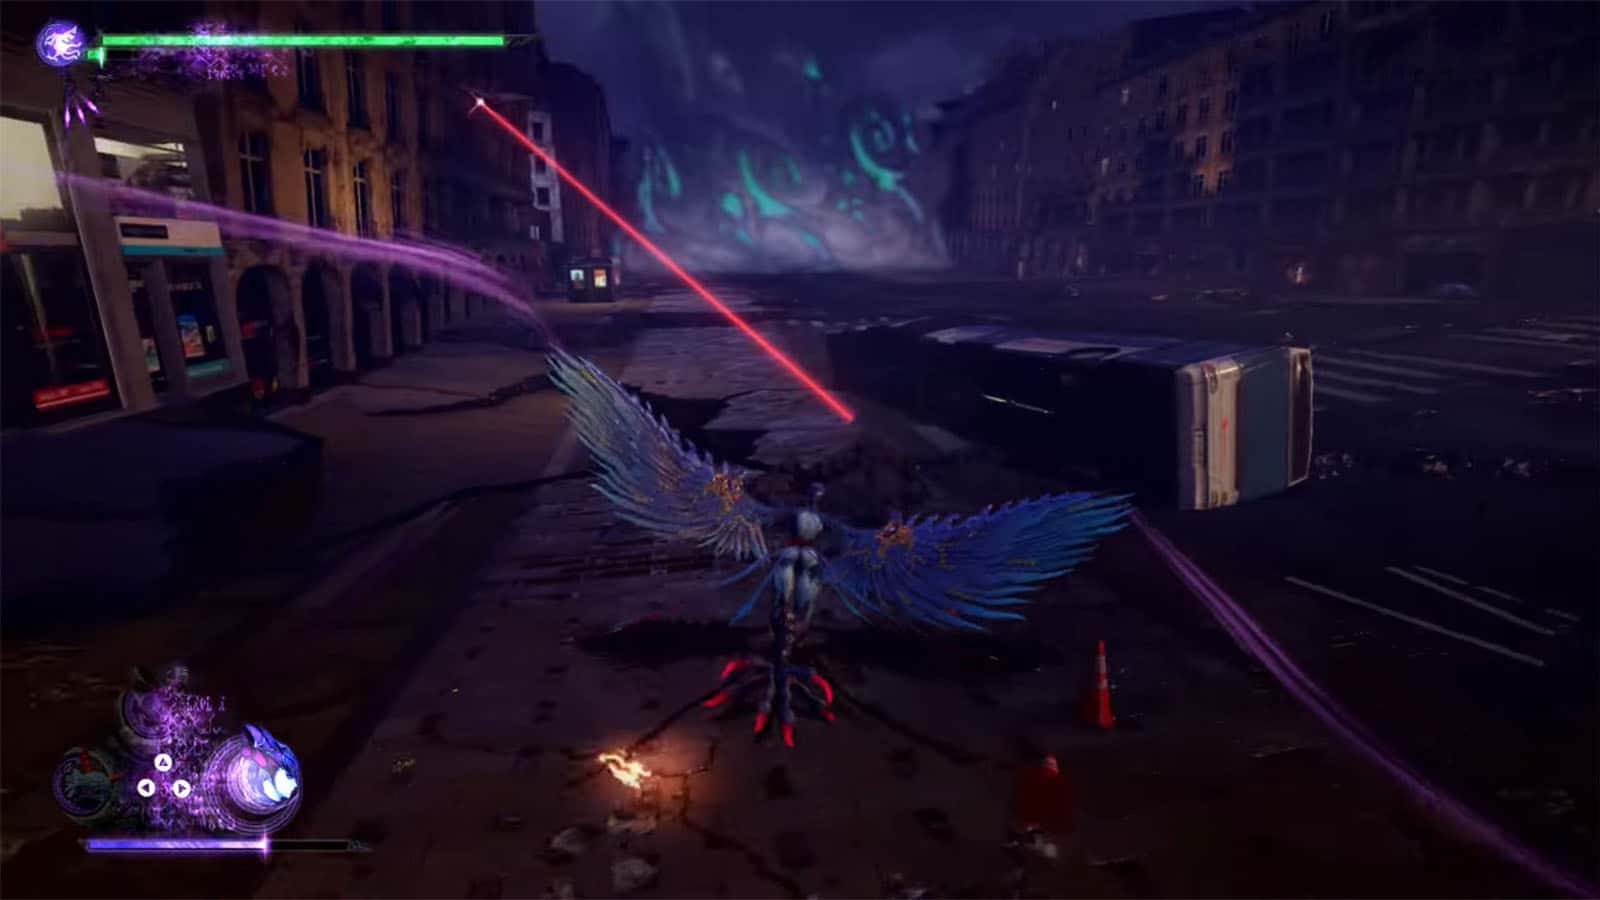
Proceed to the next area to get a temporary summon called Mictlantecuhtli. It has two forms, one that is useful in combat and one that can be used to see in the dark.
Card Pack #1
On the left side of the street from where you got the new summon, you’ll find the card pack.
Card Pack #2
Check behind the bus near the clouds to find another card pack.
Umbran Tears of Blood – Crow
Check on the right side of the street to find the crow. Chase it around as it flies towards your starting location.
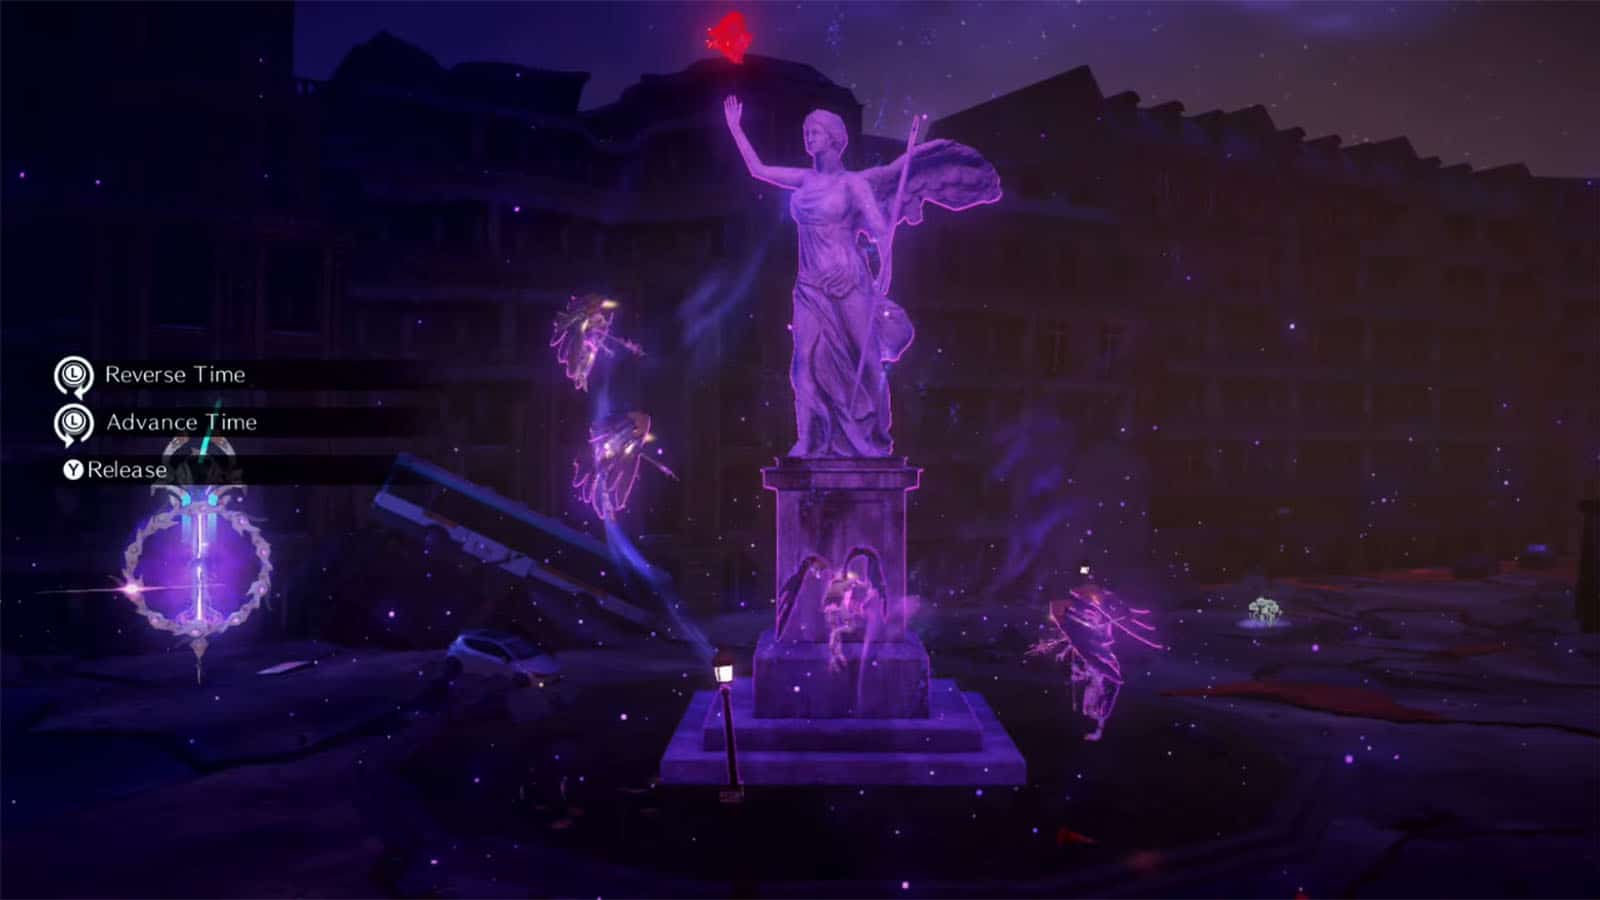
Record #1
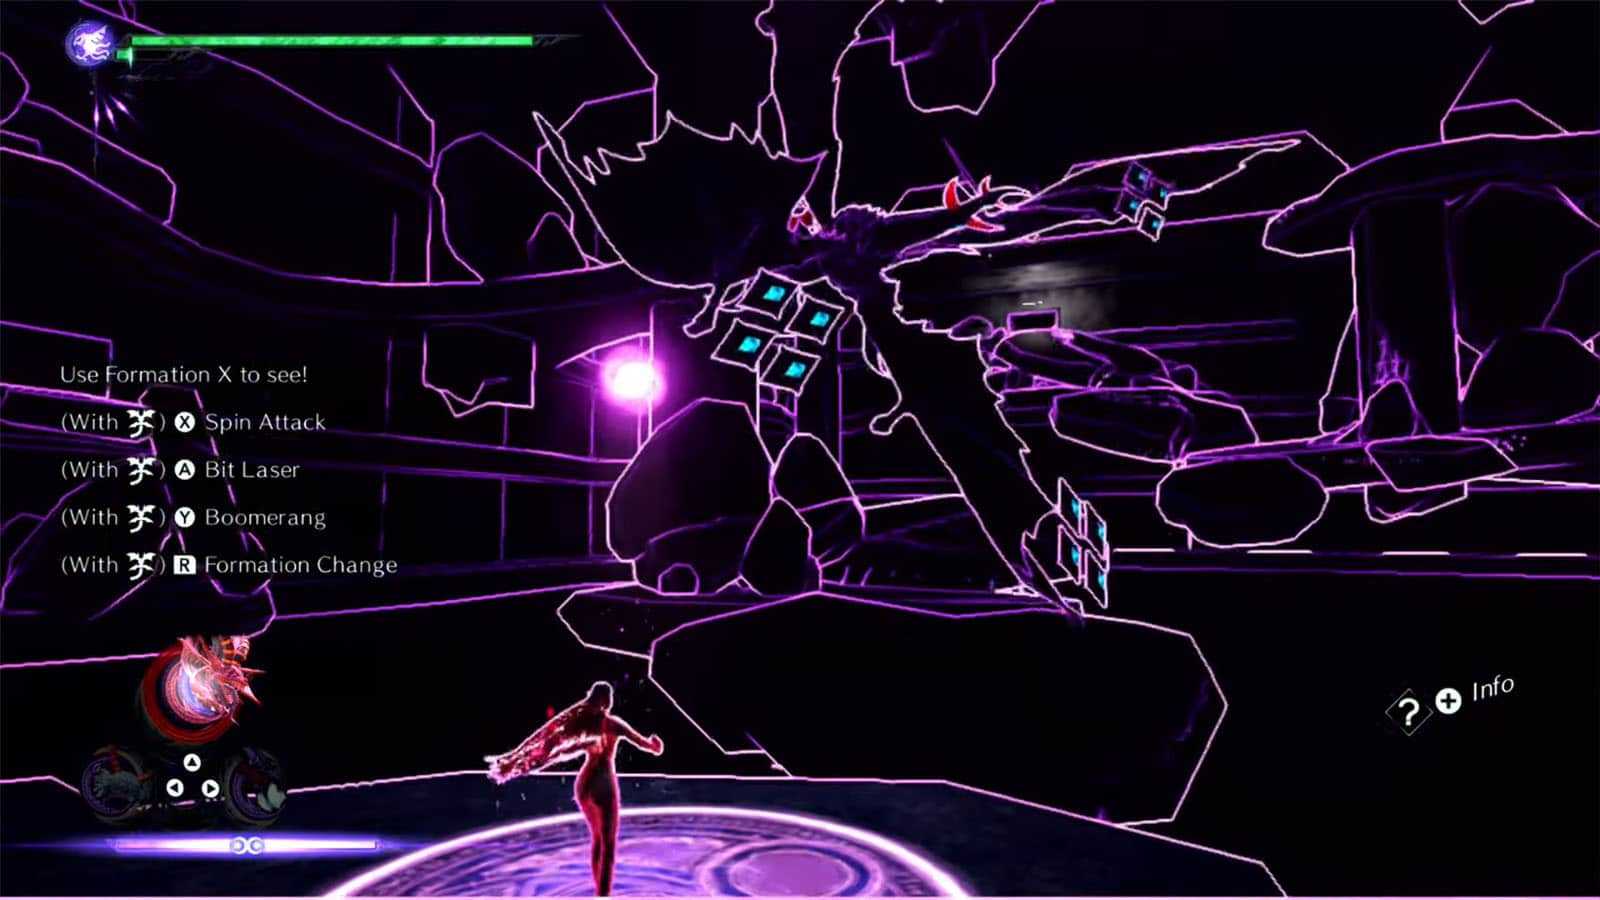
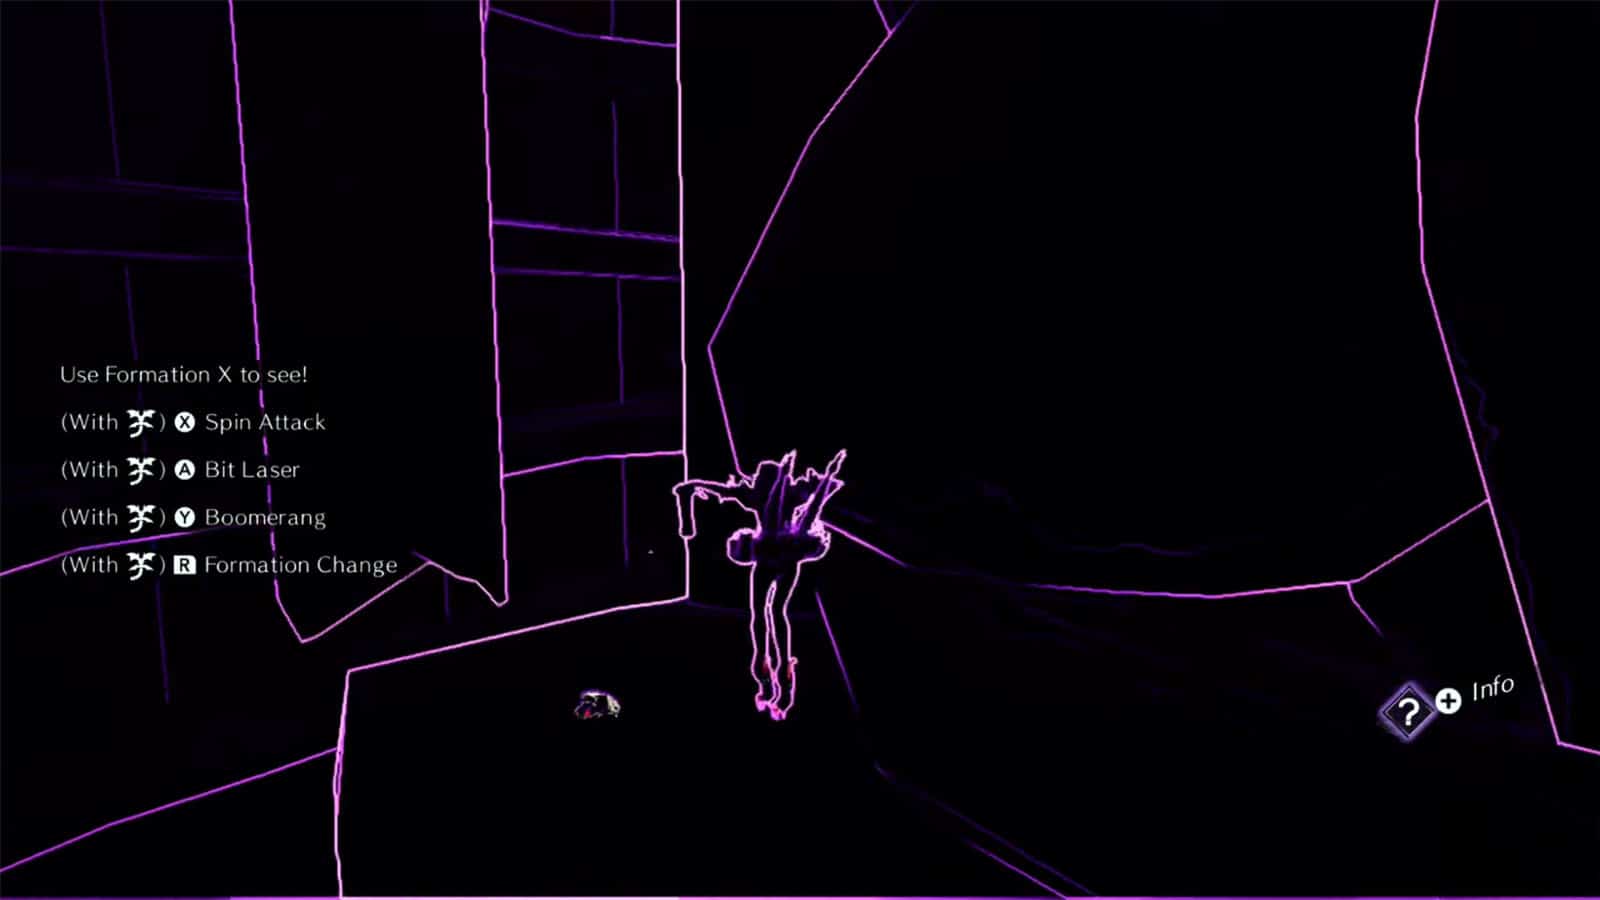
Continue towards the lit tunnel until you arrive at the relic below that summons an umbran circle. Use the circle while summoning Mictlantecuhtli’s Formation X to be able to see in the pitch dark subway. Then, fly towards the left side inside a room where the record is.
Bewitchment #1
Once you get the record, you’ll also get the Find the item hidden in the underground tunnel Bewitchment.
Umbran Tears of Blood – Toad
Go to the circle again and use Formation X. Then go around the pillar on the right corner ahead to find the toad.
The Gates of Hell
Head towards the lit passageway to exit the subway. You’ll then see the portal to Rodin’s. Take the time to purchase items or accessories.
Broken Witch Heart #1
Turn around from the subway exit to find another cube up ahead. Interact with it to reveal a platform that leads to other platform. Climb up to find another relic that reveals an umbran circle. Use Mictlantecuhtli or Malphas to attack the floating chest to get a Broken Witch Heart.
Echoes of Memory #1
Turn around to find the Echoes of Memory: The Rogue’s Pride on the side of the building.
Umbran Tears of Blood – Cat
Further head, on top of one of the awnings on the same building, is the cat. It will jump from one awning to another, so try to capture it with a flying masquerade.
Verse #3 / Broken Moon Pearl #1
Up ahead near the dead end is the portal to the next verse. In this challenge, you’ll fight off the jellyfish homunculus once again, but you can only attack using your demon. Use Mictlantecuhtli’s Formation Y to attack and just keep attacking the enemy until they split and explode. Clearing this will reward you a Broken Moon Pearl.
Verse #4
Head back to the main street and proceed to the path ahead to encounter the next enemy. You’ll be fighting a Nimbostratus which is another tower enemy. You need to knock off the segments of the tower first before you can deal damage to it. Use Mictlantecuhtli to knock off the segments and reveal the minor enemies that spawn into the fight.

Verse #5 / Broken Witch Heart #2
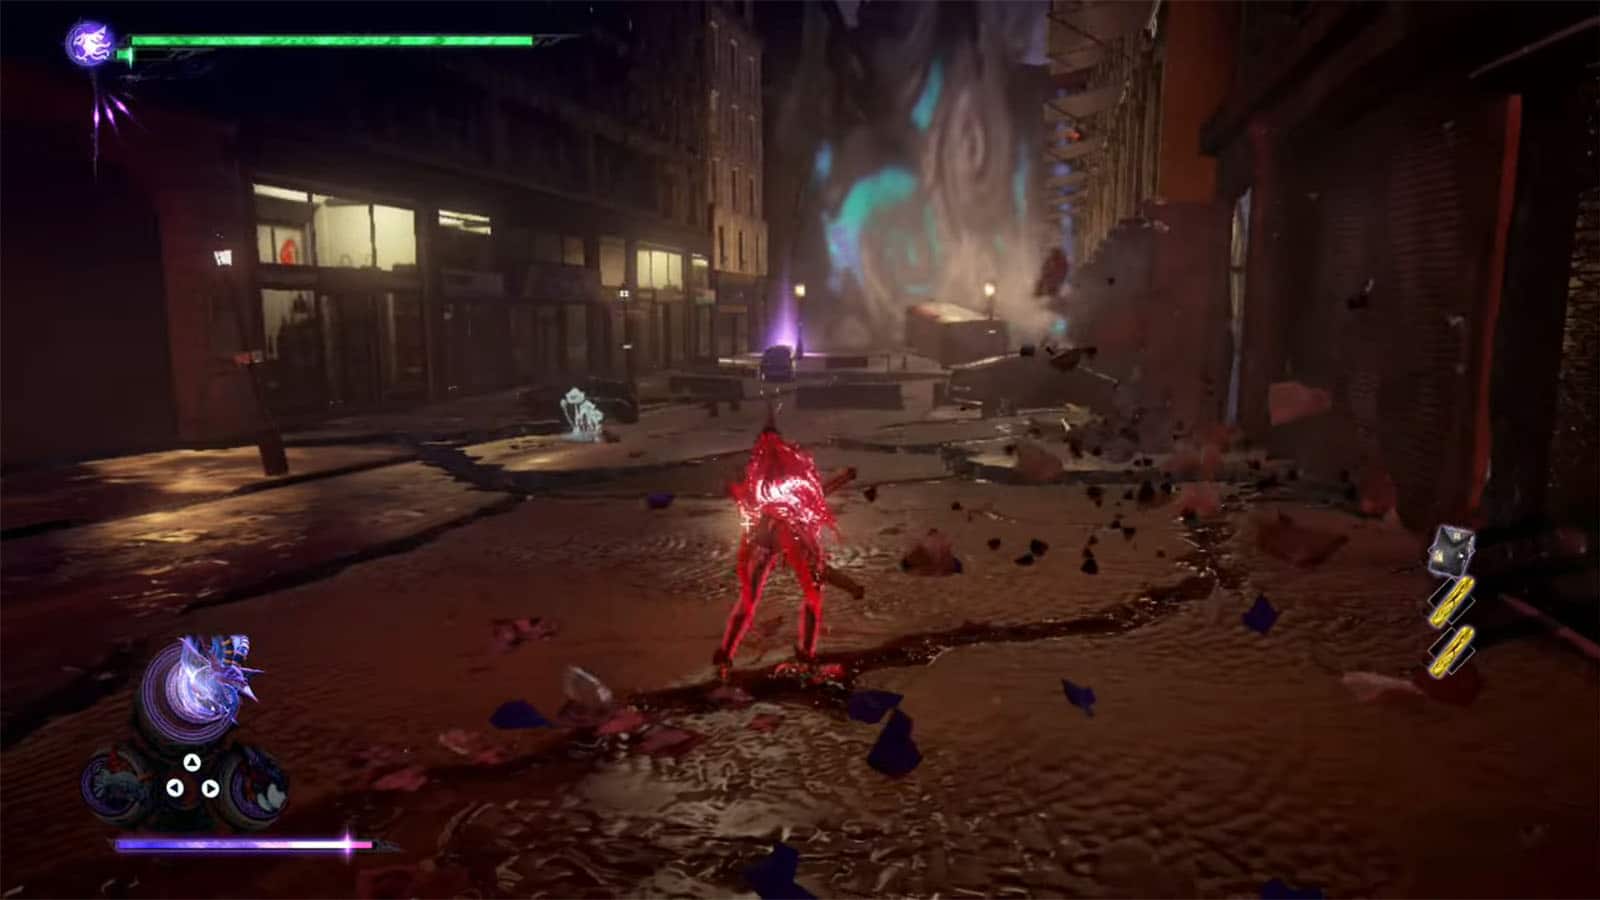
Continue to the path to the left and look for the lit shop on the left side. Beside it is another broken garage door that hides the portal to the next verse. For this challenge, you will need to use Mictlantecuhtli to reveal the invisible enemies. Clear the enemies to get a Broken Witch Heart.
Broken Witch Heart #3
Proceed to the roundabout where you’ll find another Congestus. Topple it and then use it to turn back time until the point that you get a staircase made of Affinities that leads to the Broken Witch Heart on top.
Verse #6
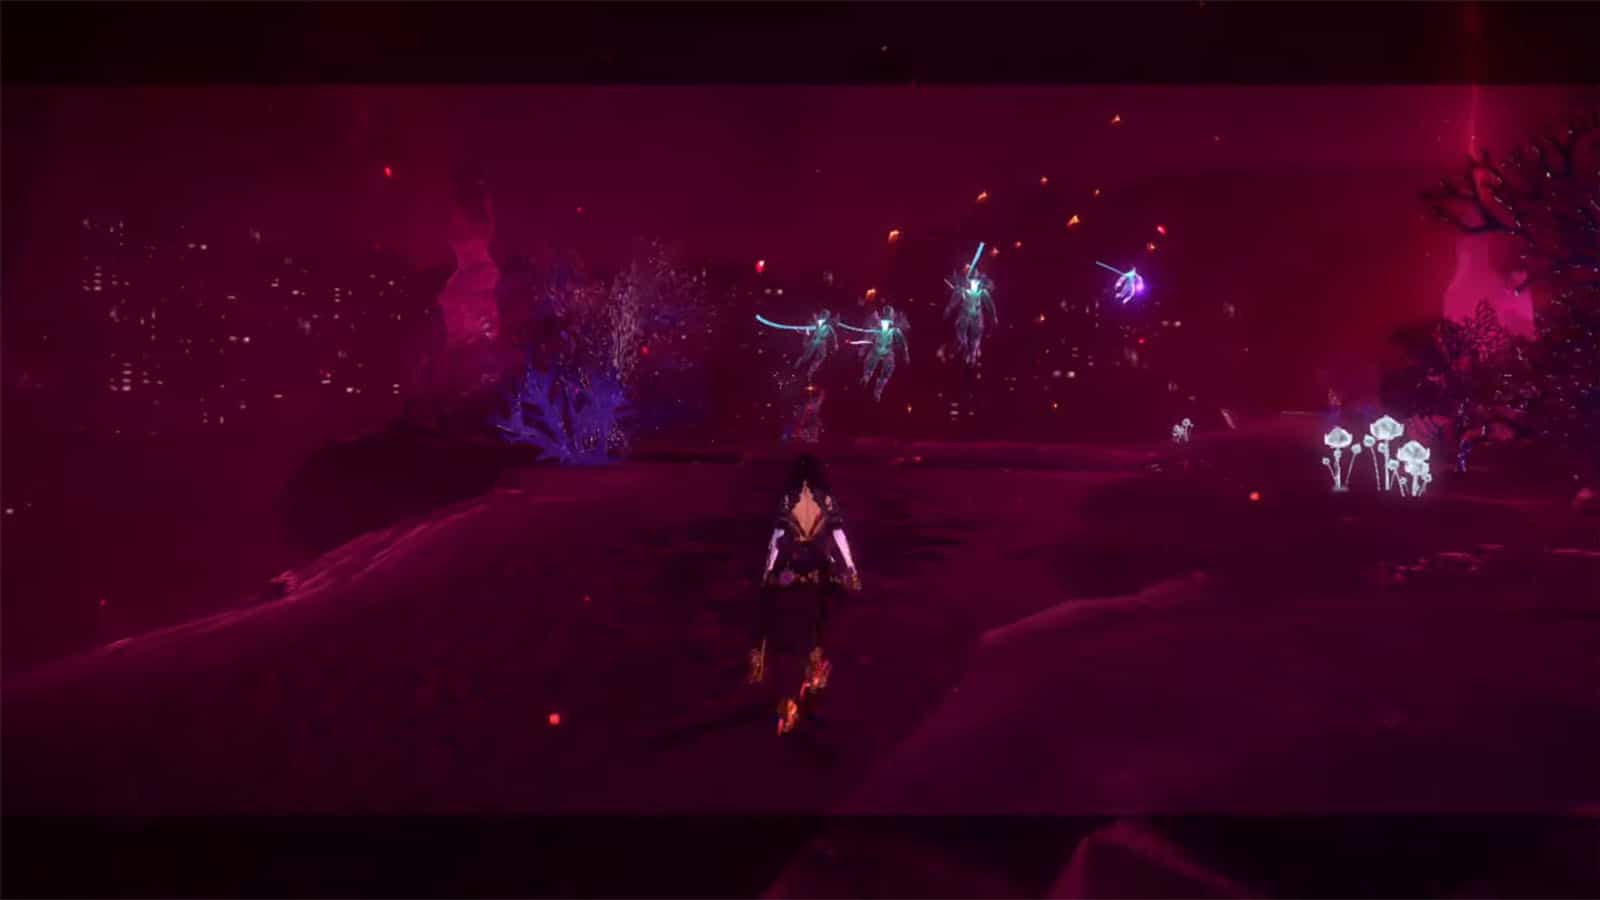
Continue through the next path and you’ll be transported back to the Chaotic Rift. You can do the quick time trial by activating the cube on the left side on the path. Then, proceed to the next open area to trigger the next verse.
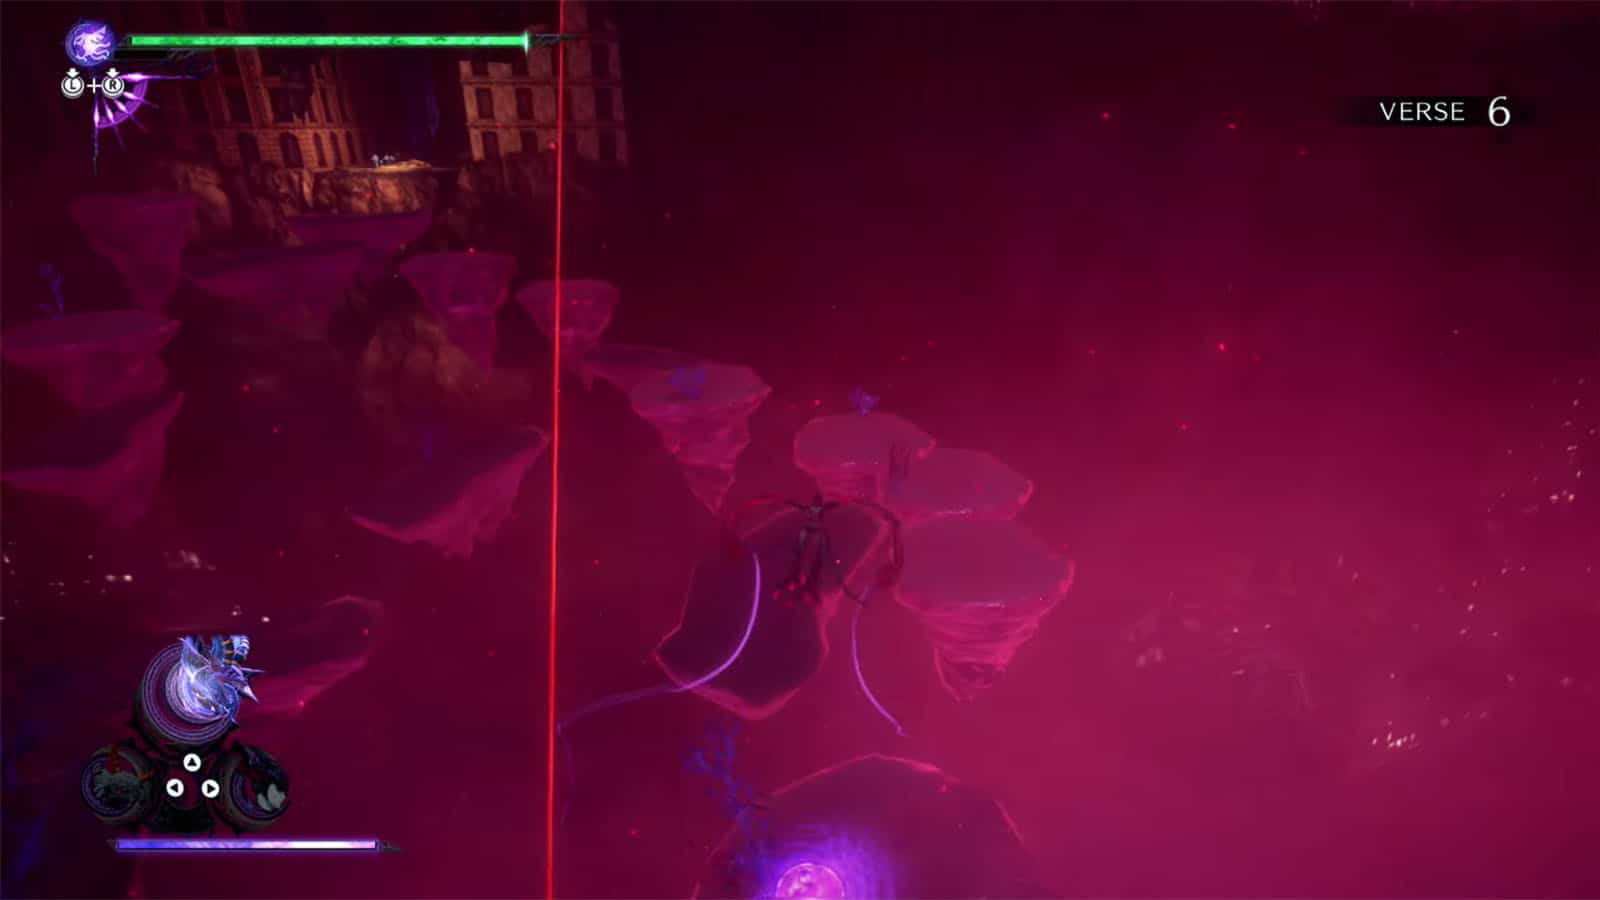
You’ll then be chased by a huge homunculus. You’re not supposed to fight it as you only need to chase down the other beings ahead. The enemy will be shooting attacks at you so best try to avoid getting hit.
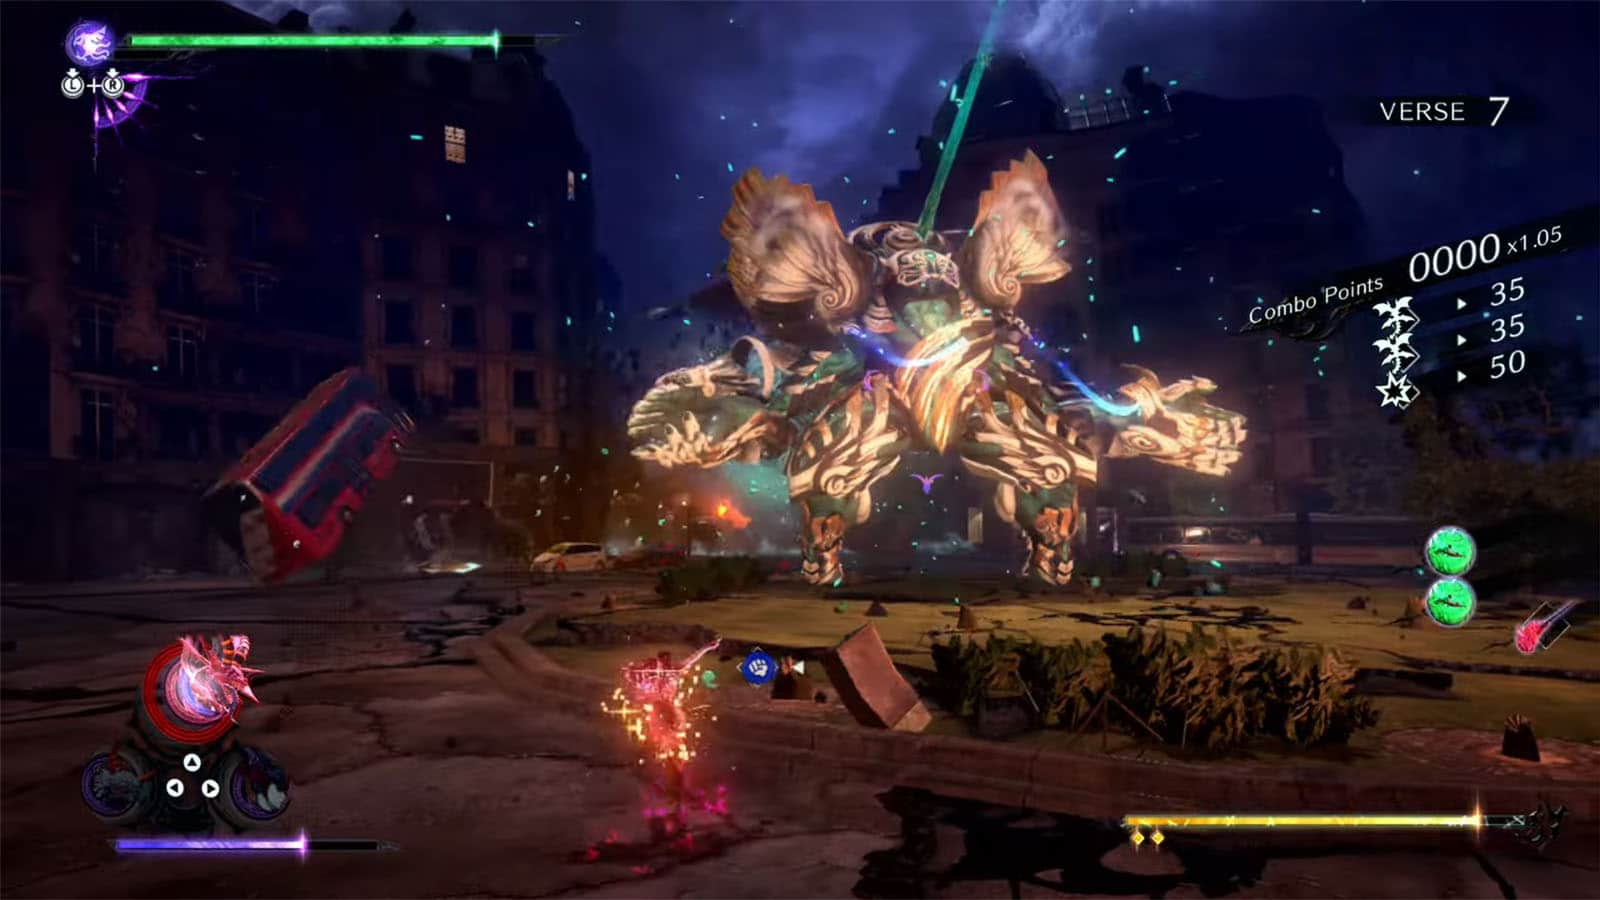
Verse #7
Move to the next roundabout up ahead to finally fight the enemy. Clear it out to proceed.
Figure Box #2
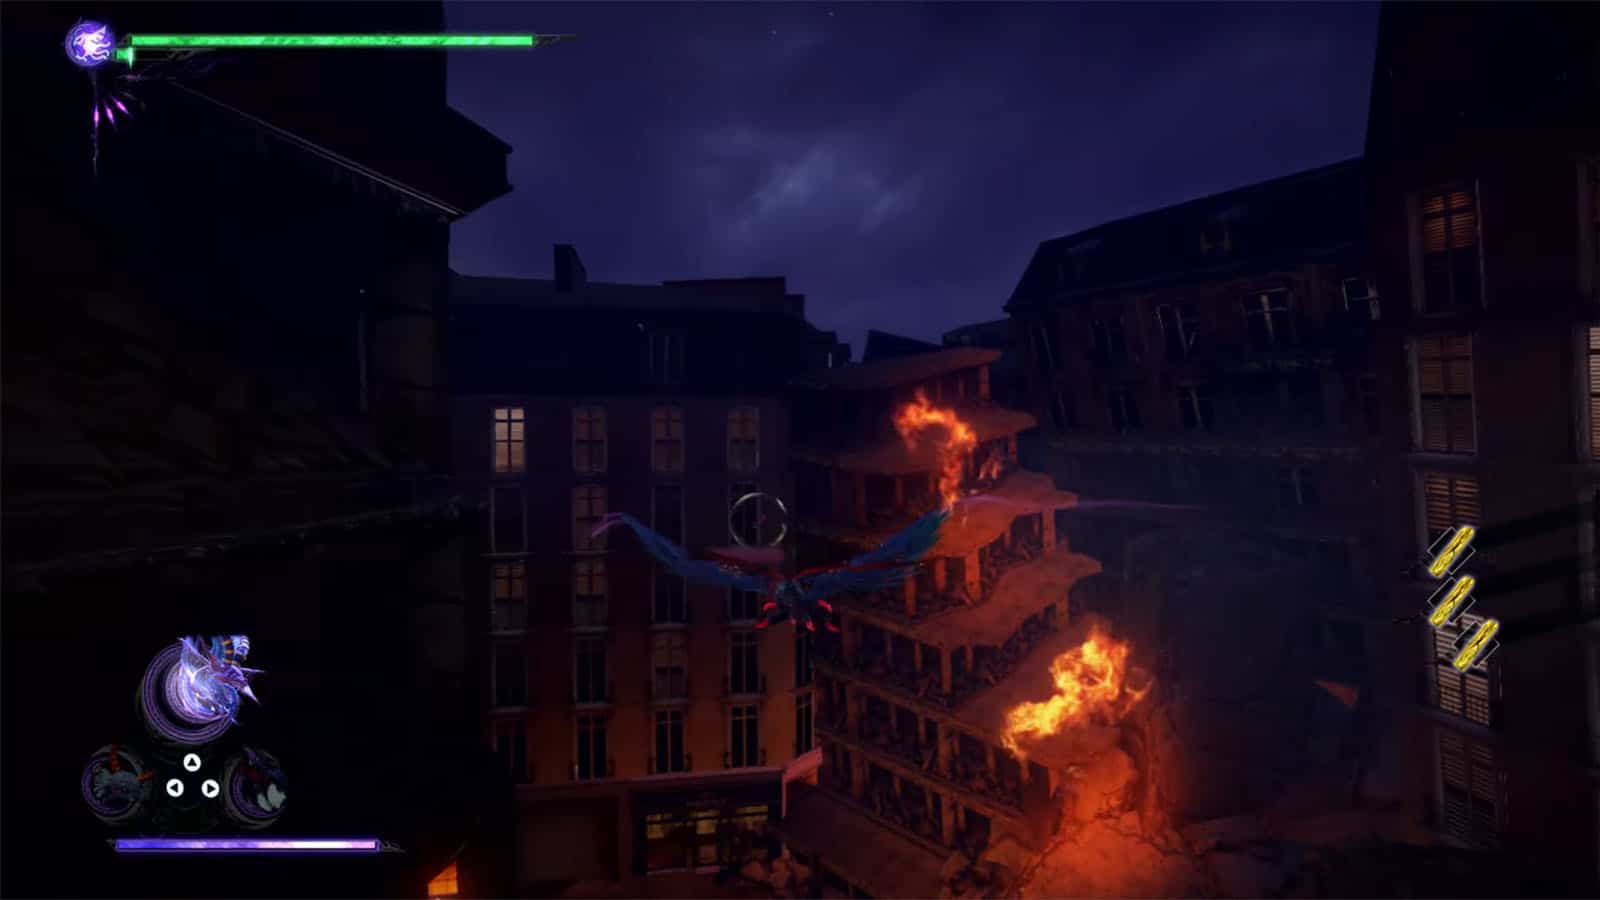
Continue up ahead until you pass the collapsing buildings. Look up on the collapsing building on the right to find the figure box.
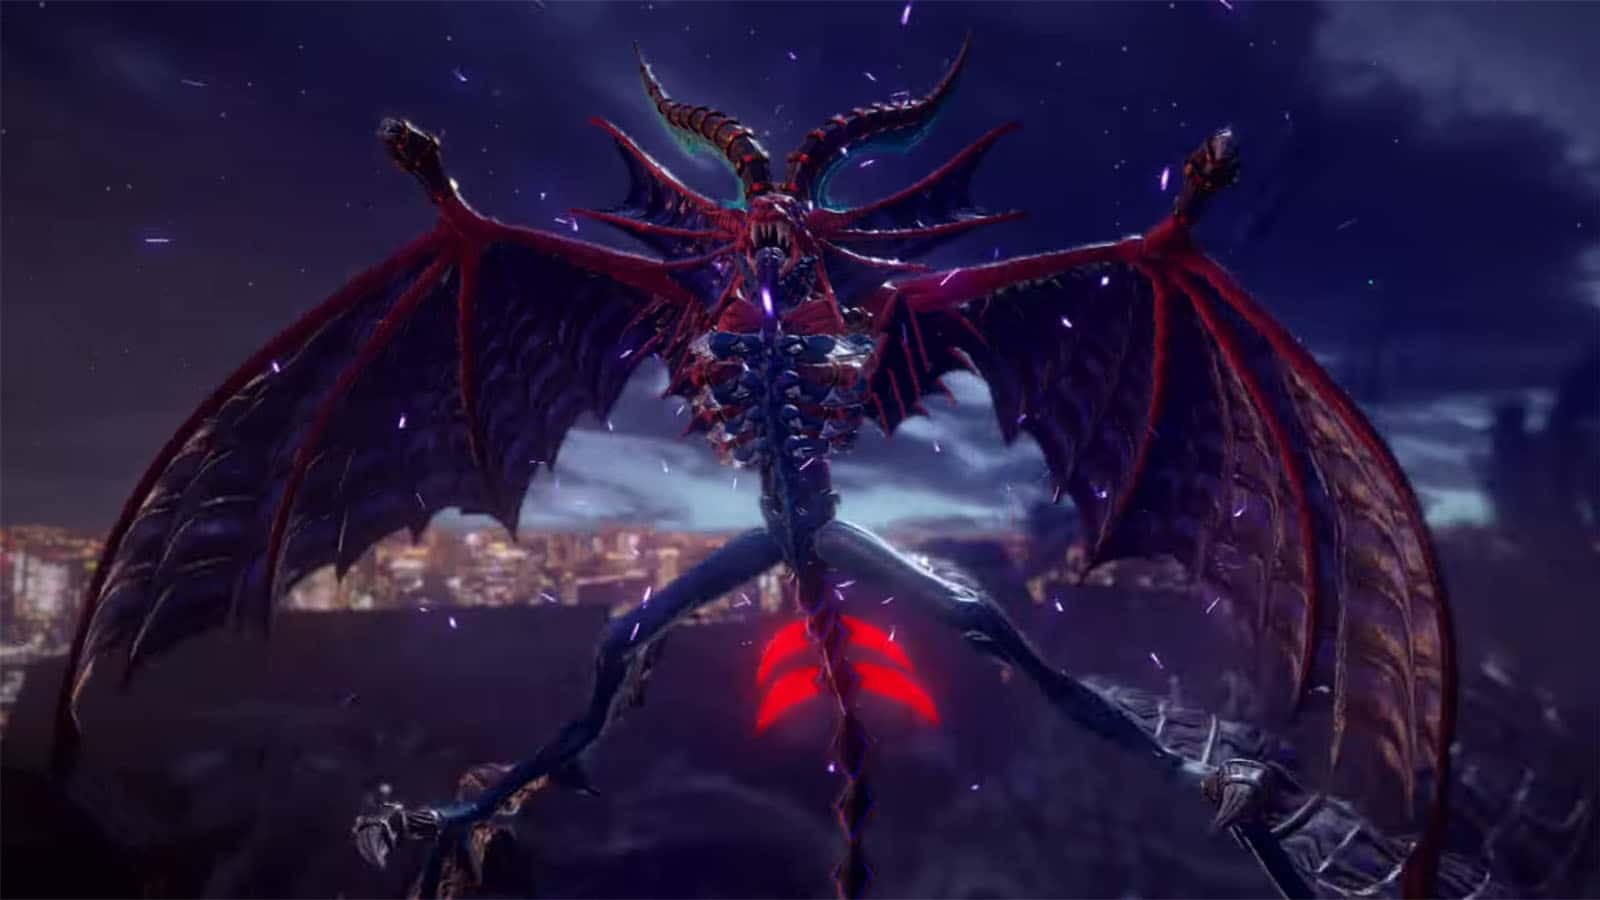
Verse #8
Move towards the open area to get a cutscene with Rosa. She will then attack, starting the fight for the next verse. Rosa is quite a nimble fighter, so try to do evades and get into Witch Time to land hits on her. Once her health is down a bar, she will transform into a marionette.
Bewitchment #2
During the fight, Rosa will summon a bunch of doors around you. Use Formation X to figure out which door is the right one and get the Find Rosa behind the right door and attack Bewitchment.
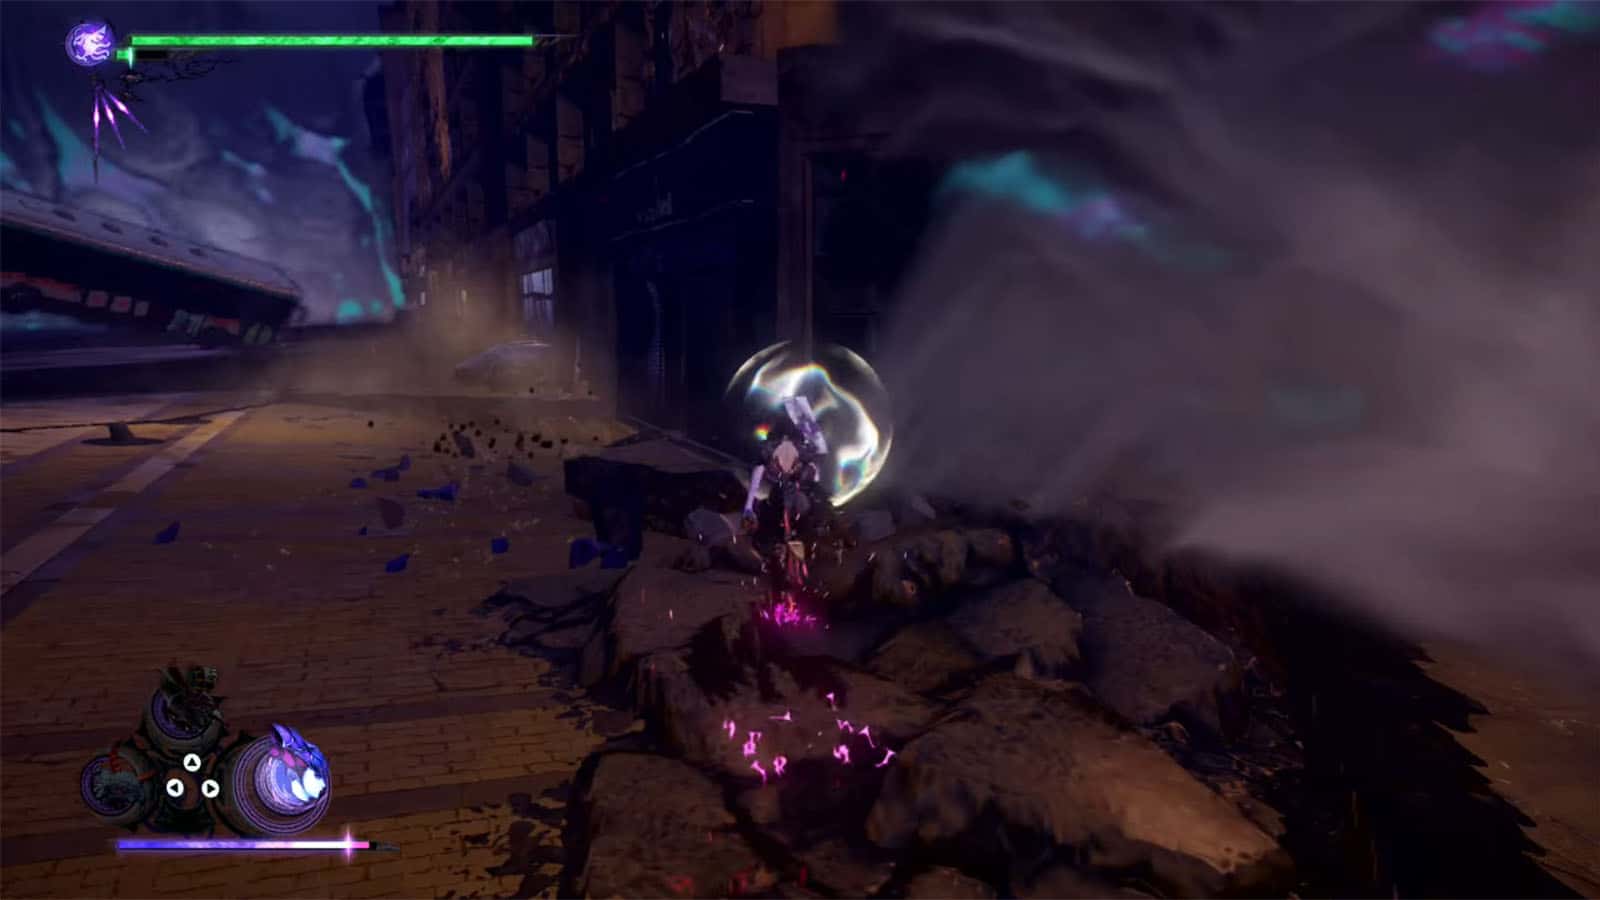
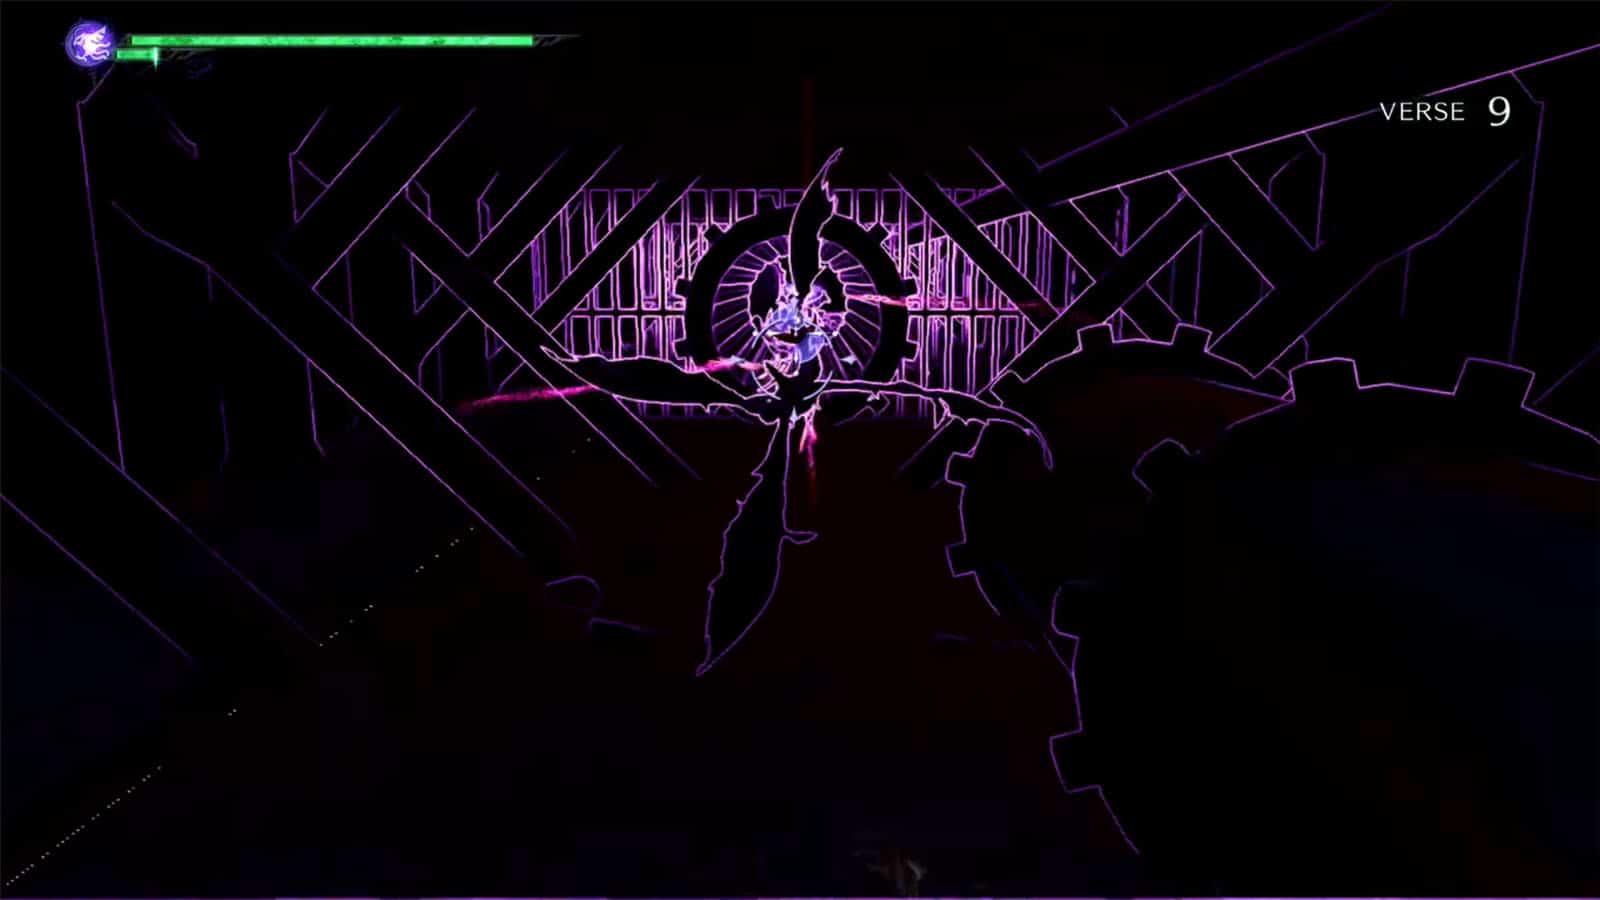
Verse #9
Once Rosa’s health is low, she will flee and then the next verse starts. For the first part, it will be an aerial chase against Rosa as you try to shoot her down the streets. There will also be adds that appear during the chase. You’ll eventually get immersed in darkness, in which you can use Formation X to reveal your surroundings. Be mindful of the perspective changes that will happen during the chase as it will switch between them a couple of times.
Bewitchment #3
Defeat fifty adds in this verse to get the Defeat 50 Lacunosus while riding Mictlantecuhtli Bewitchment. Use the charged shot to skewer them with a beam.
Bewitchment #4
Once you arrive in the dark section of the chase, use Formation X to help you navigate and get the Avoid all obstacles in the dark while riding Mictlantecuhtli Bewitchment.
Bewitchment #5
During any part of the the verse, once Rosa gets pelted with enough shots from you, she will drop a healing laurel and you’ll get the Attack Rosa’s Umbran Armor and get the secret item Bewitchment.
Broken Moon Pearl #2
During the side scrolling section where you face off against a tower enemy, a chest will fly in to the screen. Shoot it right away before it gets off screen to get the Broken Moon Pearl.

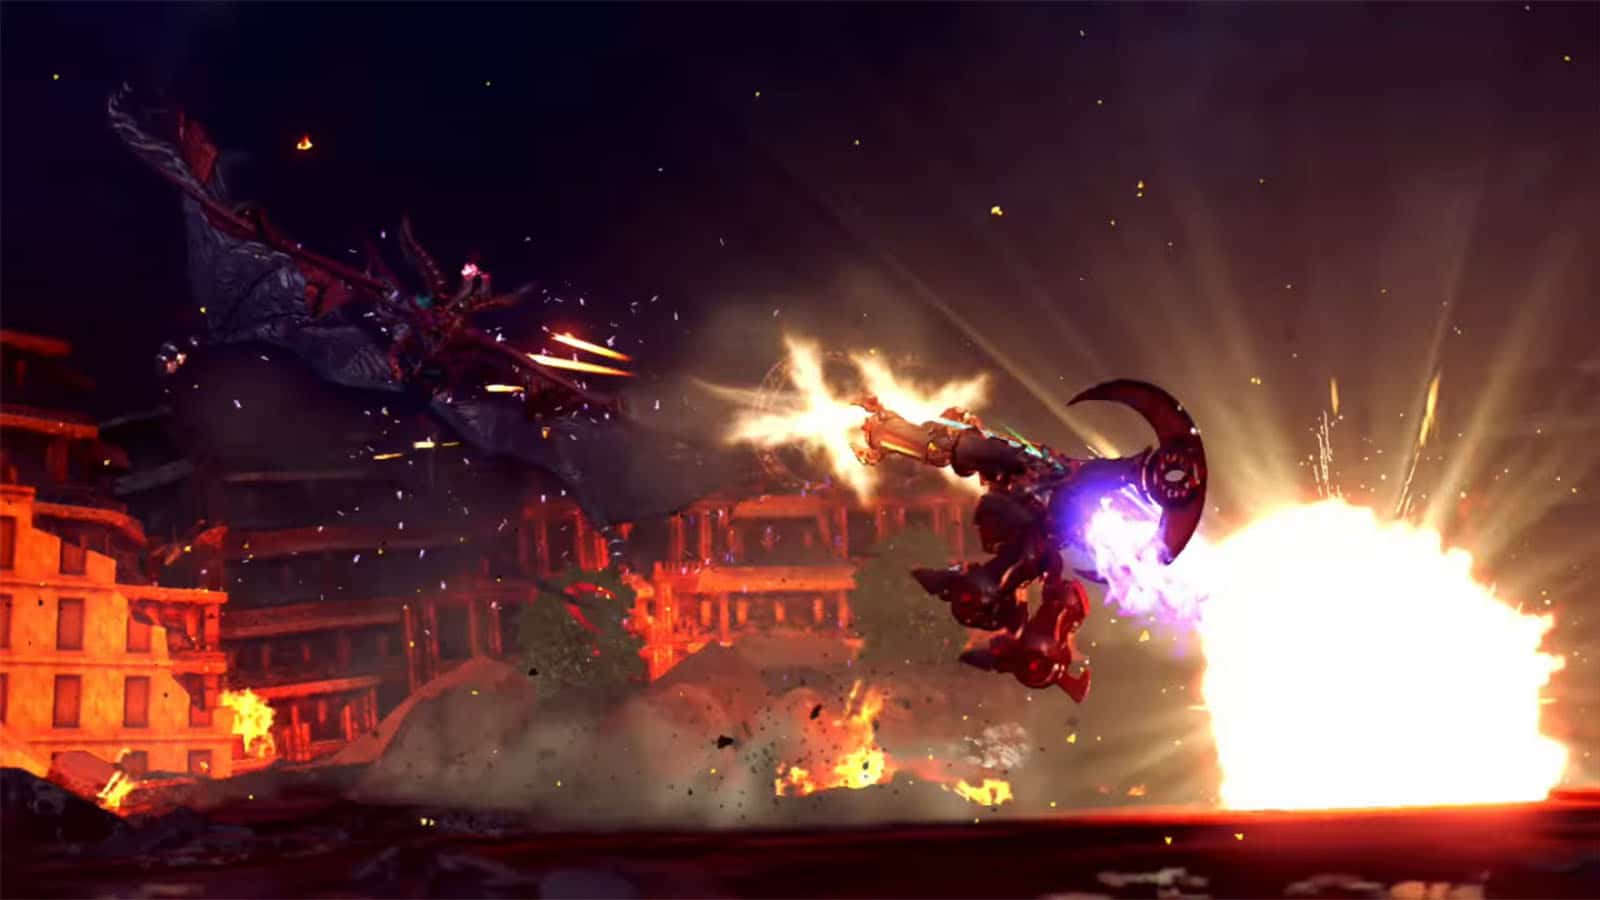
For the second part of the verse, you’ll be fighting against the Umbran Clock Tower. It has four levels that each have their own different attack. The base level sends out huge arms, a mace, and some armor adds. The second level sends out turrets. The third level opens up to reveal a bell that sends a damaging sound wave. The top level sends a barrage of grenades.
You can only deal damage to the tower by shooting at a level that is open. Consider strafing while attacking to circle around the enemy and avoid most of the attacks.
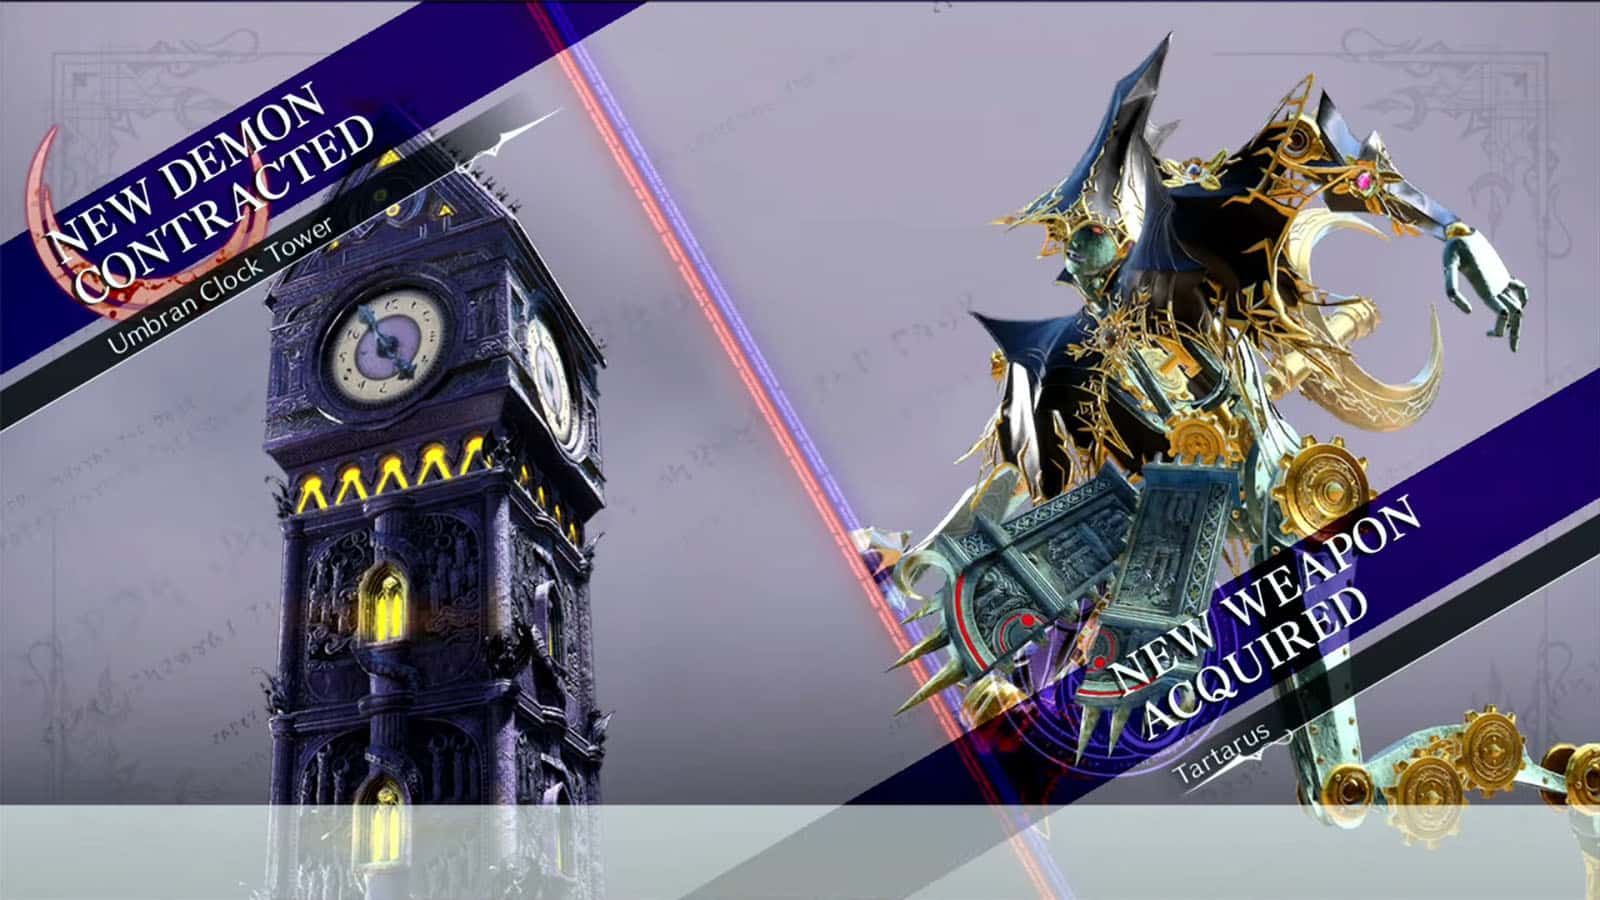
After the fight and the cutscene, you’ll gain the Umbran Clock Tower summon and the Tartarus weapon.
See next Bayonetta 3 Walkthrough Chapter 12 - The Edge of Madness
If you like this guide, be sure to check out our other Bayonetta 3 articles:
- Bayonetta 3 Chapter List – How Many Chapters
- Bayonetta 3 Ending Explained
- Bayonetta 3 Singularity (Explained)
- All Outfits in Bayonetta 3
- Bayonetta 3 Weapons and Abilities
- Bayonetta 3 Day One Update Patch Notes Revealed
- How Long to Beat Bayonetta 3 – Game Length
Check out this video by omegaevolution showing gameplay for Chapter 11:


