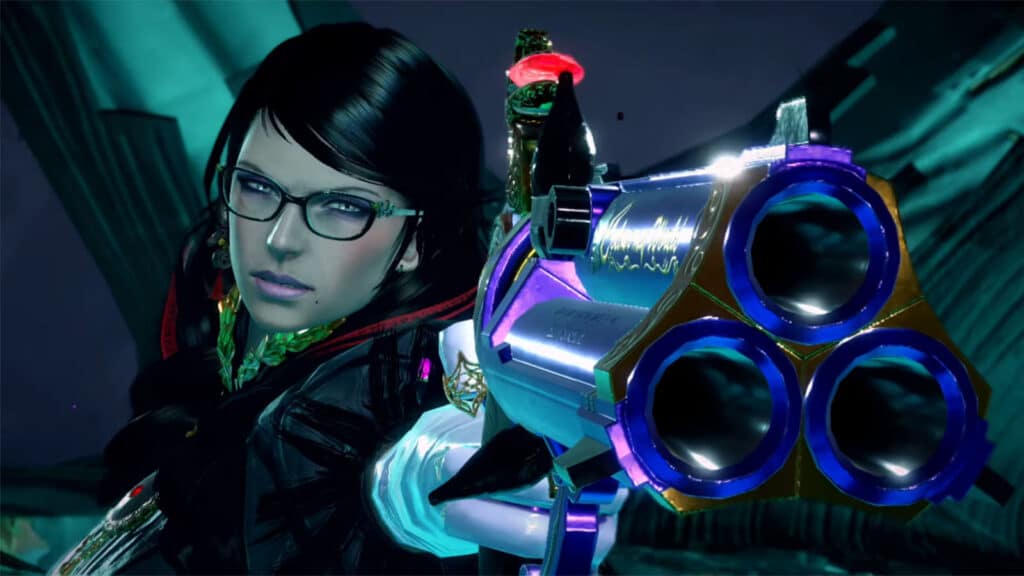
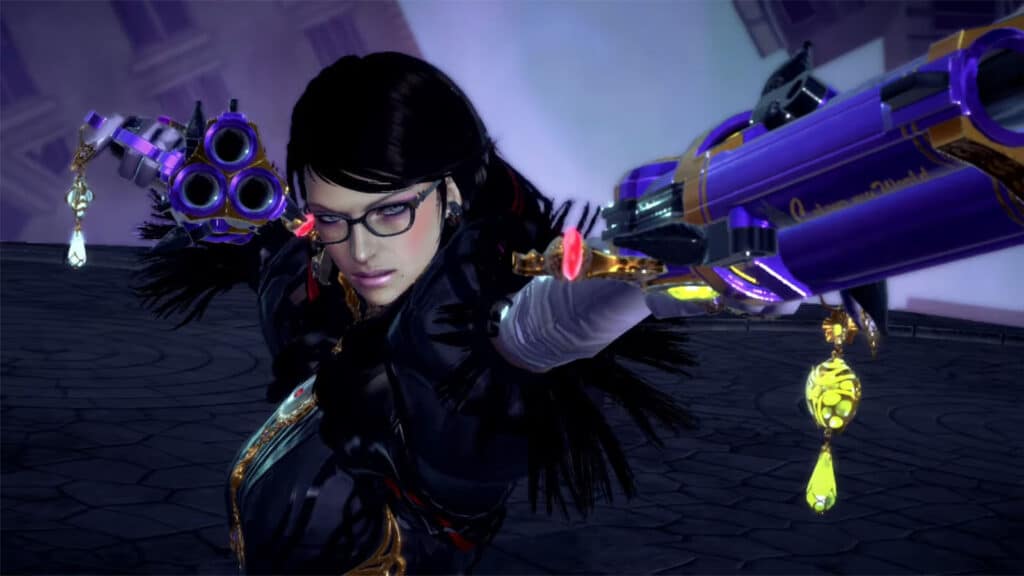
Hot Pursuit is the fifth chapter in Bayonetta 3 following the journey of Viola through the ruined walls of Qin Lan. Despite not being a as experienced as Bayonetta, she lets Viola take care of the rest of the Homunculi while chasing down Luka to get some answers.
In this guide, we will go through Chapter 5: Hot Pursuit, listing along any collectibles as well as Bewitchments that can be acquired in the chapter.
See previous Bayonetta 3 Walkthrough Chapter 4 - Worlds Apart
Chapter 5 – Hot Pursuit Objectives and Collectibles:
- Verse #1 / Bewitchment #1
- Verse #2 / Broken Moon Pearl #1
- Card Pack #1
- Verse #3
- Qin Lan: Shuang Cha Ling
- Umbran Tears of Blood – Cat
- Figure Box #1
- Card Pack #2
- Umbran Tears of Blood – Toad
- Card Pack #3
- Figure Box #2
- Figure Box #3
- Verse #4
- Card Pack #4
- Bewitchment #2
- Verse #5
- Record #1
- Card Pack #5
- Bewitchment #3
- Verse #6
- Figure Box #4
- Verse #7 / Witch Heart
- Figure Box #5
- Broken Moon Pearl #1
- Card Pack #6
- Verse #8
- Figure Box #6
- Broken Witch Heart #1
- Umbran Tears of Blood – Crow
- The Gates of Hell
- Broken Moon Pearl #2
- Bewitchment #4
- Verse #9 / Bewitchment #5
Verse #1 / Bewitchment #1
After the cutscene between Bayonetta, Luka, and Viola, Viola is left to continue on through her mission in Qin Lan.
As Viola, you get to summon Chesire as your infernal demon, and instead of dodging, doing a perfect block activates Witch Time.
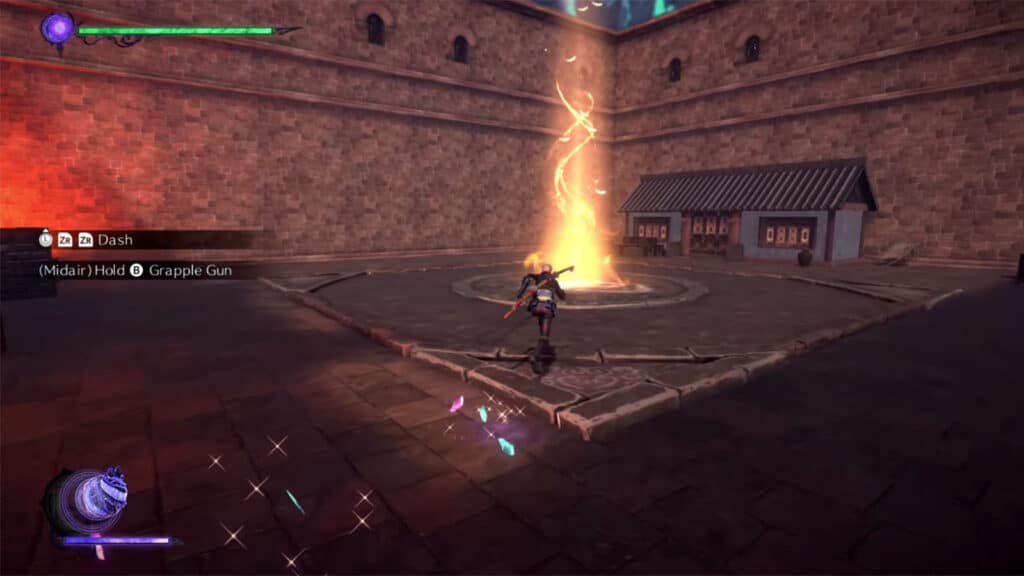
For the first verse, you can open the treasure cube nearby to replenish your summon meter, then start the verse by going in the middle of the courtyard. Use this time to get accustomed to the controls. You can also use this time to achieve the Perform a full barehanded combo on an enemy Bewitchment.
Verse #2 / Broken Moon Pearl #1
Go to the door to the right to reach the next courtyard and activate the glowing marker for Verse #2. For this challenge, you can only damage enemies during Witch Time, so make sure to block attacks with Viola.
Card Pack #1
After the verse, go to the corner of the courtyard to get the card pack.
Verse #3
Go back to the central courtyard and then go to the door directly across the one you’ve been to get to Verse #3. Simply clear the enemies to proceed.
Qin Lan: Shuang Cha Ling
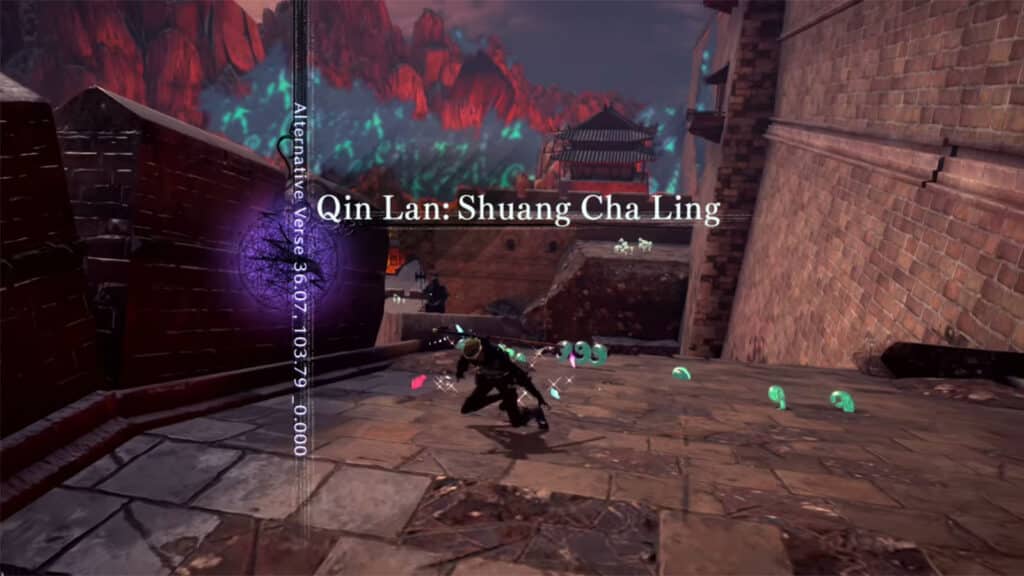
Go back to the central courtyard, then turn right to the middle path down the stairs.
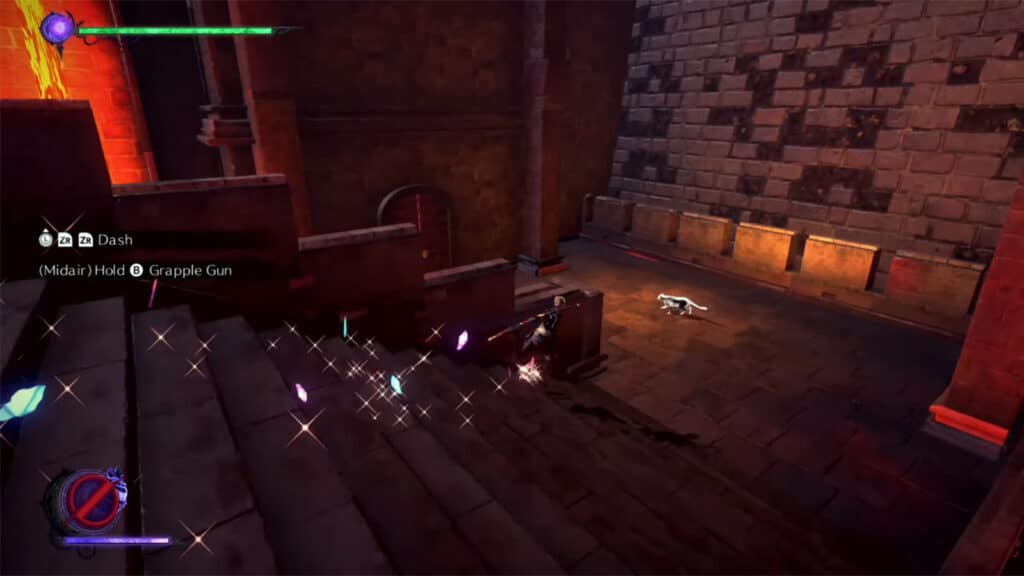
Umbran Tears of Blood – Cat
From the stairs, go to the left and you’ll see the cat below. It will run around, up and down the stairs. You can take advantage of the sharp turns on the staircases by sticking to the inner side of the turn and gain some distance closer to the cat.
Figure Box #1
In the same side where the staircases are at, head to the very bottom level and you’ll find the figure box.
Card Pack #2
Go back up, go to the nearest tower, and go around its upper level to find the card pack.
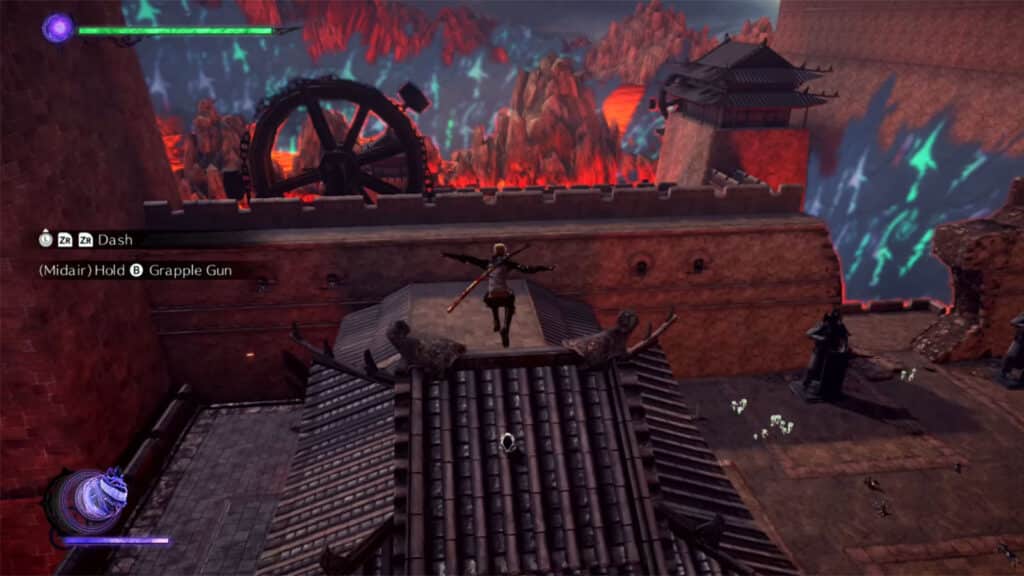
Umbran Tears of Blood – Toad
From the tower, you will be able to see the toad on top of a lower building. Simply jump down to it to grab it.
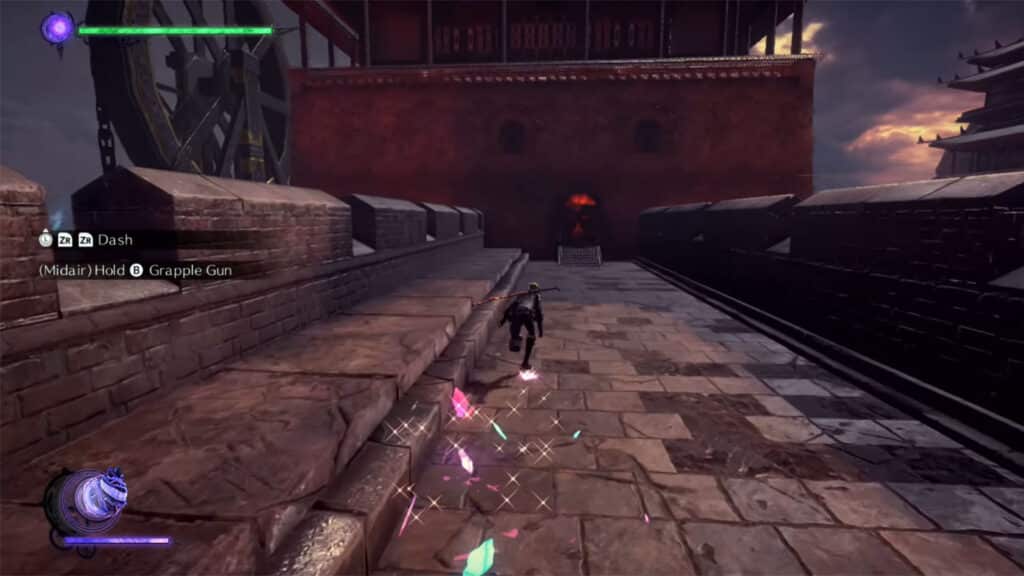
Card Pack #3
Go to the next tower to the left to find another card pack on the upper level of the tower.
Figure Box #2
From the next courtyard, you’ll see a balcony with a door on the side of the wall you just came from. Jump back up to the top of the wall, and then jump over to the side and land on the balcony to get the figure box.
Figure Box #3
Across the tower and the wall, go to the broken part of the wall that leads to the next courtyard, but turn right just at the wall and climb it to find the figure box.
Verse #4
Go to the next courtyard to trigger the next verse. Clear the enemies to proceed.
Card Pack #4
Check the arch on the corner side of the courtyard to find a card pack.
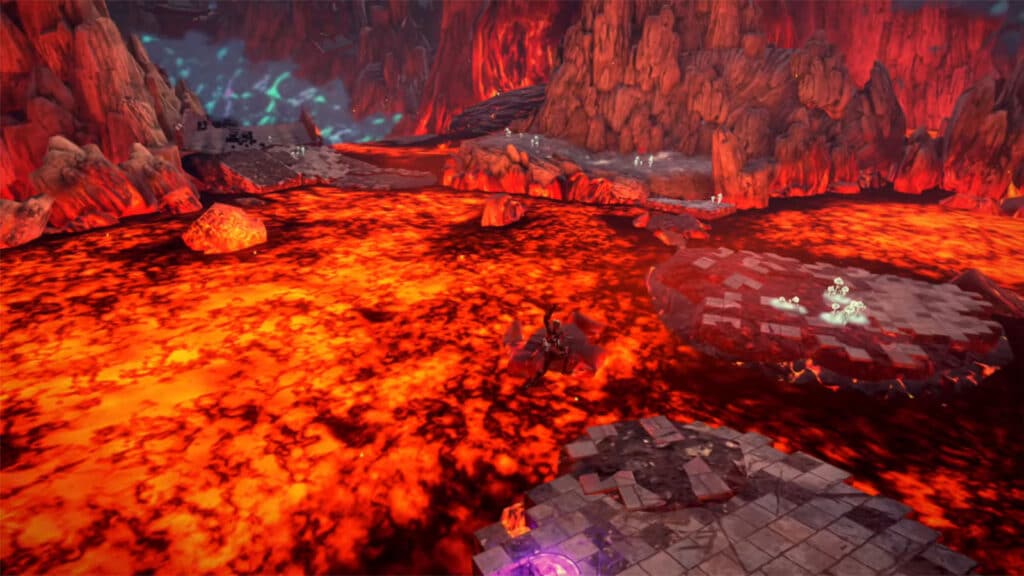
Bewitchment #2
Proceed to the lava river to chase down Luka. Use Viola’s dash to get past Luka and the soldier up ahead and you’ll get the Pass the ladder-holding soldier before Luka Bewitchment.
Verse #5
Continue inside the building to get to Verse #5. The fight will be in two parts, first with the Mediocris, and then with a Floccus. Try to bait the Mediocris to attack you instead, then perform perfect blocks so that you don’t have to chase them around. As for the Floccus, use Cheshire to defeat it.
Record #1
After the fight, check the corner of the room to find the record.
Card Pack #5
Exit the building and immediately turn left to find the card pack in the corner.
Bewitchment #3
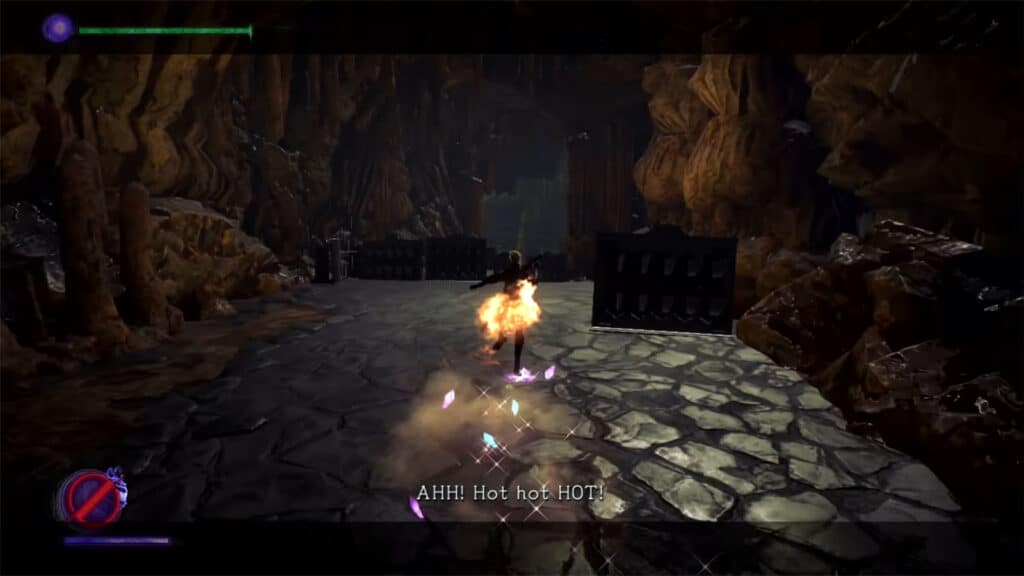
As you cross another lava river, proceed to the next gate and a short cutscene will play. You’ll have to guide Viola through the cave to reach water and douse her flaming butt. If you manage to go through the cave without hitting anything, you’ll get the Put out the fire without running into obstacles Bewitchment.
Verse #6
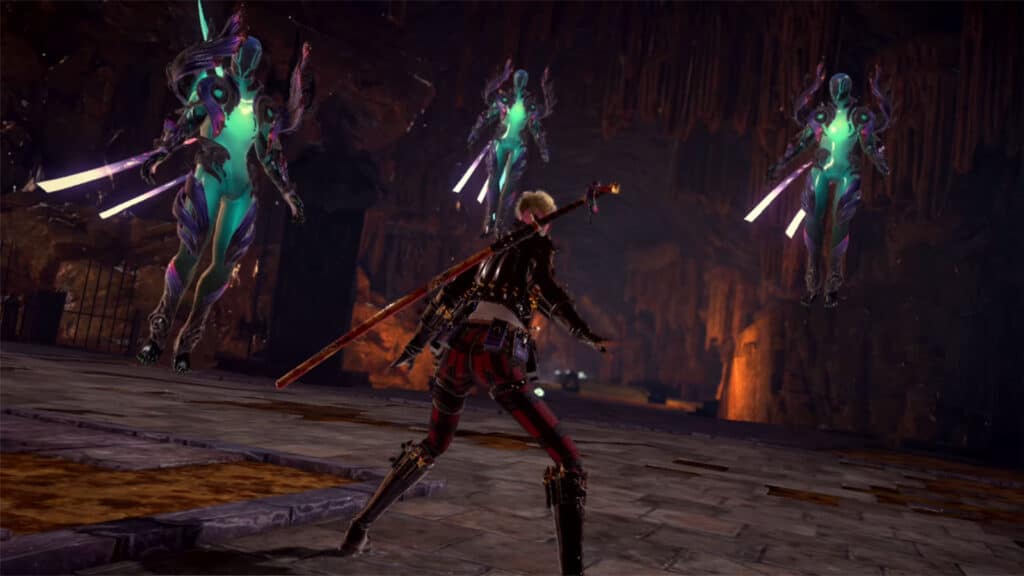
You’ll fight against a new enemy type called Nebulosus that are nimble and has a long reach. You can rush them with Cheshire taking on two enemies. In case they break off from your attacks, it’s best to withdraw Cheshire and focus on getting perfect blocks to counter them under Witch Time.
Figure Box #4
After the fight, check the back of the cave to find the figure box.
Verse #7 / Witch Heart
Head down the stairs and turn to the left to find Verse #7. In this challenge, you must defeat the enemies within the time limit. The catch is that they regenerate their health, so focus on one enemy at a time and try to use Wink Slave to deal massive damage. Once complete, you’ll be rewarded with a full Witch Heart.
Figure Box #5
Go through the tunnel towards the goal and look towards the right past the second bridge you cross to see a figure box.
Broken Moon Pearl #1
Below the second bridge, go underneath it to find a chest with the Broken Moon Pearl inside.
Card Pack #6
As you exit the tunnel, turn left and jump to the roof to find the card pack.
Verse #8
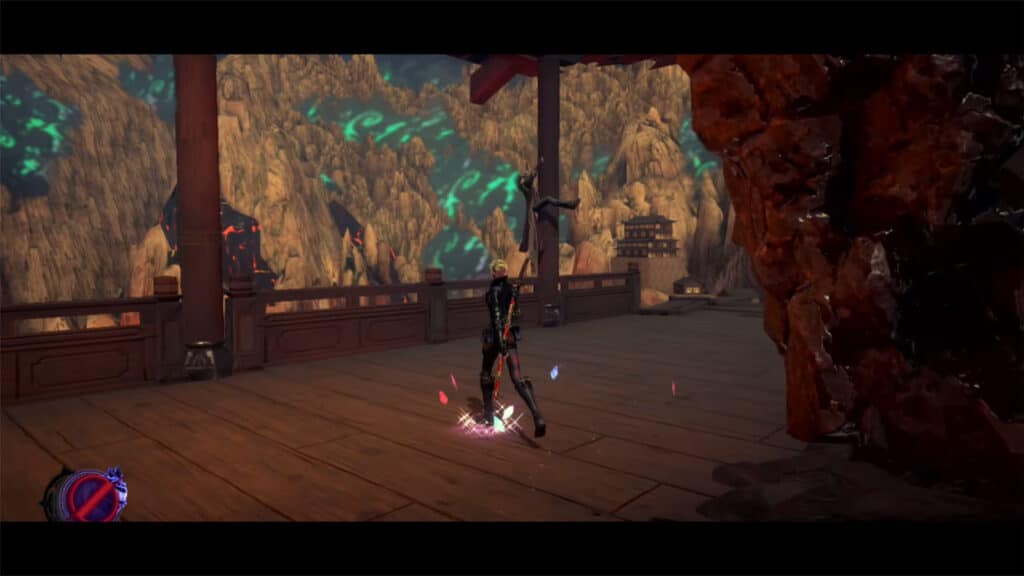
Go to the path on the right and you’ll be ambushed by more enemies. Clear the enemies with just Viola to proceed.
Figure Box #6
Go down the hole on the platform to the one below to reach the figure box.
Broken Witch Heart #1
Turn around after getting the figure box to find the chest containing the Broken Witch Heart #1.
Umbran Tears of Blood – Crow
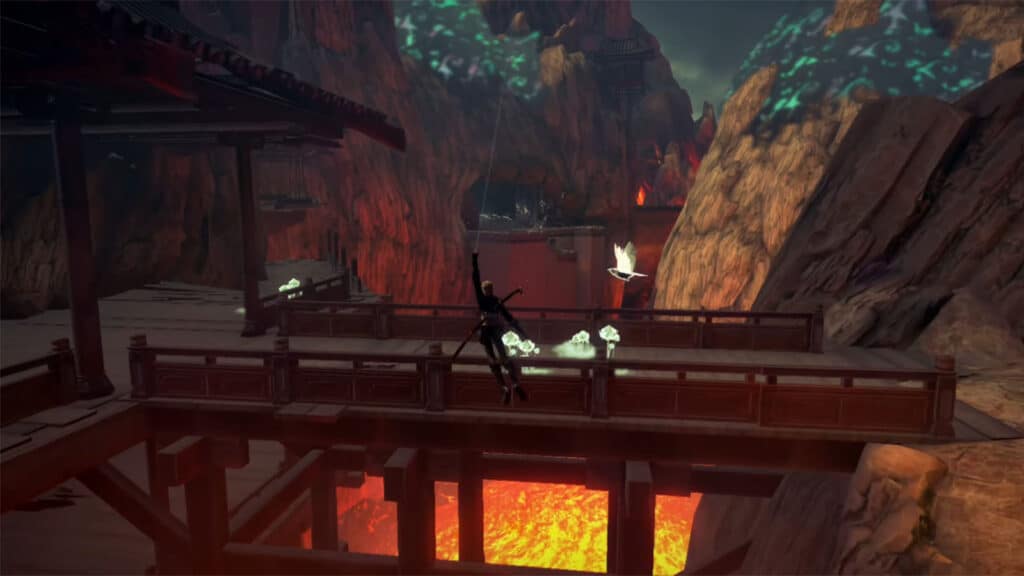
Head towards the ladder and you’ll find the crow. Use Viola’s swing and dash to intercept the crow.
The Gates of Hell
Head down to the small courtyard where you’ll see the portal to Rodin’s. Use the time to purchase items and accessories.
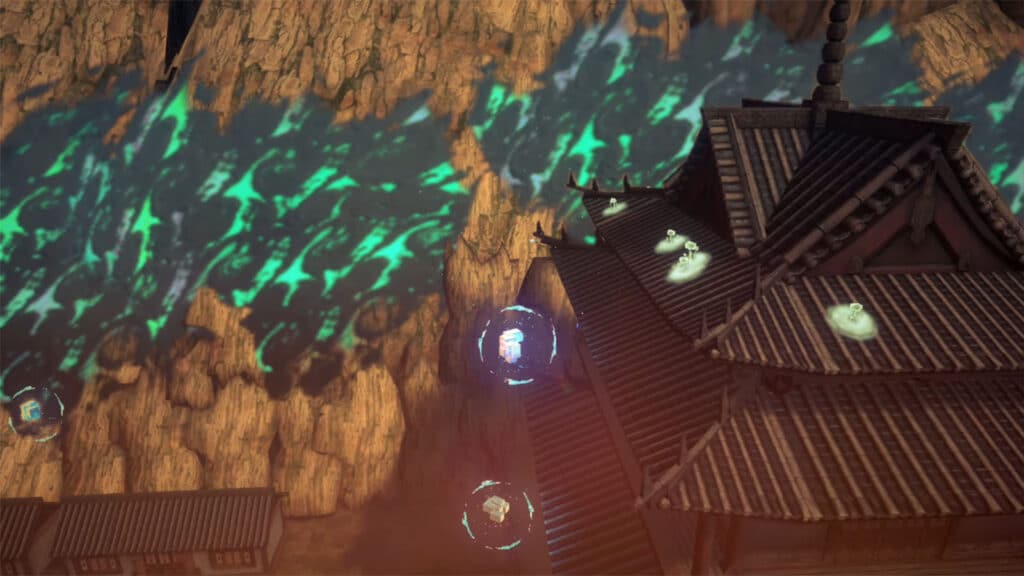
Broken Moon Pearl #2
Activate the chest near Rodin’s portal to start the time trial. Get all five pieces to get rewarded with a Broken Moon Pearl.
Bewitchment #4
Climb the very top floor of the building where the cube pieces are at from the time trial and you’ll get the Climb to the top of a structure with 3 or more floors Bewitchment.
Verse #9 / Bewitchment #5
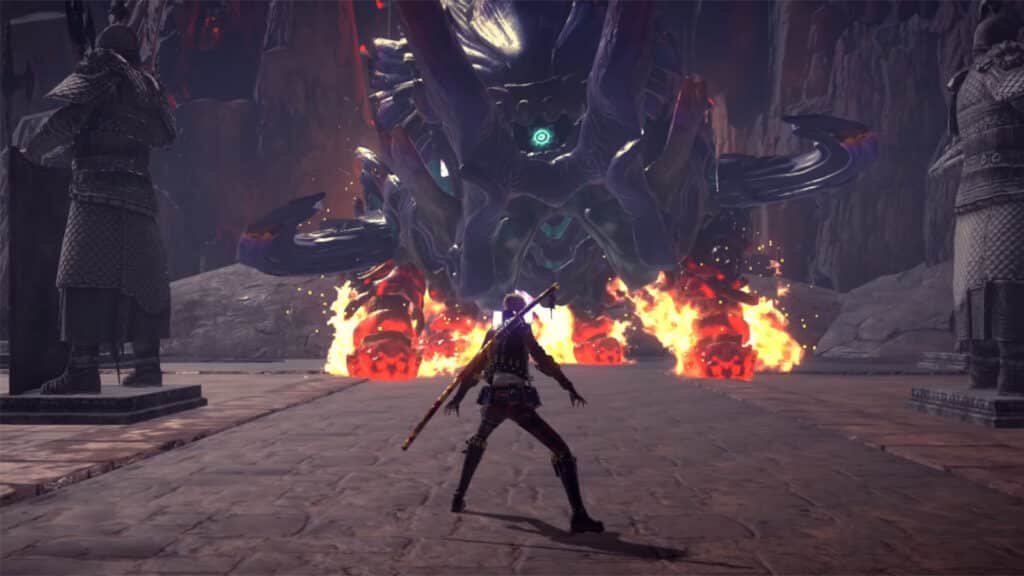
You’ll then get into the fight with Volutus once you arrive at the main square. This fight is similar to Asperatus where you can bait it to charge at you. It can be blocked, so time your blocks to enter Witch Time and get free hits. You can also send out Cheshire to help dealing damage. It’s best to keep it charging at you and prevent it from leaving lava puddles on the ground. You’ll eventually get the Break Volutus once Bewitchment once you bring its health down to its last bar.
See next Bayonetta 3 Walkthrough Chapter 6 - Off the Rails
If you like this guide, be sure to check out our other Bayonetta 3 articles:
- Bayonetta 3 Chapter List – How Many Chapters
- Bayonetta 3 Ending Explained
- Bayonetta 3 Singularity (Explained)
- All Outfits in Bayonetta 3
- Bayonetta 3 Weapons and Abilities
- Bayonetta 3 Day One Update Patch Notes Revealed
- How Long to Beat Bayonetta 3 – Game Length
Check out this video by Devil Exe showing the gameplay for Chapter 5:

