
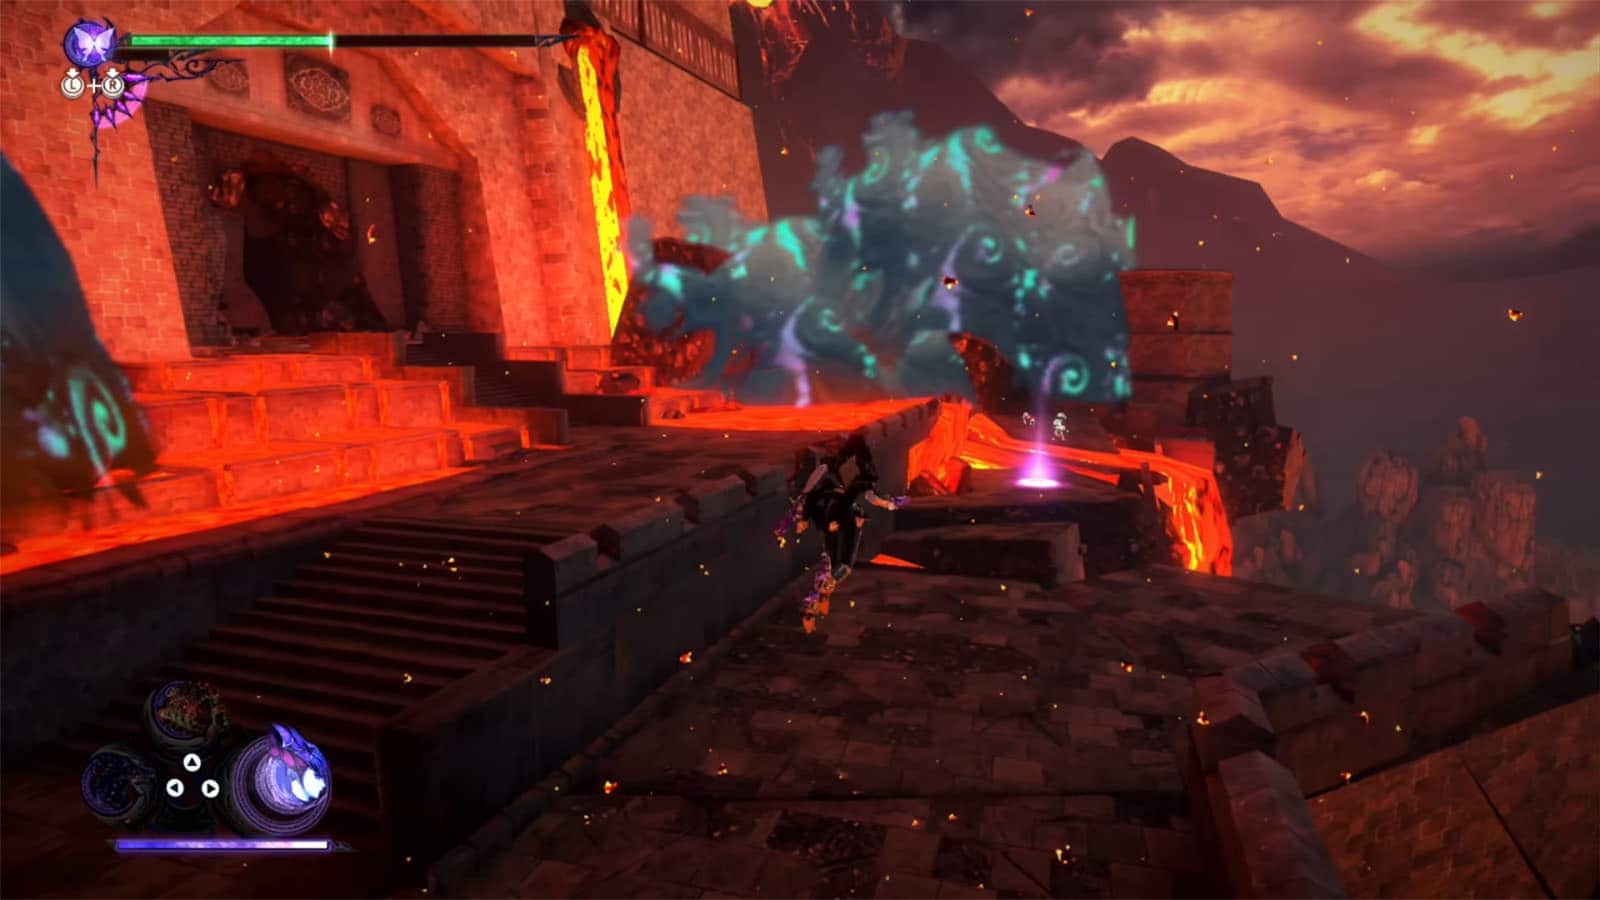
Off the Rails is the sixth chapter in Bayonetta 3 where Bayonetta continues her journey in the ruined alternate Qin Lan. Still on the trail of the homunculi, she goes through the land in order to recover one of the Chaos Gears. She will once again meet up with one of her alternates along the way.
In this guide, we will go through Chapter 6: Off the Rails, listing along any collectibles as well as Bewitchments that can be acquired in the chapter.
See previous Bayonetta 3 Walkthrough Chapter 5 - Hot Pursuit
Chapter 6 – Off the Rails Objectives and Collectibles
- Verse #1
- Card Pack #1
- Umbran Tears of Blood – Cat
- Bewitchment #1
- Verse #2
- Figure Box #1
- Figure Box #2
- Verse #3
- Broken Moon Pearl #1
- Qin Lan: Liang Jie Shan
- Card Pack #2
- Figure Box #3
- Broken Witch Heart #1
- Figure Box #4
- Broken Witch Heart #2
- Figure Box #5
- Verse #4
- The Gates of Hell
- Umbran Tears of Blood – Crow
- Verse #5 / Broken Moon Pearl #2
- Broken Moon Pearl #3
- Verse #6
- Figure Box #6
- Bewitchment #2
- Verse #7
- Card Pack #3
- Umbran Tears of Blood – Toad
- Verse #8 / Witch Heart
- Verse #9
- Bewitchment #3
- Verse #10
- Bewitchment #4
- Verse #11
- Bewitchment #5
Verse #1
From the starting point, turn around and attack the huge door with your summon to break it. Inside, you’ll fight another Virga. Defeat it to clear the verse.
Card Pack #1
On the right side, climb to the very top of the hut to find the card pack.
Umbran Tears of Blood – Cat
Just inside the hut you’re on is the cat. It will run around the ledges and over the wheels, so try to anticipate the path it’s taking.
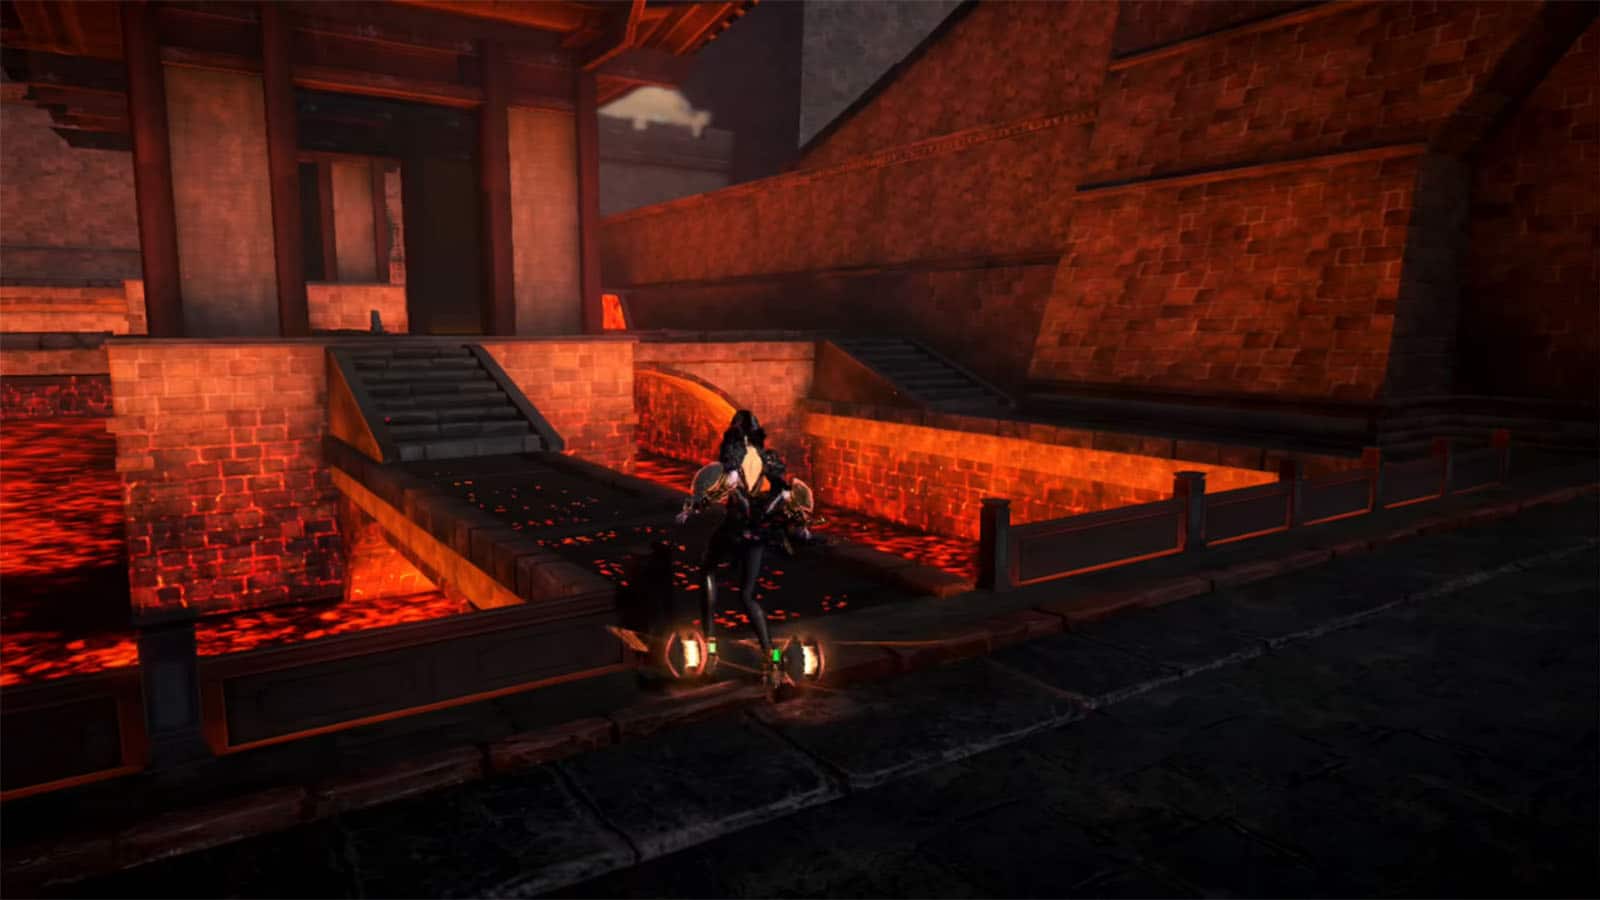
Bewitchment #1
Take some time to stand up one of the wheels, just for at least 5 seconds to get the Stay on the lava wheel for 5 seconds Bewitchment.
Verse #2
On the far right sector, go to the glowing marker to get into the next encounter. Clear out the enemies to proceed.
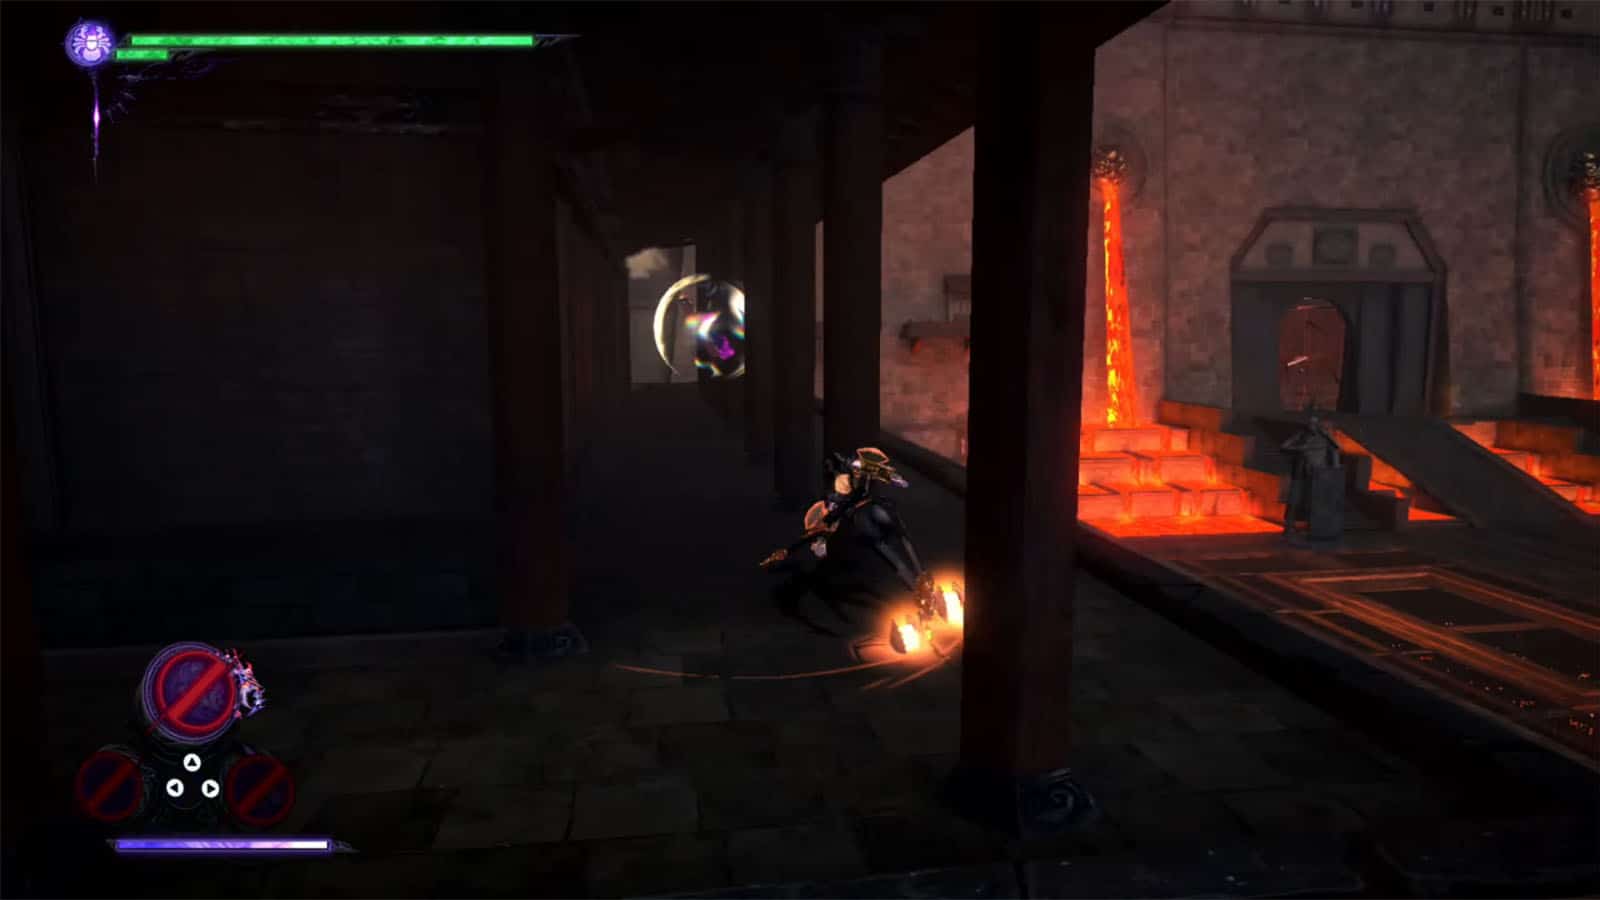
Figure Box #1
Climb the tower near the center courtyard and go around its upper floor to find a figure box.
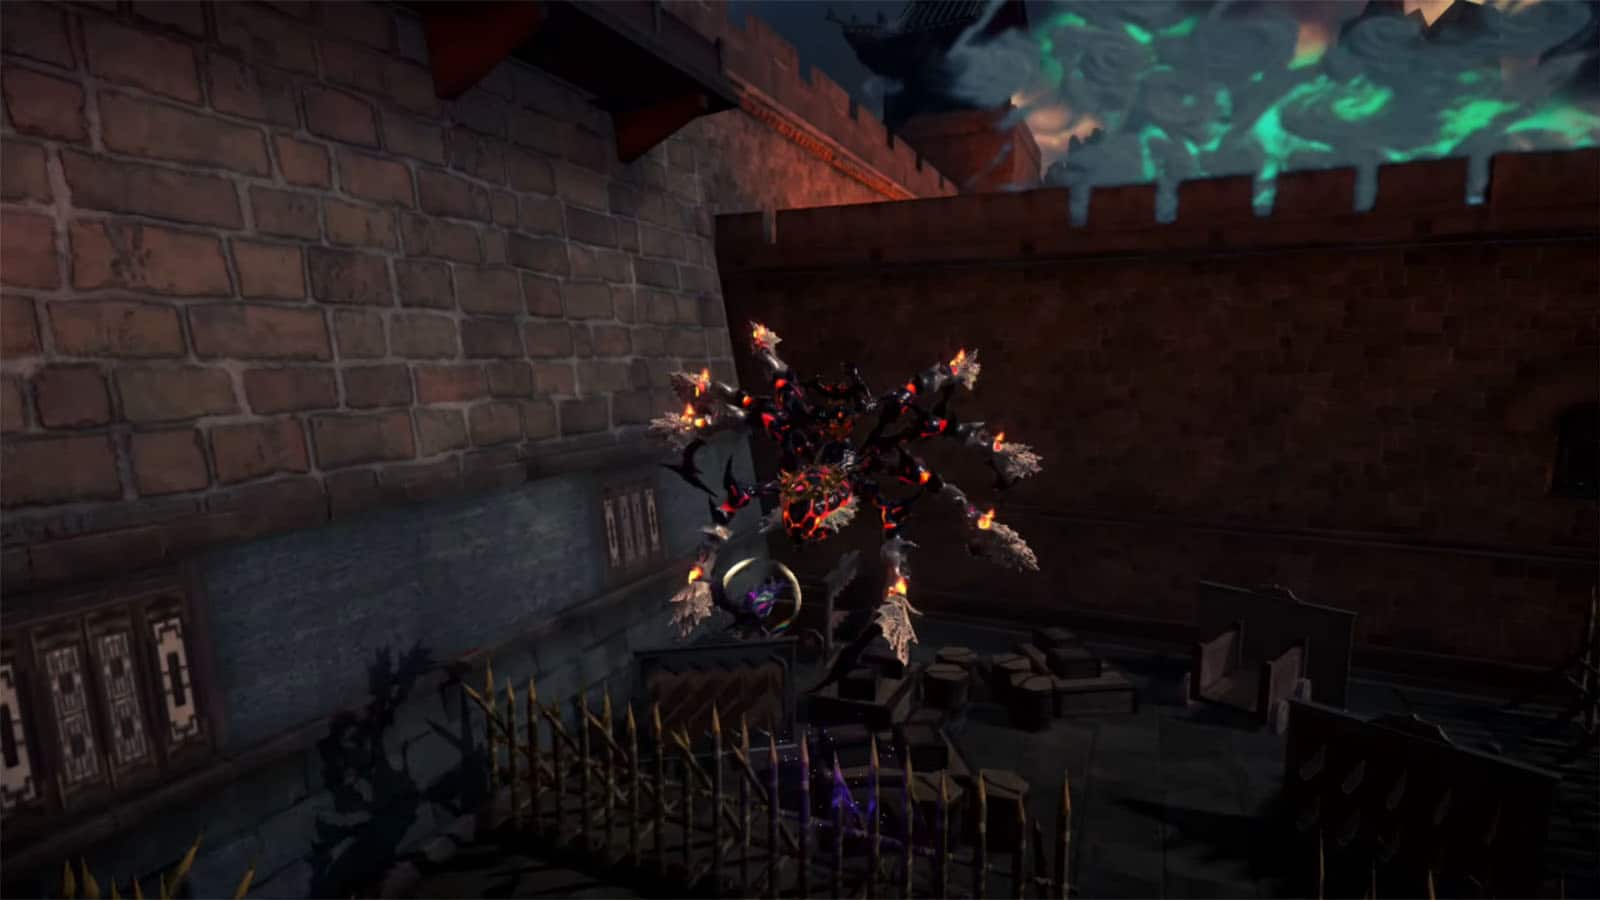
Figure Box #2
From the tower, head back down and go towards the far corner of the courtyard near the starting point to find a figure box.
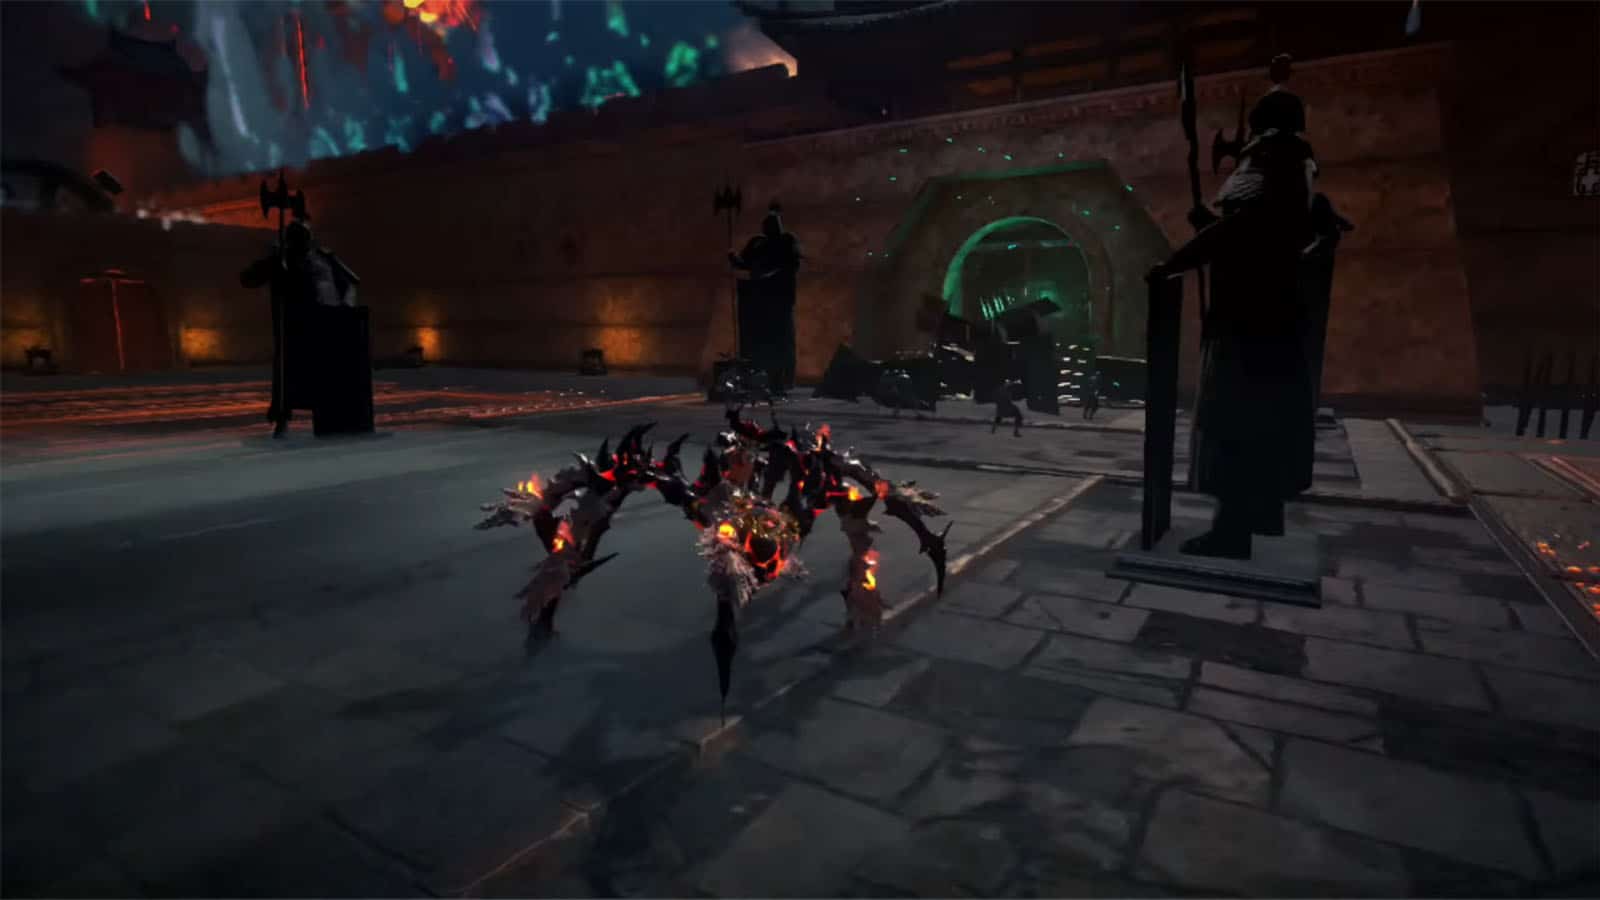
Verse #3
Go towards the guards blocking the gate to start the next verse. In this fight, you’ll be fighting against trees and the jellyfish enemies. Remember to not use your summons against the jellyfishes to prevent them from splitting.
Broken Moon Pearl #1
Before going through the gate to the next area, climb on top of the gate to find a treasure chest containing a Broken Moon Pearl.
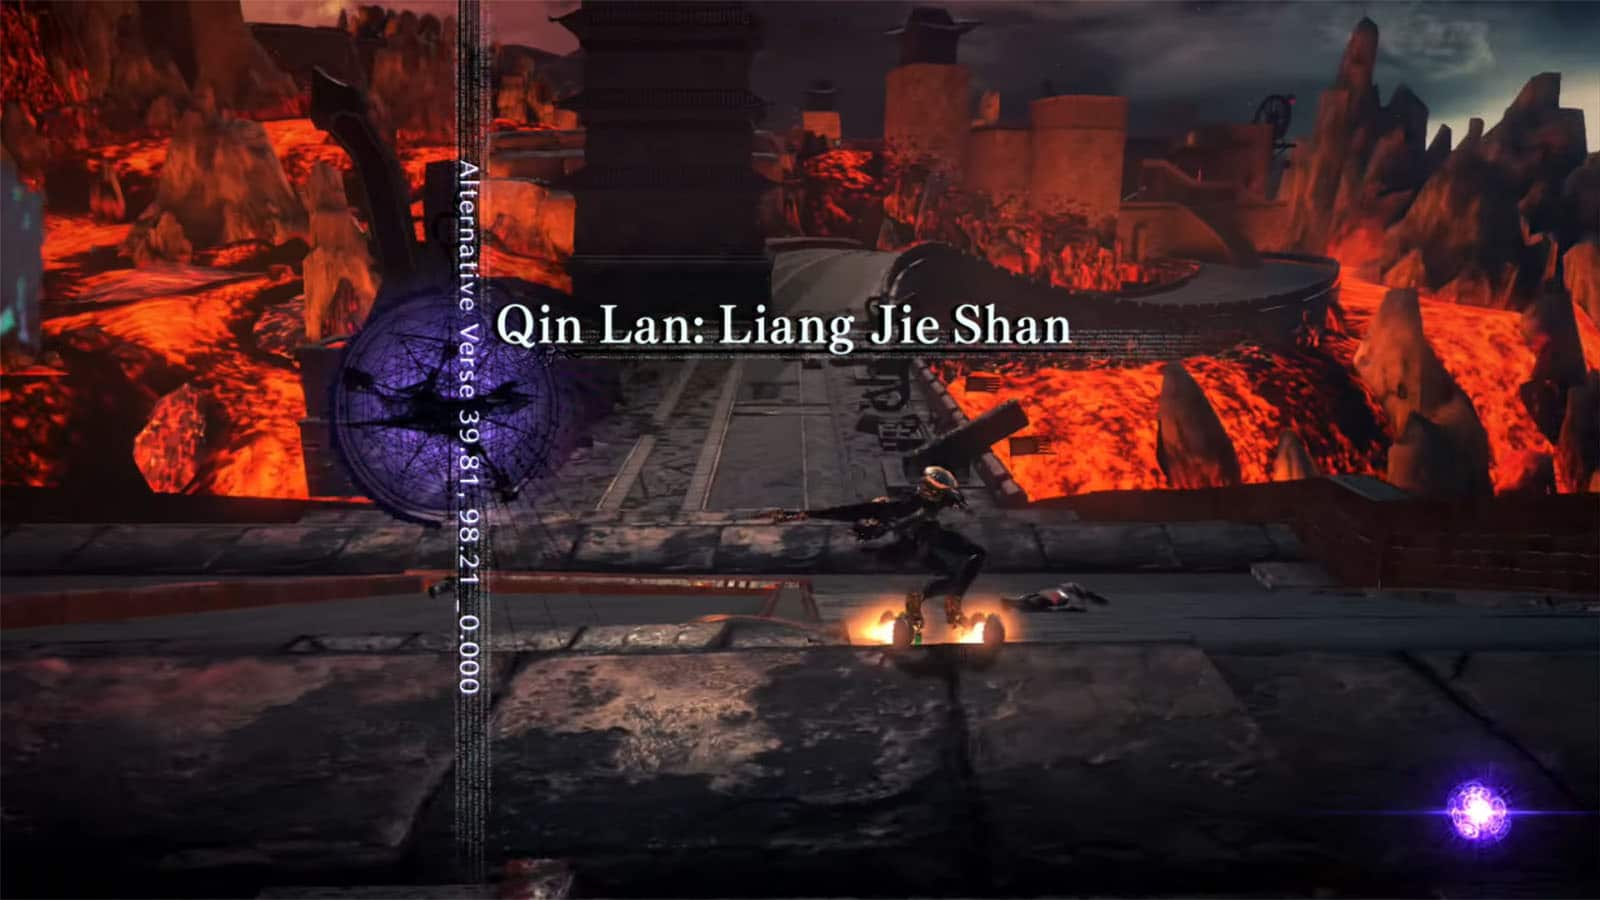
Qin Lan: Liang Jie Shan
Go through the gate to arrive at the next area. Prepare to search for a lot of collectibles at this point.
Card Pack #2
Go to the structure on the left before reaching the tower to find a card pack.
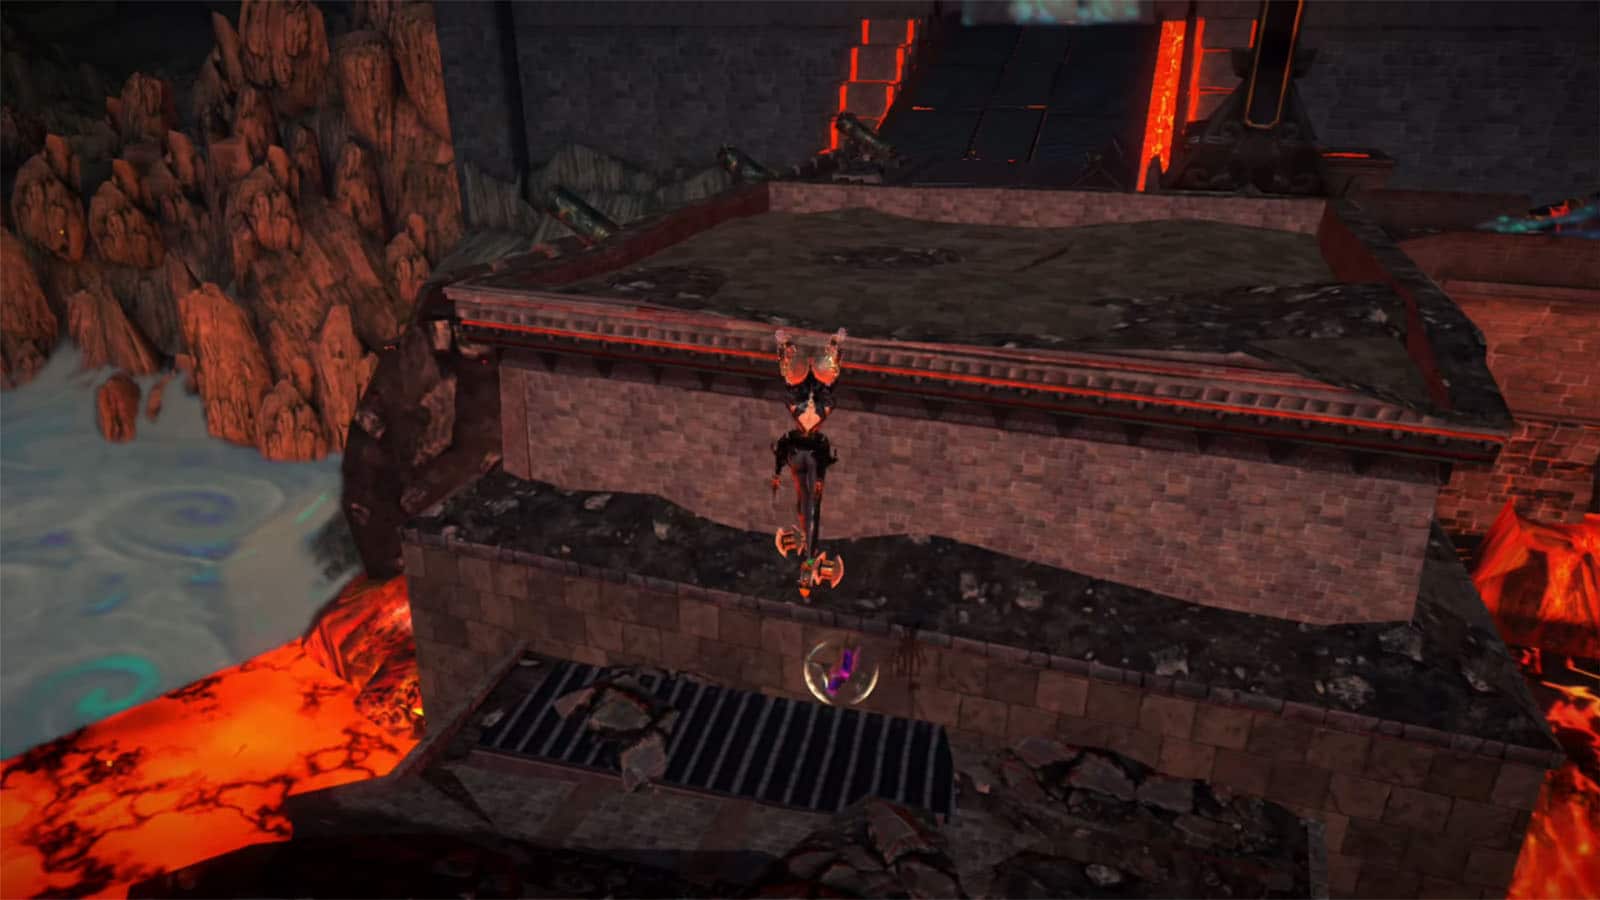
Figure Box #3
After felling the broken tower, go around its base first to find a figure box.
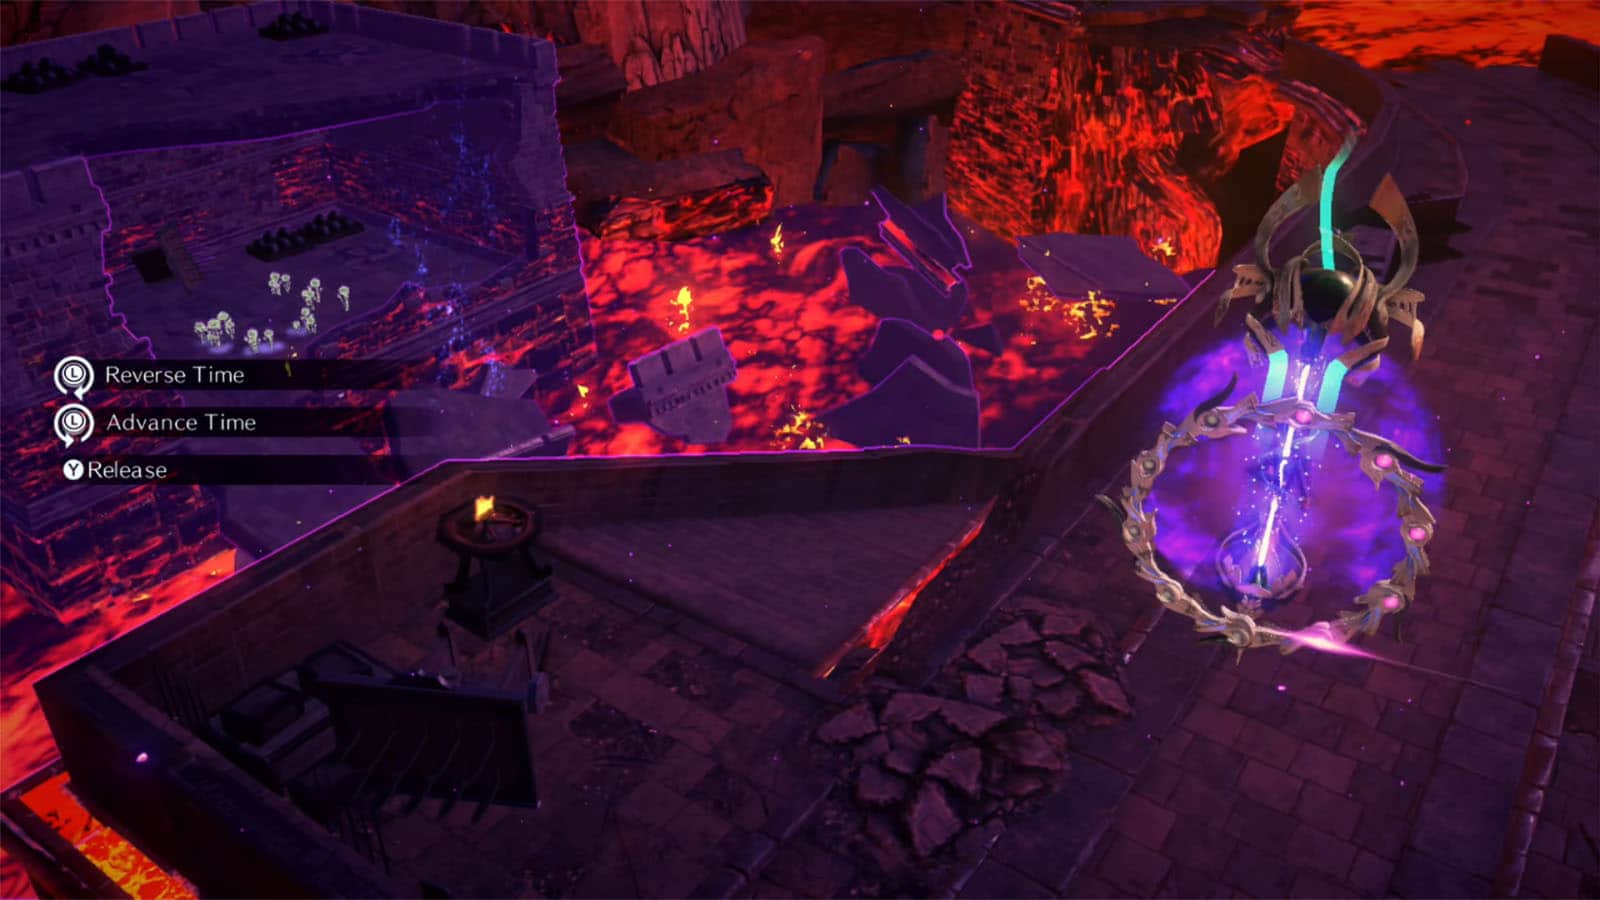
Broken Witch Heart #1
Before crossing the bridge, use Phantasmaraneae to go across the ruins to the left side, either by walking on lava or by swinging with the masquerade. You’ll find a Congestus which you can use after tipping. Same as before, rewind time only partially until you get a decent debris bridge towards the exposed room on the left. Inside the room is the Broken Witch Heart.
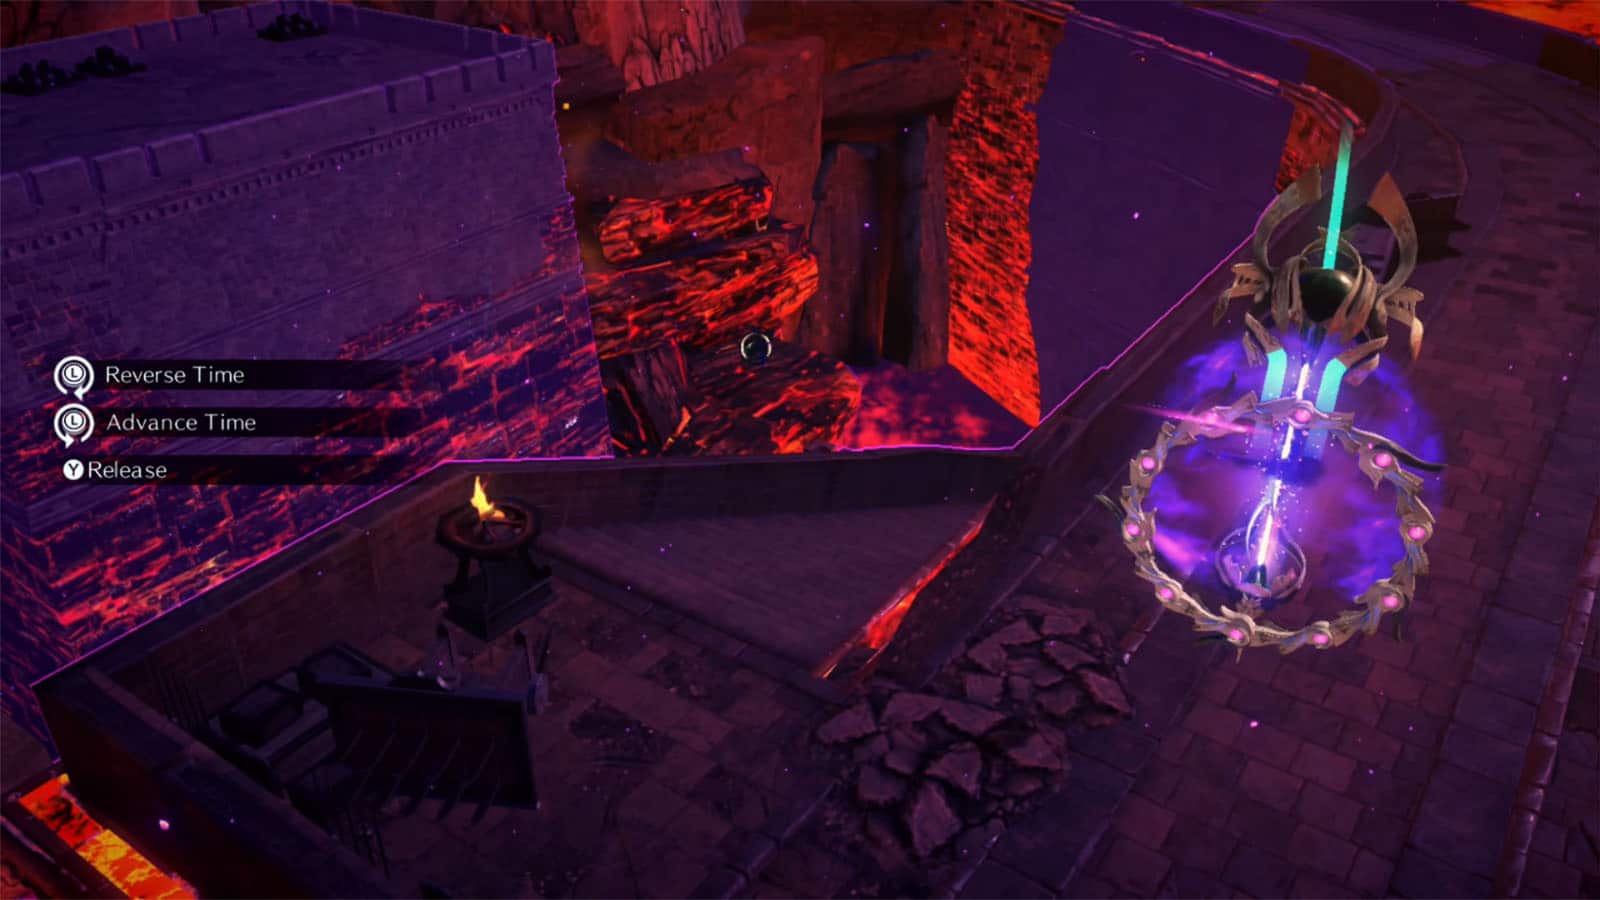
Figure Box #4
Go to the Congestus again and rewind time to the max to reveal a figure box just near the base of the rock wall.
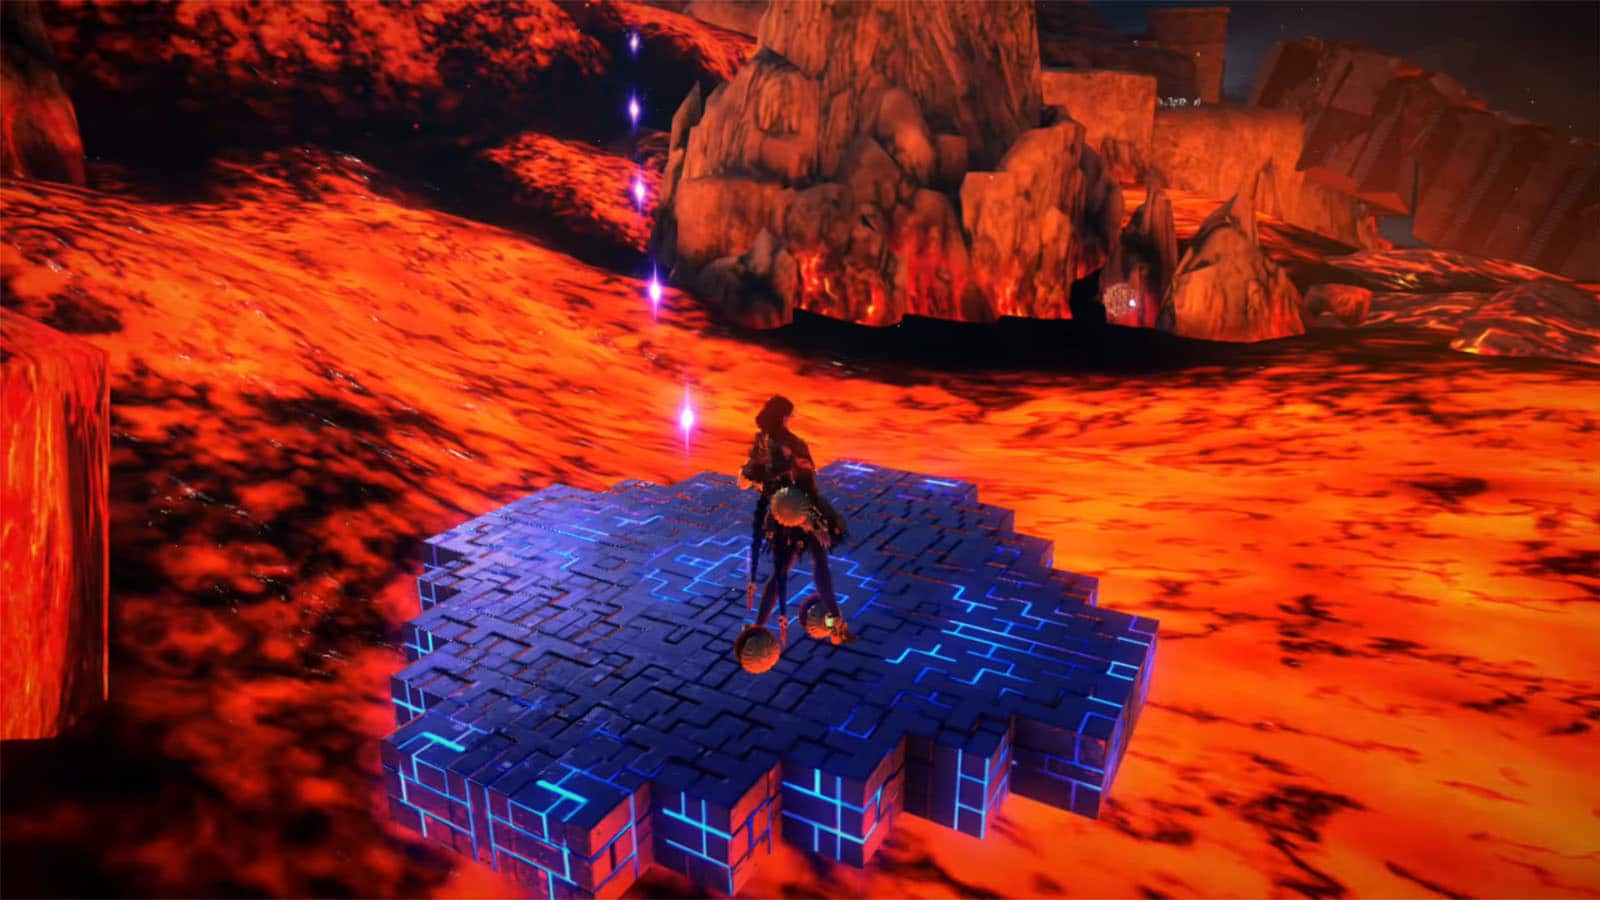
Broken Witch Heart #2
On the opposite end of the wall where the Congestus is at is a cube that reveals a platform. Go up to the second platform which will move on its own. Before it reaches its destination, try to jump towards the other cube on the lava river and attack it to reveal a time trial. Use Phantasmaraneae Masquerade to walk across the lava and swing towards the pieces. After getting all five pieces, you will be rewarded with a Broken Witch Heart.
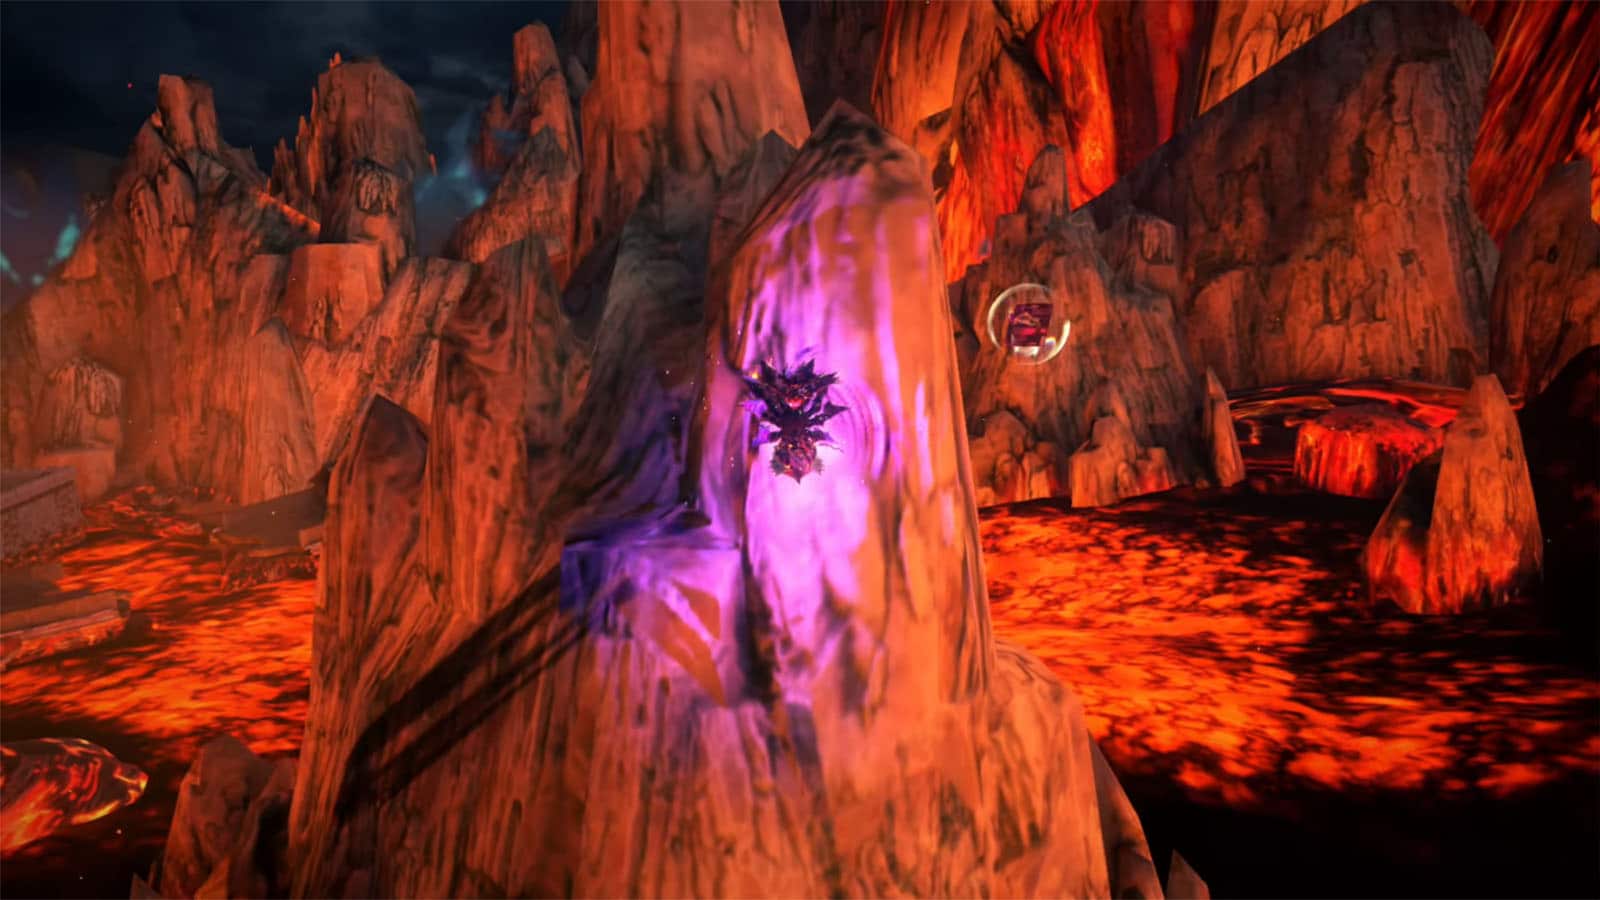
Figure Box #5
At the end of the tower bridge, head towards the left to find a figure box near the rock outcrop you’ve been to from the previous time trial. You can hit the nearby cube to reveal a platform and get a closer launch point, or you can simply swing towards the figure box.
Verse #4
Climb the ledge towards the next arena to initiate the fight. Nothing special with this fight; simply clear the enemies to proceed.
The Gates of Hell
Continue straight ahead to find Rodin’s portal. Use this time to replenish items or get accessories.

Umbran Tears of Blood – Crow
Go towards the path on the right and climb the tower straight ahead to find the crow. Try to intercept it as it flies towards the left.
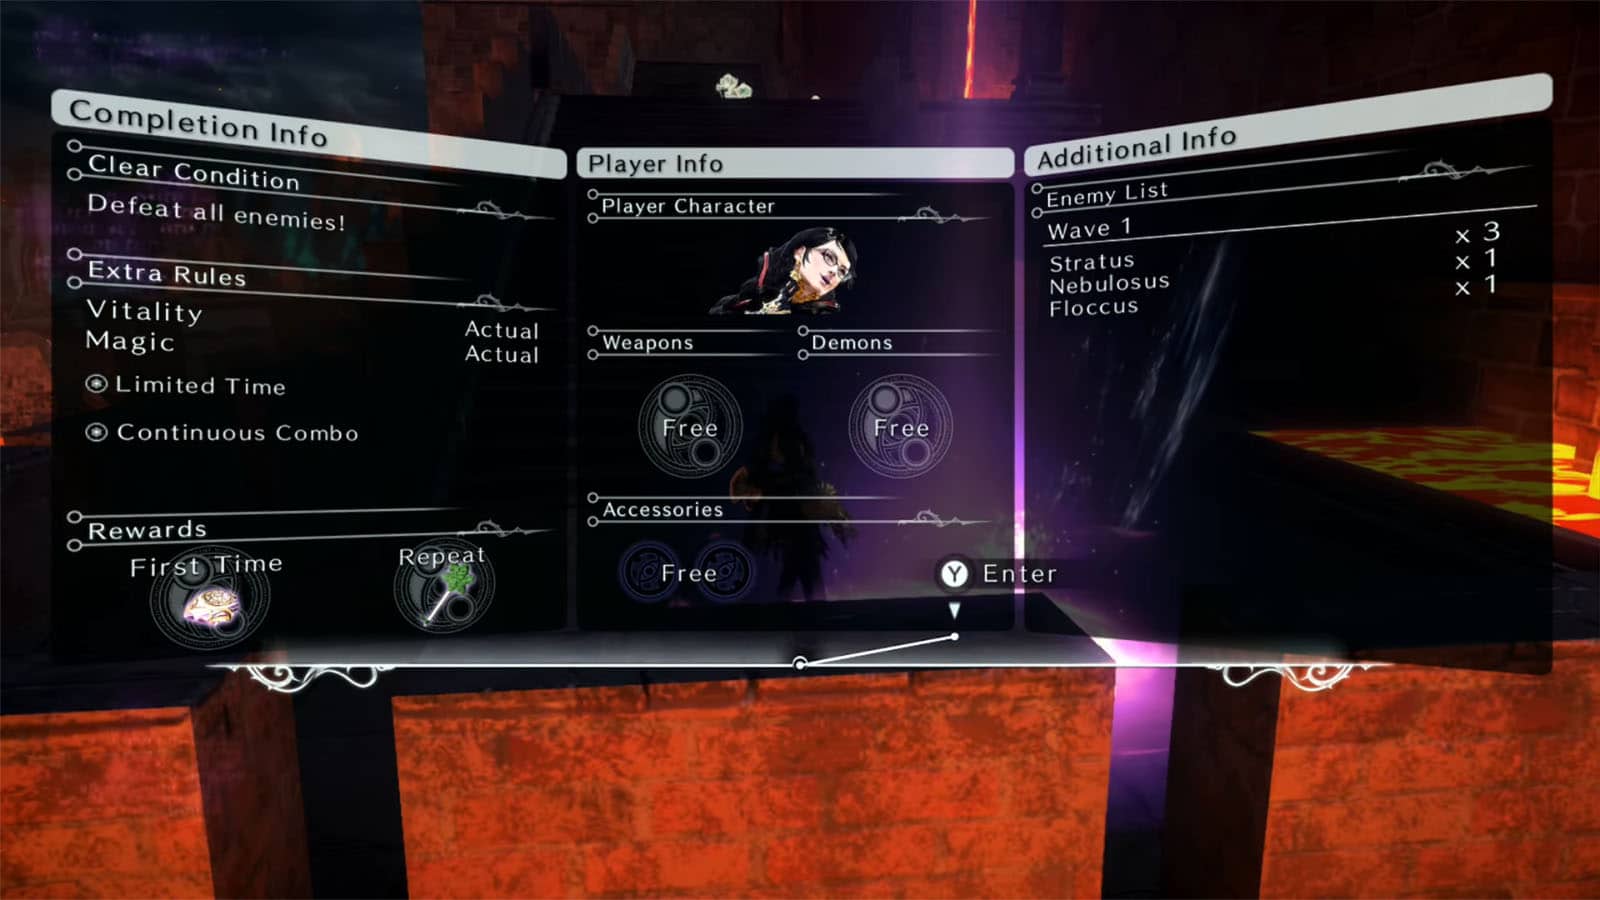
Verse #5 / Broken Moon Pearl #2
Go down just below the tower where the crow was to find the portal to Verse #5. The condition for this challenge is to defeat all enemies with just one continuous combo. Use your quick weapons instead to keep the combo going. Once cleared, you’ll receive a Broken Moon Pearl.

Broken Moon Pearl #3
Just below Verse #5 are two chests, with one that is moving. Open the small chest first to reveal a moon point to replenish your summon energy, then use your summon to attack the other chest to get a Broken Moon Pearl.
Verse #6
Head back up the stairs to arrive at the arena for the next fight. Clear out the enemies to proceed.
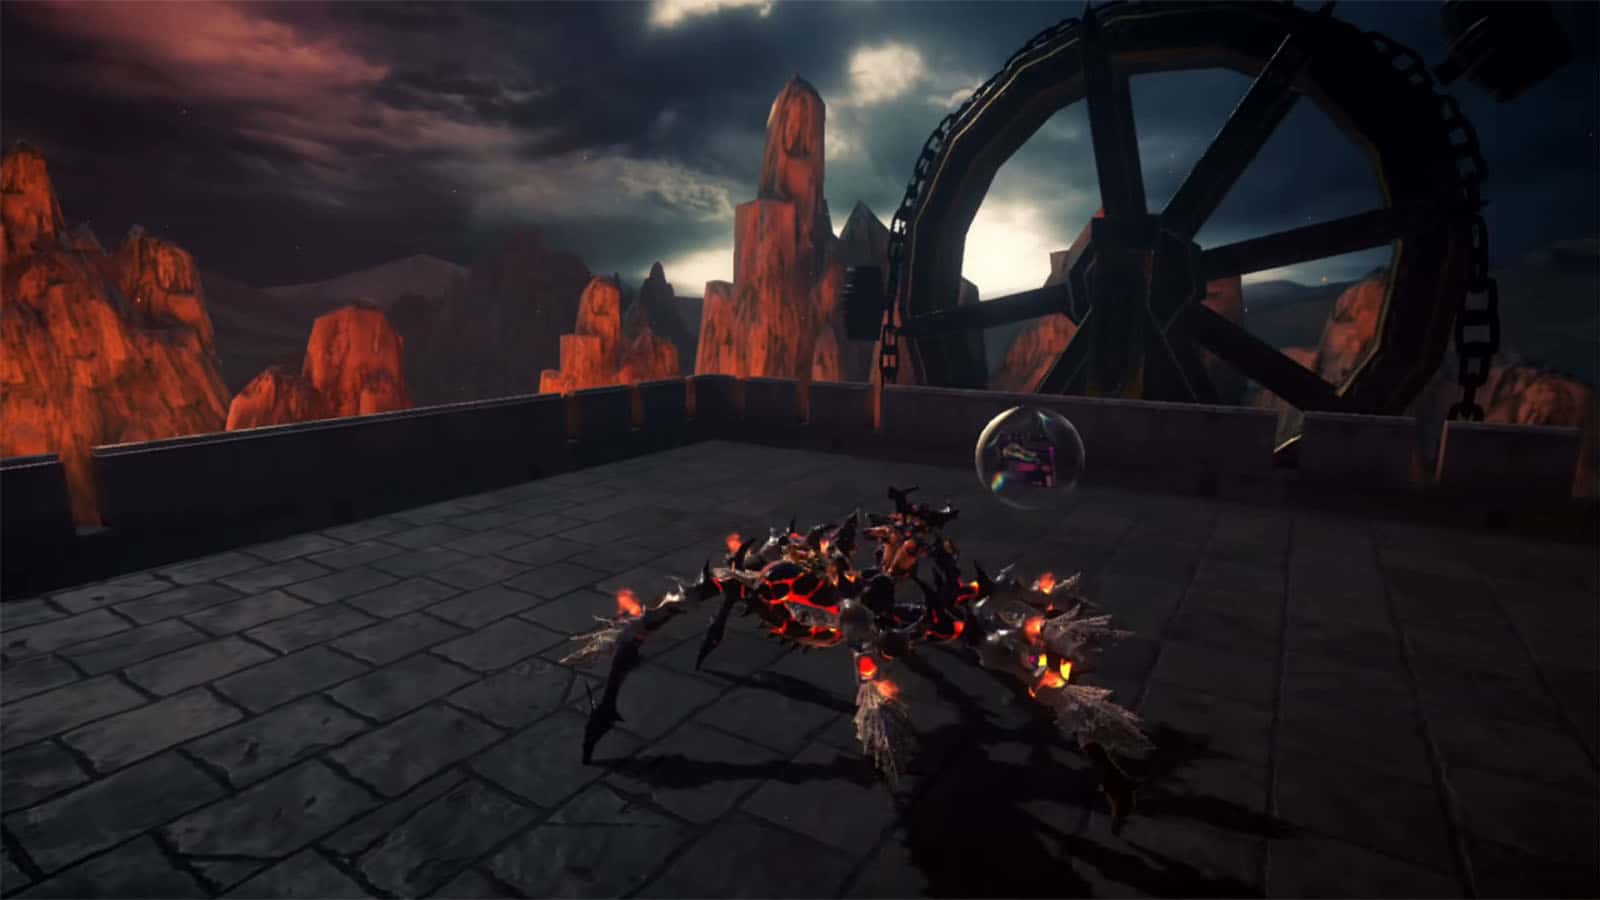
Figure Box #6
Climb the nearby tower with a wheel behind it to find a figure box.
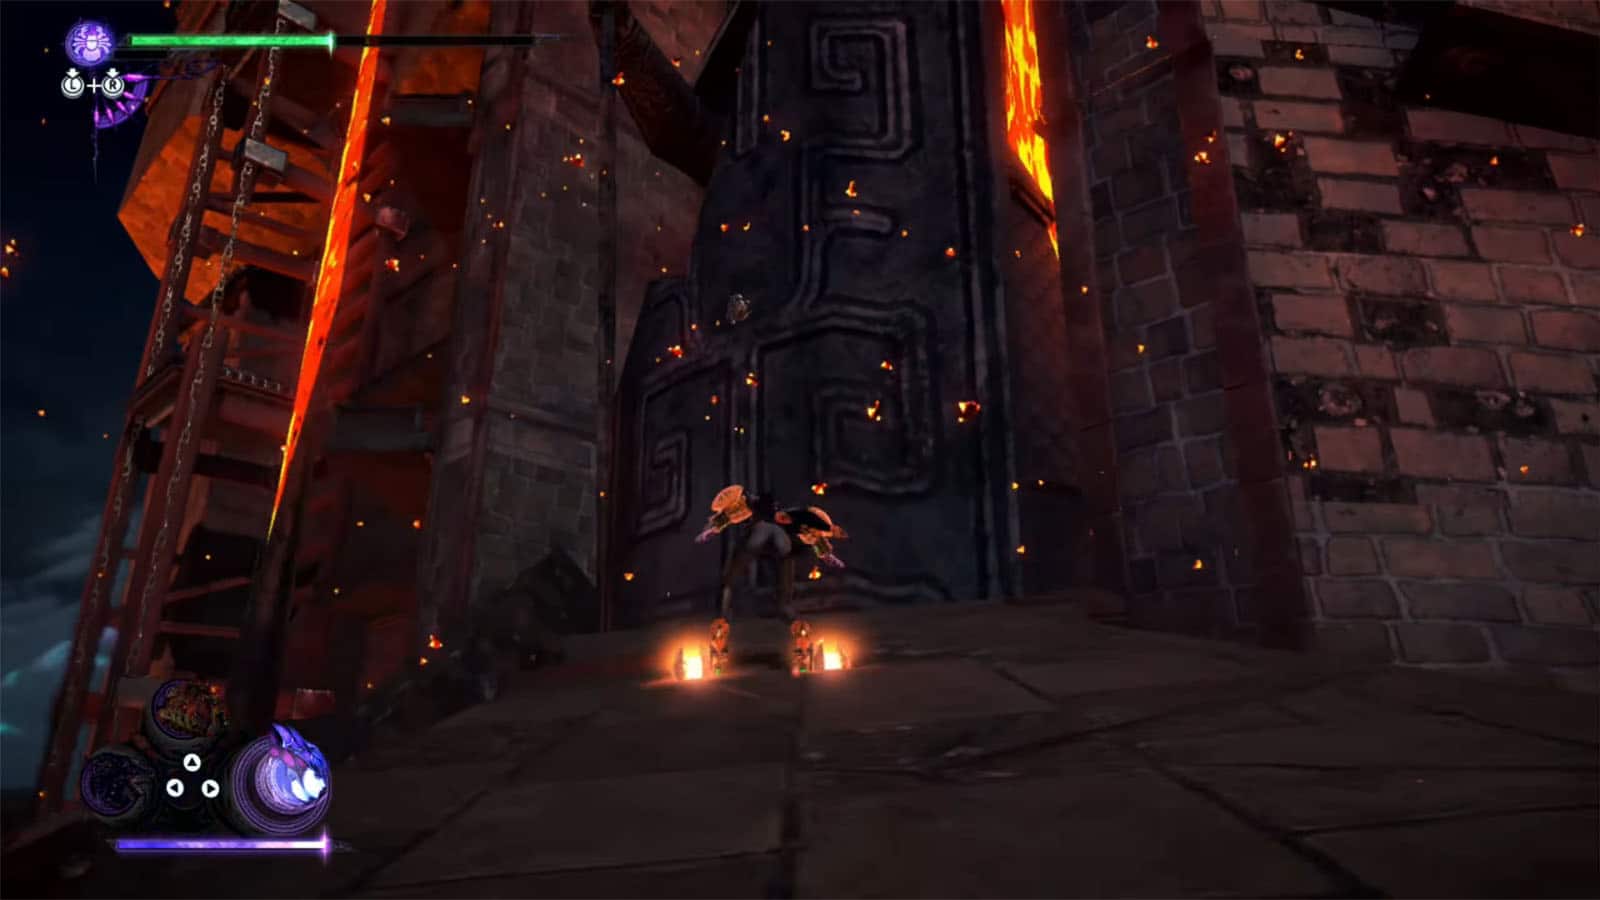
Bewitchment #2
Head back to Rodin’s and go towards the long path to the left to get a short cutscene. A new enemy will then be introduced, the Pyrocumulus, but you won’t fight it yet. You then have to run towards the end of the path while avoiding the falling fireballs. Reaching the end of the path without falling from the path will give you the Run across the crumbling path without falling into the lava Bewitchment.
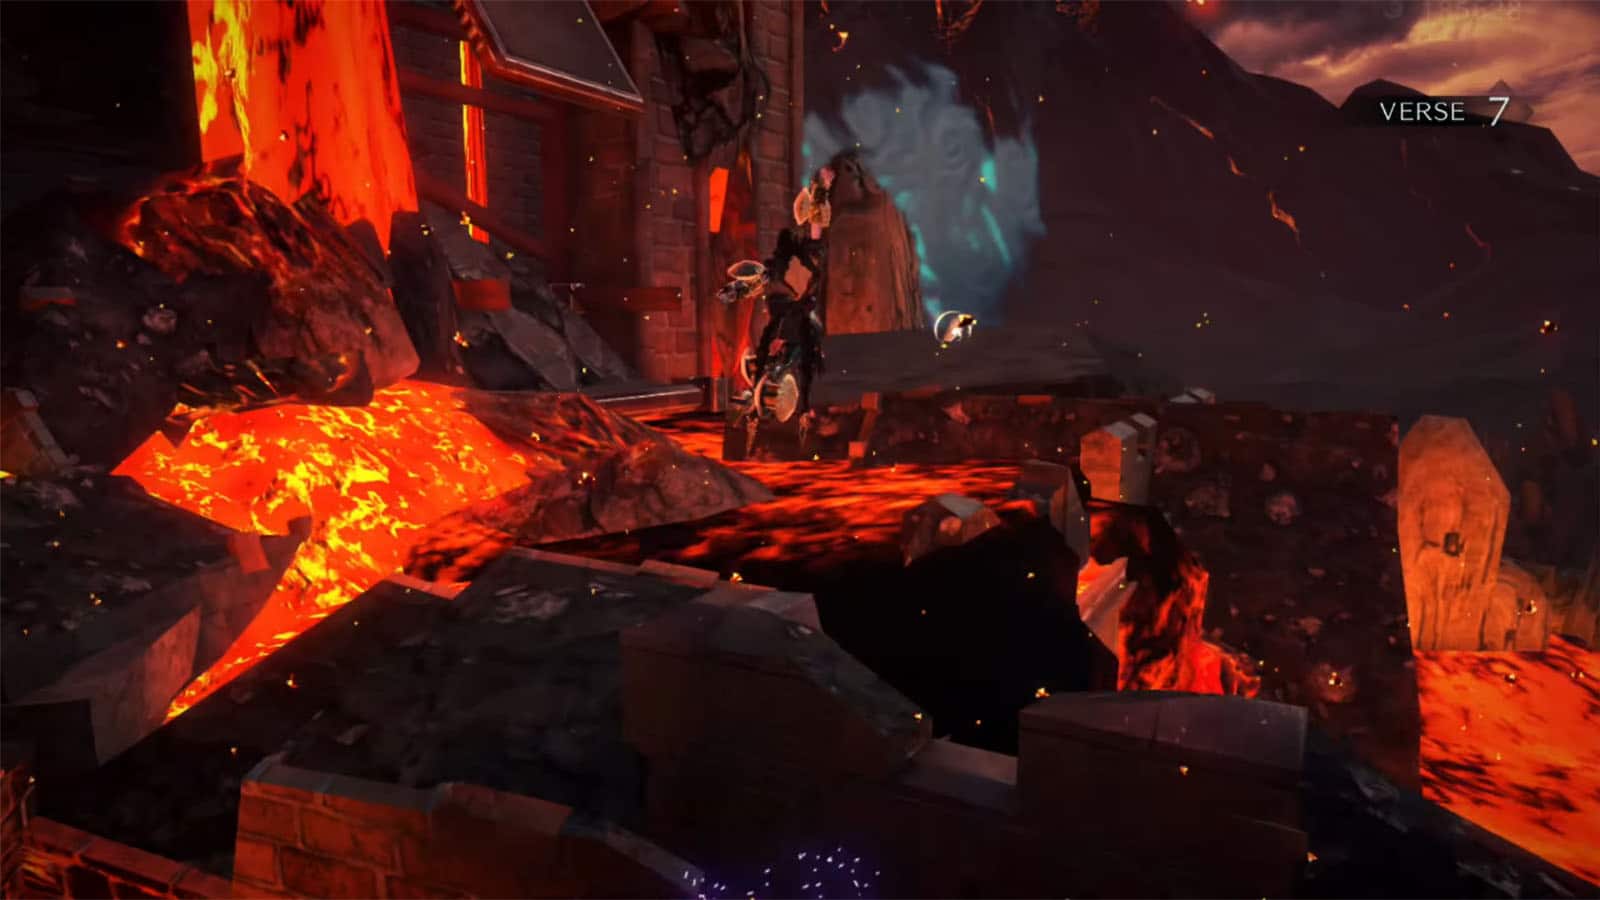
Verse #7
As you arrive at the gate at the end of the path, you’ll enter into the next fight. Clear out all the enemies to proceed.
Card Pack #3
Off to the right side of the arena, jump on top of the debris to get to the card pack.
Umbran Tears of Blood – Toad
The toad can be found by the broken gate near the arena.
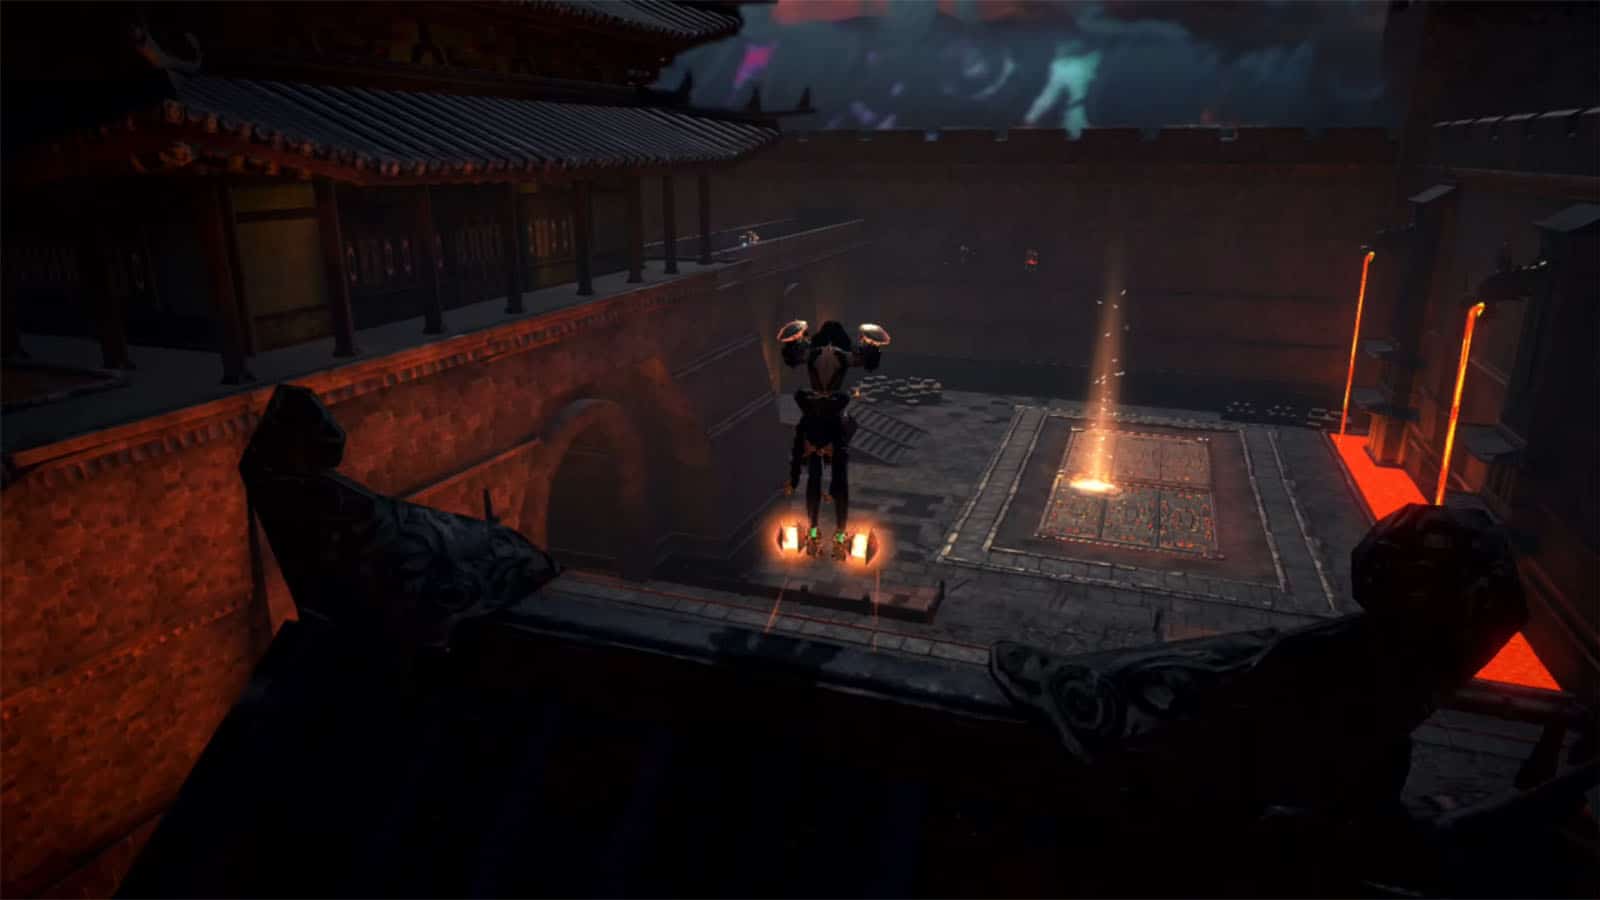
Verse #8 / Witch Heart
Go to the lift on the left and head to the purple glowing marker to start the verse. In this challenge, you will be playing the floor is lava as you cannot land on the fog below. You can use the only pedestal on the arena to stand on, or you can time your jumps on top of the enemies. Once completed, you’ll earnt a full Witch Heart.
Verse #9
Go into the structure to start the next verse where you’ll have to fight two homunculi. There will be lava dripping down from above, so make sure to keep an eye out of the red circles on the ground to avoid getting hit.
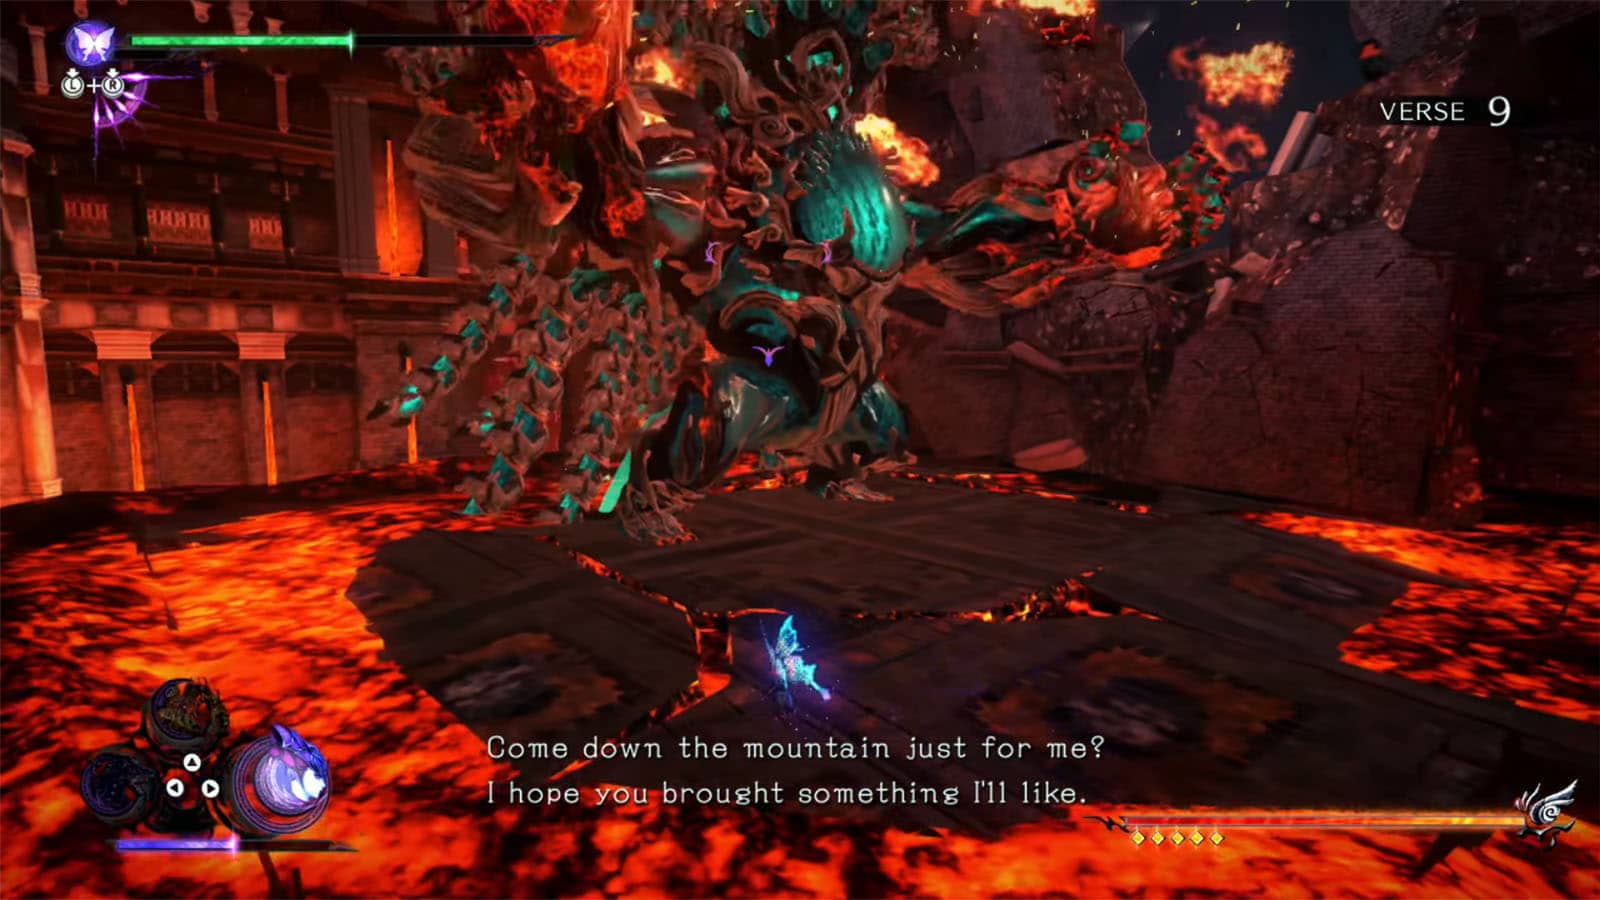
After defeating the homunculi, Pyrocumulus will appear for the next phase. It has several attacks and five health bars. It’s best to stick with Phantasmaraneae since the platform will be surrounded by lava and Pyrocumulus will tip it from time to time.
Pyrocumulus has several attacks which include:
- Lava Tip
- Grab
- Punch Shockwave, and a double variant
- Fire Lasers
- Fire Slam
Once three of its health bars are down, the verse will be completed.
Bewitchment #3
Whenever Pyrocumulus is sticking on a wall, use Phantasmaraneae to get to it and attack it to get the Use Phantasmaraneae to knock Pyrocumulus off the wall Bewitchment.

Verse #10
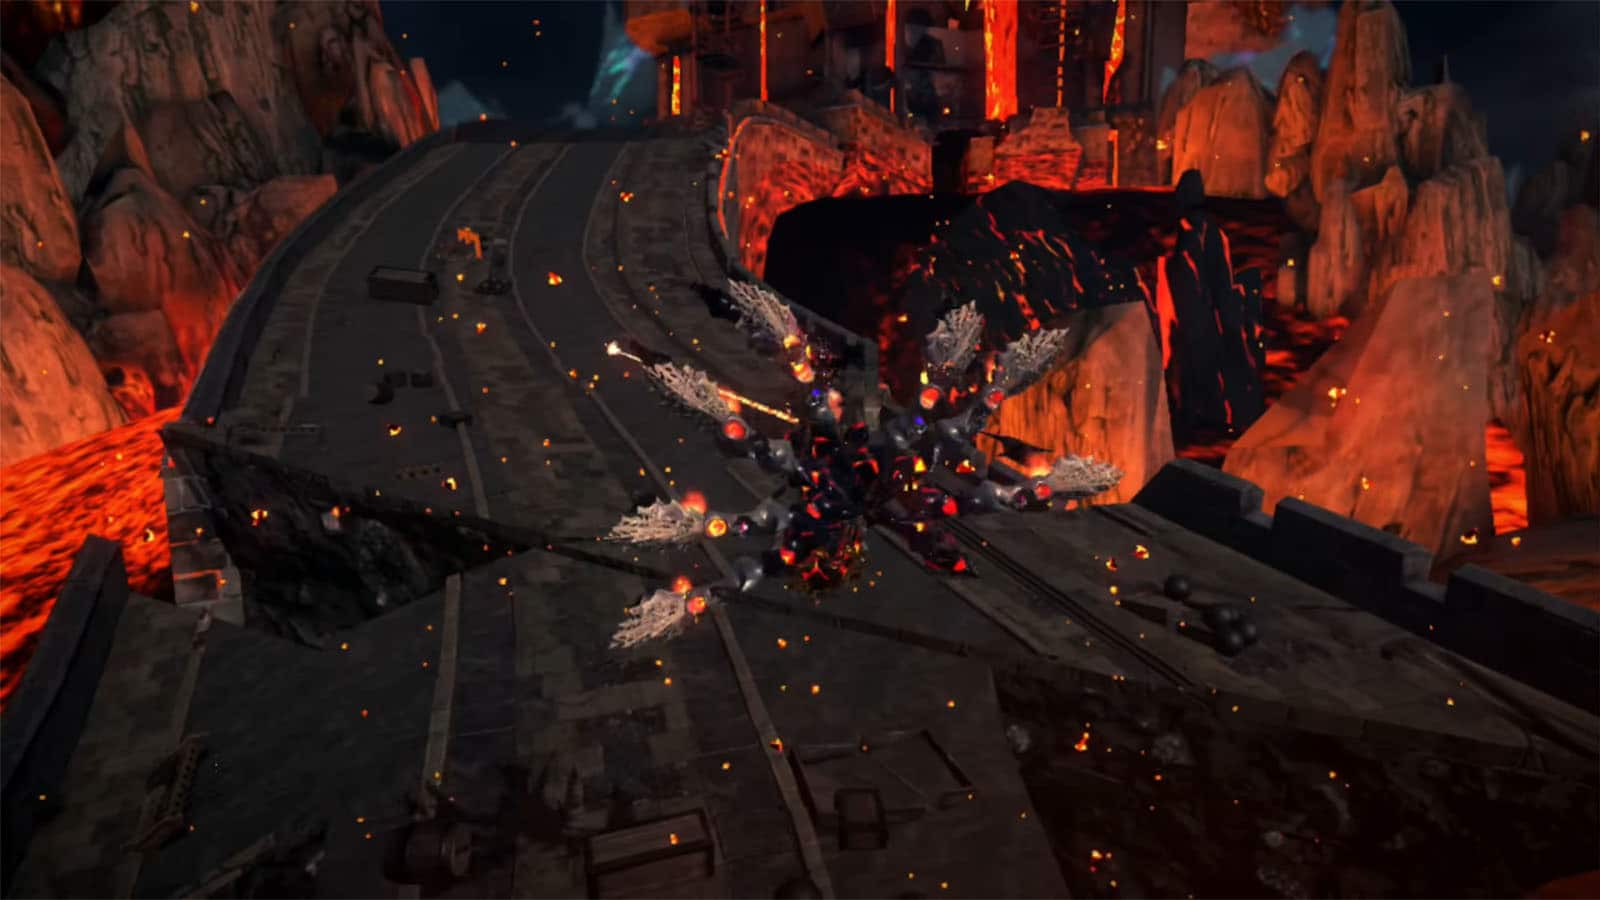
What basically is the next phase of the fight continues on with Verse #10 where another alt Bayonetta comes in with Wartrain Gouon and joins the fight. The fight then turns into a chase shooter where Bayonetta takes up the cannon to shoot at Pyrocumulus.
During the chase, keep your reticle aimed at Pyrocumulus or at the debris that it chucks at you. Pay attention as it can also smack its hand towards you which you can deflect by shooting enough times. Continue shooting at the targets until you proceed with the gigaton attack to complete the verse.
Bewitchment #4
If you manage to not get hit by anything during the chase, you will get the Avoid getting hit by debris thrown Pyrocumulus Bewitchment.
Verse #11
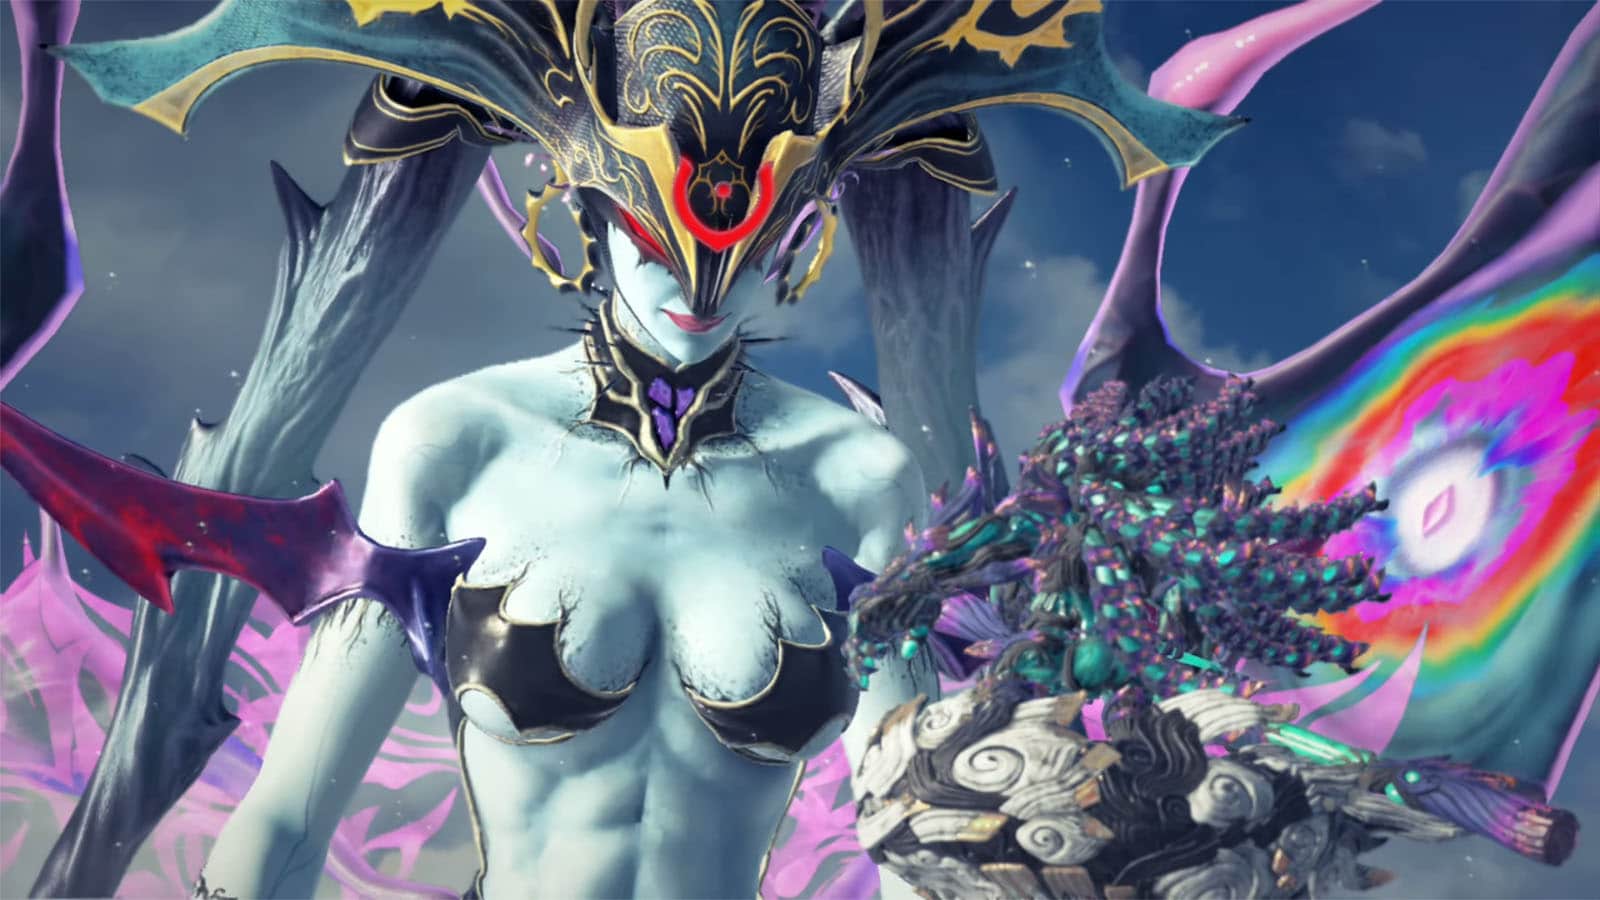
After the next cutscene where alt Bayonetta gets consumed by Pyrocumulus to turn into Arch-Pyrocumulus, the fight continues on as Bayonetta summons Queen Butterfly.
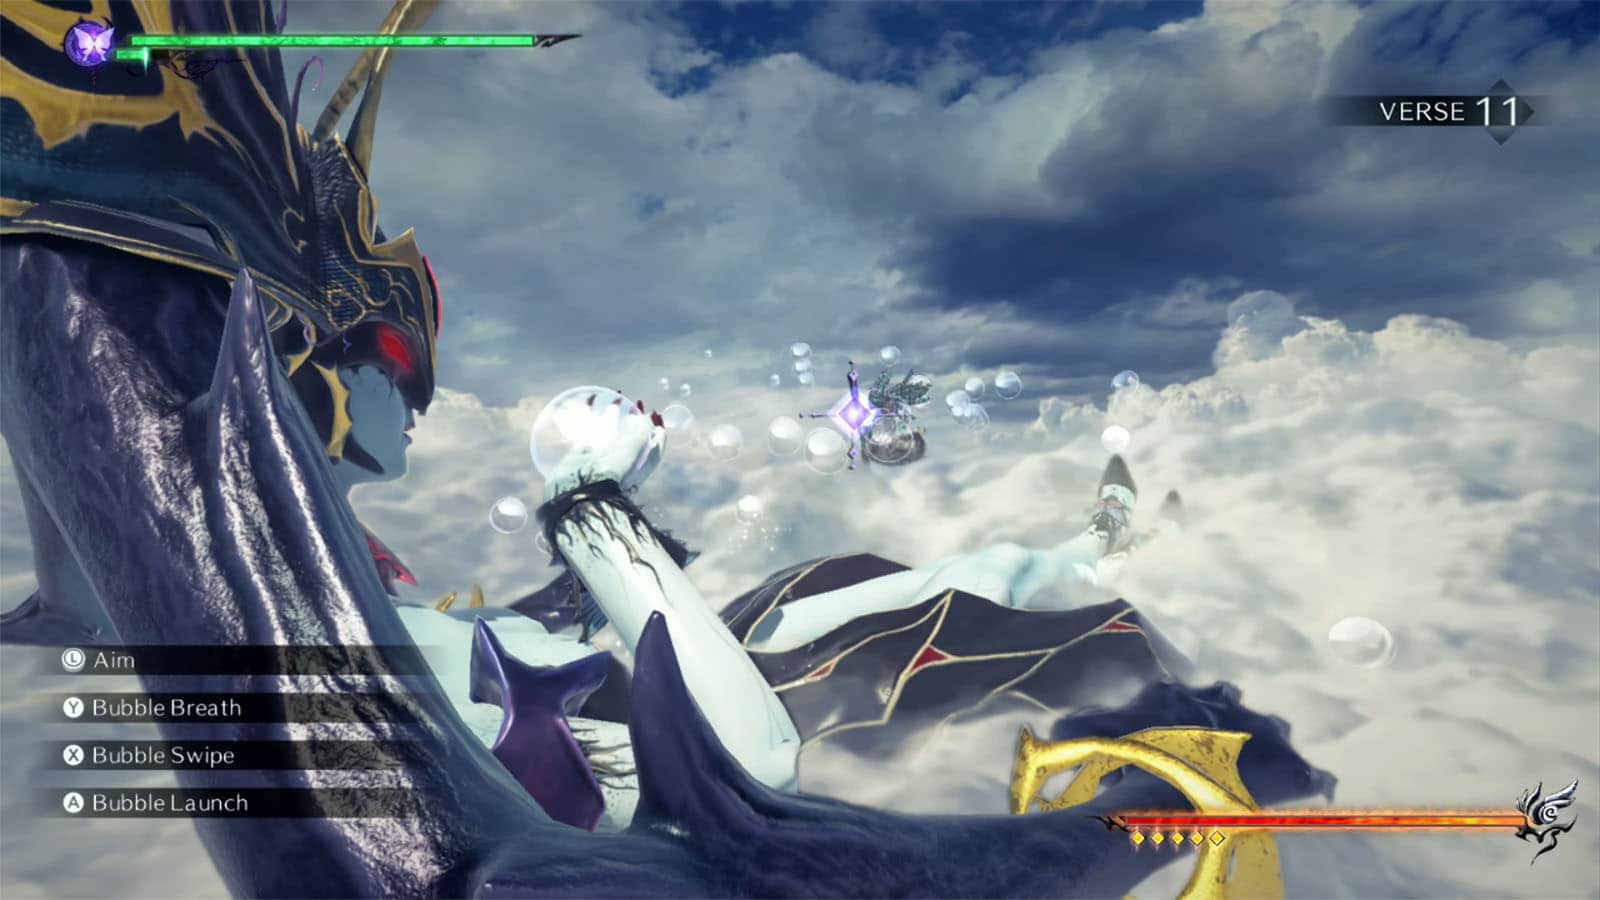
In this fight, you shoot bubbles at Arch-Pyrocumulus while deflecting its attack from time to time. Once enough bubbles hit it, it will be encased in a bubble, giving you the chance to attack. It will spawn more of itself every after attack of yours, but only one will be the real enemy that can trigger the attack.
Bewitchment #5
Try to deflect at least three of the incoming staff attacks to get the Deflect Arch-Pyrocumulus’ staff attack 3 times Bewitchment.
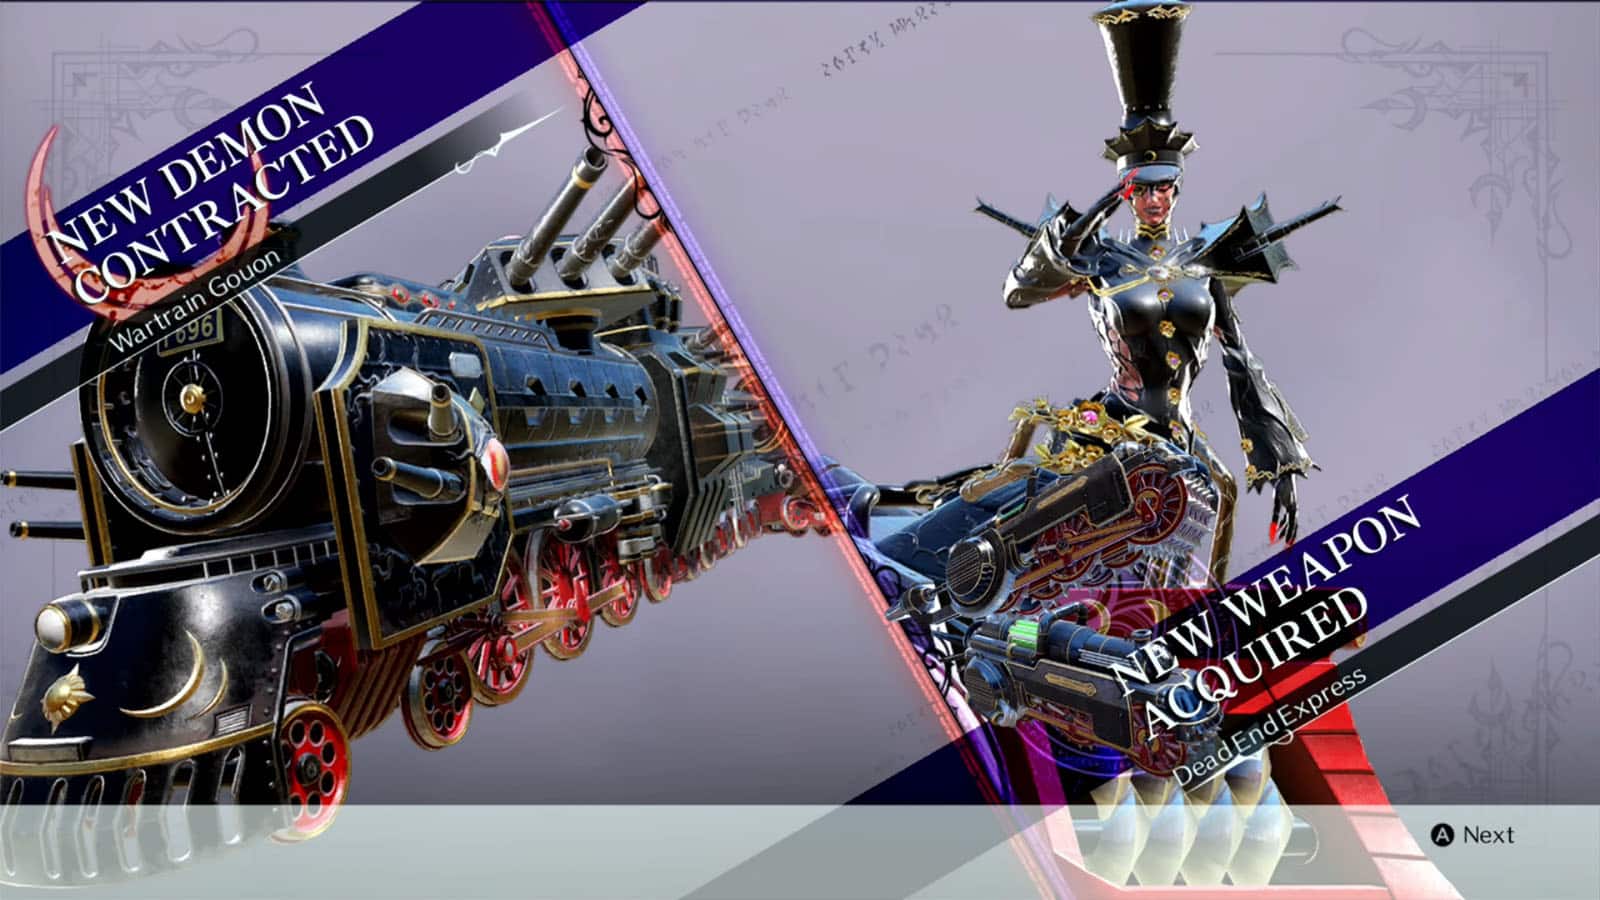
Once all of its health is gone, a cutscene plays and the chapter ends. You’ll then be able to use Wartrain Gouon and the Dead End Express weapon.
See next Bayonetta 3 Walkthrough Side Mission 2: The Lynx Strikes
If you like this guide, be sure to check out our other Bayonetta 3 articles:
- Bayonetta 3 Chapter List – How Many Chapters
- Bayonetta 3 Ending Explained
- Bayonetta 3 Singularity (Explained)
- All Outfits in Bayonetta 3
- Bayonetta 3 Weapons and Abilities
- Bayonetta 3 Day One Update Patch Notes Revealed
- How Long to Beat Bayonetta 3 – Game Length
Check out this video by Devil Exe showing the gameplay for Chapter 6:


