
A Croaking Chorus is the eighth chapter in Bayonetta 3 where Bayonetta continues her journey through Cairo, following a vision of an alternate Jeanne. Here, she’ll gain a new power to her infernal arsenal.
In this guide, we will go through Chapter 8: A Croaking Chorus, listing along any collectibles as well as Bewitchments that can be acquired in the chapter.
See previous Bayonetta 3 Walkthrough Chapter 7 - Burning Sands
Chapter 8 – A Croaking Chorus Objectives and Collectibles
- Cairo: Zamalek
- Verse #1
- Bewitchment #1
- Verse #2 / Broken Moon Pearl #1
- Verse #3
- Umbran Tears of Blood – Toad
- Bewitchment #2
- Figure Box #1
- Echoes of Memory #1
- Broken Witch Heart #1
- Record #1
- Figure Box #2
- Broken Witch Heart #2
- Umbran Tears of Blood – Crow
- The Gates of Hell
- Broken Moon Pearl #1
- Figure Box #3
- Card Pack #1
- Cairo: Venom’s Caress
- Verse #4
- Bewitchment #3
- Echoes of Memory #2
- Broken Witch Heart #3
- Umbran Tears of Blood – Cat
- Figure Box #4
- Verse #5
- Bewitchment #4
- Figure Box #5
- Verse #6
- Verse #7
- Bewitchment #5
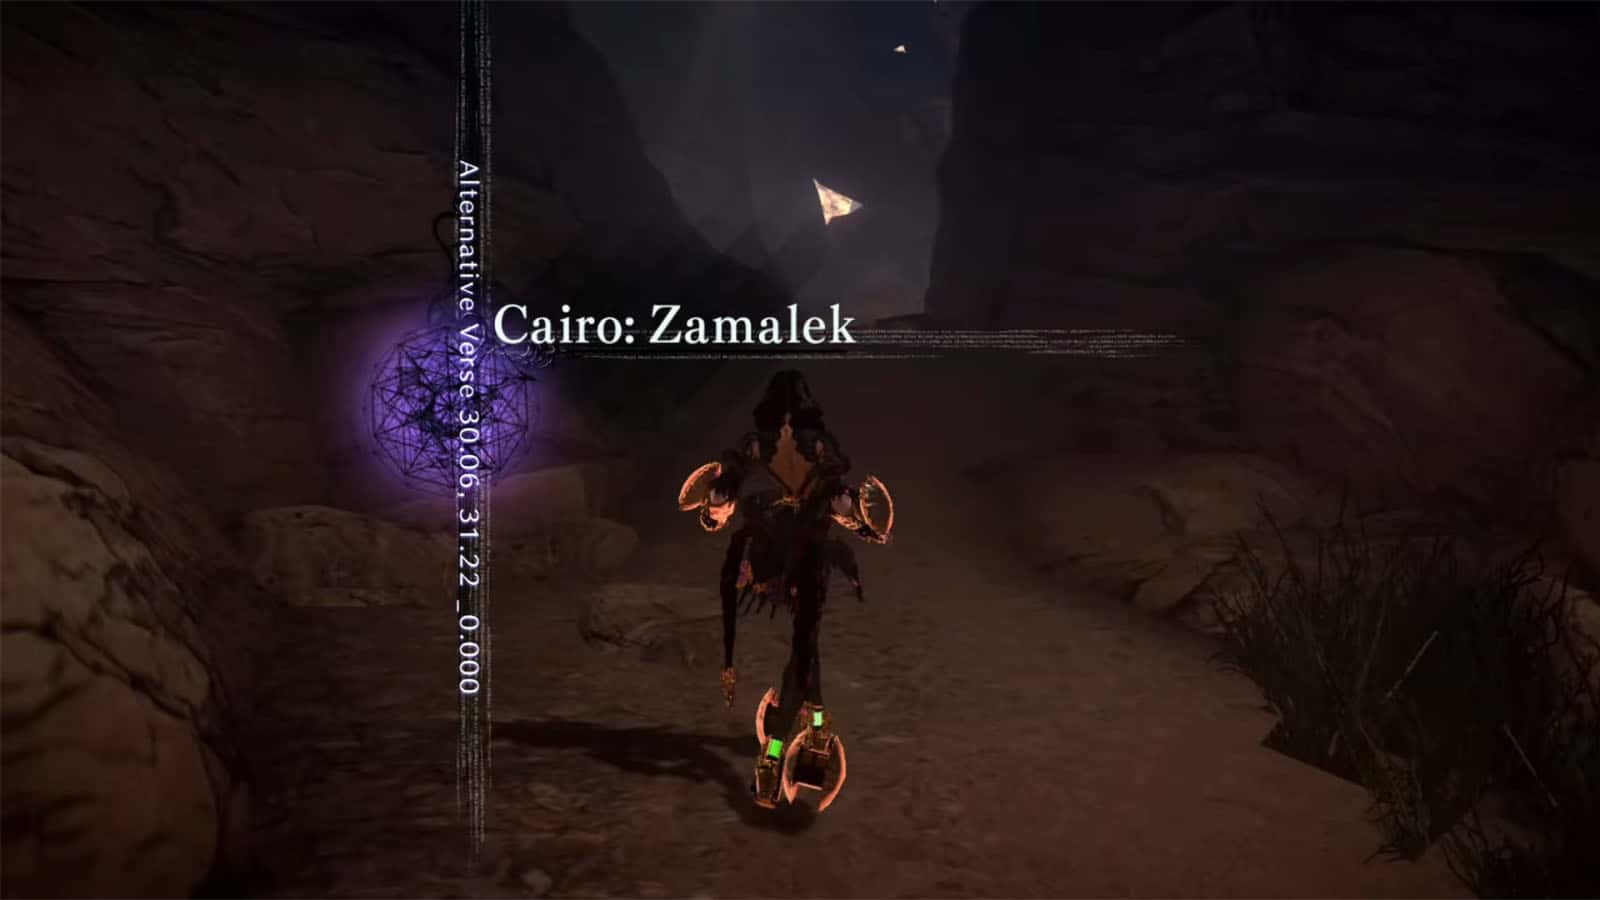
Cairo: Zamalek
You’ll be starting the chapter with Bayonetta again. Make your way through the path into the open area. Take your time checking out your skills and new weapon loadouts before your proceed.
Verse #1
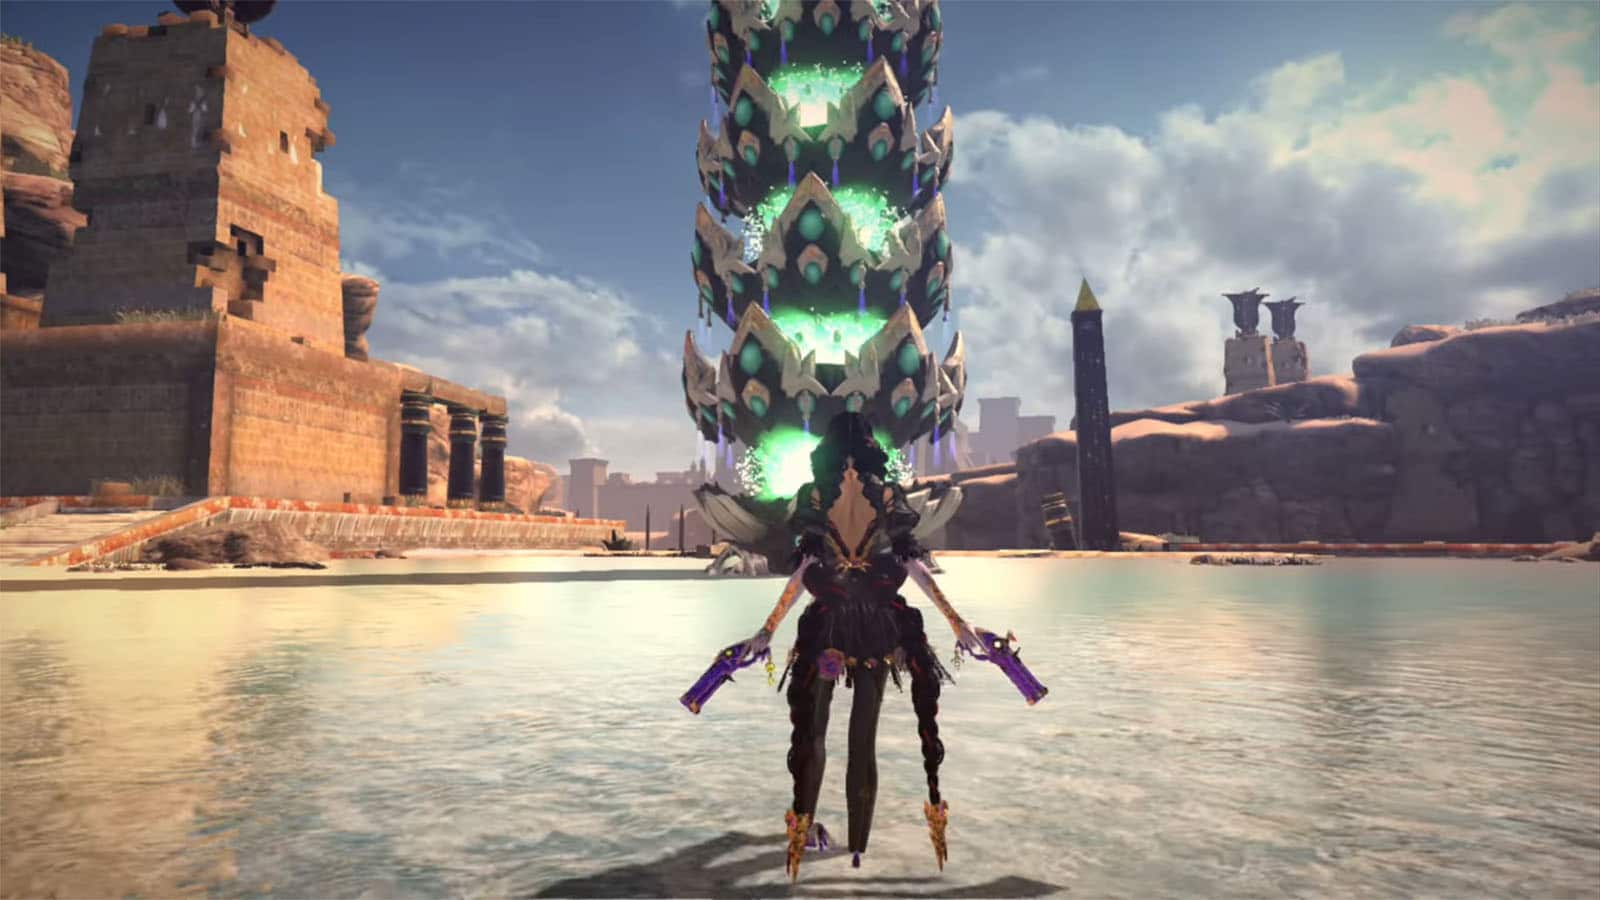
You’ll be fighting against a new type of enemy called Castellanus. This enemy will start off on top of a tower, hence it cannot take any damage unless your attacks actually hit it. You can bring it down by attacking its segments and destroying them. Adds will also be spawned, so make sure to be aware of your surroundings.
Once all of its segments are destroyed, its legs will appear and it will becomes mobile.
Bewitchment #1
If you manage to hit Castellanus with at least one more segment left on its tower, you will get the Hit a Castellanus core while at least one segment is intact. Use Madama Butterfly to float up or Wartrain Gouon by raising its rail upwards.
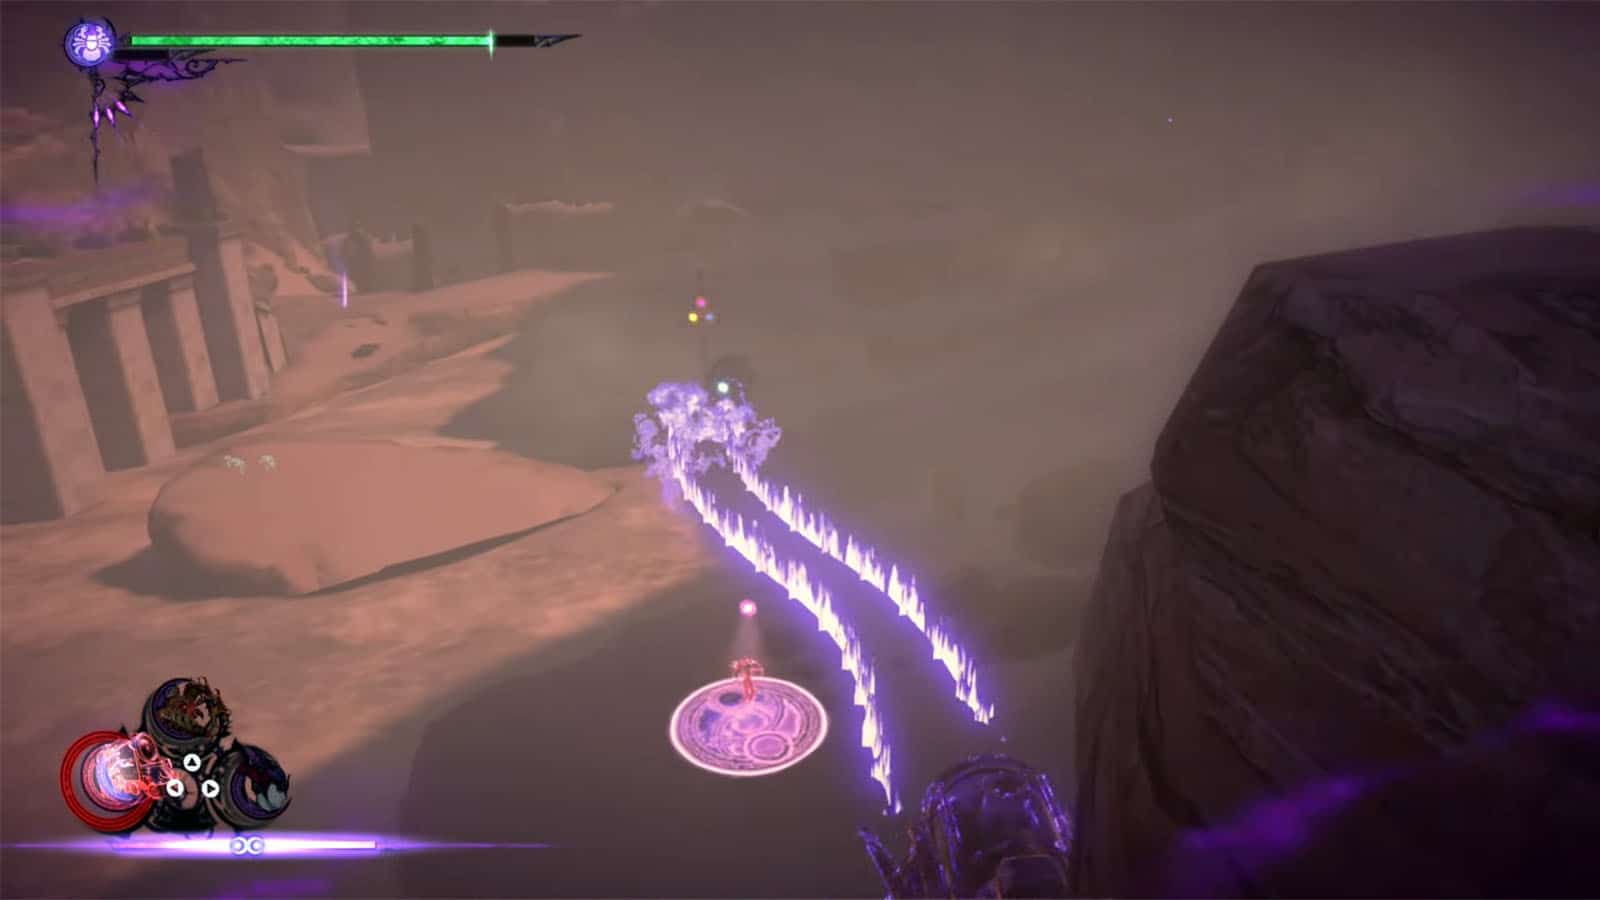
Verse #2 / Broken Moon Pearl #1
Go inside the room under the tower to get into the next verse. In this challenge, you must defeat all enemies while trying not to get swept by the wind into the fog on the edge of the arena. Using Wartrain Gouon in this fight will greatly be helpful in dealing damage to the enemies and giving you time t concentrate on your positioning. Once cleared, you will be rewarded with a Broken Moon Pearl.
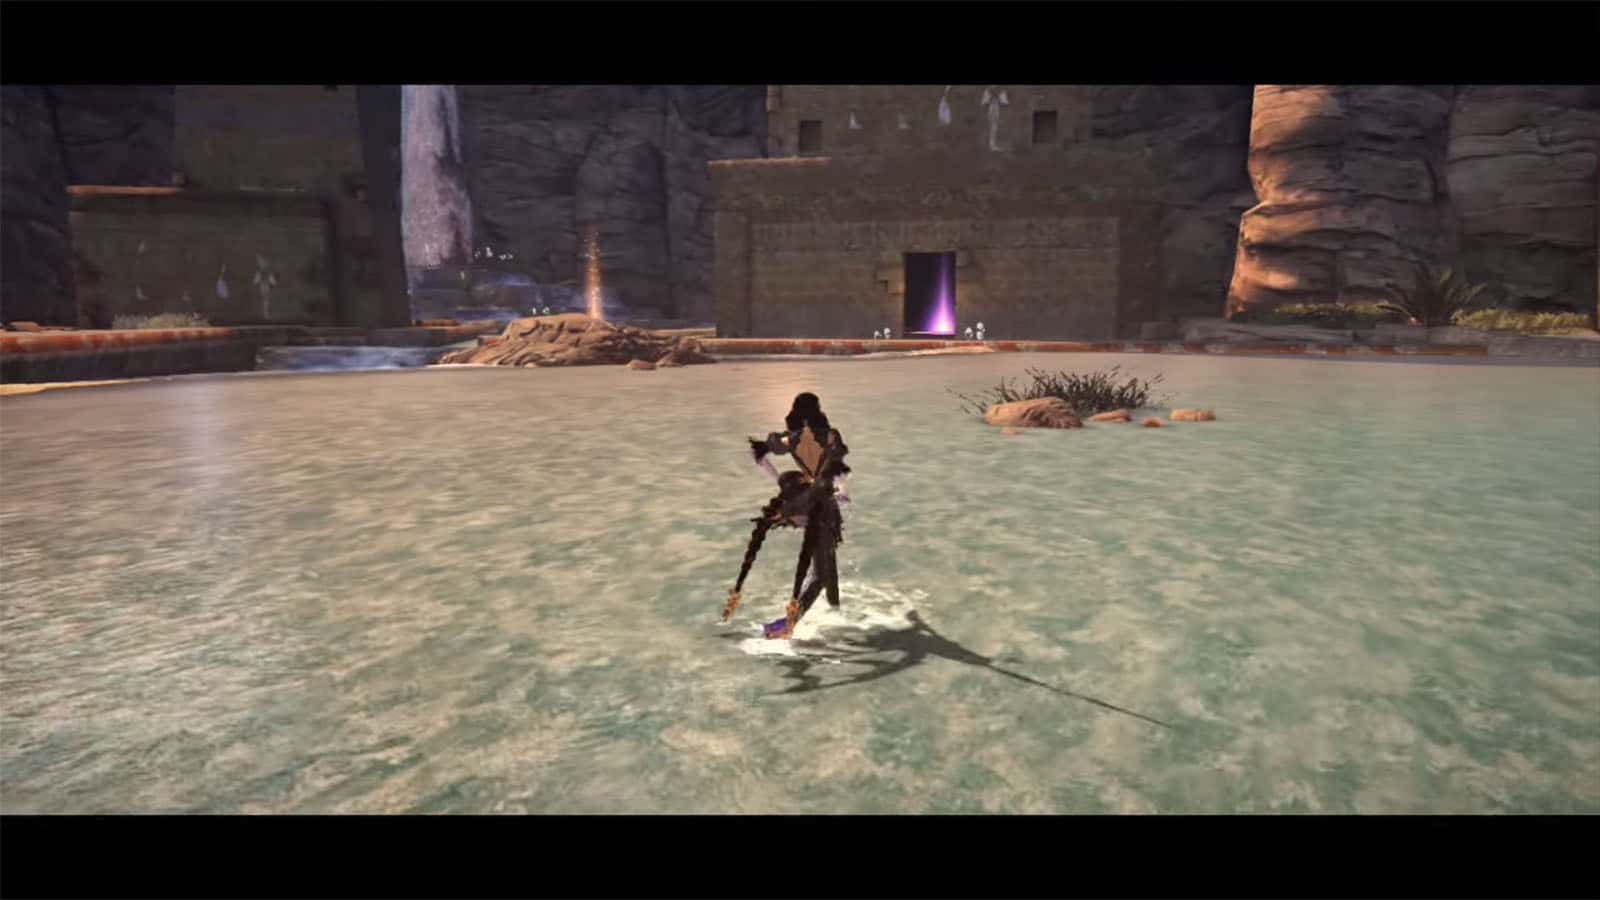
Verse #3
Approach the glowing marker outside to start the next verse. Clear them out to proceed.
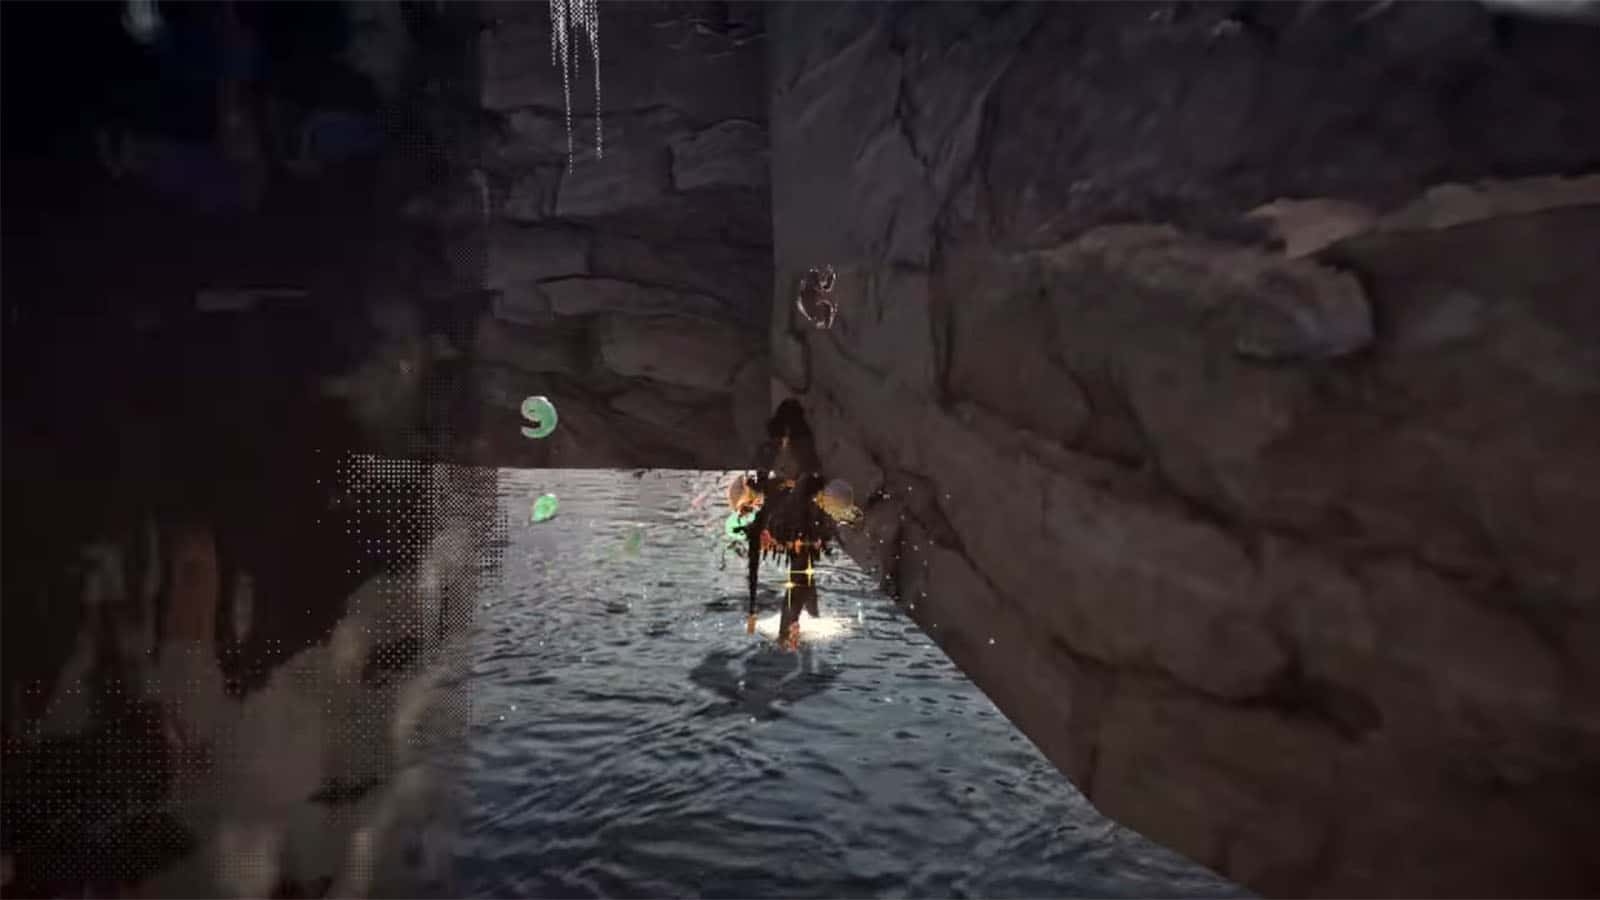
Umbran Tears of Blood – Toad
Follow the croaking and look behind the waterfall to find the real toad.
Bewitchment #2
Climb on top of one of the windmill tower to get the Stand on top of the windmill tower Bewitchment.
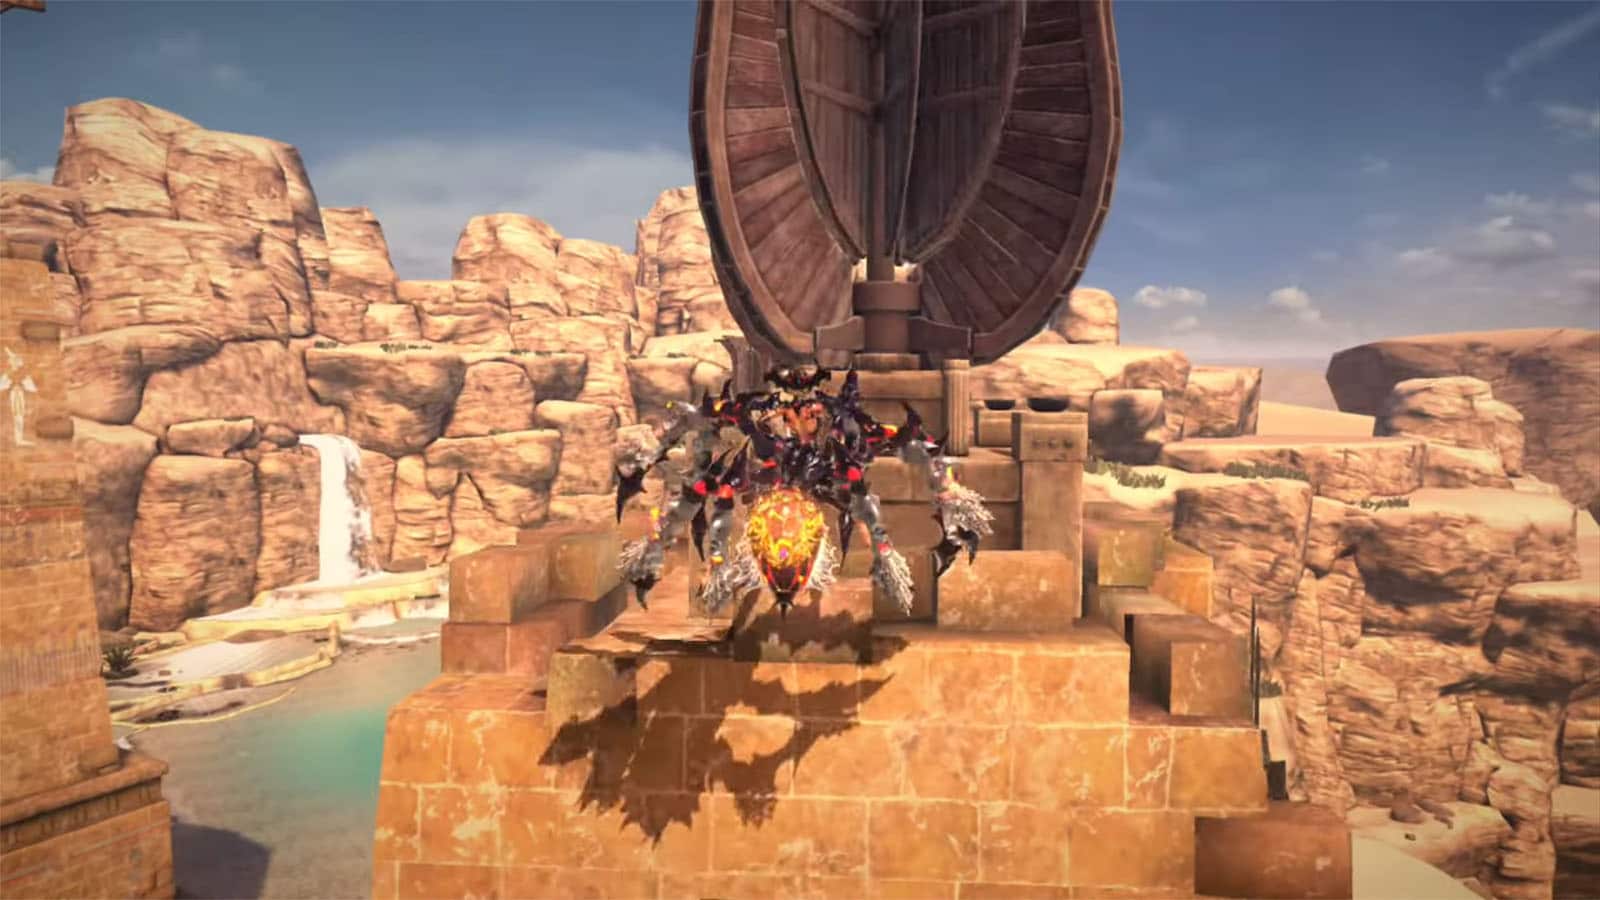
Figure Box #1
Check the top of the other tower to find the figure box.

Echoes of Memory #1
Look for the nearby cube and activate it to make platforms appear. Jump on the platforms to get to the Echoes of Memory: The Demon’s Presence.
Broken Witch Heart #1
Continue up the higher platform to find another chest that activates a time trial. You then have to get all the chest pieces in order to get the Broken Witch Heart.
Record #1
Hug the right side of the wall and enter the path to the right to find a Congestus. Tip it over and then partially rewind time until you can find a path towards the crown of the statue. Get on top of it and then ride it once the time stop is over to get to where the Record is. Alternatively, you can simply try to tread over the moving sand while avoiding to get sunk into the sand.
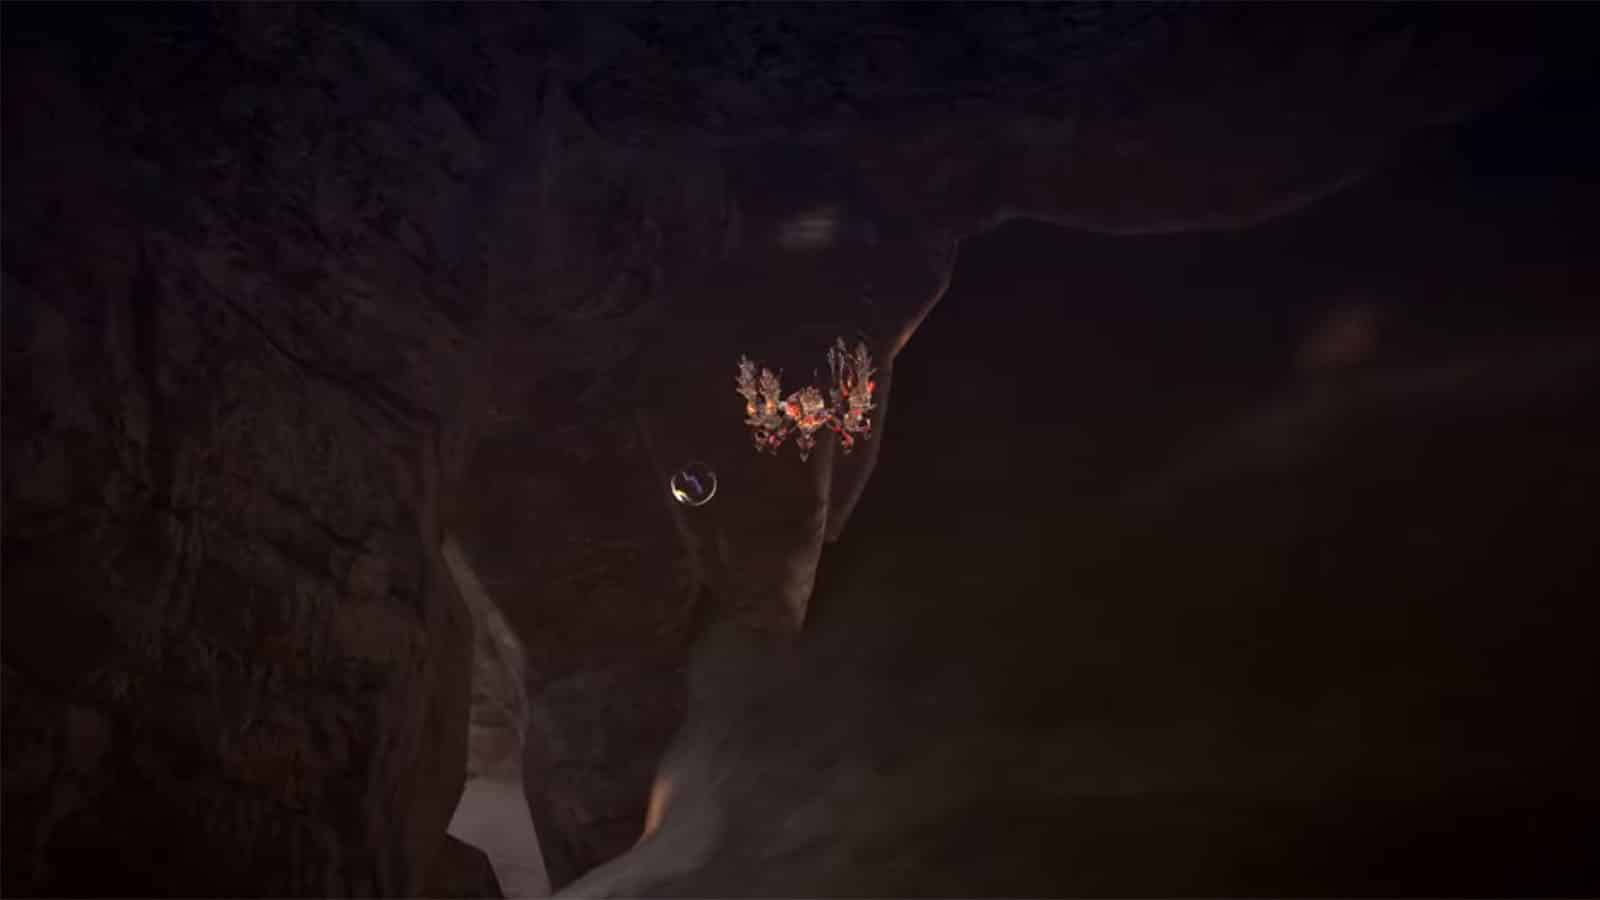
Figure Box #2
From where the record was, you’ll see the figure box floating up ahead. Swing over to it to reach it.
Broken Witch Heart #2
Head out into the next open area and look to the left where you’ll see a chest. Attack it to reveal an umbran circle. Then, use Wartrain Gouon to open the chest up ahead. You can also move to the platform over to the left and use Madama Butterfly to attack it. Start early so that your summon can land more hits before it sinks into the sand. Once opened, you’ll get the Broken Witch Heart.
Umbran Tears of Blood – Crow
Make your way on to the other platform on the left to find the crow. Chase it through the narrow corners and into the open area where it will turn around, making it easy to intercept.
The Gates of Hell
Go on top of the bridge to find the portal to Rodin’s. Take the time to replenish your items or purchase accessories.
Broken Moon Pearl #1
Continue towards the huge temple to find a chest with the Broken Moon Pearl in it.
Figure Box #3
From the temple facing the bridge, head towards the first arch under the bridge to find another figure box.
Card Pack #1
Check the other end of the underneath of the bridge to find another card pack.
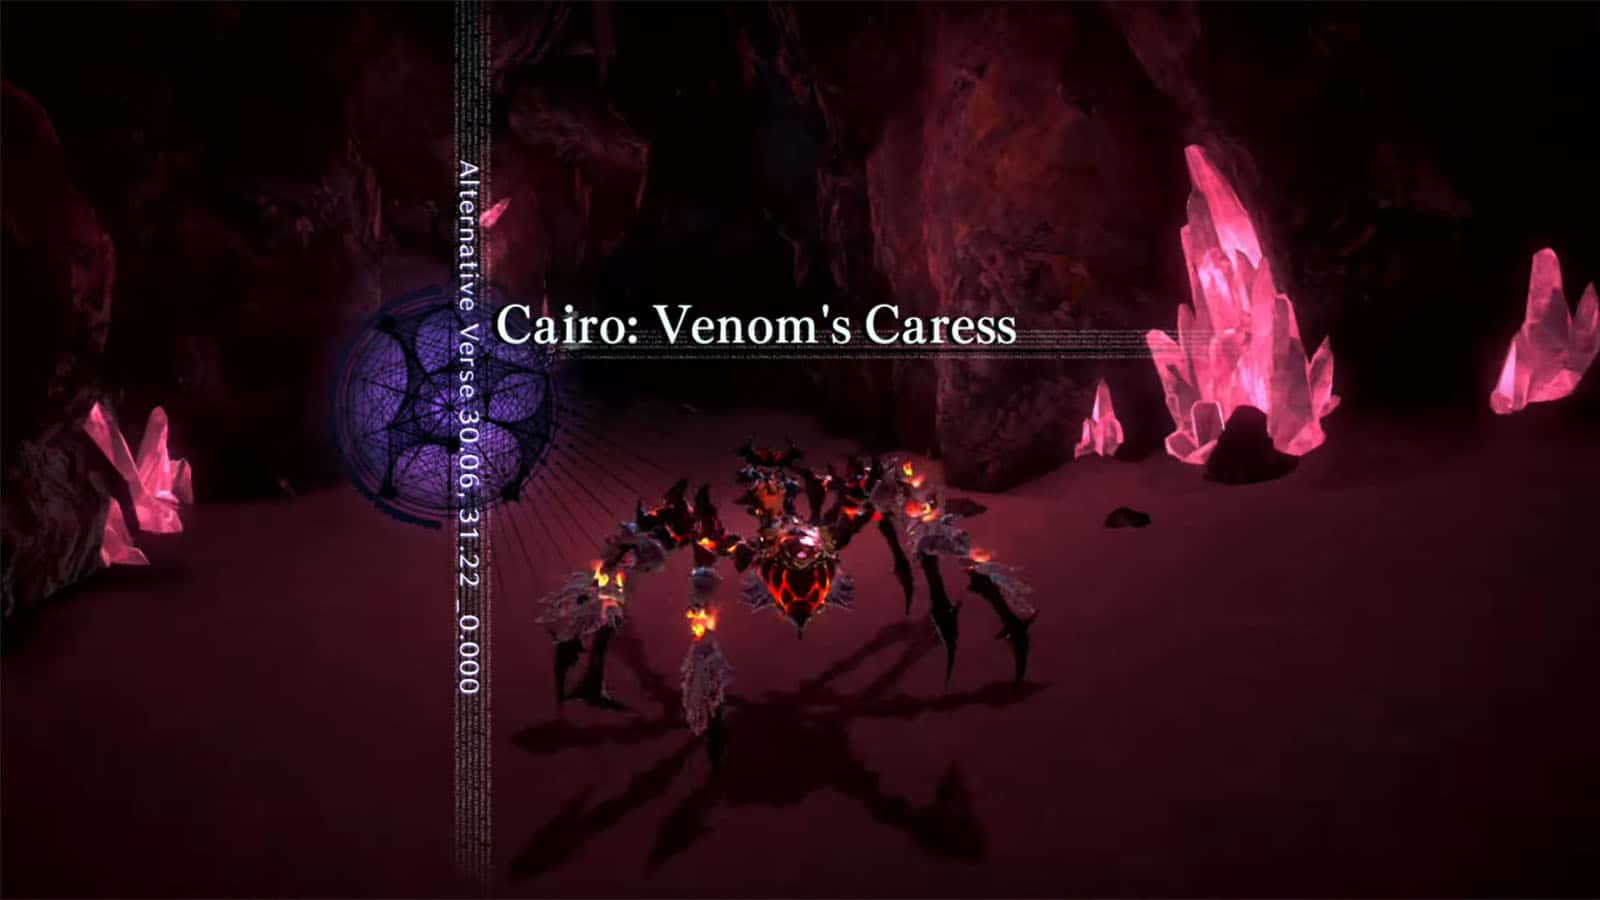
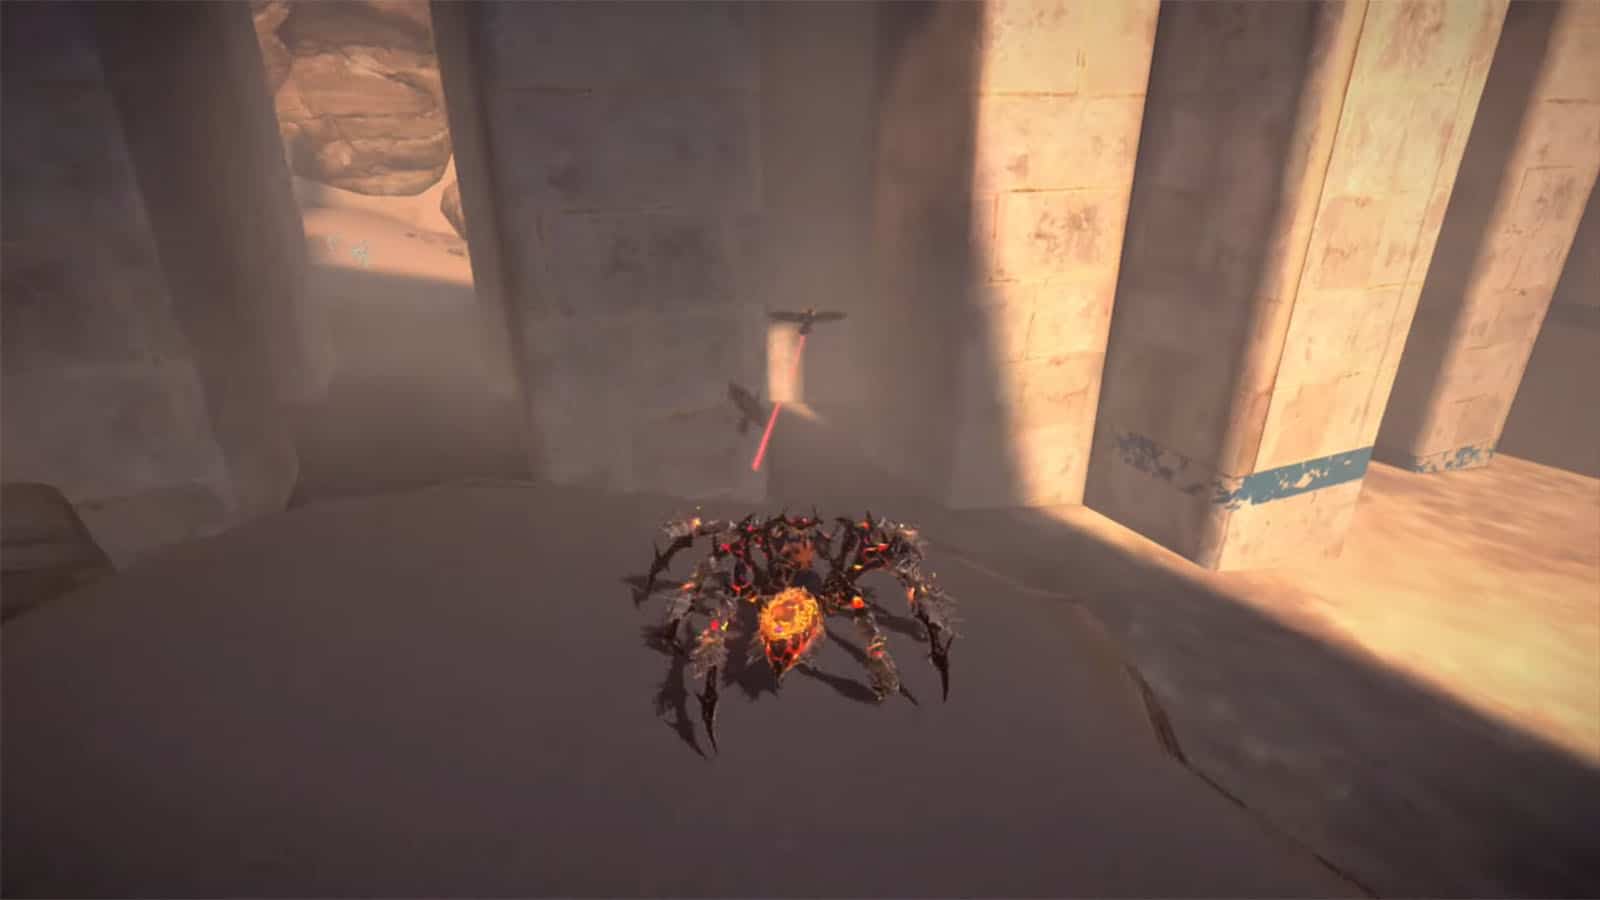
Cairo: Venom’s Caress
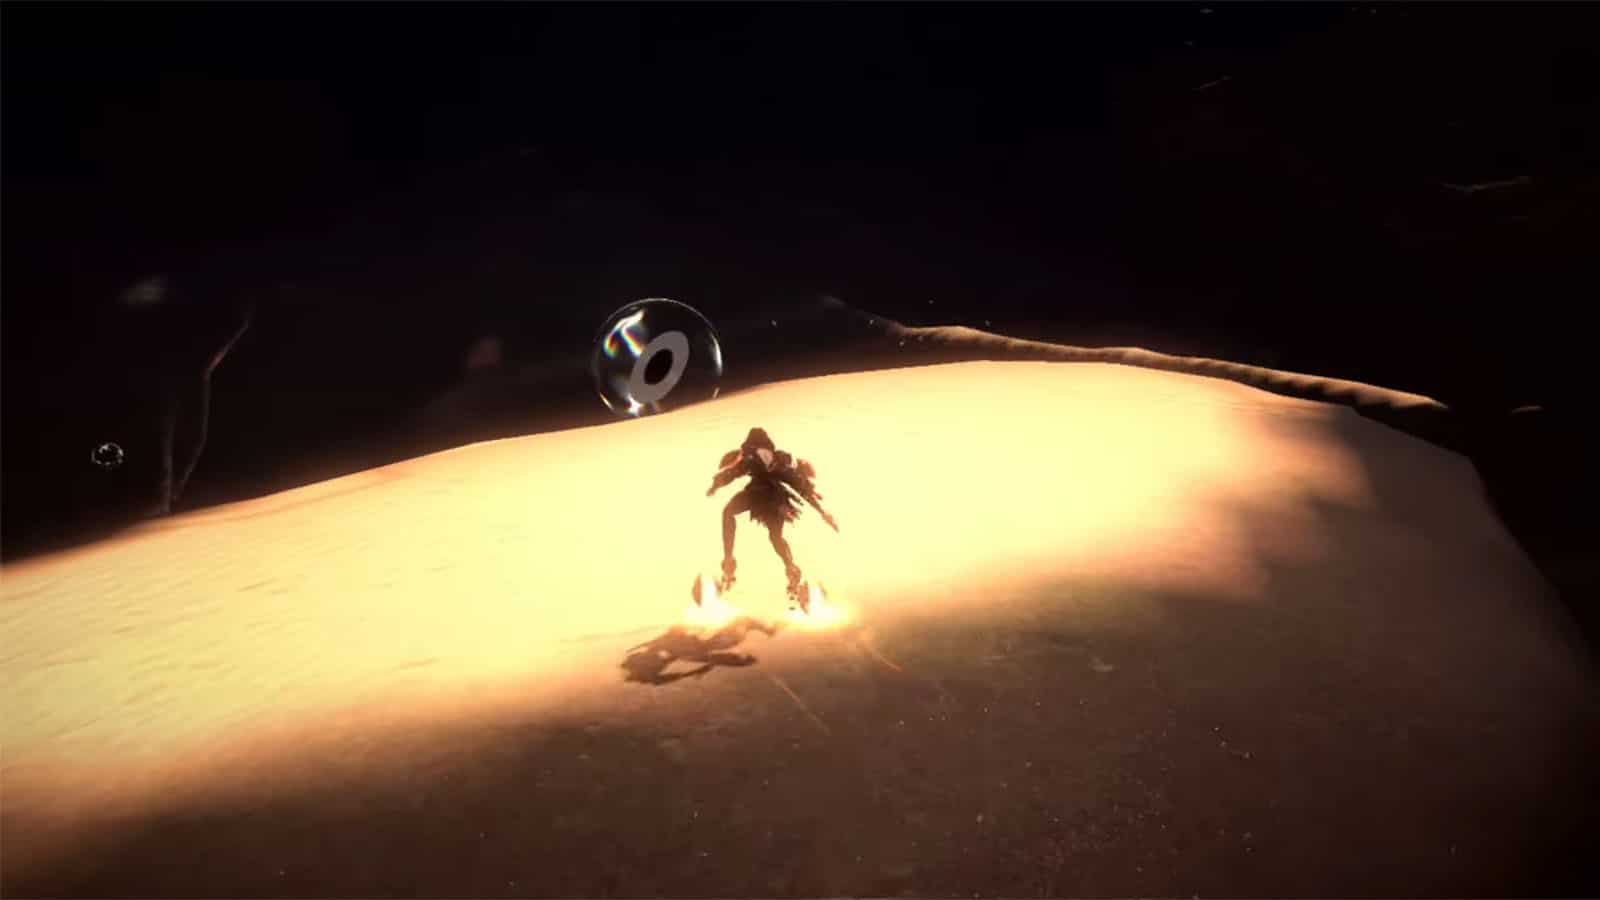
Once you’re done with all the collectibles, head over to the purple glowing marker on the other side of the bridge to see a vision of a woman. Follow it and you’ll be sinking down into the sand to the next area.
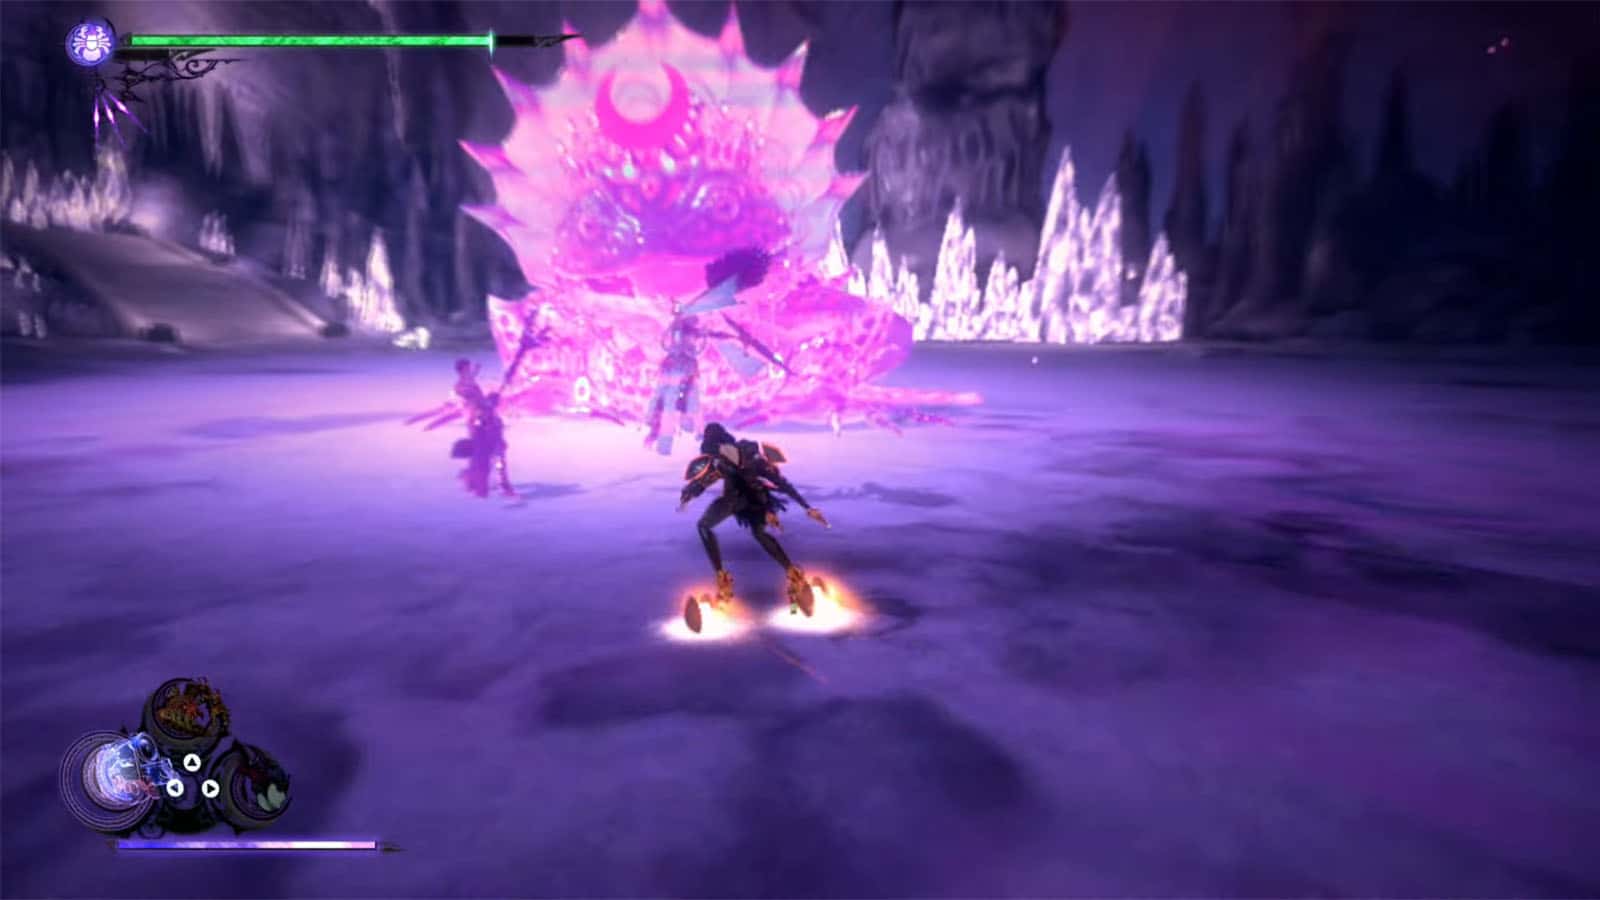
Verse #4
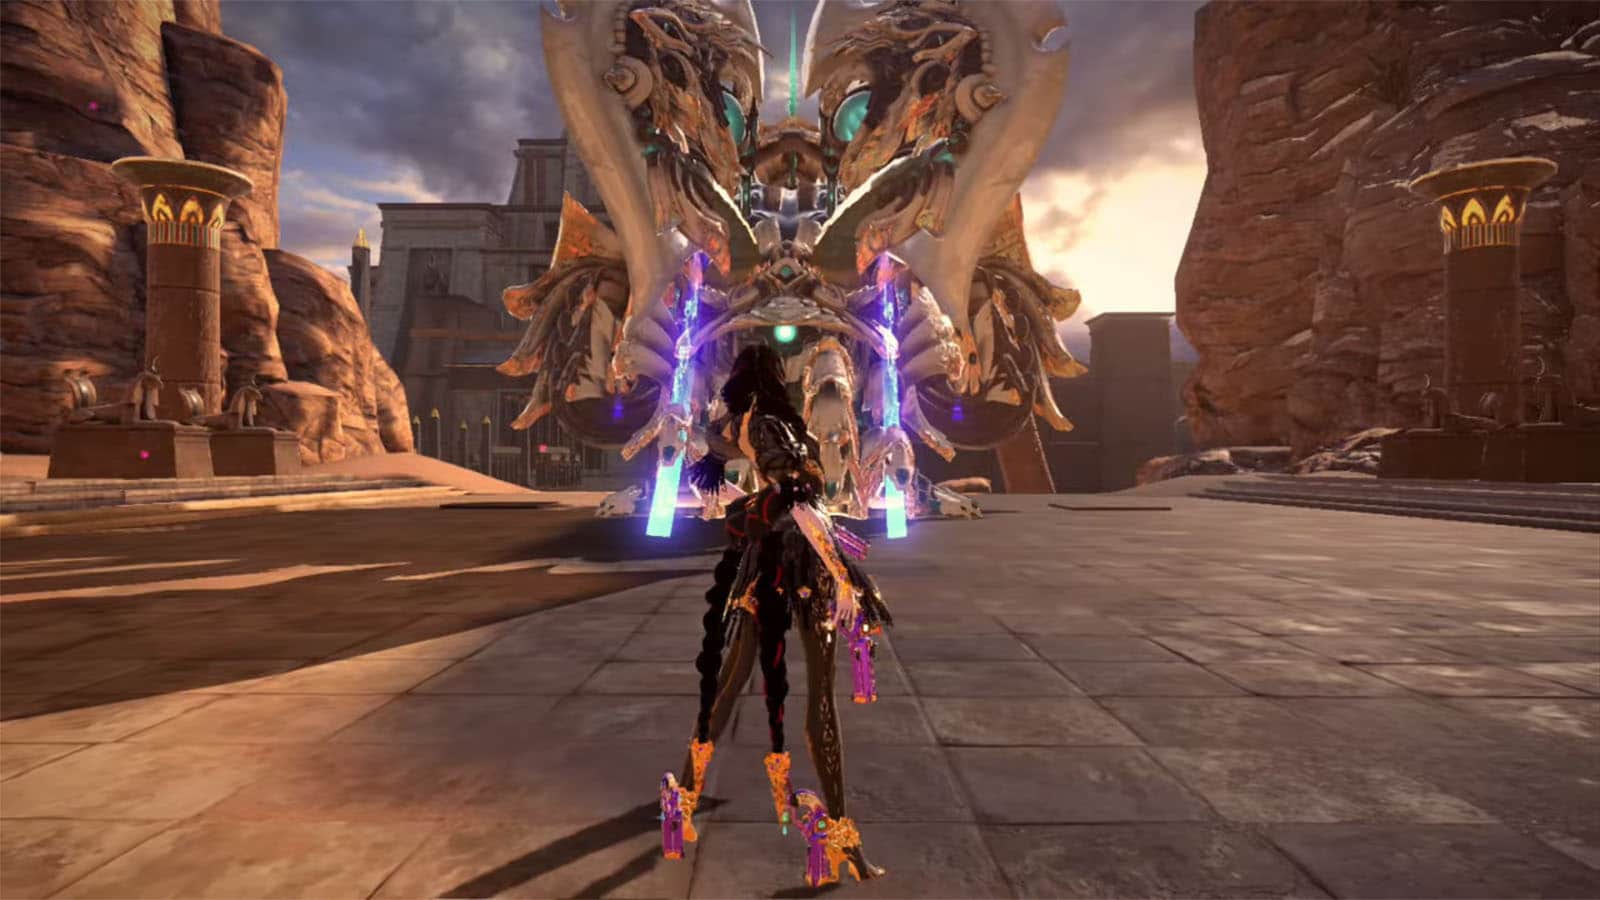
Follow the path forward until you arrive at the next chamber. Approach the vision to start the fight against Baal. It has wide reaching attacks and ground smashes. It also has a singing attack that can deal massive damage when all of its verses are sung completely. You can stagger Baal to prevent it from singing and make sure that you don’t let it reach its fourth verse.
After two of its three health bars are spent, the fight will switch to fighting against an alternate Jeanne. Once the fight is over, a short cutscene will play.
Bewitchment #3
Destroy all the Baal statues that you see inside the temple to get the Destroy 5 Baal statues inside the temple Bewitchment.
Echoes of Memory #2
Go into the temple and head to the left room to find the Echoes of Memory: Venom’s Blessing.
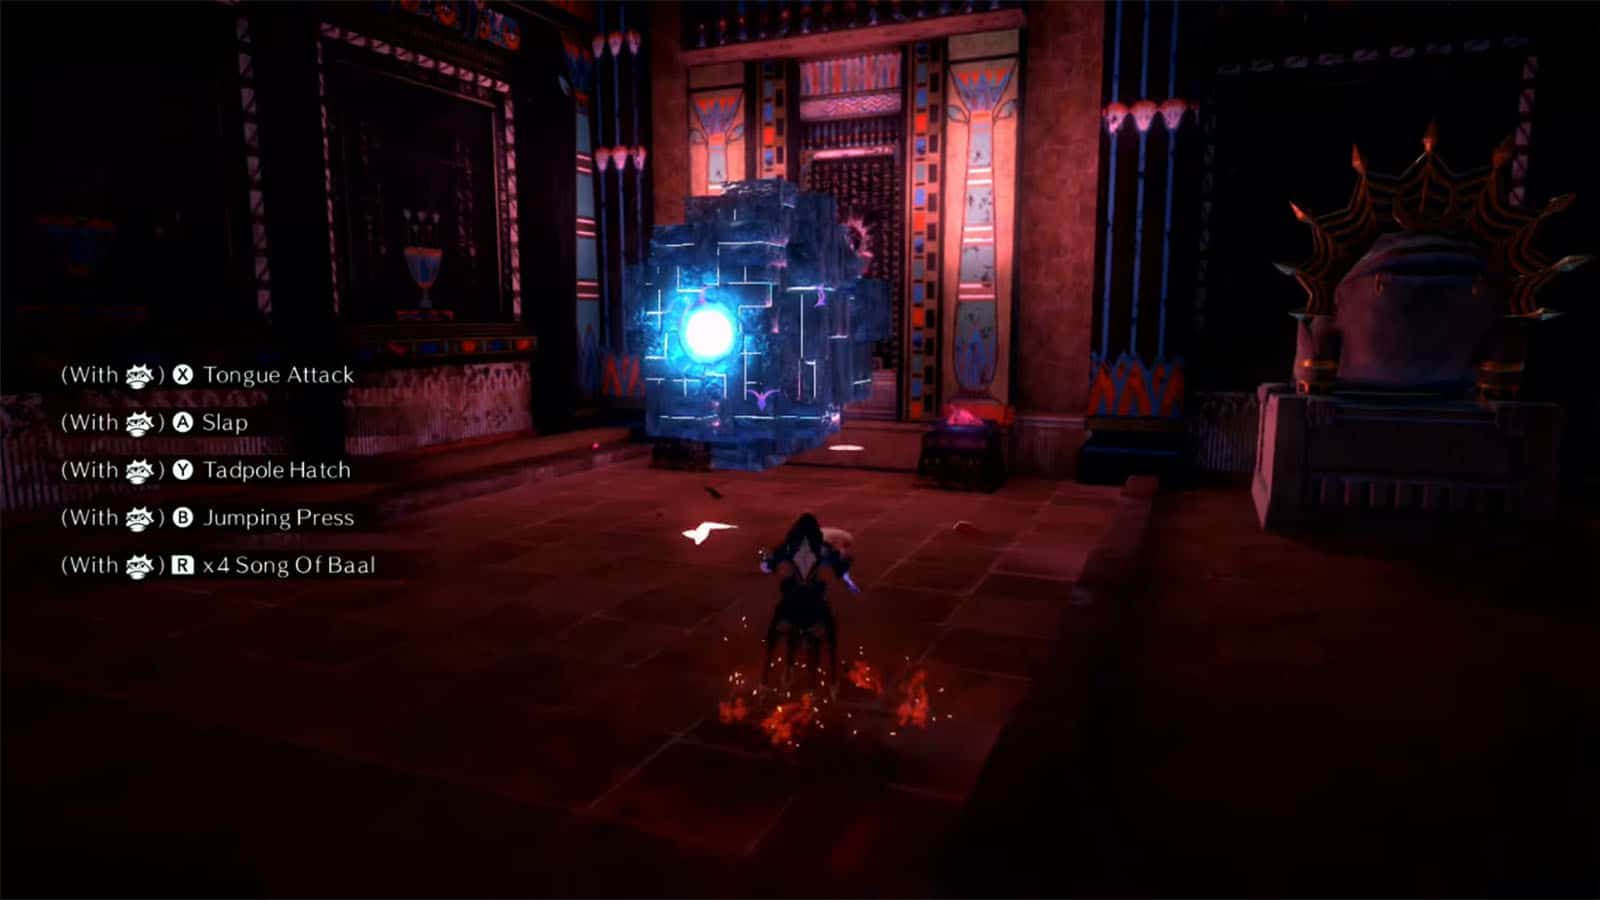
Continue towards the next room and use the chest to spawn an umbran spot. Then, summon Baal and let her sing her song to destroy all of the surrounding seeds at once.
Broken Witch Heart #3
Head to the left corner of the room and open the chest to get a Broken Witch Heart.
Umbran Tears of Blood – Cat
Check the top of the pillars inside the room to find the cat.

Figure Box #4
Check the right corner of the room to find the figure box.

Verse #5
Continue through the next area where you’ll fight another type of enemy called Radiatus. Defeat the incoming waves to proceed.
Bewitchment #4
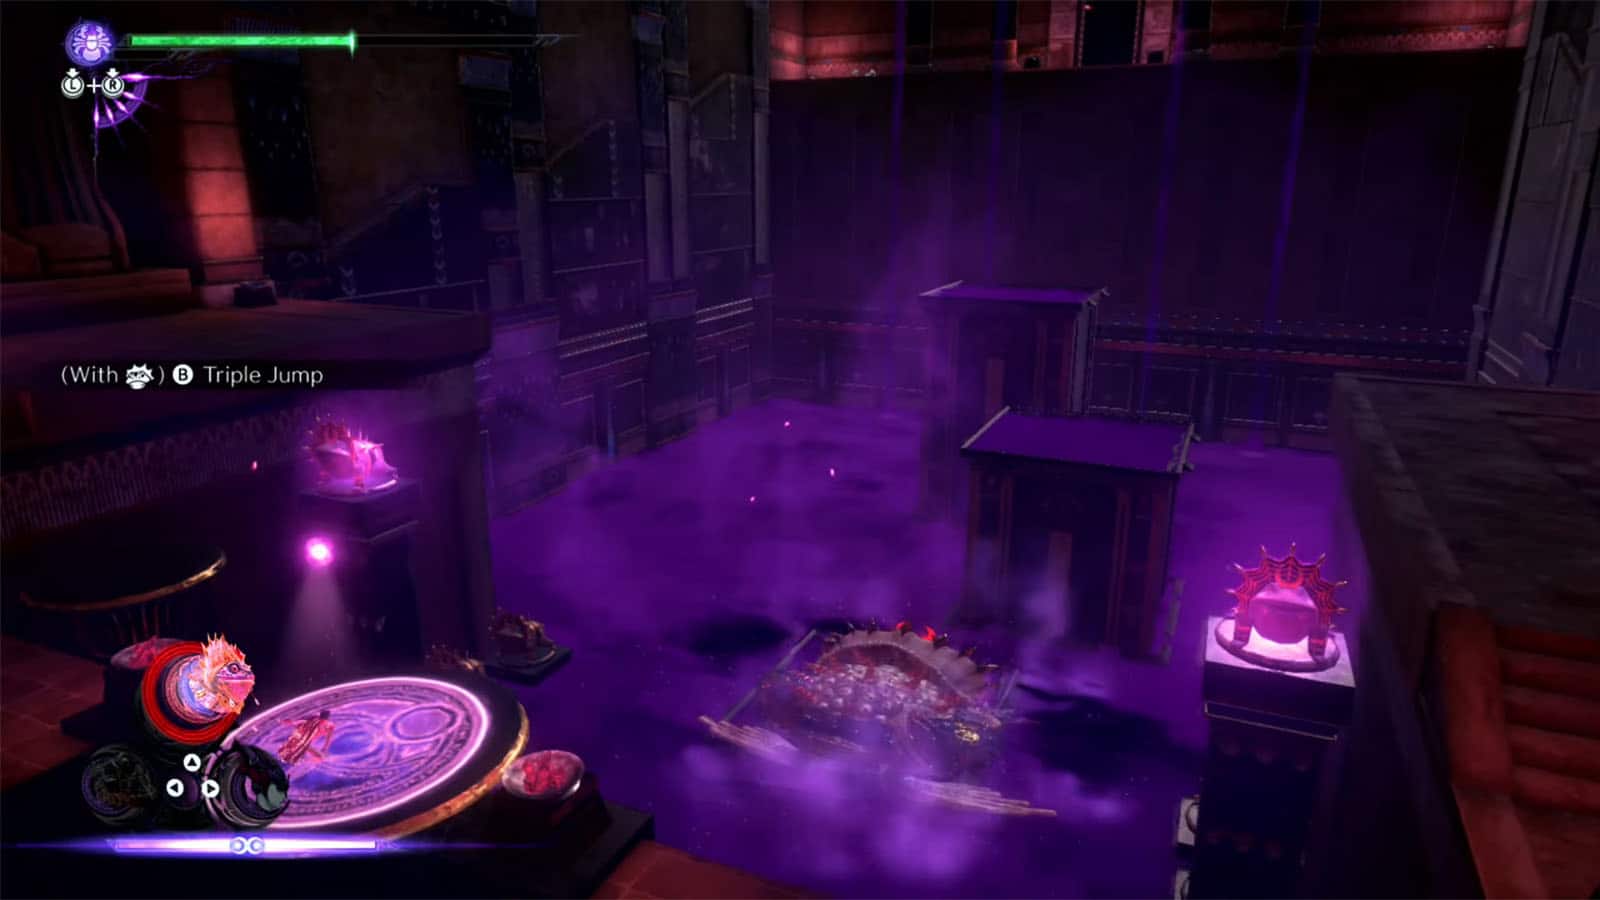
Go to the next section where there’s a huge gap with only platforms in the middle. Your goal is to get inside the secret room in this chamber. To do this, you can activate the first set of stairs by having Baal jump on the first platform. Then, head to either of the stairs on the left or right and wait for the timer to end. That’s when the stairs retract back into the wall, allowing you entrance to the secret room and get the Enter the hidden room inside the temple Bewitchment.
Figure Box #5
Activate all the platforms and go to the staircase on the left. Wait for the stairs to retract to find the figure box.
Verse #6
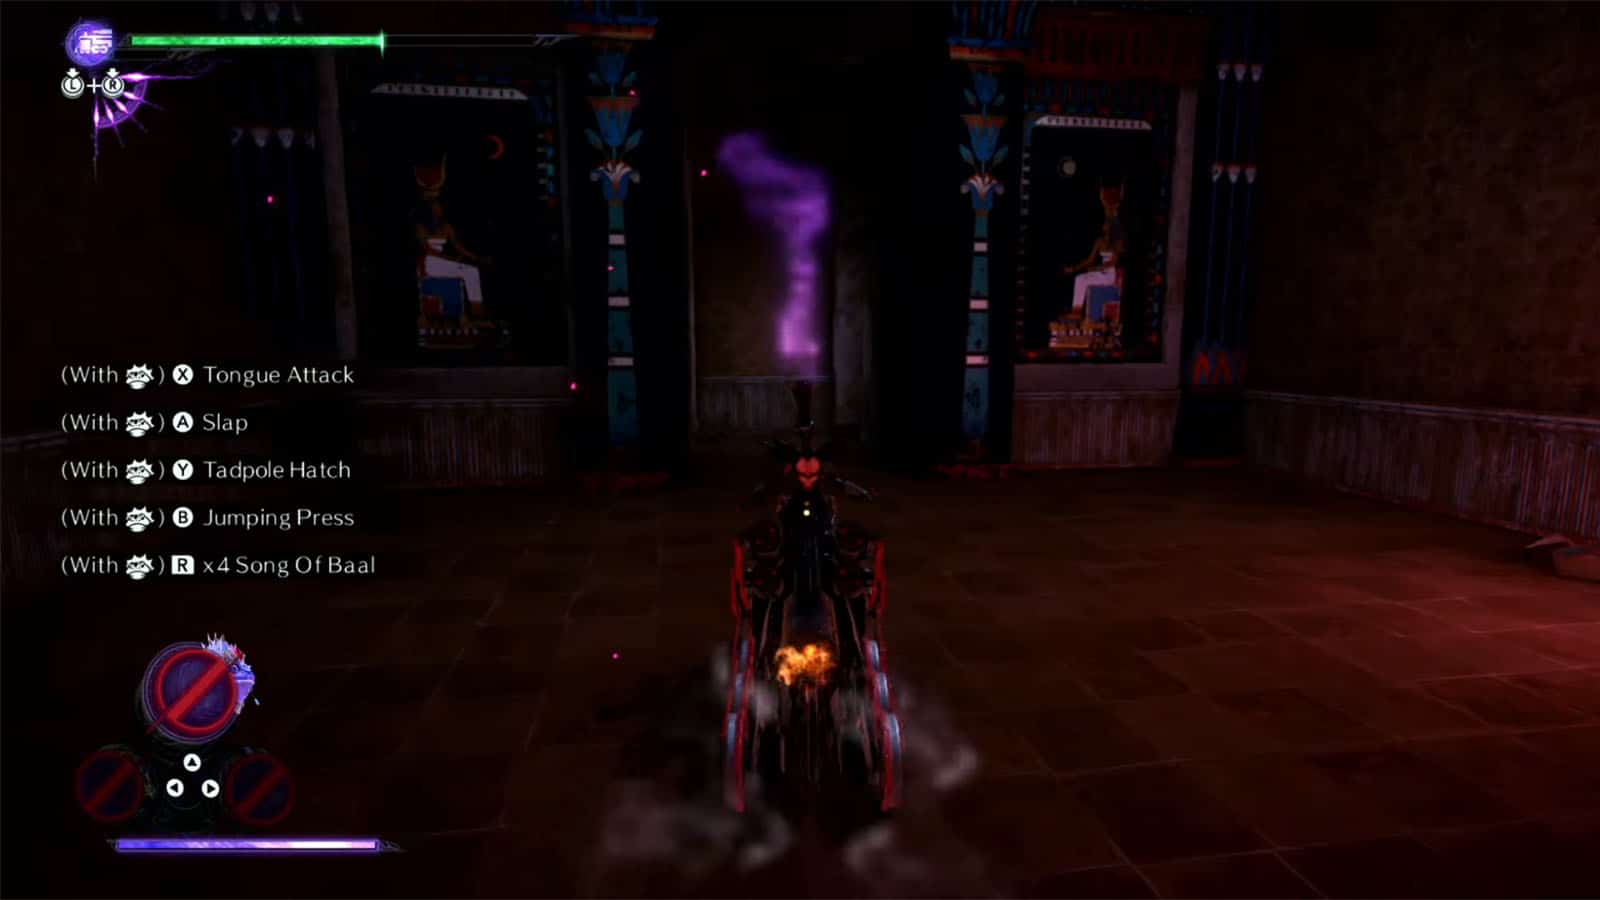
Activate all the platforms and access the hidden room to the right where you’ll find the portal to the verse. In this challenge, you will have to have Baal sing her song until the end to eliminate all enemies, but you also have to make the enemies stay away from her to prevent them from stopping the song. The enemies will also be rampaging too which brings the challenge higher. Use Bayonetta as a way to take the aggro of the mob until Baal finishes singing.
Verse #7
Head to the stairs to reach the final verse of the chapter. You’ll be fighting a boss homunculi called Murus. Pay attention to where it is pointing its beam and dodge accordingly to get free its to it.
Bewitchment #5
During the Murus fight, summon Baal and let her complete her song to get the Hit Murus with Baal’s poison rain Bewitchment. Consider equipping the Conqueror’s Reins accessory to increase your chances of completing the song.
See next Bayonetta 3 Walkthrough Chapter 9 - Learning to Fly
If you like this guide, be sure to check out our other Bayonetta 3 articles:
- Bayonetta 3 Chapter List – How Many Chapters
- Bayonetta 3 Ending Explained
- Bayonetta 3 Singularity (Explained)
- All Outfits in Bayonetta 3
- Bayonetta 3 Weapons and Abilities
- Bayonetta 3 Day One Update Patch Notes Revealed
- How Long to Beat Bayonetta 3 – Game Length
Check out this video by BUCCI showing gameplay for Chapter 8:


