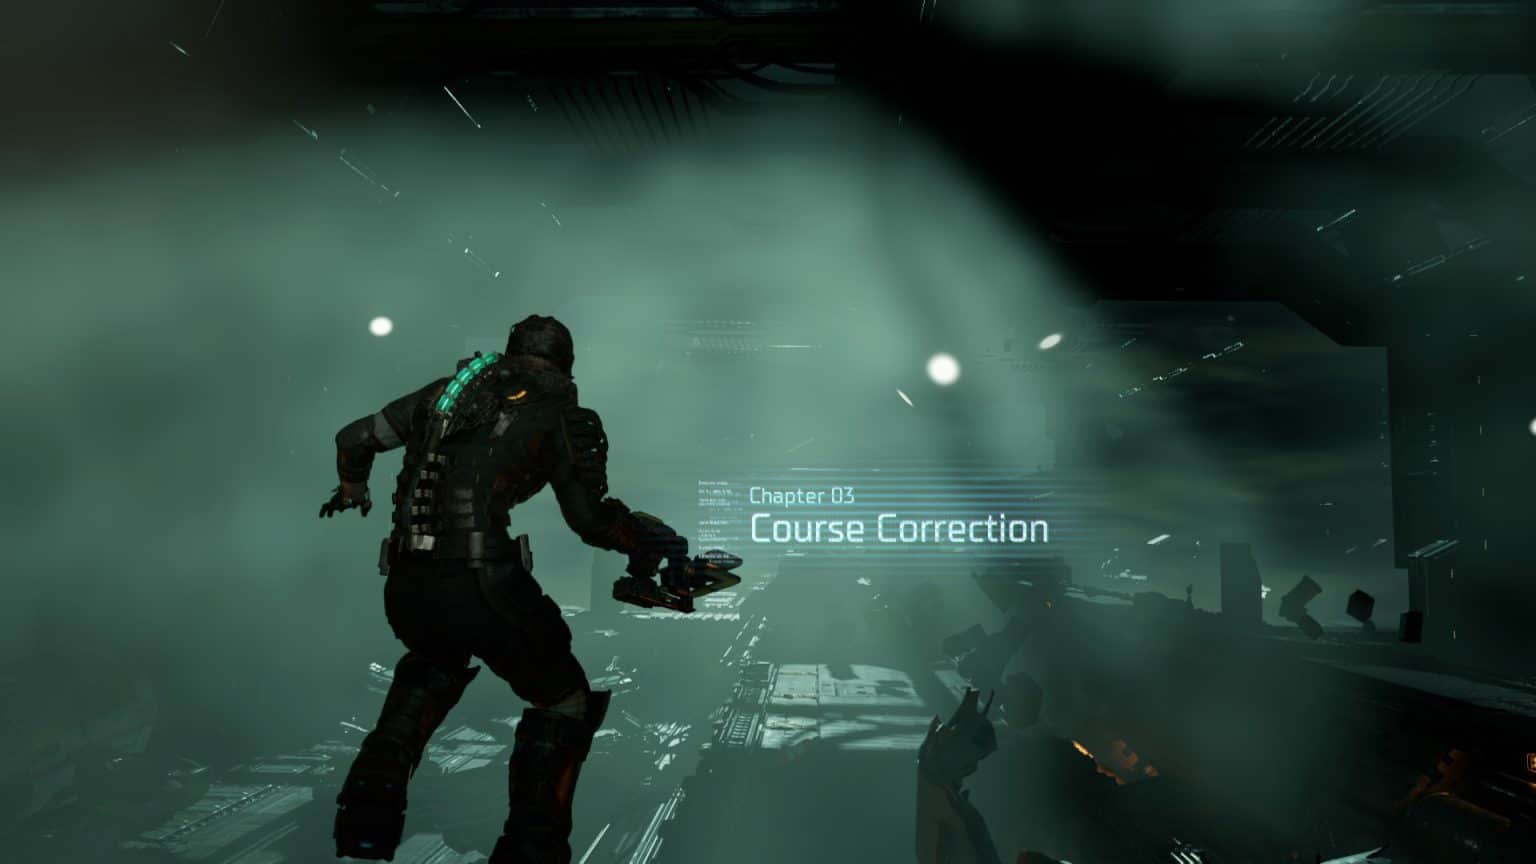
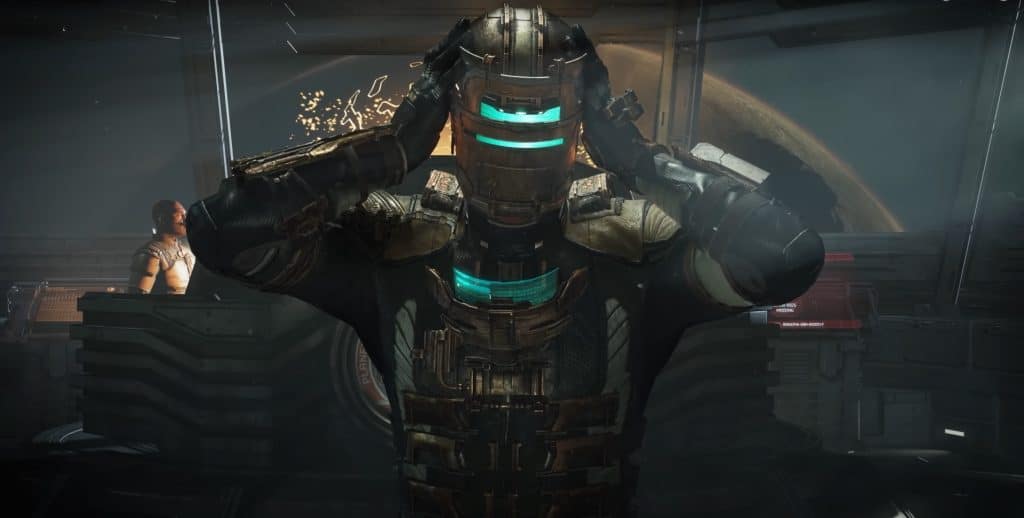
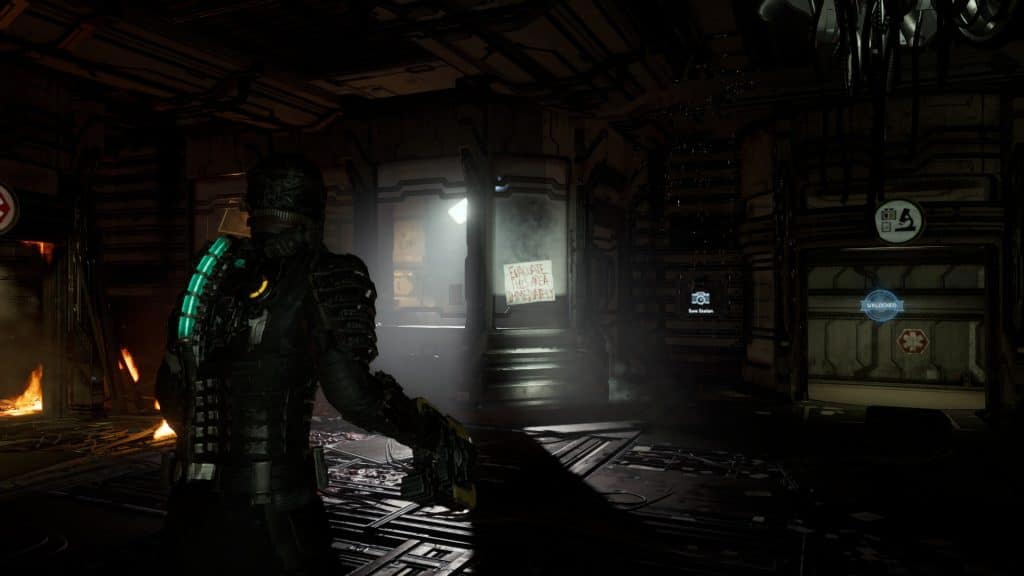
In Chapter 3: Course Correction of Dead Space Remake, Isaac has to deal with a new problem that’s threatening to kill the remaining Kellion crew. USG Ishimura is tethered to a payload that’s dragging it down to Aegis VII and he needs to restart the engines to ensure they don’t all crash. Here’s a walkthrough that shows you how to complete Chapter 3 of Dead Space Remake.
This is a continuation of Dead Space Remake Chapter 2: Intensive Care Walkthrough.
Get to the Engineering Deck
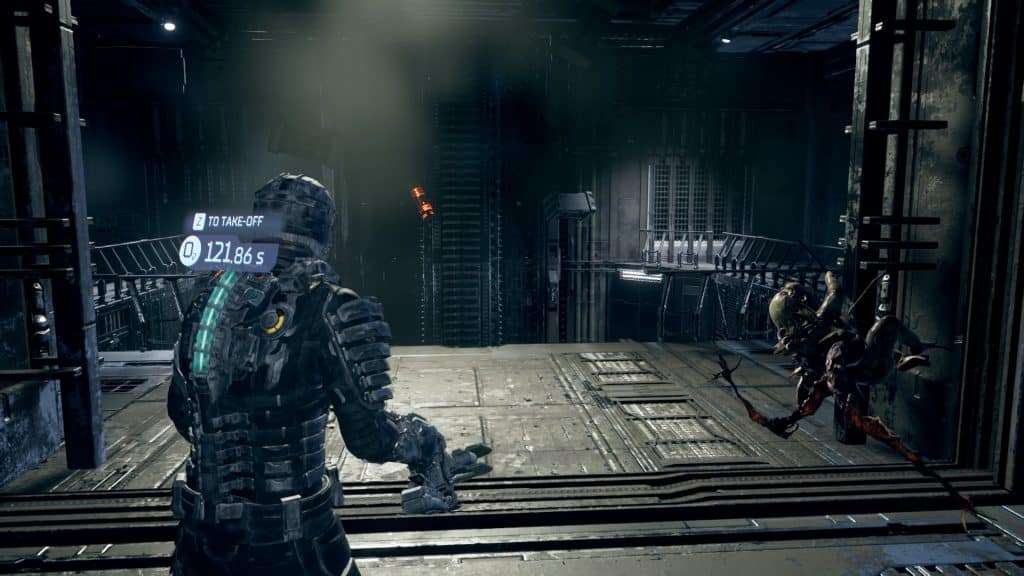
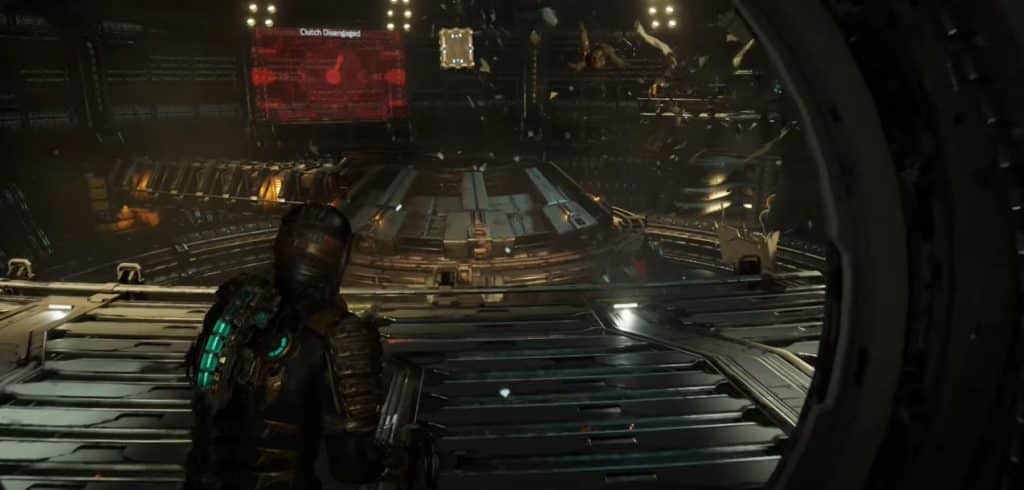
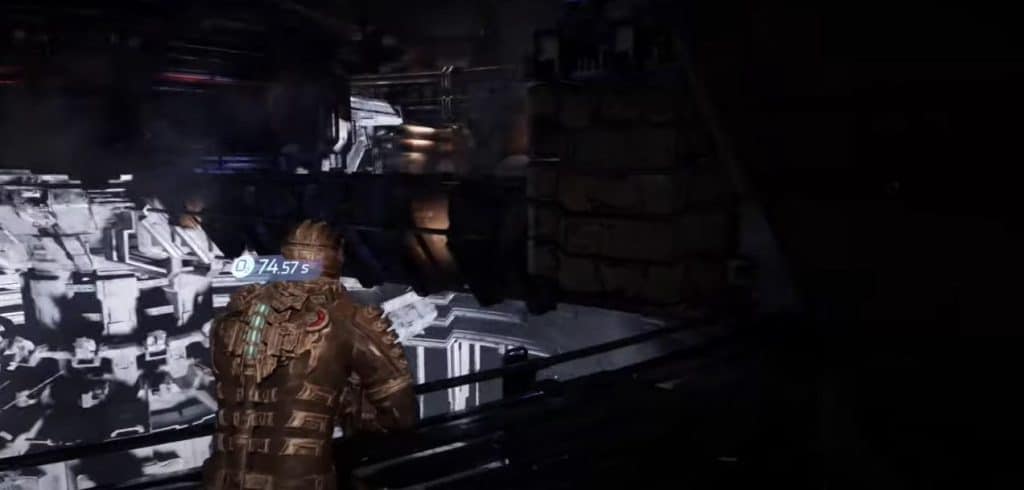
Chapter 3 will start as soon as Isaac takes off in Zero-G in the Hangar area. You’ll have to go into the void where oxygen will constantly drain to get there. There is an opening in the lower right corner that you can head into by following the objective locator.
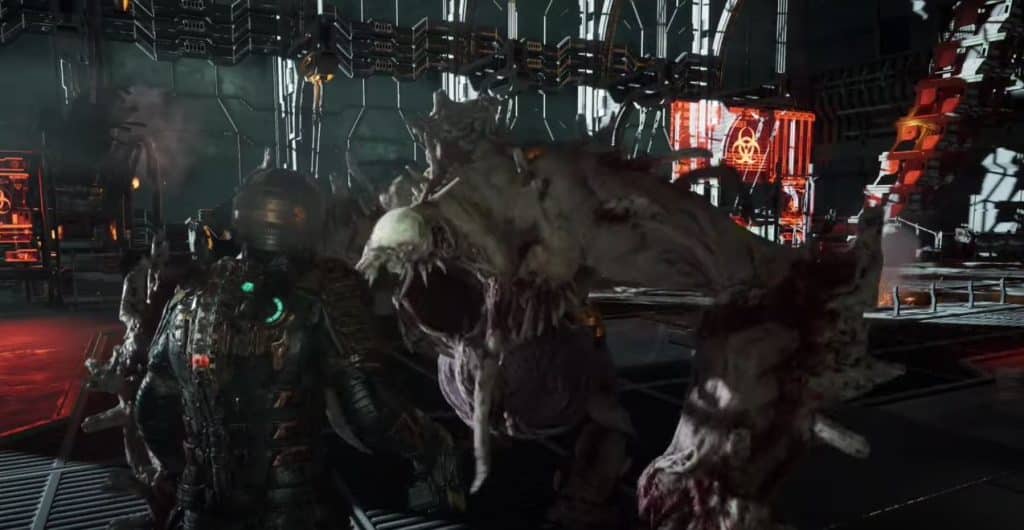
There’ll be a few Lurker and Slasher Necromorphs that you’ll encounter along the way. Once you reach the Engineering Deck, you’ll be asked to turn on the Control Console before Hammond contacts you about what to do next.
Go to the hallway to the right first and unlock the train tram so you can fast travel to this location in the Ishimura. There’s also a store in the control console room that you can use to purchase items before you go.
After heading into the Preparation room on your way to the engines, take the ramp below. The Ripper weapon is on the floor next to a headless corpse in front of the bathroom. However there might be a glitch that prevents it from spawning as it didn’t appear in my playthrough the first time.
Refuel Engines
You need to go past the Preparation Room to get to the Engines. The moment you descend down a ramp, there’s a Bench that you can use for upgrades. However there is a Necromorph slasher hiding behind the secured cargo just before you reach the bench in front of the Calibration Room.
The Calibration Room has a recording of Nicole related to her side quest which you’ll want to see if you’d taken it from the previous chapter. Afterwards, go to the Refueling Stations where you’ll see a Leaper munching on a corpse. It will flee before you can kill it. This is most likely a scripted event but proceed with caution as Necromorphs could jump down and ambush you.
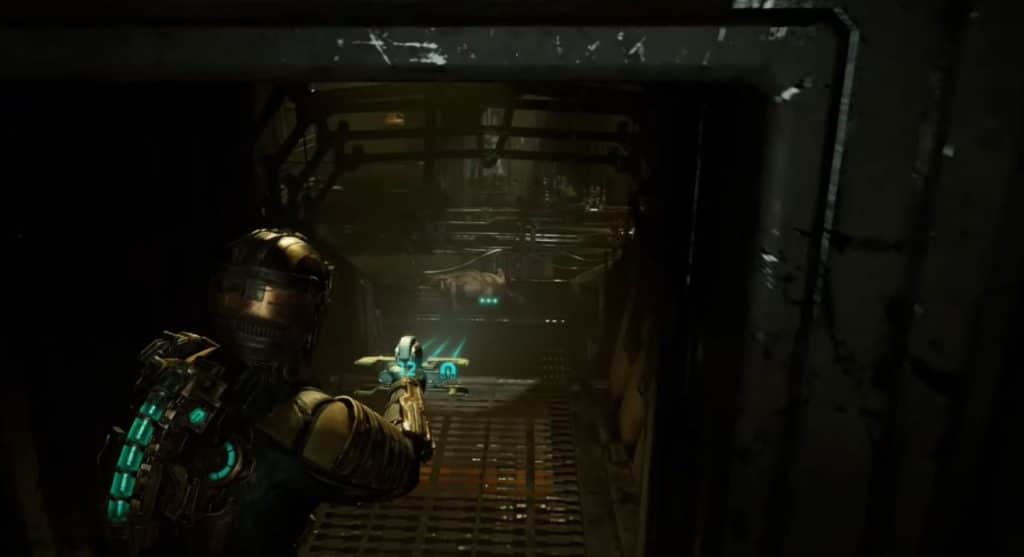
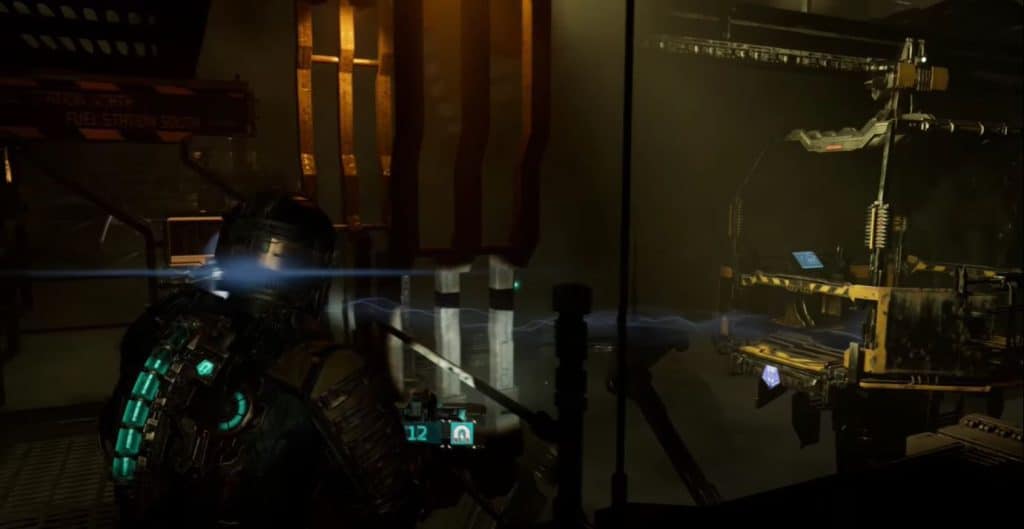
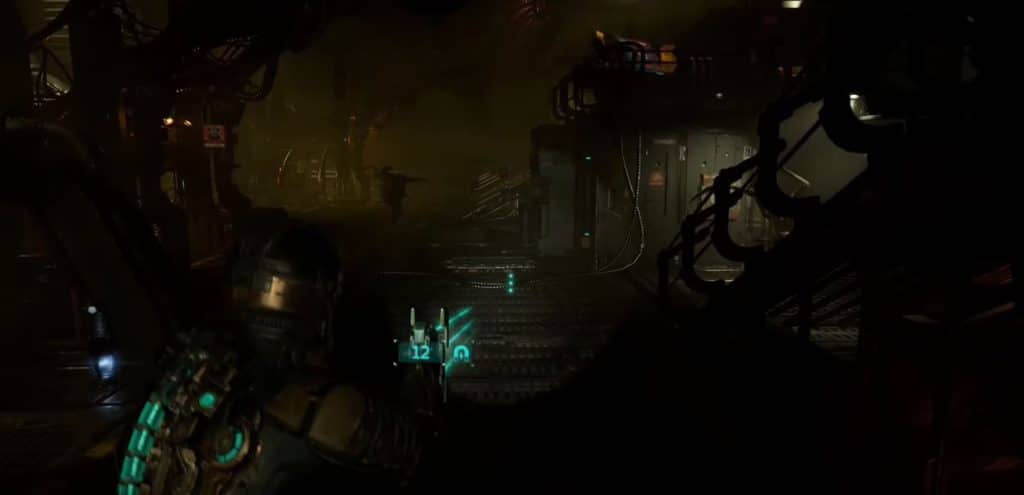
You’ll have to traverse the Refueling Stations in order to refuel both engines. The whole room is a maze easy to get lost in. The north engines are easy enough to refuel. Before you use the lift, head past it and go to the hall with explosive containers on the ground. Use kinesis to refuel the north engine before going back to where the lift to the other side is.
Be on guard, you’ll be ambushed by Necromorphs on both sides once you come back to the hallway with explosive containers. You can quickly take them both out by using your kinesis to throw the containers at them.
Use kinesis to draw the lift closer to you before you activate it to move on ahead. As you move closer to the other side, Slasher Necromorphs will start to appear. They can throw acid spit at you where you won’t have much room to dodge. You could wait for them to go close enough to each other, and then switch to your Plasma Rifle and use its alternate fire to take out most of them in one hit. Either way, take them out before the lift reaches the other end.
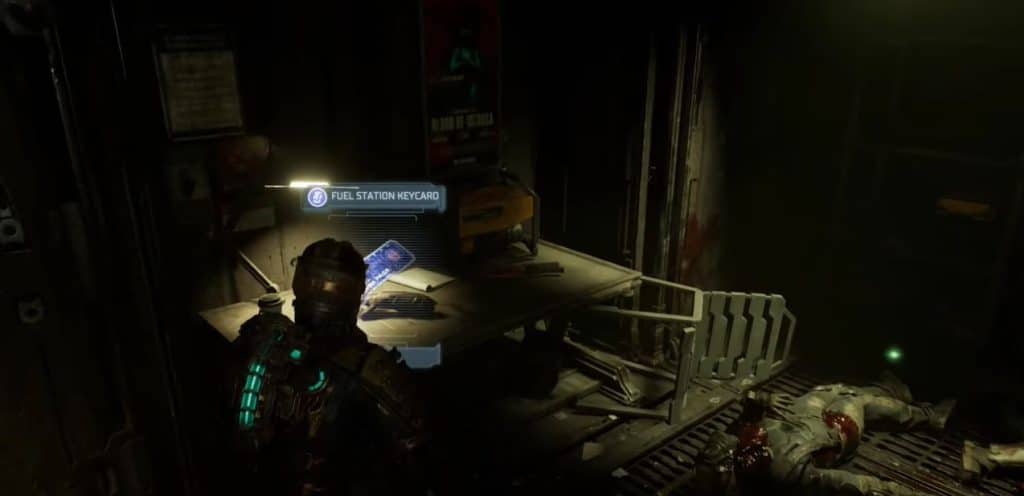
There are plenty of Necromorphs on this side of the Refueling Stations. To get to the south engine, you’ll need a Fuel Station Keycard. It can be found on a table with a severed hand next to the Save Station. You won’t be able to power the south engines until you access the Fuel Management room.
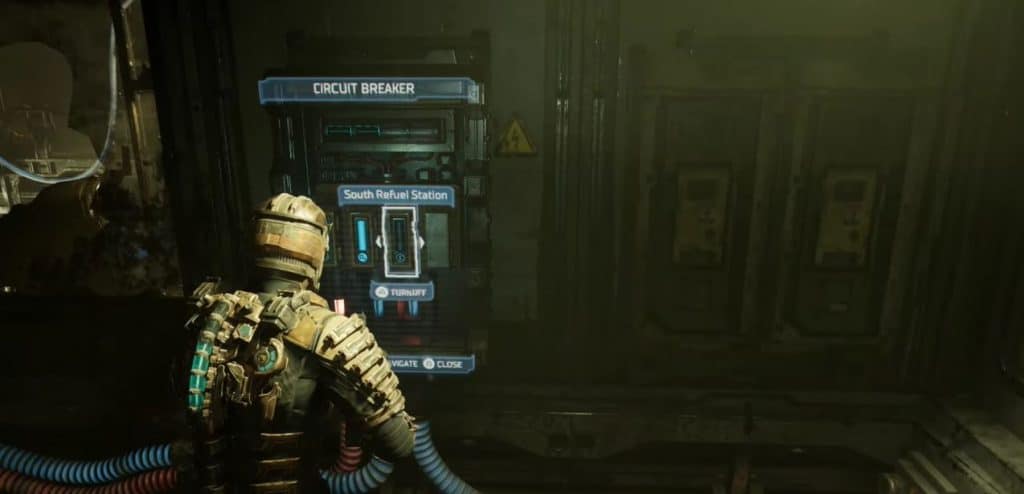
There is a Node and other equipment you can pick up from this room. This is where you’ll have to make a tough decision. You’ve noticed those Oxygen Refuel stations in this area, right? Those aren’t for show. You’ll have to pick between providing power to the lights or the oxygen giving you the touch pick between fighting in darkness or constantly struggling for air.
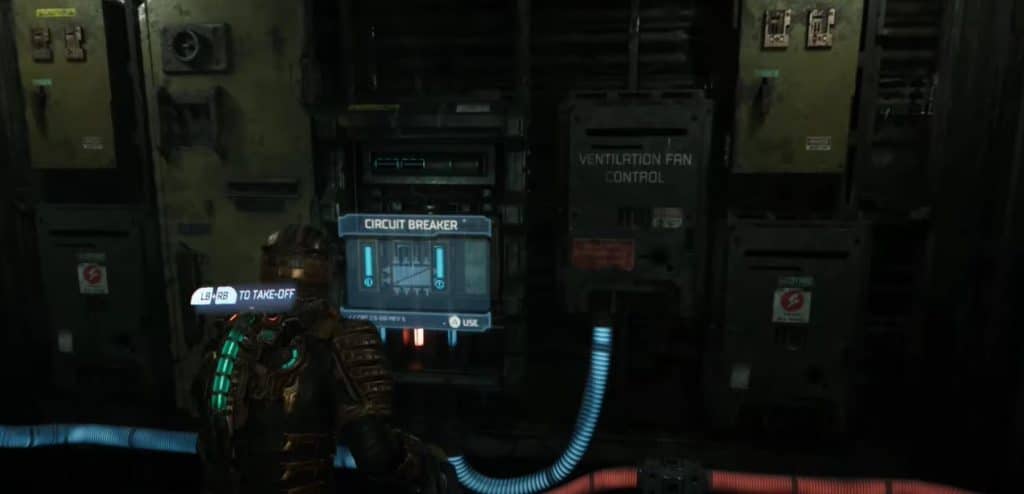
You need to pick one in order to provide power to the south engines. Pick one or the other, but not both. You can disable both the lights and oxygen if you’re feeling particularly invincible. Be careful as Necromorphs will ambush you on your way.
After interacting with the circuit breaker, go to the south engines past the save station. Like the north engines, use kinesis to refuel it. This should complete the objective.
Get the Centrifuge Working
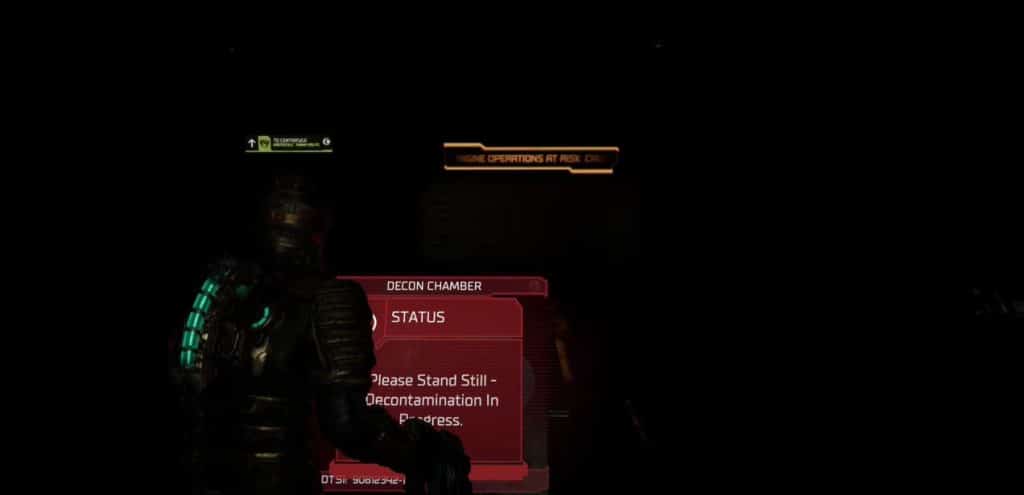
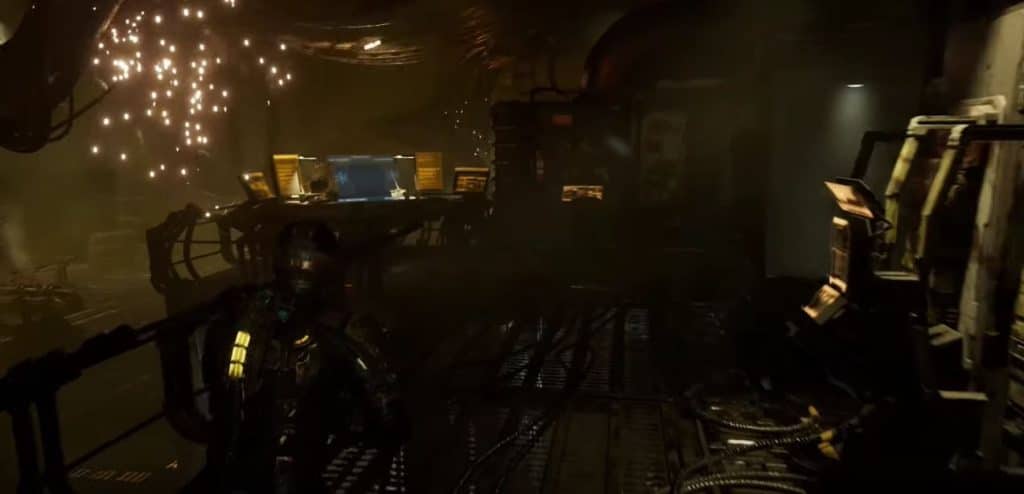
Head back into the Control Room take the chance to restock on supplies. When you’re ready, take the elevator to ascend into the centrifuge. There is an upgrade Bench that you can use before heading inside the Decontamination Chamber.
Necromorphs will ambush you in this room while decontamination is going on. Watch above for the vents so you know where they’re coming from. You’ll have to kill a few of them before you’re let out of the room.
Continue on your way to the centrifuge where you’ll encounter more Necromorphs along the way. The moment you enter the centrifuge room you’ll be able to use Zero-G in order to put it back online.
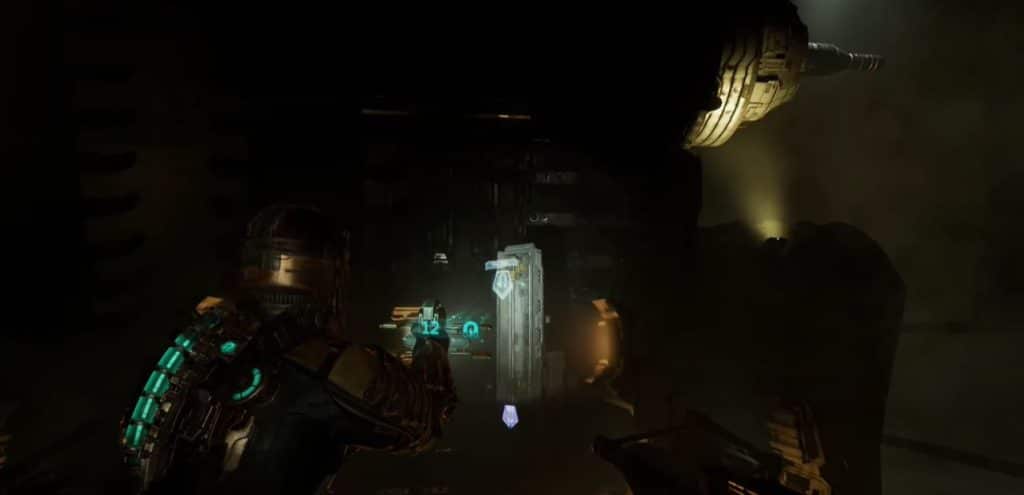
To put the centrifuge online, you need to attach the generator modules using stasis and kinesis. They’re on each side of the centrifuge itself. Be careful of the Necromorph Leaper that will jump at you, which you may not see at first. Use stasis to slow down each generator before grabbing them with kinesis to attach them to the centerfuge.
After you’re done, go to the centrifuge control panel. Activate it and a scene will occur that will take away the oxygen in the room. This will also prevent you from using Zero-G again, so you’ll have to use the cargo lift at the back to go back down.
Ignite the Engines
A big problem is avoiding the rotating centrifuge as it will crush Isaac to death. Take cover in the open spaces after running. Then take the cargo lift to go above another floor. You might still be attacked by another Leaper Necromorph so watch out.
Once you head outside of the centrifuge, Isaac will be attacked by a large Necromorph tentacle. This is just like the original. You’ll have to aim at the glowing weak point to escape its grasp. You need to keep hitting it before it drags you to the end where it’s game over.
Head on back to the Control Room and stock up on supplies. You’ll get the chance to access the upgrade Bench and store before continuing to ignite the engines. Follow your objective locator and you’ll head into a room with spinning fans and Zero-G. Use stasis to slow the fans down then go through it. There is a Stasis recharge station underneath the fans if you need it.
There is a circuit breaker on the other side that you’ll have to interact with. Provide some power to the second airlock so you’ll be able to head on through and go back past the fans again. A Necromorph might jump behind the vents and attack you so be prepared.
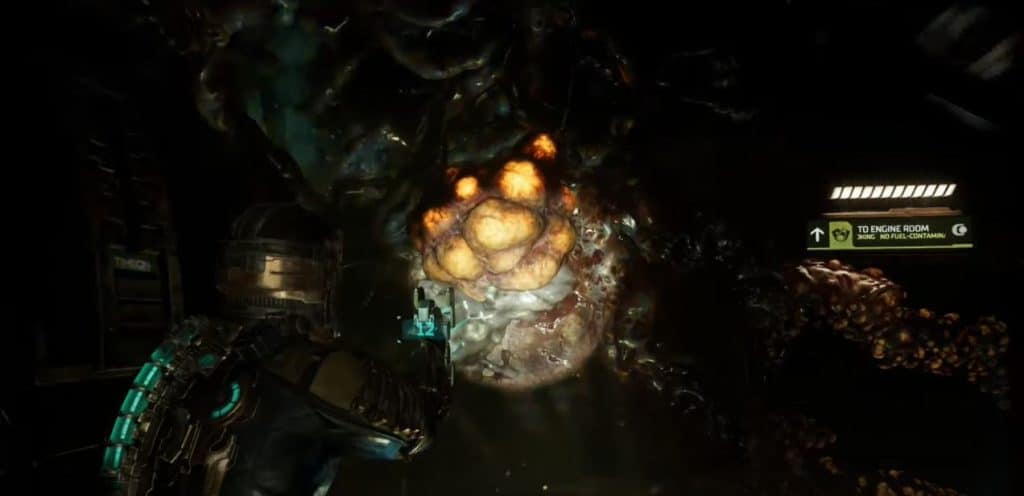
There is a huge Necromorph growth that you have to take out before heading into the Engine room. Aim for the weak spot to move it out of the way. Once you’re inside the hallway leading to the Engine room, you’ll go past a corpse that has the Flamethrower weapon. Pick it up.
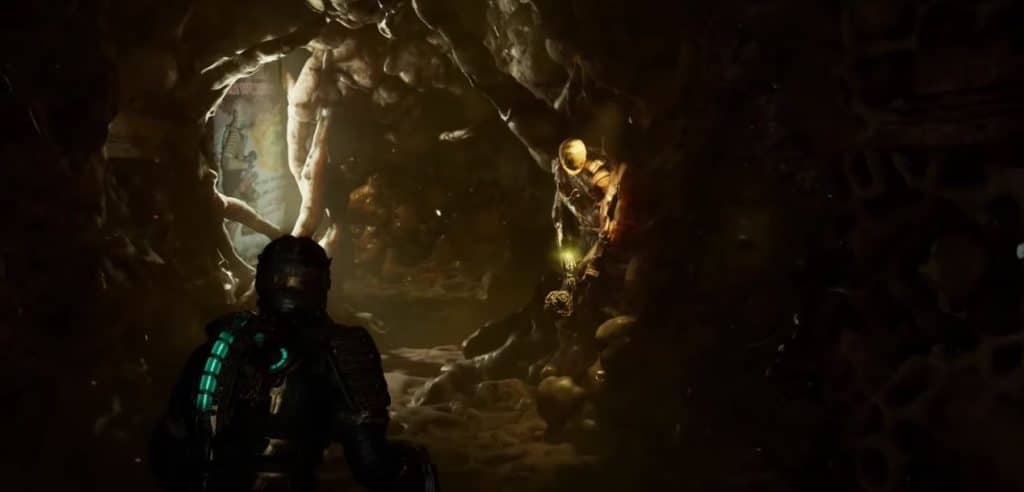
Continue going through the hallway and Isaac will have to squeeze through a tight space of Necromorph flesh before being surprised by a Necromorph pinned to the wall. It can’t get you but you should still shoot it before going near. You can shoot the weak point at the ceiling to get rid of the Necromorph growth.
Follow the objective marker to where you have to take the cargo lift down a level. There is another Bench in the path that will let you upgrade the new Flamethrower you just got. You’ll have to target the weak point of the Necromorph growth to proceed. Be careful of the Swarmer Necromorphs. There is also a room with a Ripper Blade schematic upgrade to pick up. When you’ve picked up everything, take the other cargo lift to the lowest floor.
In the lowest level, another Necromorph growth can be taken out to get into a room with a Gold Semiconductor. Take it, and then use stasis on the broken door to go through. Follow the hallway to the Engine room.
The moment you set foot inside the Engine room, Necromorphs will come out into the open to fight. Be careful of the Exploder Necromorph as it will do a lot of damage if you let it get close.
When they’ve been taken care of, take the battery on the desk atop the ramp and put it in the engine. This will ignite the engines but more Necromorphs will come out in the open to attack you. After they’ve bene dispatched, go back to the panel and interact with it one last time.
After you’re finished, head back to the Control room and Hammond will contact you on the way. Isaac will also get a brief call from Nicole.
You’re done with Chapter 3: Course Correction in Dead Space Remake.
If you like our article, here’s more Dead Space Remake content that you’ll love:
- All Dead Space Remake Suits (RIGs) & how to unlock them
- Dead Space Remake: How to increase the inventory space
- Dead Space Remake: How to restore Stasis?
- Dead Space Remake: How to save the game?
- Dead Space Remake: How to heal?
Here’s a Youtube video from FP Good Game showing the Dead Space Remake Chapter 3: Course Correction.


