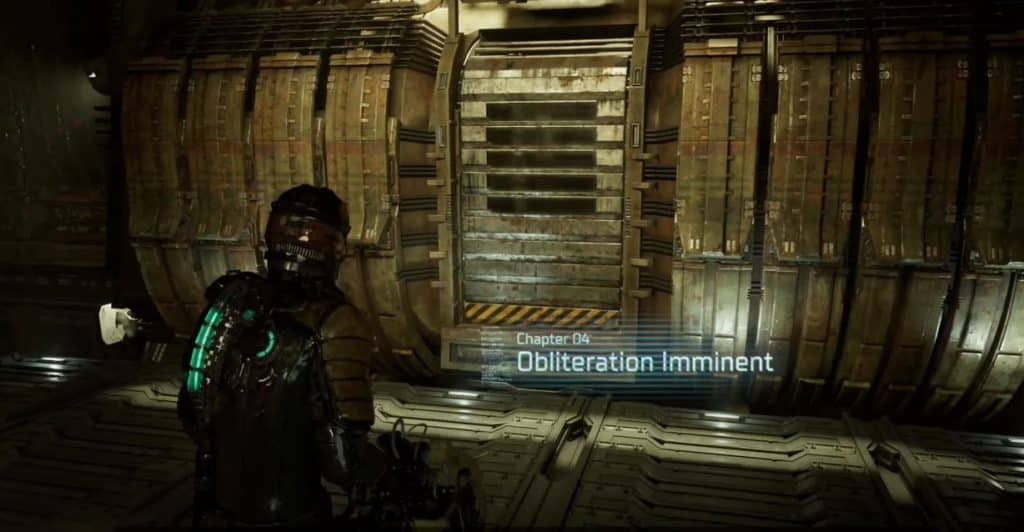
In Chapter 4: Obliteration Imminent in Dead Space Remake, the USG Ishimura is in danger of being destroyed putting Isaac and the rest of the Kellion crew in serious risk. This forces Isaac to do anything to power up the ADS cannons to destroy asteroids crashing into the ship. Here’s a walkthrough that shows you how to complete Chapter 4 of Dead Space Remake.
This is a continuation of Dead Space Remake Chapter 3: Course Correction Walkthrough.
Meet Hammond at the Captain’s Nest
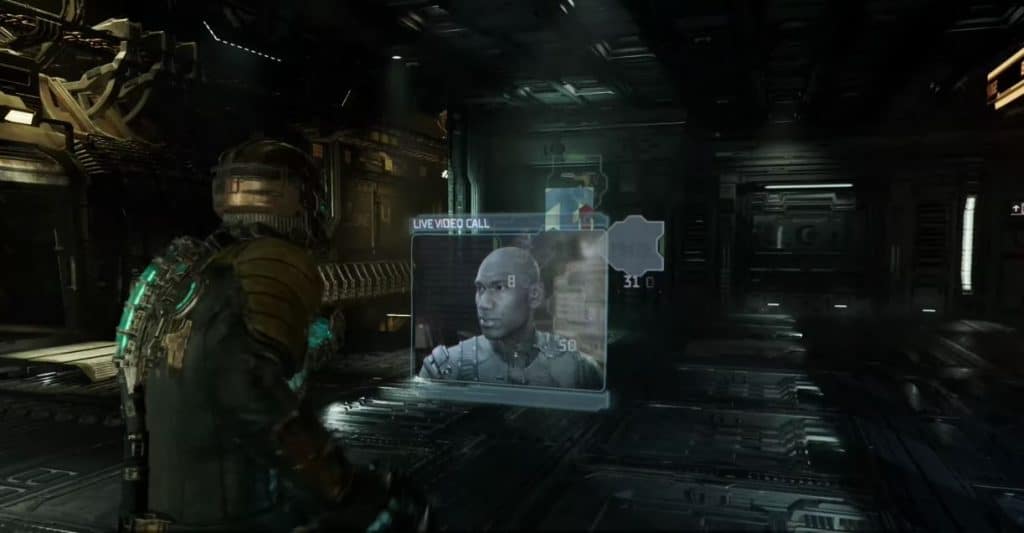
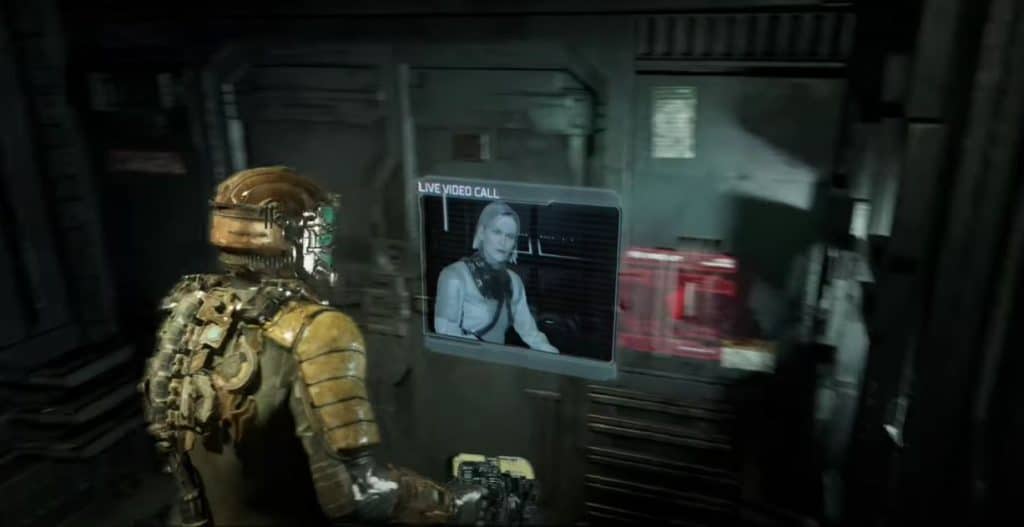
Go to the Tram station in Engineering and use it to fast travel to the Bridge. After a short wait, you’ll find yourself in the Bridge tram where Hammond and Kendra will contact you. You’ll have to wait until the call is finished before you’re able to proceed.
After the two are done arguing, head into the Atrium hallway and follow the path. A huge Necromorph arm will attack through the glass just before you get to the store. Just avoid it as it can’t get to you unless go near. Use the store to stock up on supplies before continuing forward.
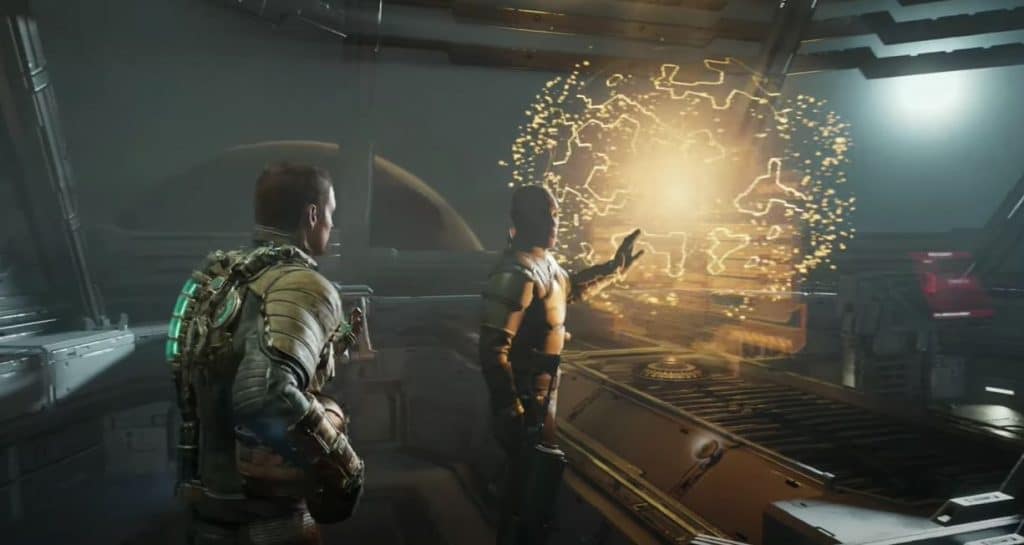
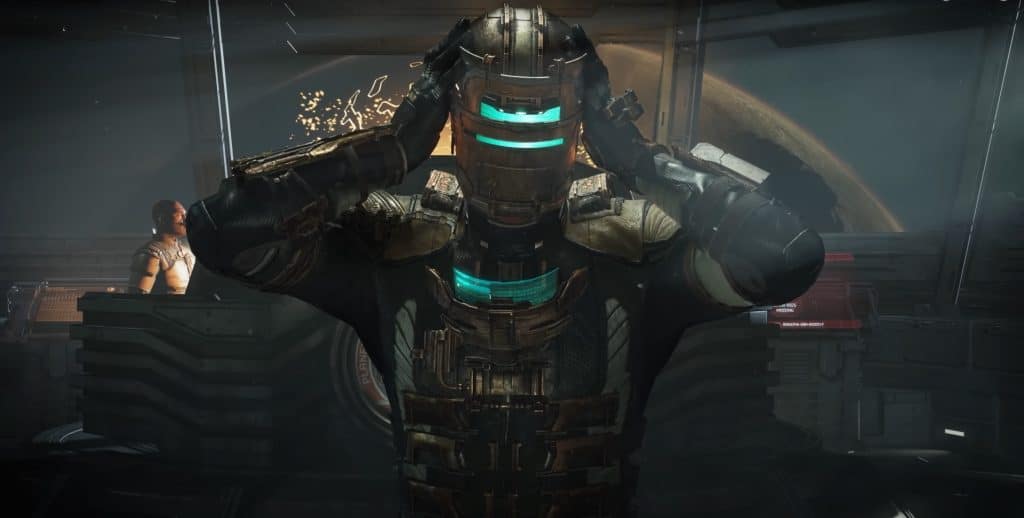
The moment you reach the Atrium, a meteor will strike the hull which deprives the area of oxygen momentarily. Go down the elevator to meet with Hammond. Isaac will explain what he needs to do to get the ADS cannons up and running.
After this scene is over, Isaac will receive Level 2 Security Clearance. He now has to activate the elevators from Security.
Activate the Elevators
Take the elevator back into the Atrium. Head into the Security room which requires the Level 2 Security Clearance. However before you’re able to unlock it, the huge Necromorph monster from before breaks through.
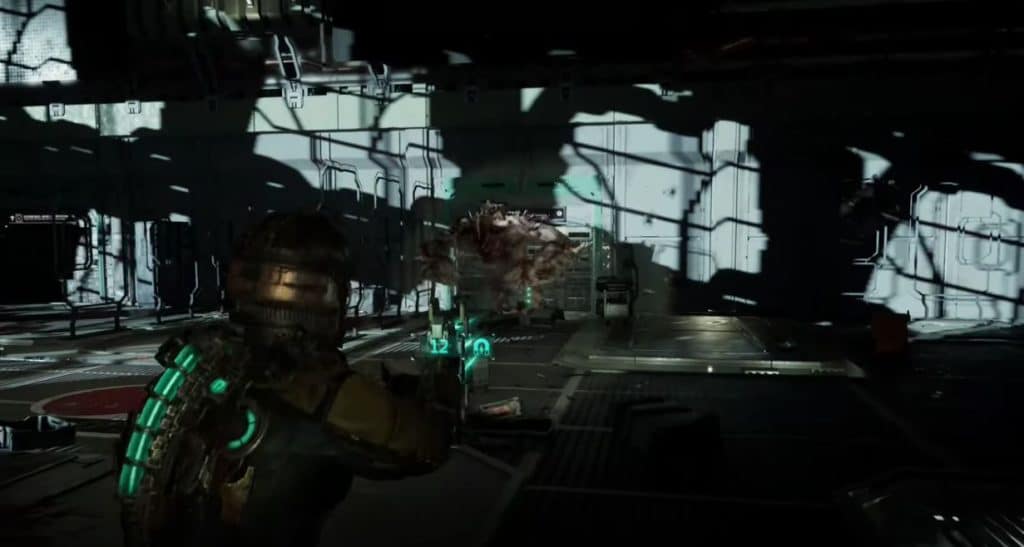
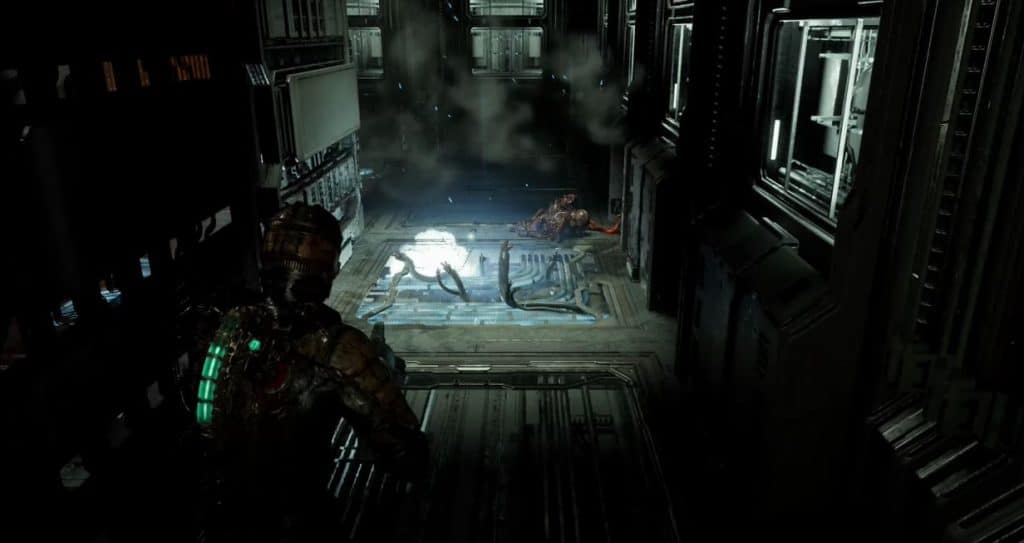
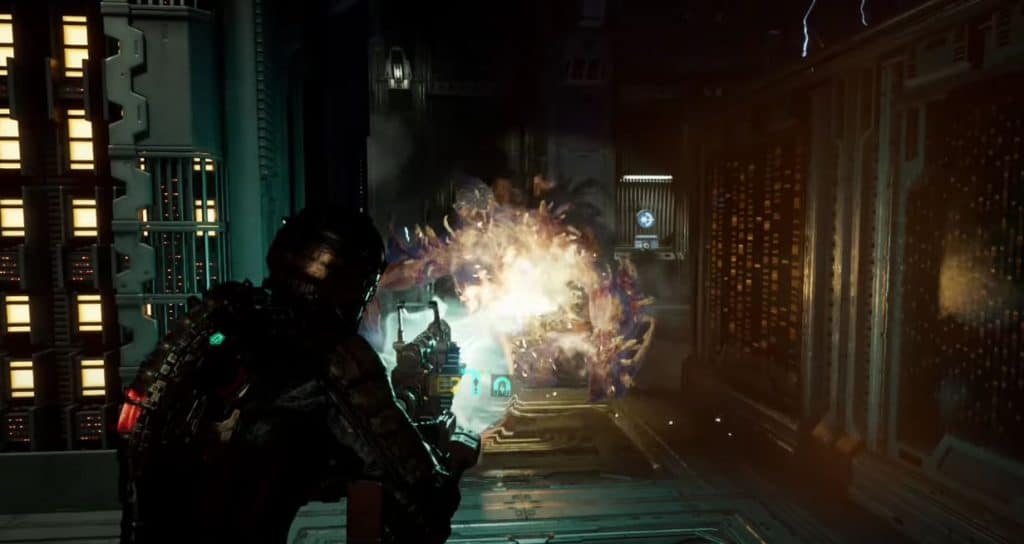
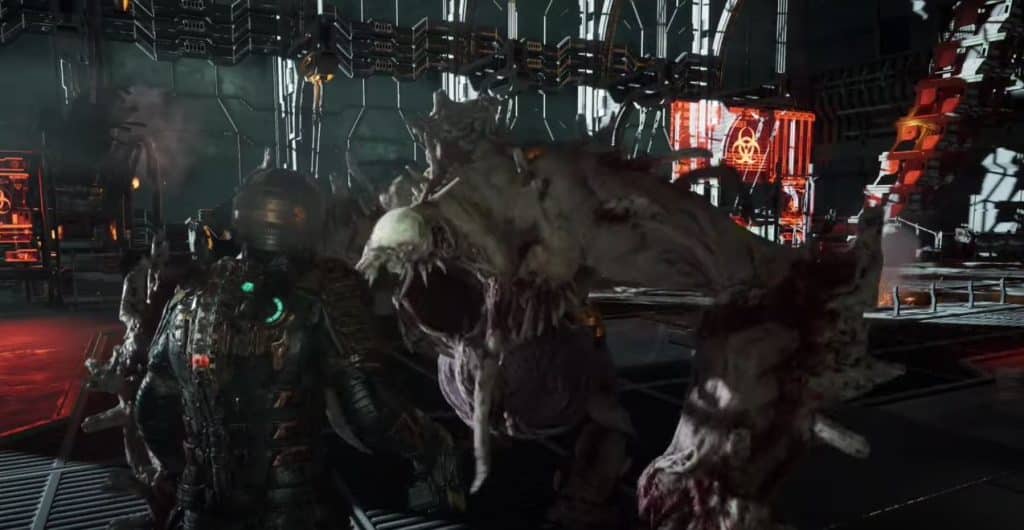
This is the Brute necromorph, a massive creature who is fast and uses brute force to take Isaac down. The Atrium will commence quarantine preventing you from being able to escape until you take it out. Use stasis to outrun it whenever it gets too close.
Due to its thick skin, the Ripper is the least effective weapon against the Brute. It’s specially susceptible to the mines from the Plasma Rifle and the Flamethrower. Once the Brute is taken down, be sure to pick up the Node it drops before making your way to security.
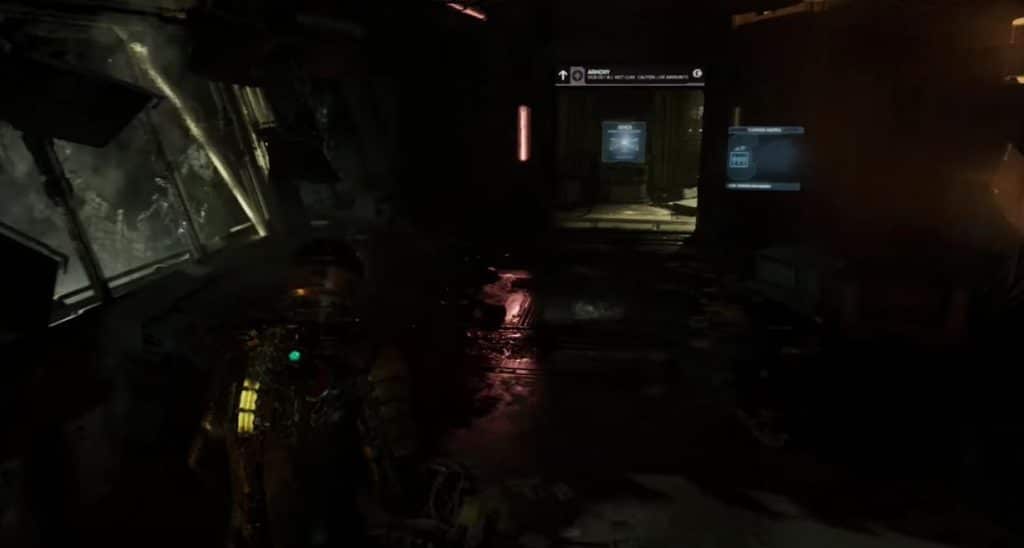
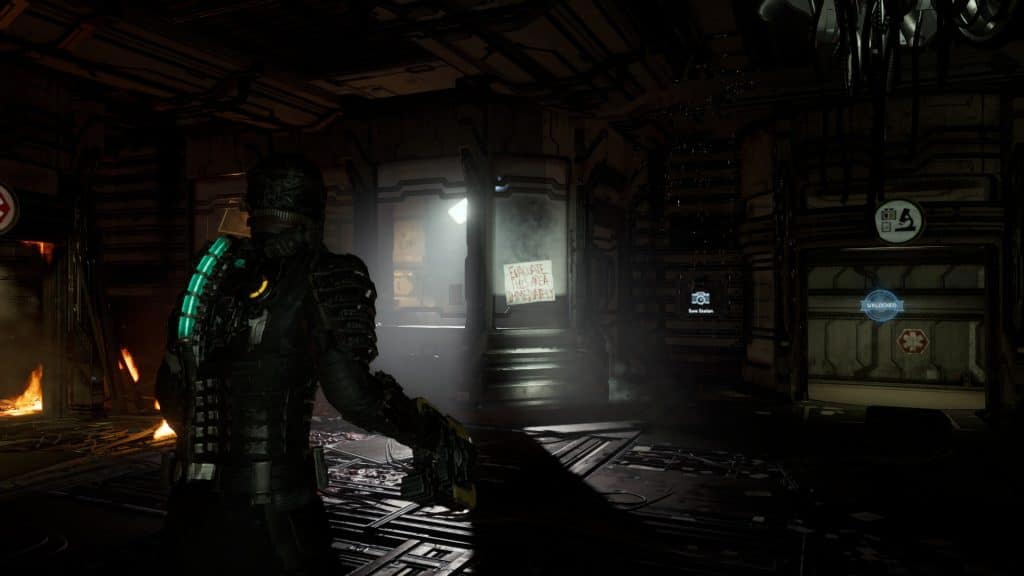
You’ll have to turn on the elevators from the security room. There is an upgrade Bench in the armory that you can use that Node you found to good use.
Reroute Power From Mining Administration
Go to the Atrium elevators and take them to Floor 2. You’ll need to reroute the power from the mining administration to the ADS cannons. Just as you’re walking through the Station Access Corridor, an asteroid will strike the hallway putting you in the vacuum.
You’ll be continuously drained of oxygen that longer you’re in this corridor. The storage room in front will help restore oxygen once the door closes. There is also a Node you can collect here. It shouldn’t matter too much as the Mining Administration you need to get to is a short walk away.
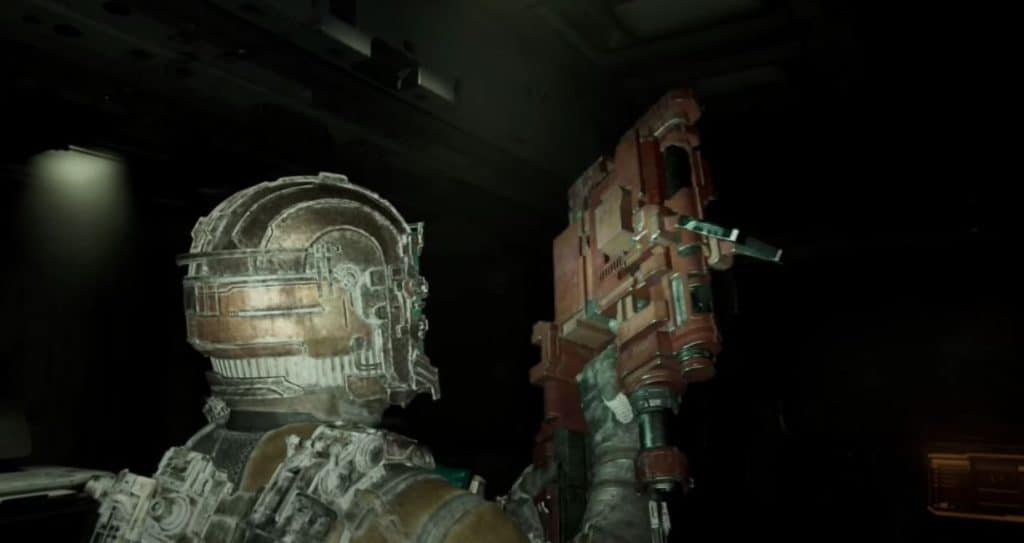
With your Level 2 Security Clearance, go to the Records Office. This is where you can pick up the Contact Beam. This weapon fires powerful lasers that takes a quick second to charge. You can test it out on the Mining Administration room where a few Necromorphs will attack.
Go left to the Main Fuses room where you can use your Level 2 Security Clearance to open. You can pick up a Gold Semiconductor and cut some circuits there. An upgrade Bench can be found in the Coolant Monitoring room nearby. If you have any extra Nodes, you can use it to upgrade your newly acquired Contact Beam.
Once you’re done, go to the circuit breaker and reroute power from Mining to the ADS cannons. Necromorphs will emerge after you do so.
Reroute Power From Electrical Systems
Go back to the elevator and take it to Floor 3. The moment the elevator doors open, you will hear a loud scream. Continue to the Comms Array Station and you’ll have the chance to save your game before proceeding.
If you decide to go into the Break Room, Kendra will give you a call about the Marker recording from the inside. There is also a Gold Semiconductor you can pick up from here. When you’re ready, proceed to Electrical Systems.
Be careful inside this room as the floor has exposed electrical circuits that could fry Isaac alive. This will also fry Necromorphs who step on it. You need to time it right for when you’re going to run across.
The biggest problem is the Brute hiding near the end of this maze like area. Your newly acquired Contact Beam should be a good weapon against it. Its secondary fire charges up a very powerful beam that deals big damage against larger Necromorphs like the Brute.
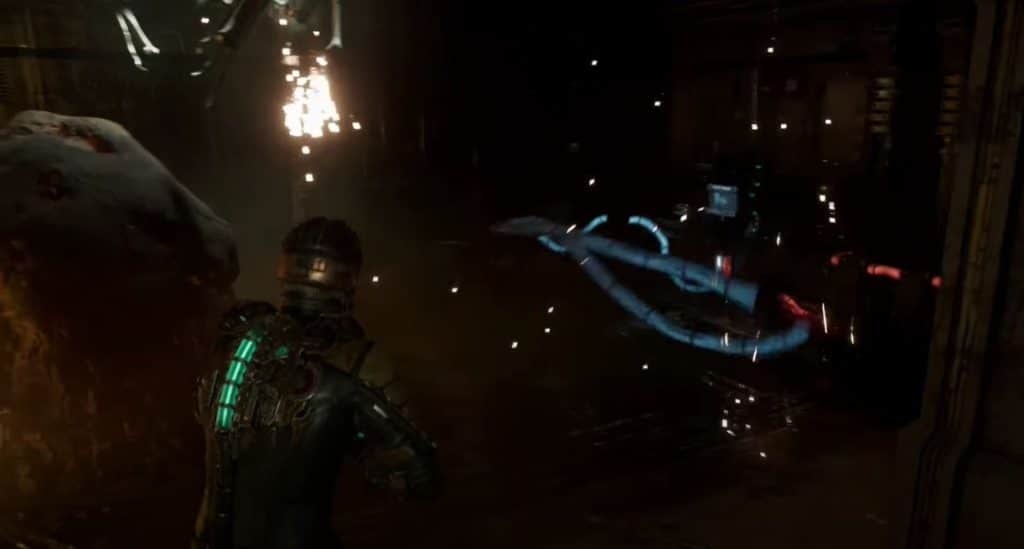
After finishing off the Brute, you can head into where you can switch the circuit breakers to power the ADS cannons. However there is another problem: loose wirings are springing all over the place which prevents you from doing so safely.
Use stasis on it to slow it down and immediately run over to the circuit breaker. Power down the Electrical Systems which should be enough to stop the wires from hurting you. Now reroute the power to the ADS cannons.
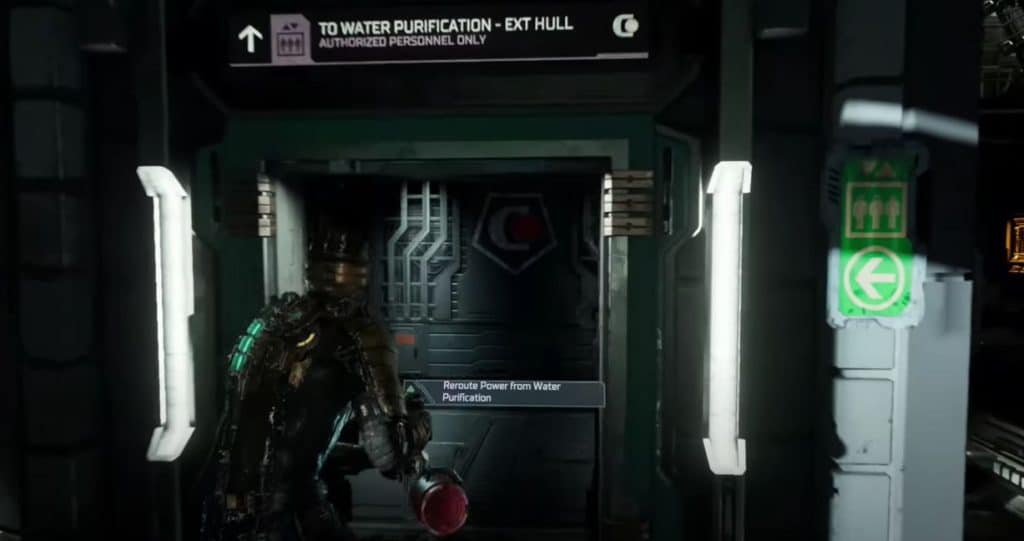
Reroute Power from Water Station
Go back to the elevator and take it to Floor 1. You’ll receive a call from Kendra along the way telling you about the nature of the Necromorph outbreak in the Ishimura. Once you arrive in the Atrium, Leaper Necromorphs will drop from the ceiling.
You may run into a Necromorph with a bloated stomach in the hallway. Even though it’s the most obvious weak spot, hitting it is unadvisable as it will release Swarmers which can be bad news. Instead use your Flamethrower to kill it quickly.
Proceed to rerouting power to ADS cannons. Unlike the previous two, the Water Station won’t give you too much trouble.
Calibrate the Three ADS Cannons
After rerouting power from all three circuit breakers, Hammond will call Isaac to tell him that the ADS cannons are back online. However calibration data for all three aren’t found. This forces Isaac to go outside the Ishimura and gather data to calibrate the three ADS cannons.
Hammond will unlock exterior access. You can use the hallway to make your way outside. Before you do, make your way to the EVA Prep Room at the side of the hallway. There’s a Golden Semiconductor and a schematic for an upgrade you can pick up.
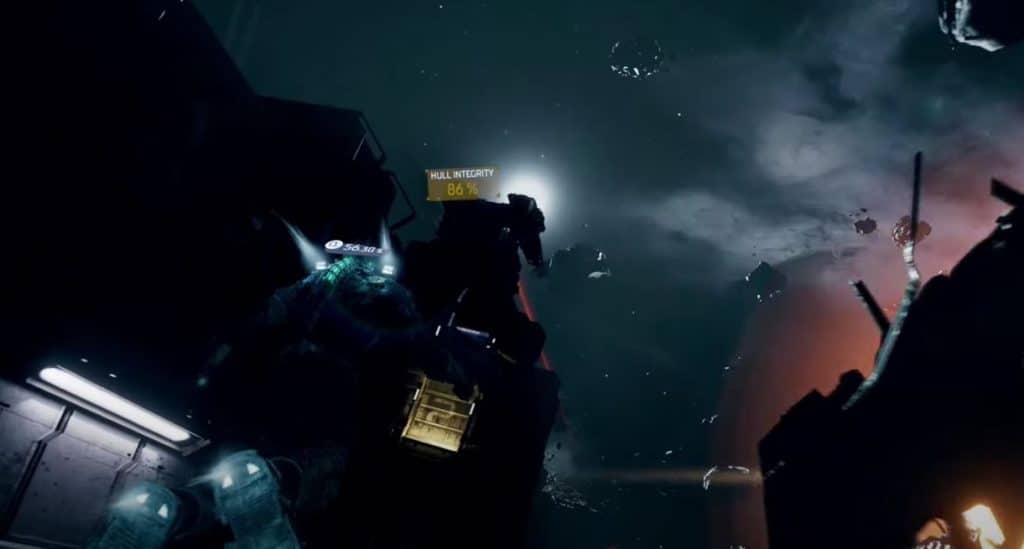
Once you go into the void, go to one of the cannons and interact with the panel to sync your aim with it. What you’re going to do here is target the incoming asteroids and call in strike until it reaches 100% which calibrates that ADS cannon for you.
This one could be a bit of a challenge since you’ll need to refill your oxygen while calibrating the cannons. There’s plenty of Oxygen Recharge stations around in case you’re low. Also be careful of Necromorphs that are stuck to the exterior of the USG Ishimura.
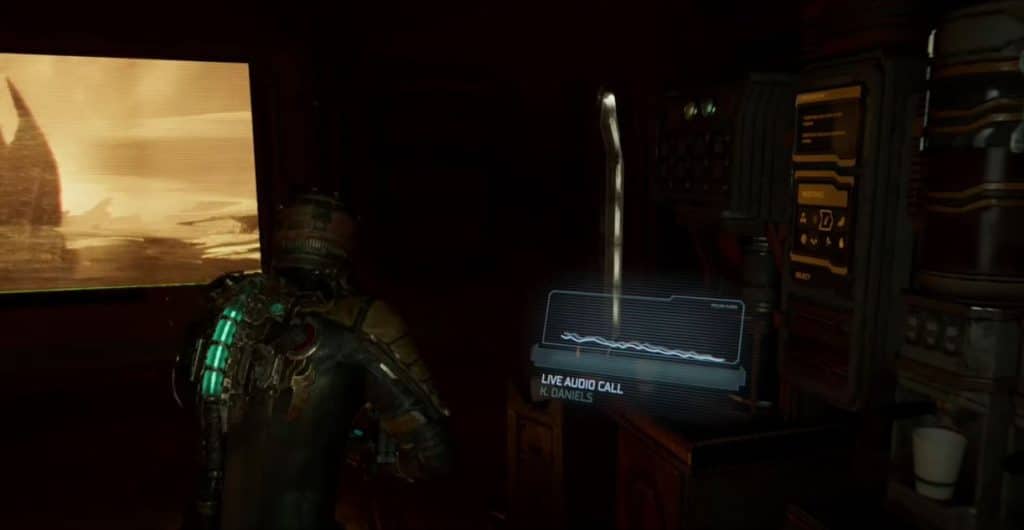
After calibrating the ADS cannons, head back into the USG Ishimura. Isaac will get a call from Kendra patching him into a live call from Nicole.
You’re done with Chapter 4: Obliteration Imminent in Dead Space Remake.
If you like our article, here’s more Dead Space Remake content that you’ll love:
- All Dead Space Remake Suits (RIGs) & how to unlock them
- Dead Space Remake: How to increase the inventory space
- Dead Space Remake: How to restore Stasis?
- Dead Space Remake: How to save the game?
- Dead Space Remake: How to heal?
Check out theRadBrad’s first encounter with the Brute in Dead Space Remake Chapter 4.


