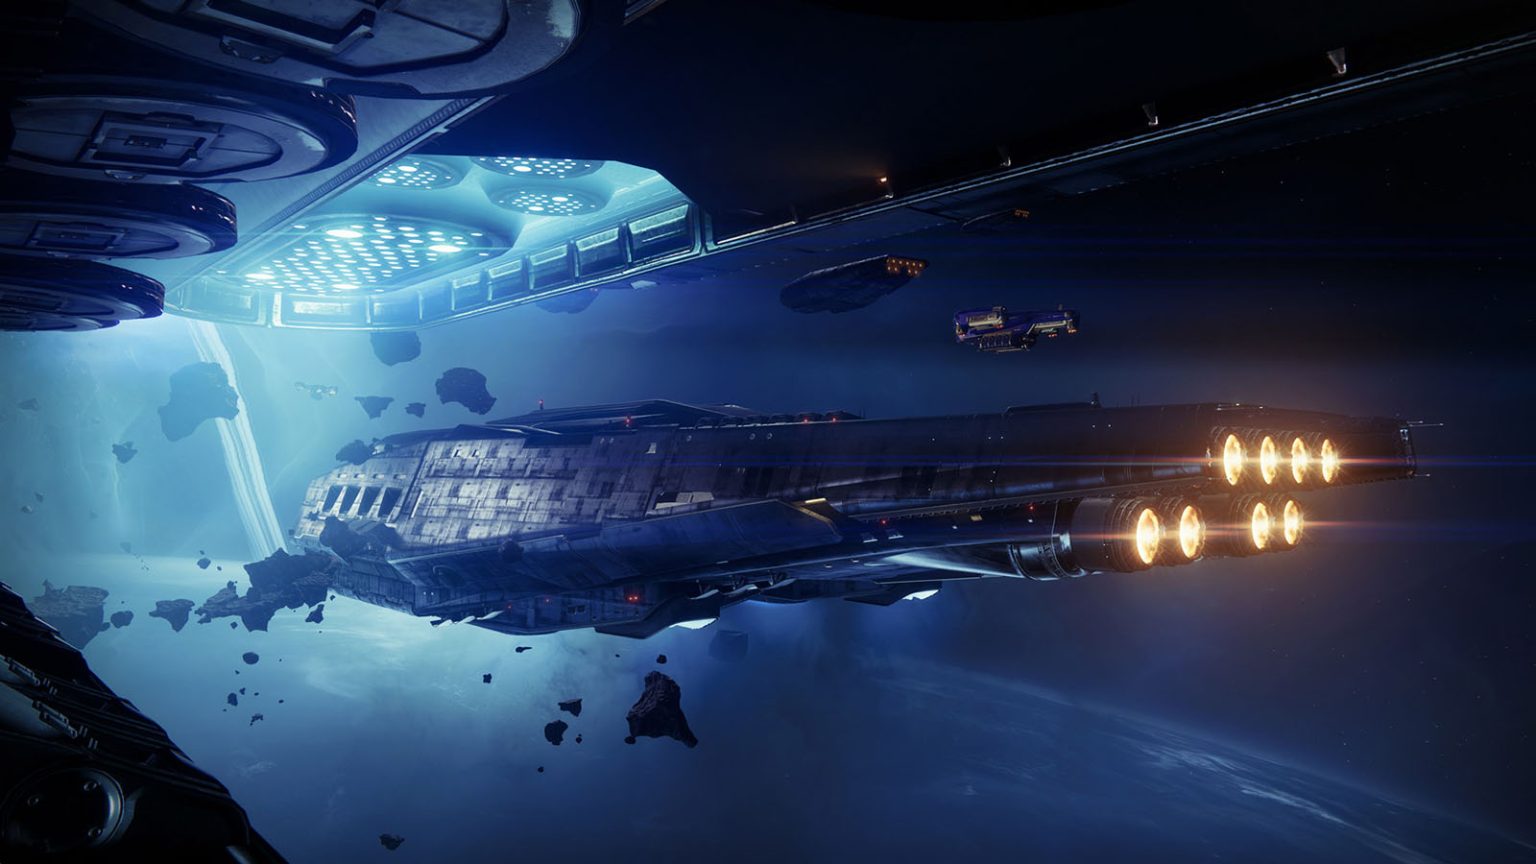
First Contact is the first mission of the Lightfall Campaign in Destiny 2. When The Witness tried to approach The Traveler, it sensed The Traveler’s memories and found the location of The Veil. The Witness then orders its new disciple, Calus, to head towards Neptune, where The Veil has been kept, and retrieve it so that The Witness can gain full access to The Traveler.
Read ahead as we go through the events of First Contact and provide tips on how to complete the mission quickly.
First Contact Objectives:
- Sabotage the Cabal Fleet
- Gain Access to the Restricted Area
- Gain Access to the Bridge
- Destroy the Computer Core
- Find Osiris
- Gain Access to the Reactor Room
- Destroy the Ship’s Reactor
- Find a Way Off the Ship
- Gain Access to the Drop Pod Bay
- Escape
- Find and Rescue Osiris / Secure the Area
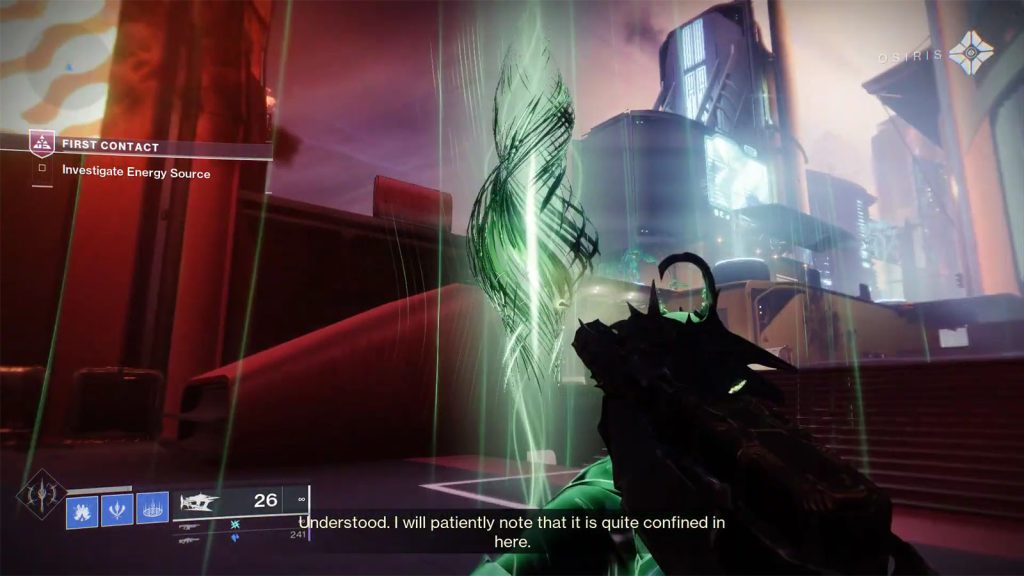
- Investigate Energy Source
- Defeat the Shadow Legion
The recommended power for this mission is 1620.
Sabotage the Cabal Fleet
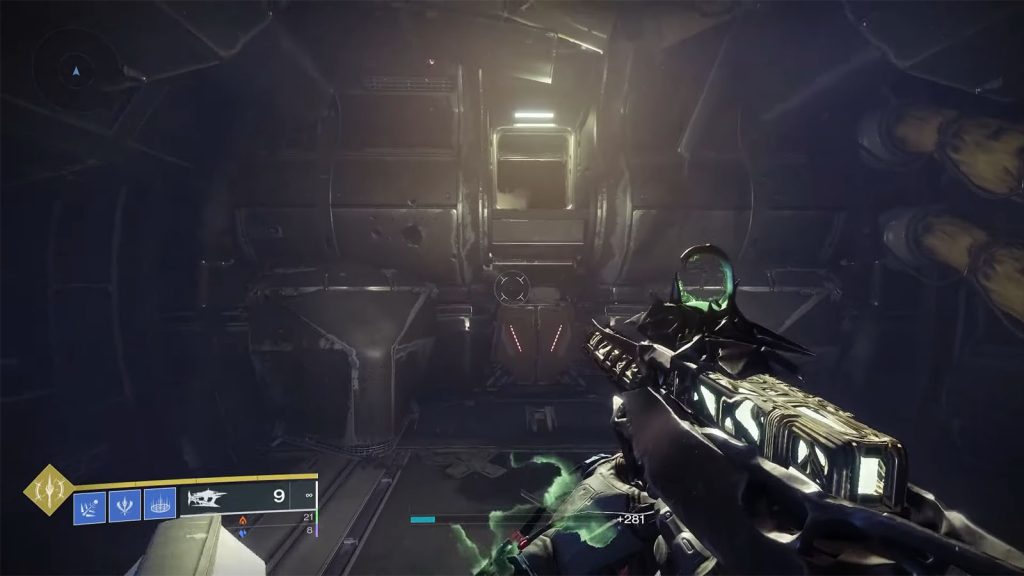
As you join the pursuit of Calus’ fleet, you manage to get on board one of the ships that is on its way to Neptune. You will also get in contact with Osiris as he is glad to get some back up in stopping the fleet. Make your way through the path ahead and bust open the vent panel to go to the next section.
You will arrive at a room where some enemies can be seen, but you won’t fight them yet. Continue moving through the corridors of the ship and you will find another panel on the floor to bust through.
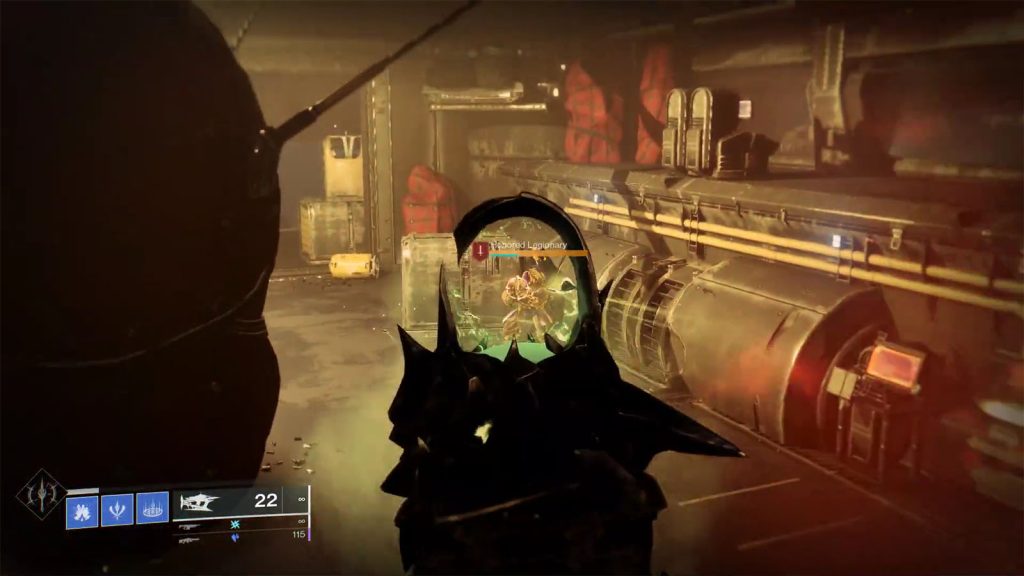
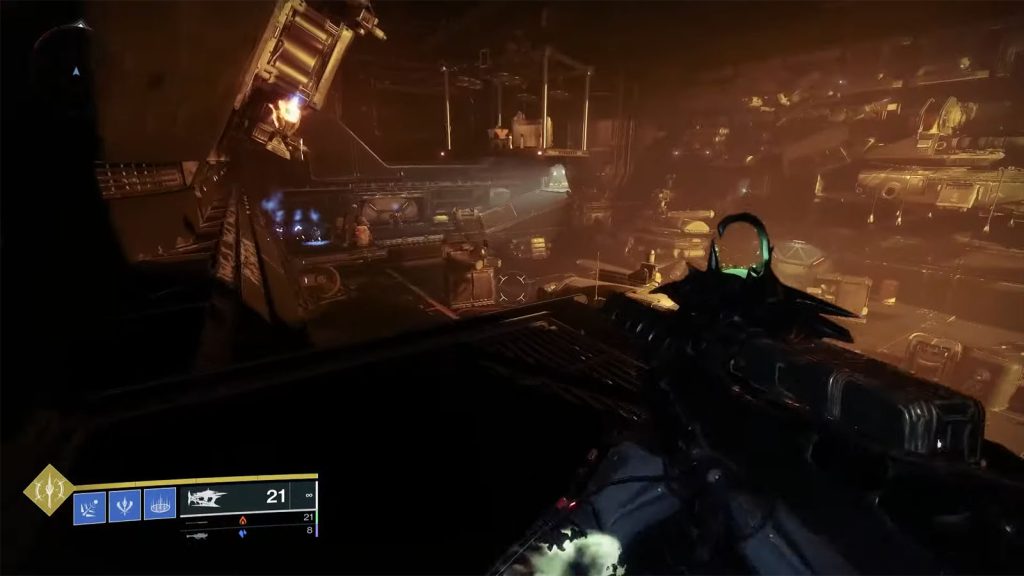
Follow the marker to the next section where you will encounter the first enemies. Stay on the higher platform once the nearby enemies are cleared to get some cover from the shots from below. Beware of the pyramid resonances or tech packs that will drop from defeated enemies as these will shield other enemies nearby once it is activated; destroy these as soon as you see them.
As you clear the second wave of enemies, go near the back ramp and jump up to the left ledge to find another corridor and a vent. Continue following the winding path ahead as Calus speaks to his fleet.
Gain Access to the Restricted Area
Osiris manages to get the ship’s layouts and he hands them over to you. You will arrive at another location with a few enemies and some doors locked behind keycards. Disregard these doors for now and continue following the marker.
Head up to the ramps and to the higher lever of the ships where you will encounter more enemies. You will need to find and defeat the War Beast Keymaster to make it drop the keycard that you need for the previous door. Pick it up and retrace your steps back to the door to get into the restricted area. These keycards are consumable so you will have to pick up another keycard up ahead to open the same doors.
You then have to jump through the platforms to reach the next area; be careful not to fall through as it is open space. You then have to make your way through the ship until you arrive at a fairly spacious room where there will be another enemy blocking your path.
Gain Access to the Bridge
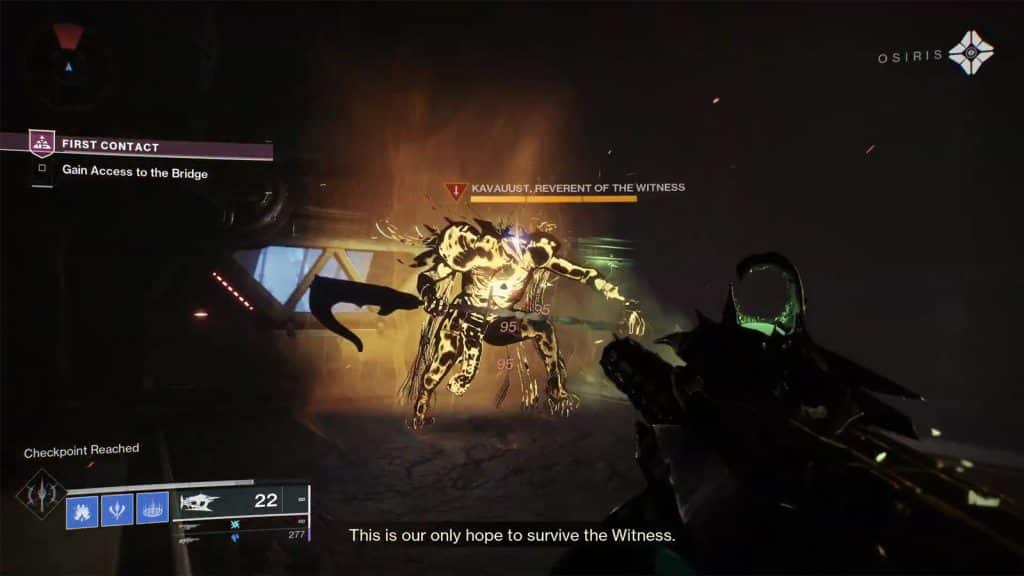
The door up ahead will be blocked by Kavauust, Reverent of the Witness, a Tormentor type mini boss that you will have to face in order to proceed. Luckily, this won’t be a full fledged miniboss fight just yet as the enemy will retreat after sustaining a small amount of damage.
The door to the bridge should open up where you can place a rally banner since there will be a tough encounter just up ahead.
Clear out all of the enemies in the bridge including the Conquest Keymaster to get another key. Pick up the key and go to the door beside the middle ramp.
Destroy the Computer Core
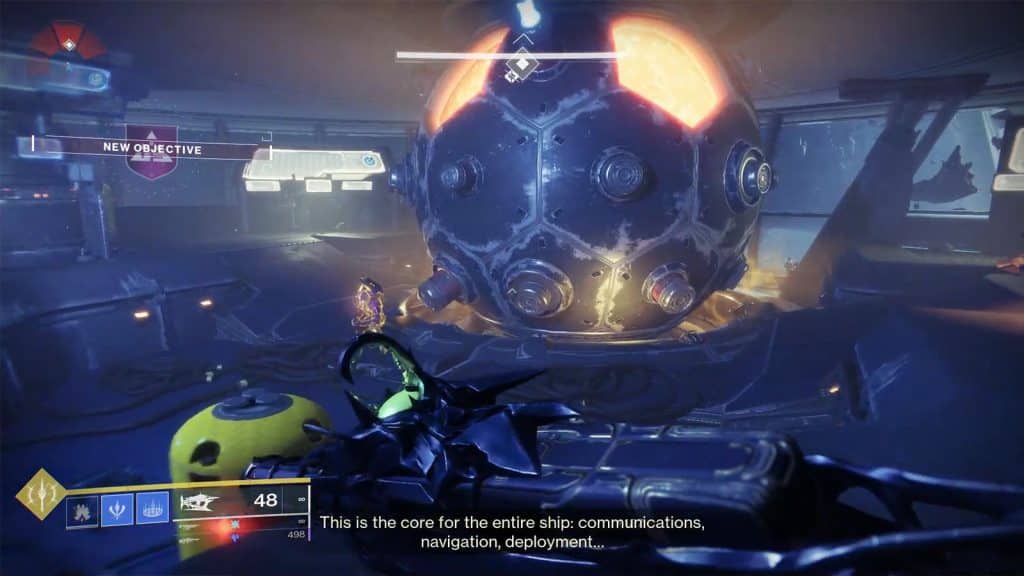
You will arrive at the computer core room where more enemies will arrive. Clear out the enemies, then shoot the four coils found on the core. Go back into the bridge where you will find an opened door with a chest with loot beside it.
Find Osiris
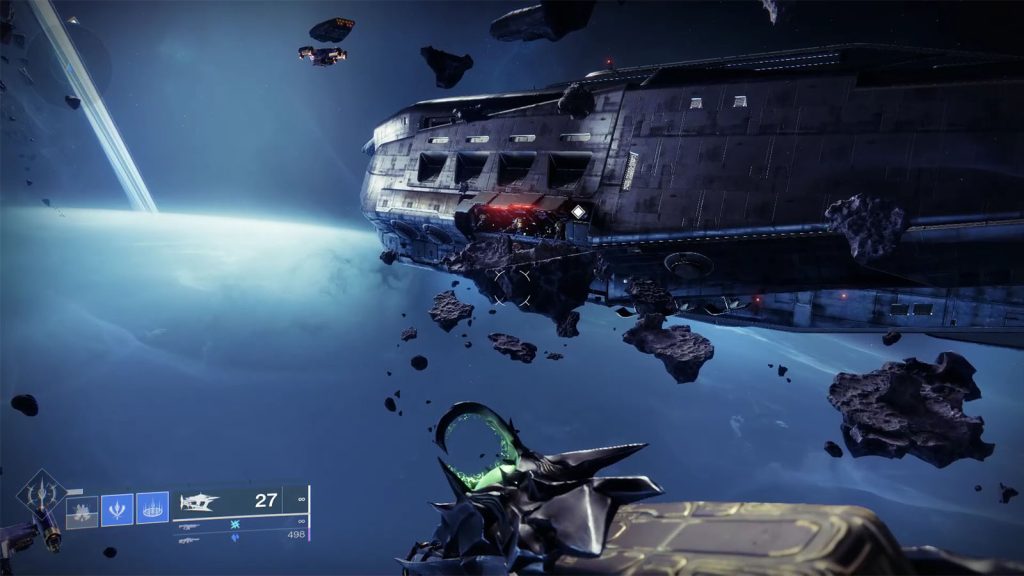
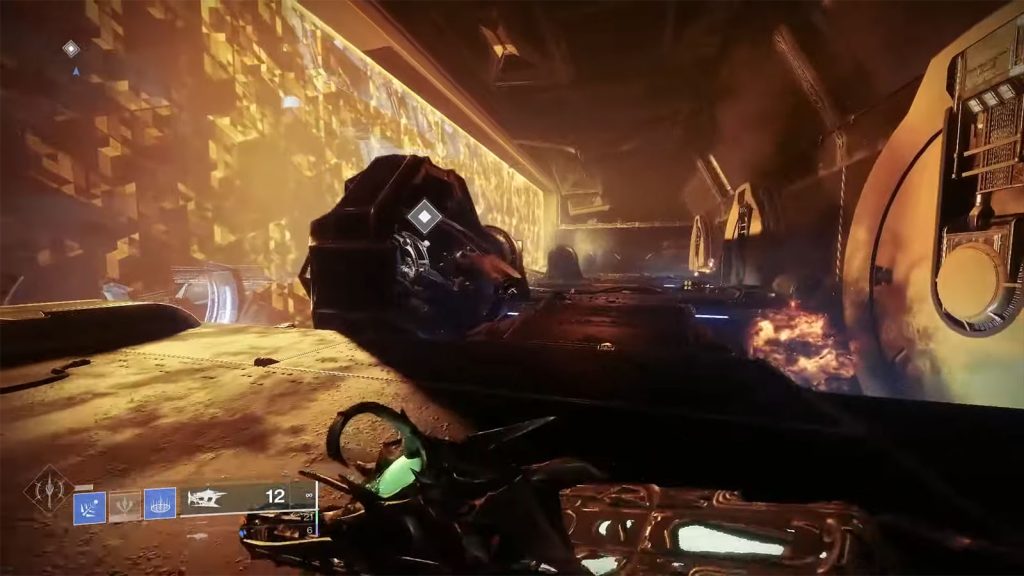
The next door will lead you to space where you will have to jump across asteroids to reach the next ship. There will be enemies up ahead, so make sure to use the asteroids as cover from enemy fire. Once you’re clear, make it across to the next ship and follow the marker to the next section.
Gain Access to the Reactor Room
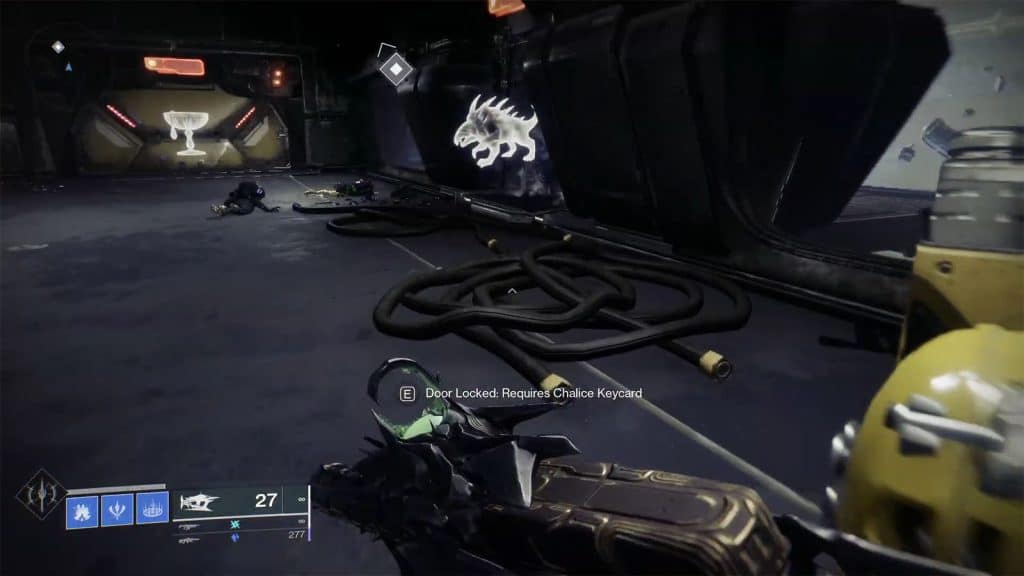
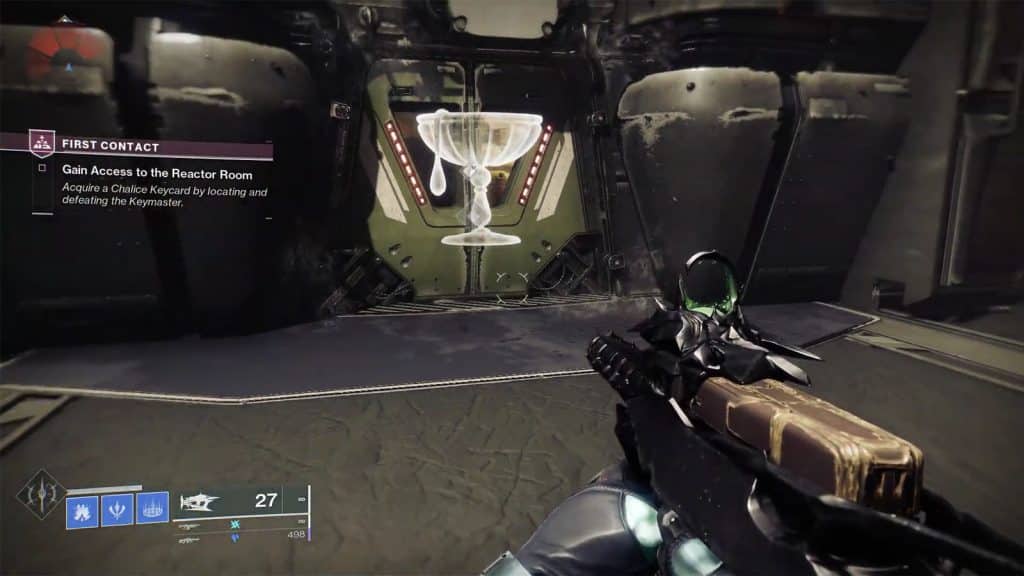
You will be in another room with a locked door, now one with a chalice symbol on it. There will be enemies up ahead, but they are behind glass, so disregard them for now. Go to the door on the right and jump down into the lower decks where there will be enemies to defeat.
Defeat the Chalice Keymaster that is at the back of the lower decks, pick up its key, then go back to the door to open it. You will have the option to place another rally banner before opening the door.
Destroy the Ship’s Reactor
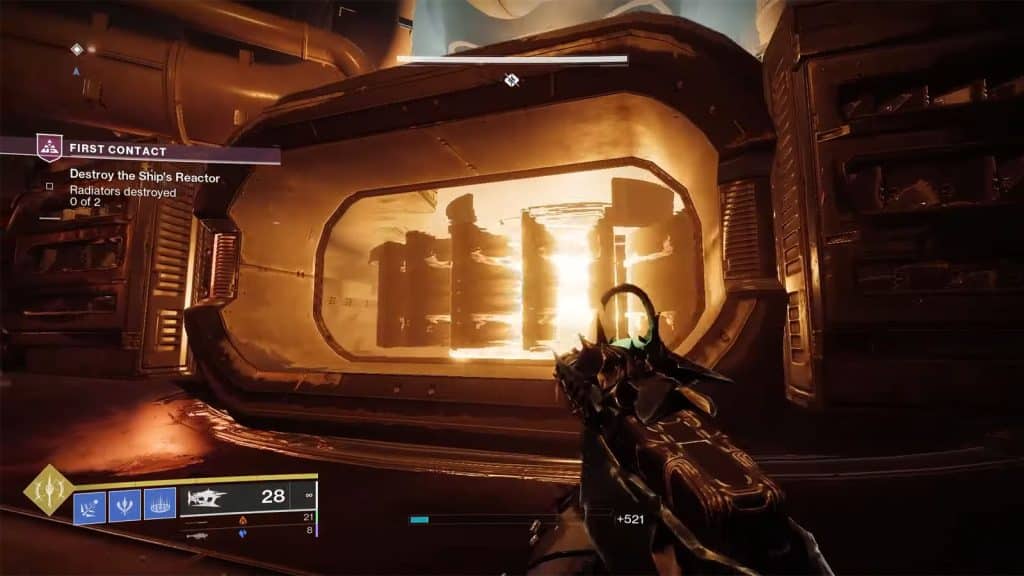
It will be another special encounter with enemies within the reactor room. On both sides of the room are smaller rooms that house the radiators that you need to destroy. Clear out the enemies then go around the radiator to find an open slot where you can freely shoot the turbine. Do the same with the other radiator to destroy the reactor.
Find a Way Off the Ship
Follow the marker to the next door where another chest awaits. Continue following the marker to get to the escape pods while defeating any enemies that block your way.
Gain Access to the Drop Pod Bay
You will then arrive at the hangars. Cross the first hanger that you see by going through another vent and you will arrive at the next hanger that has enemies. Clear out the enemies then cross this hangar once more into the back area where you will find another spot to place a rally banner on.
On the next hangar, clear out all the enemies including the War Beat Keymaster, then pick up the key. Go to the other side of the room and use the key to open the door. Another wave of enemies will be in the next room. Defeat them and pick up the Conquest Keycard.
The Tormentor from before should reappear shortly. This time, you will have to defeat it to be able to proceed. Use the pillars around the room as cover from its projectiles and its ultimate. Once it goes to the middle and starts charging up, it will do its ultimate, so it’s best to be safe and just hide. You can unload your super and heavy ammos at this point, then do a finisher to kill it.
Escape
Go through the next hangar and use the key to open the door up ahead. Then make your way to the drop pod and ride it.
Find and Rescue Osiris / Secure the Area
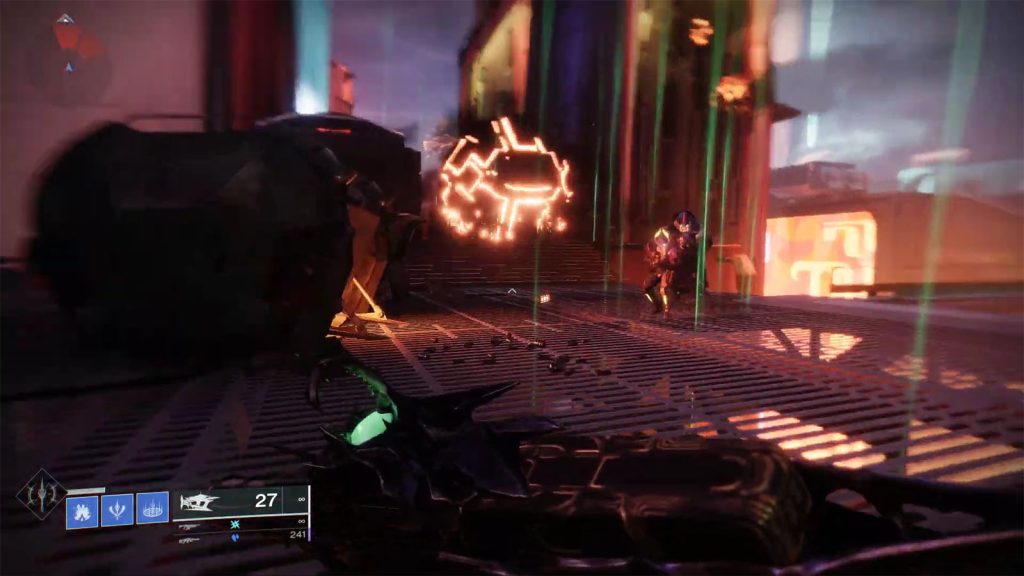
You will then find yourself in Neomuna after riding the drop pod. Enemies will also be dropping into the city. Make your way through the streets while clearing out the enemies until you find your first encounter with the Strand.
Investigate Energy Source
Touch the energy source to temporarily get the Strand Empowered effect and be able to use the Strand abilities.
Defeat the Shadow Legion
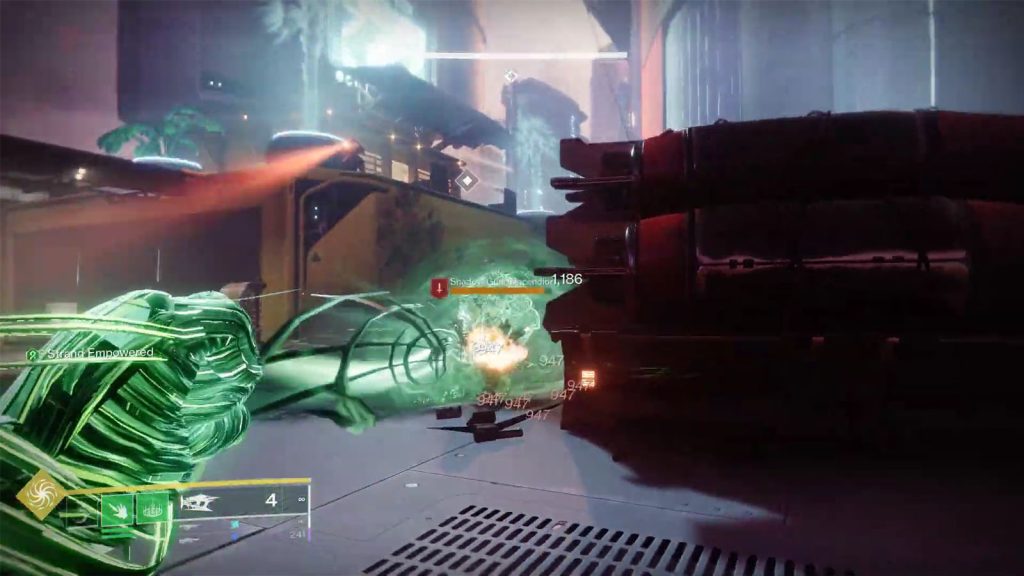
It’s time to try out your new powers. More enemies will come in and serve as your training targets for this part as you go through your new abilities. Take the time to get used to the grenade, melee, and even super ability. Once you have cleared the enemies, you’ll lose the Strand power and gain the Exhausted effect.
A cutscene will play where you are introduced to Rohan and Nimbus, the two Cloud Striders and defenders of Neomuna. They manage to help Osiris out of his pod and take him to the Watchtower to regroup. Another cutscene will play showing The Witness talking to Calus to get an update on their goal to get The Veil.
Afterwards, you will be able to meet up with your allies at the Watchtower to prepare for the next mission.
See next Destiny 2 Lightfall Campaign Under Siege Mission Walkthrough
Check out this video by Ordinary Sense showing how to complete the First Contact mission in Destiny 2:
