
This is the third part of our Firmament walkthrough. As a recap, we have finished the first part of Curievale. We have the upgrade for the Region. We will return when we have the rest of the upgrades.
In this walkthrough, we’ll tell you how to complete the puzzles in your first playthrough of the Juleston Region. To get to the Juleston Region, you’ll need to access the world from the Swan. If you’ve been following the guides, you’ll see the destination’s name by looking at the plate under the Conveyance Pods.
Please note that we will not be covering the Swan in this Walkthrough guide. The Swan is a hub world, and while the Mentor has a few comments here and there, it isn’t a place of importance until the end of the game.
Juleston Part 1
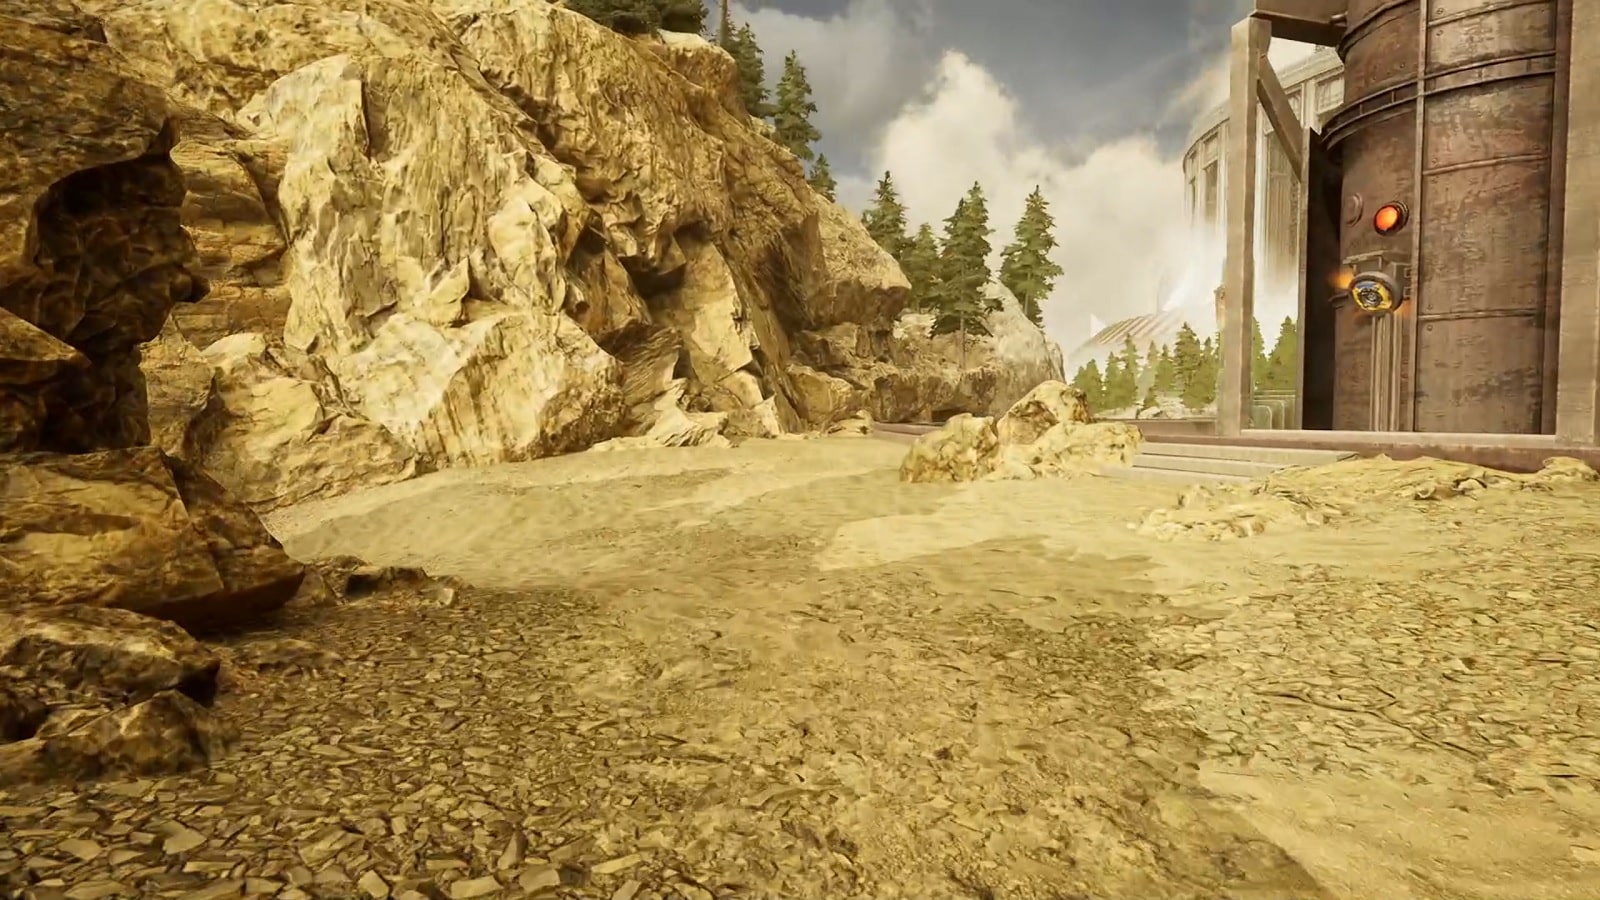
Welcome to the Juleston Reservoir! We are now out of the cold and into the warm and slightly odd-smelling air of a new Realm. Juleston is where you will get a chance to play around with battery acid. How fun!
Once you are out of the pod, take a moment and observe the grandeur of the Realm’s Grand Arch. That is our first destination in this realm. Like the realm before it, it is our mission to raise it up as well.
There are two parts you can take. Turn left and head up to the Reservoir. The right side path, we will traverse in due time. But not now.
At the top of the ridge, you will see the Reservoir full of water. You will have to lower the waters if you wish to enter the Spire below. Let’s get a lay of the land first before going anywhere else.
Continue walking around the reservoir until you come across the Reservoir Water Pump. This is the machine that’s going to pump water out of the reservoir. The problem is, there is no power. Let’s go fix that right quick.
Find the trail heading down past the water pump. A little way forward and you’ll see the Omniwheel Station. You can’t get to it right now on account of the elevator having no power.
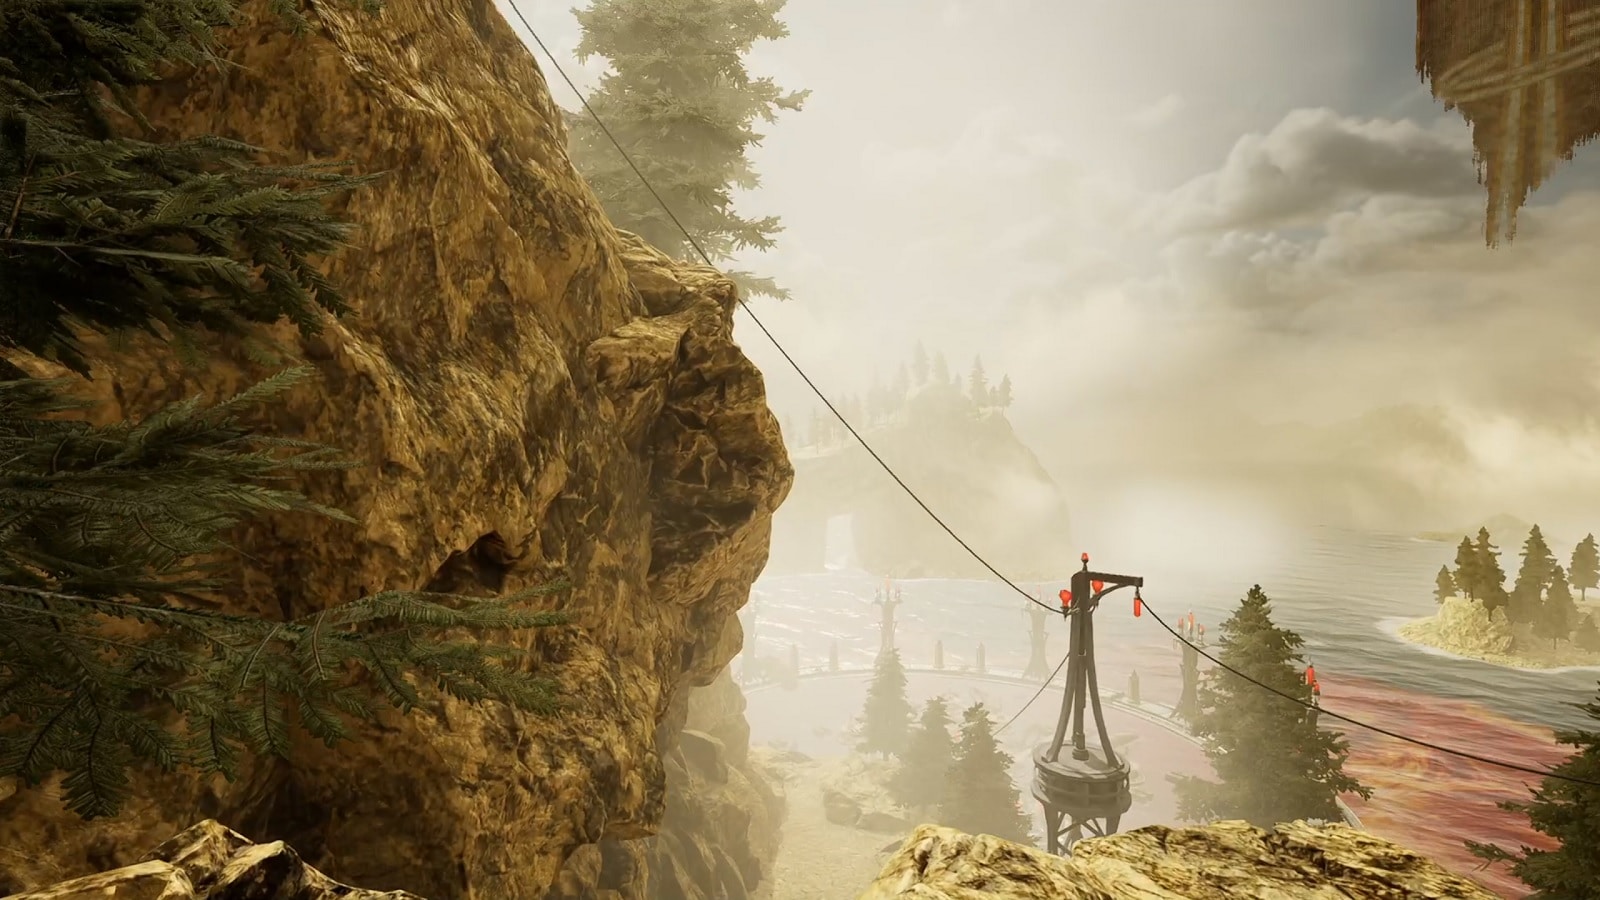
If you look over the edge of the cliff, you’ll find a certain area with a distinct look to it. That’s the battery area. More importantly, if you look at the blinking red lights, they will they you that power is not flowing in the circuit.
Now getting to the battery area isn’t as straightforward as it would seem. You’ll need to go around the edge of the reservoir once more until you see the path as pictured here.
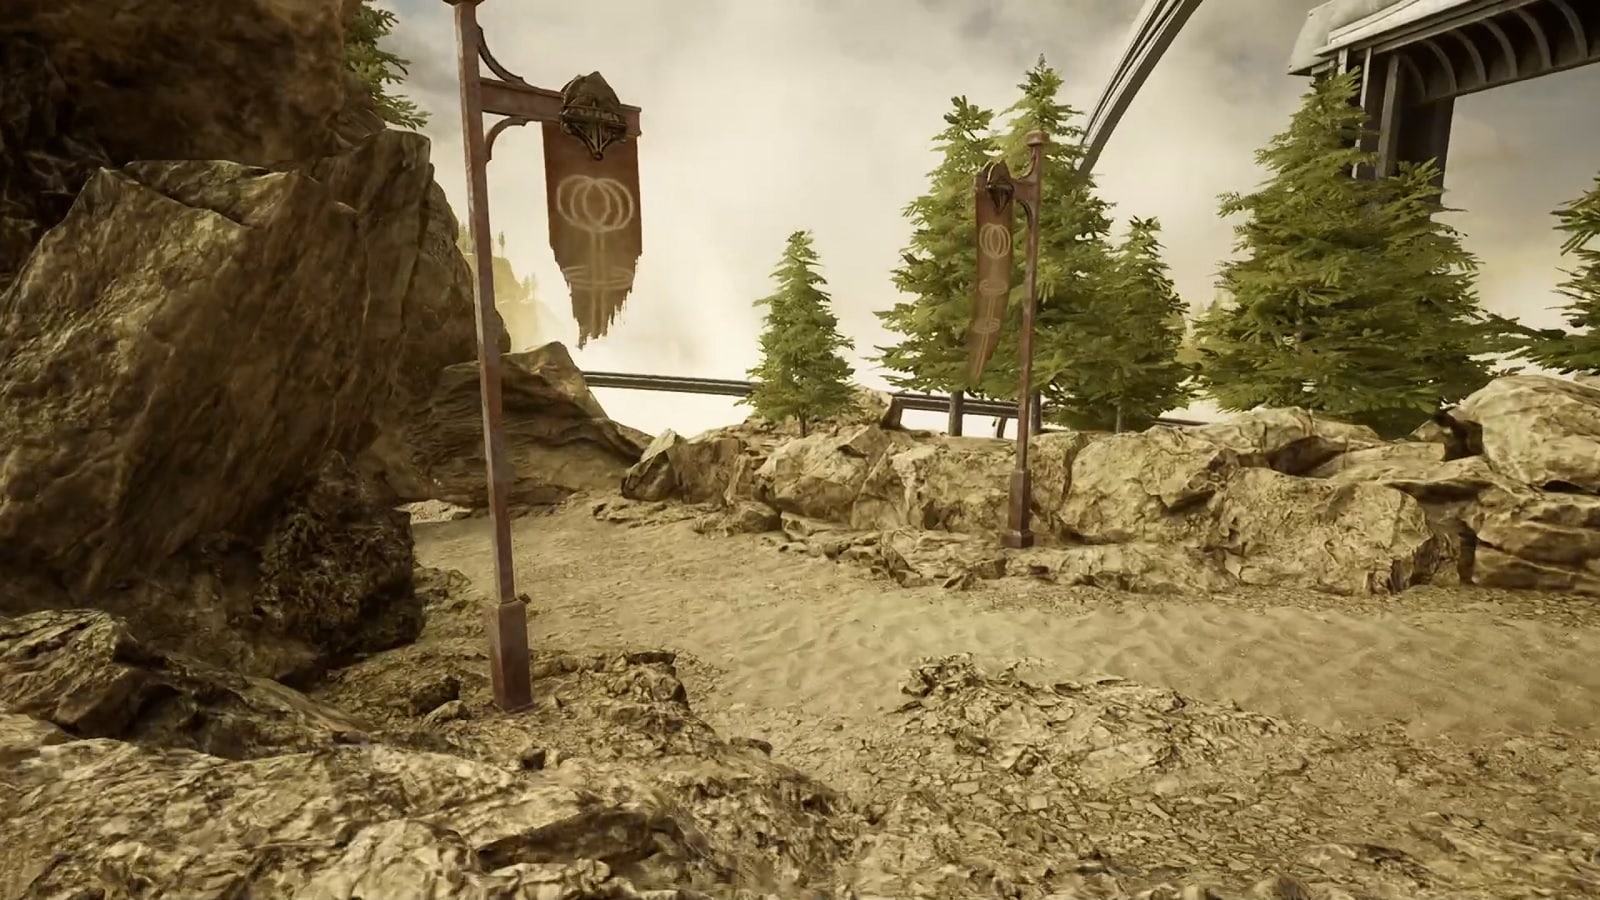
This is the entrance to the path that leads directly to the battery area. Keep going forward until you see a second set of banners. This is the actual entrance to the battery area. Please note that you’ll have to go off the edge a little bit but keep moving forward until you get to the metal catwalk. At the end of the path lies the voltage control panel.
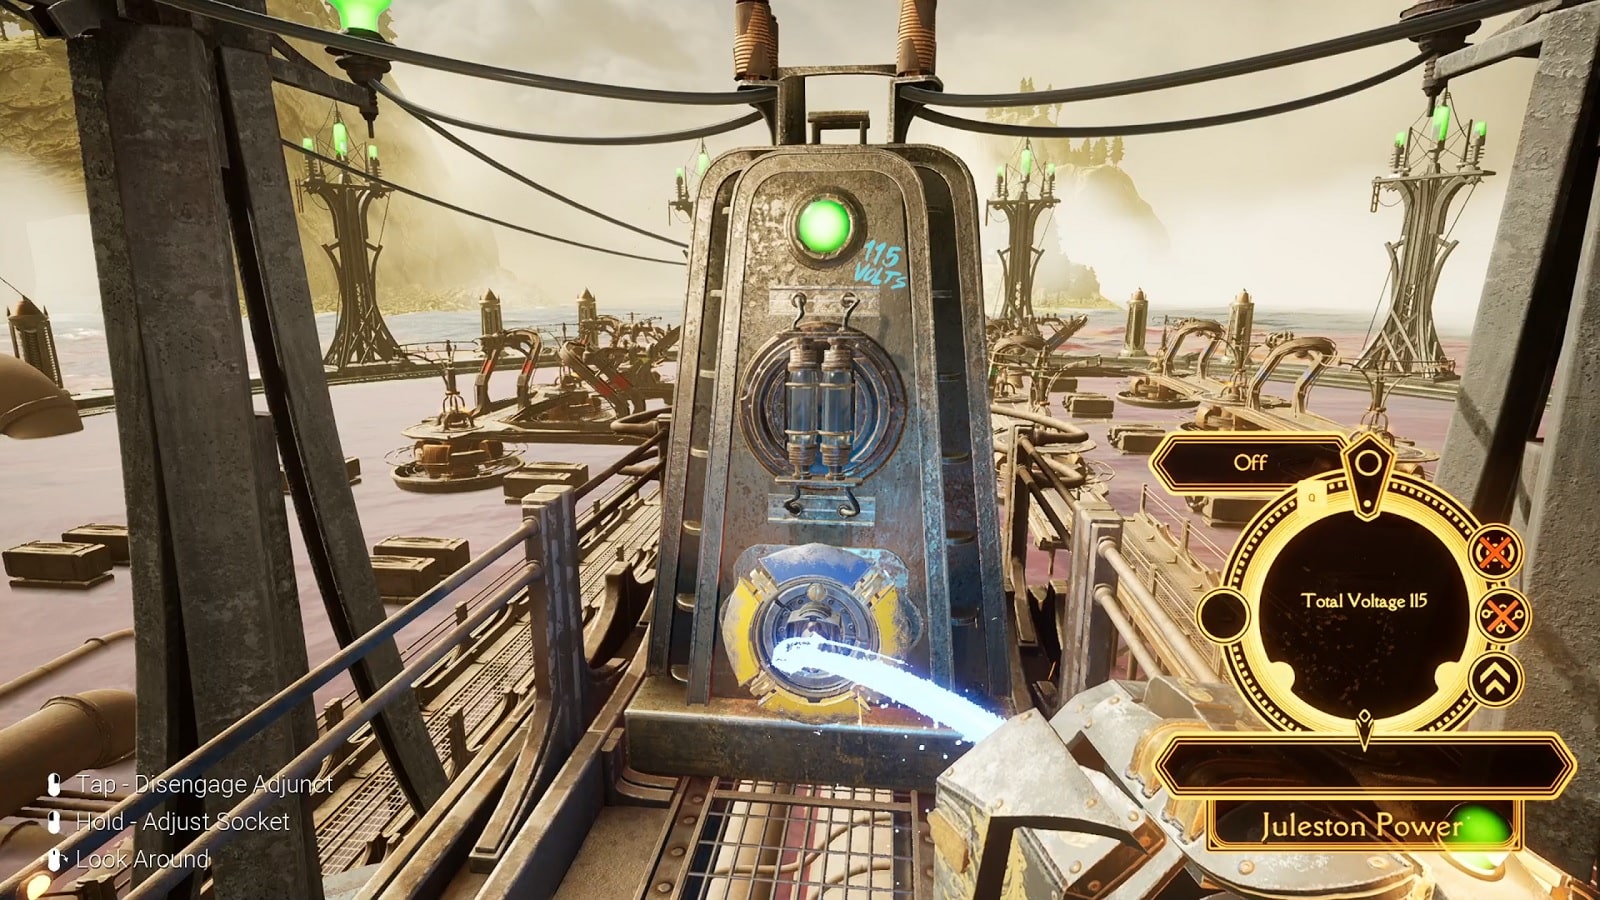
This is what you need to know:
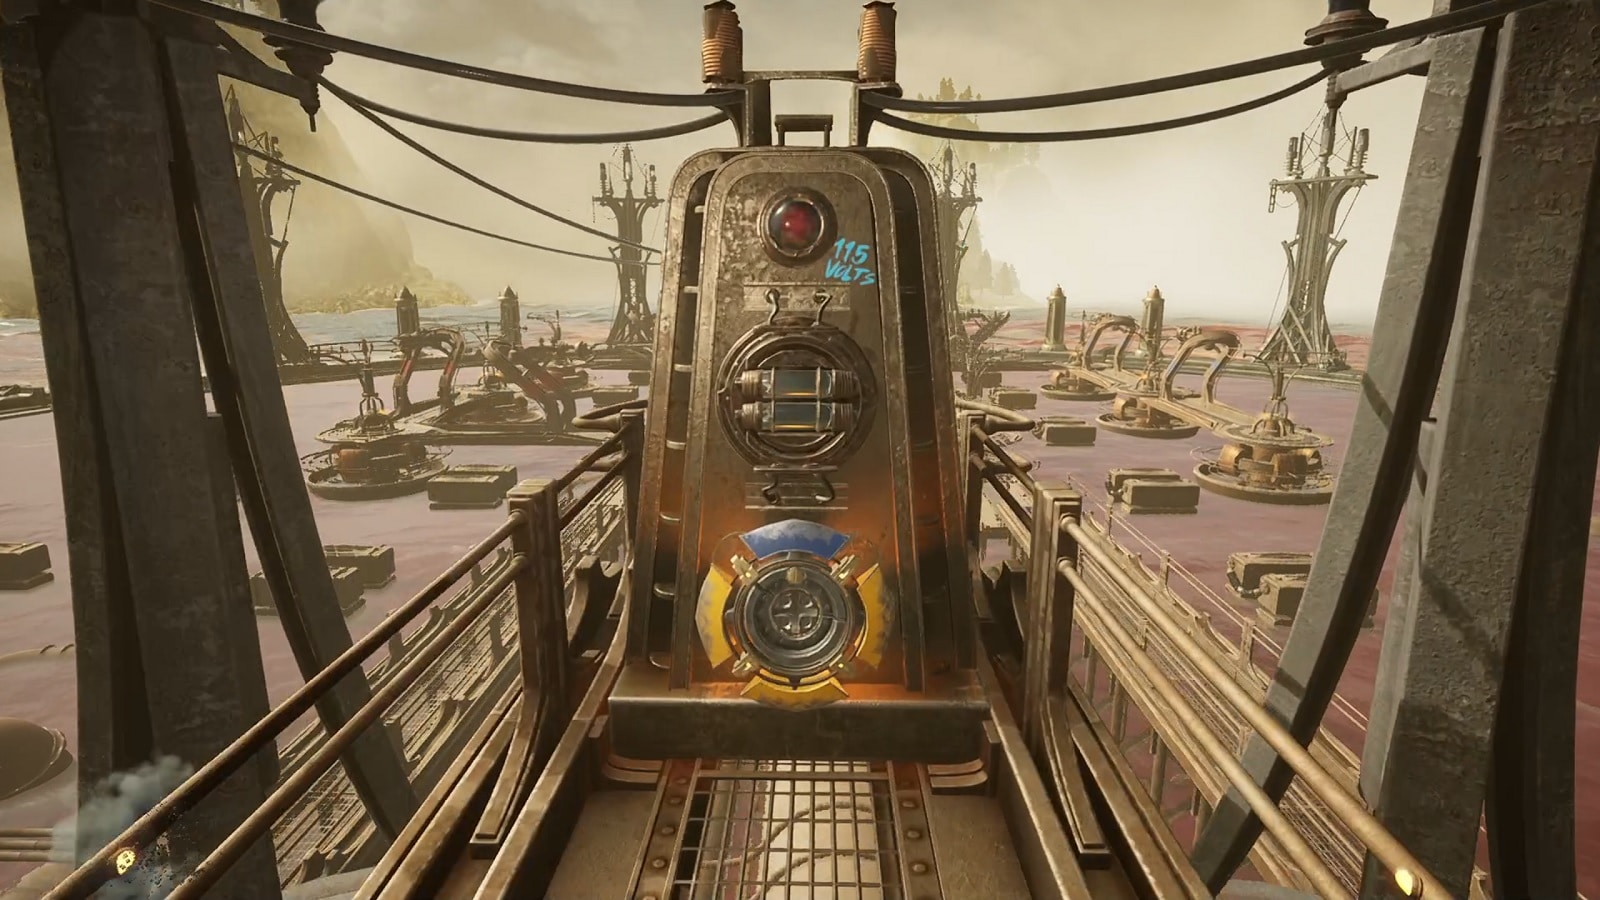
As seen from the light blue marking on the front, the machine needs 115 Volts in order for the circuit to activate. Nothing more and nothing less will do.
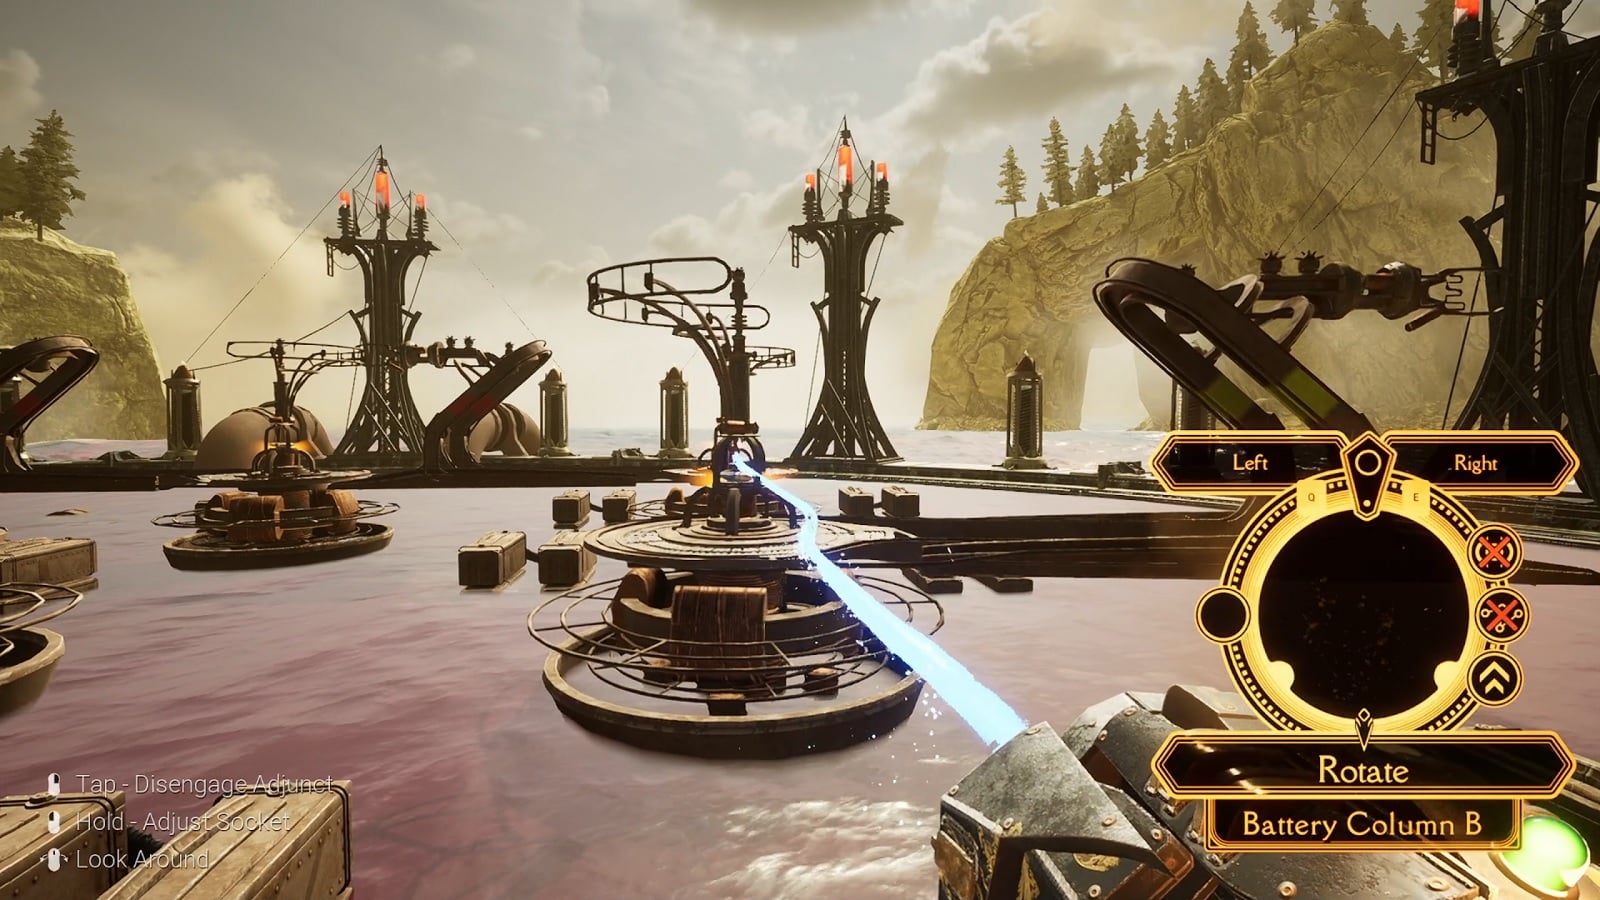
The battery plates are submerged below in a mixture of sulfuric acid. (You don’t want to go skinny dipping into that.) You can rotate each battery cell to connect to the battery next to them.
You want to connect the battery together in a way that the voltage adds up to 115 volts of electricity.
If you look across from the control panel, you begin to see a picture of columns and rows of batteries. Each column provides different amounts of voltages.
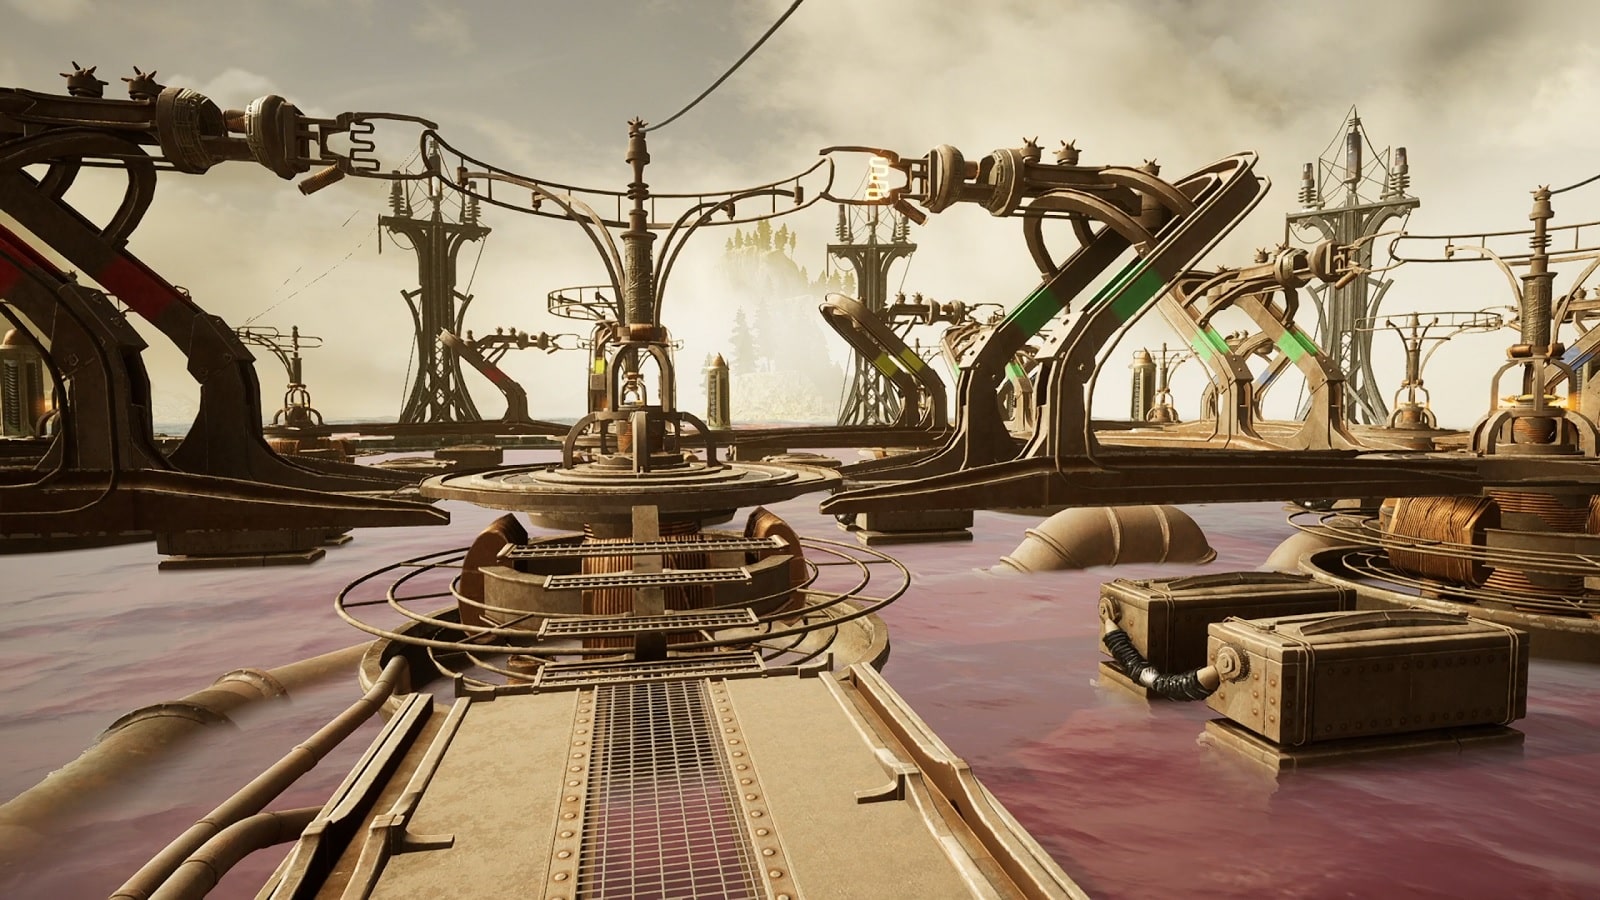
Looking at the batteries up close, you will see that the connectors are color-coded. You can also see the filament-looking wire at the tip of the connectors. These indicate whether or not that plate is part of the circuit. If it glowing, then it is active.
These are the colors of the metal structures and how much voltage they provide:
- Red = 20 volts
- Yellow = 15 volts
- Green = 10 volts
- Blue = 5 volts
You need to follow this order precisely. The circuit cannot be completed by simply connecting the plates in any order. They must all start from the positive and ends with the negative.
To solve this problem, you’ll first need to go to the positive end of the circuit. It is located on the right side of the control panel. From there, you’ll want to move forward and connect the three green plates together. This will give you an amount of 30 volts.
Connect the green plate at the back to the yellow plate next to it. Connect that yellow plate to the yellow plate beside it. This will bring the voltage up to 60.
Go down to the newly connected yellow plate and rotate that around to the closest red plate. So far, so good. Move to the red plate and connect that plate to the red plate next to it. This will bring the voltage to 100.
To finish the circuit, go to the newly connected red plate and rotate it until it connects to the yellow plate next to it. This will complete the circuit.
Notice that nothing happens even after completing the circuit. Well, you need to go back to the control panel and restore power to the grid. The lights should all turn green now.
Walk back up the path until you get to the base of the Omniwheel station. Call the elevator to bring you to the top of the platform. Once there, ride the Omniwheel to the Grand Arch of the Realm where your next upgrade awaits.
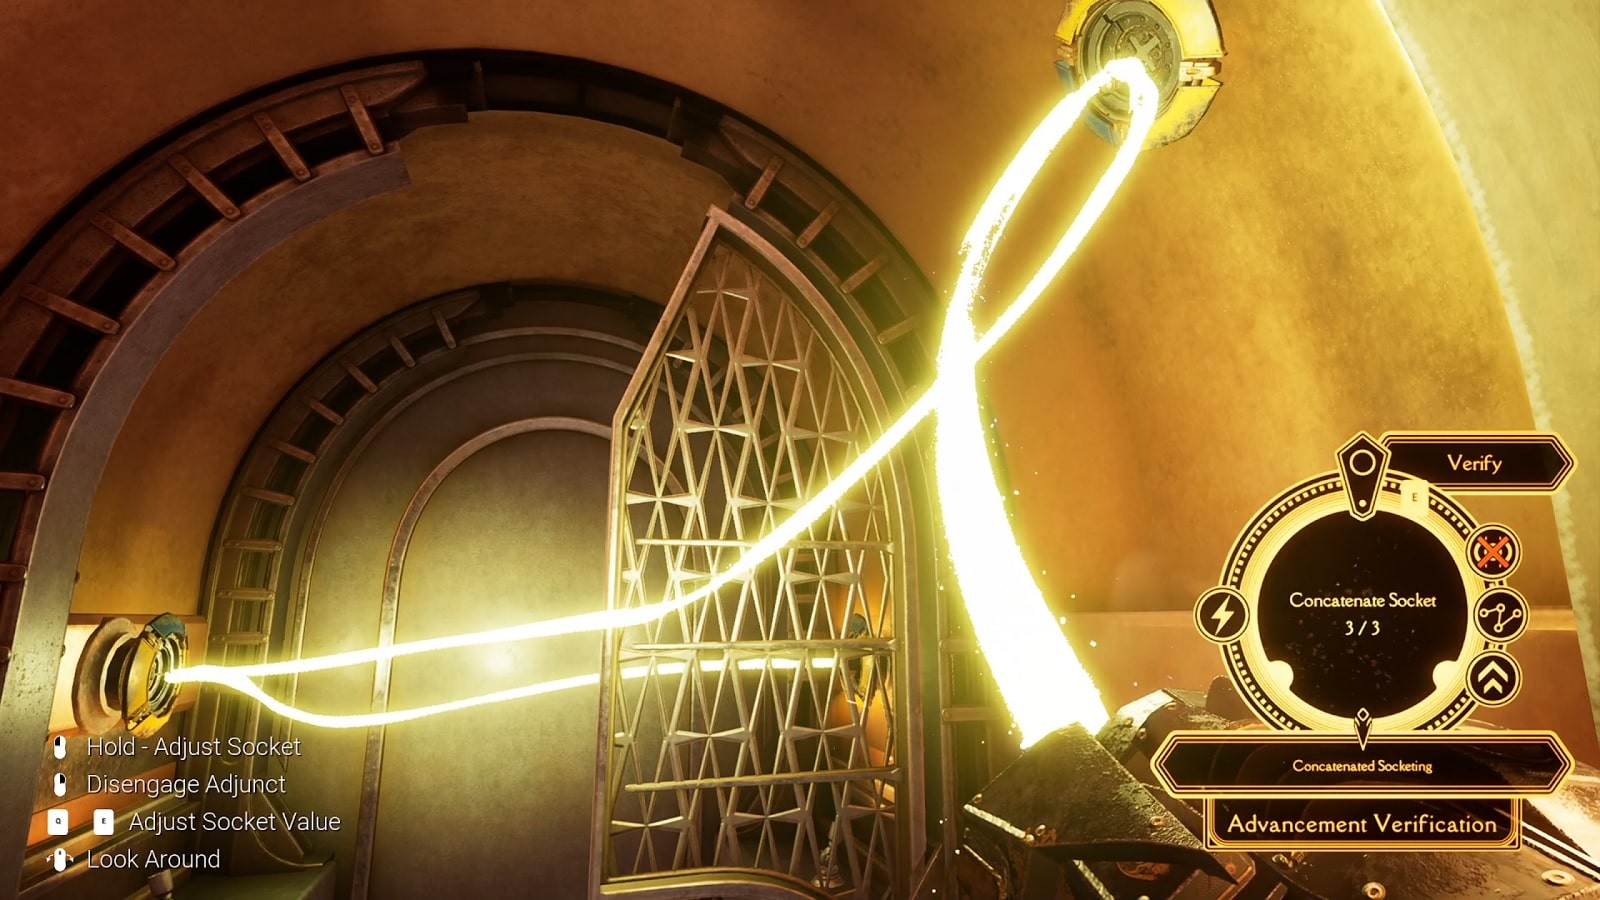
The Concatenated Socketing upgrade allows you to socket from one Socket to another one. This comes in especially handy for sockets that are out of your line of sight. The catch is that they need to be roughly facing each other for the connection to be possible.
You know the drill now at this point – open the heavy door, clear the shutters, and raise the next Spire.

Congratulations! You are now halfway through completing the Juleston Realm. We will definitely come back to it later after acquiring the final Adjuct upgrade.
To finish the level, take the Conveyance Pod behind the upgrade machine, and return to the Swan.
And that’s the end of the third part of our Firmament walkthrough. We hope that you find this information useful to you in some shape or form.
Check our review of the game here:
Check out our full lineup of Firmament guides:
- Firmament Walkthrough Part 1: Waking Up
- Firmament Walkthrough Part 2: First Upgrade
- Firmament Walkthrough Part 3: Second Upgrade
- Firmament Walkthrough Part 4: Third Upgrade
- Firmament Walkthrough Part 5: First Spire St. Andrew
Firmament is out now on PC storefronts. With a PS4 and PS5 version with PSVR support coming in the future.


