
Firmament is a puzzle game that centers around the grand mystery of the Awakening. And while the game emphasizes exploring the wider world, the game does not make it a point to tell you where to go. The best they can do is to give you advice provided you are even listening to your Mentor in the first place.
In part one of this walkthrough guide, we’ll tell you how to progress through the introduction of the game, particularly the puzzles and what you need to watch out for. Firmament isn’t the type of game that gives all bits of information, so even walkable paths are something you need to look for.
Curievale Part 1
Your character wakes up from a cozy red-padded pod. You don’t know who you are or where this place is. An apparition of a woman appears. She introduces herself as your Mentor. Her purpose is to impart the knowledge necessary for you to do your job as a Keeper. And she pauses for a second before she tells you that she’ll lie to you.
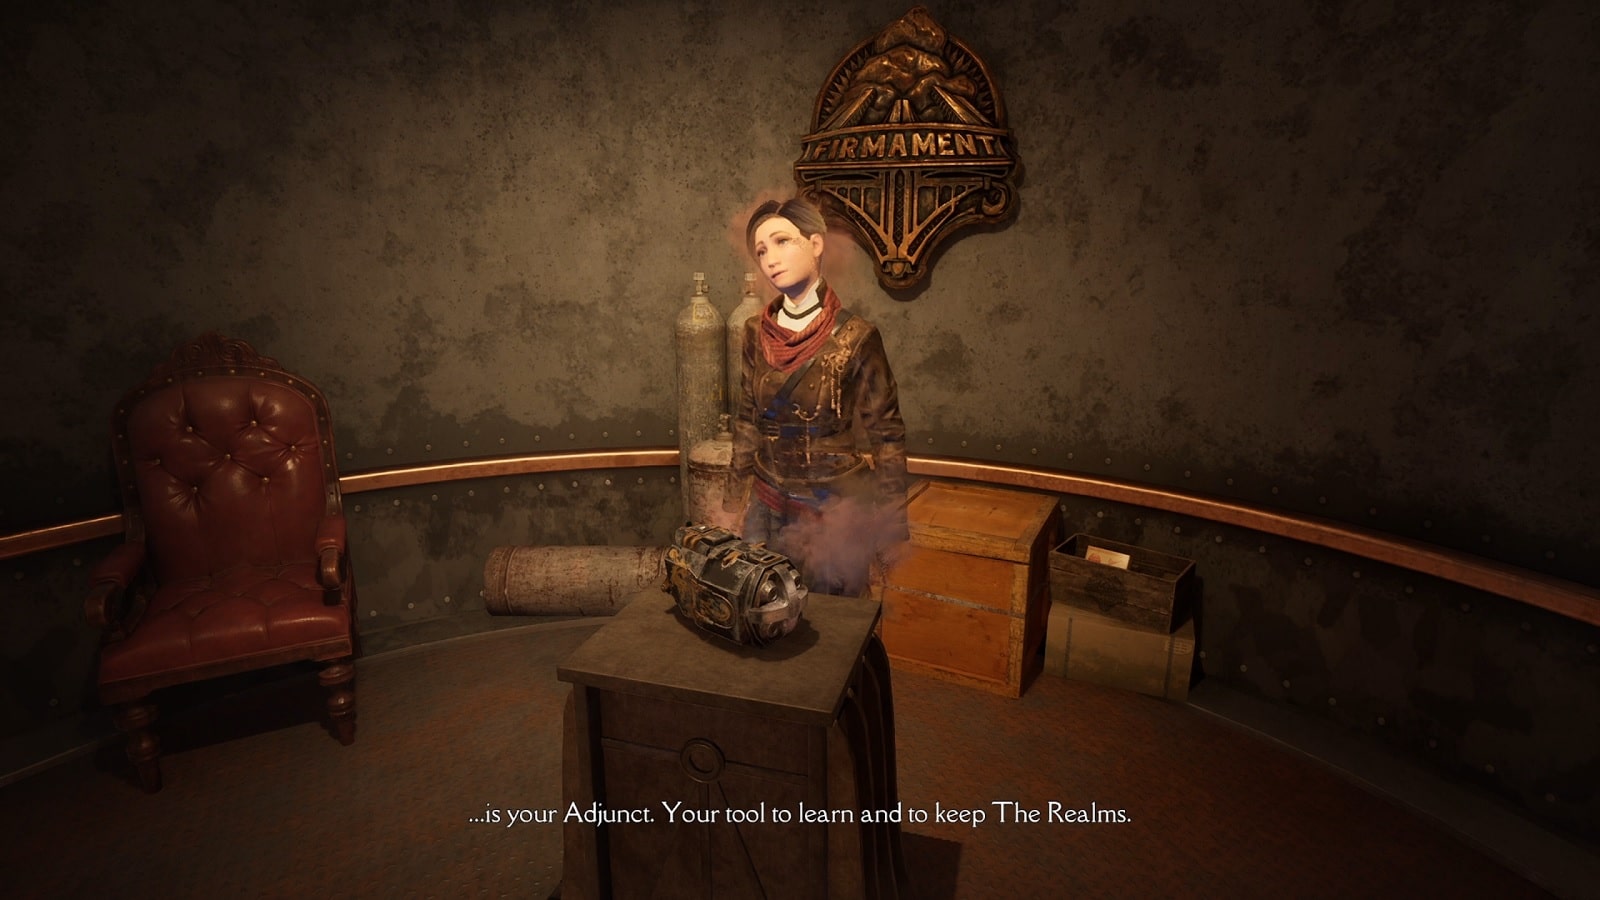
She points you toward your Adjunct tool. This is what you’ll need to do your job and to bring about the Awakening.
A little further into the room, you’ll find a manual for the Adjunct on a table. This is where you will find information on the three upgrades that you need to find before you can attempt to activate the towers. The upgrades can be found in Arches. The notes describe what each upgrade does.
Once you’re done looking around, go up the spiral stairs and you’ll see your first locked door. Above the Socket, you’ll see the tutorial for using the device.
Use your Adjunct to interact with Sockets. You need to launch the tether from a distance. It will not work if you are too close.
- Follow the tutorial to aim the Adjunct.
- Follow the tutorial to insert into a Socket
- Follow the tutorial to select the action that opens the door
- Follow the tutorial to unsocket the Adjunct.
You are going through a couple of more rooms to familiarize yourself with the tool. The third and final Socket is located on top of the wall, close to the ceiling.
Use your Adjunct to activate it and watch the walls go down.
Congratulations, you are now out and into the world. Take in the sights and feel that cold mountain air.
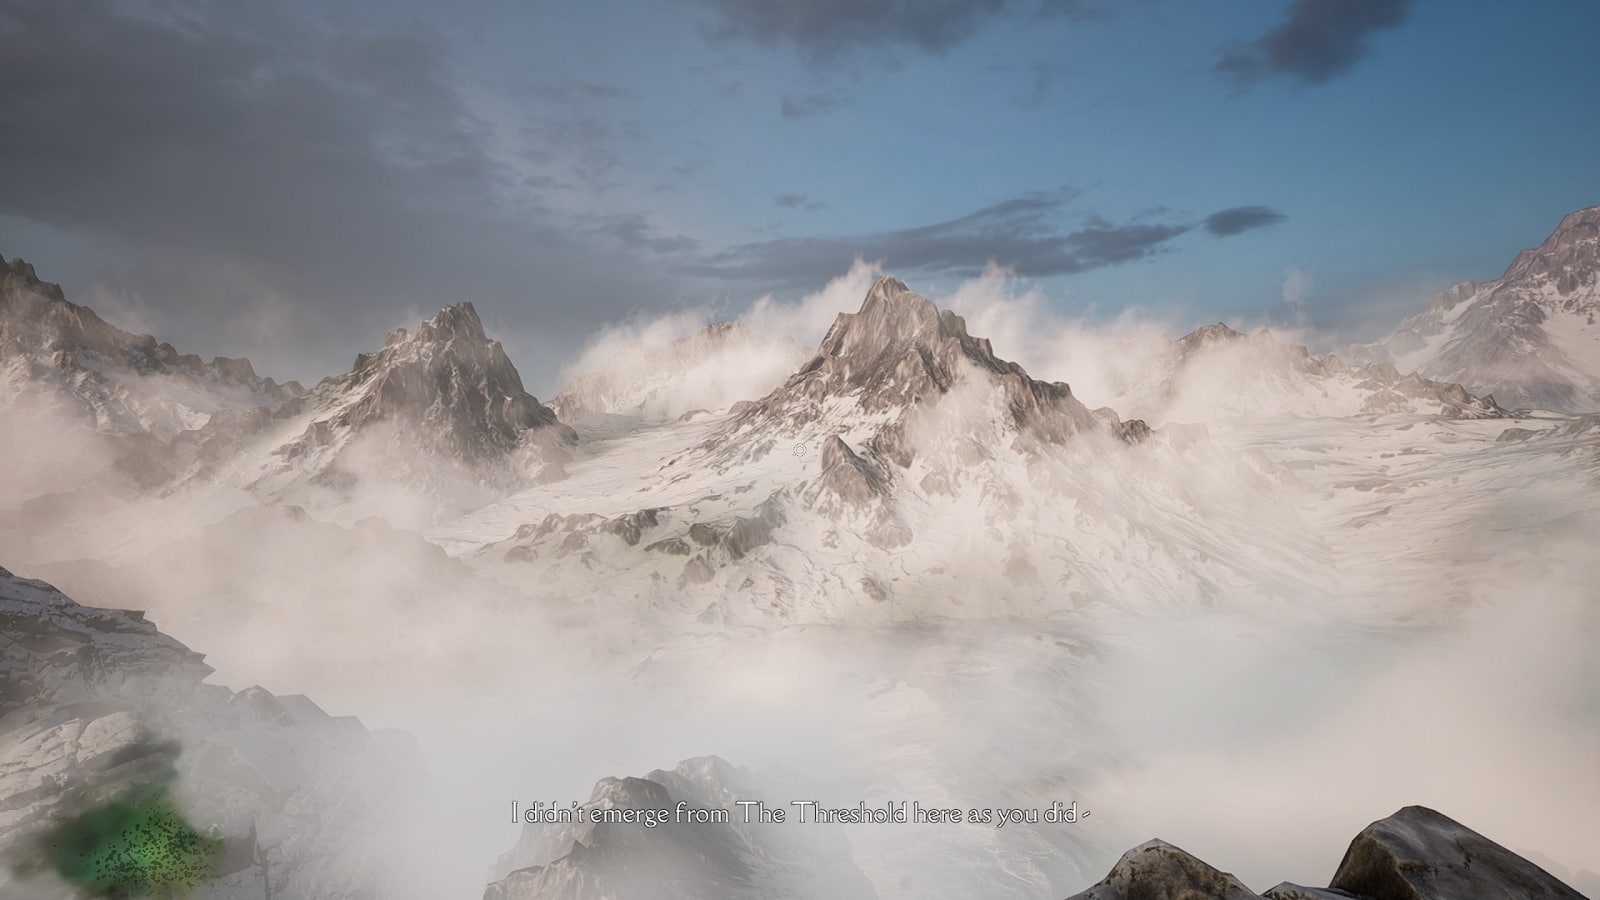
The moment you step onto solid earth, your mentor will provide a little more background information. You may not be able to see her but know that she’ll be on your shoulder. You’ll hear from her again once you reach a new location.
A good thing to note is that if she speaks, that’s a good indication that you haven’t been to that location yet. If you ever get lost, that may help you get un-lost…
Turn to your right and head down the path and you’ll see a folded bridge over a gap. Interact with the Socket and press “Raise” to activate the action.
Once the machine has done its task, you are now free to cross the bridge. Follow the path on the other side. Ascend the trail until you come across the second bridge. You can try to raise the bridge from the Socket but you’ll find that a claw is blocking the way. You’ll need to find a way to raise that bridge.
Puzzle: The paths end at a bridge over a crevasse – you have to figure out how to cross it.
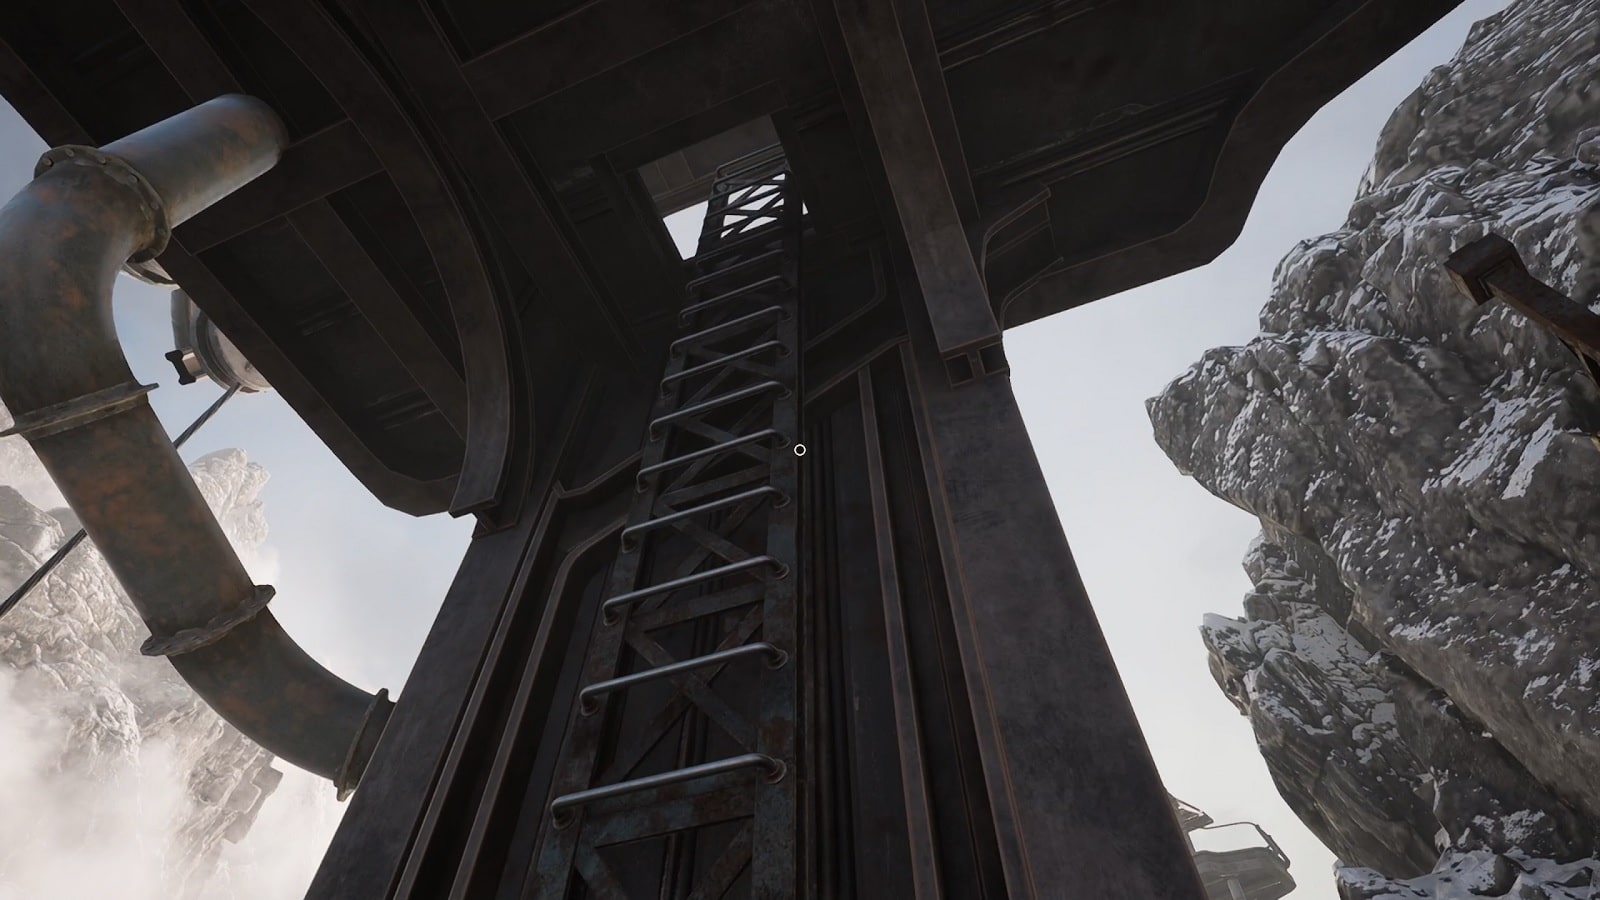
To solve this puzzle, you need to locate the ladder opposite of the Socket. It is hard to see since it blends into the metal frame of the structure. Interact with the ladder to go up to the operator’s control room.
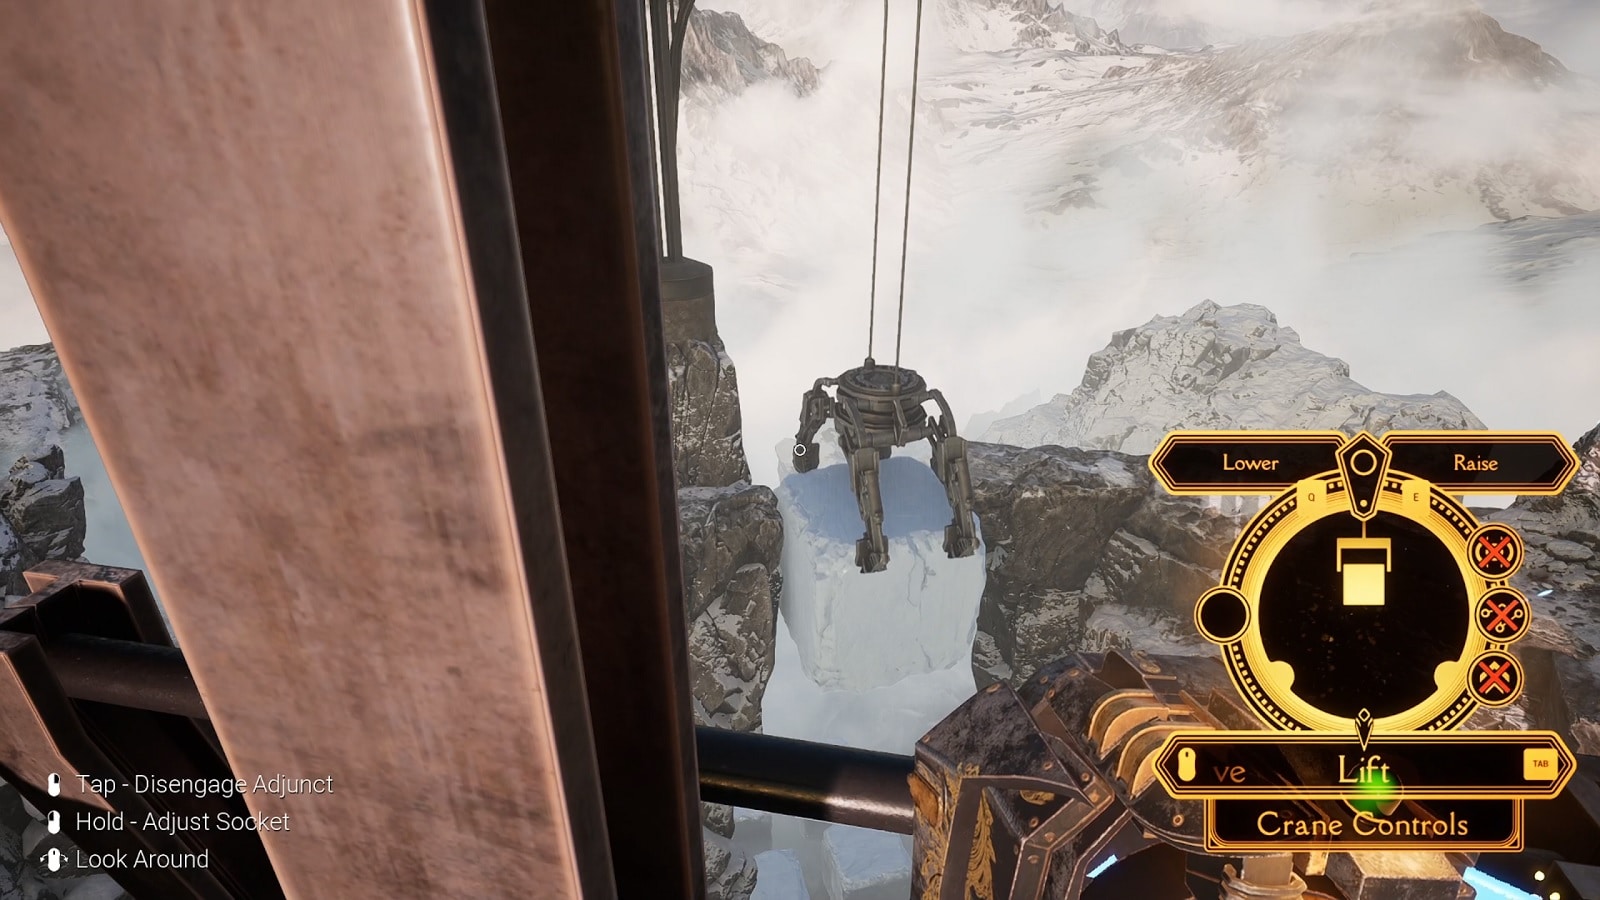
You will find a Socket here. This is used to operate the Crane Claw. It has multiple including Drive and Lift. You can change modes in order to change the controls for what you want the crane to do.
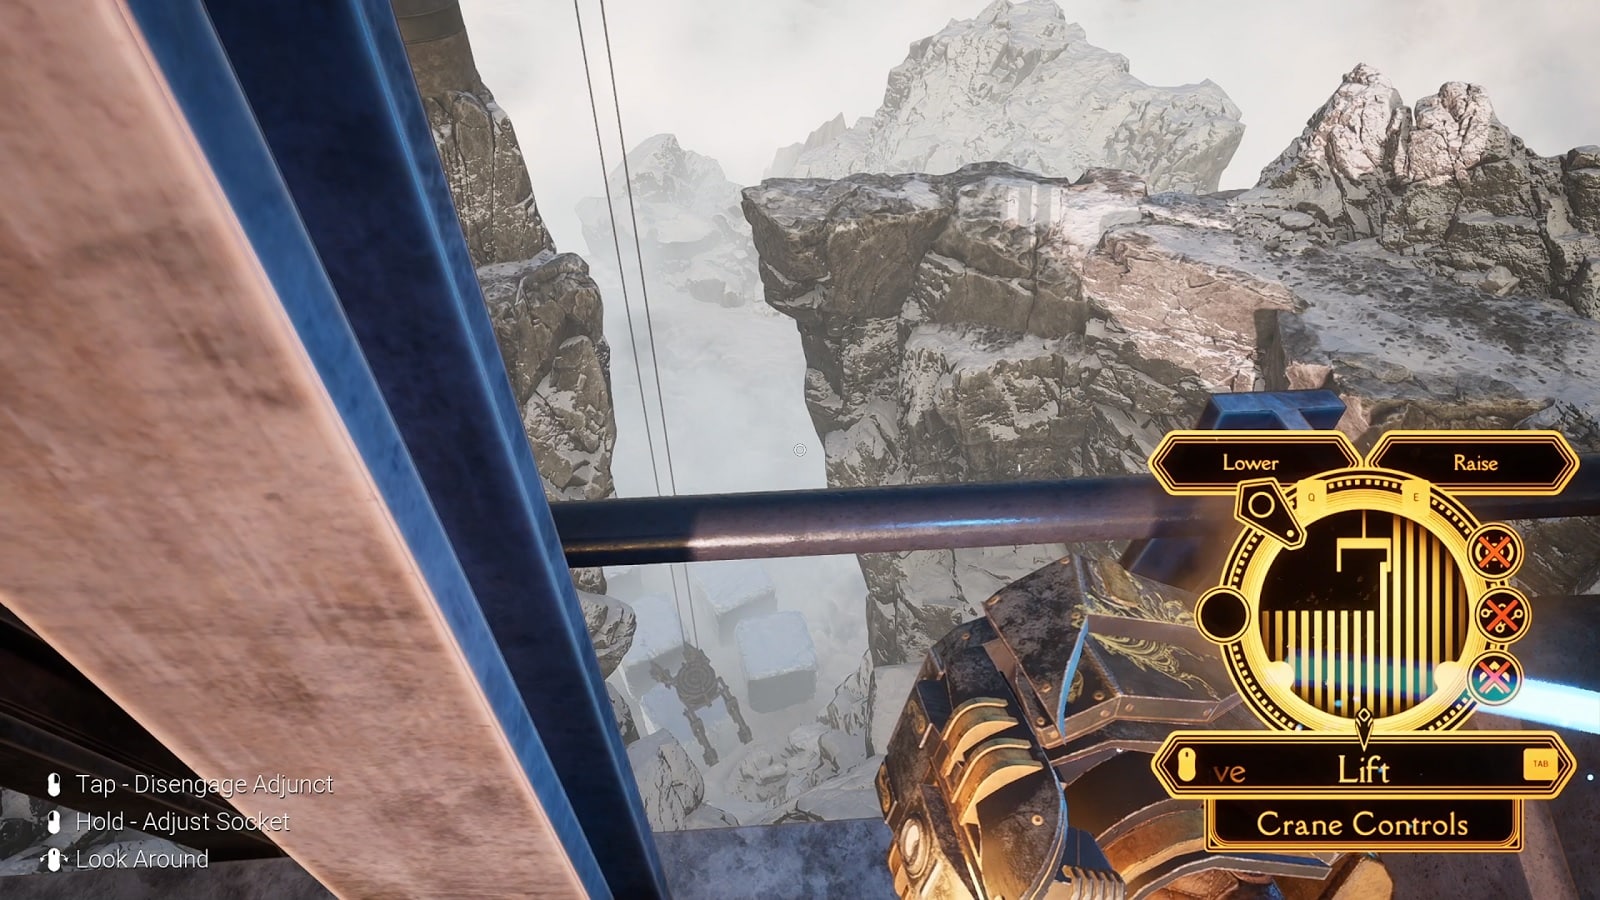
Use the crane controls to grab an ice block from far below the valley on the mountain. You can the sensor on the bottom right of the screen to get an idea of the claw’s relative location from the side of the mountain.
Reverse the claw as far back as you can until you see the message “Ice ready” pop up on screen. You are free to lower it until the claw comes into contact with a block of ice. You don’t need to press anything. The claw will automatically grab it. You can now move it around.
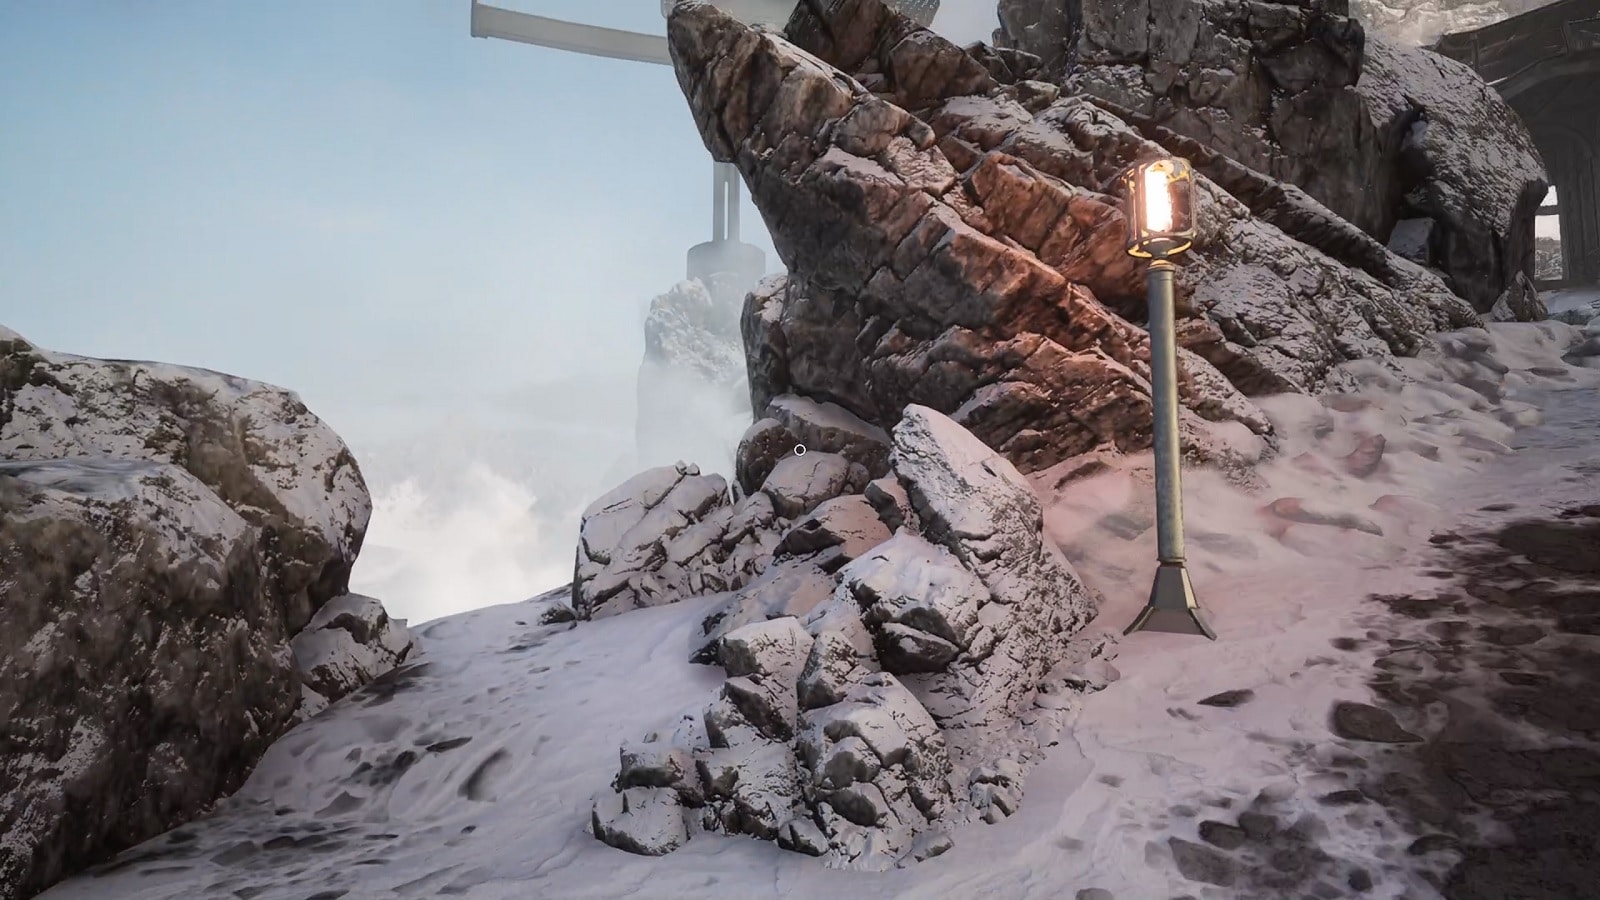
Position the ice block in a way that you can use it to clear the gap over the crevasse. Once the ice block is in position, walk down slightly until you see a lamppost on the trail. This indicates where the “hidden” path is located.
Once you’re across the crevasse, you are now able to open this side of the bridge. You can play around a bit and you will discover that you can perform interactions from a distance that may surprise you.
To be on the safe side, we advise lowering both sides of the bridge.
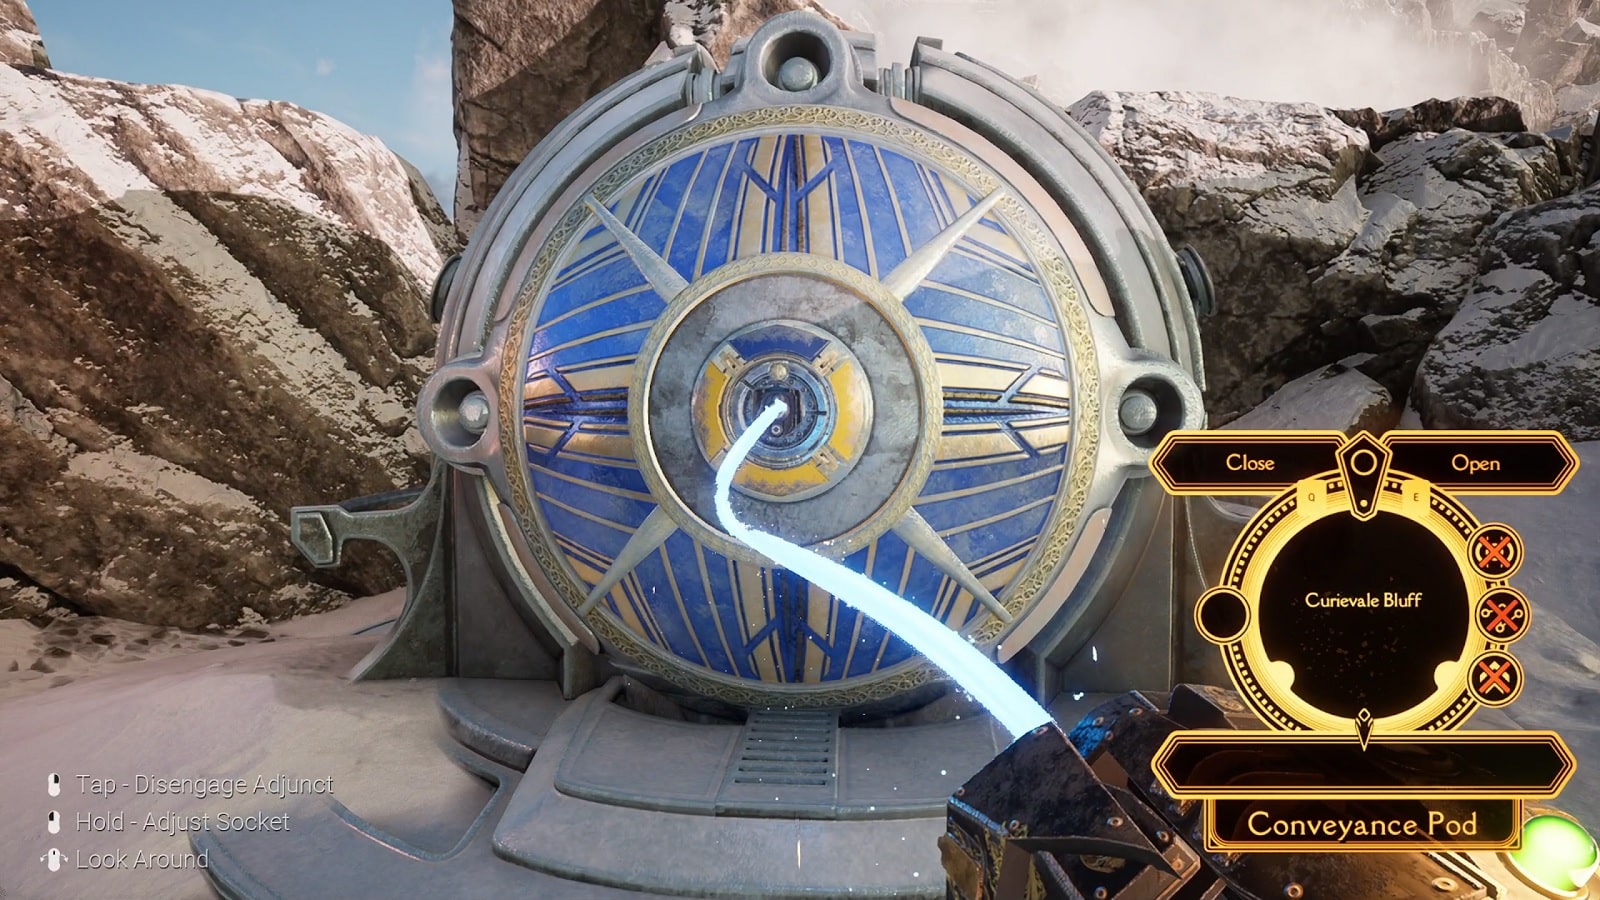
A little further down the path, you’ll find a large spherical Conveyance Pod. This will allow you to fast travel between various points within the realm. More importantly, you can use it to return to the hub world – The Swan.
Socket into the sphere and it tells you you’re at the Curievale Bluff. This is important because this is how you add more Conveyance Pods to the network. You’ll need to touch them for them to be part of your network. Don’t forget that.
Once inside you can select your destination within the realm. There are none currently active. There is only one destination active right now, and that is the Swan. Begin the Energize process. The door will close and off we go to the Swan.
Please note that we will not be covering the Swan in this Walkthrough guide. The Swan is a hub world, and while the Mentor has a few comments here and there, it isn’t a place of importance until the end of the game.
And that’s the end of the first part of our Firmament walkthrough. We hope that you find this information useful to you in some shape or form.
Check our review of the game here:
Check out our full line up of Firmament guides:
- Firmament Walkthrough Part 1: Waking Up
- Firmament Walkthrough Part 2: First Upgrade
- Firmament Walkthrough Part 3: Second Upgrade
- Firmament Walkthrough Part 4: Third Upgrade
- Firmament Walkthrough Part 5: First Spire St. Andrew
Firmament is out now on PC storefronts. With a PS4 and PS5 version with PSVR support coming in the future.


