
Halo Infinite has some pretty tough bosses this time around. Master Chief will go toe-to-toe with some formidable foes in the main campaign. And if you’re having some challenging times beating any of the bosses in Halo Infinite, then you’ve come to the right place. Here is our Halo Infinite All Bosses guide.
Halo Infinite Boss Fights
You may be playing as Master Chief, but don’t let that put your guard down. The bosses you’ll encounter in Halo Infinite can rank as some of the toughest challenges Master Chief has ever fought.
Boss Fights can be especially punishing on the harder difficulties. You can’t just rely on brute force alone to be able to stop them in their tracks. You’ll have to utilize Master Chief’s equipment in order to gain the advantage.
There are a total of 9 bosses in the Halo Infinite main campaign. If you’re curious about how long the main campaign takes, you can check out our Halo Infinite Main Campaign Length to know how long you’ll be playing.
- Tremonius
- Chak’Lok
- Bassus
- Adjutant Resolution
- Tovarus and Hyperius
- Adjutant Resolution Round 2
- Jega ‘Rdomnai
- Escharum
- The Harbinger
Halo Infinite All Bosses List
Each boss has their own gimmick. Be it coming at you with brute force or cleverly hiding in the shadows before striking. Learn what each boss has in store for you and counter them accordingly.
Here are all the bosses in Halo Infinite in the order you’ll face them, and our tips on how you can win each boss fight. To win against each boss, you’re going to have to take advantage of Master Chief’s new gadgets. You can check out our guide on Halo Infinite All Gear and Equipment to know where you can get them.
Tremonius Boss Fight Guide
- Mission Encountered – The Foundation
This is the first boss you’ll face in Halo Infinite. He’ll be the first real challenge Master Chief will face before he could truly get to the surface of the Zeta Halo Ring.
Trimonius isn’t really interested in a fair fight. He’ll fire devastating rounds at you from afar while his two Jackals tirelessly guard him. If you aren’t careful you could find yourself easily cornered and on low shields.
How to Defeat Trimonius
At this point in the game, Master Chief should already have his Grappleshot which is what you need to utilize for the majority of the fight. You’ll be using the Grappleshot to either get close to Trimonius or get to a safe location behind cover. In order to fight Trimonius effectively you’re going to want to traverse the environment and keep up the momentum.
We don’t recommend fighting Trimonius up close however. We recommend dealing with his Jackals first before slowly depleting his shields from afar. With good distance, you’ll be able to notice incoming fire more easily and have a better reaction time.
Chak’Lok Boss Fight Guide
Mission Encountered – The Tower
Chak’Lok is the second boss you’ll encounter in Halo Infinite. He’s an arrogant Elite who welcomes Chief as they duke it out to the death. This despicable foe is responsible for torturing your fellow Spartan. It’s time to even the score.
On any difficulty Chak’Lok is very dangerous. His cloak makes him hard to spot as he closes in on you with his energy sword. You can die in two hits if you’re not careful.
How to Defeat Chak’Lok
To defeat Chak’Lok, this is where you need to use a newly acquired gadget, the Threat Sensor to your advantage. Place it down and it’ll reveal the location of Chak’Lok as he moves around the area.
Chak’Lok will give auditory clues even while cloaked. He’s ever the braggart and you can put his mouth shut with the many explosive items surrounding the area. Pick those up and throw it at him to make quick work of his shields.
You should really keep your distance from Chak’Lok by utilizing the Grappleshot. Like with Trimonius you can keep up the momentum by combining the Threat Sensor and Grappleshot to increase your odds at beating this Elite. Use your Grappleshot to get away from him every time he goes near.
Bassus Boss Fight Guide
- Mission Encountered – Excavation Site
Bassus can make for a pretty intimidating foe as he carries around the big hammer. You’ll have to face him the moment you disable the giant laser preventing you from going inside the excavation site. He will ambush Master Chief pretty abruptly and you may not even expect his surprise boss fight.
This boss can certainly put up a fight and is a nightmare to deal with close range. Once again, you’ll have to rely on your Grappleshot to gain some distance whenever he tries to come close.
How to Defeat Bassus
There are some explosive tanks in the area Bassus is encountered you can take advantage of. Just be careful not to get caught in the blast as well. You can find these explosive tanks by turning around from the main control panel and going to the lower part of the infrastructure.
Bassus will mercilessly charge at you. You need to be prepared by taking advantage of the environment. Your current equipment probably won’t hold enough ammunition to put him down for good so you’re going to have to scrounge up some other weapons laying around.
Due to how closed off this area is, evading Bassus can be difficult. You need to ensure not to get backed into a corner at any moment during your fight with him.
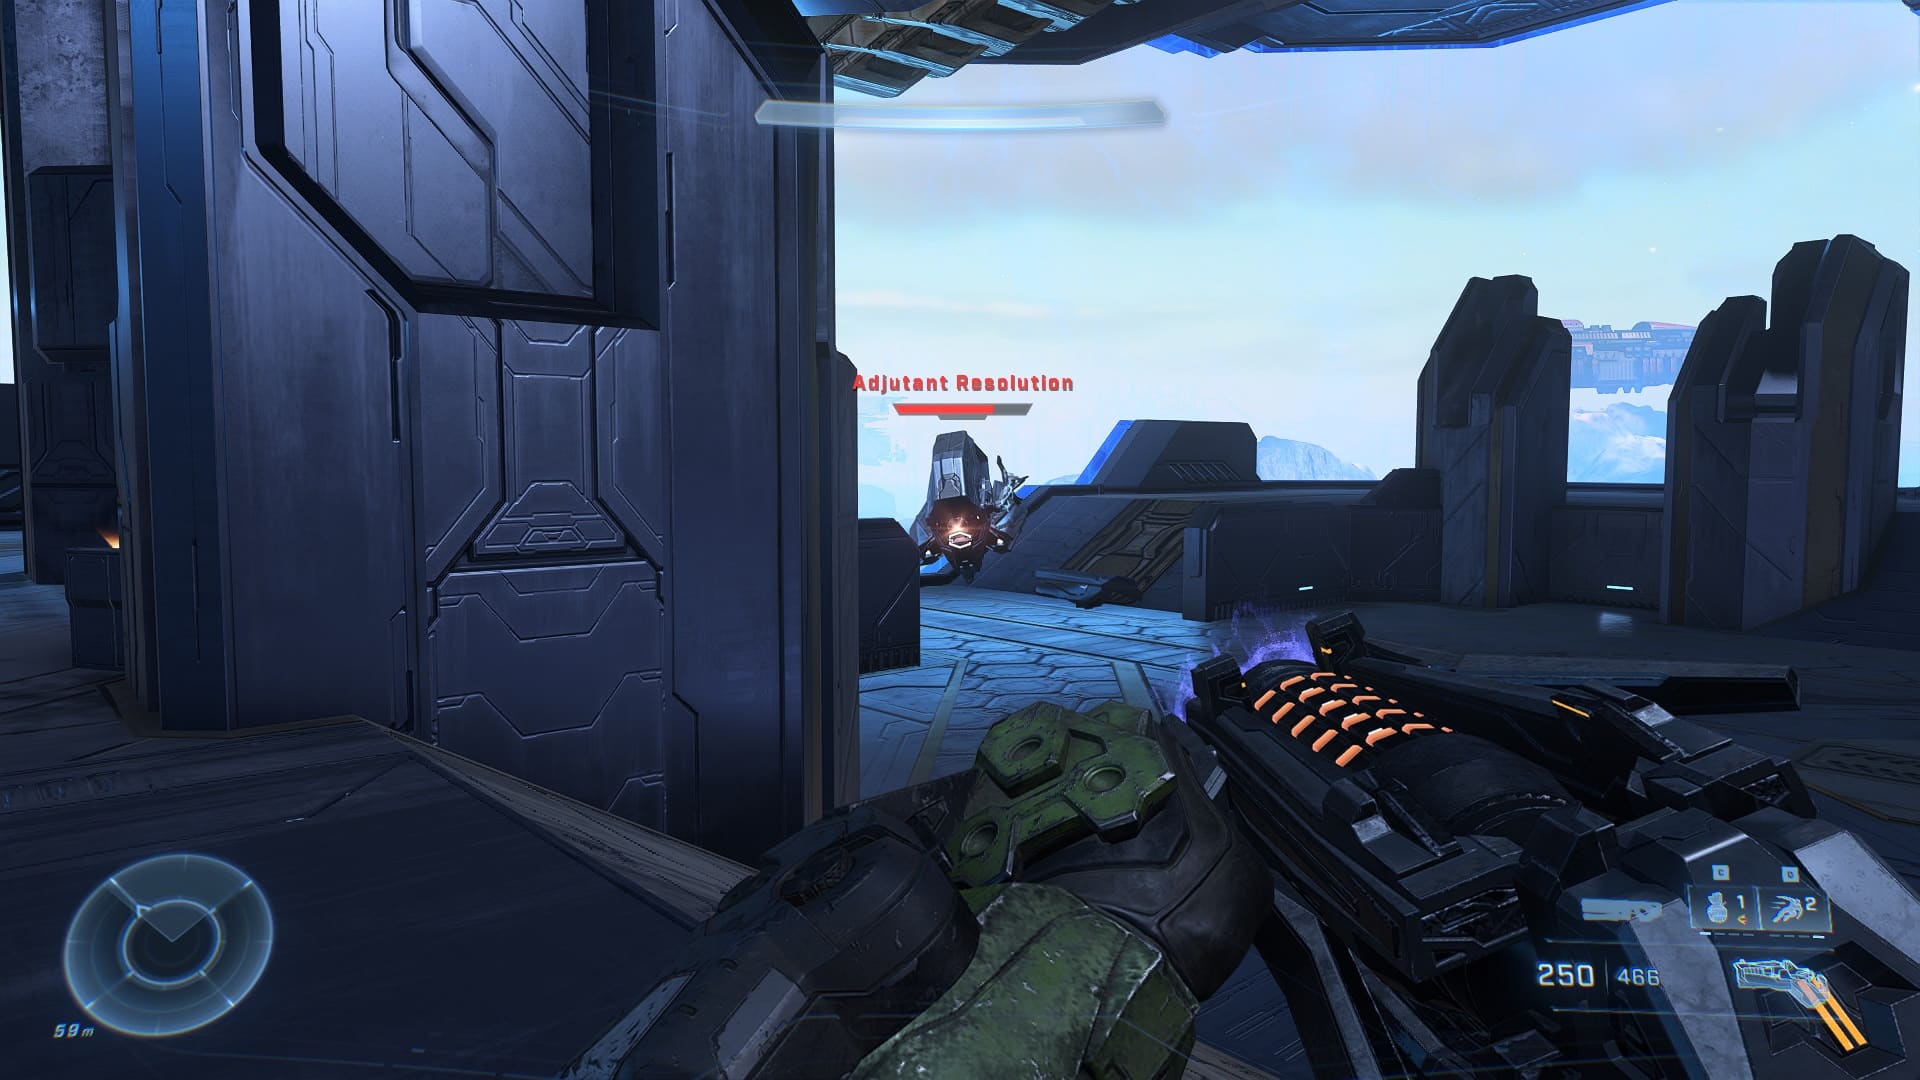
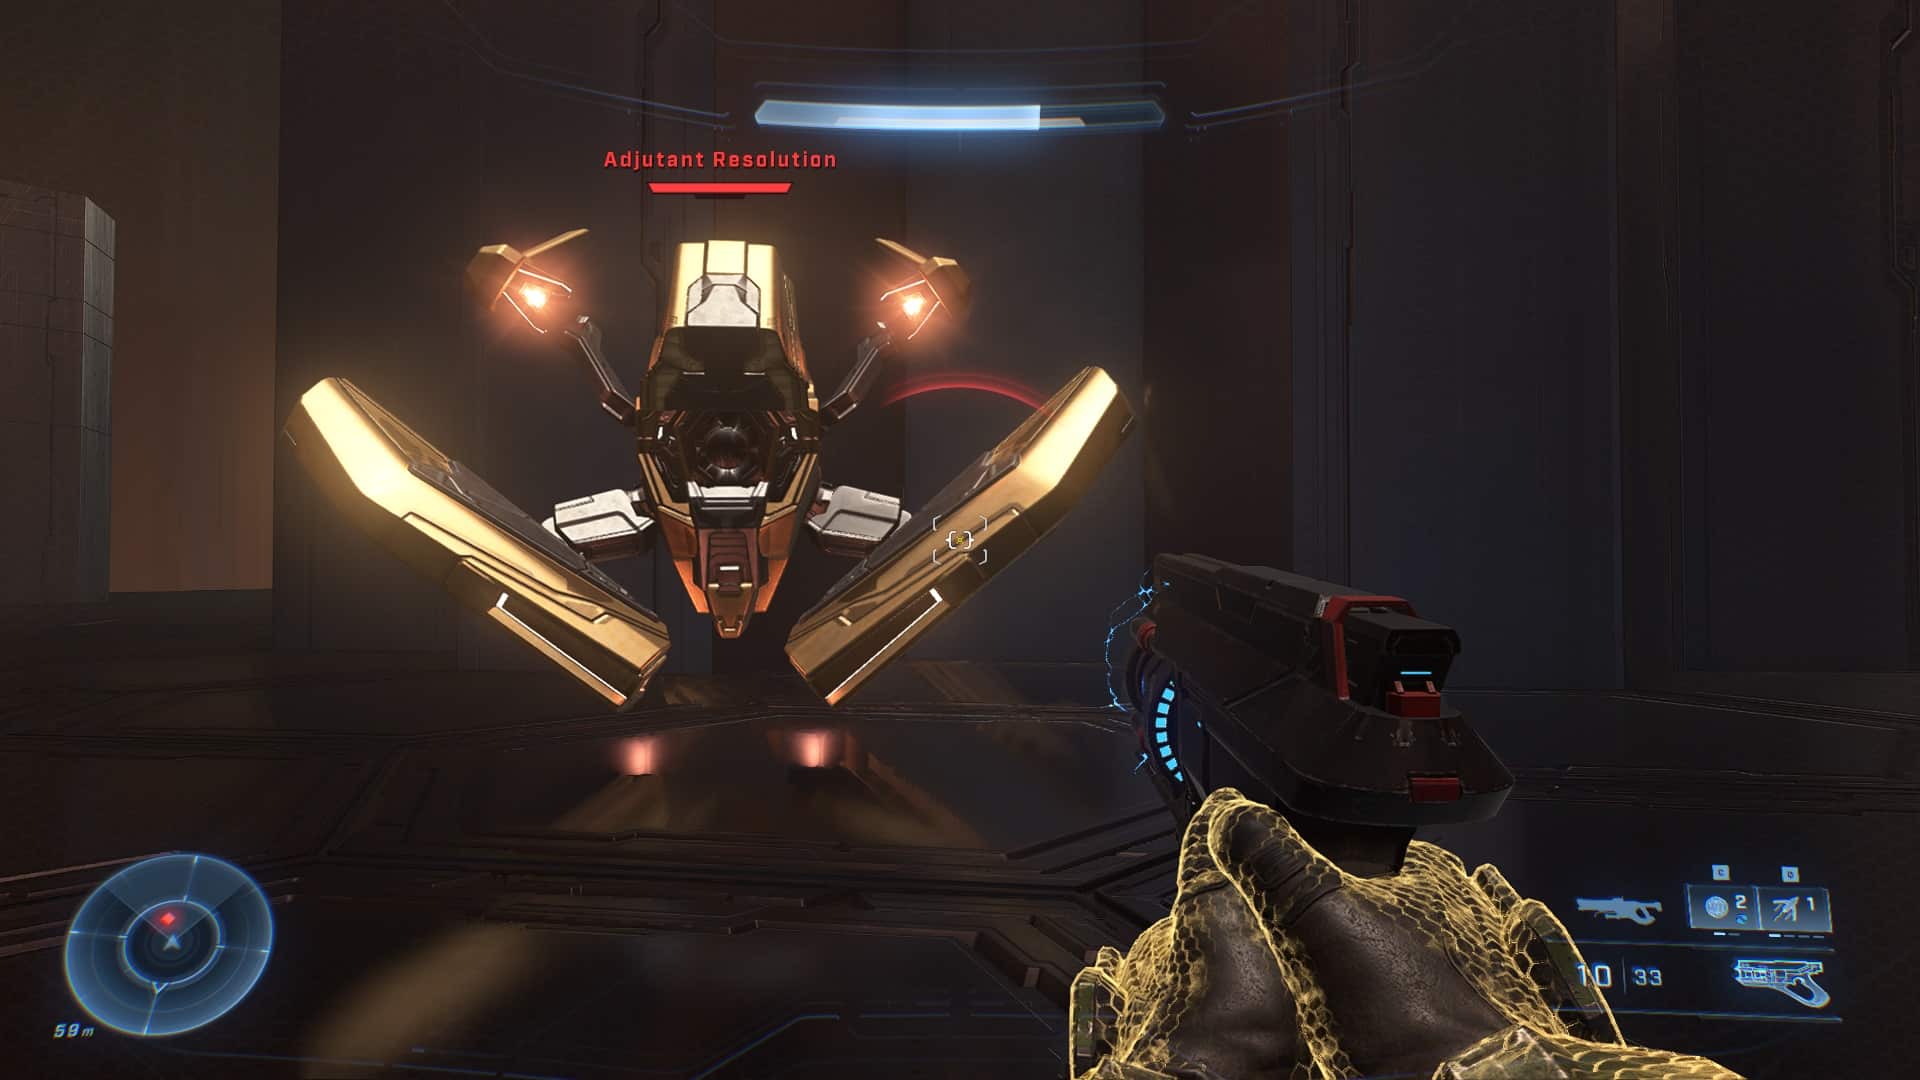
Adjutant Resolution Boss Fight Guide
- Mission Encountered – Spire
What you thought was a friendly little robot just turned into a giant machine and is now trying to kill you. Okay, no problem. What the Weapon mistakes as a friendly little machine is actually a protector of the excavation site.
Adjutant Resolution isn’t a particularly easy boss fight. Its attacks are easy to dodge and there’s a bunch of weapons laying around. I came into this fight with almost no ammo and I still managed to come out on top.
How to Defeat Adjutant Resolution
You have to keep in mind not to get tempted to just unload your ammo stock at the center of this boss. You’ll notice that the Adjutant Resolution has four glowing parts on the side of his center. That’s where you need to strike. Anywhere else does no damage.
Focus on taking out one its weak spots one at a time. It’ll eventually collapse which you can now fire at its center eye to do some good damage. Once it gets back up, do the same for its other two weak spots until it collapses again.
Once it gets back up, its centerfold eye should now be a vulnerable target. You can easily dodge its lasers with the Thruster equipment you got recently. For safety, stick close to one of the walls surrounding and ensure you always have some decent cover from it.
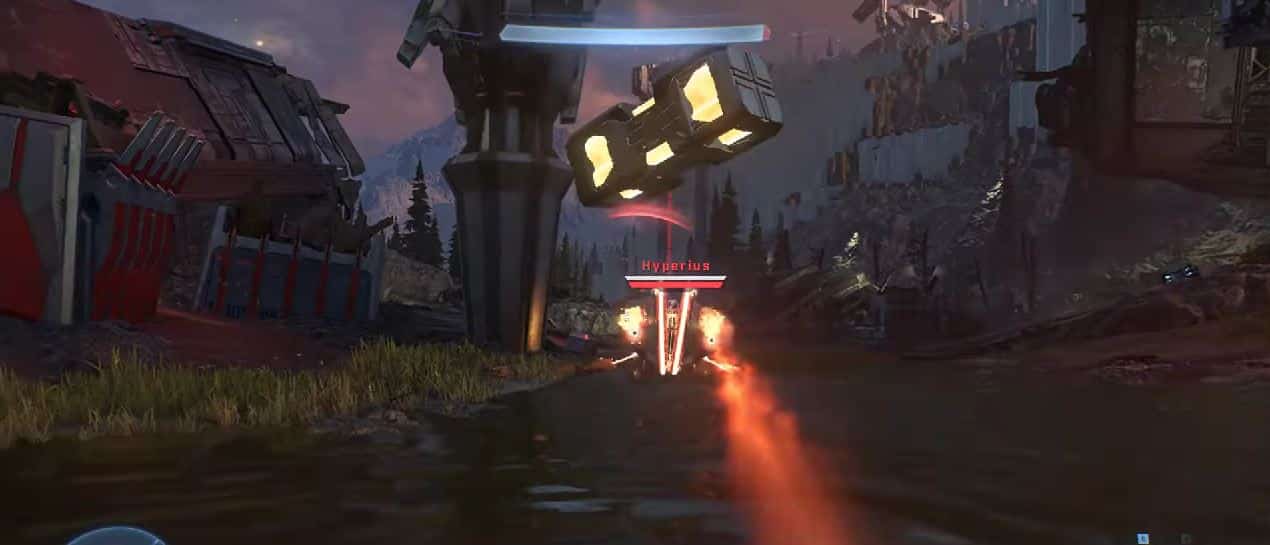
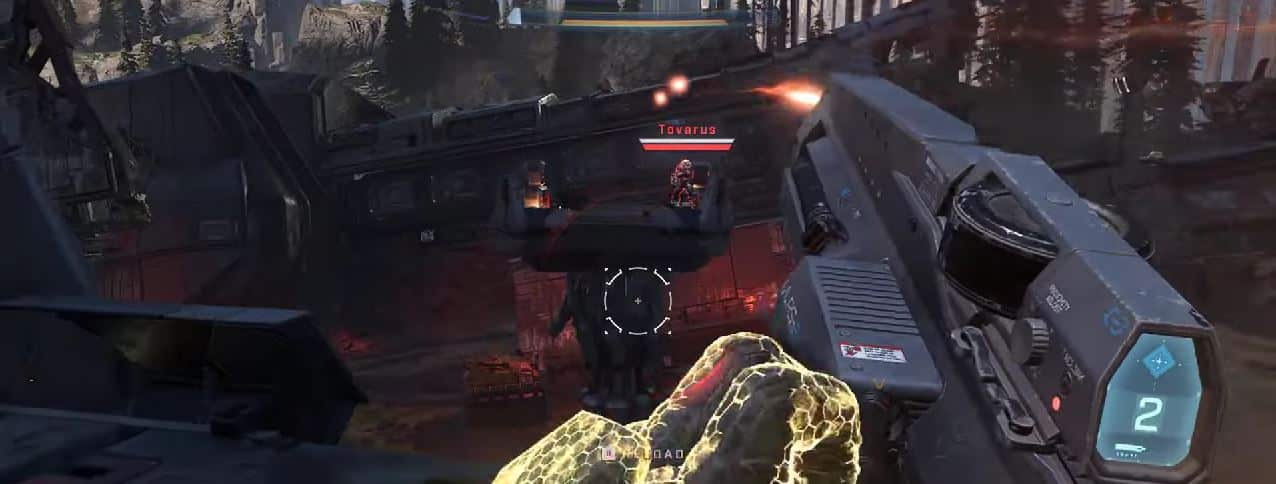
Tovarus and Hyperius Boss Fight Guide
- Mission Encountered – Pelican Down
These two decide to tag team you just when the Pilot needs your help. You may not even realize you’re in a boss fight at first because these two bozos have no cutscene introducing them.
The Weapon will warn you that they sent some Spartan killers to take you out. And as you’re driving through the valley, they’ll come out with a small army to attack you.
Unfortunately, I wasn’t able to capture my own photos for Tovarus and Hyperius boss fight. Credit to WoW Quests for the photos of the two above.
How to Defeat Tovarus and Hyperius
What’s challenging about taking Tovarus and Hyperius is the common enemy around the open world distracting you from the real fight. You can take advantage of the numerous vehicles laying around to even the odds. Each vehicle should have its mounted weapon you can use to thin out the herd.
Tovarus and Hyperius both have their own fighting styles. Hyperius loves to use his vehicle on the ground while Tovarus cowardly snipes you with rocket projectiles from above. You can actually steal that vehicle from Hyperius and use it against him with the Grappleshot. Go ahead and take away his driving capabilities.
Tovarus is a different problem. He’ll be at the top of the map slowly letting his minions deal with you. You can use your Grappleshot to gain even grounds with him to combat him mostly one-on-one. He’ll platform between the two elevated positions in the valley with his jetpack from time to time.
Adjutant Resolution Round 2 Boss Fight Guide
- Mission Encountered – The Command Spire
It’s back for round 2. It looks like the Adjutant Resolution hasn’t learn its lesson. Like the trash talking metal nonlife that it is, it brought friends this time to help kick your ass.
The environment has many hexagonal surfaces sticking out which provide for good cover. The Adjutant Resolution isn’t tough itself but its buddies will give you a hard time to think for yourself.
How to Defeat the Adjutant Resolution
Same tactic as before, aim for the glowing spots at his sides before going for the centerpiece. The Adjutant Resolution only seems tougher than before because it has friends to cover it this time, but you can maneuver around the to get good cover.
The tricky part is balancing the boss while fighting its minions. You have to focus on the flying little minions first else they’ll make it difficult for you to aim properly. They can be pretty annoying. But if you can get past their support, then the Adjutant Resolution should go down quickly.
There are weapons and grenades scattered throughout the level. Don’t worry about running out of ammunition for your weapons.

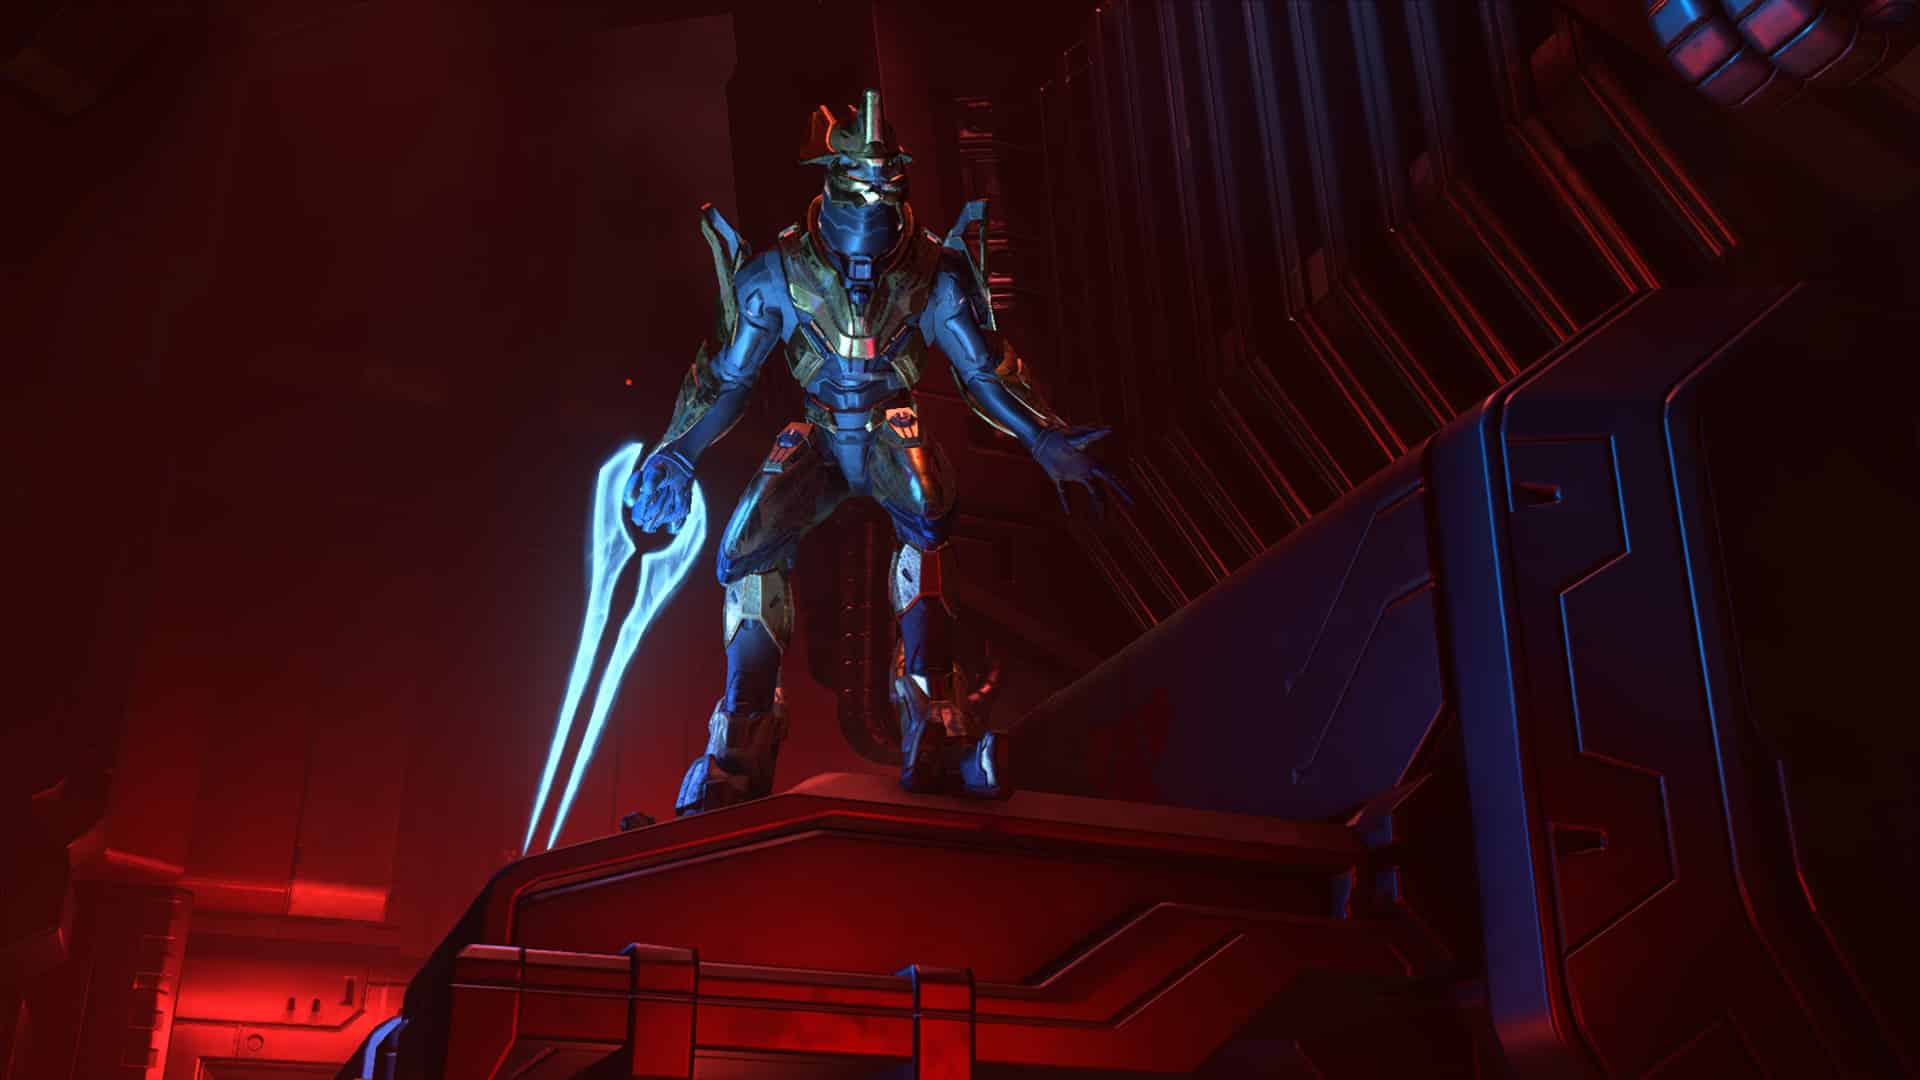
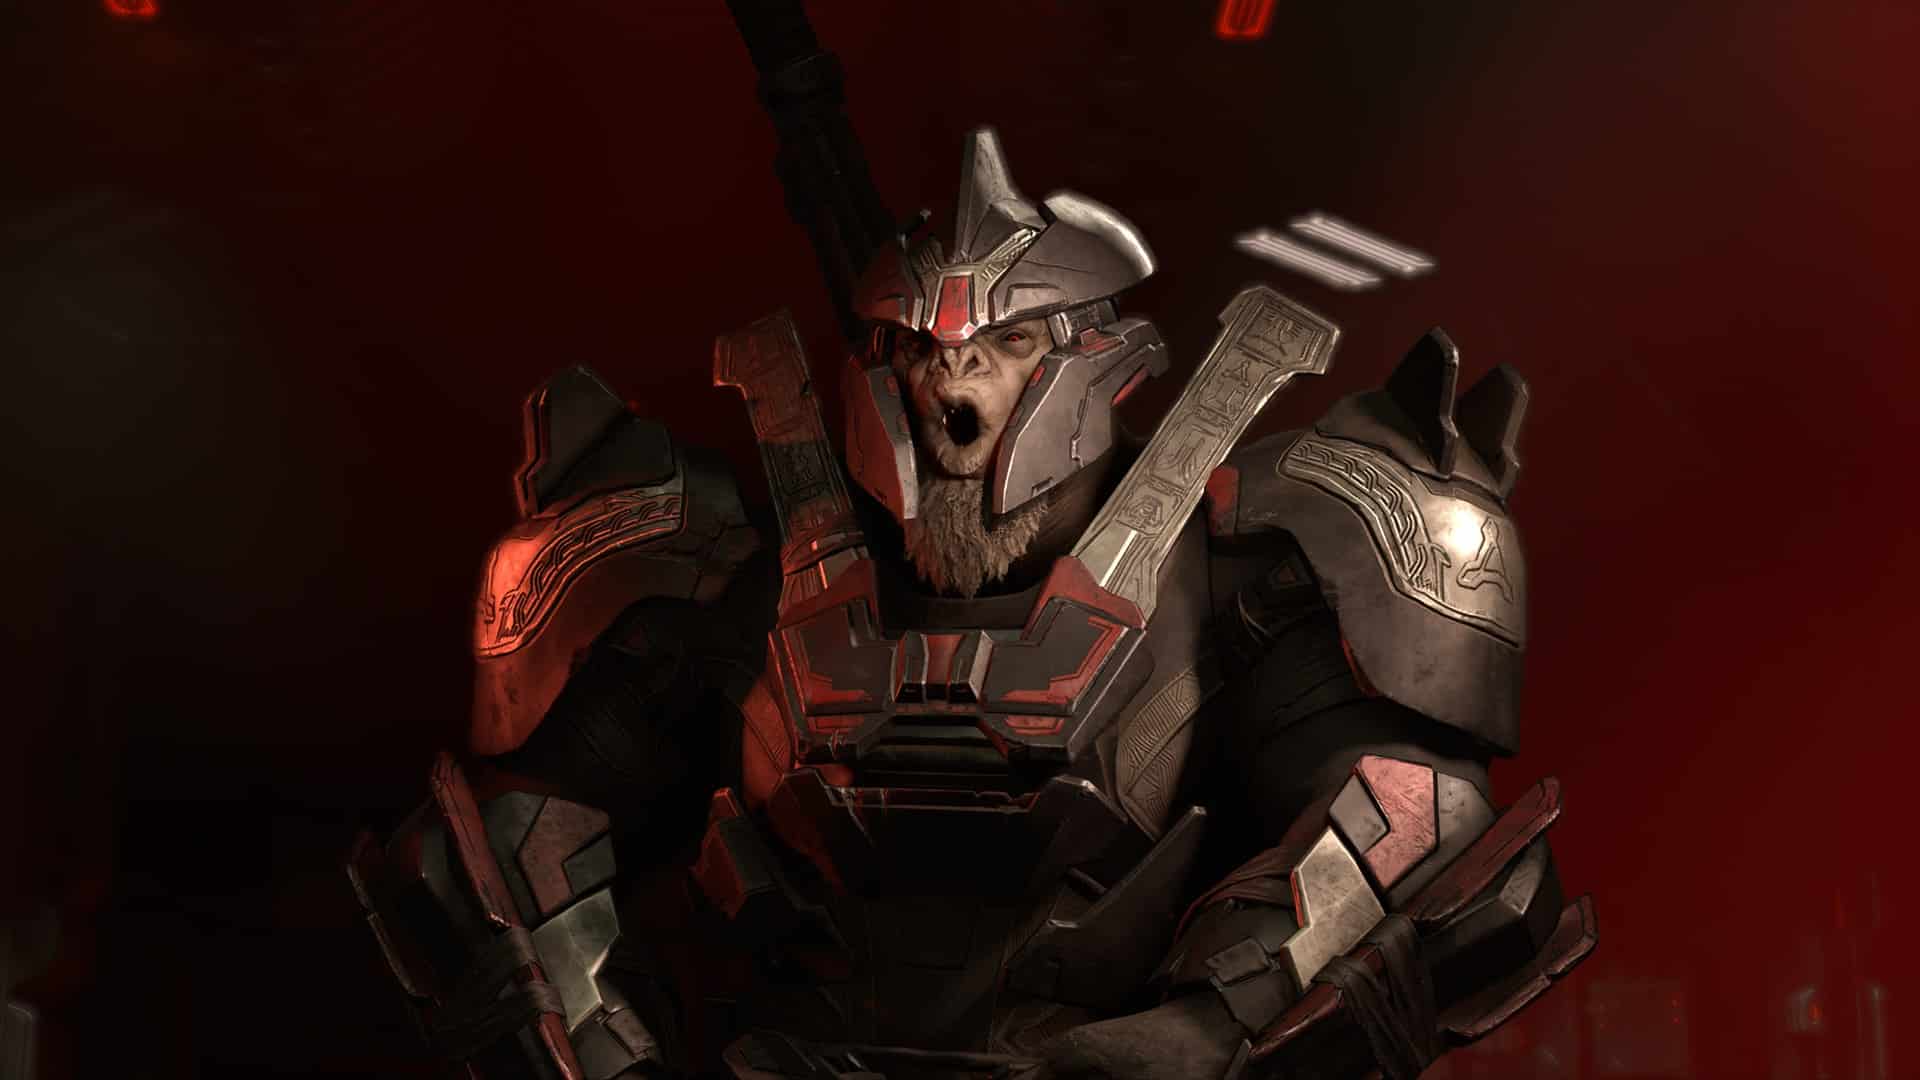
Jega ‘Rdomnai Boss Fight Guide
- Mission Encountered – House of Reckoning
This is it. This is the guy who murdered every Spartan in the Zeta Halo Ring. This built up overhyped boogeyman that Master Chief has to swat out of his way in this rescue mission.
Jega ‘Rdomnai is certainly intimidating with not one, but two red energy swords during his fight. He’s a superior version of the Chak’Lok boss battle as he cloaks himself while taunting you about being the last Spartan. Show this glorified Elite what it means to battle the best of the best.
How to Defeat Jega ‘Rdomnai
Jega is a tough opponent. If you found Chak’Lok to be challenging then Jega will be three times as hard to kill. This is more so considering the dark environment you encounter him on and the tight corridors give him the advantage in close quarters combat.
To beat him, you should upgrade your Threat Sensor to increase its radius by 50% at least. If you have been ignoring this equipment, you’re in for a hell of a time against Jega ‘Rdomnai. There are plenty of explosive materials in the room you’ll fight him in, feel free to use them but be careful not to accidentally blow yourself up.
Like Chak’Lok above, Jega will give auditory cues on when he’ll make his move. You’ll see a slight silhouette moving which should give you the indication to shoot at him. Make sure to turn your headlights on for this one.
What I like to do in particular for this boss fight, is to hide in the corners which gives me a better view of the room. Placing yourself in the middle of the room is a bad idea since this will give Jega more angles to attack you from.
After beating Jega ‘Rdomnai you can even pick up his unique red Energy Sword
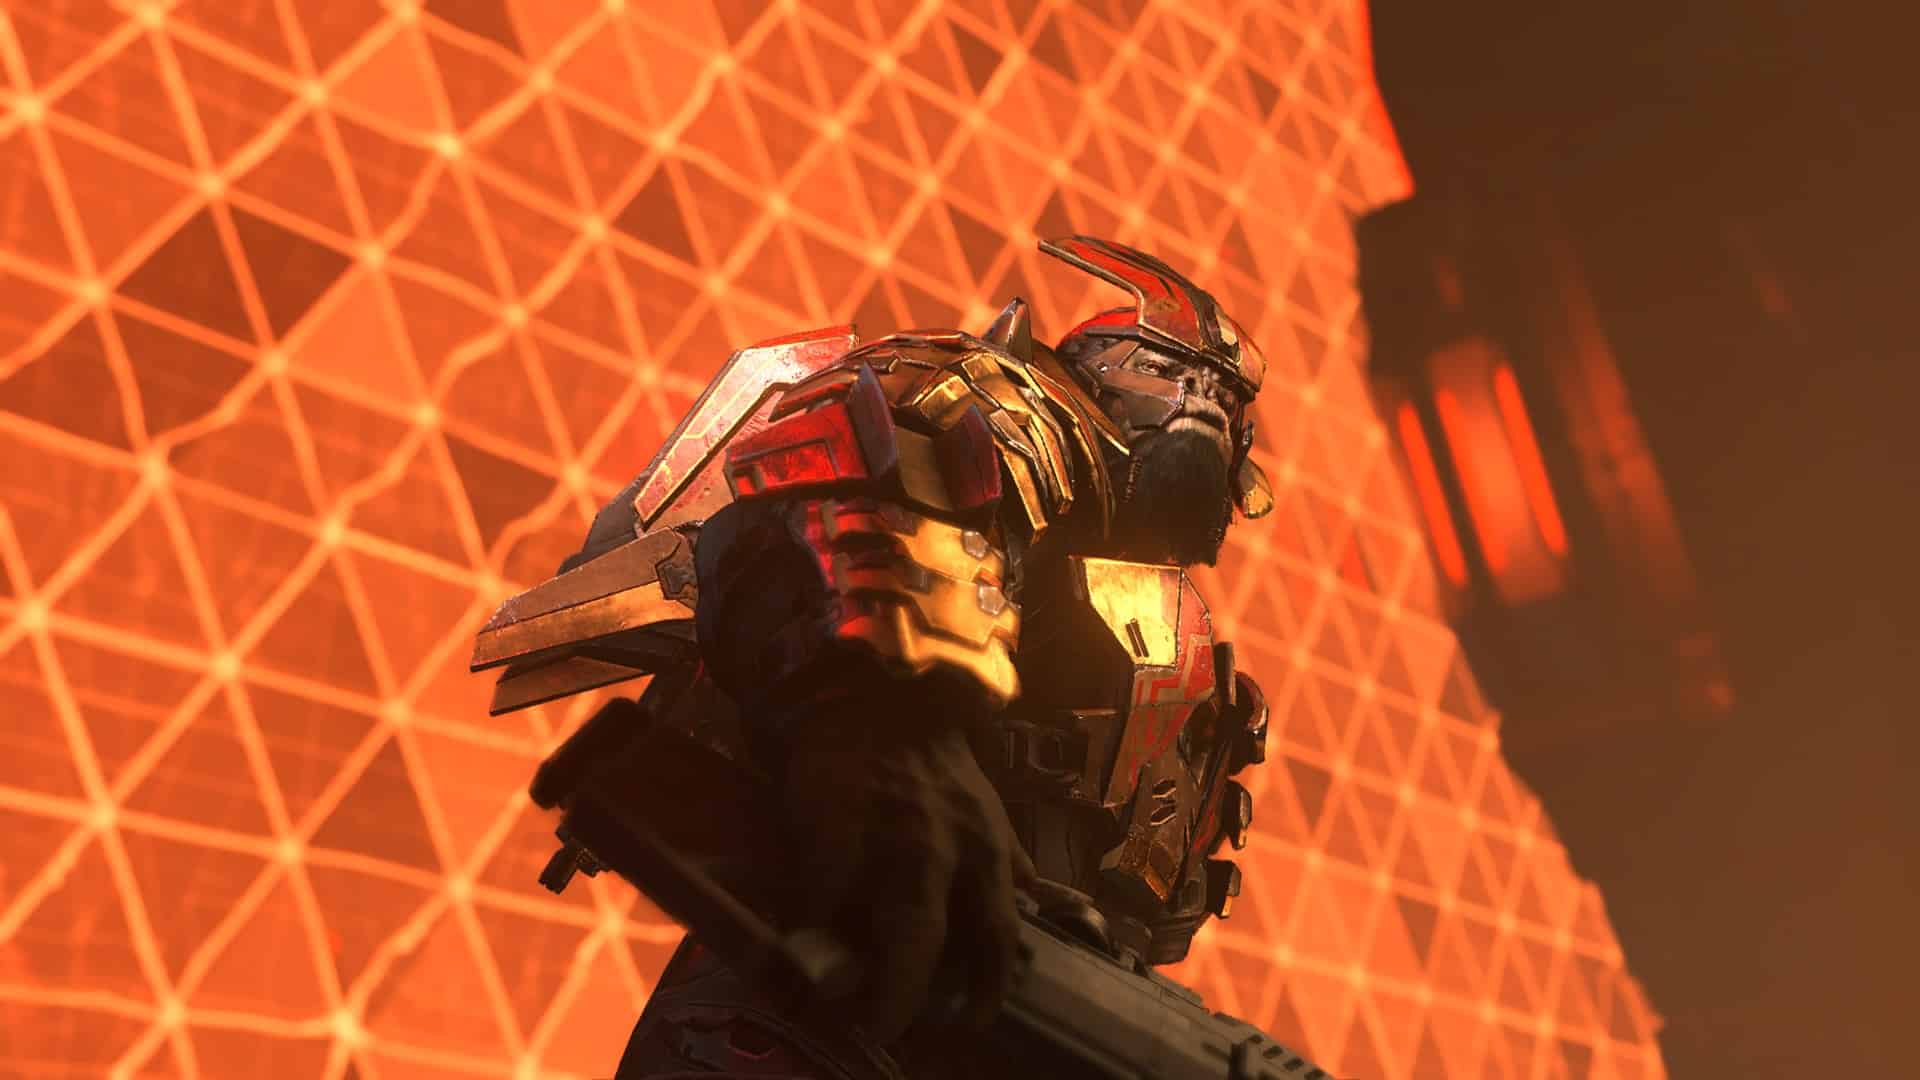
Escharum Boss Fight Guide
- Mission Encountered – House of Reckoning
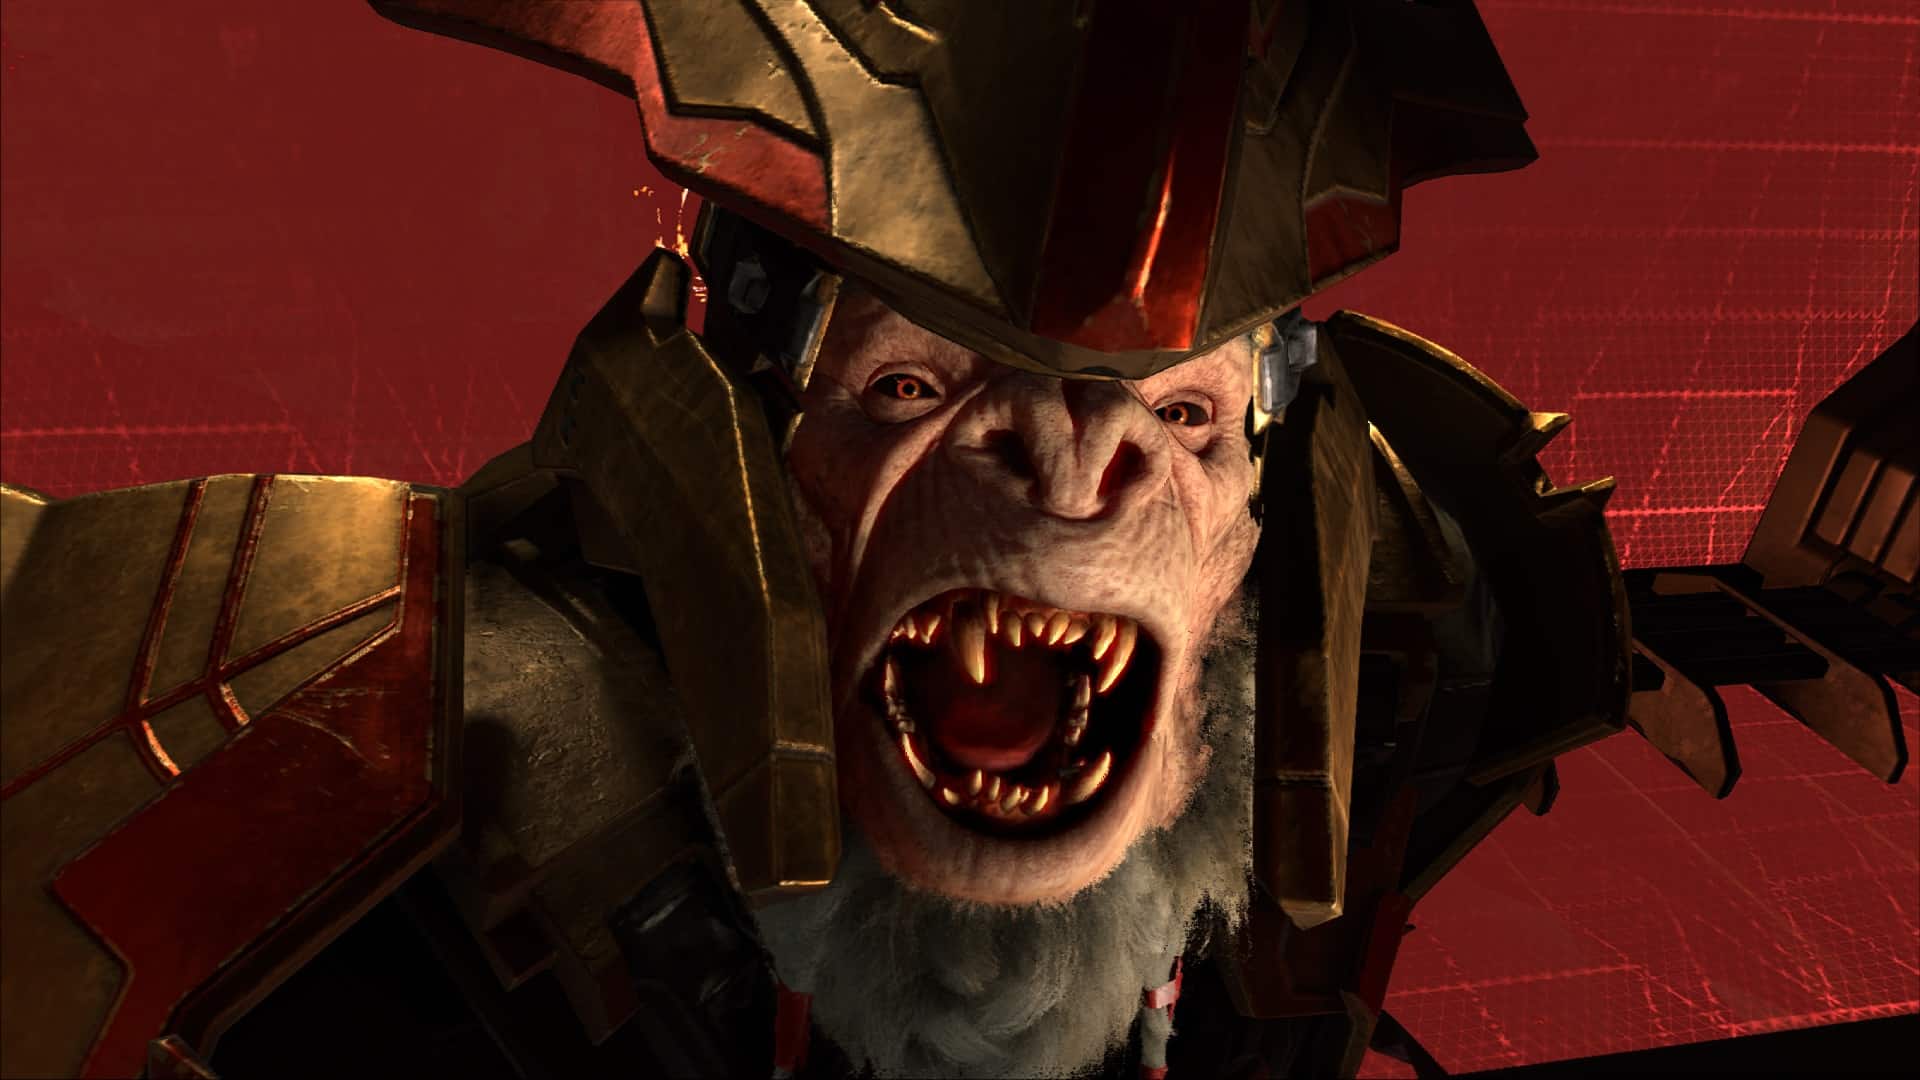
Escharum must have a really unique honorable code. He comes at you right after your fight with Jega and demands a battle. This big dude has been talking tough throughout the whole game. Time to put him in his place.
This boss fight can be particularly testing. Escharum, despite claiming to be honorable, is cowardly hiding behind Echo by garnering his shield’s power from Echo’s torment. You’ll have to balance avoiding him while destroying the energy sources he uses his shields for.
How to Defeat Escharum
At the start, Escharum can come off as daring. He’s got no shields which many players will admit takes some balls. However a little bit in your fight with him, he’ll cowardly syphon energy from the captured Echo. Meaning you can’t damage him without destroying the sources of energy first.
Thankfully unlike the last boss, it’s easy to get around Escharum. Like the narcissist that he is, Escharum likes to be in the middle of the room in the first phase of the fight. You can utilize your Drop Wall to mitigate his damage while you aim for the energy sources.
The hard part is during his second phase where after you destroy all four of the energy sources, Escharum will pull out his unique red Gravity Hammer. He’ll chase you around the level swinging at you like a madman. There are some M41 SPNKR around which should teach Escharum why that’s a bad idea. Be careful those swings from his Gravity Hammer are menacing.
After defeating Escharum, you can pick up his unique red Gravity Hammer, the Diminisher of Hope.
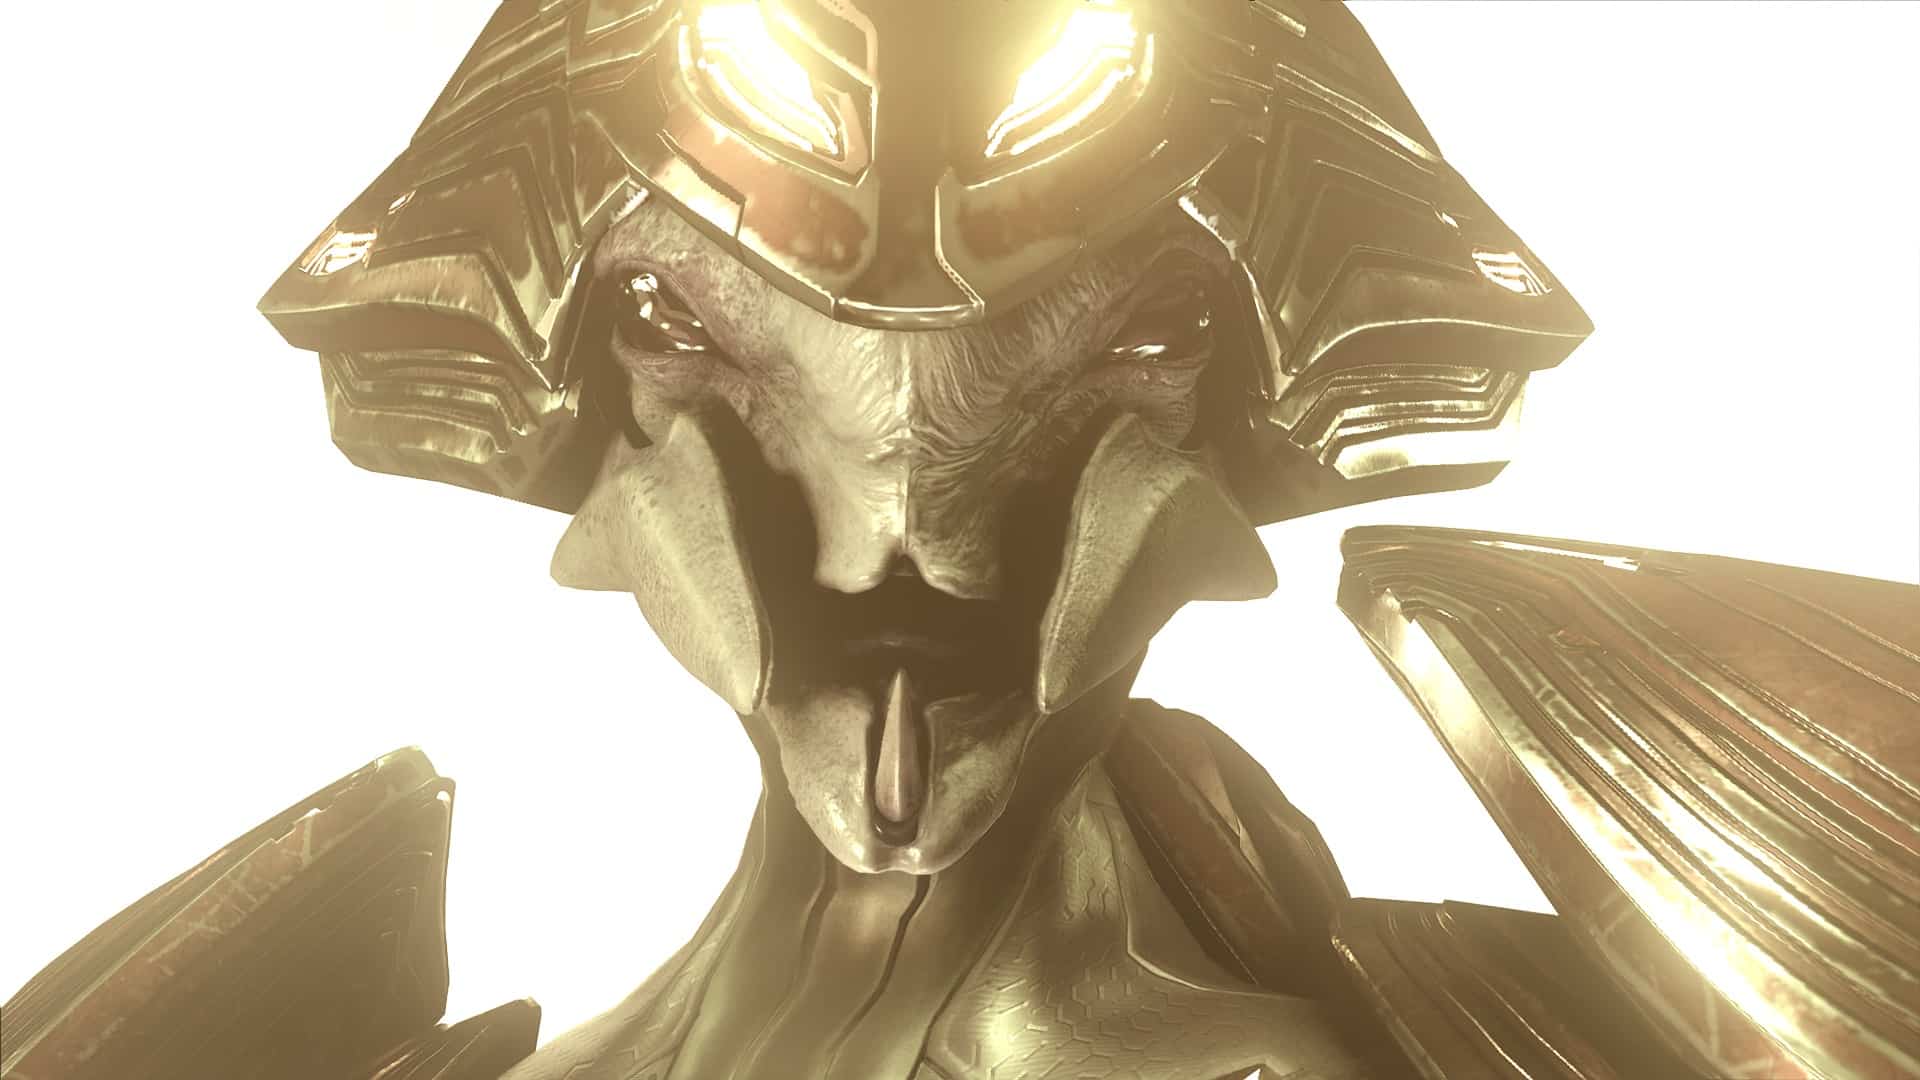
Harbinger Boss Fight Guide
- Mission Encountered – The Silent Auditorium
The last wall you have to break down to finish the Halo Infinite campaign is finally upon you. The Big Bad herself finally shows her face. But you won’t really be fighting her as much as you’ll be fighting the henchmen she summons around the arena you’re in.
Harbinger is a particularly annoying boss fight. Not a tough one if you’re used to taking on the average goons in the campaign. How she teleports around can make her difficult to hit. But once her shields are down, she’s completely open.
How to Defeat Harbinger
Defeating Harbinger more or less lies around defeating the henchmen she summons. You’ll have three rounds of goons coming your way before she finally faces you on one-on-one for good. The Weapon will take care of everything in the background to disable that big shield she has in the middle so just focus on taking out her minions.
It can be annoying to land a hit on Harbinger as she teleports around the stage. You may consider this the equivalent of playing whack-a-mole with a godlike alien being. All you really need is to take out her shields, she immediately falls flat on the floor and open to your hits after.
You just have to fight her henchmen three times while she keeps on retreating behind her safe zone. Survive that and her boss fight is relatively straightforward and simple.
Bonus points, I swatted her with the Diminisher of Hope for irony.
Check out this YouTube video from MKIceAndFire on how they beat Halo Infinite’s campaign bosses.
For more Halo Infinite related content like our Halo Infinite All Bosses guide, check out our other articles.


