")
Stepping into the chilling winds of snowy Alaska, Solid Snake emerges onto the icy expanse of the Heliport. As he does, the Codec buzzes to life, reconnecting him with familiar voices and key allies. In our Metal Gear Solid 1 walkthrough, the Heliport is the second area where we’ll teach you how to evade the glare of spotlights, outsmart guards, and make essential gameplay decisions.
See previous: Docks Walkthrough
Upon reaching the surface of snowy Alaska, Solid Snake’s first task is to cross the heliport and find an entrance into the base.

As soon as you get out of the elevator, Colonel Campbell will reach out to you once more. Naomi Hunter is also on the same call; she is a specialist who helped Snake in designing his suit and conditioning his body for the mission. You’ll also be introduced to Mei Ling, the communications specialist. Mei’s channel, 140.96, also serves as a save menu to create a save file for your progress.
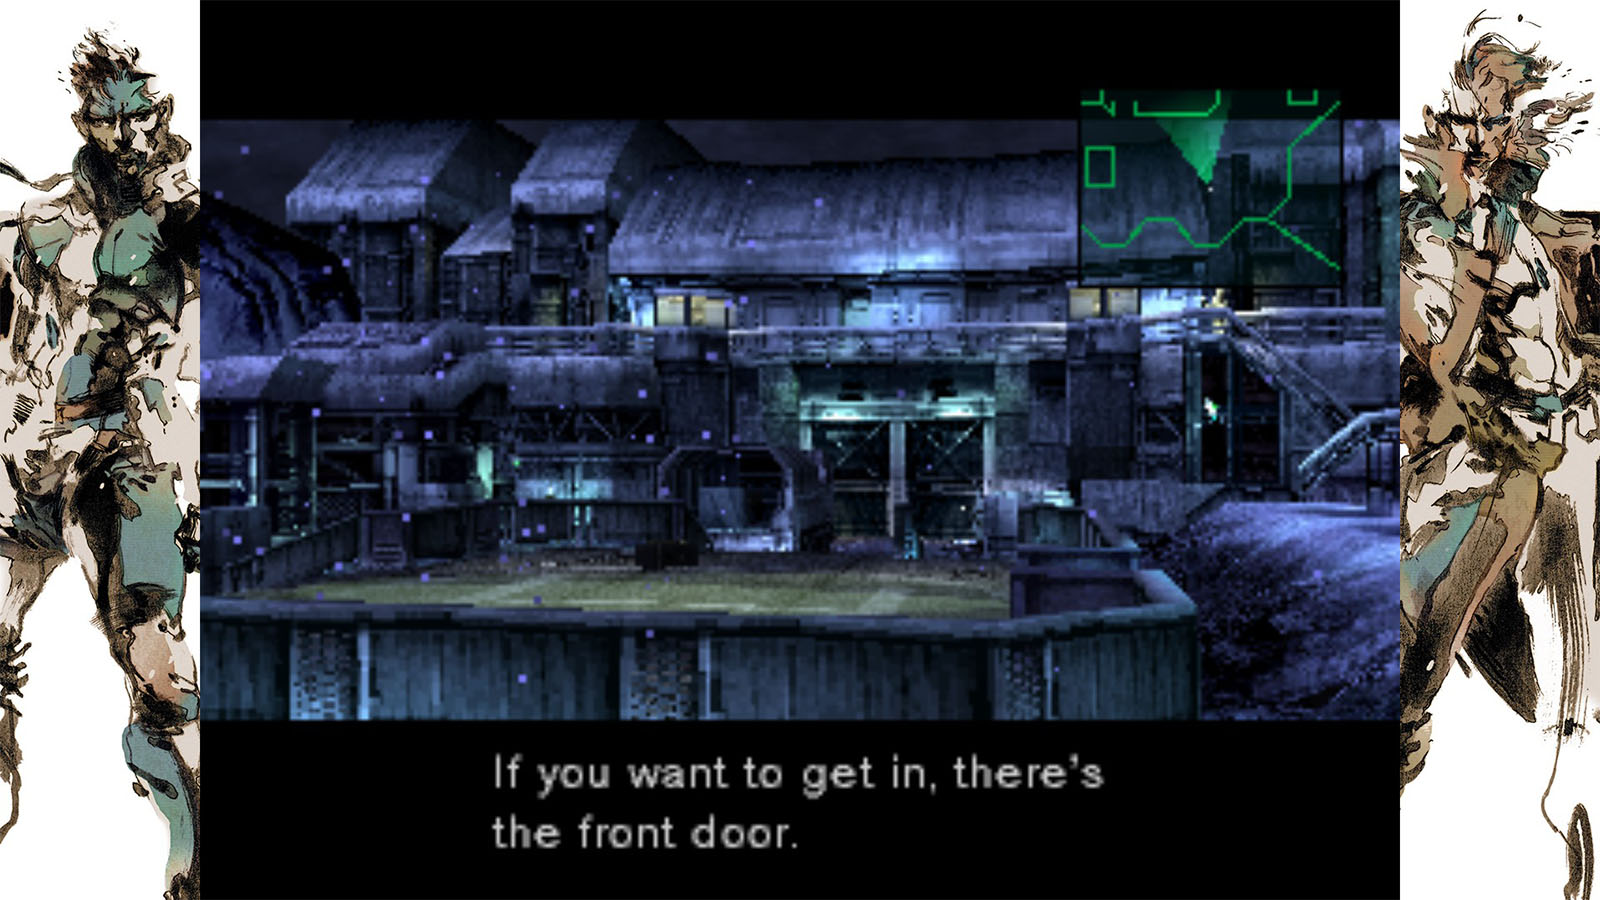
Afterwards, you’ll be able to control Snake once more. Scanning the area reveals the front door, but it is inaccessible. There are two vents that you can take to infiltrate the hangar; one is directly north of your position, while the other one is up on the second level. Both vents will lead to the same place and with just minor differences. For now, we’ll make our way to the first vent up north.

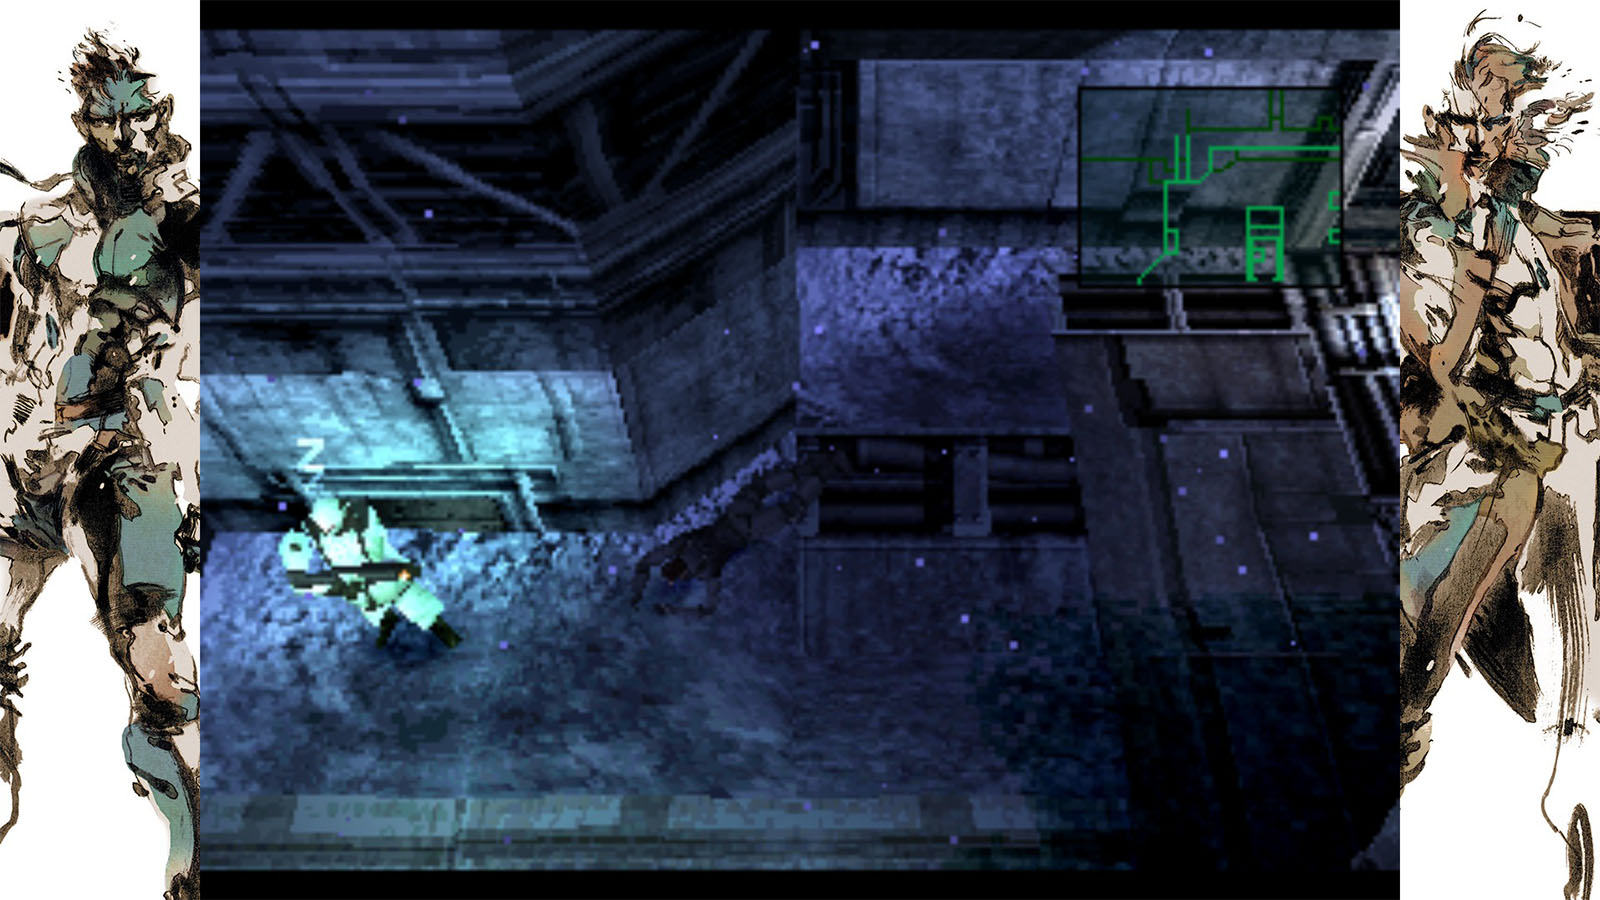
The helipad northeast of you will be heavily monitored by two spotlights, so instead of taking the south stairs, go east and take the east stairs. Wait for the spotlights to give you a clear path in the middle where you can also pick up some Chaff Grenades, then head west.
Further west is a room that has a surveillance camera. This camera has a blind spot directly underneath it, so as long as you hug the wall close to the camera, you’ll be safe. Wait for the cam to look right before taking the Stun Grenades.

Head back out and approach the back of the truck nearby. Inside it is where you will find SOCOM which will be your first gun. Pick it up and head back out. It’s best not to use it for now as it can alert enemies when fired, but you will eventually find a silencer to attach to it later.
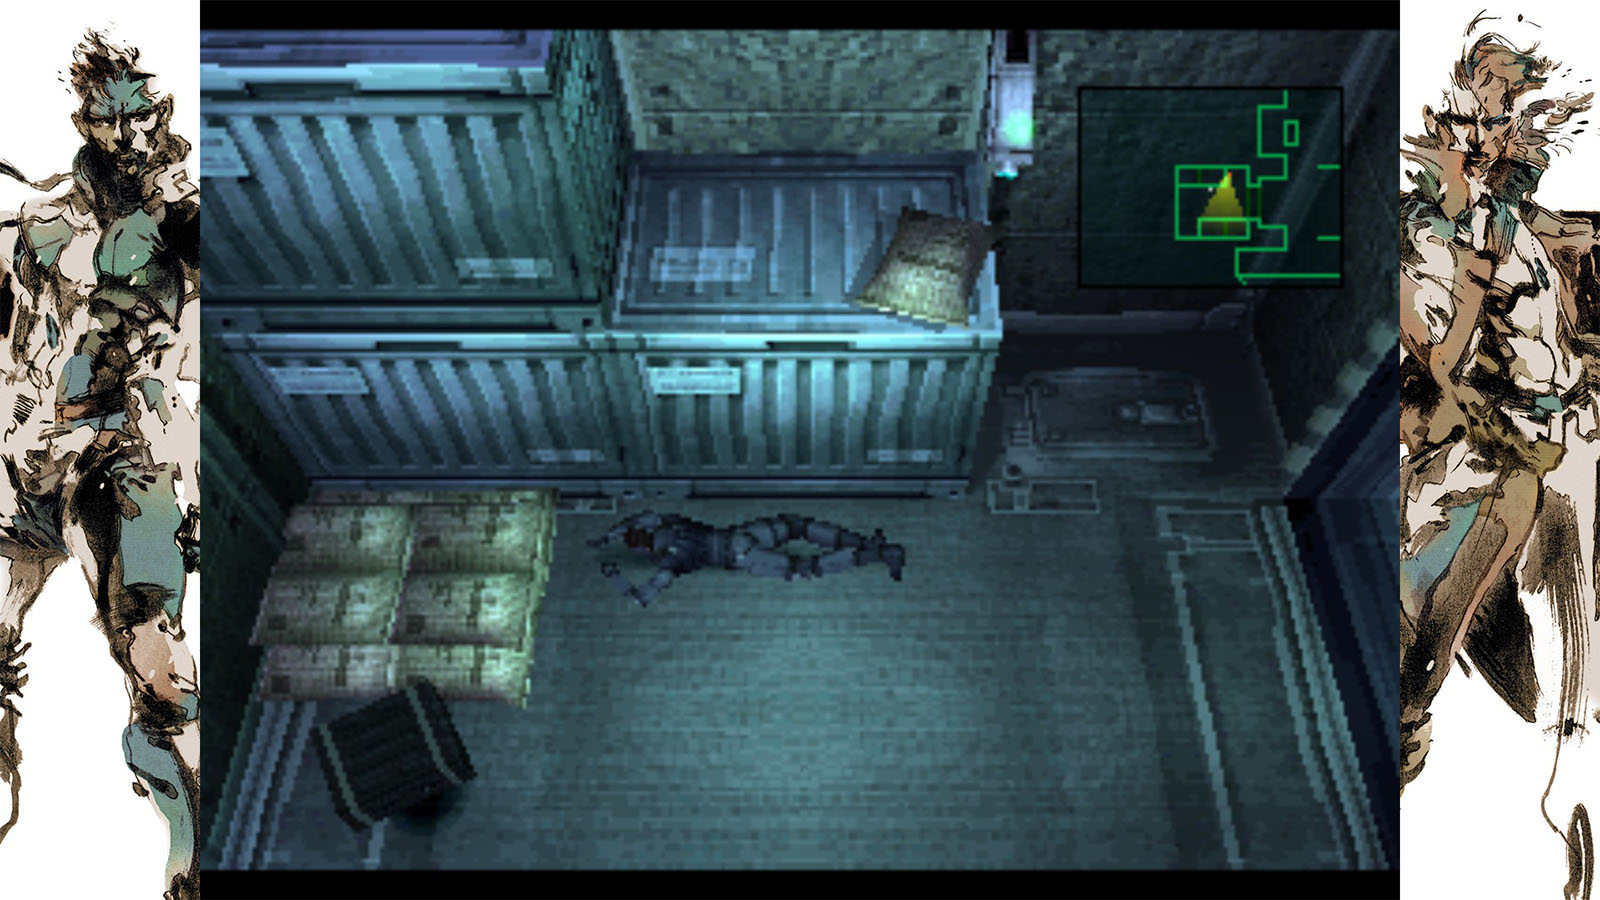
The vent should just be north of the truck, but there will be a sleeping guard blocking the way. You can try to crawl past him as fast as possible or try to make a distraction to wake him up and make up continue his patrolling. Once you’re clear, you will be able to get into the hangar.

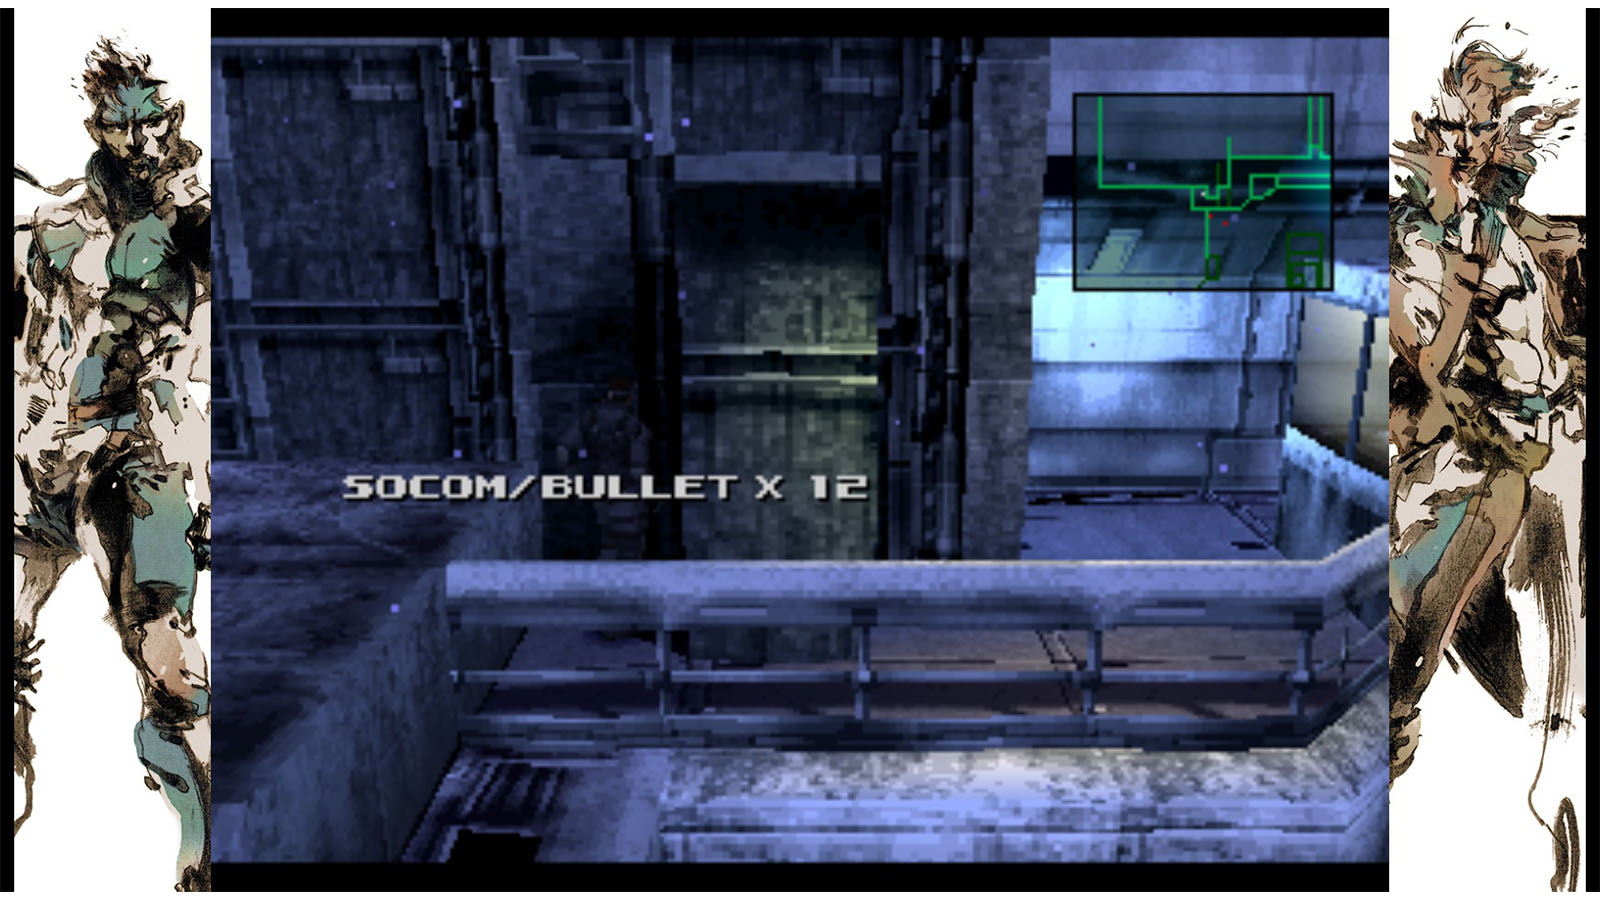
Alternatively, if you choose to take the upper vent, you will need to go to the east of the truck, sneak past the guard, and then climb the stairs. Then, slip past the other guard up top. Before entering the vent, you may want to check the end of the path to the west to find more SOCOM ammo. The main difference of taking this path is that you’ll arrive at a different section of the hangar and you’ll get to learn more about what’s happening inside by eavesdropping on the guards.
See next: Tank Hangar
")
")
")