
Solved by the Bell is one of the side quests available for players in Hogwarts Legacy. This quest is sort of a treasure hunt where players are only given a map that leads to another map, and only through music can they find the hidden treasure.
Read ahead as we go through the steps on how to complete the Solved by the Bell side quest in Hogwarts Legacy.
How to unlock Solved by the Bell Side Quest
To unlock the Solved by the Bell side quest, you must first complete the Madam Kogawa’s Assignment 1 main quest. In this main quest, you’ll learn the Glacius spell which will be needed for this side quest.
Solved by the Bell Objectives
- Find the item
- Use Henrietta’s map to find the treasure
- Find the item
- Use the Musical Map to find the treasure
Solved by the Bell side quest Walkthrough
After completing the required quest, your quest log will be updated with this side quest. Head over to the Manor Cape to find Henrietta’s Hideaway and start the quest.
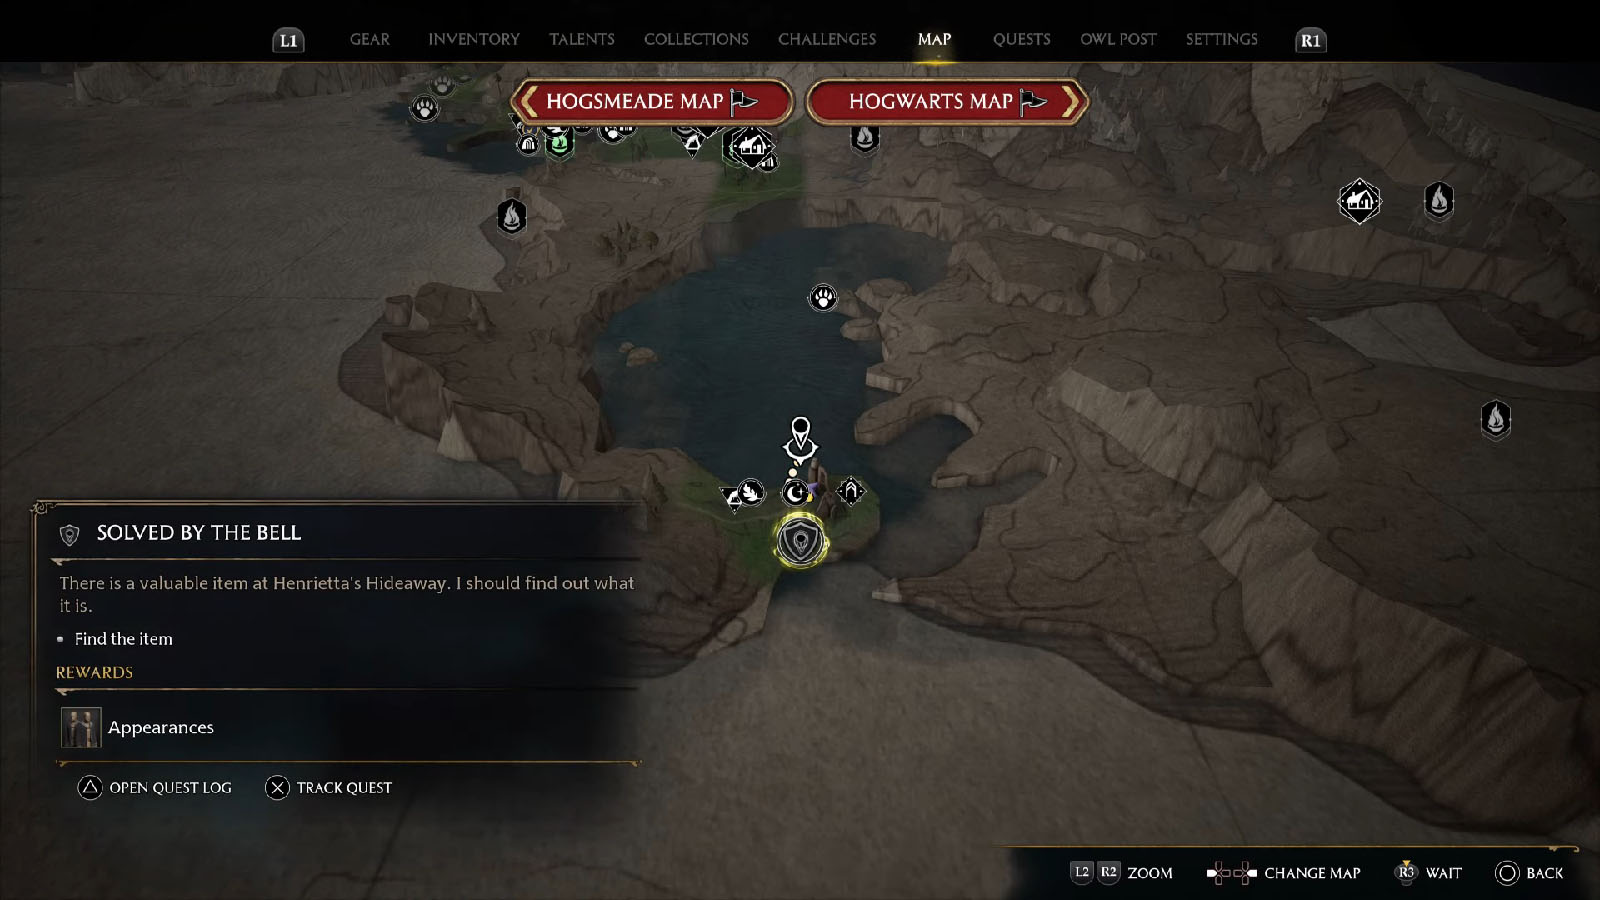
Find the item
Make your way to Henrietta’s Hideaway while sneaking past the guards.
Use Henrietta’s map to find the treasure
Inside Henrietta’s Hideaway, ignite the brazier on the left wall using Incendio to reveal a hidden platform that holds a die. Carry the die using Accio or Wingardium Leviosa and place it on top of the pressure plate next to the other die.
Then, cast Glacius on the right die and Incendio on the left die that you just placed. This will open the door up ahead.
Find the item
You’ll then encounter Ashwinders patrolling the next room. Defeat all of them, then make your way to the next room up ahead where there will be more Ashwinders. In this room, underneath the staircase on the right, you’ll be able to find a hidden room behind a wall where you can find the Musical Map.
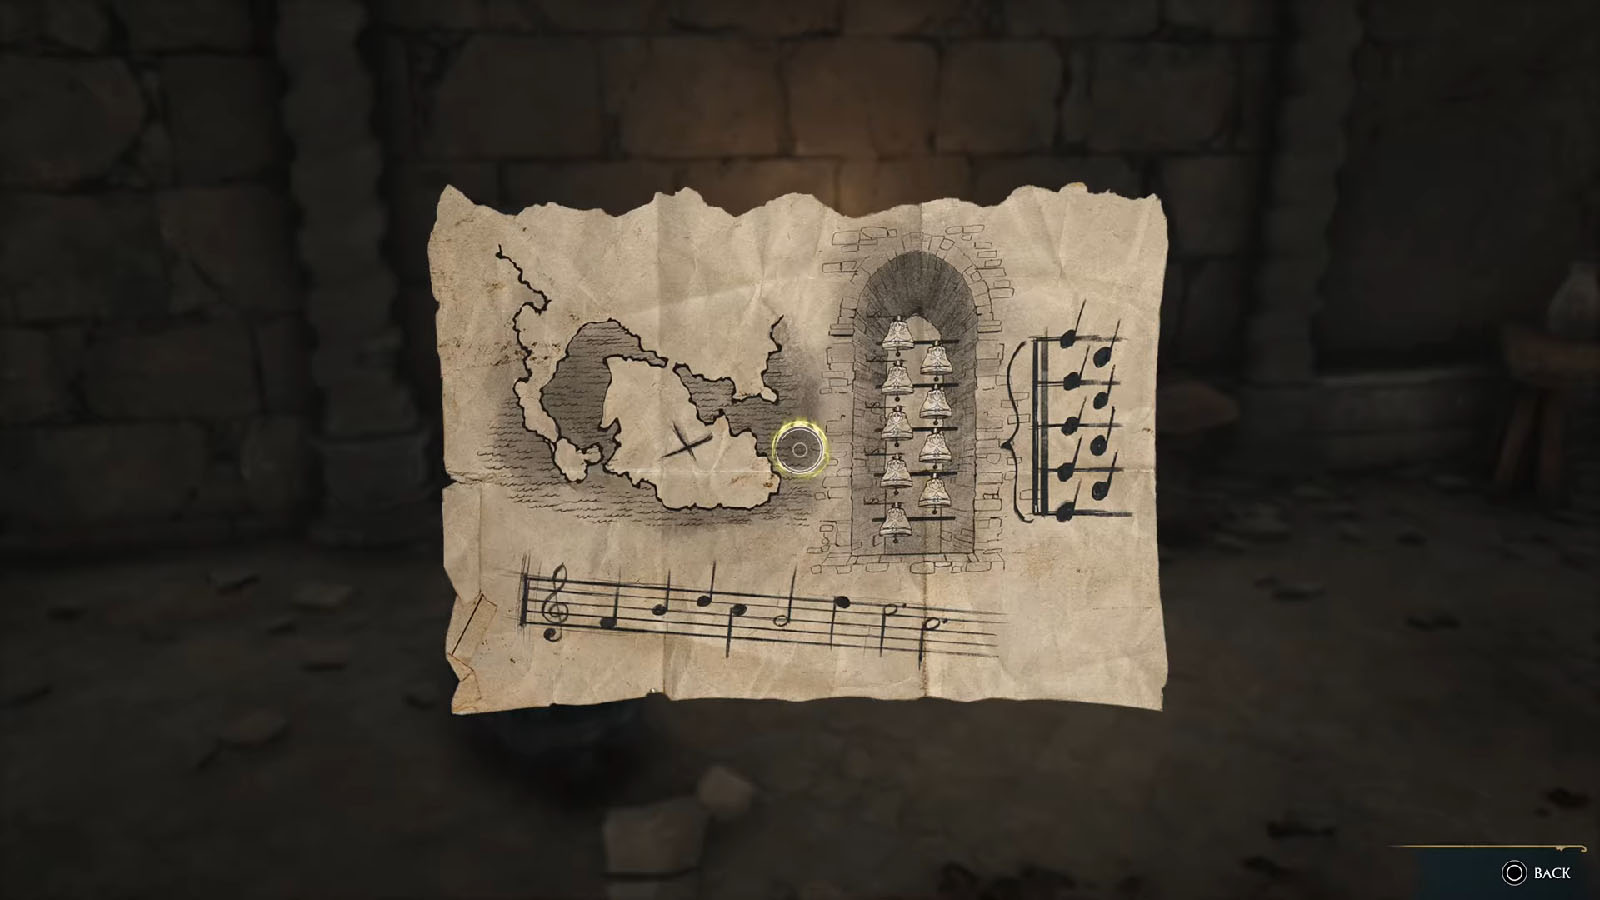
Use the Musical Map to find the treasure
To get out of the hideaway, destroy the crates in the hidden room to find another die. Bring this die out into the room you just came from and place it on the matching pressure pad. Then, climb the stairs above the hidden room and look across the room to find the second die. Place this die on the matching pad, then cast Levioso on it and Incendio on the other die. This will reveal a door on the wall.
Take the time to loot the chests in the next room, then stand on the pedestal to access the next room that leads to the exit.
Looking at the Musical Map, you’ll need to travel over to Clagmar Castle in the Clagmar Caost to the east. Once you’re at the castle, look for the western side of the castle to find the bells. It’s recommended to just fly over to the area if you want to avoid the enemies.
How to solve the Bell Puzzle in Solved by the Bell side quest
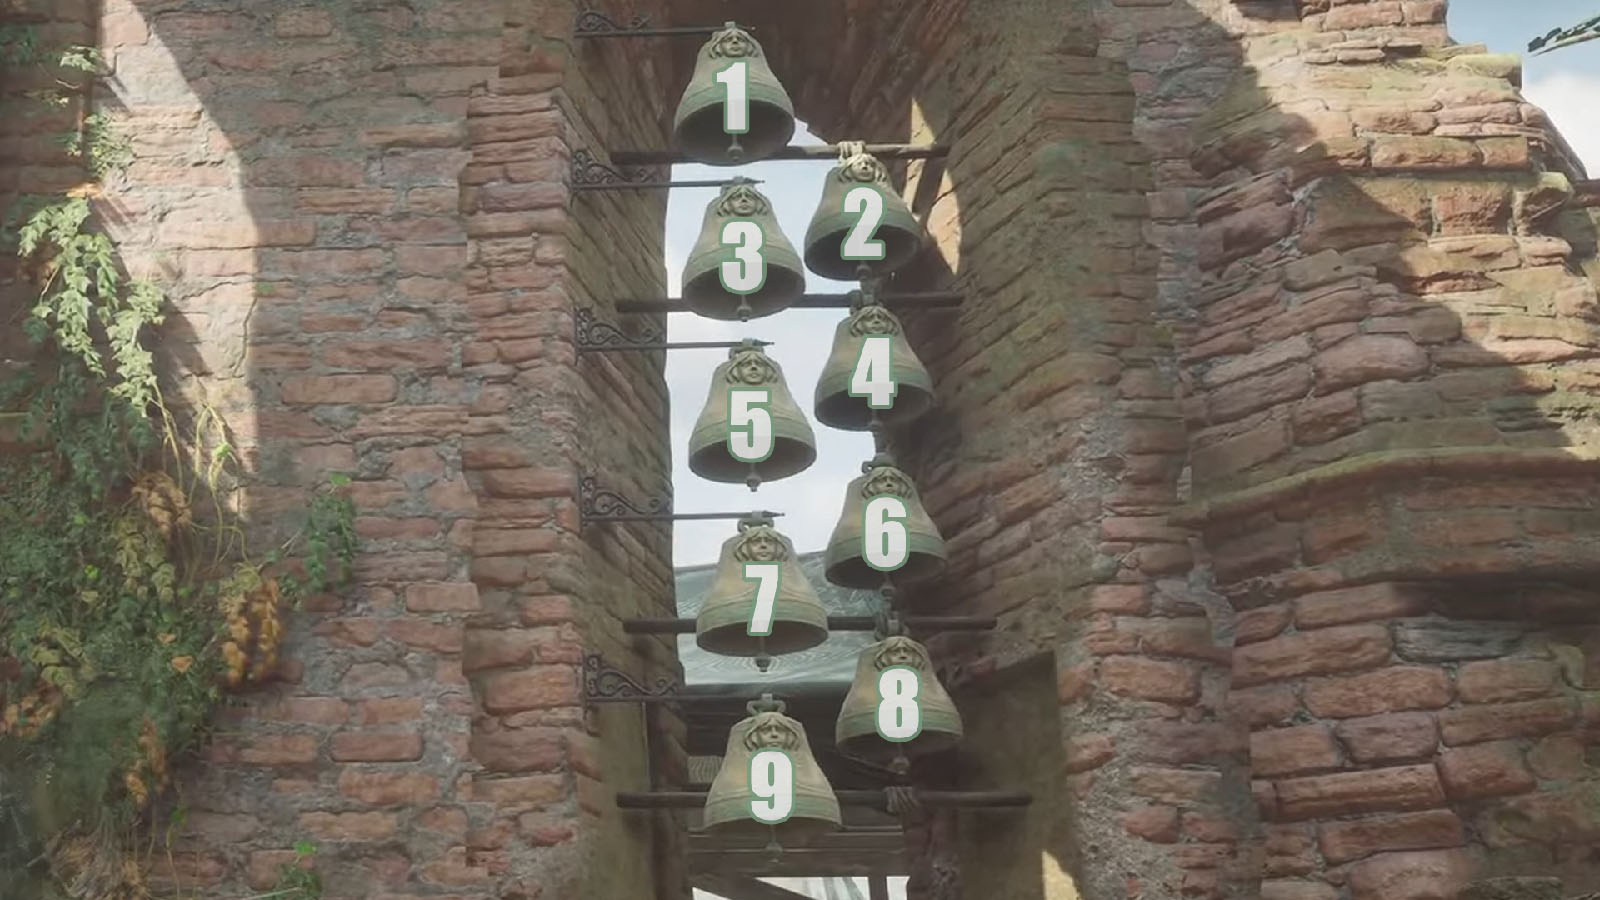
In order to solve the bell puzzle, you will need to play a familiar tune by hitting the bells in the right sequence.
For this guide, we’ll assign numbers 1 to 9 to the bells from top to bottom in a zigzag pattern. This will make the bells on the left column the odd numbers, while on the right are the even numbers.
- Ring bell #8
- Ring bell #5
- Ring bell #3
- Ring bell #4
- Ring bell #5
- Ring bell #1
- Ring bell #2
- Ring bell #4
You don’t have to strike the bells with the proper timing as long as you get the sequence correct.
Solved by the Bell Rewards
Once you play the bells correctly, a treasure chest will fall beside you which contains the Treasure-seeker’s Longcoat and 400 Galleons.
Check out this video by DPJ showing how to complete the Solved by the Bell side quest in Hogwarts Legacy:

