
Lies of P is an action soulslike game that follows the story of P, a humanoid puppet created as the last hope against the puppets that have turned against everyone in the city of Krat. After eliminating the corrupted archbishop, P now has to press on through the Oldtown to reach the Malum District. However, despite seeing some familiar faces, P is facing some opposition from the Black Rabbit Brotherhood who has made the district into their own base.
Read ahead as we go through the events of Chapter 5 Malum District of Lies of P and share some tips and secrets that can be found along the way.
See previous: Lies of P: Chapter 4 St. Frangelico Cathedral Guide
Lies of P: Chapter 5 Malum District Full Walkthrough
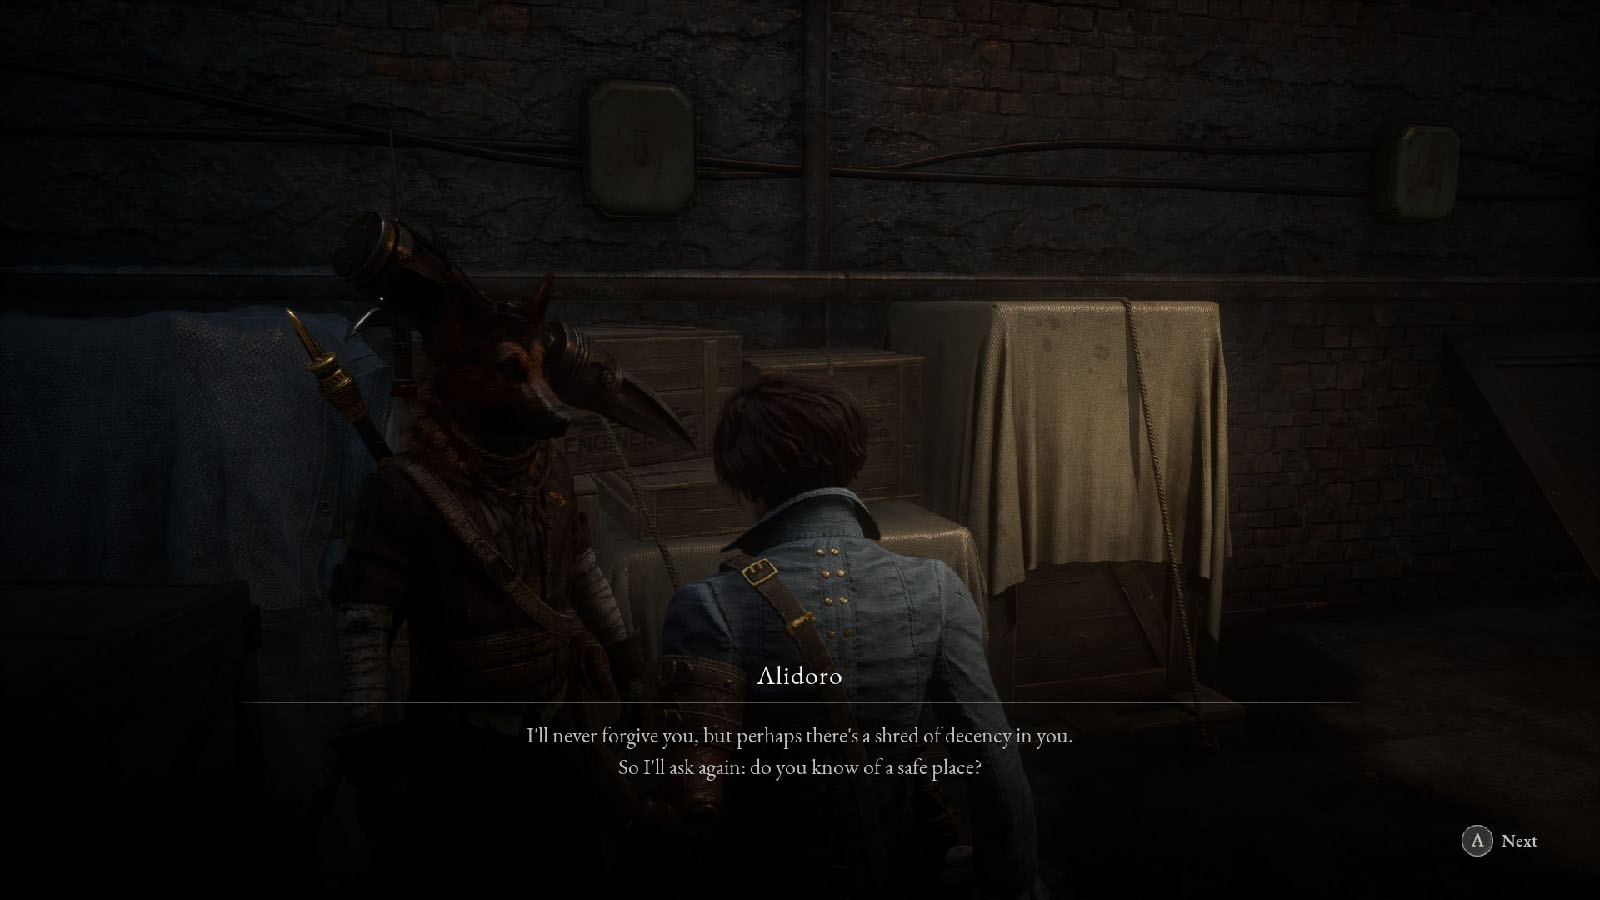
Before proceeding to the next area, take the time to check over at the Workshop Union Entrance in Venigni Works to meet up with Alidoro. This time, depending on your run, you can either lead him to Elysion Boulevard (lie) or to Hotel Krat (truth); might as well go for the lie at this point since he will still end up at the hotel right after. Check back with Alidoro at the hotel, near the room where Antonia is to see the new stuff, including the Trident of the Covenant and the Nameless One’s Amulet.
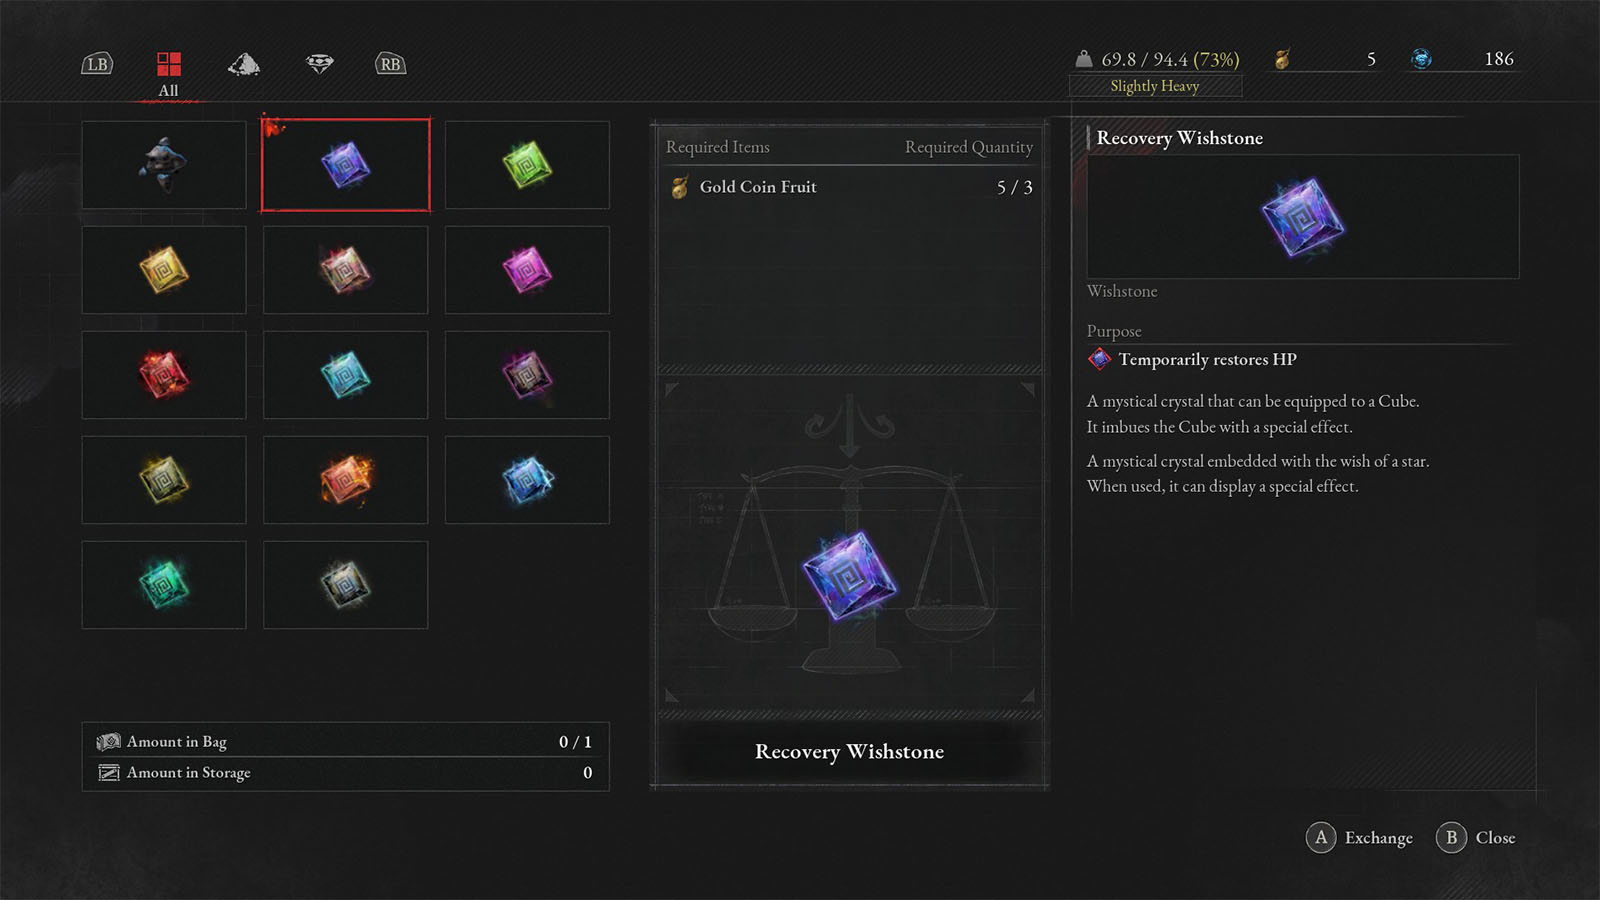
Cube and Wishstone
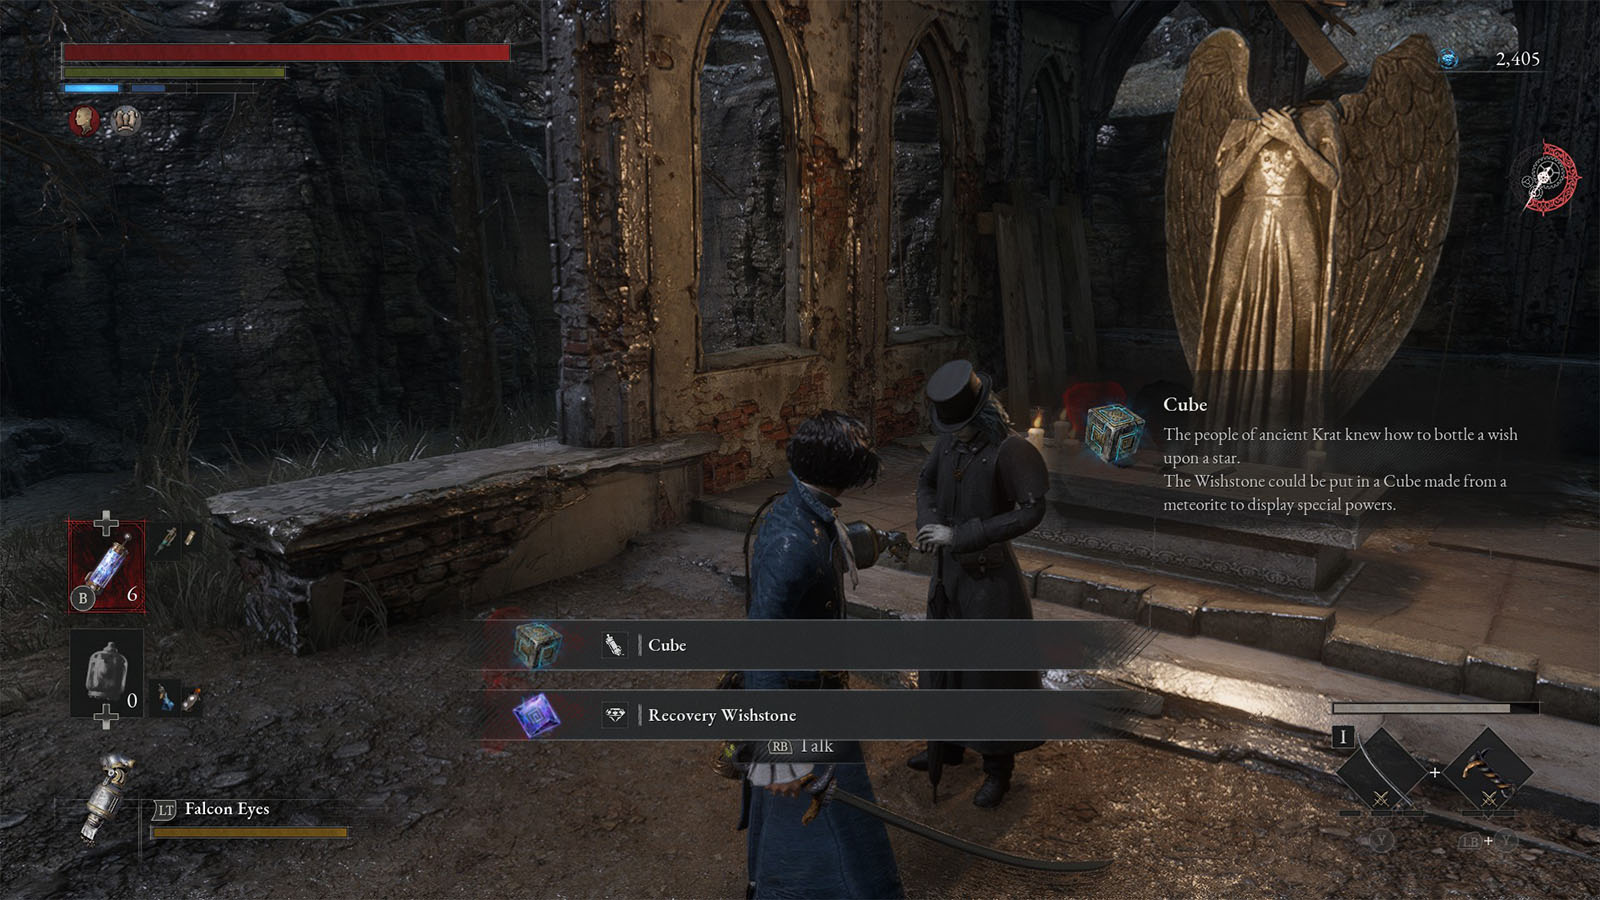
Take a detour back to the Path of Misery and head to the place where Giangio is. He will give you a new tool called the Cube and a Recovery Wishstone. The Cube is a tool that can hold a Wishstone and activate its power once used. These Wishtones will then be consumed after releasing its power, after which the Cube can be reloaded with the same type of Wishtone or a different type. Some Wishtones offer buffs or healing to you or to your Specter.
Path of the Pilgrim
Travel back to the Archbishop’s Altar Stargazer, then take the elevator down to reach the Path of the Pilgrim.
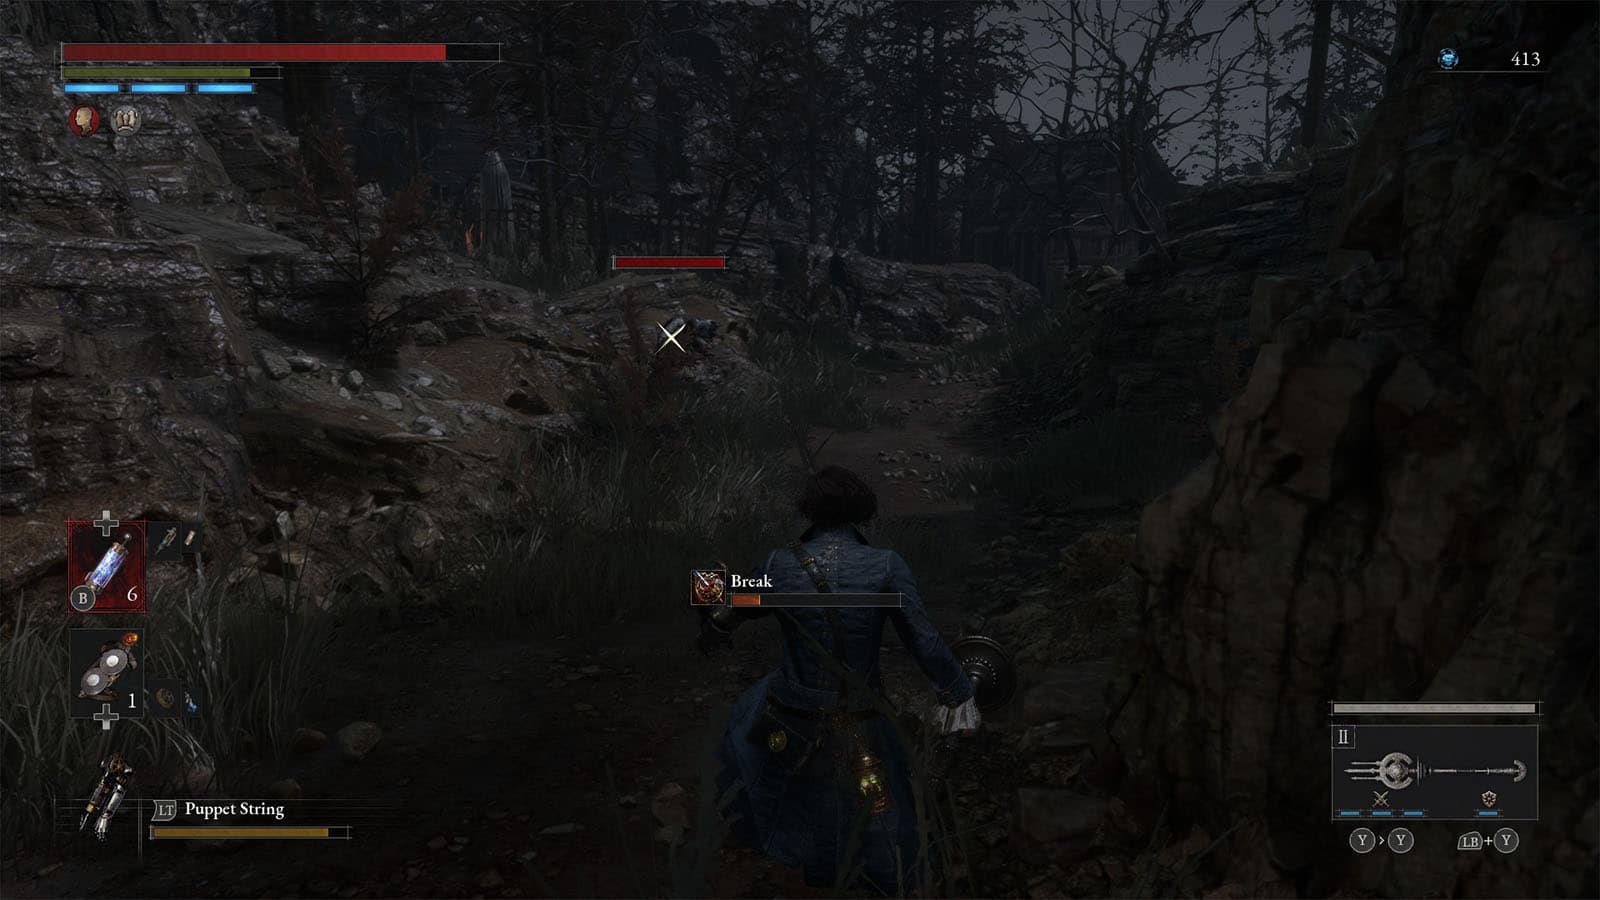
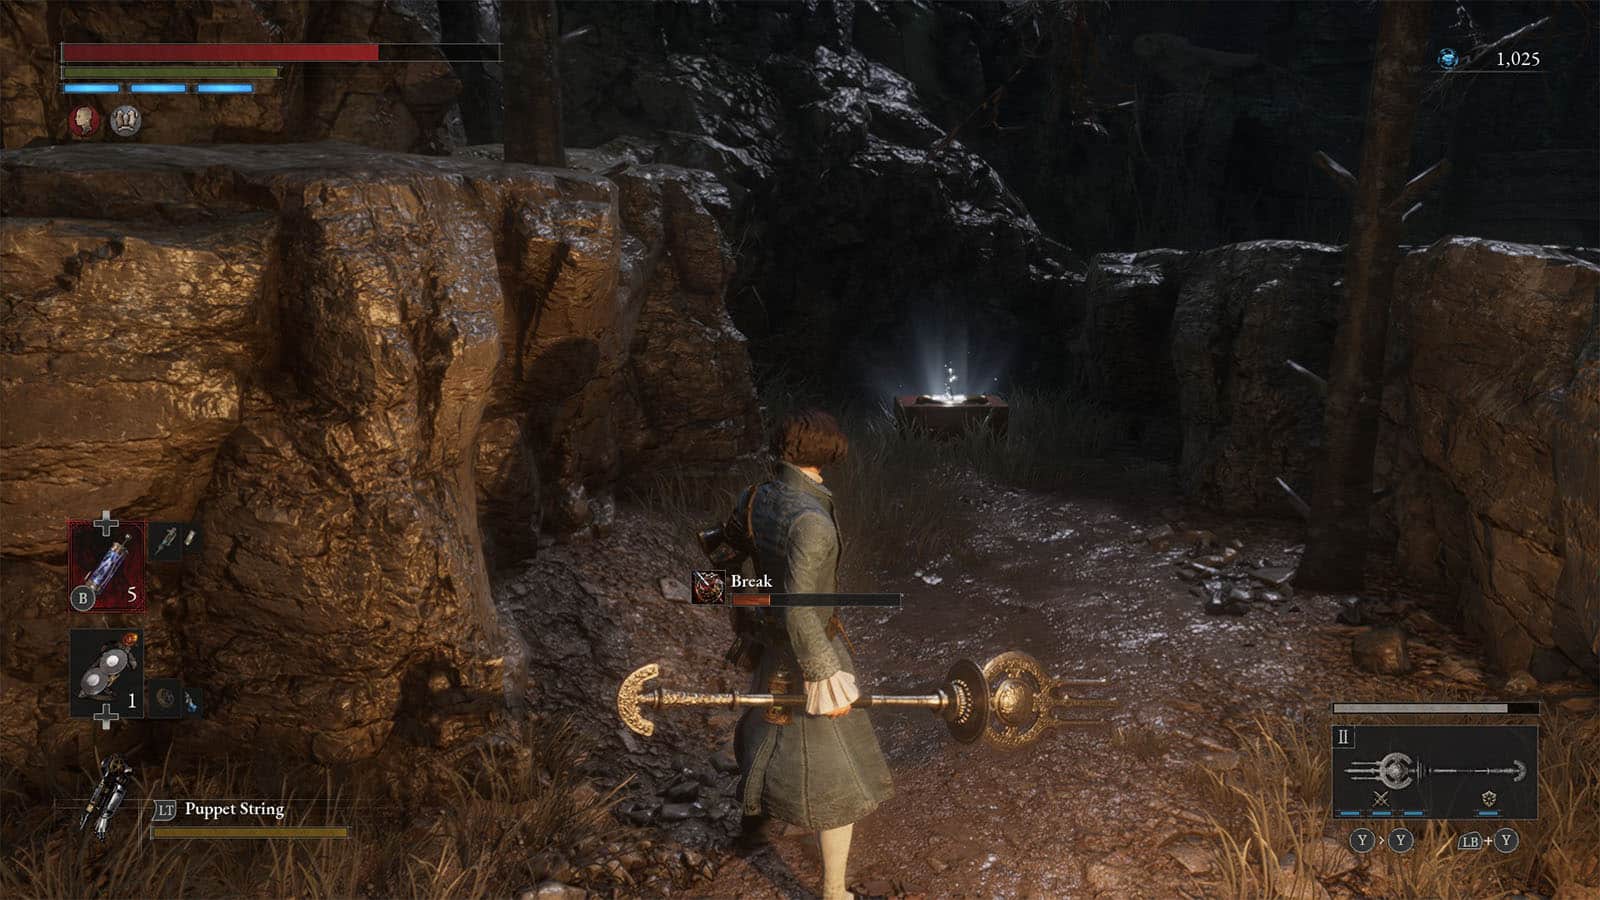
Follow the path ahead, but watch out for the enemies that either are lying down or jump from the higher ledges. There are also bear traps scattered on the path and they are quite hard to spot. If you get caught, it will inflict the Break status which will decrease the HP recovery of your Pulse Cells when Break is in effect.
Another enemy to look out for is the mutant dog. This enemy has the ability to swing its bladed tail in a combo. Best to do dip attack when dealing with dogs to not get caught by its blades.
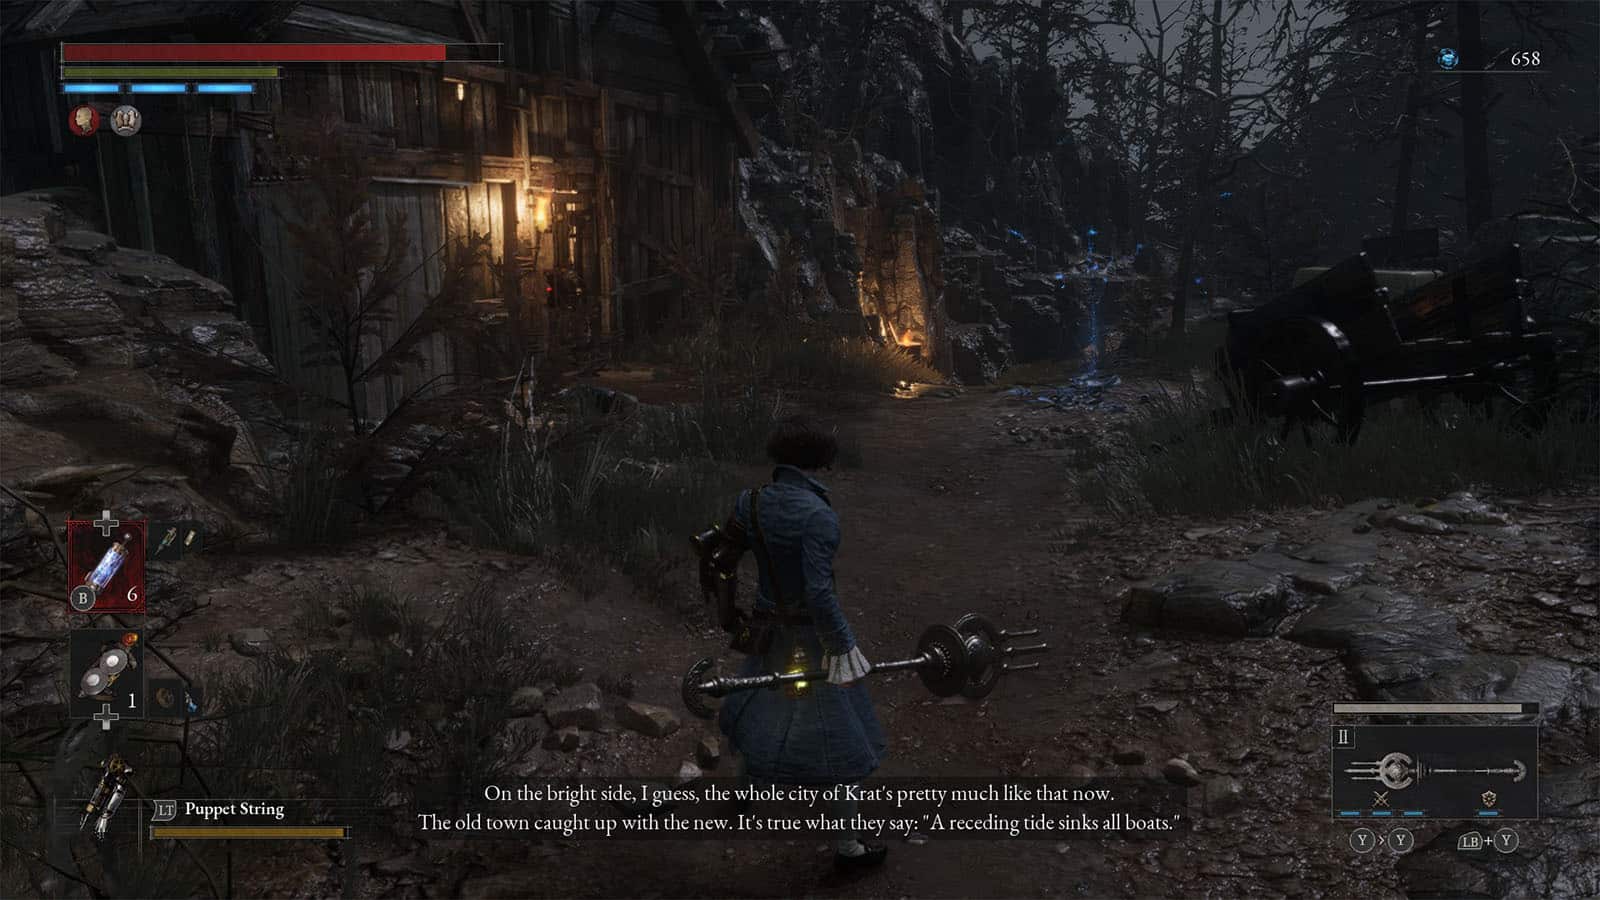
A little up ahead is where you will find the first Stargazer for this area, next to a shack that is locked on the other side.
Continue up ahead and you will find a split in the road. Take the path on the right first and be careful of the traps. You will find a chest that contains the Acidic Crystal Spear weapon at the end of the path.
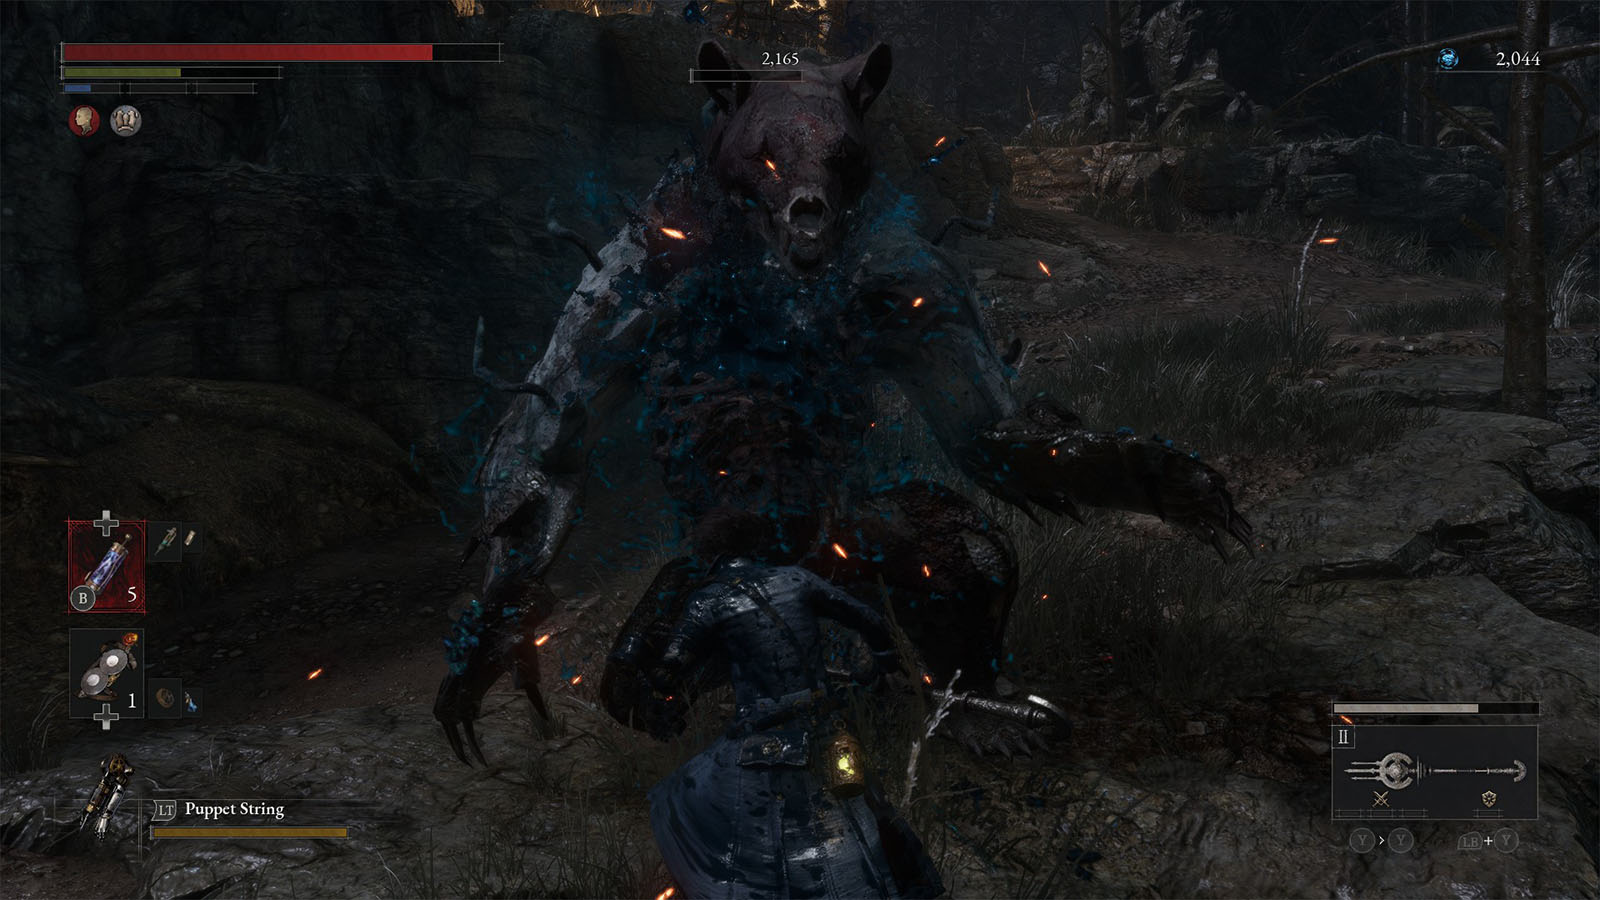
Take the other path and you will arrive at another fork, but they lead to the same area. To the left is a ramp that is guarded by a mutant bear, while to the right is guarded by smaller enemies and it’s laid with traps. You can either clear the lower path first while avoiding the traps. Then try luring in the bear to trigger the traps for you. Be careful as the bear has a charging attack and it can combo swipe as well. The bear also respawns when you use a Stargazer.
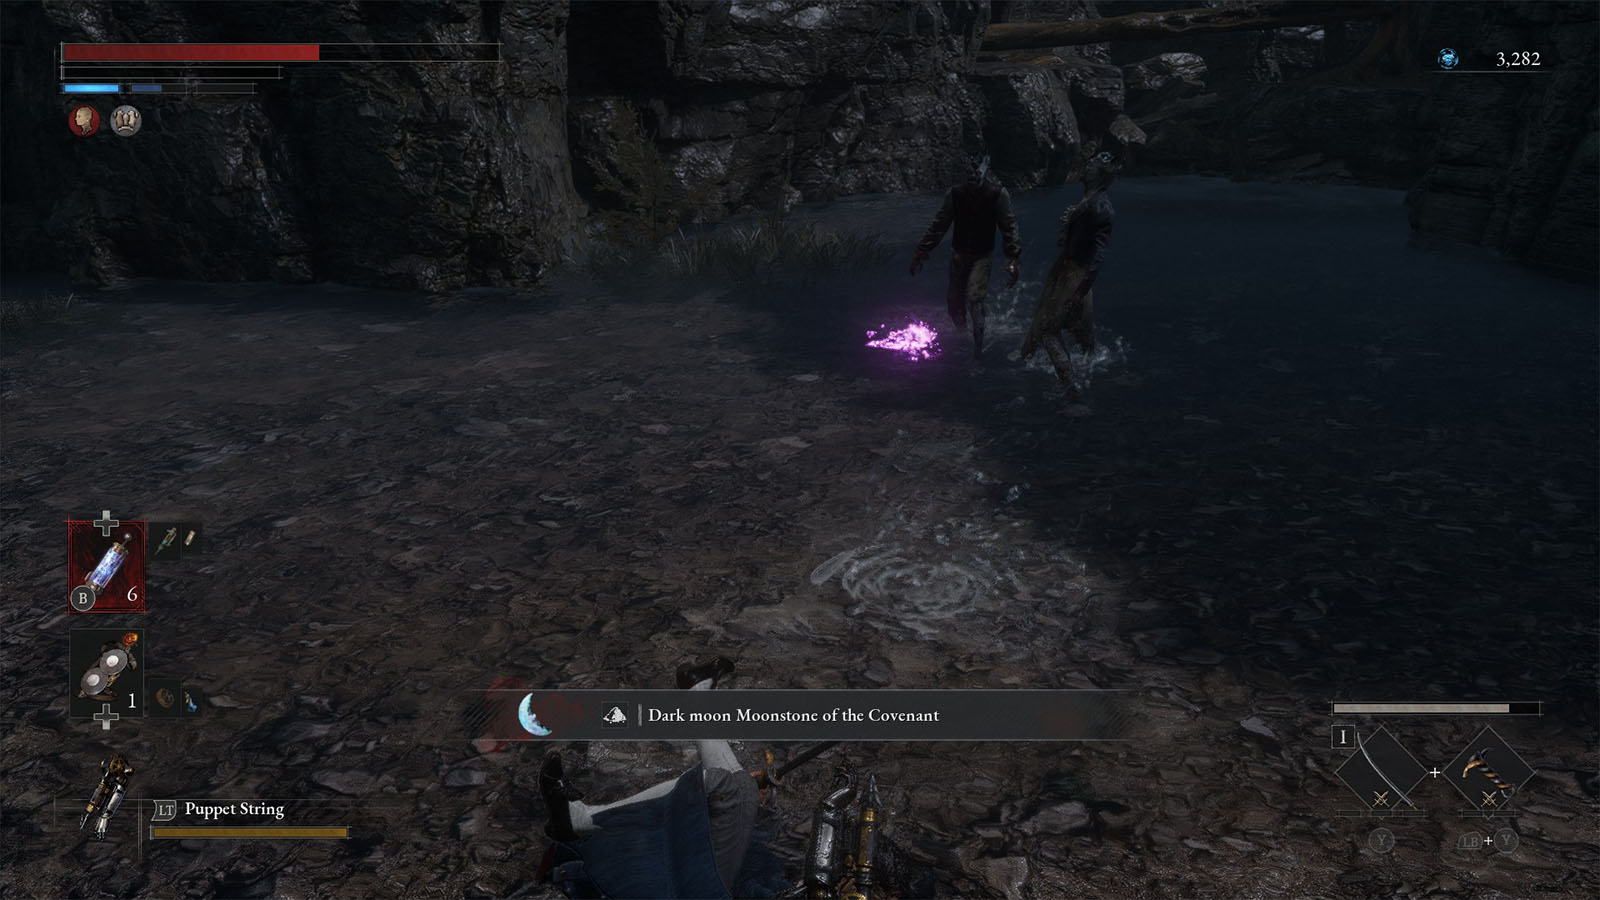
After clearing the path, the next path up ahead has a pond to the right. There are submerged enemies on the edges and a pink butterfly will appear in the middle. When defeated, the pink butterfly will drop a Dark moon Moonstone of the Covenant, useful for upgrading special weapons.
Tomb Slums Entrance
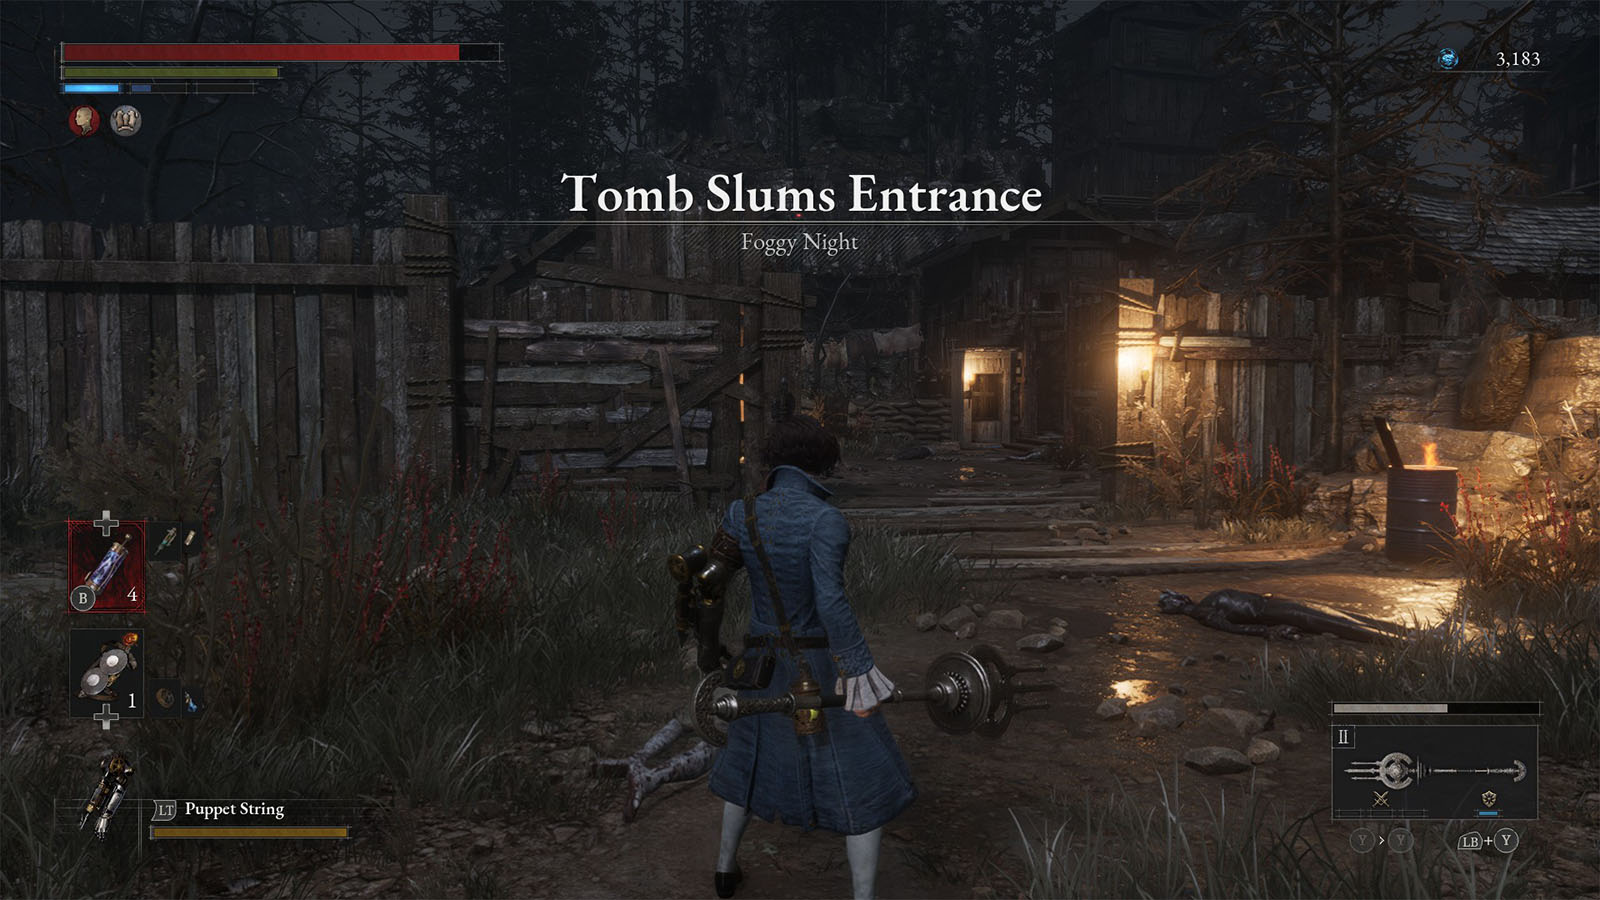
To the left path is the entrance to the Tomb Slums Entrance. As you enter, several carcass enemies will approach you, including an elite enemy from up a roof. Try to lure them out into the larger area where you came from, then take them out one by one. Once the elite is defeated, it will drop an Attribute Resistance Ampoule, a Hidden Moonstone, and a Star Fragment.
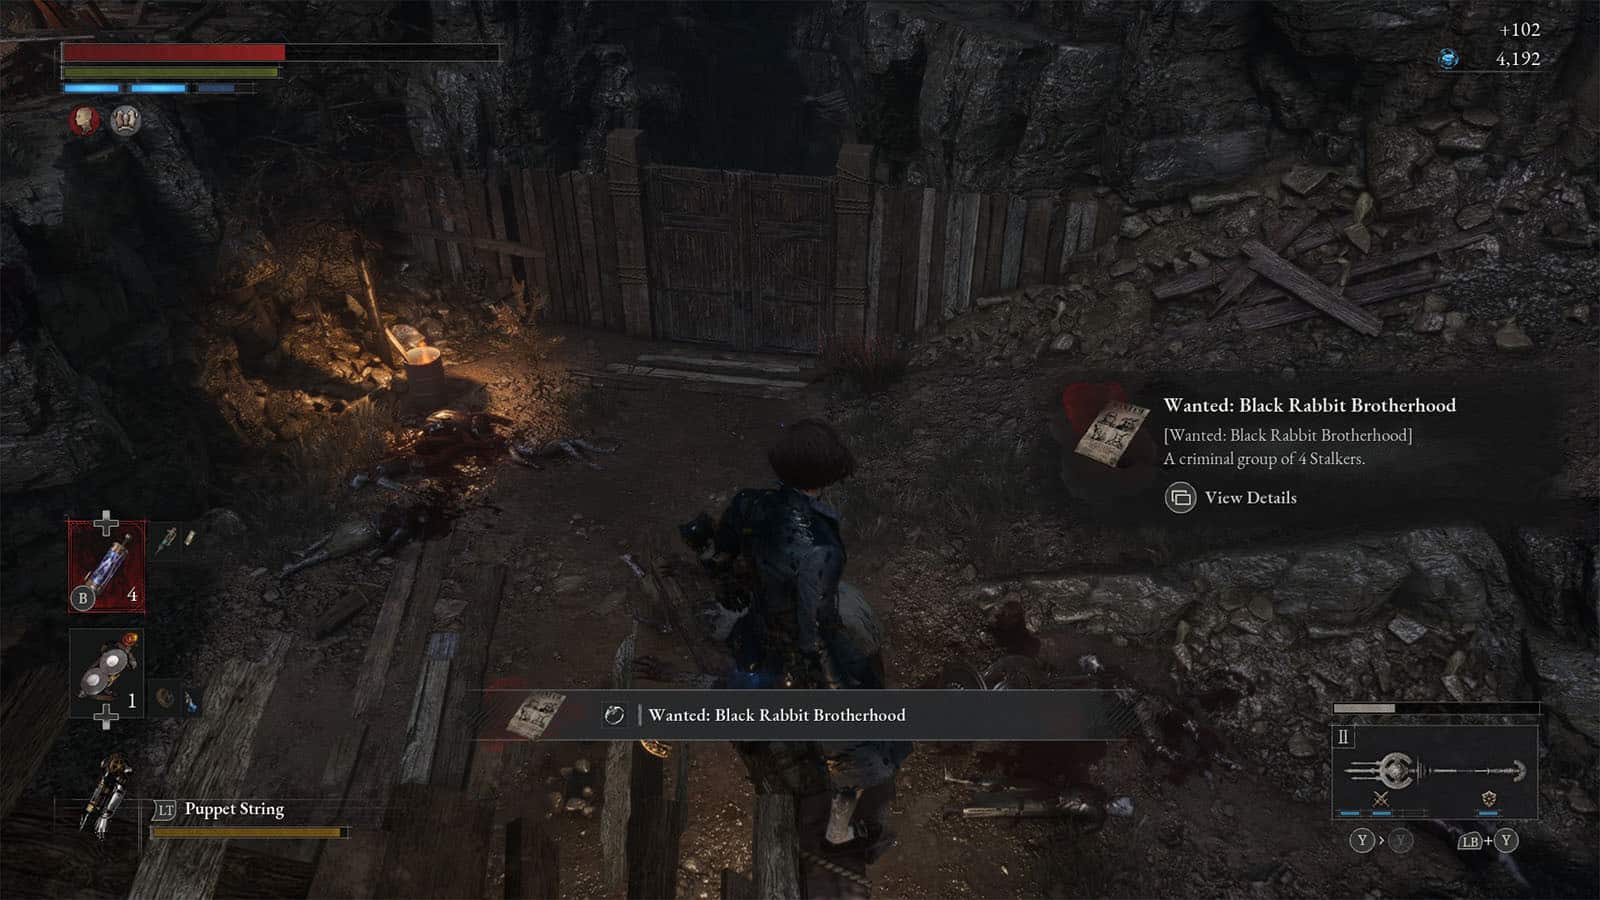
Check inside the shacks and behind the fences to find more fragments and consumables. Once you reach the rooftop part, do not jump down into the lower area in front of the gate yet as it will trigger a high elite to bust through the gate. It’s a tough boss to fight in a small area, and the nearest save point is back at the first one, so best to slip past this one for now. Don’t forget to get the Collectible – Wanted: Black Rabbit Brotherhood on the edge of the roof.
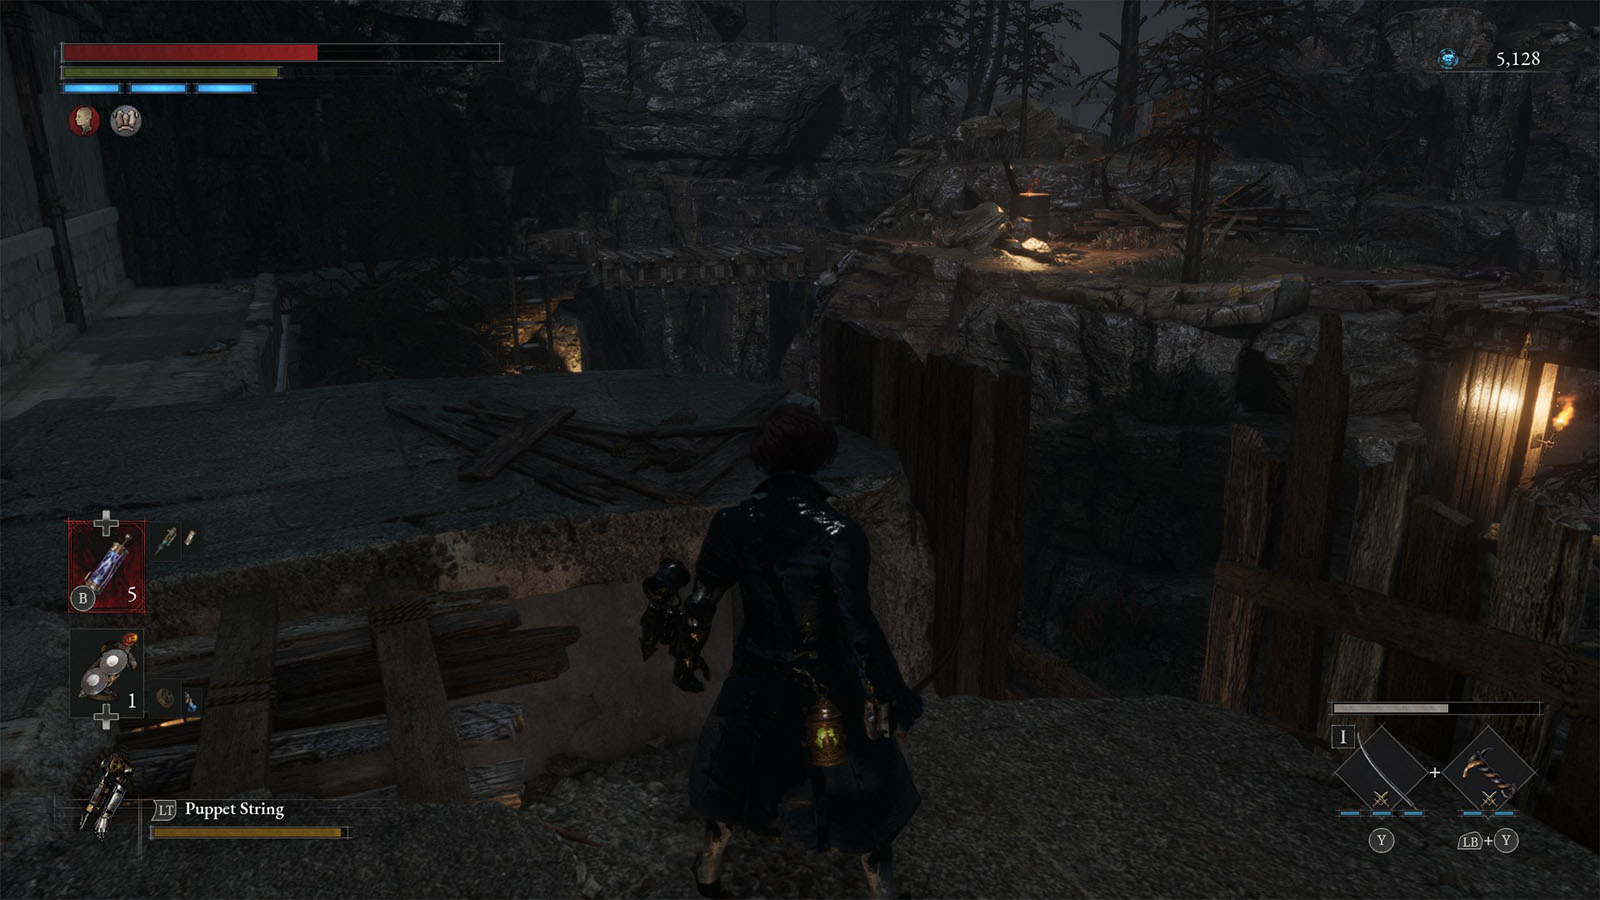
Continue to the left path then cross the bridge to reach the building up ahead. Carry on to the path until you reach the end of the ledge and you will find a hole on the floor. Jump down through the hole to reach the room below.
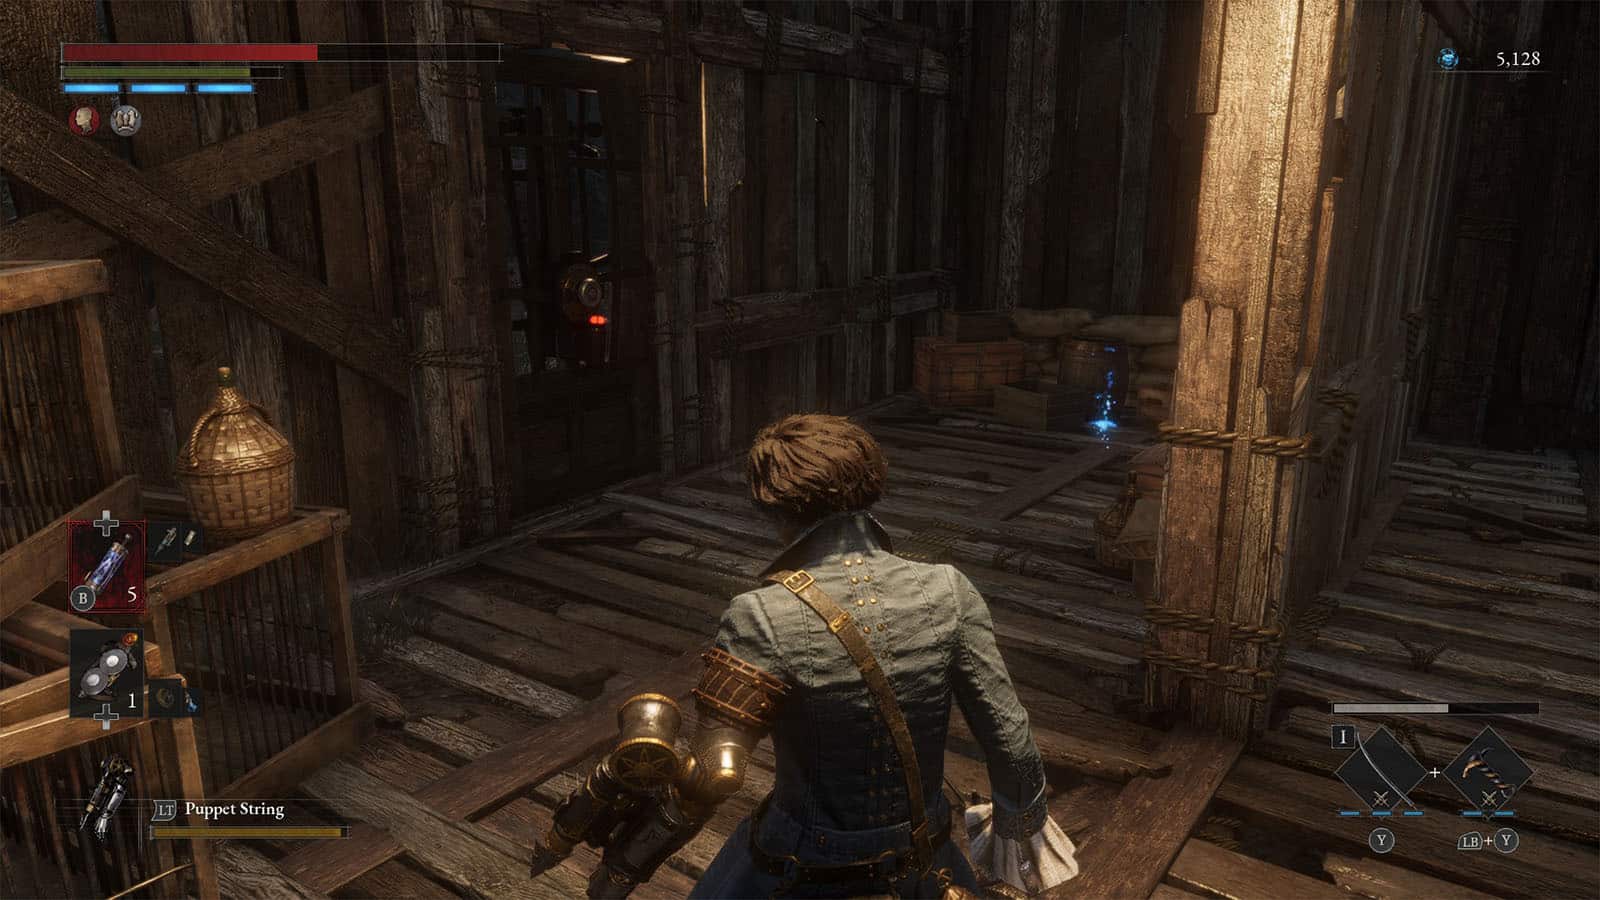
Then ride the elevator where you will find a locked door leading back to the first Stargazer. You will also find the Collectible – Scribbles of Slum Resident nearby.
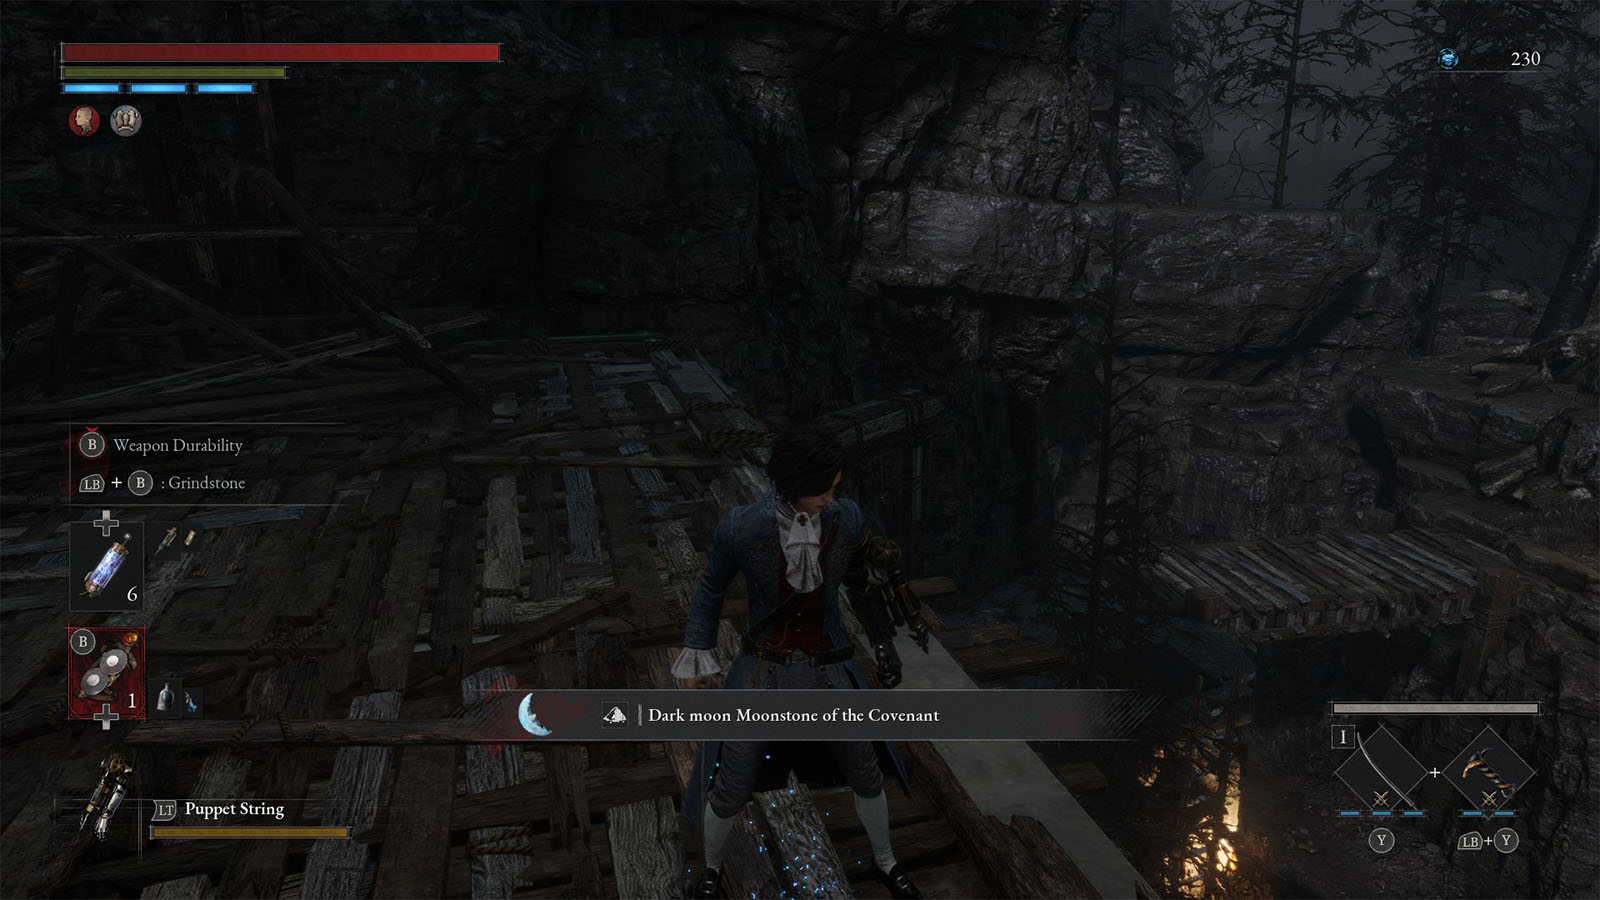
You may notice an opening that the elevator will pass by. You can time it so that you can get through this hole to reach a level where you can find another Dark moon Moonstone of the Covenant. Once you have the shortcut opened, you can now try to defeat the high elite, or try to slip past to get to the next area. If you defeat the elite, you will get the Slum Shack Key which can open the door right where you fought it. Inside is a chest that contains the Converter – Belford Superior Corrosion Resistance Converter.
Hobbler’s Bridge
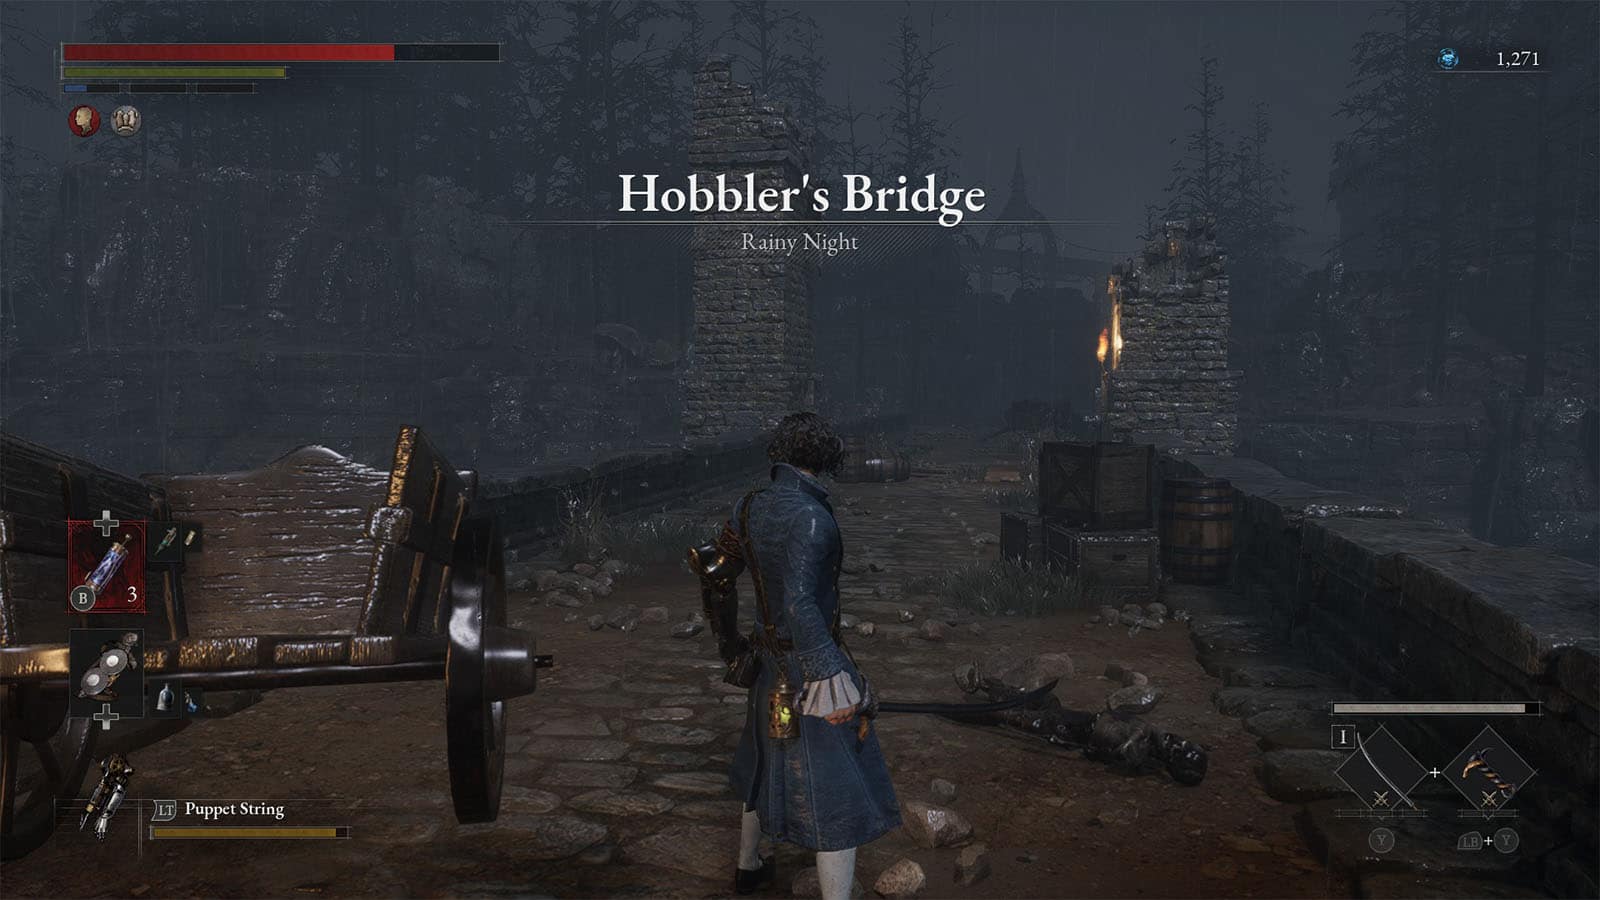
Cross the bridge and look to the right side by the end to find a path to reach the underside. Here you will find a Vivid Ergo Fragment and a Sawblade. You can get back up by taking the ladder on the other side.

Up ahead is another high elite behind a castle gate. This one is quite a tough opponent as well, but you’ll have a larger area to work with. Concentrate on blocking its combo attacks, then retaliate once it’s recovering from the combo. You can also slip by it, but there’s no going back as the tower ahead will only allow you to go down, unless you take the Stargazer again.
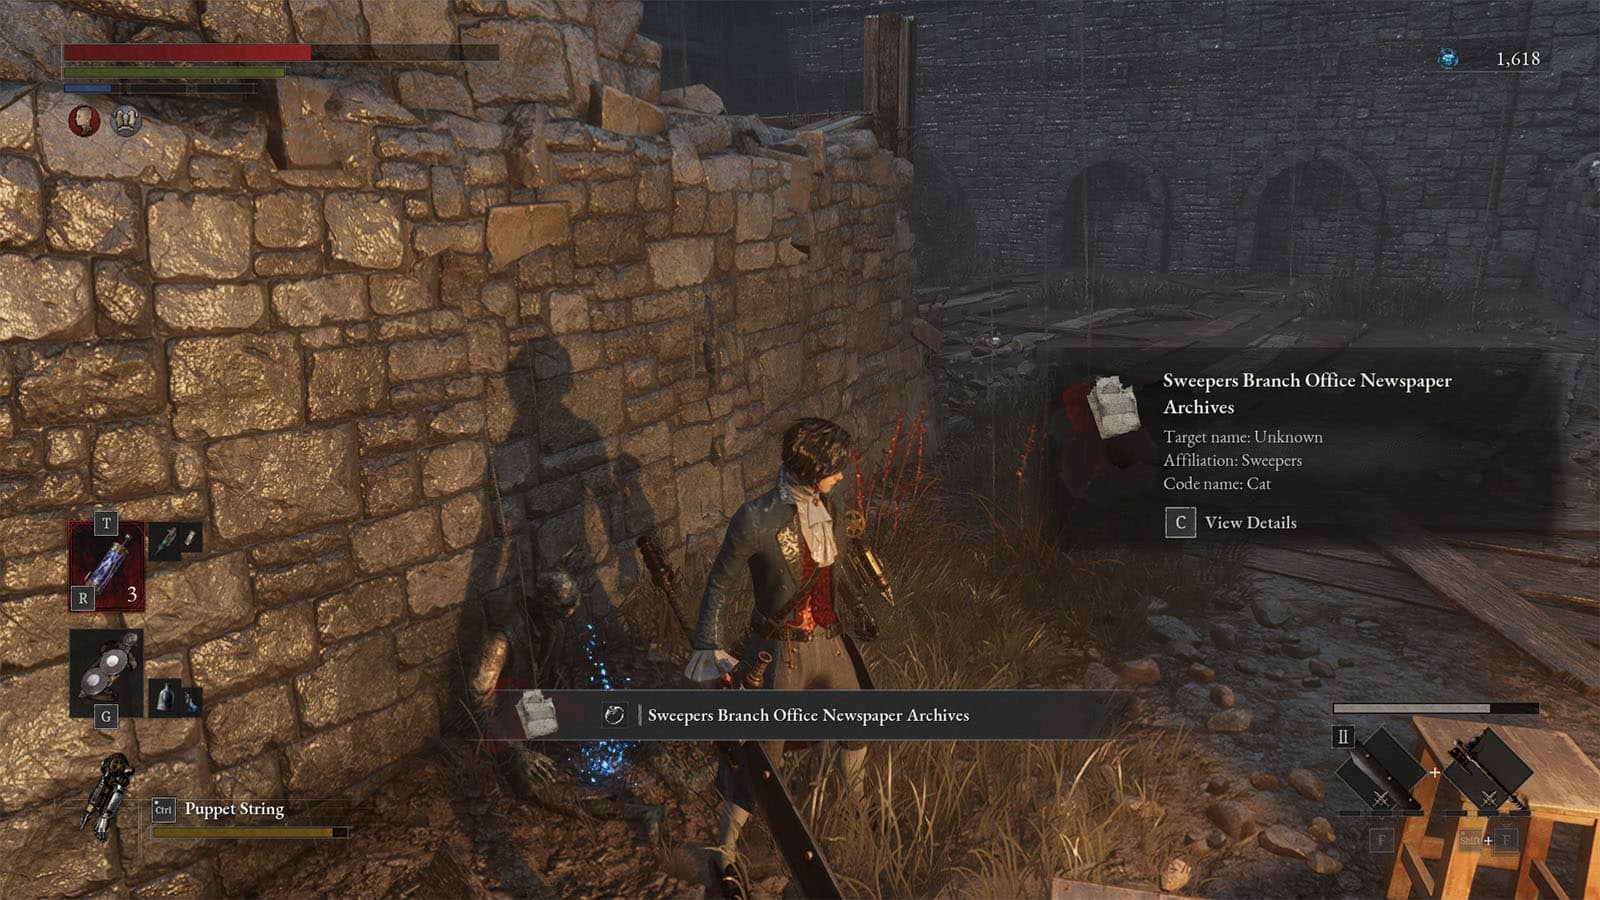
After dealing with the elite, check the nearby campfire where you will find the Collectible – Sweepers Branch Office Newspaper Archives.
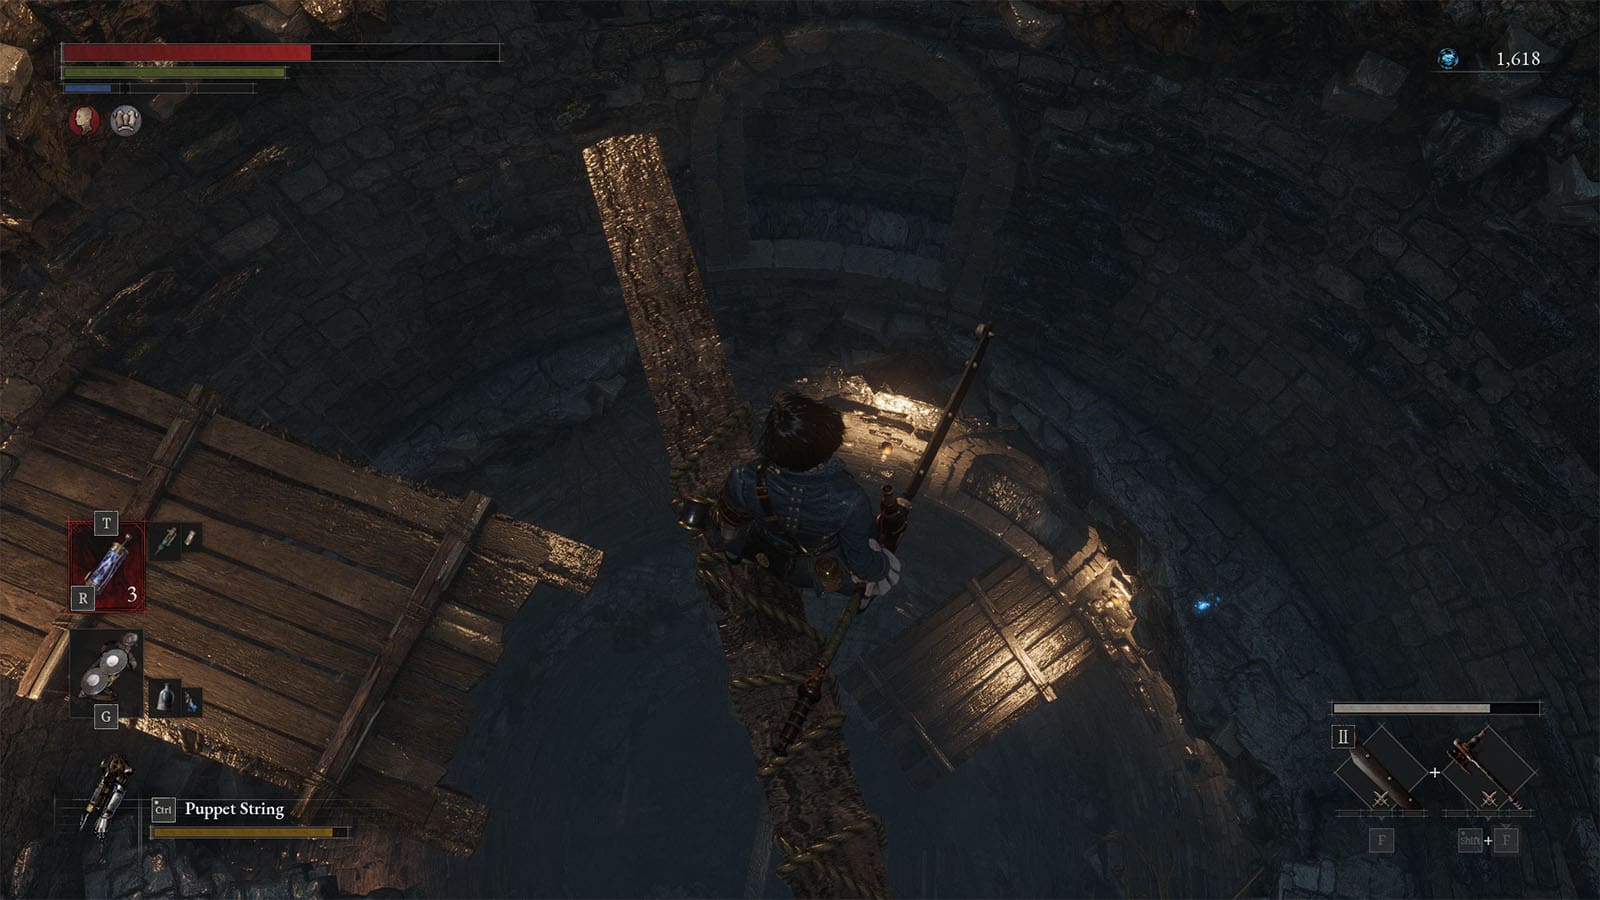
Head into the tower where you will have to carefully drop down the platforms and beams to reach the very bottom. You will then find the next Stargazer for the Malum District.
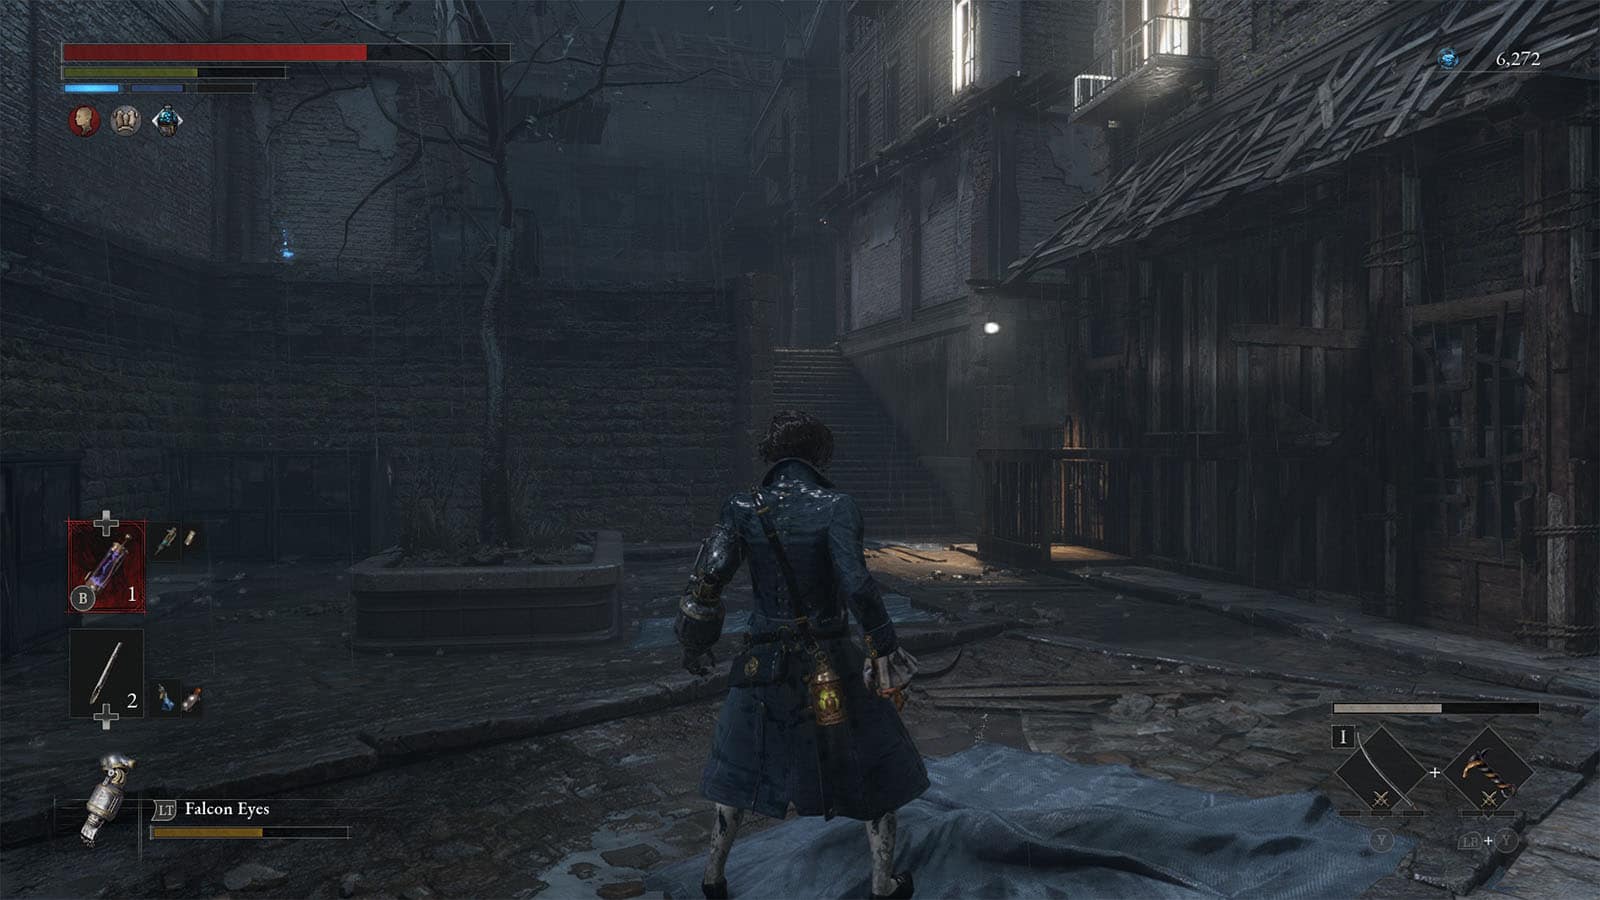
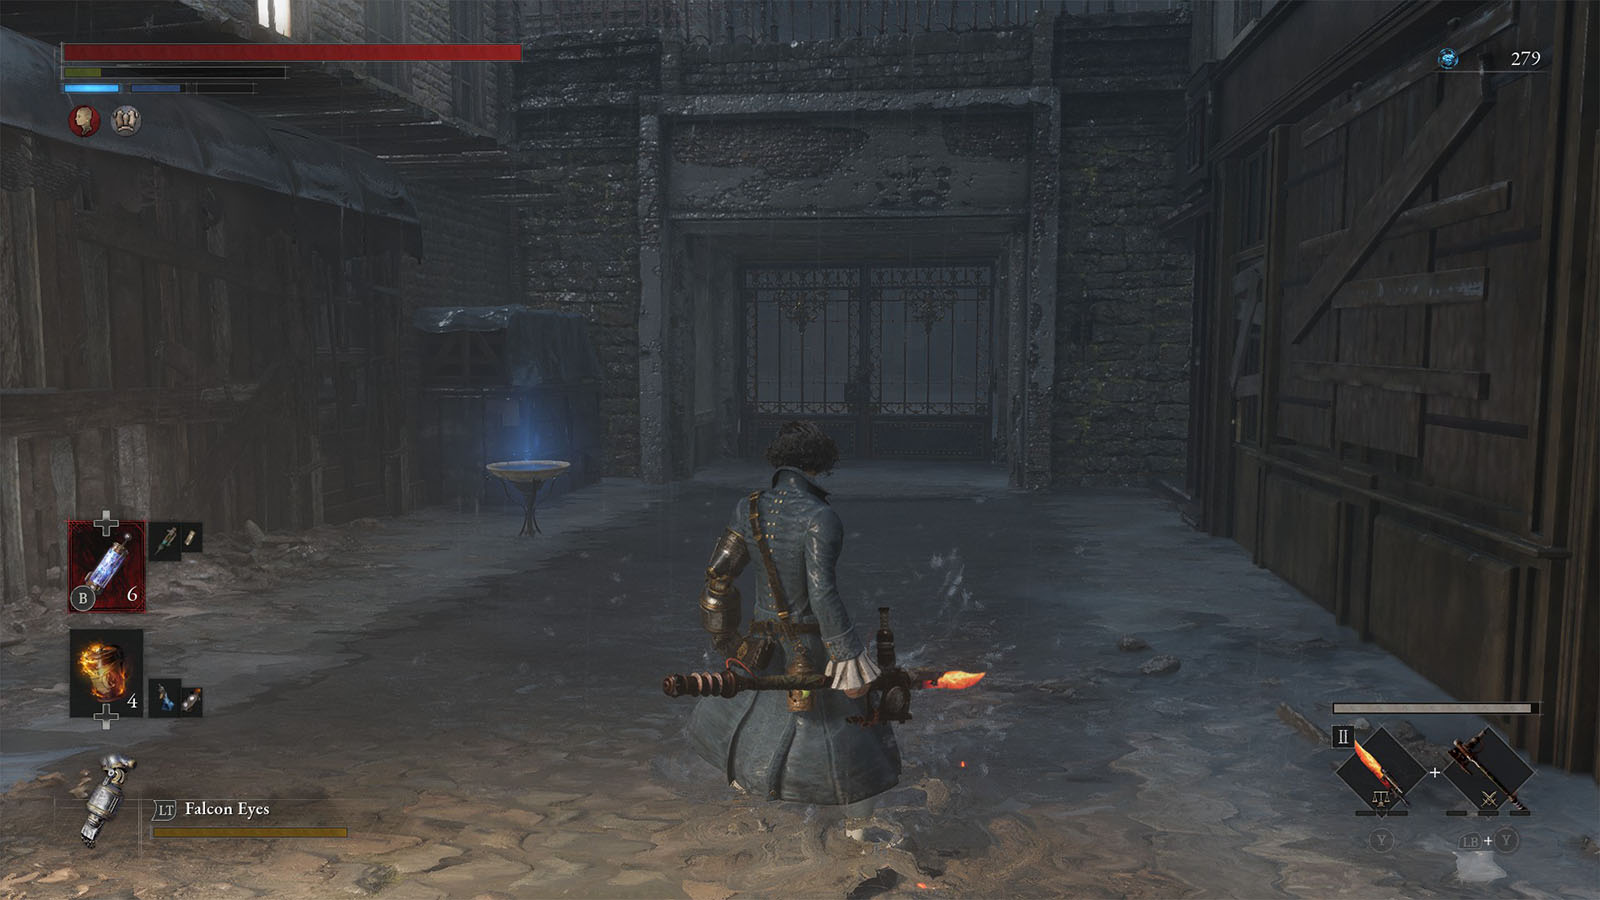
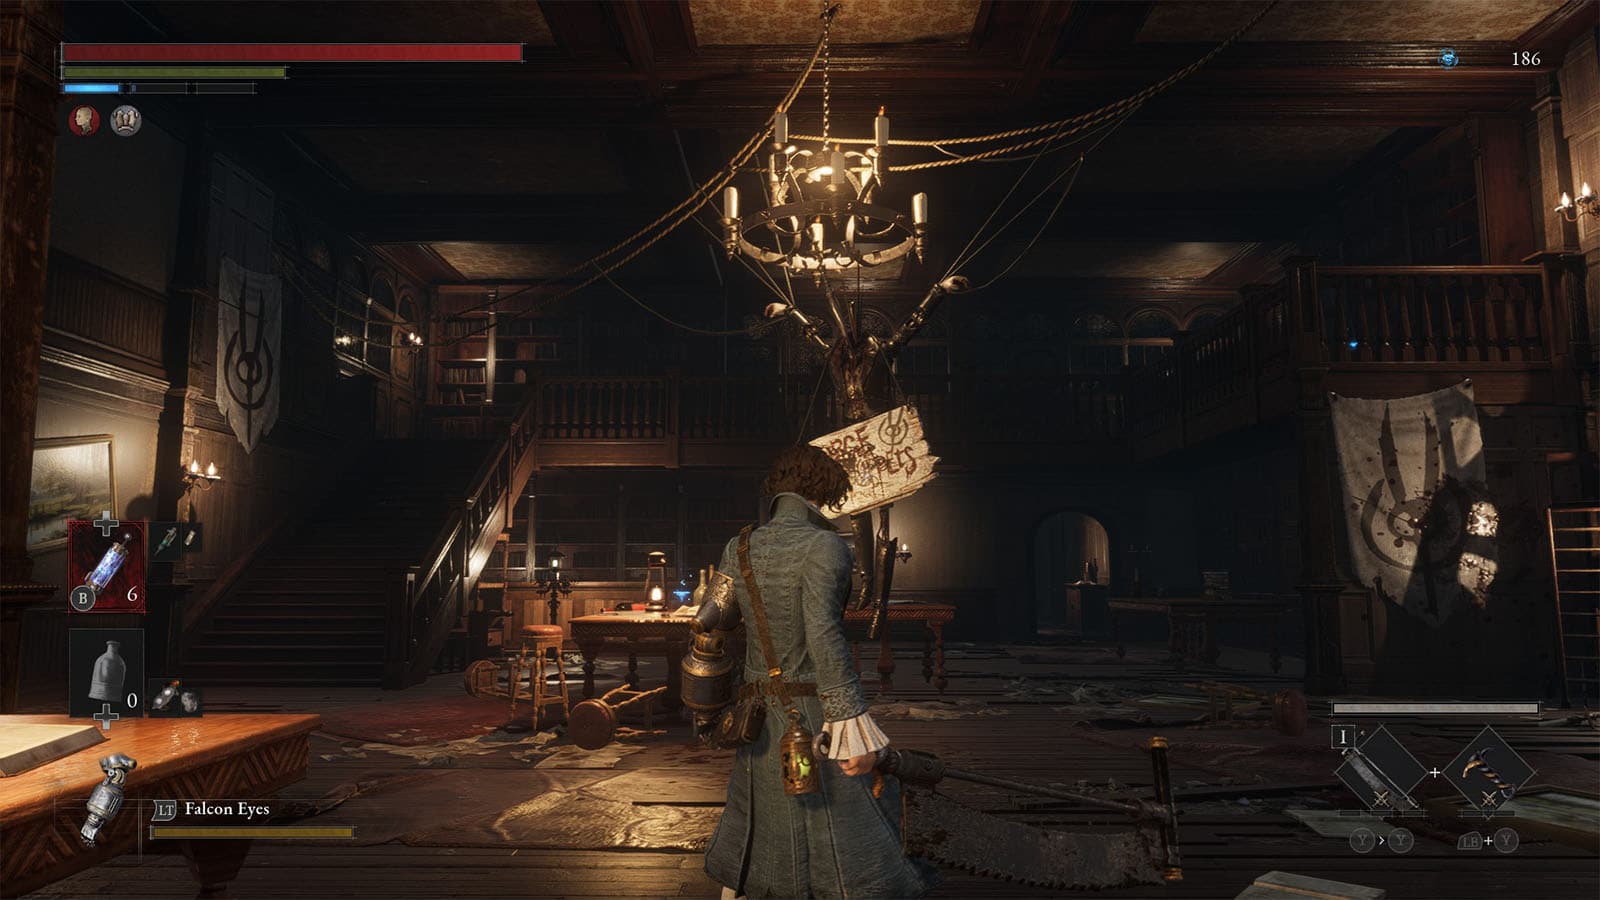
Malum District
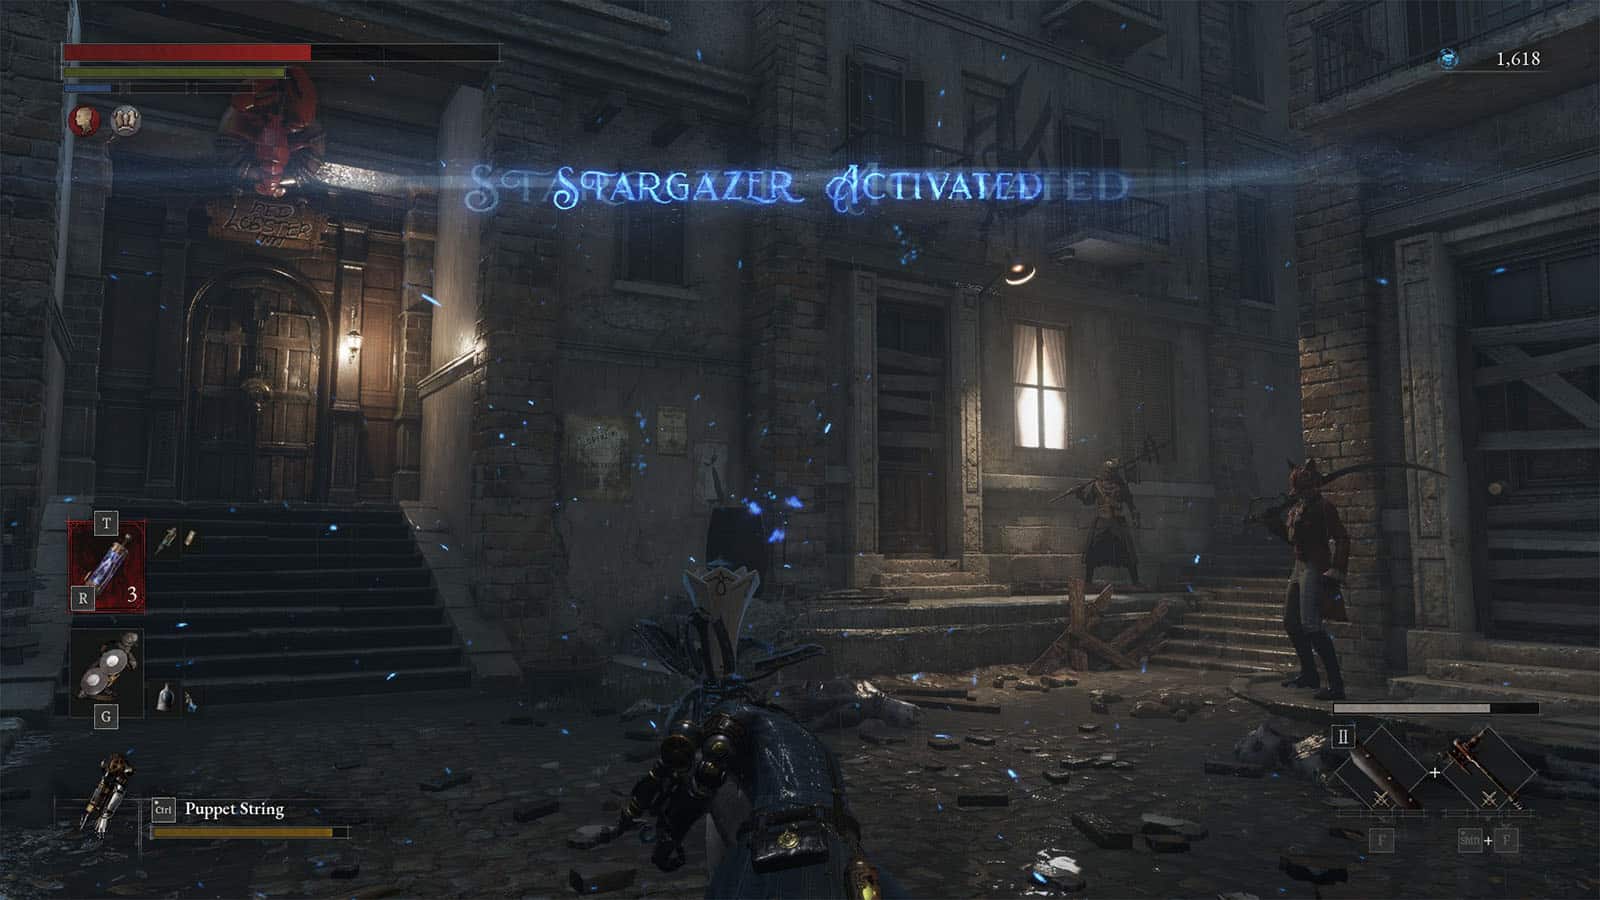
At the Malum District, you will be met by some familiar faces: Red Fox and Black Cat. There’s also the shortcut through the Lobster Inn, but you will have to go a long way around to open.
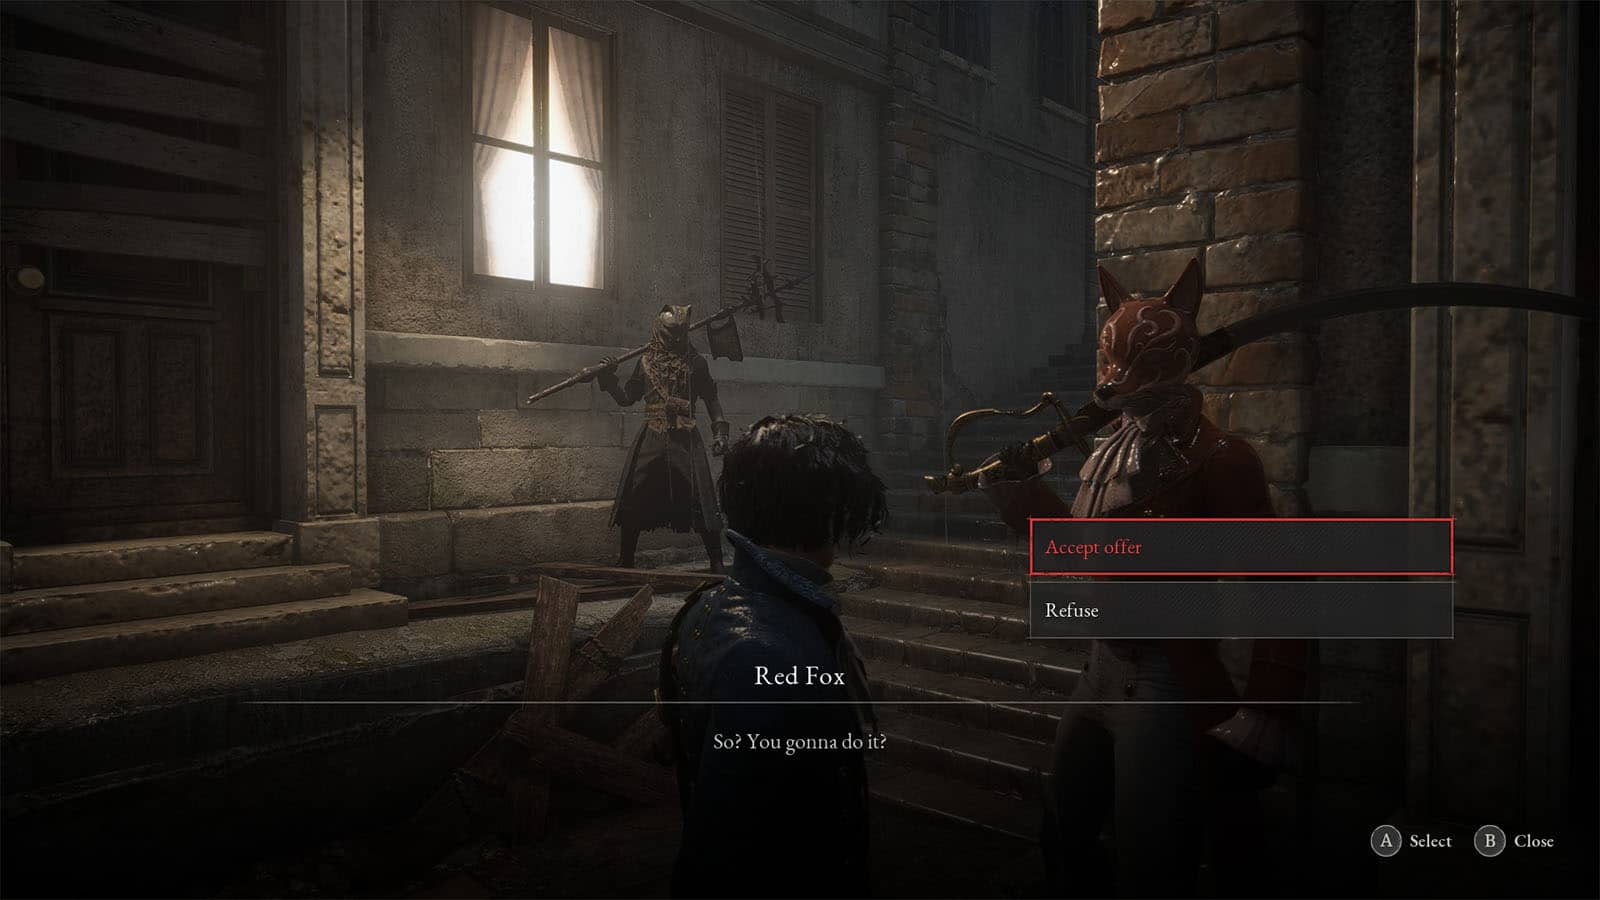
Talk to the two Stalkers and they will offer their help. You can accept or reject their help. If you accept, they will become your temporary allies and attack the other enemies for you.
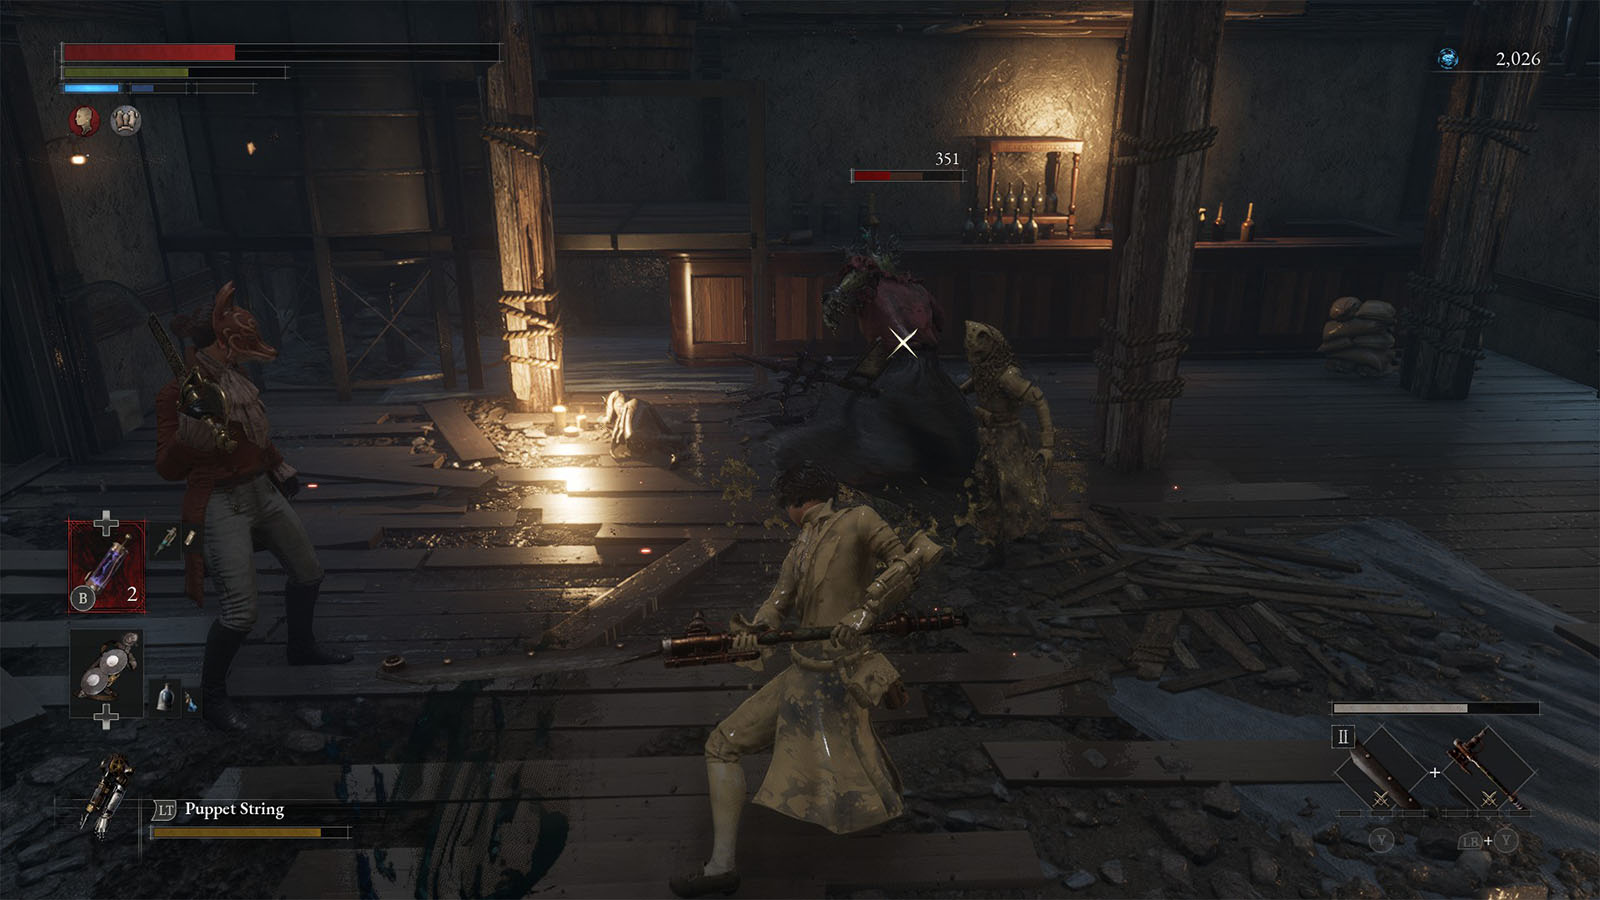
Continue moving through the streets until you reach a bar. There will be a barmaid enemy inside the bar guarding it. Defeat it, then check the other areas inside for some loot. There is a loot near a corner, approach it and you’ll fall through the floor down into the basement.
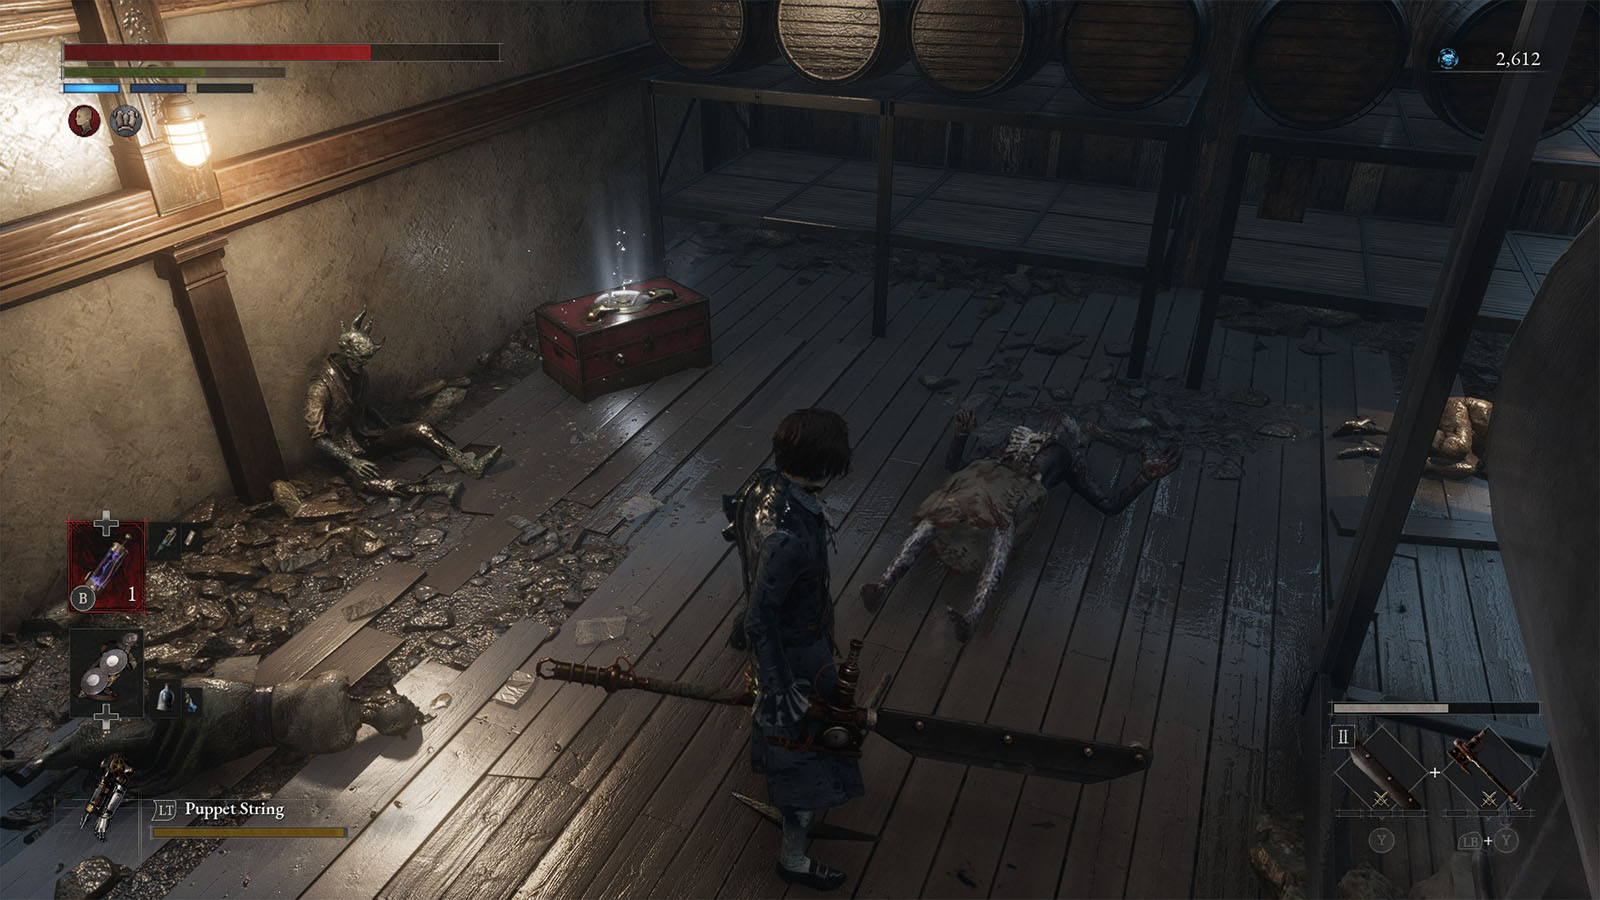
There is a chest nearby that contains the Cartridge – Arch Break Cartridge. Before heading back up the stairs, you will find the Collectible – Have a taste of La Bleiwies, the greatest wine in the world!. Open the door to get back into the bar.
At this point, both Stalkers will stop following you and you will be back on your own. Head down the ladder and go outside to reach the next open area.
This next area has several enemies, including a brute that is patrolling the area. On the rooftops are some throwers that will make it hard to fight against the brute out in the open. You can lure the brute and fight it near the stairs where you came from where none of the throwers can hit you.
Once the brute is taken out, you will be rewarded with the Amulet – Patience Amulet. You can then head to the back of the shack ahead to find a ladder that will take you to the rooftop. Clear out the enemies up top, then you can proceed to clear out the rest of the enemies back on the ground.
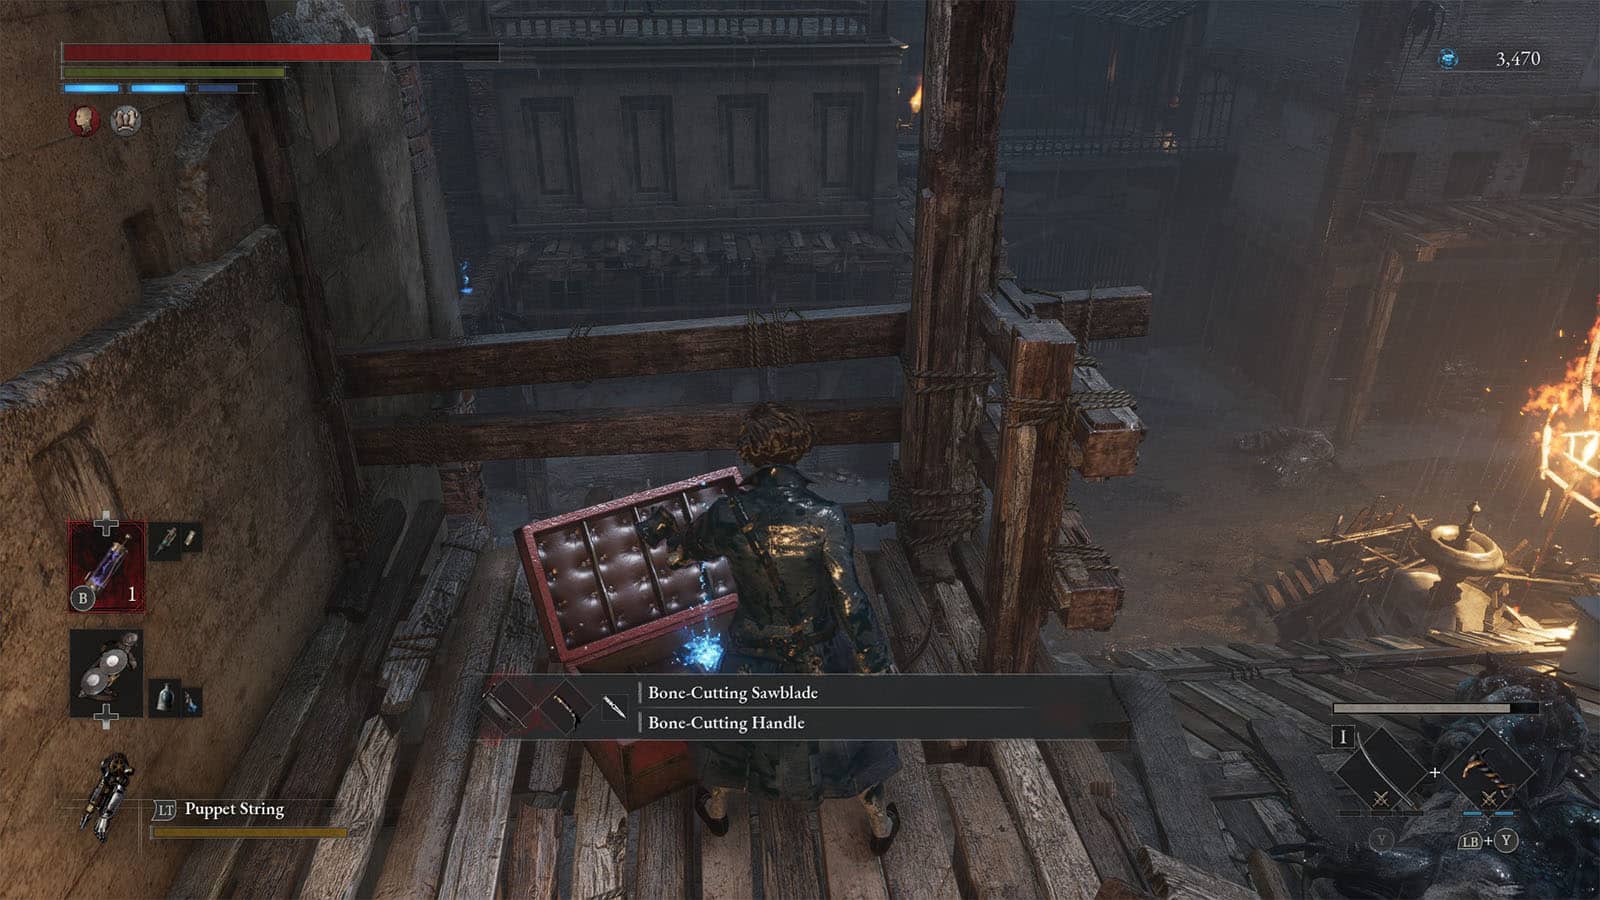
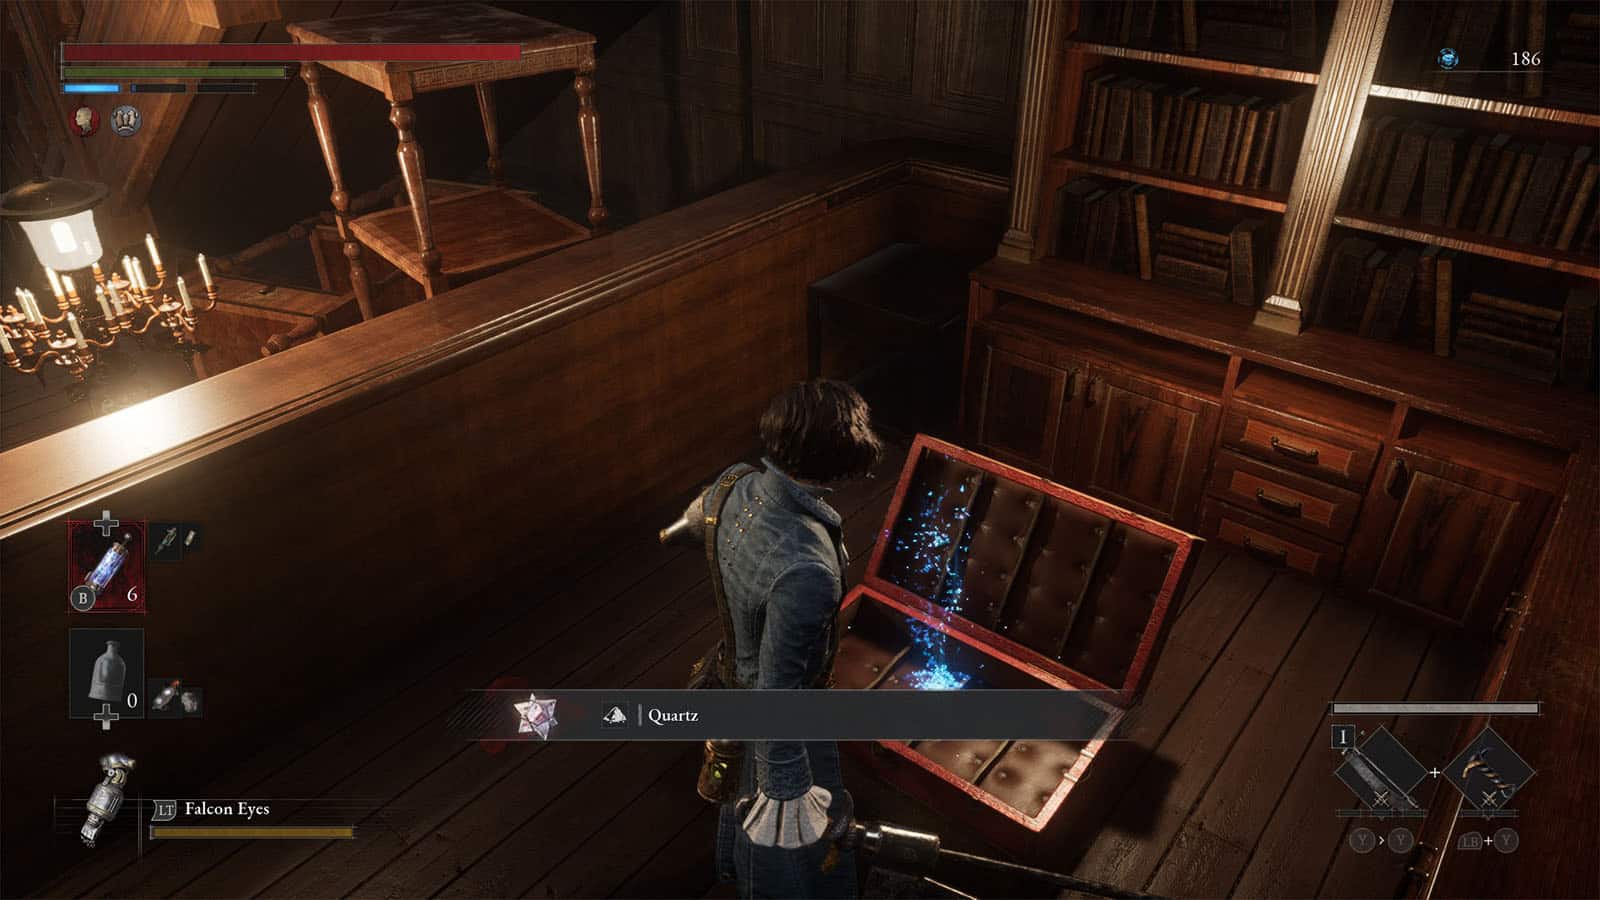
Head back into the center shack and go inside to find a chest that contains a Quartz. Then check the other loot in the area to find a Balance Crank, Ergo Fragments, and a Hidden Moonstone. Make sure to check the upper rooftops to find another chest that contains the Bone-Cutting weapon.
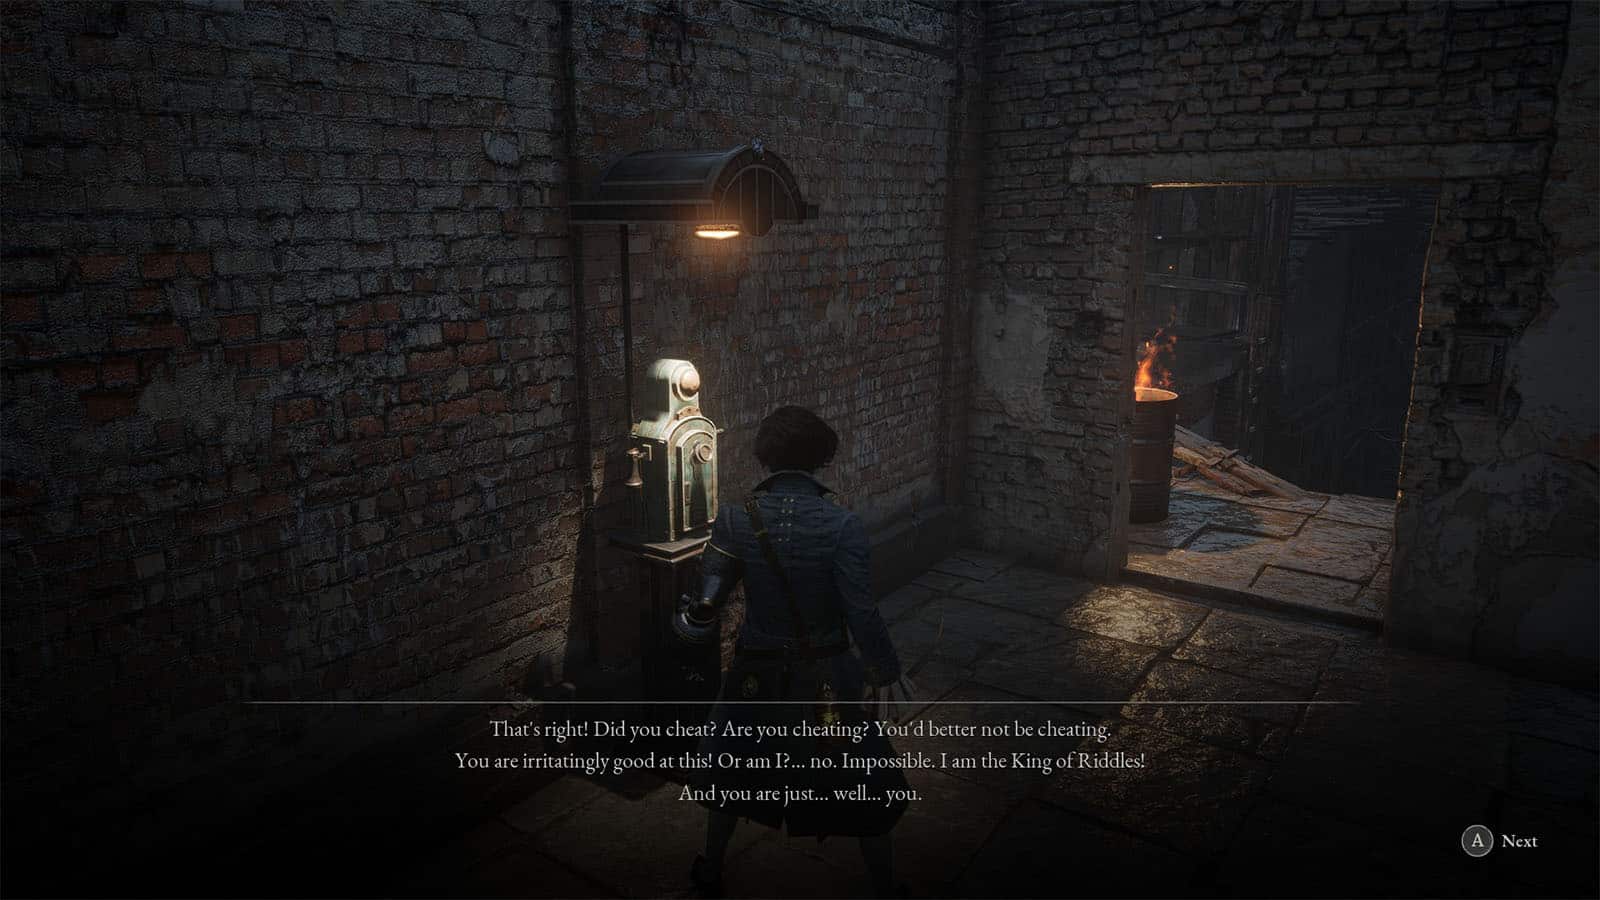
Proceed to go through the backstreets. You will eventually find another phone that’s ringing. Answer it to get another phone call from Arlecchino. This time, he will give you a third riddle to answer which goes “I stand tall and proud when I’m young and bold. But I’m short and humble once I’ve gotten old. What am I?” Choose Candle as the answer to get another Trinity Key.
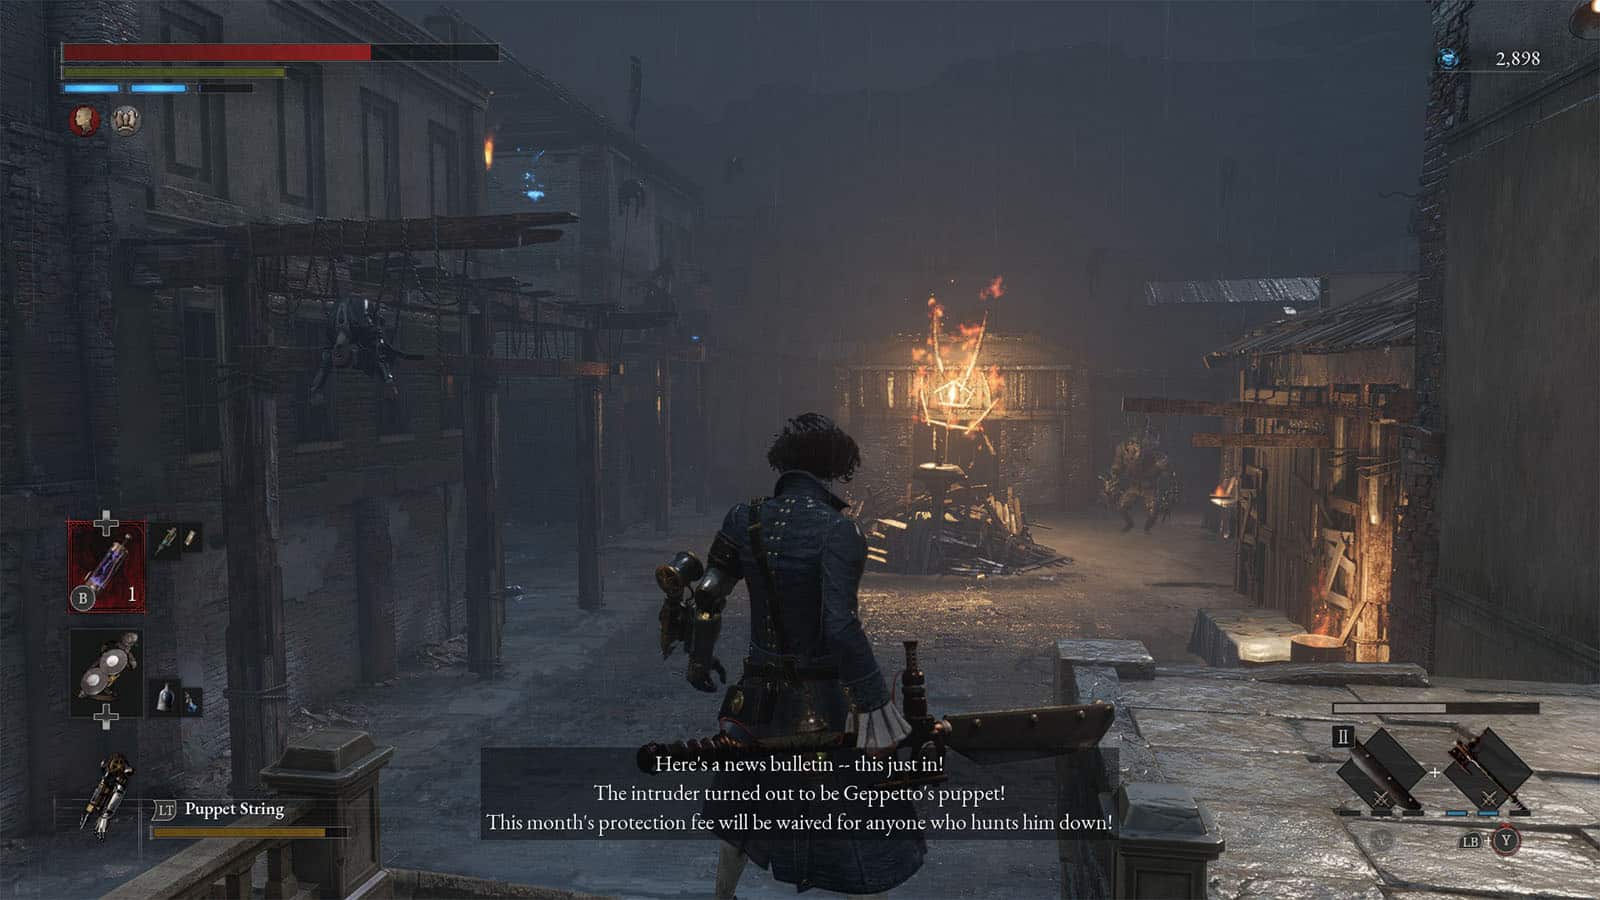
Up on the path ahead, you will find yourself on the other side of the gate near the bonfire from earlier. Continue moving down the path and you will arrive at the back door of the Lobster Inn.
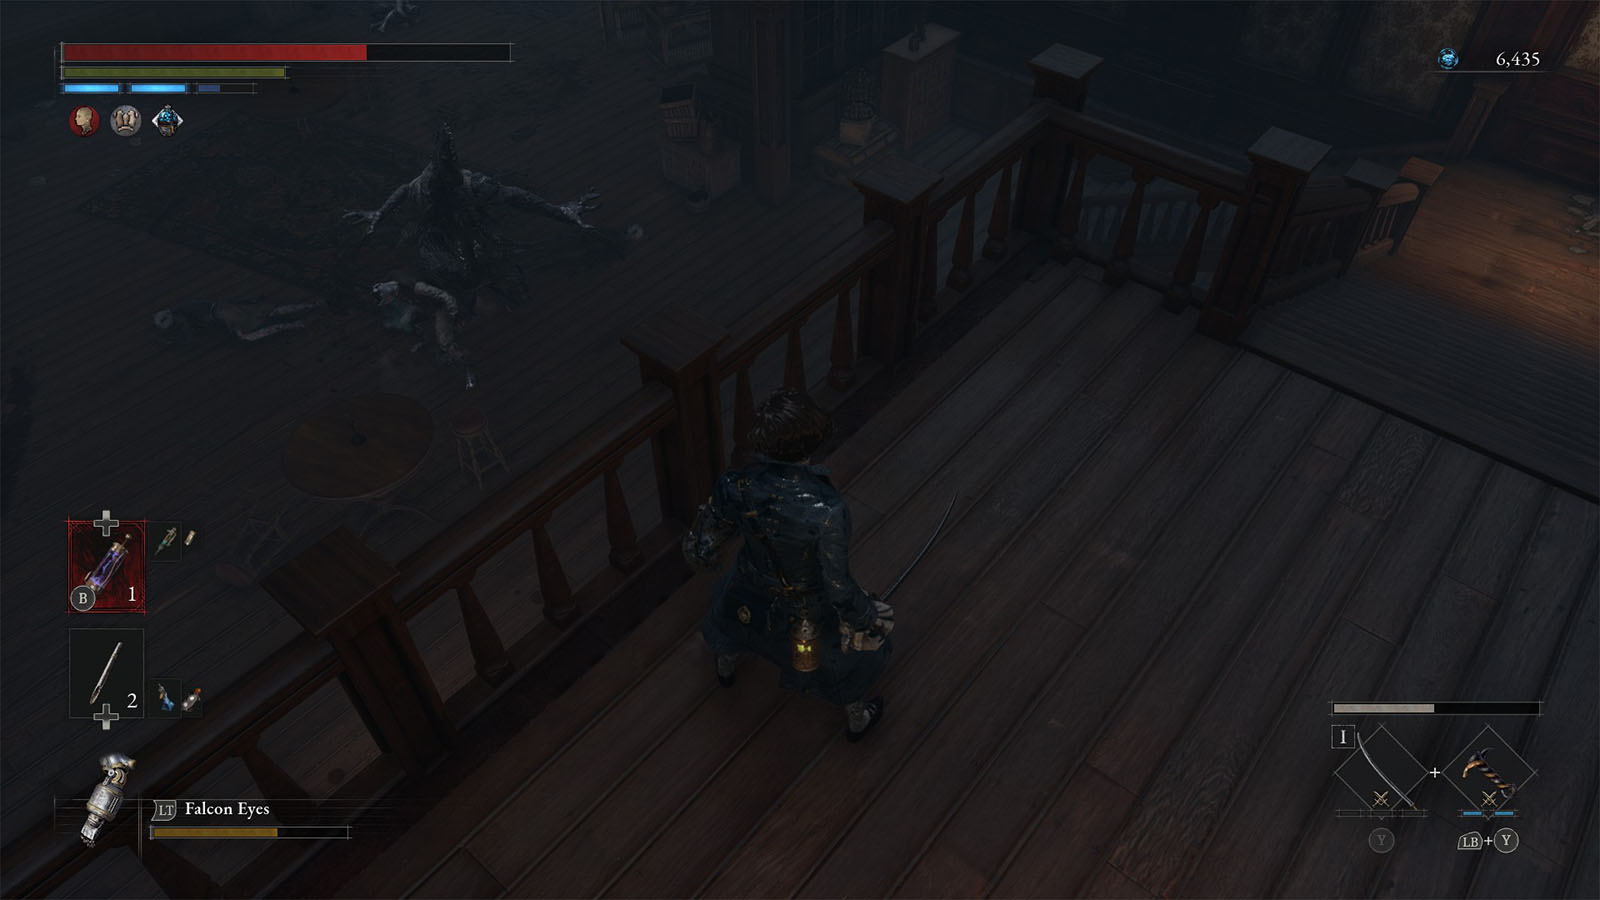
In the Lobster Inn are several enemies, including an elite that can shoot out long spikes from its arms. Before engaging this enemy, it’s best to make it to the other staircase, then run to the next room where you will find the locked door that leads back to the Malum District Stargazer.
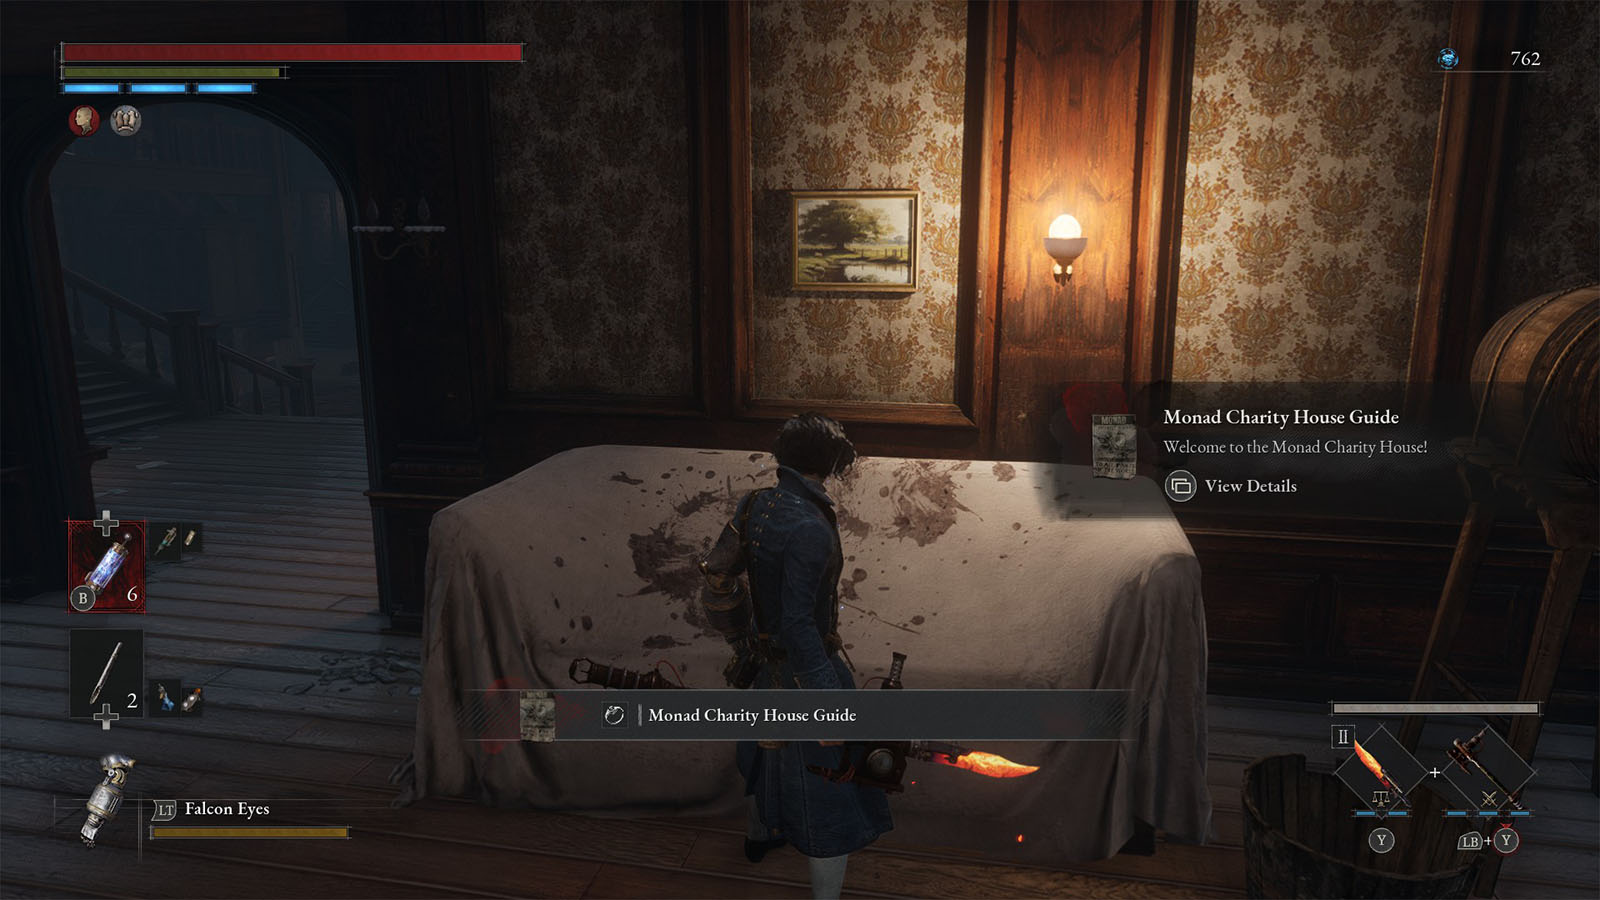
Afterwards, you can freely clear the enemies inside the Lobster Inn. You will find the Collectible – Monad Charity House Guide on top of a couch and some fragments.
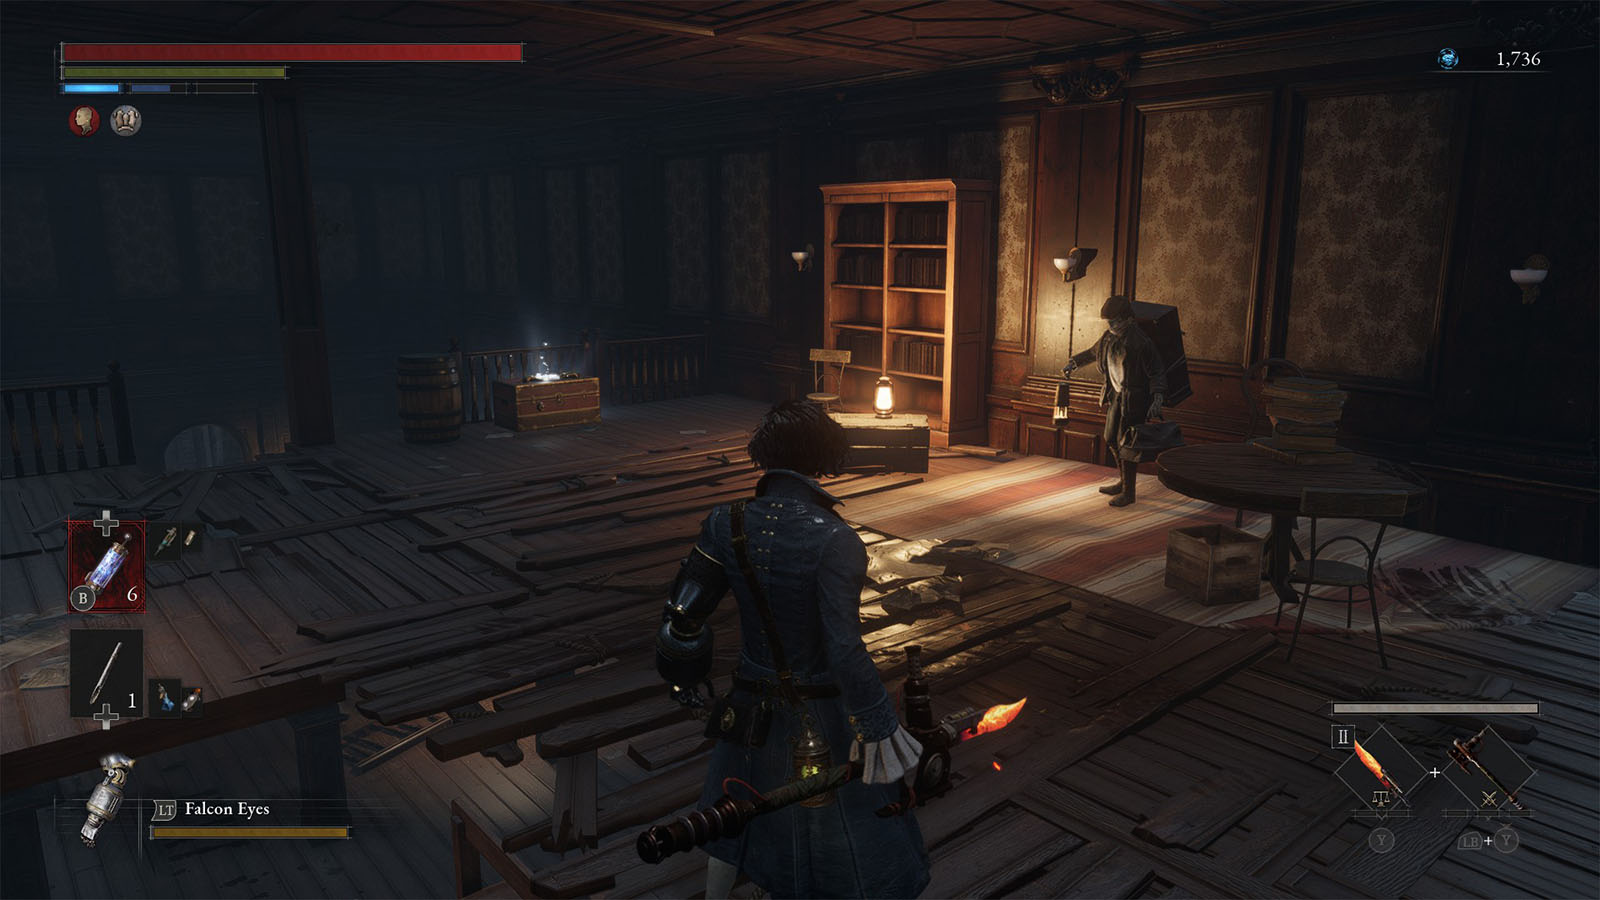
Inside the room where the shortcut door is, you will find a ladder that goes up to another room. In this room is where you will find the Wandering Merchant. Before you can buy from him, you will have to bribe him first. Give him the highest Ergo fragment that you can afford and he will let you purchase his goods.
Take note of this merchant as he sells a lot of good throwables, plus the Bramble Curved Sword weapon, as well as the Record – Someday. There’s also a chest near the merchant that contains a Legion Caliber.
Find the other door inside the Lobster Inn which will lead you to the next path. At the end of this path is another boss fight and an Ergo basin. You can take the time to prepare for the fight ahead by grinding for some more levels and heading back to the hotel.
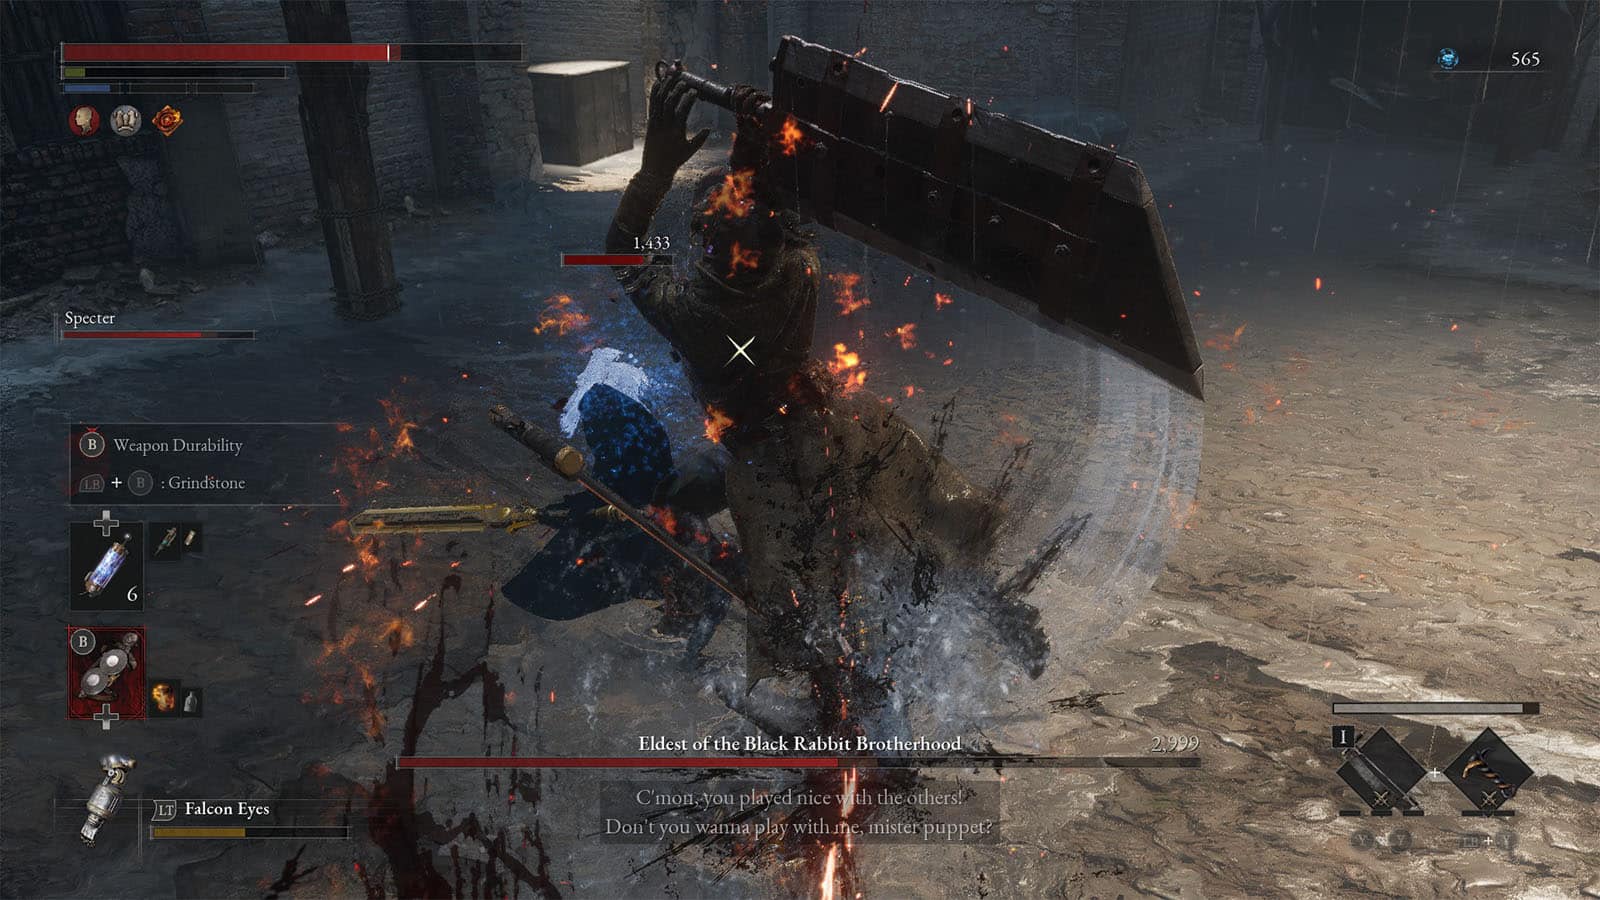
Boss Fight: Eldest of the Black Rabbit Brotherhood
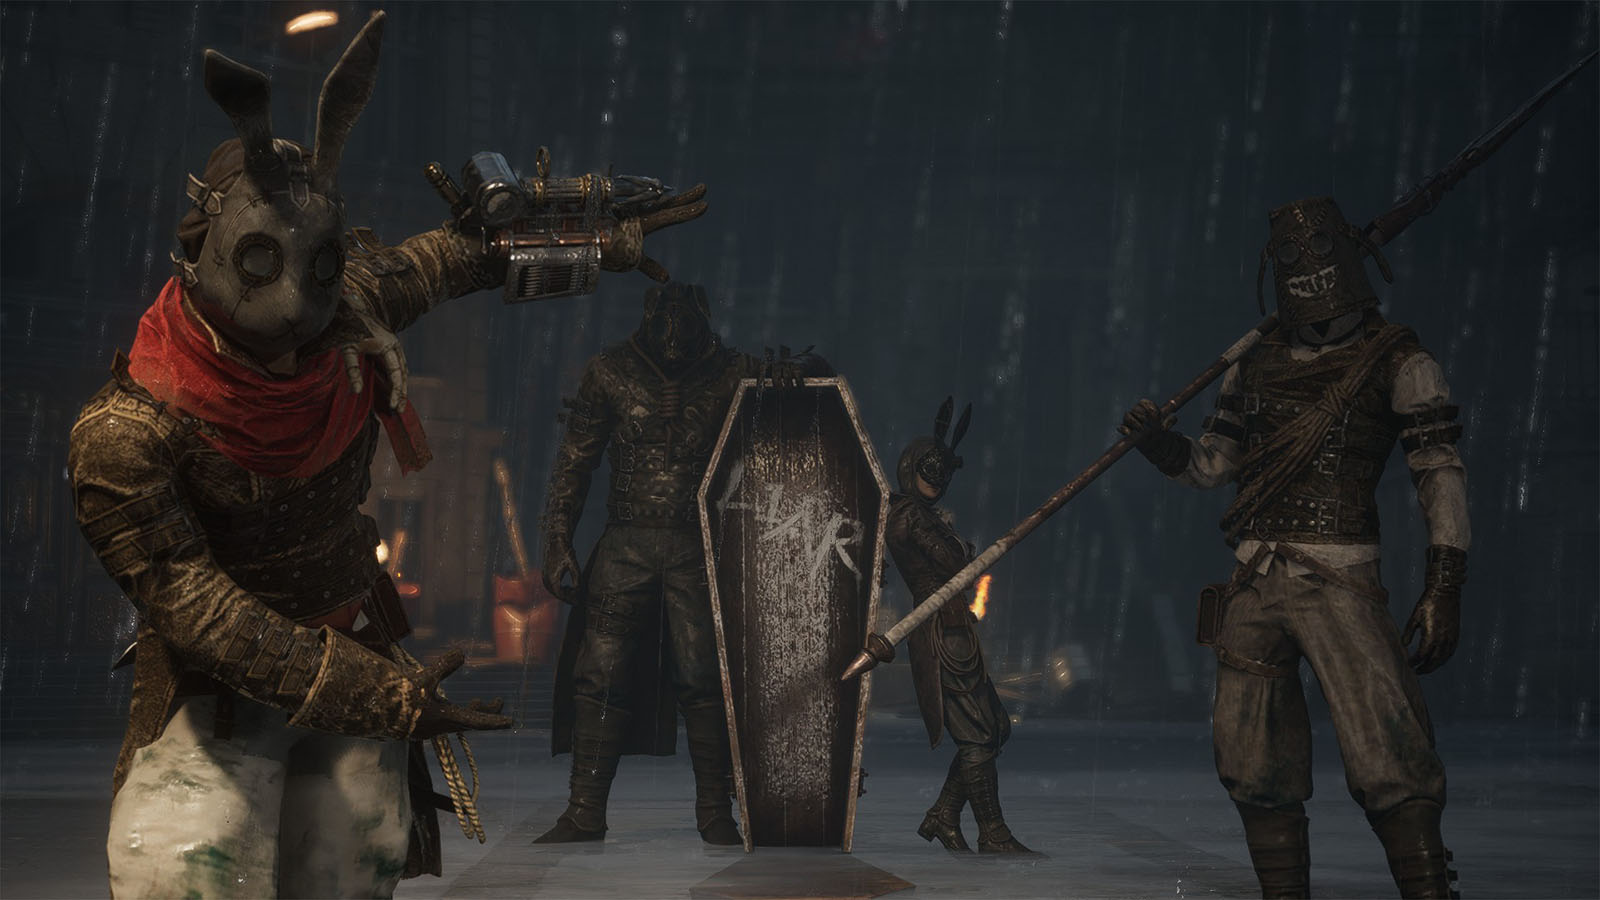
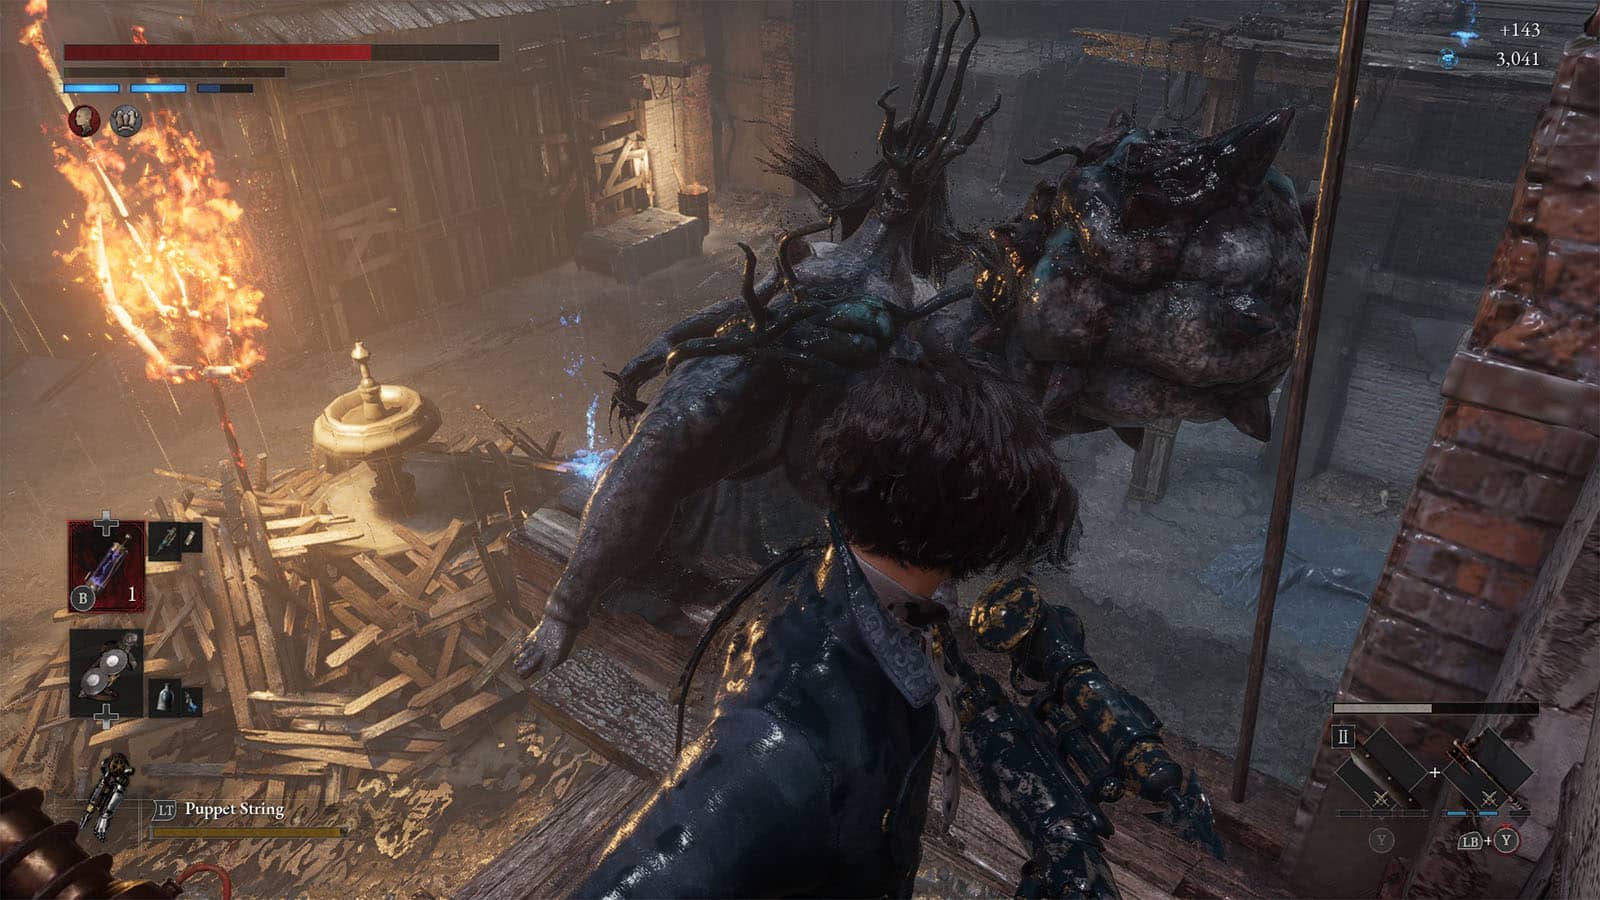
In this boss fight, you will be fighting against the Eldest of the Black Rabbit Brotherhood. He is a brute that uses a huge greatsword that can deal massive slashing damage. It also has a wide reach when the boss swings the sword around.
Throughout the fight, the boss’ siblings will join in one by one. The half-mask rabbit is nimble and can jump high and dash from afar. The bucket head uses a speak that it can use to clear a large distance when doing lunges. The leader with the red scarf comes in last and it has the ability to grapple, just like you with the Puppet String.
These other enemies will join in to fight against you as the Eldest’s health goes down. Eventually, all of them will be in the arena which will make it too easy to get mobbed from all sides. Despite this, the only enemy that you need to defeat is the Eldest; the rest of the siblings are relatively squishier than the boss, but they can only be forced to withdraw if their health goes too low.
With this in mind, it’s best to focus your efforts towards the Eldest at most times. If you are fighting with a Specter, take advantage of the openings it creates by repositioning behind the boss’ back; be careful as the boss’ swings can even reach a good distance behind him.
You can go and make the first sibling leave, even the second to make the fight easier, but you will have to do it fast, or else you get ganged up quickly if all aggro goes to you. The boss’ attacks are easier to time for perfect guards, but it gets tricky if the other siblings are nearby to interrupt your timing.
Go for throwables and weapons that can deal Decay damage or Fire damage to inflict tick damage to help keep the damage uptick especially when it’s hard to get an opening to the boss.
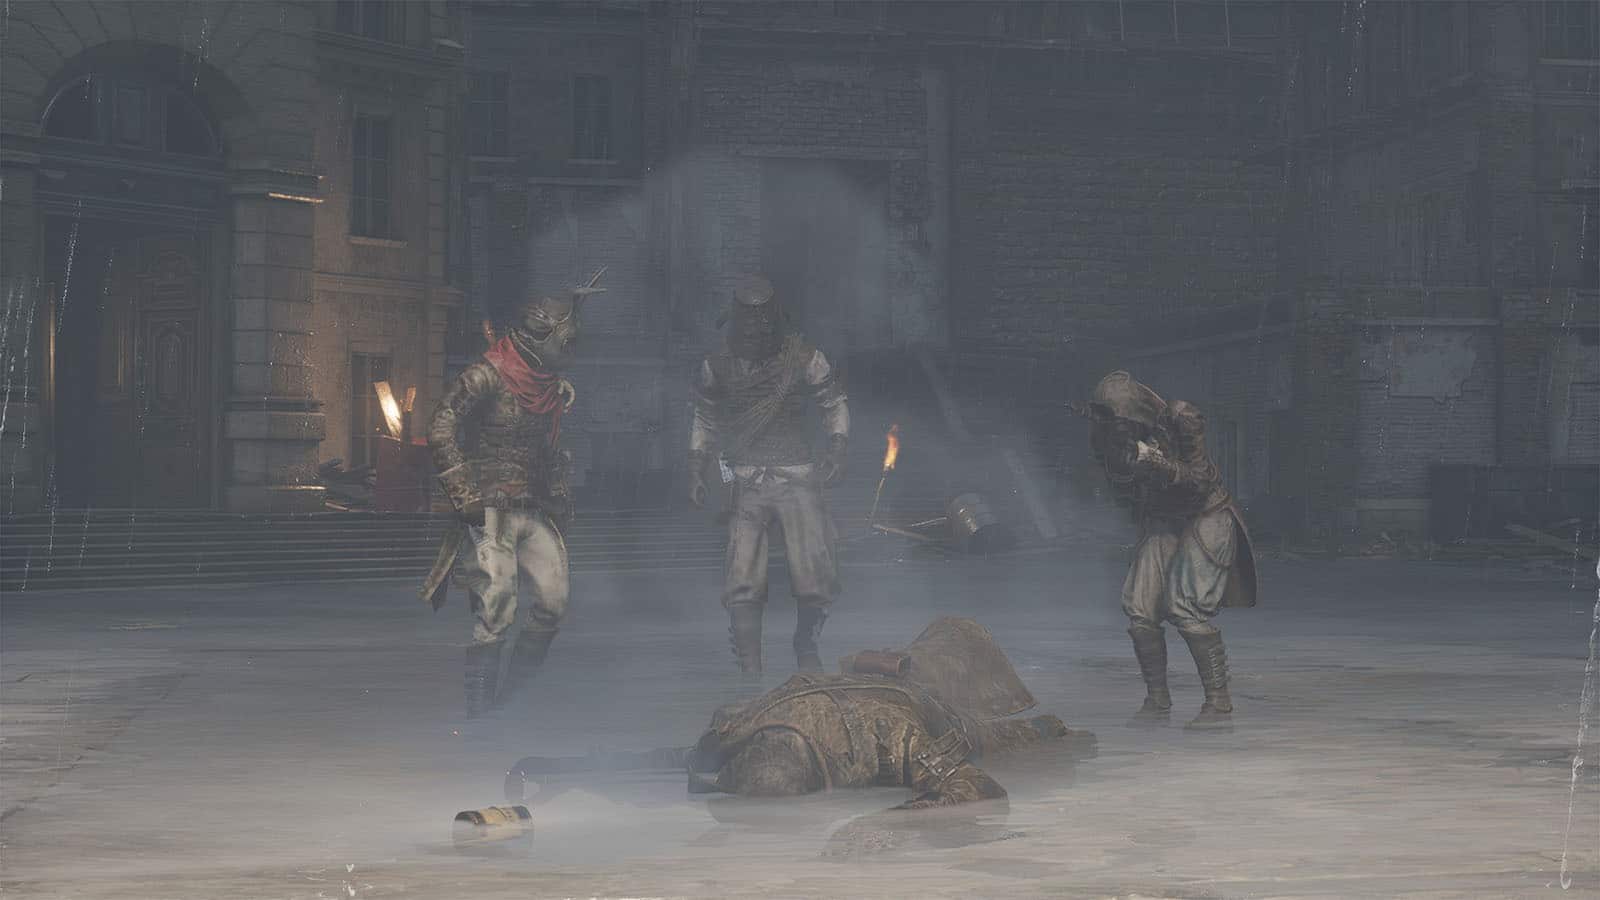
Once the Eldest is defeated, the brotherhood will retreat with its body. You will be rewarded with a Resplendent Ergo Chunk and the Emote – Taunt. This boss doesn’t drop a special Ergo.
After the fight, go inside the house where you will find the Collectible – Black Rabbit Brotherhood Ledger. You can also find another chest that contains a Quartz behind the counter.
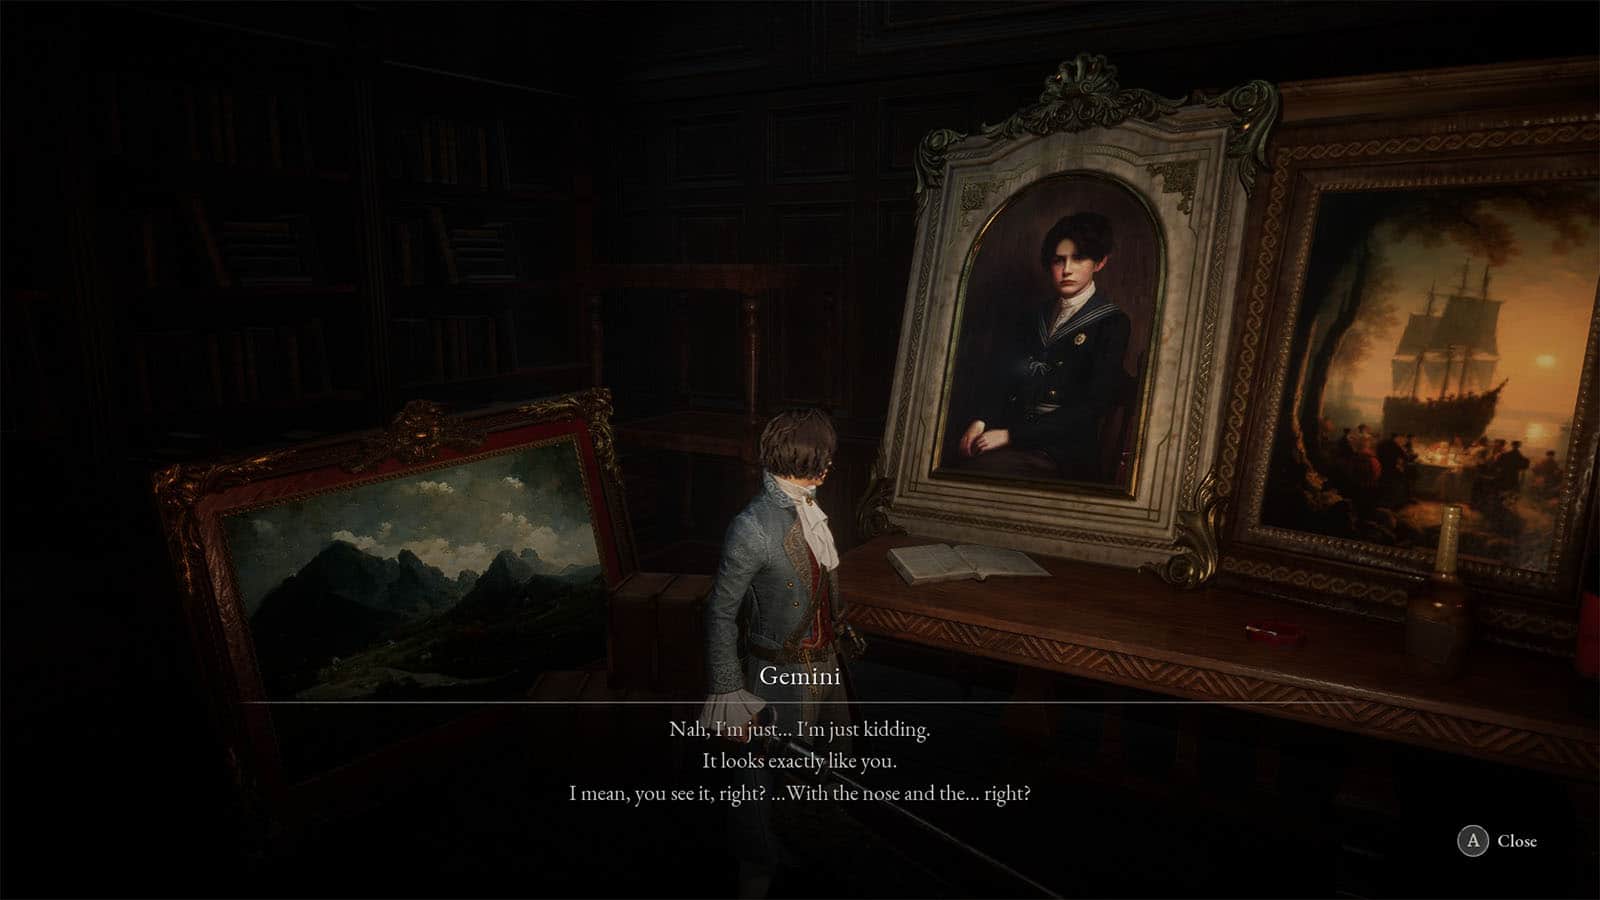
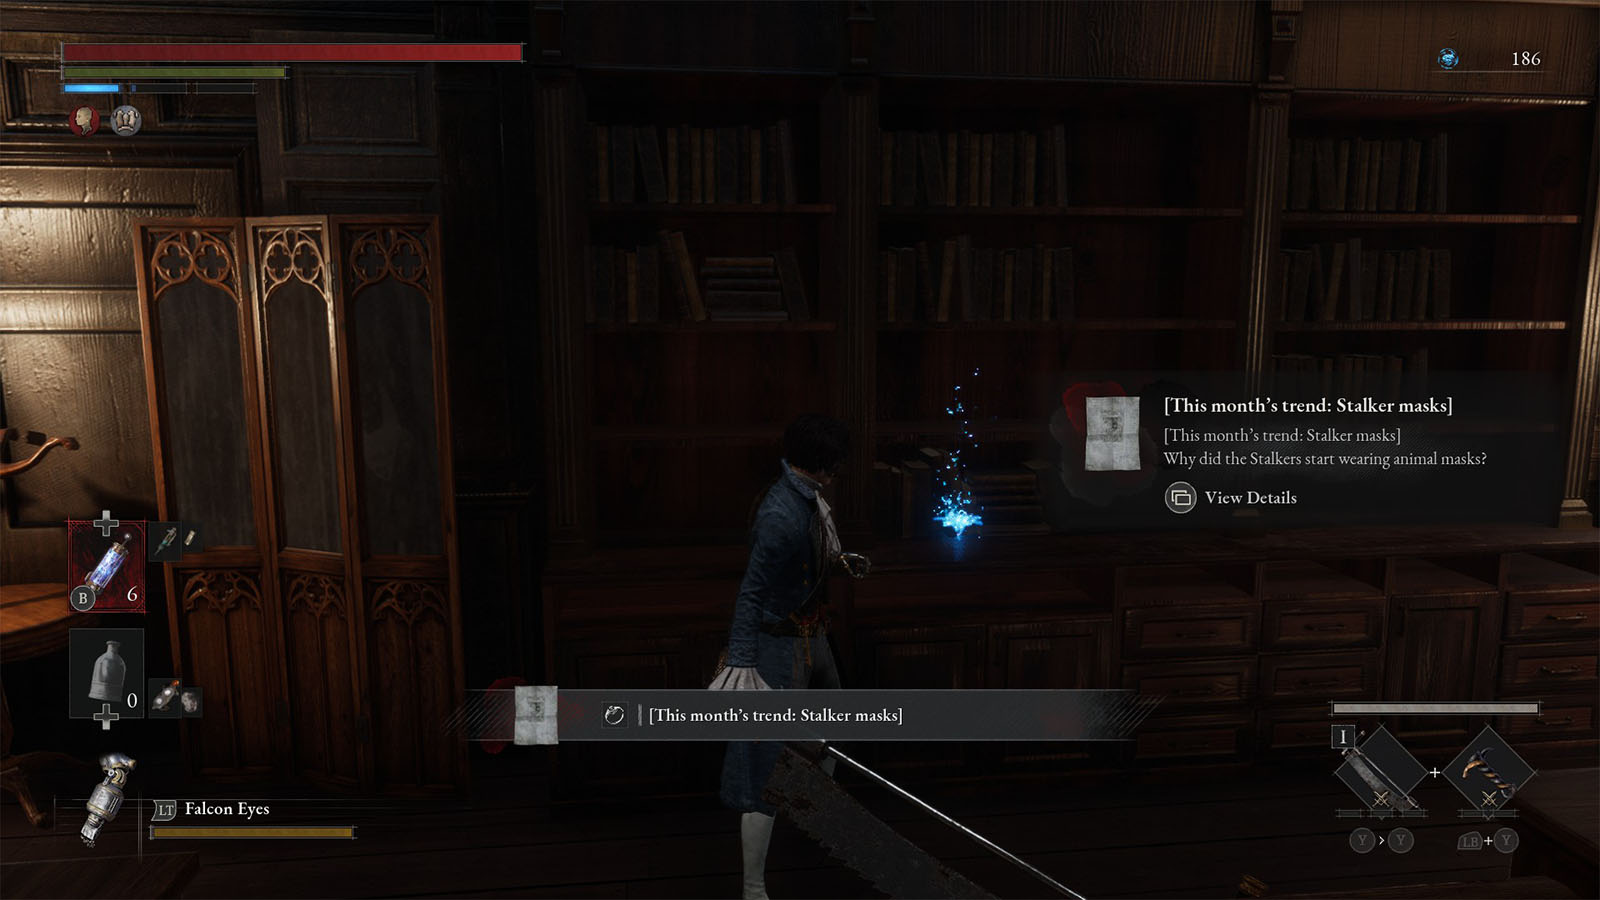
In one of the rooms is the Collectible – [This month’s trend: Stalker masks], and in another room is where you will find a portrait of Geppetto’s son who looks exactly like you.
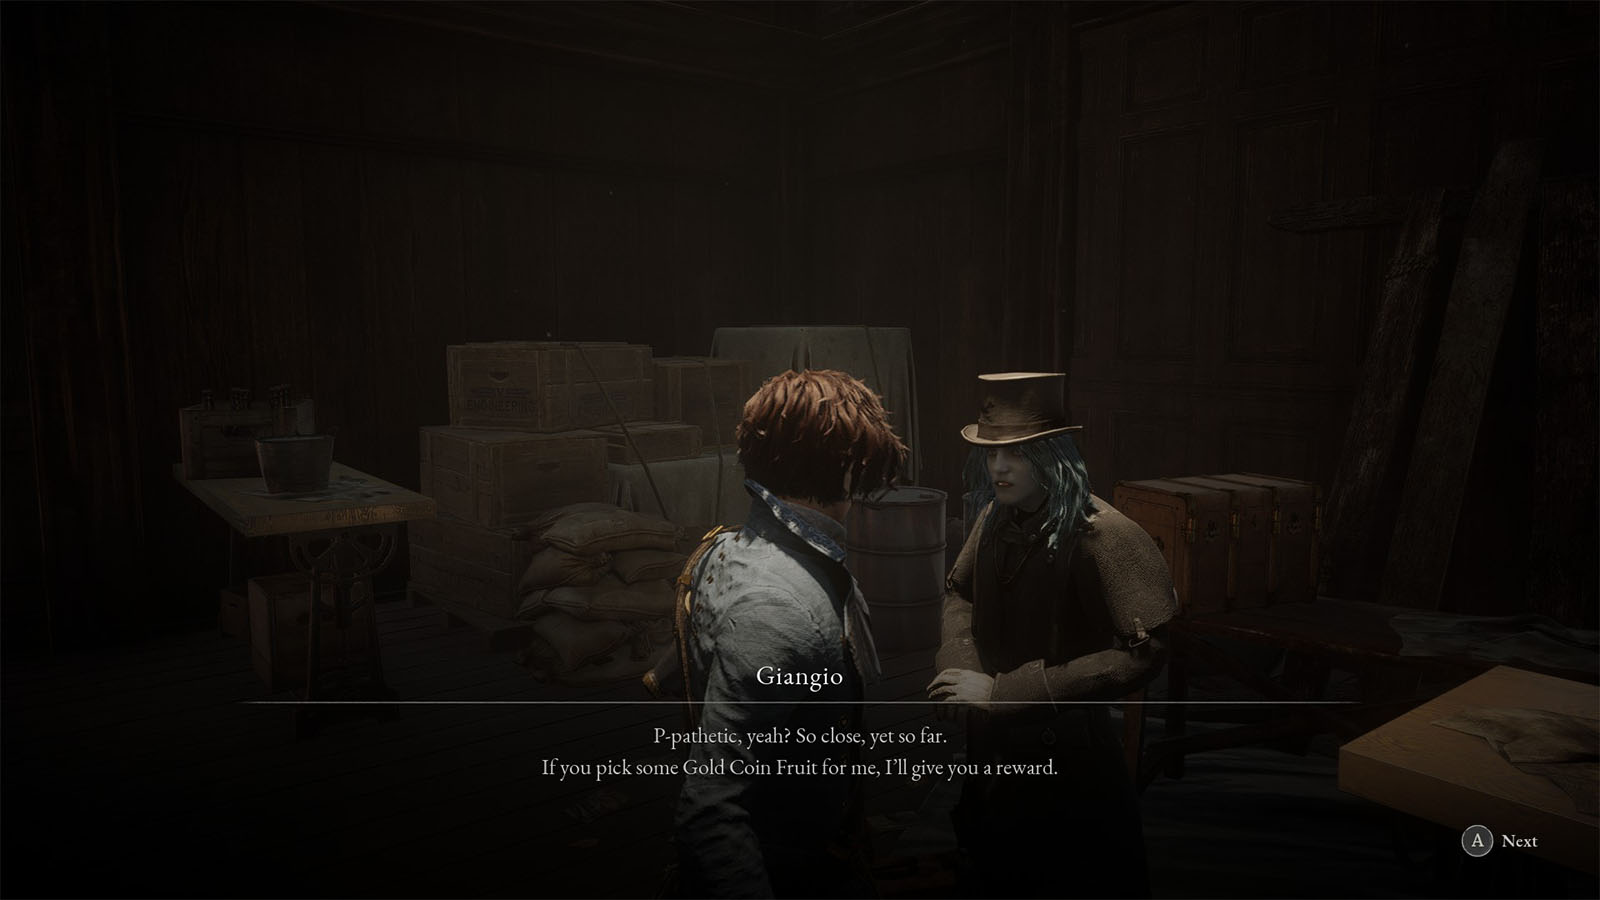
You can then take the elevator nearby to get to another room where you will find Giangio once more. He’ll tell you that he found the Gold Coin Fruit Tree, but he needs you help to pick the fruits for him.
Gold Coin Fruit Tree
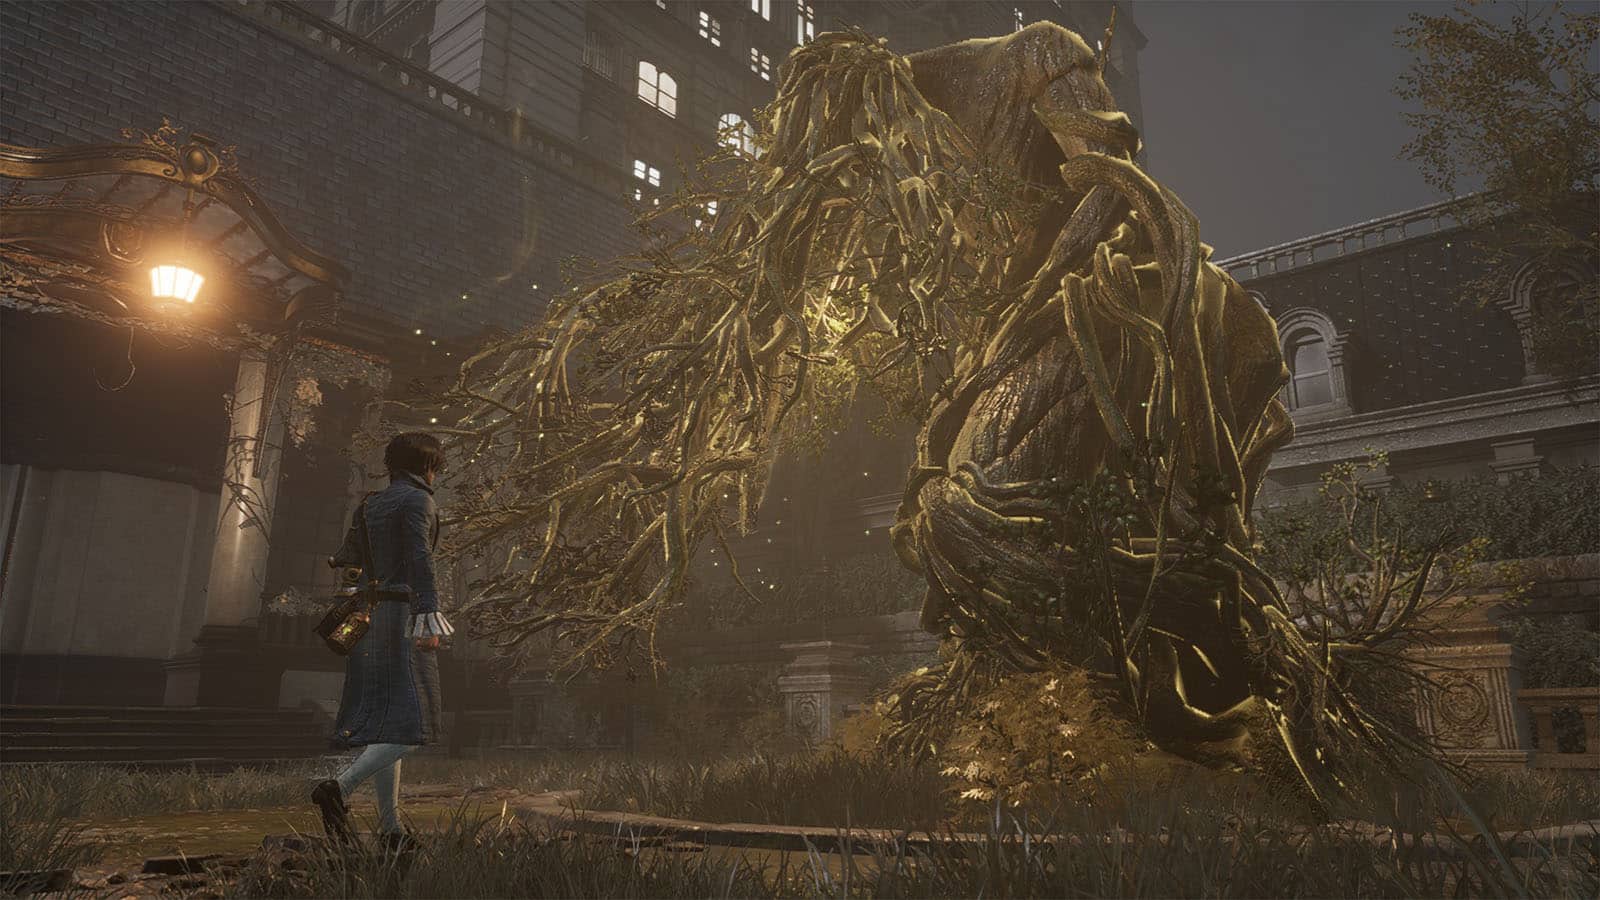
Exit the room you’re at and you will be in the Lost Flower Garden with the Gold Coin Fruit Tree in the middle. From this tree, you can pick Gold Coin Fruits which you can then bring to Giangio and use as a currency to purchase Star Fragments or Wishstones. You can only pick a number of fruits at a time, after which you will have to wait for a few minutes before its stock is replenished.
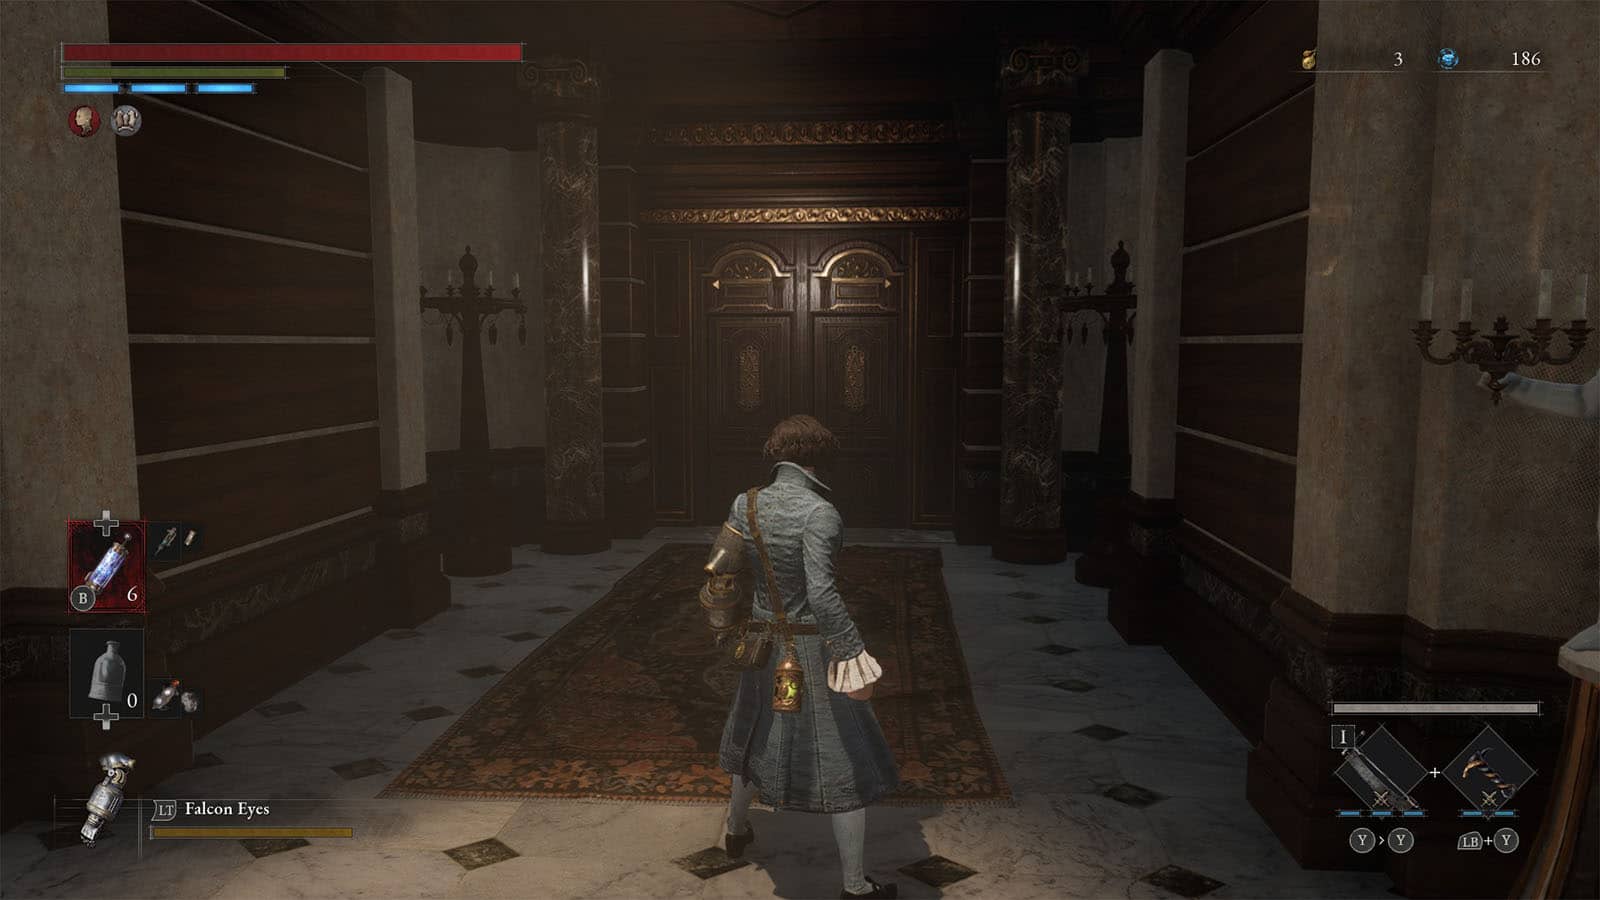
Once you’re done with the tree and Giangio, proceed to the next door which will turn out to be one of Hotel Krat’s doors.
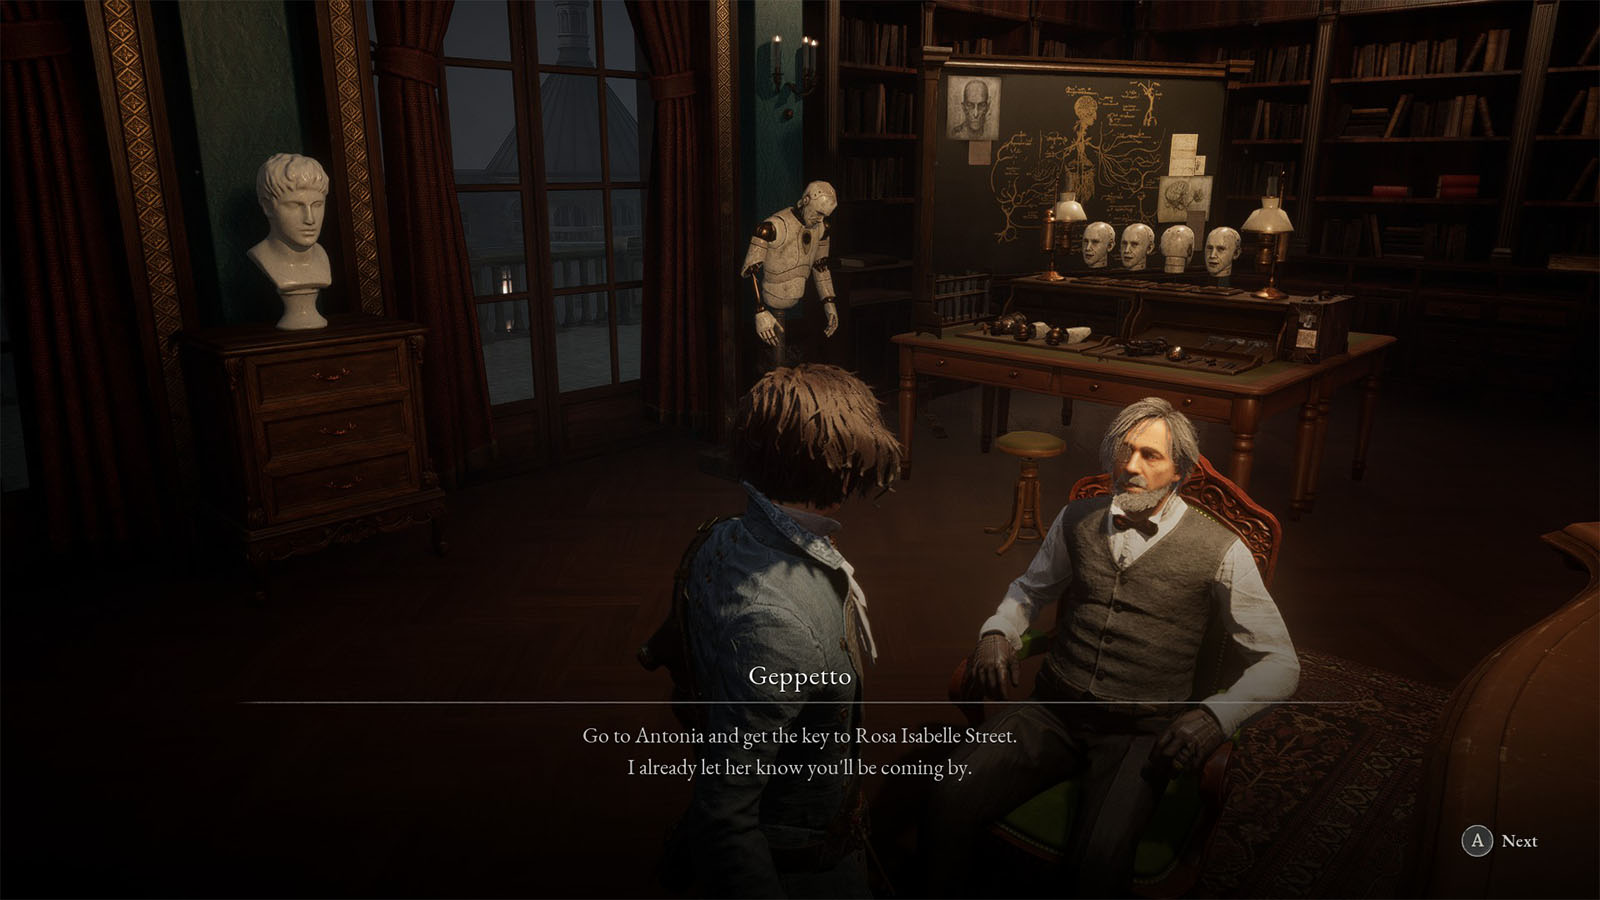
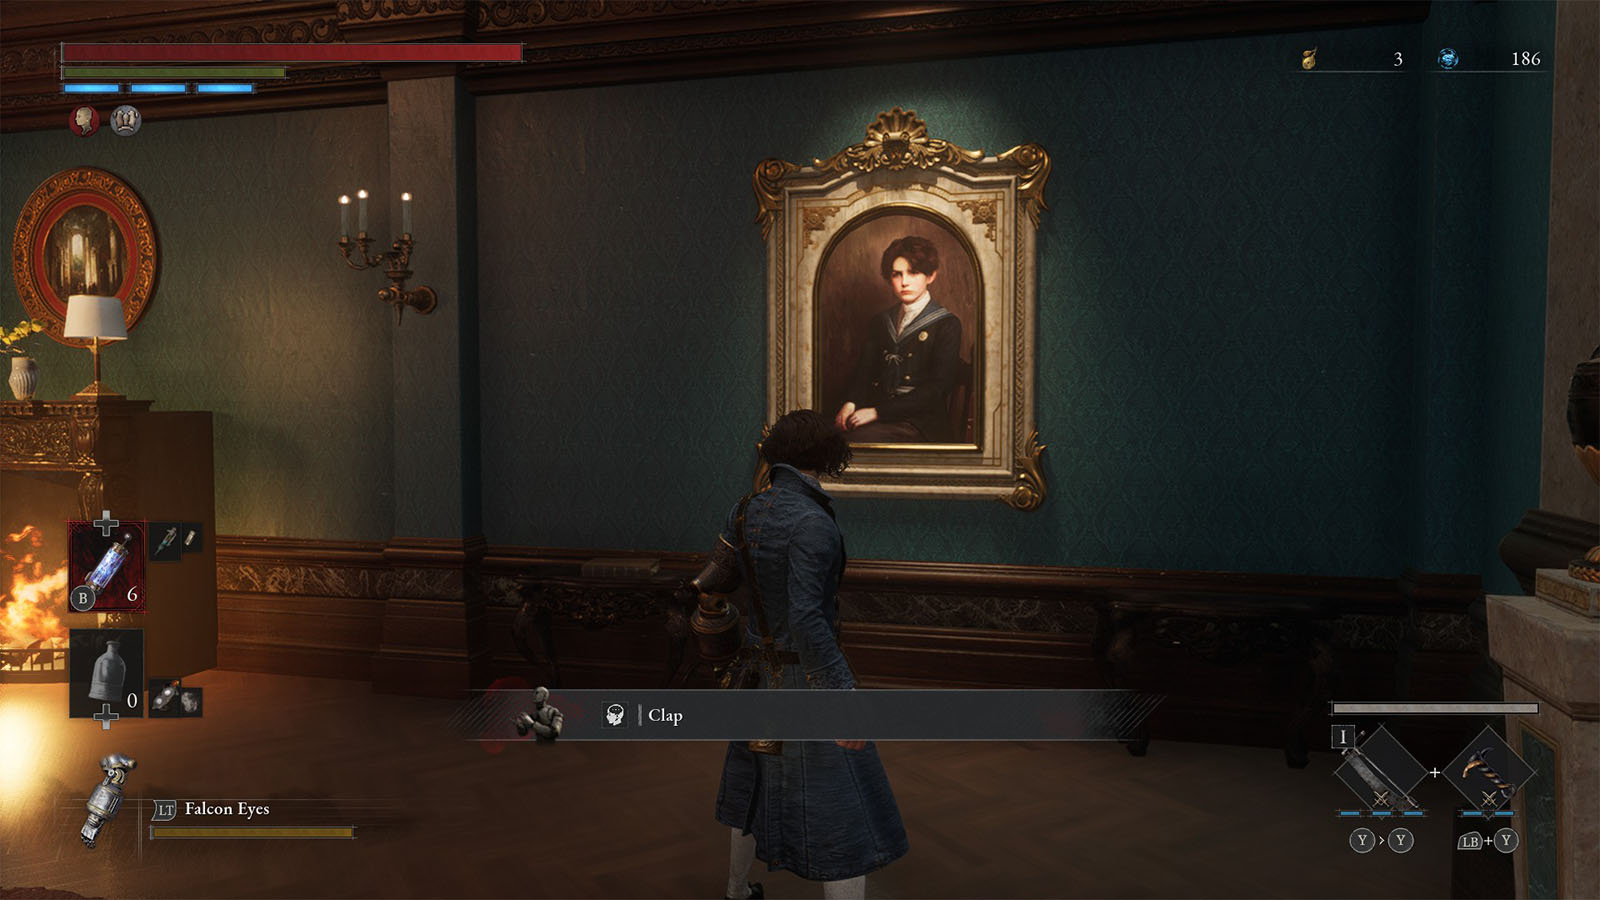
Go talk to Geppetto and he will tell you to talk to Antonia to get the key to the door that will lead to the next place. Make sure to talk to him again to show him the portrait that you found. It will be hung on the wall near the entrance to the study and you will also get the Emote – Clap for it. Take note of this portrait for now as you will need it to get a special weapon in the endgame.
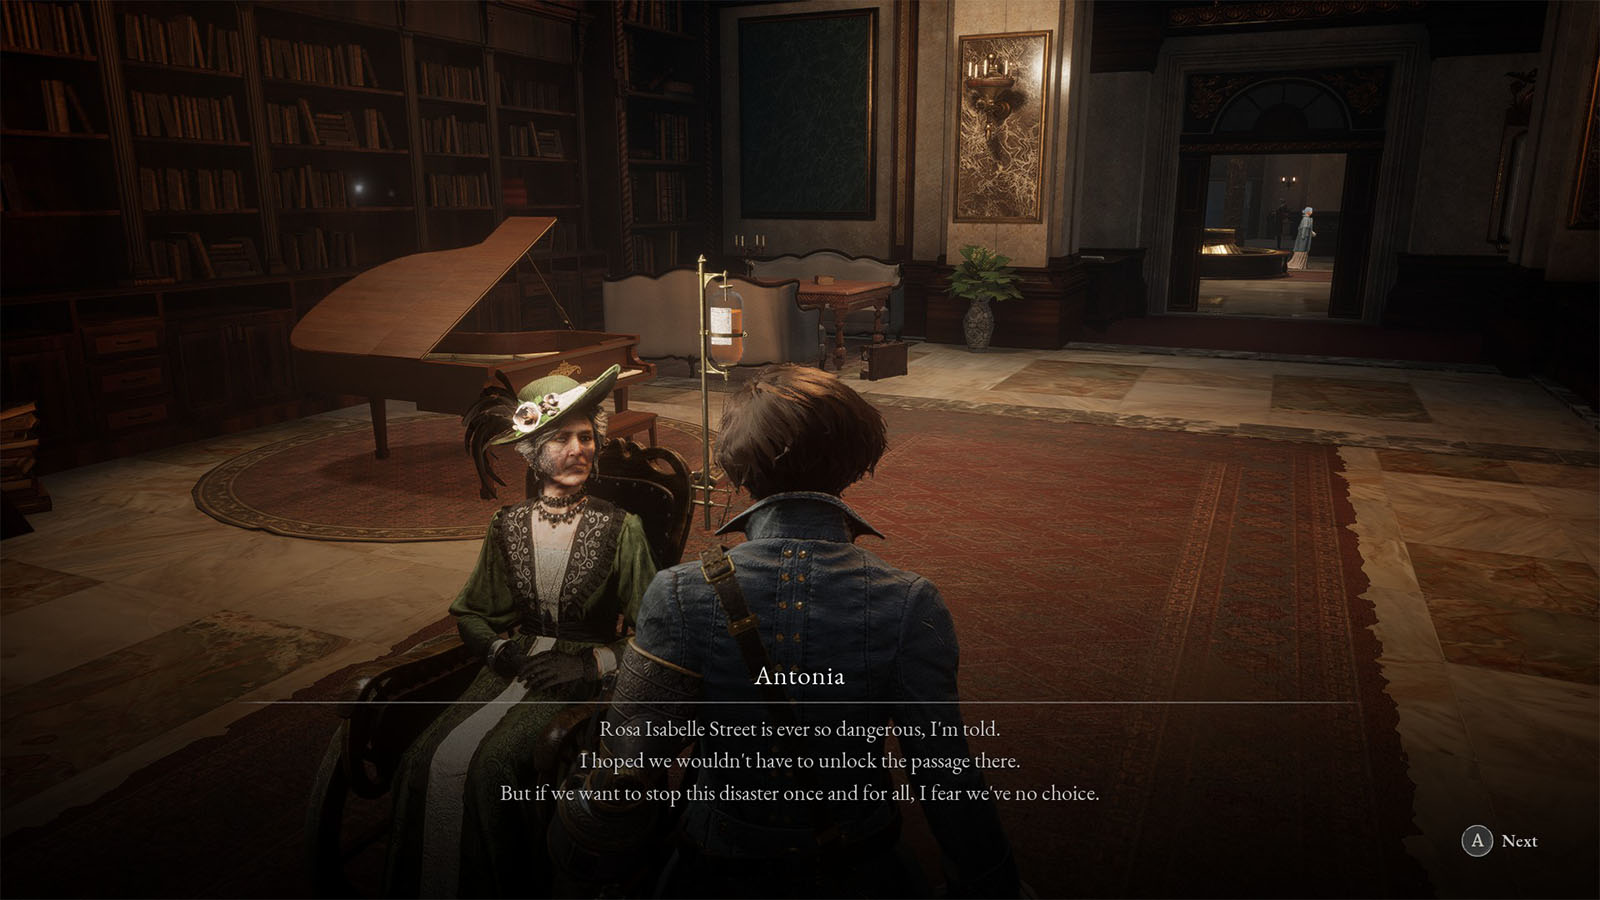
Finally, go talk to Antonia and she will give you the Rosa Isabelle Street Entrance Key. This ends chapter 5. Take the time to prepare for the next area by grinding or trying to take out the elites that you slipped by earlier.


