
Lies of P is an action soulslike game that follows the story of P, a humanoid puppet created as the last hope against the puppets that have turned against everyone in the city of Krat. After braving the Malum District and fighting against the Black Rabbit Brotherhood, P now has to head to the Estella Opera House to defeat the King of Puppets.
Read ahead as we go through the events of Chapter 6 Estella Opera House of Lies of P and share some tips and secrets that can be found along the way.
See previous: Lies of P: Chapter 5 Malum District Guide
Lies of P: Chapter 6 Estella Opera House Walkthrough
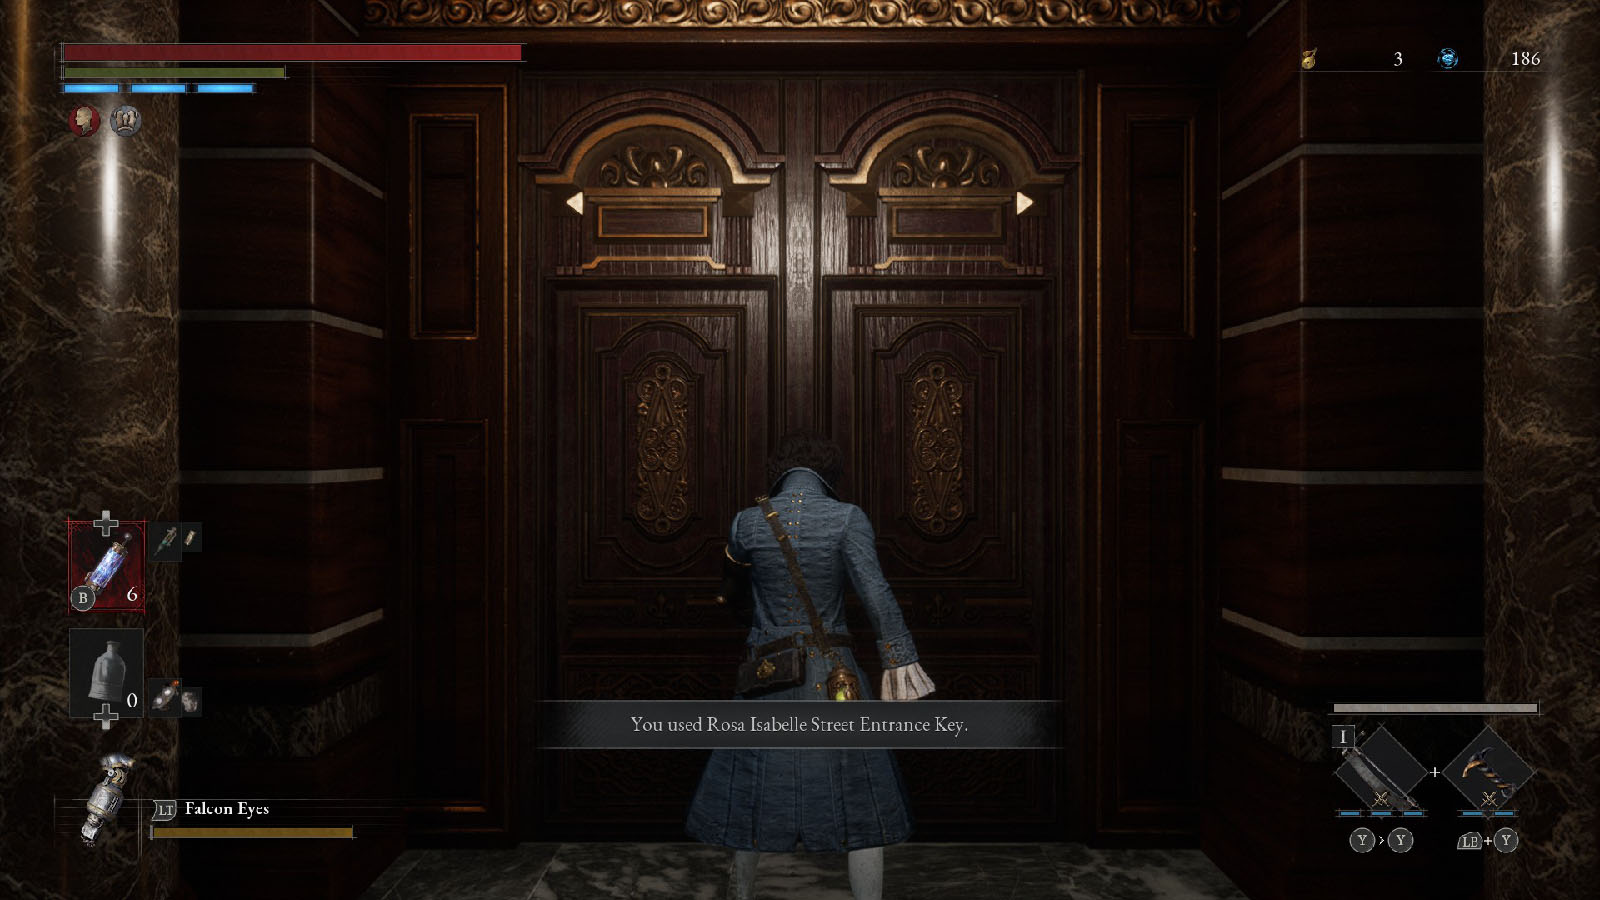
Using the key that Antonia gave you, open the locked door inside the hotel to reach the Rosa Isabelle Street Entrance.
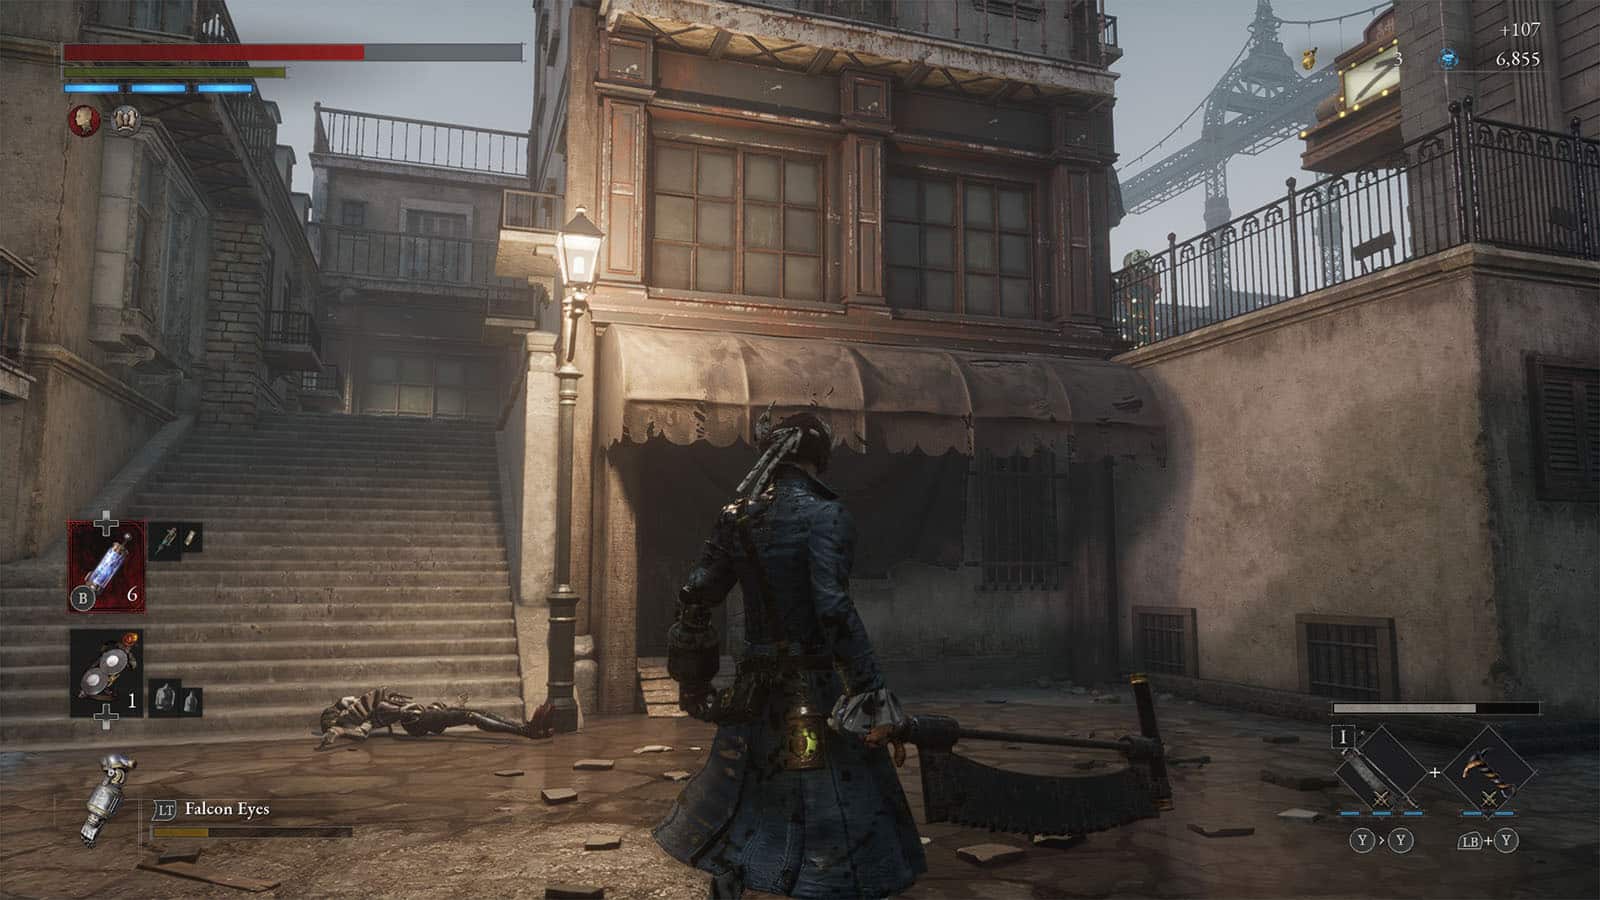
Rosa Isabelle Street Entrance
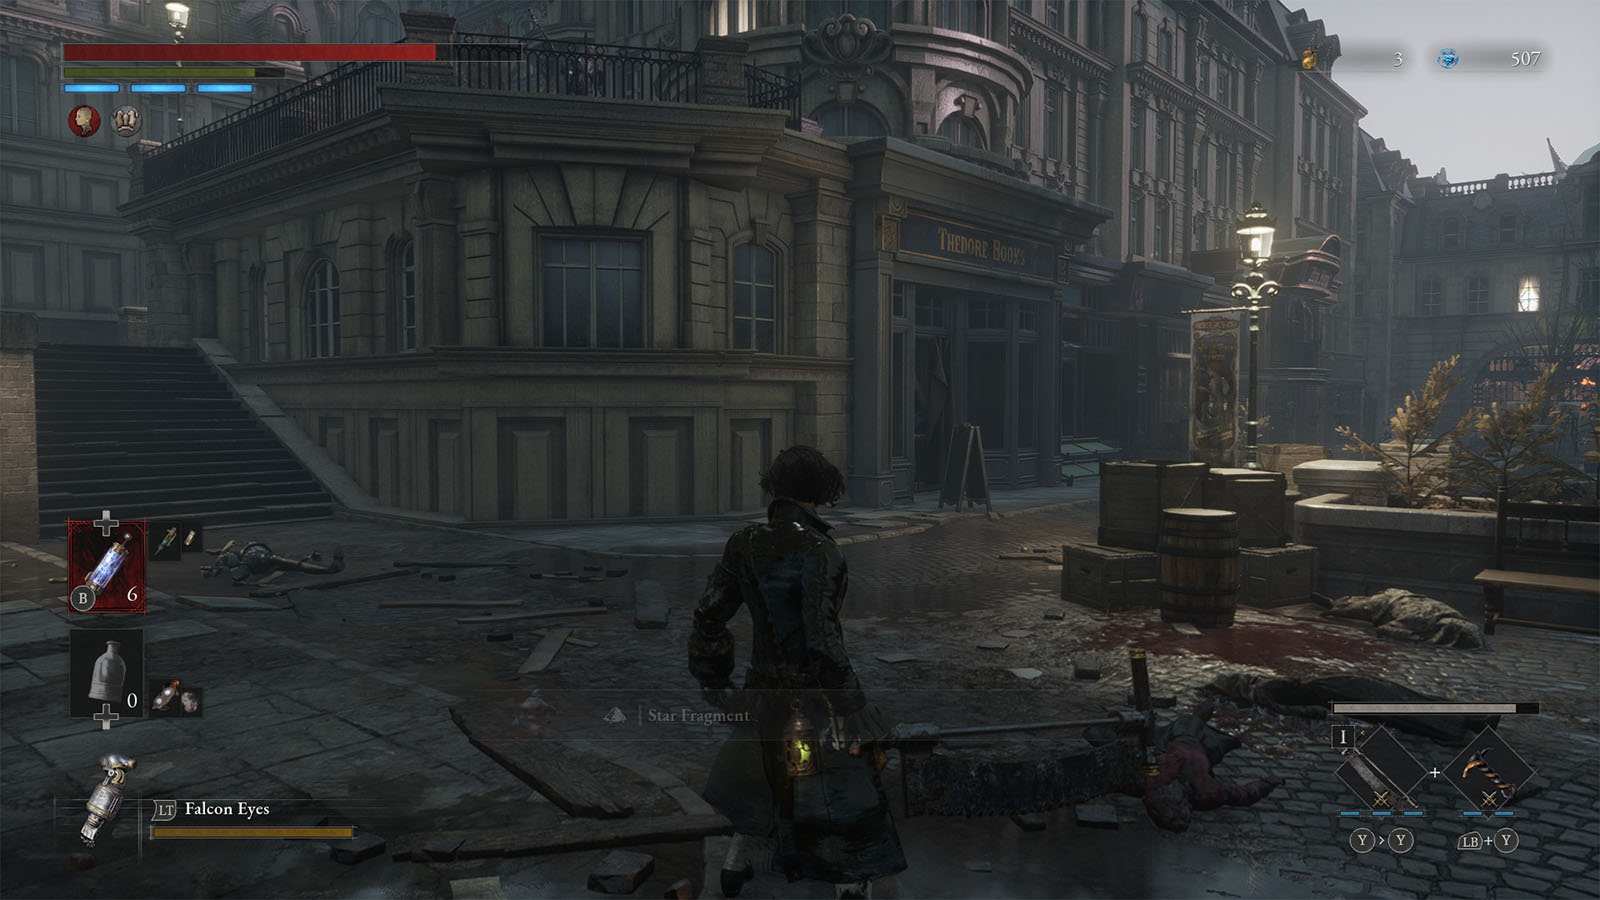
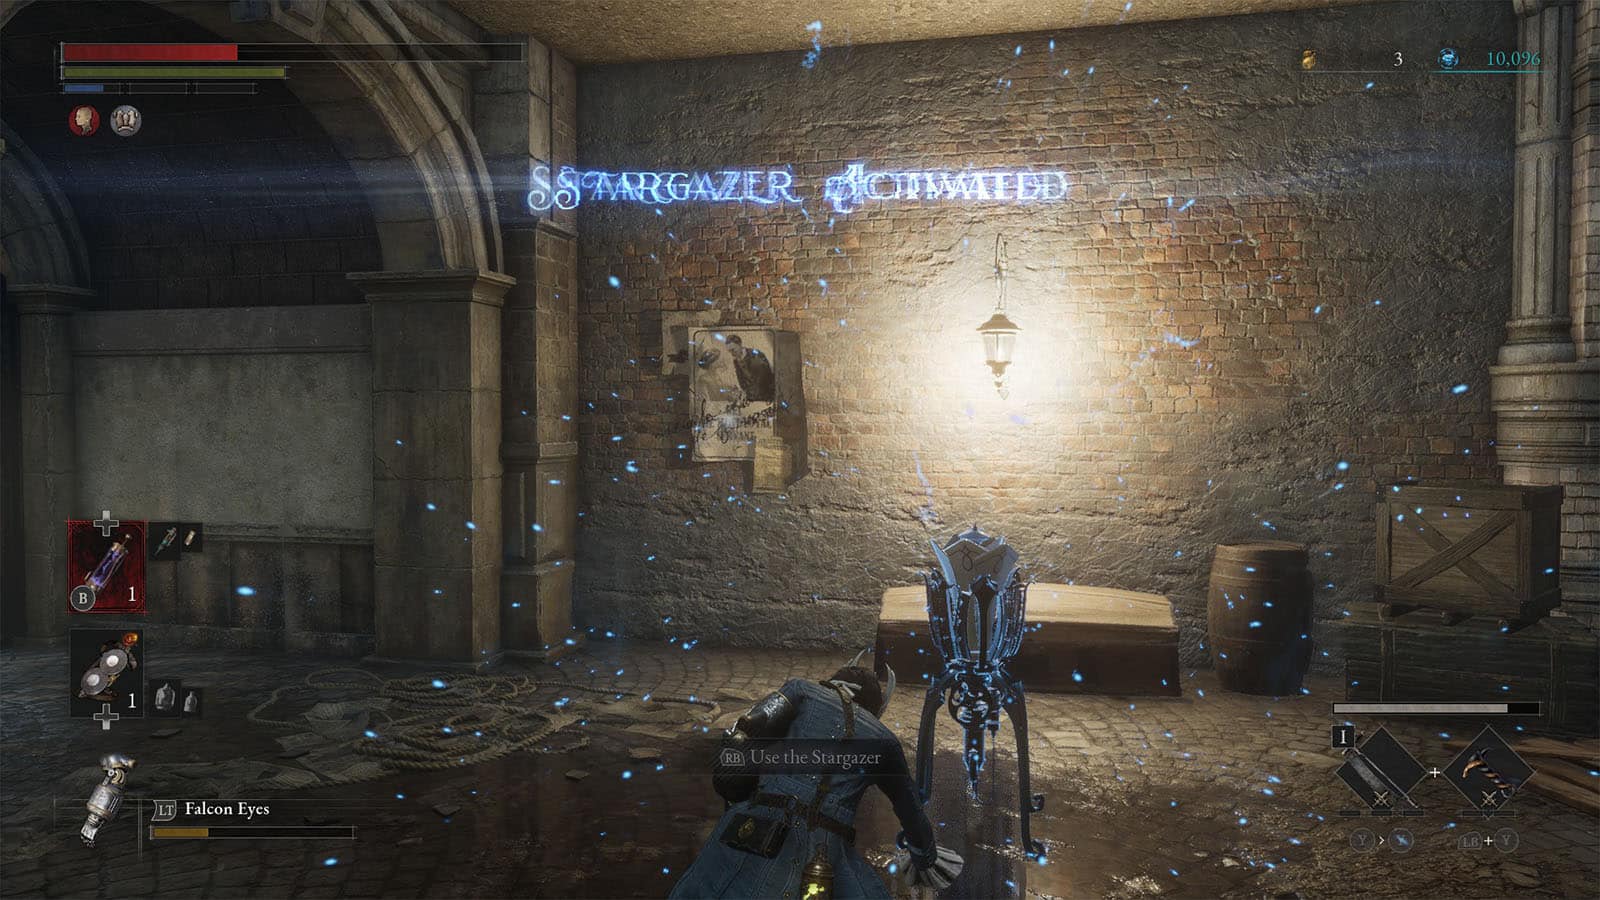
Not far from where you start is the first Stargazer of the area. Continue through the streets and defeat the enemy puppets along the way until you reach a fork.
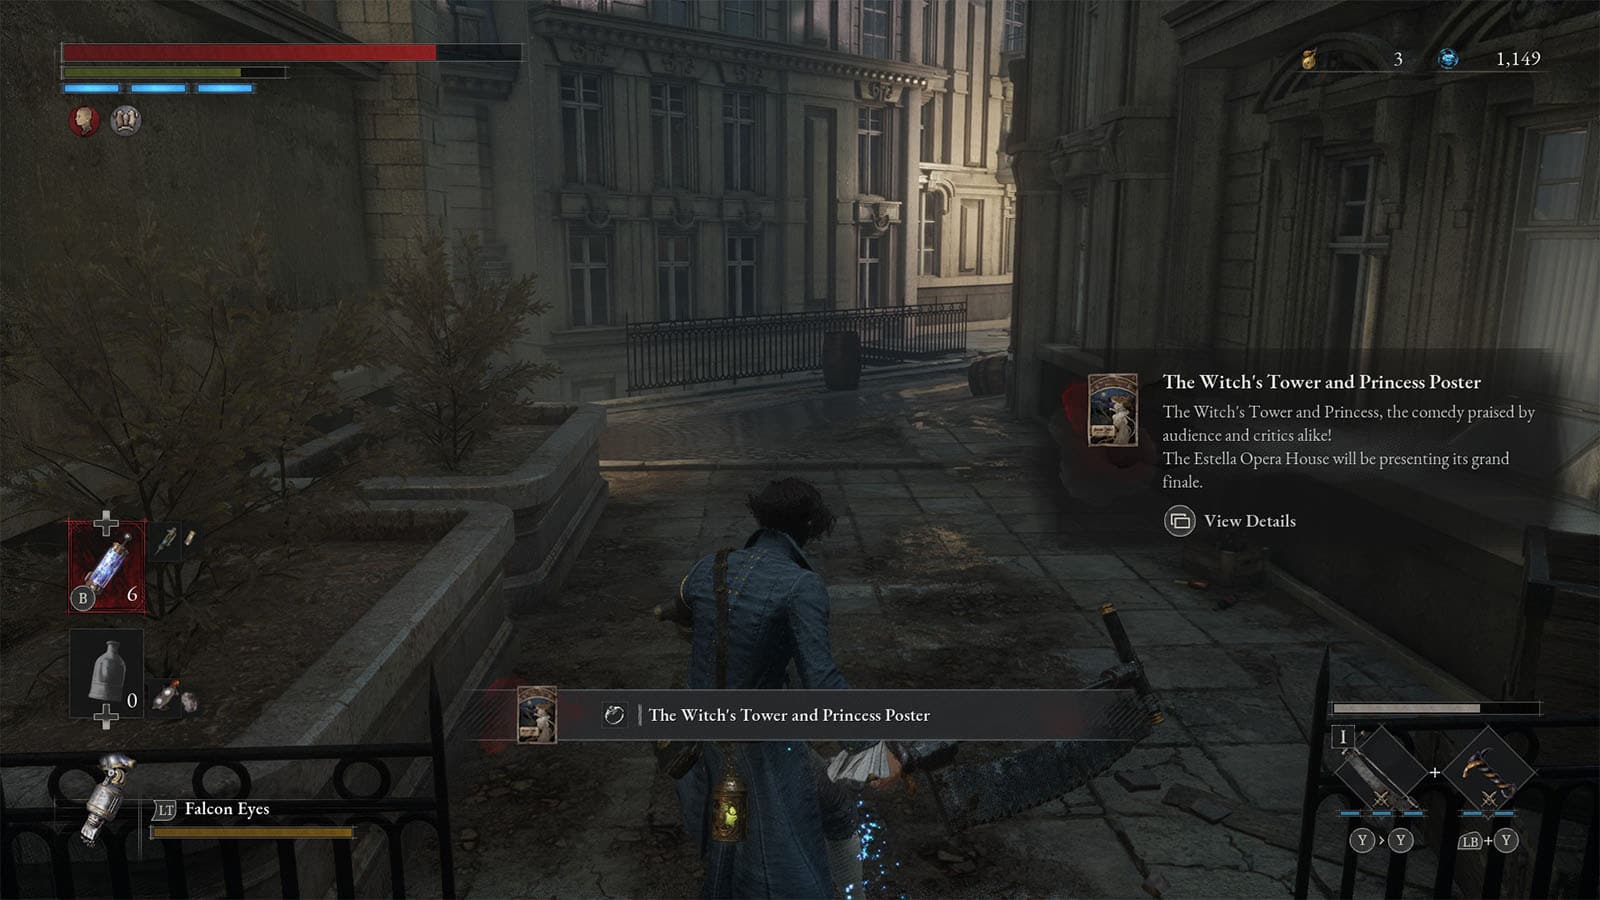
Head towards the stars to the left first so that you can circle around and get the item on the ledge from earlier. Pick it up to get the Collectible – The Witch’s Tower and Princess Poster. There’s also a Cluster Grenade nearby and a Radiant Ergo Fragment on the upper deck.
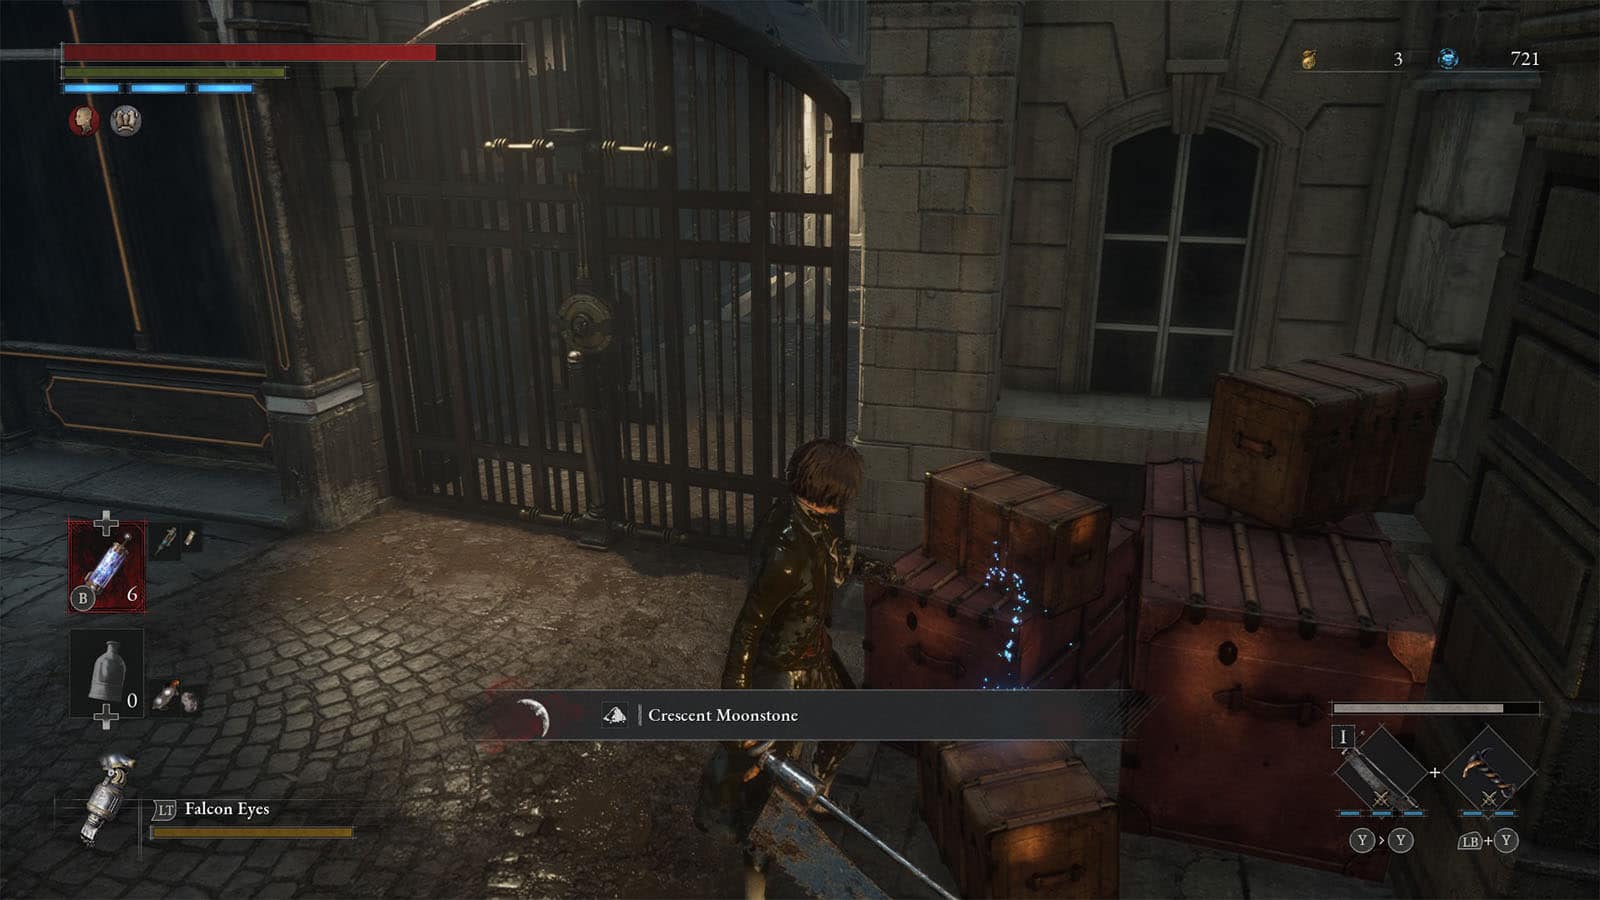
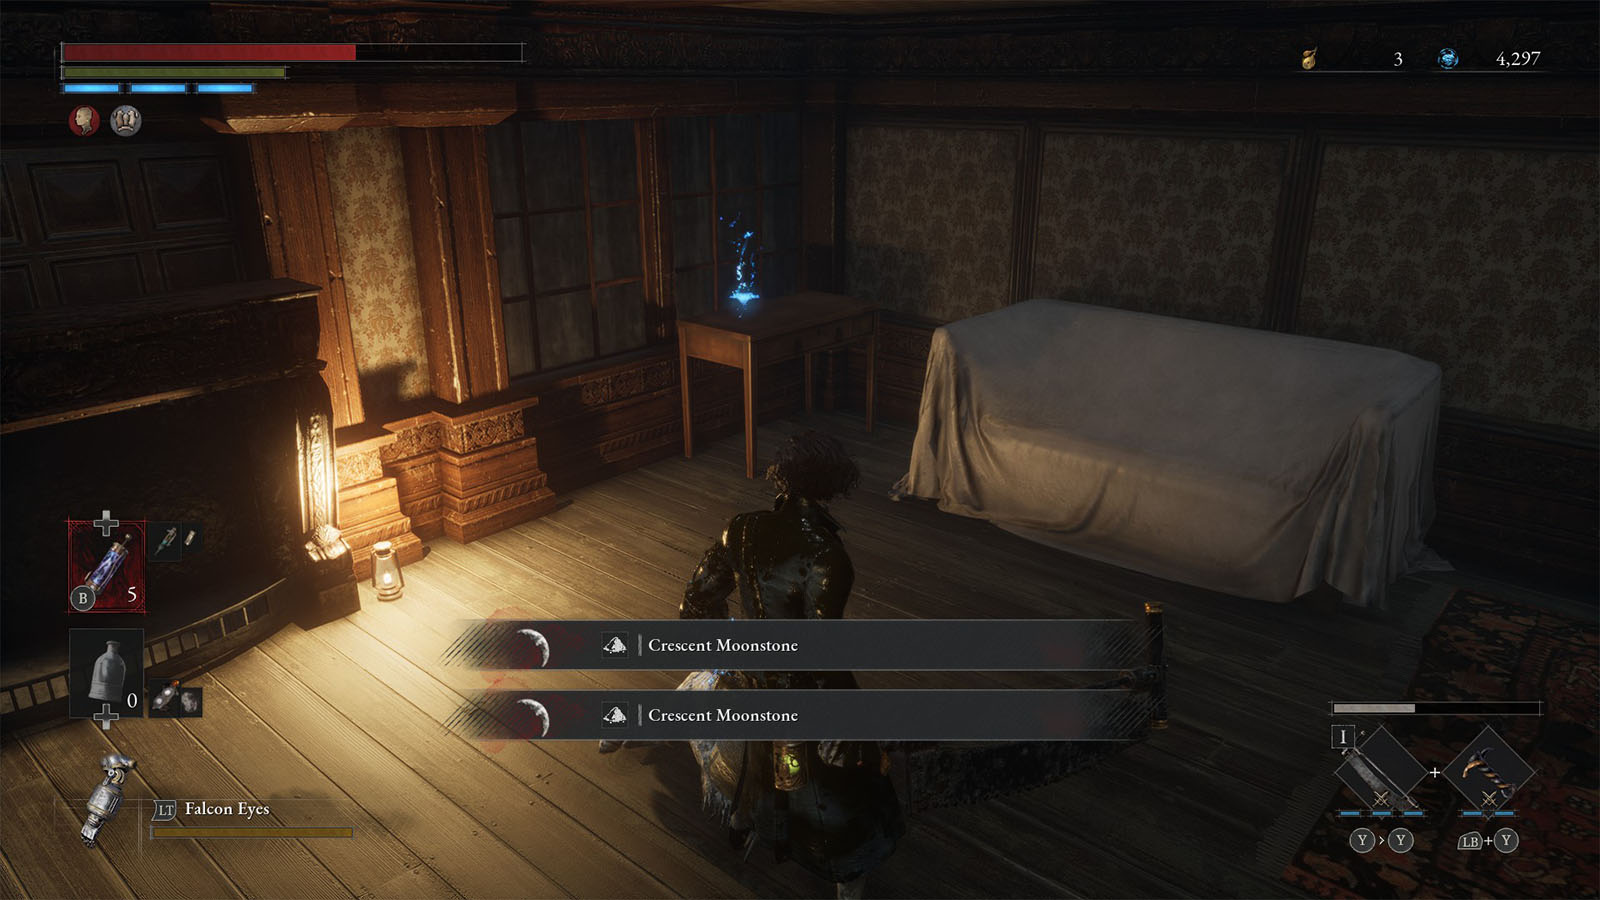
Head back to the fork and clear out the street near the flaming gate. You will find a Crescent Moonstone by the luggage near the gate. There’s also a locked door that you can open on the other side later on.
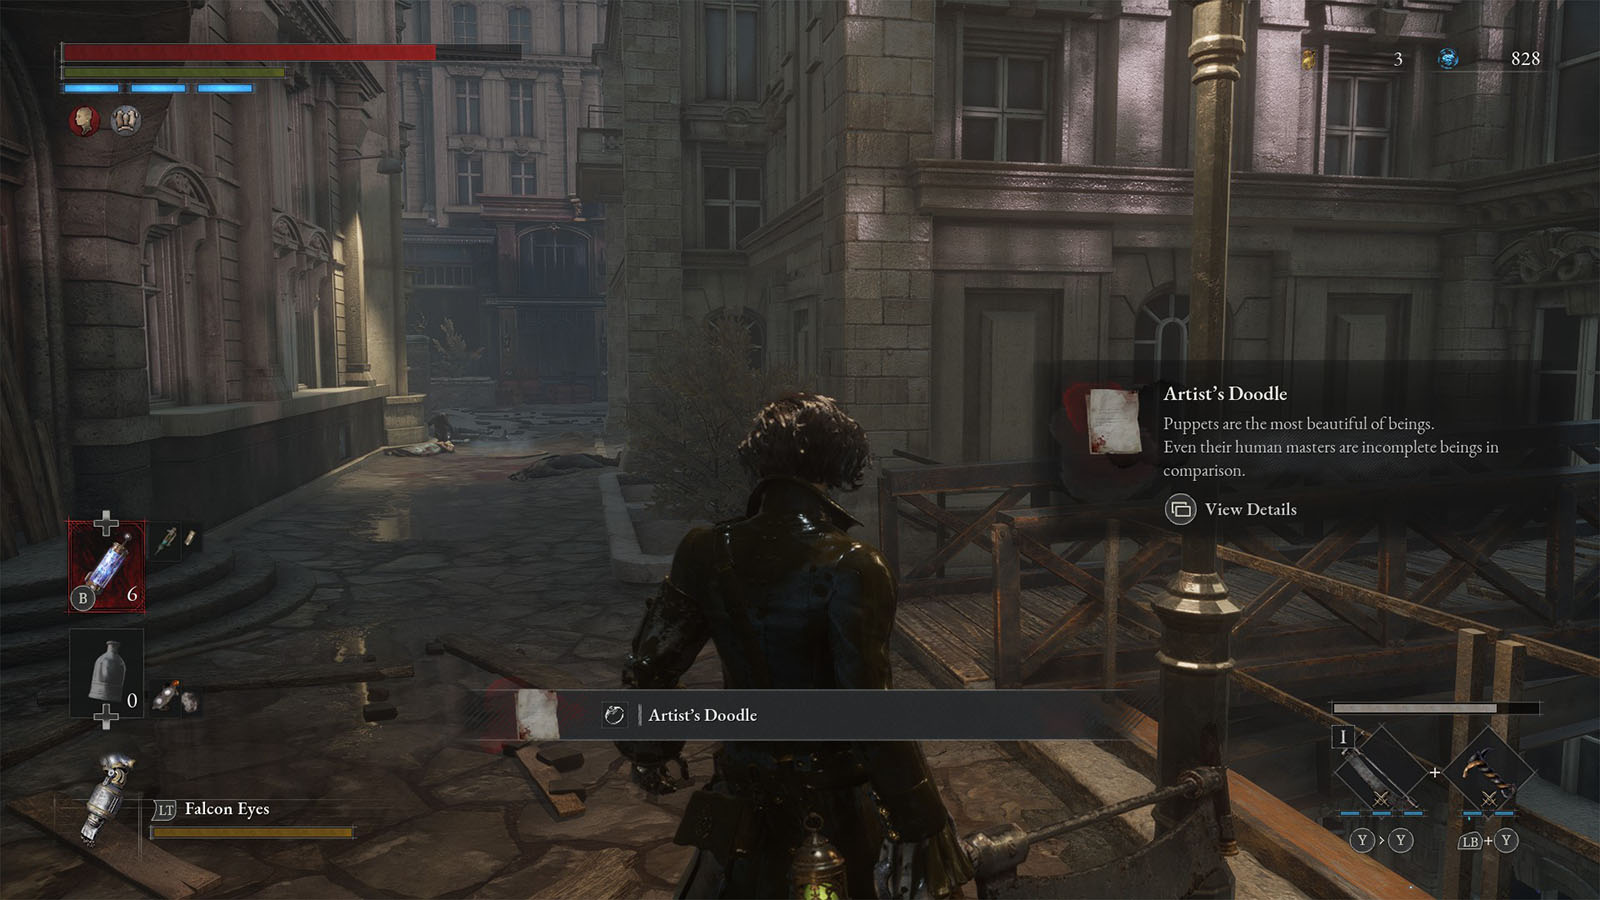
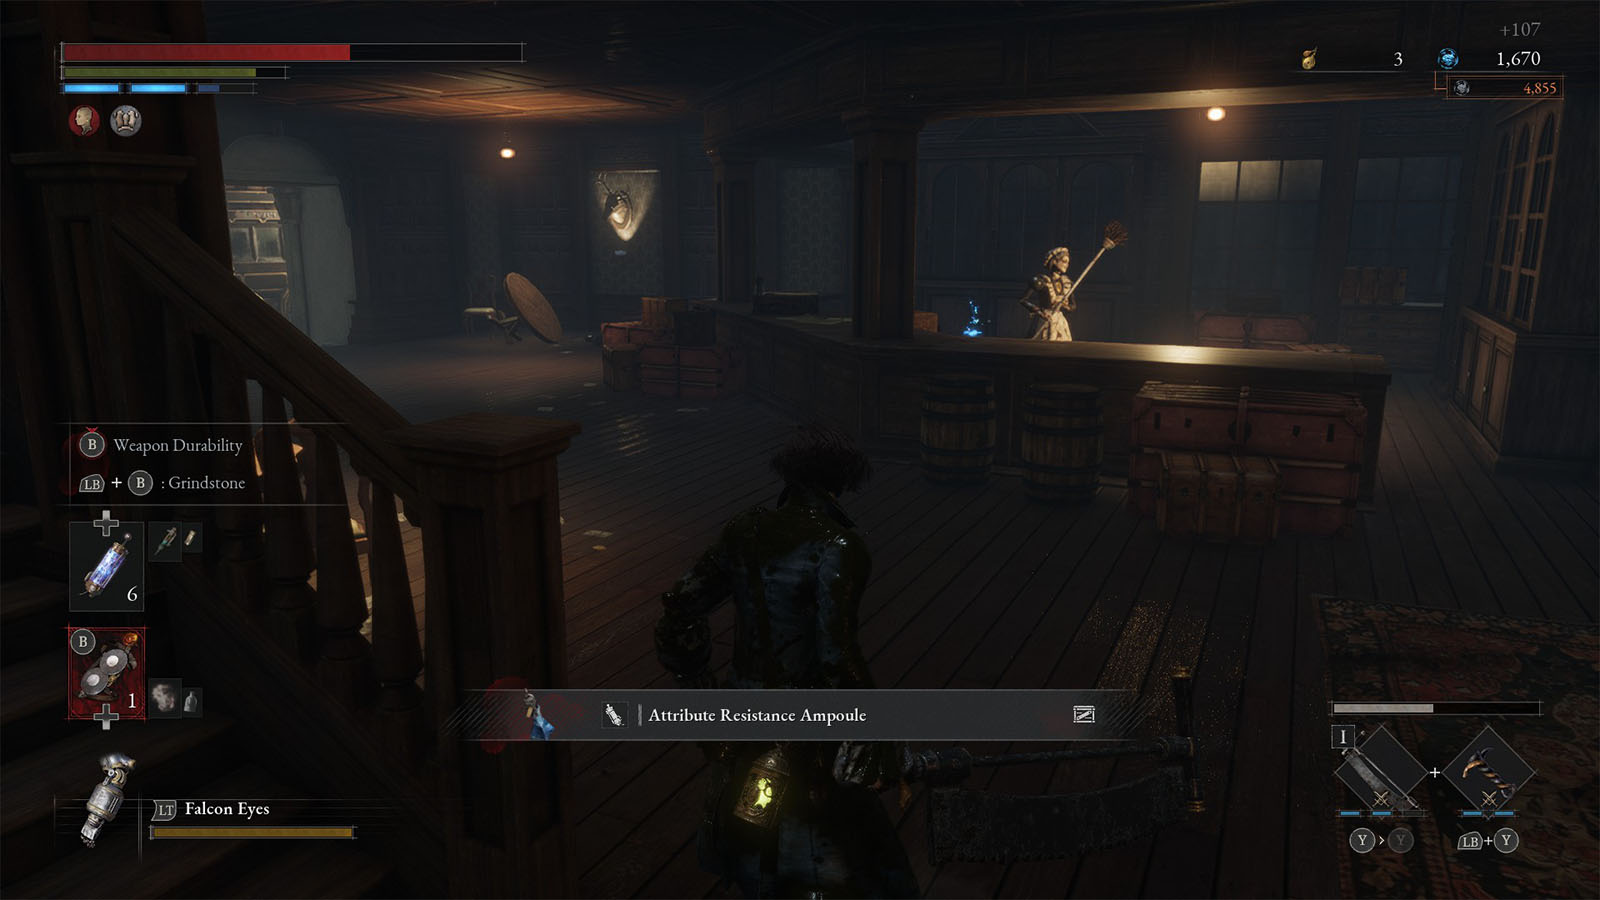
Head to the next alley on the side to find the Collectible – Artist’s Doodle. You will also find an Old Lady at the Window who asks for your help to get a La Bleiwies wine at the Lorenzini Arcade; accept this quest for now and return to her once you’ve been to the arcade. Cross the bridge to get into the house.
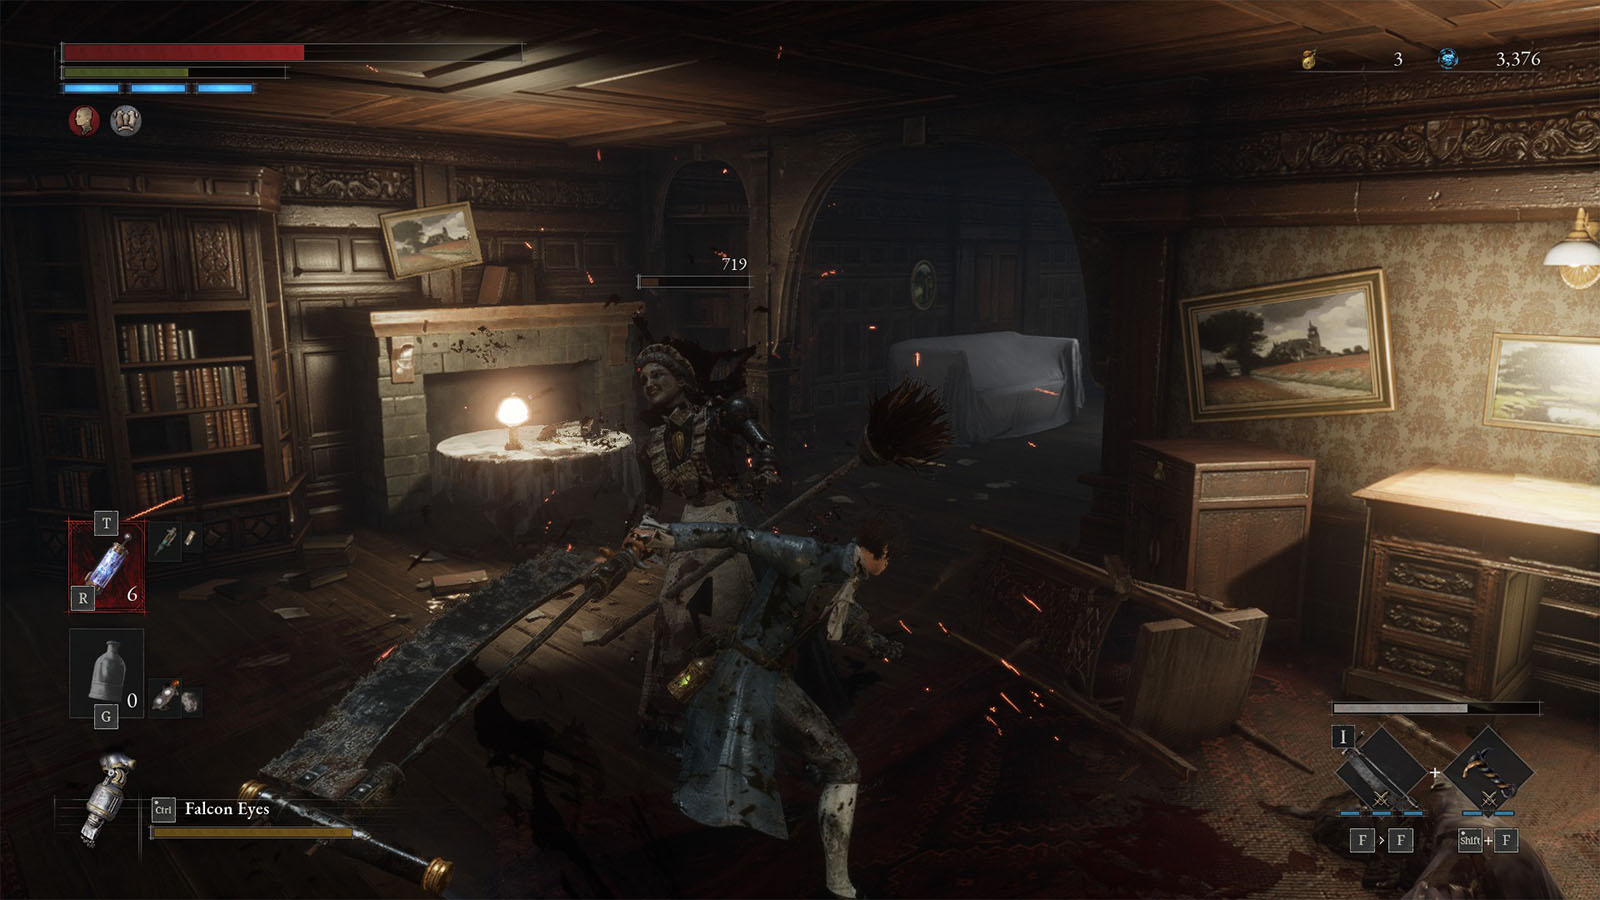
Inside the house are maid puppets that carry brooms and use them as lances. There are also explosive puppets that prime themselves up, chase you, then explode. You can try to destroy them even while primed to prevent them from exploding.
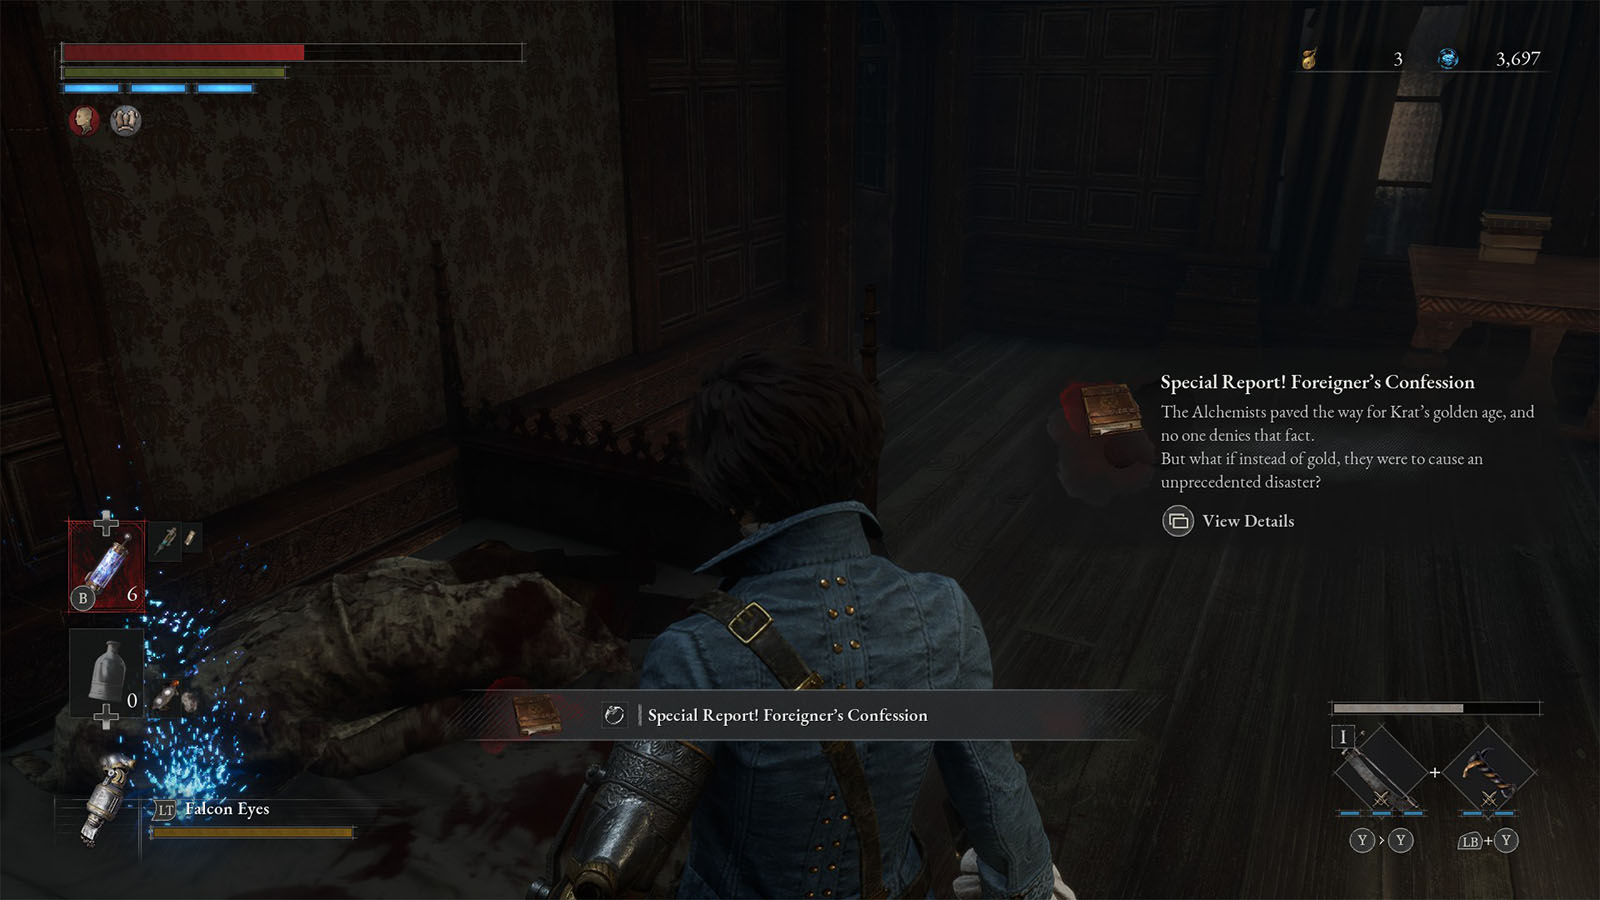
Before heading through the window where the two explosive puppets came through, enter the room to the right and fall down through the hole in the floor to find the Collectible – Special Report! Foreigner’s Confession.
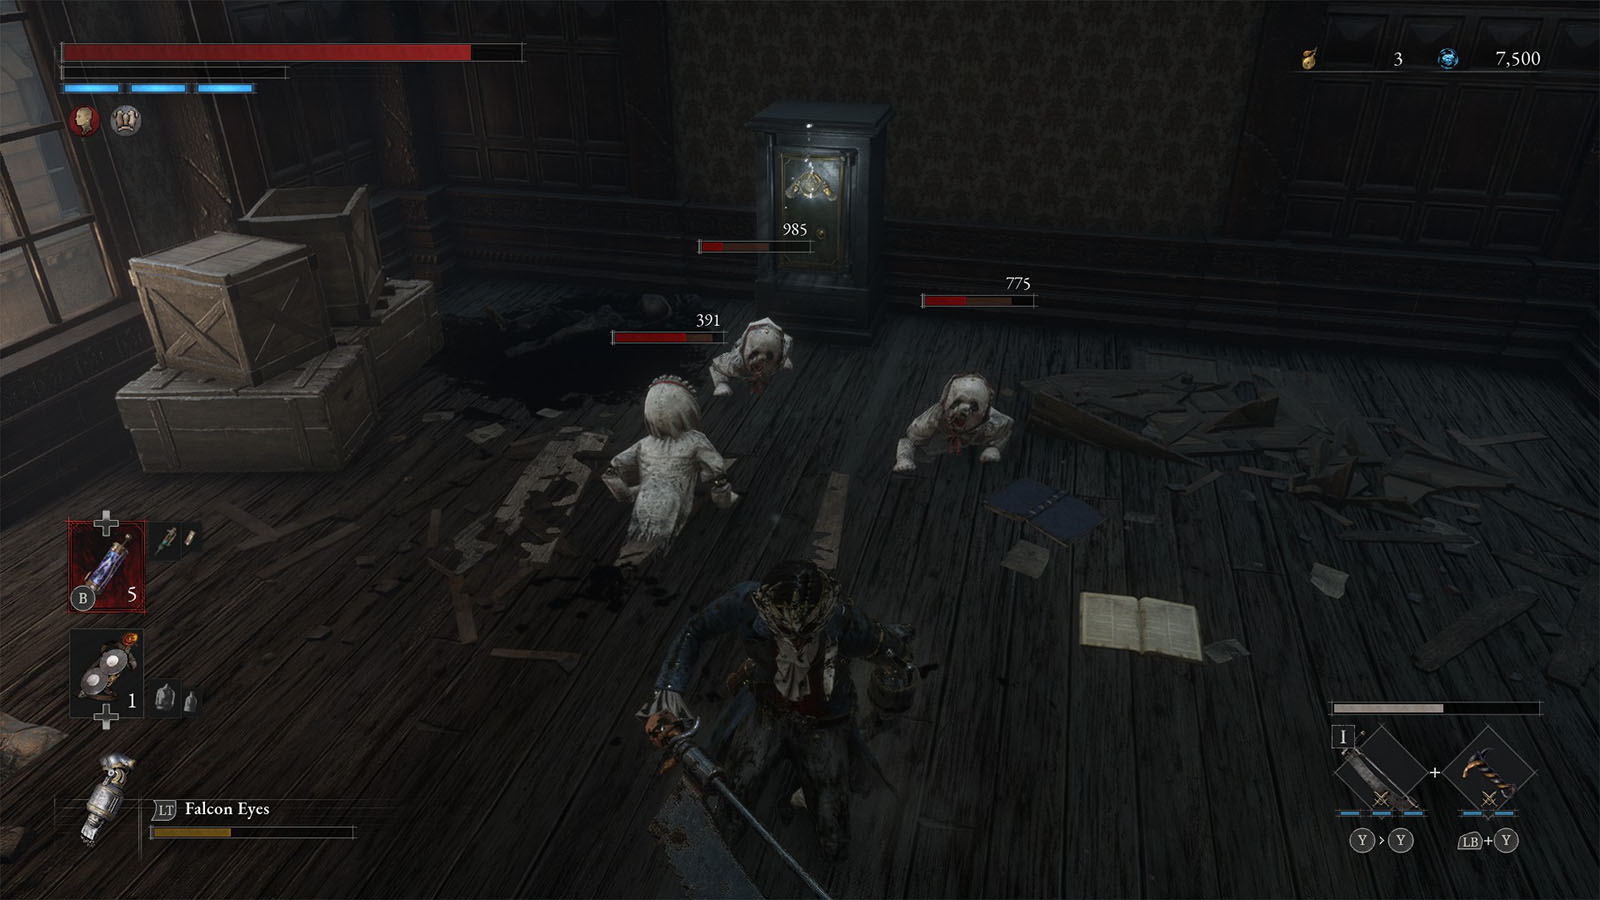
Now at the lower floor, you will encounter baby puppets that crawl towards you. They can jump at you and deal significant damage, plus there are usually 2 to 3 of them within the same room. Take them out one by one, then pick up the Ergo nearby.
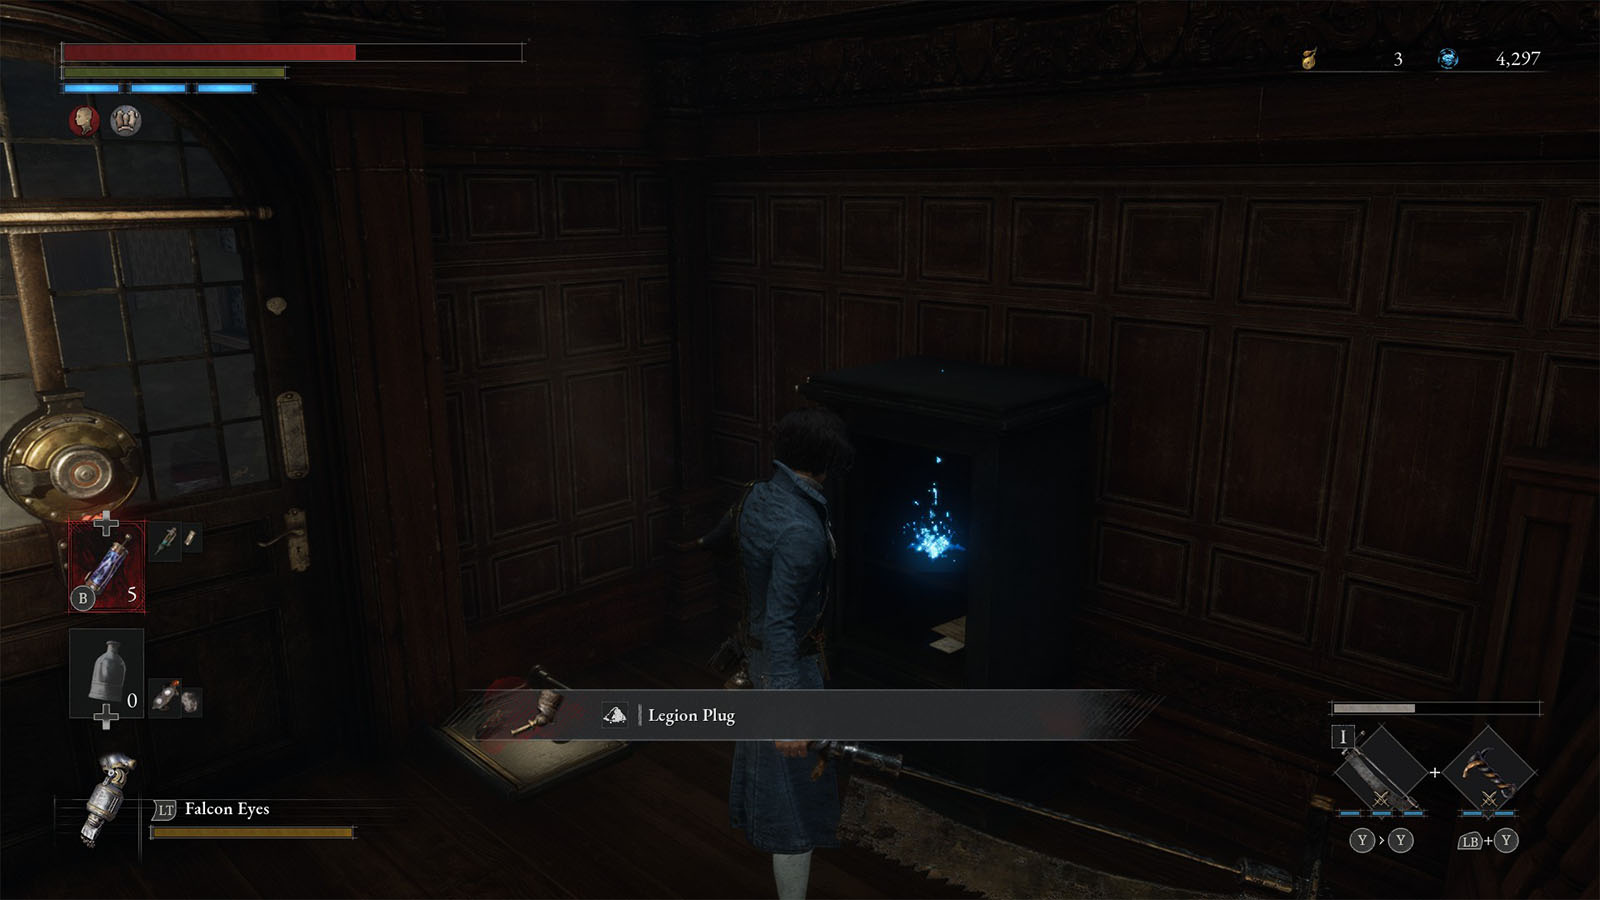
Go to the hall outside and then climb up the stairs to find the shortcut for the room from earlier, plus a safe that contains a Legion Plug.
Go back down through two flights of stairs to reach the ground floor. Take out the three maids, then you can head back out into the streets. Check the item behind the carriage to find a Resplendent Ergo Fragment.
Be careful up ahead as there is a new type of shooter enemy that can shoot much faster bullets. If they are attacked at close range, they can roll back and do a quick shot at you. There are a couple of these enemies on the path ahead, so it’s best to take them down one by one as even facing two of them will most likely be fatal. It’s best to have the Puppet String or the Falcon Eyes to deal with them from a distance and always either strafe or try to block their bullets.
There is also a bomb thrower puppet amongst the shooters that can chuck bombs simultaneously. They do have a slow wind up where you can rush in and destroy them before they can attack.
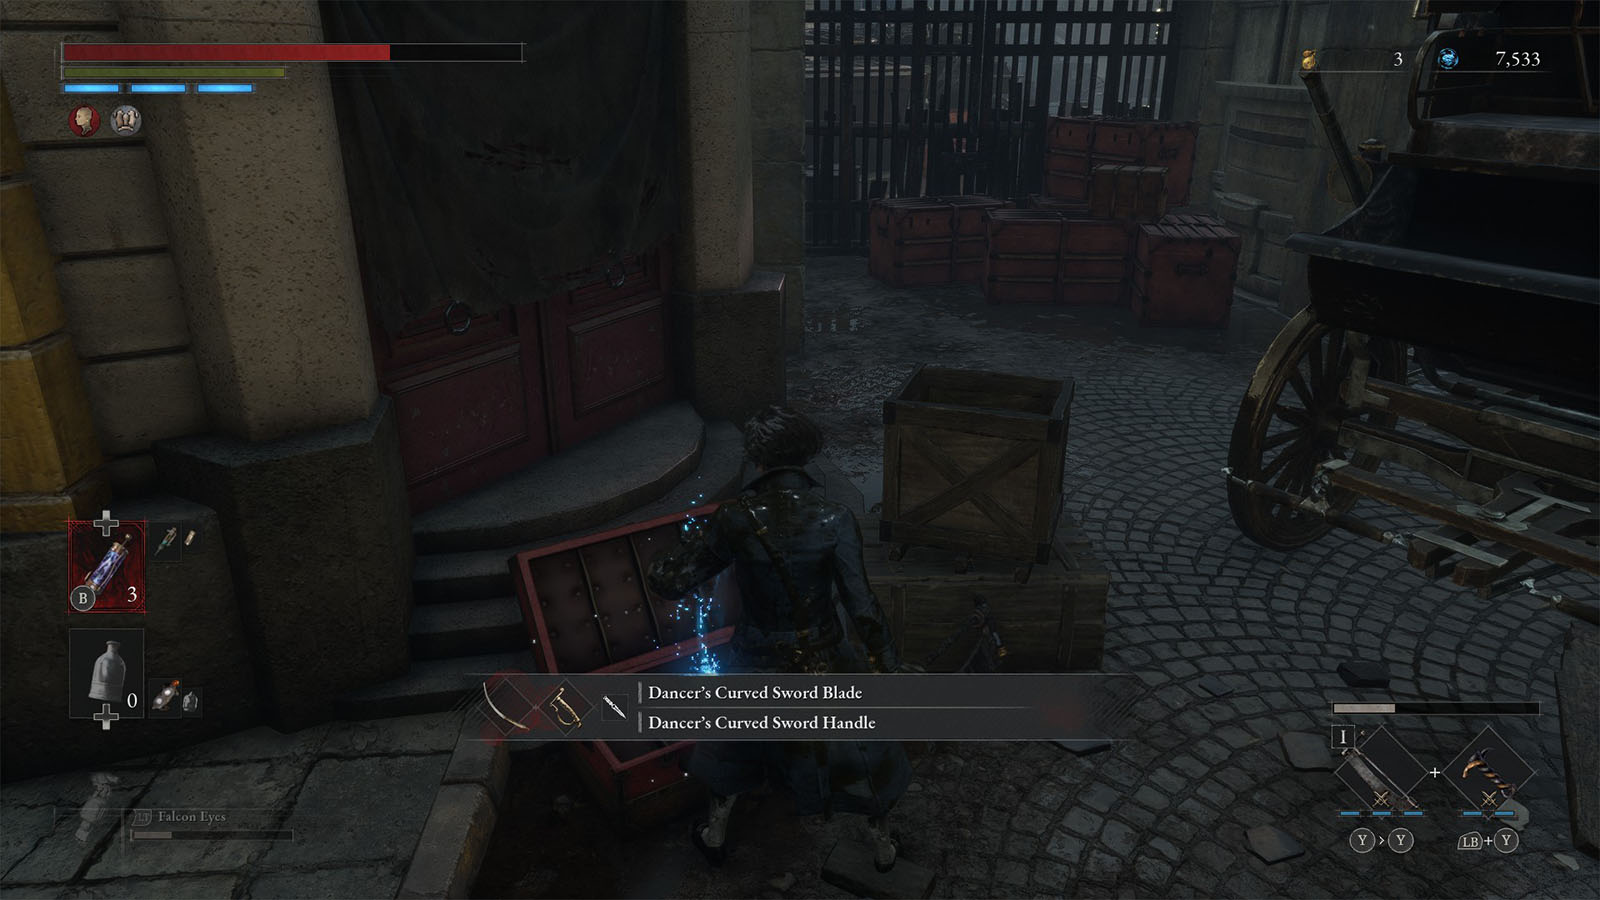
Clear out all of the enemies on this path and you can get the chest that contains the Dancer’s Curved Sword weapon.
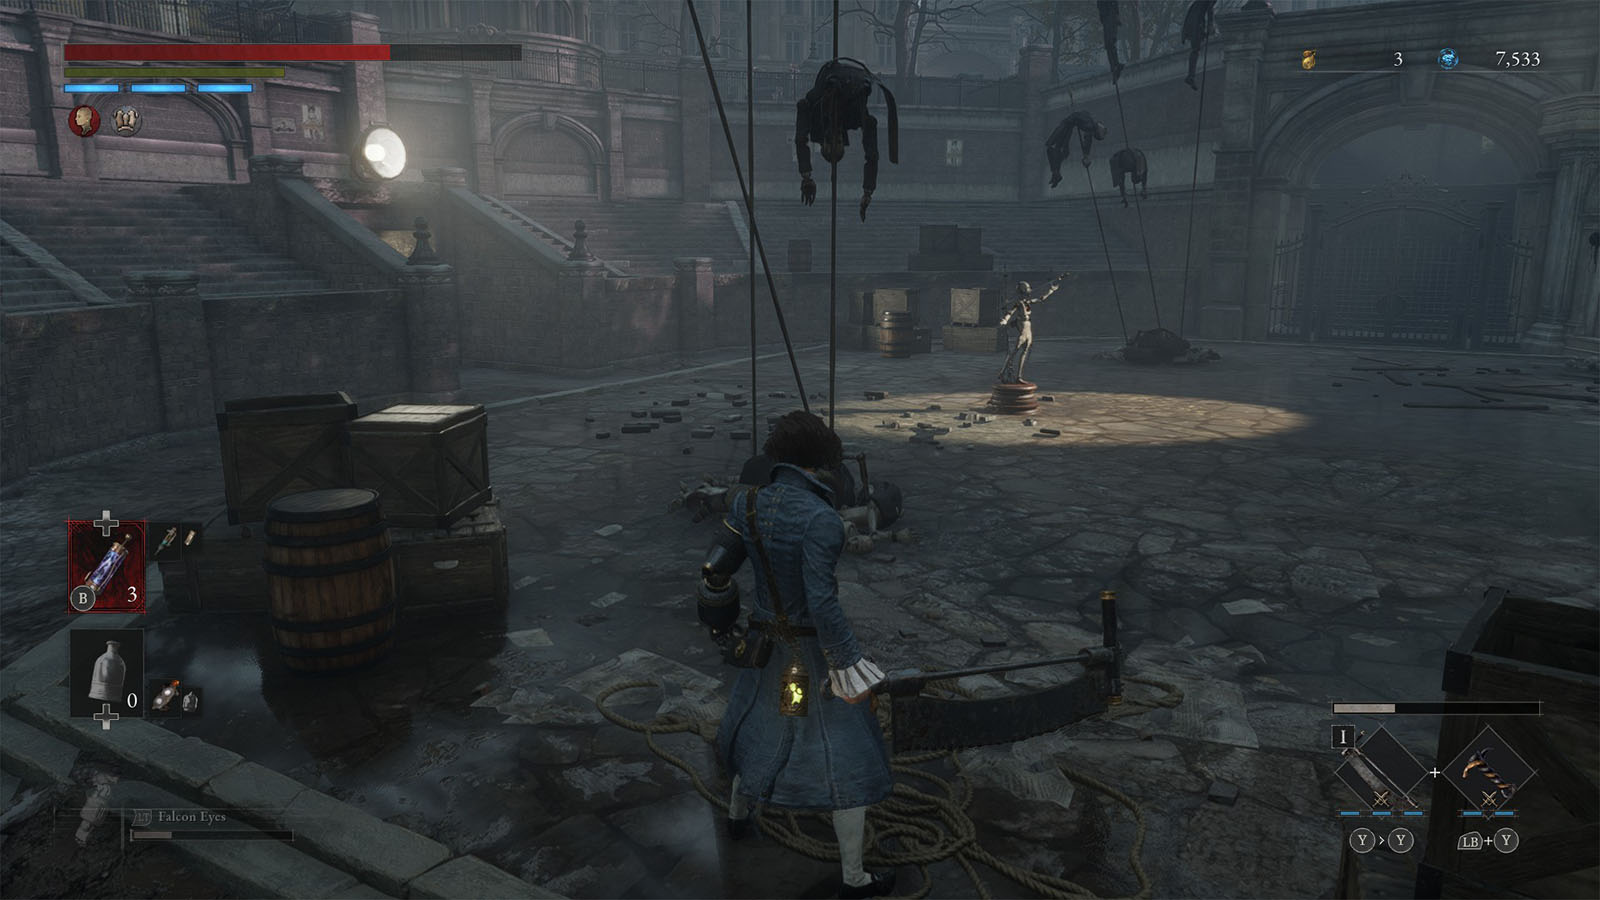
Continue down the path to the right and you will see an ampitheater. Before interacting with the puppet in the middle, you can check the other area to the right side first.
Boss Fight: White Lady
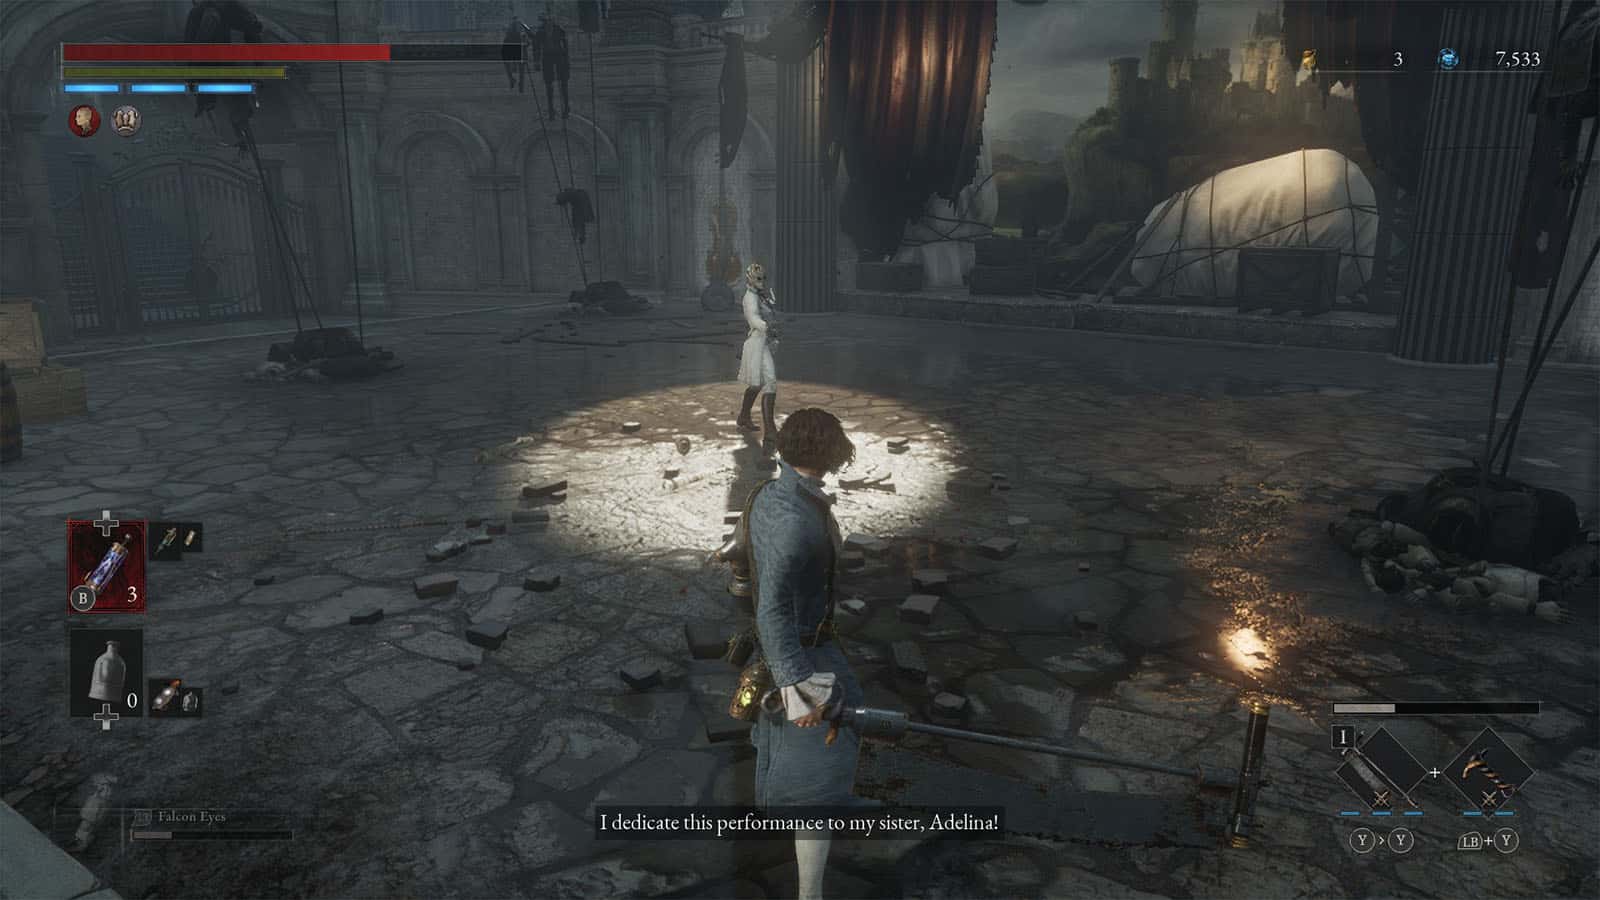
Interact with the puppet in the middle and White Lady will talk to you from the top of the amphitheater.
The White Lady takes on a fencer’s stance with her quick lunges and stabs. She can also reposition really fast and often withdraws after doing one to two stabs. The attack to look out for is the combo stabs where she stabs once, spins and repositions, and stabs again. She also has a strong stab that can knock you down to the ground.
To make the fight manageable, it’s best to concentrate on blocking White Lady’s stabs at the first part of the fight. After performing multiple perfect guards, her weapon will break and the damage it can inflict will be lowered.
Once White Lady has been defeated, you will be rewarded Accessory – The White Lady’s Mask and Collectible – The White Lady’s Locket.
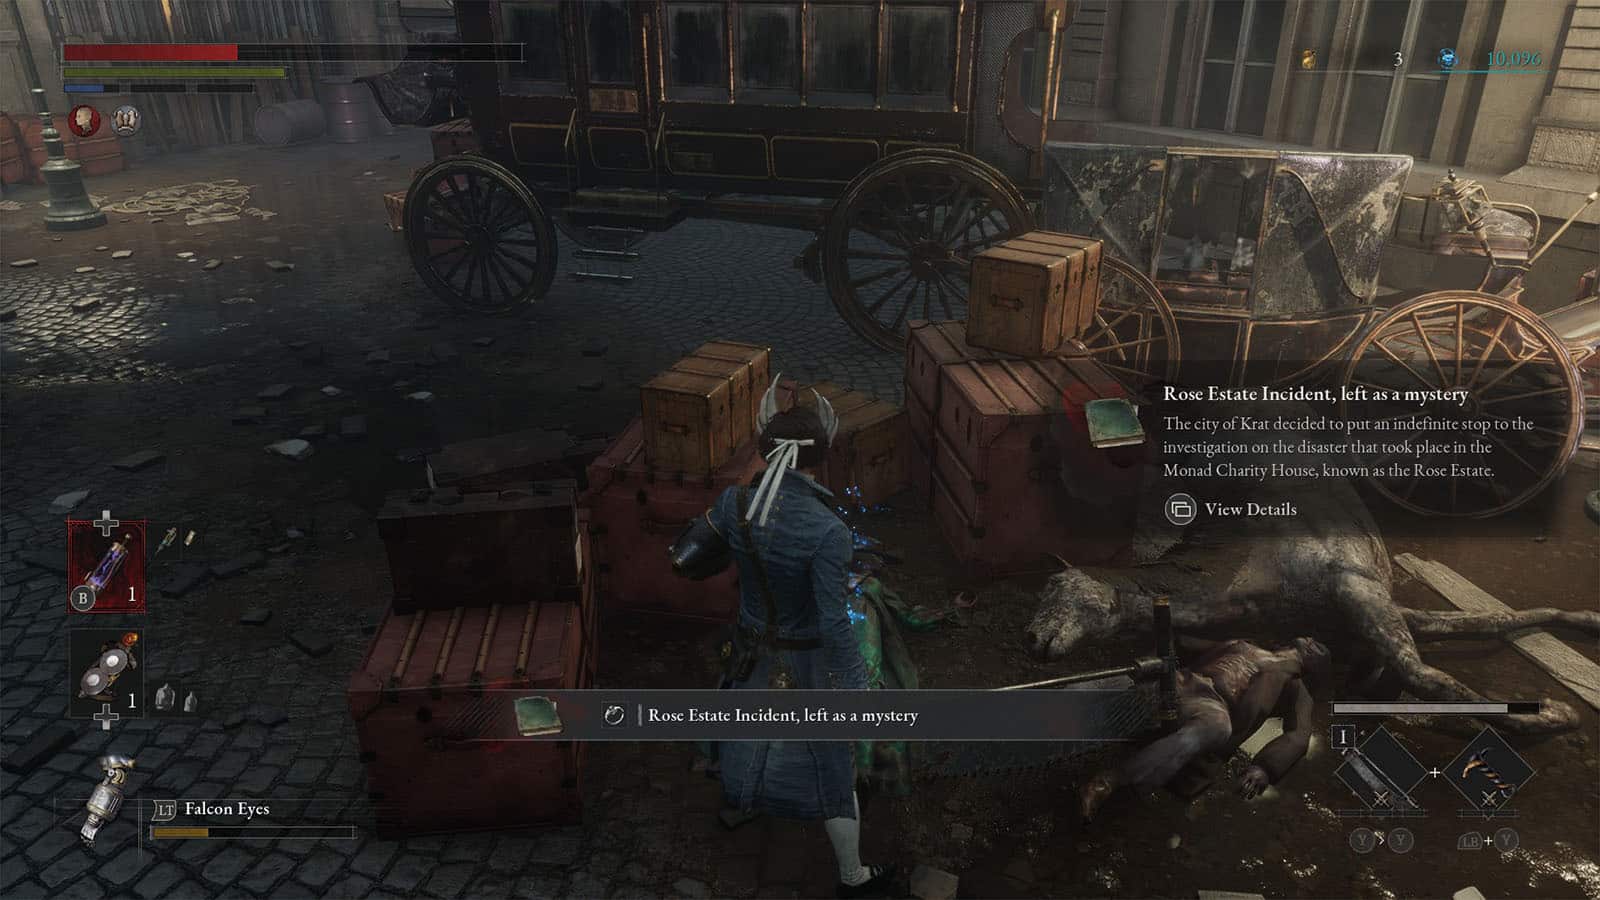
Continue through the opened gate to get back to the upper level. You will find the Collectible – Rose Estate Incident, left as a mystery by the left carriage.
Go down the ladder to the right to reach an open area with a shortcut gate that you can open. There’s also a red butterfly that will appear; defeat it to get a Crescent Moonstone.
Then, head back to the tunnel up ahead where you will find the next Stargazer.
Rosa Isabelle Street Culvert
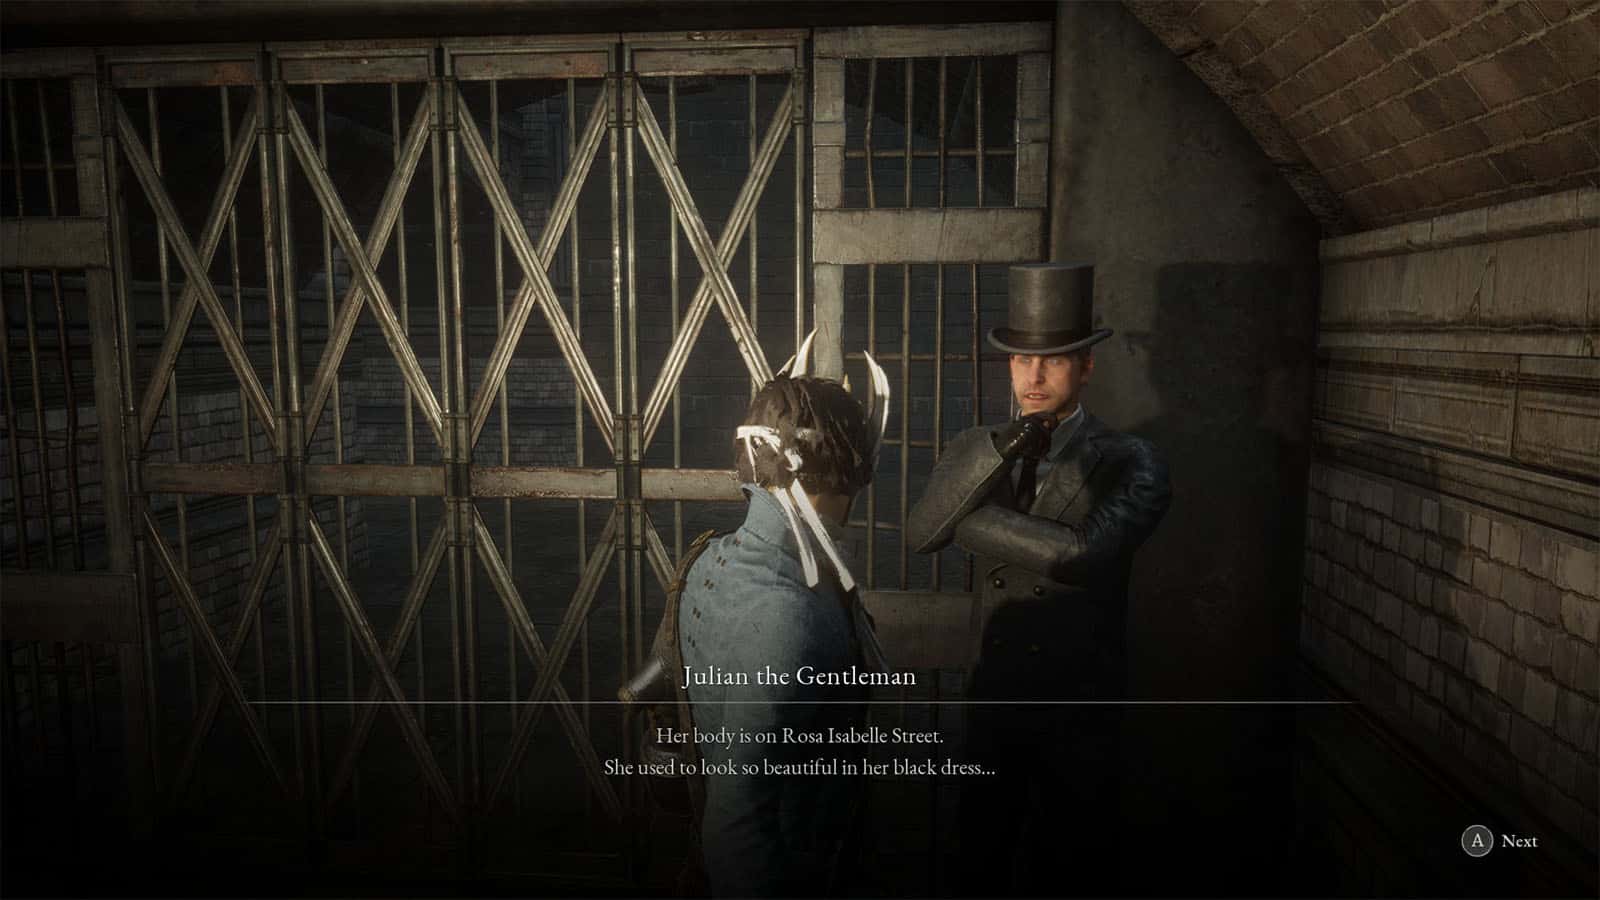
Before heading down into the culvert, you will see Julian the Gentleman. He will ask for your help in locating his dead wife’s belongings. Accept this side quest as it will have a choice dialogue at the end.
Climb down the ladder to reach the culvert, then head through the pipes where you will be met with more enemies. Once you arrive at a fork, take the path straight ahead first, then jump down to the lower pipes.
Follow the pipes until you reach a chamber guarded by a brute. In the other chamber is a chest that contains a Quartz. Then, climb up the stairs to get back to the shortcut by the amphitheater.
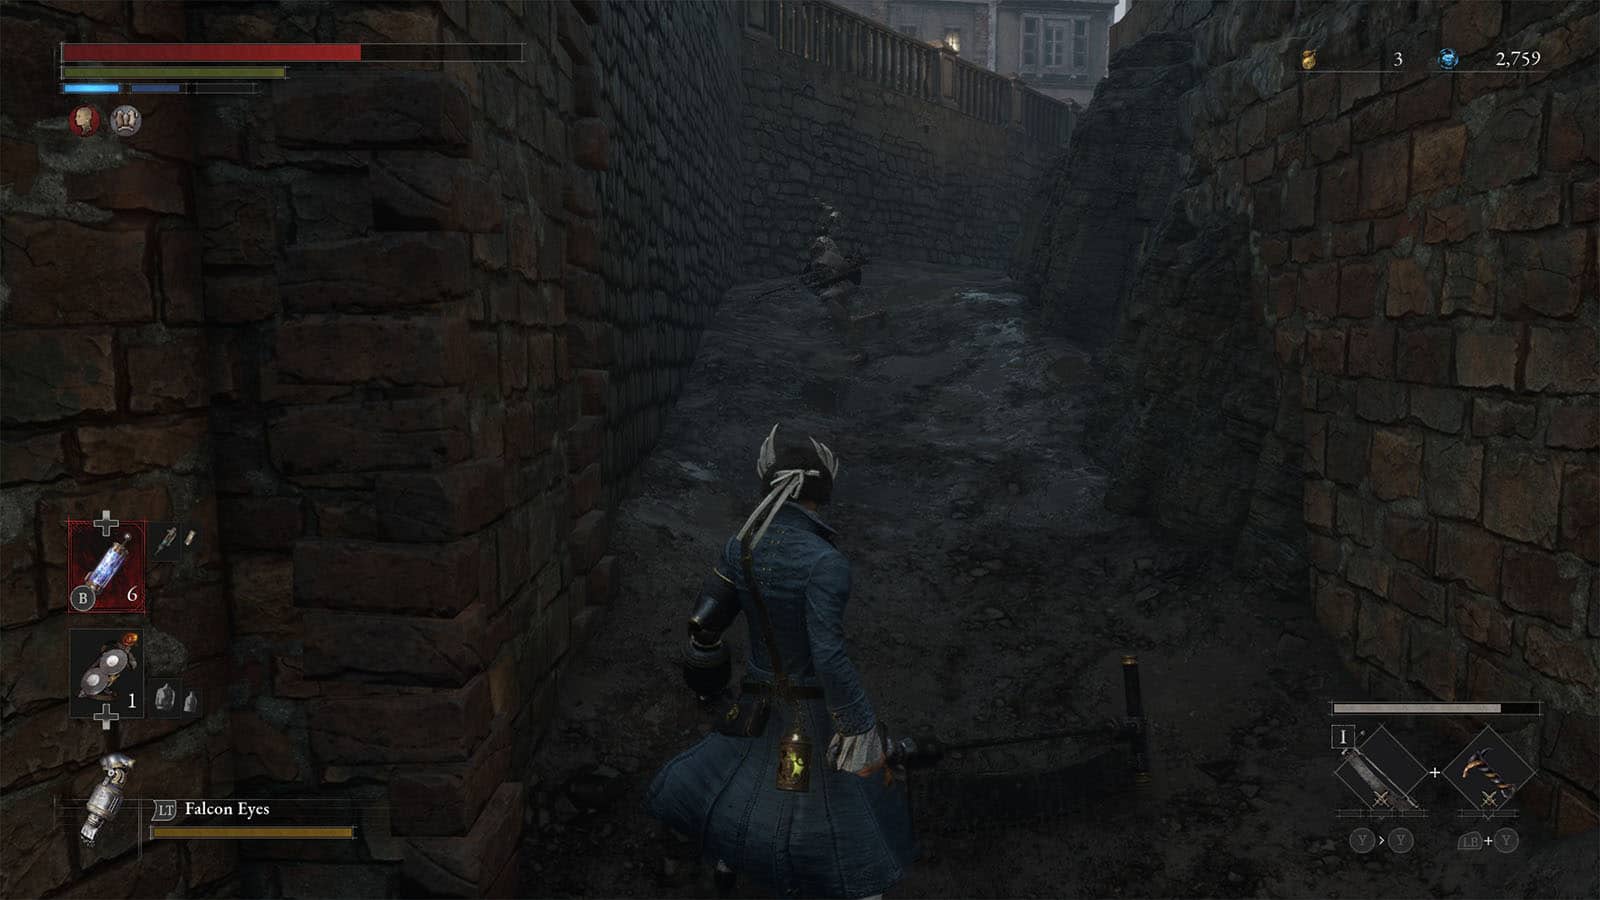
Head back down into the culvert and take the other path down the fork. You will arrive at a drainage canal back on the surface where you will be met with a fast moving puppet and an explosive puppet by the ladder at the end.
Back on the surface are more maid puppets. In the fenced area on the right side are some explosive puppets that will ambush you as soon as you get in. Try to destroy the crates where the puppets are hiding in to prevent an ambush.

To the left path is another shortcut that you can open leading back to the culvert Stargazer and there’s a Crescent Moonstone by the gate.
Up the stairs ahead is another shooter on top of a roof. Try to rush forward to get some cover, but be careful with the explosive puppet by the next set of stairs.
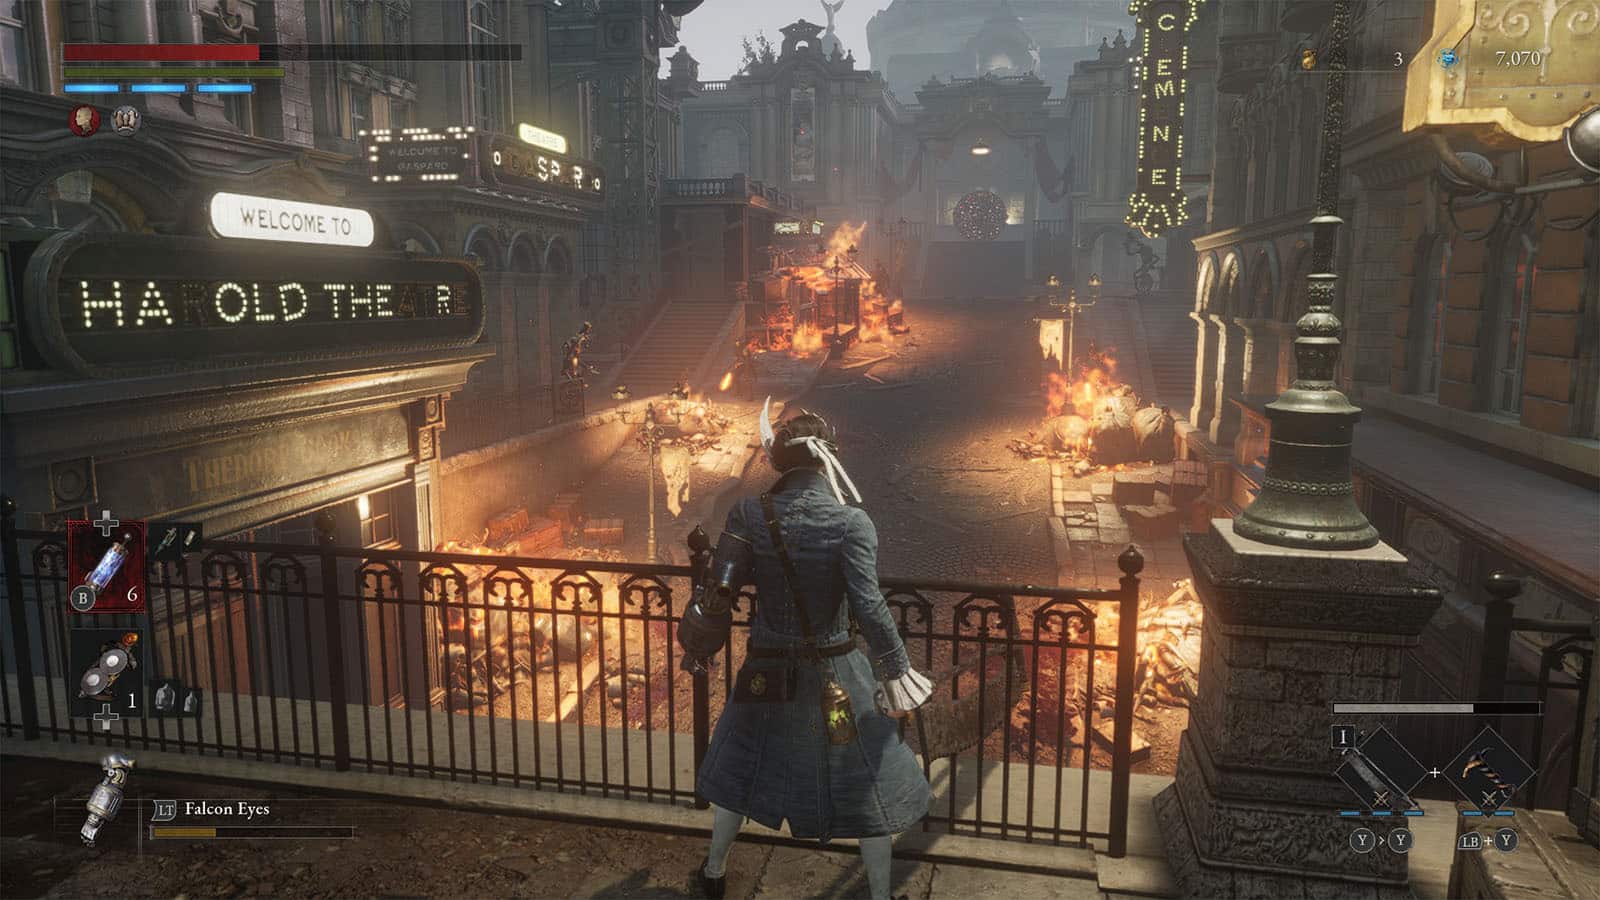
You will then arrive at the bridge by the theaters; take note of this bridge as it will be useful in meeting a merchant NPC in a later chapter.
Cross the bridge and be prepared once you reach the turn to the left as there will be two shooters that will ambush you from the right and through the door ahead. Inside the room where the shooter came from are more baby puppets, and a safe that contains the Frame – Arch Heavyweight Frame.
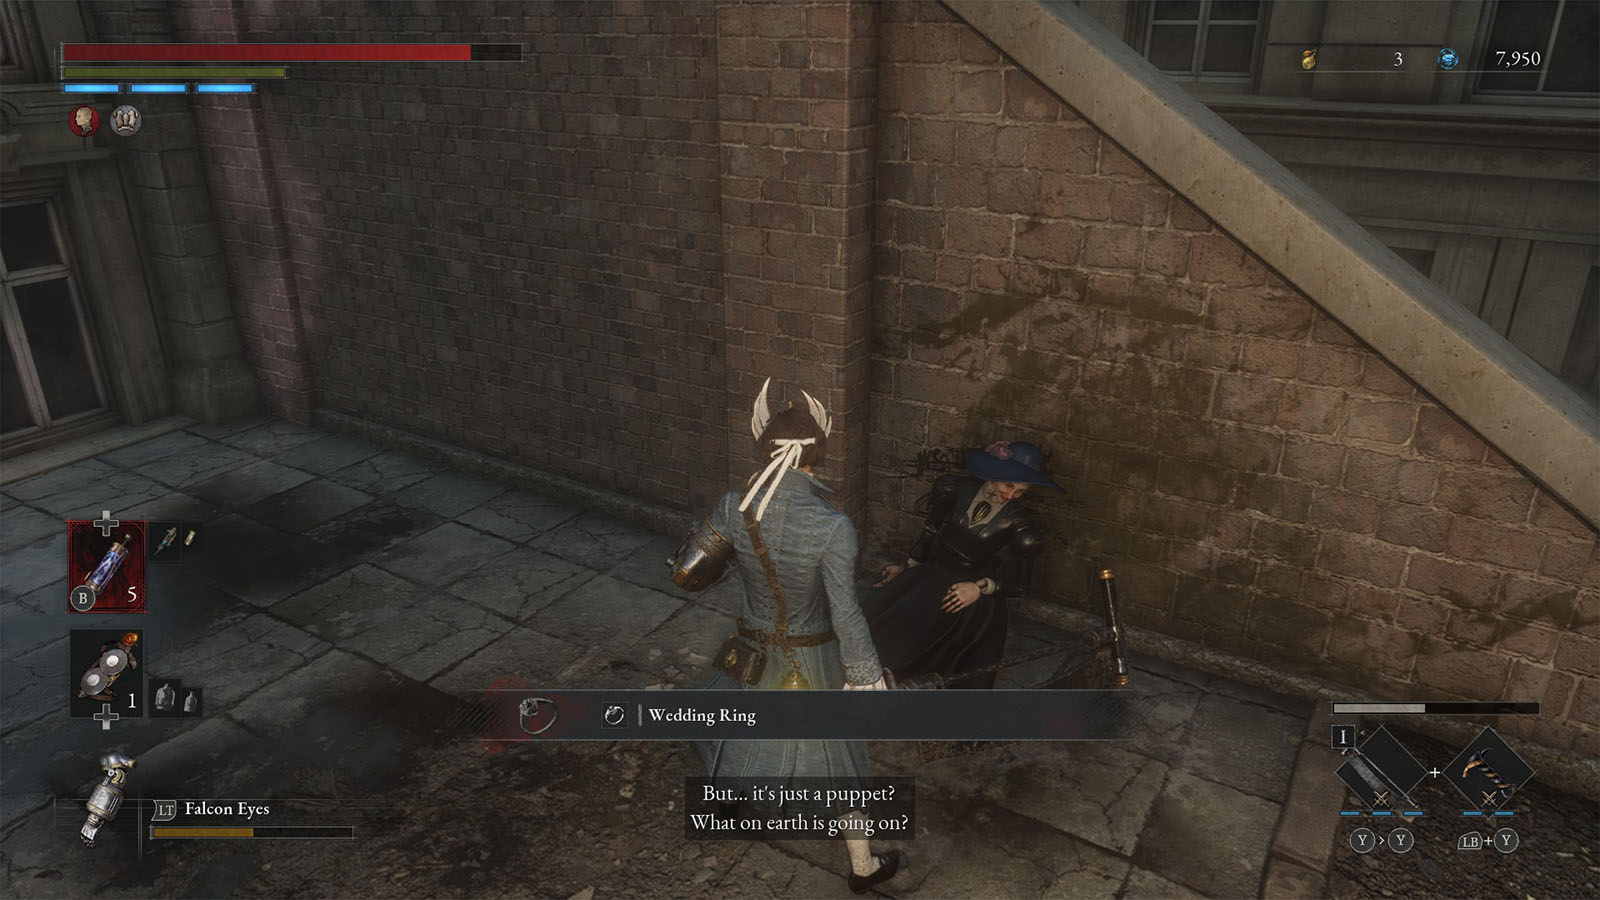
Go back out and go down the stairs to the right. You will find the body of Julian’s wife, which is actually a puppet. Pick up the item next to it to get the Wedding Ring.
Before heading towards the fire, take the path to the right to open the shortcut back to the first area. There’s also a Dark moon Moonstone of the Covenant by the crates nearby.
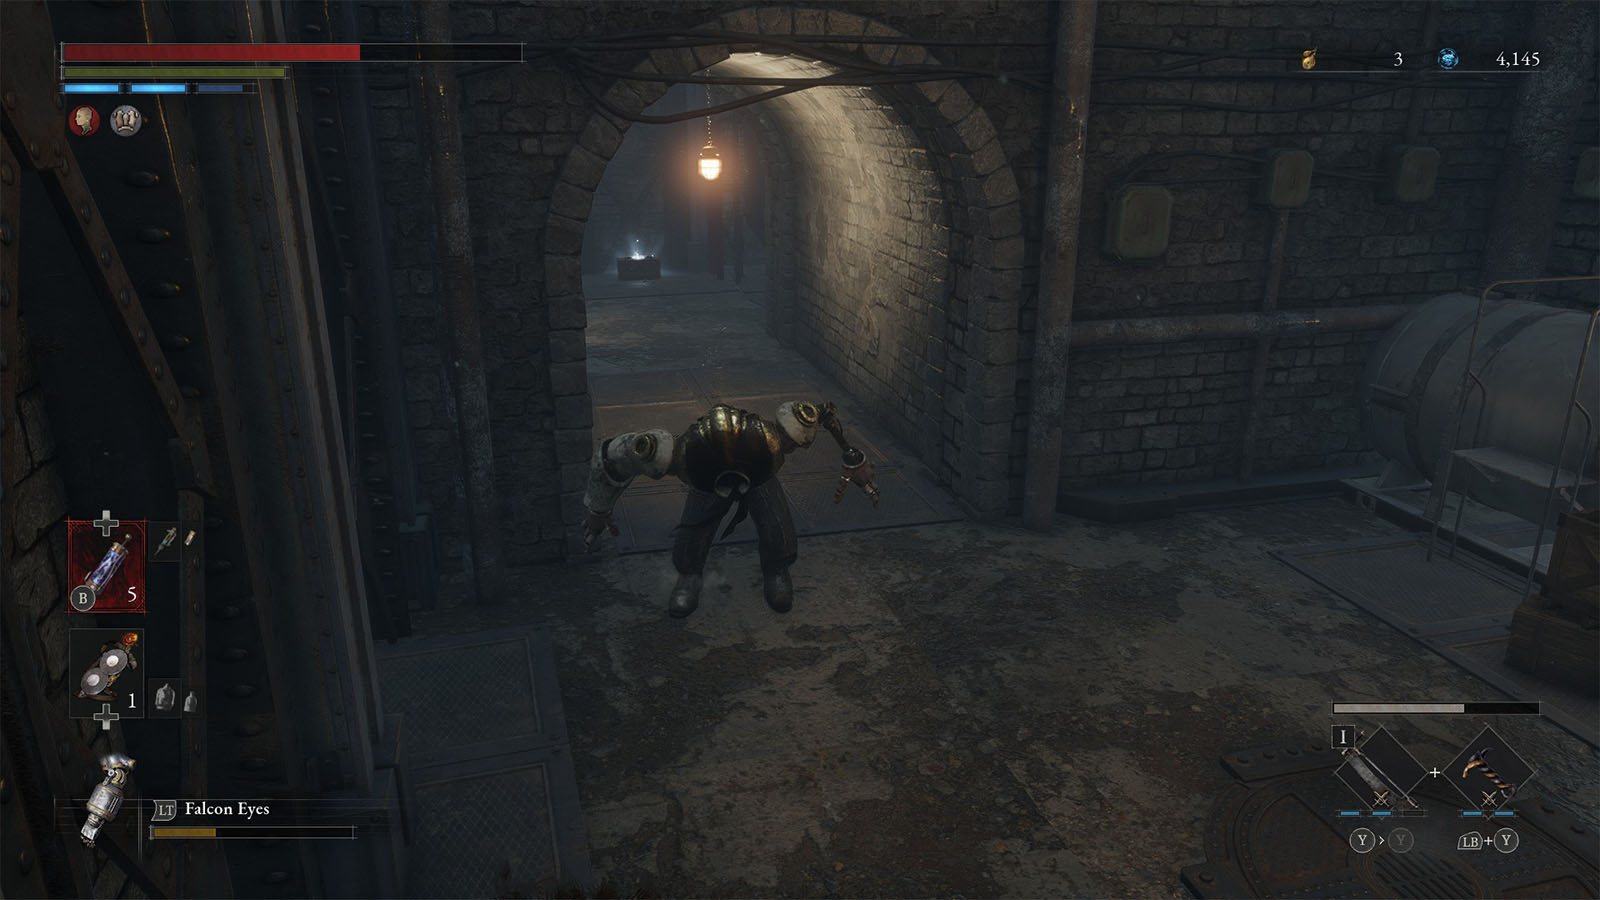
Back to the fire area, you will encounter a new type of enemy that wields flamethrowers.
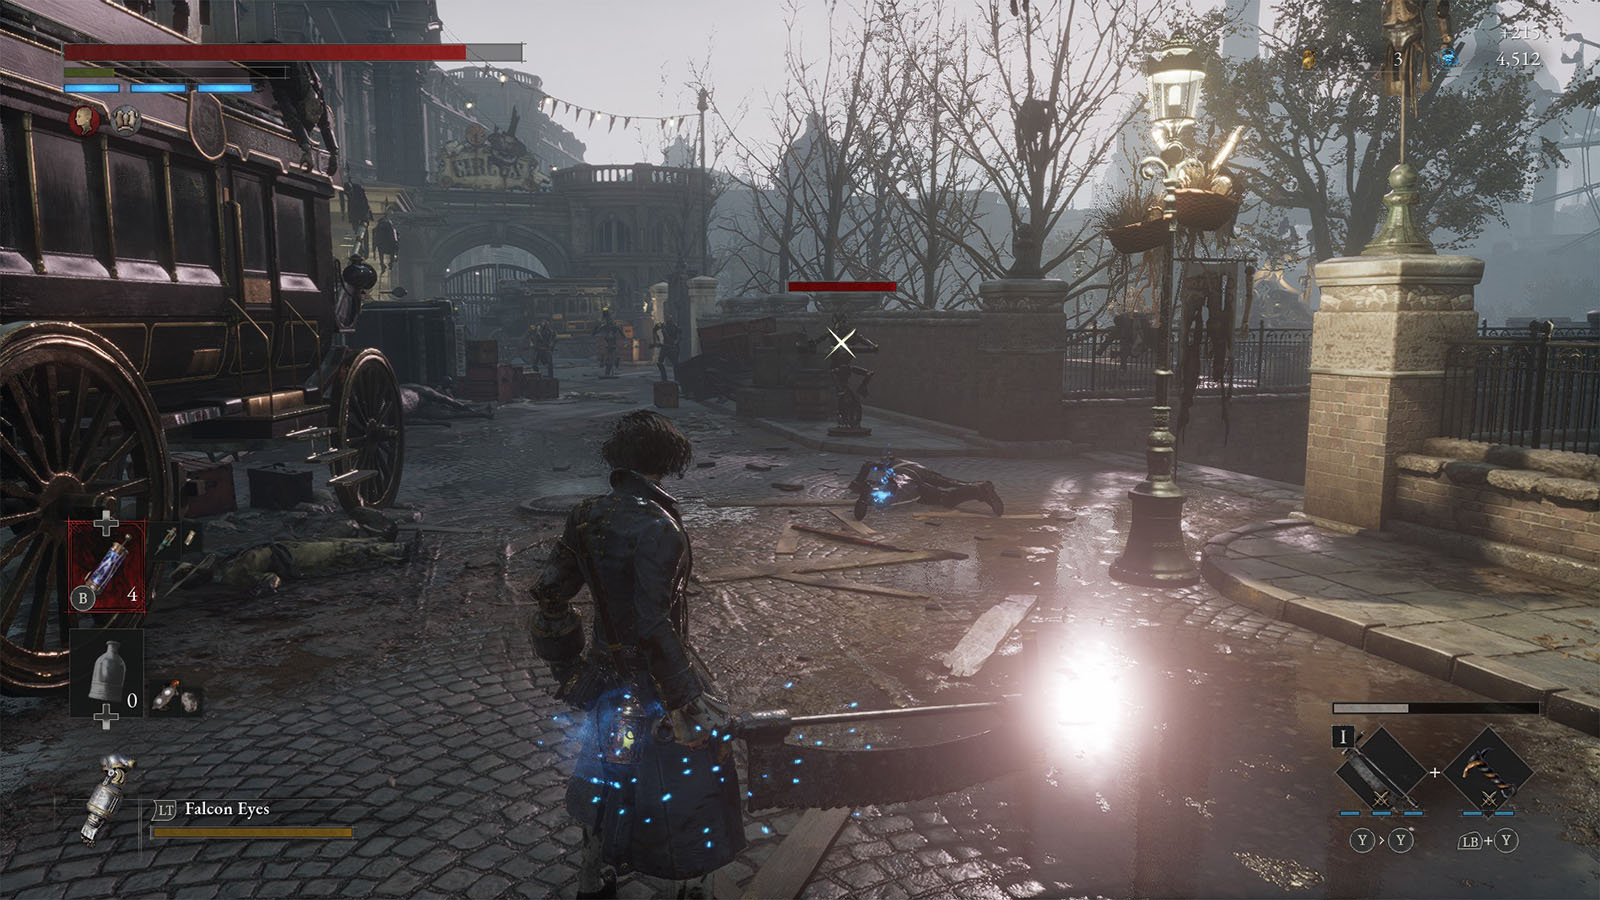
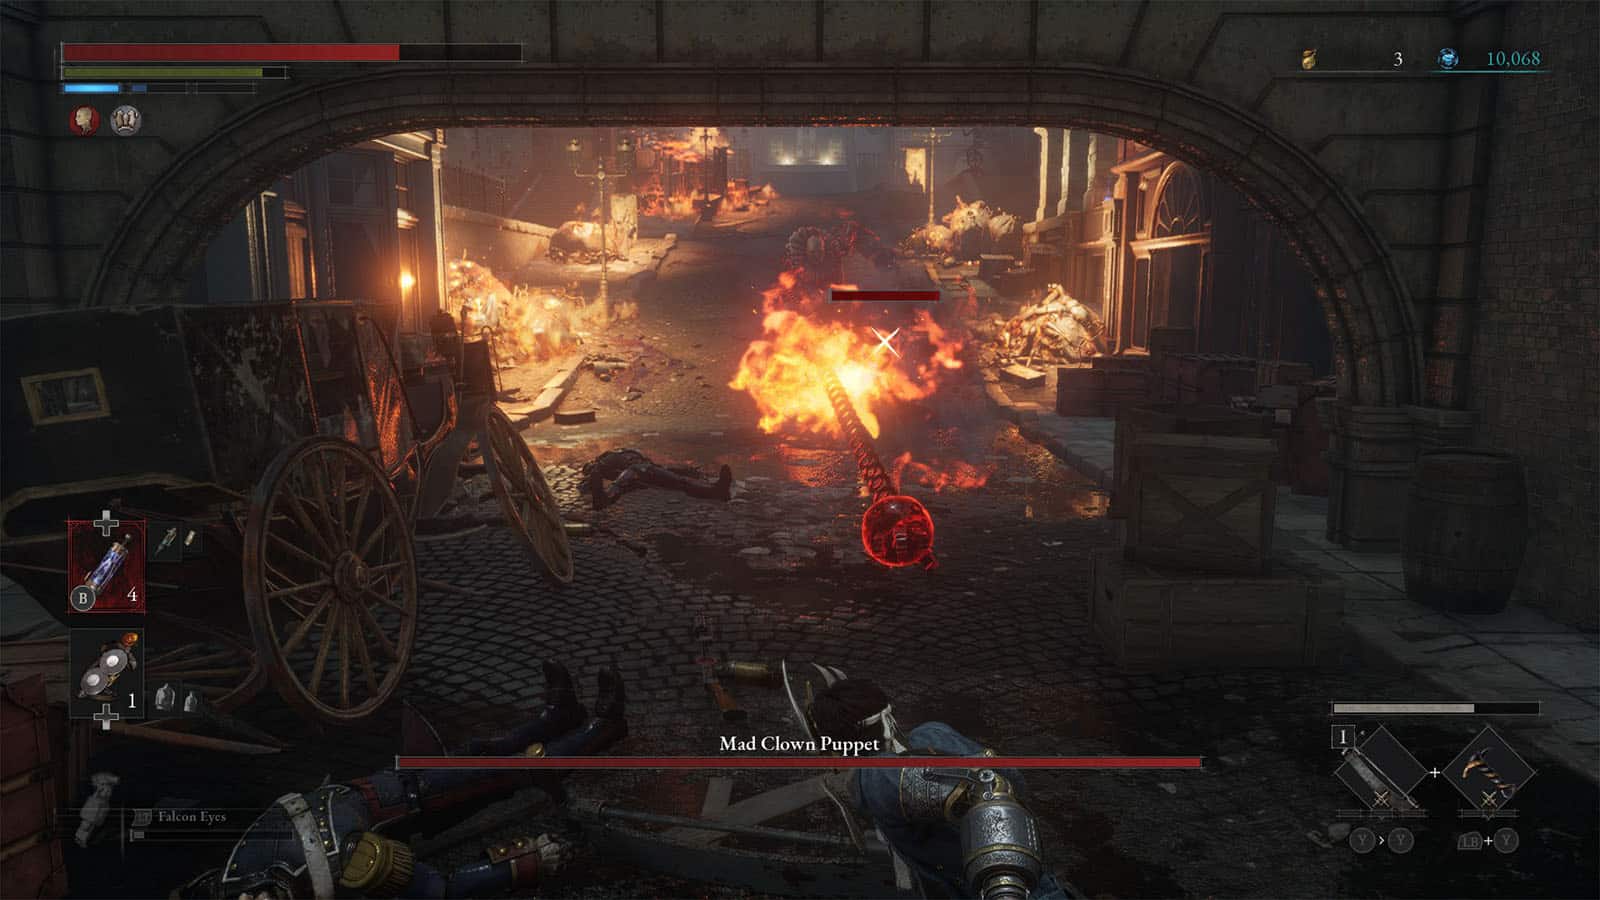
Be careful when moving forward as there will be a huge flaming ball that will be rolling down from up the slope. Another boss will also be at the very end of the street, but instead of going for it right away, try to lead it towards you instead or take out the other enemies that will be flanking from the sides.
Boss Fight: Mad Clown Puppet
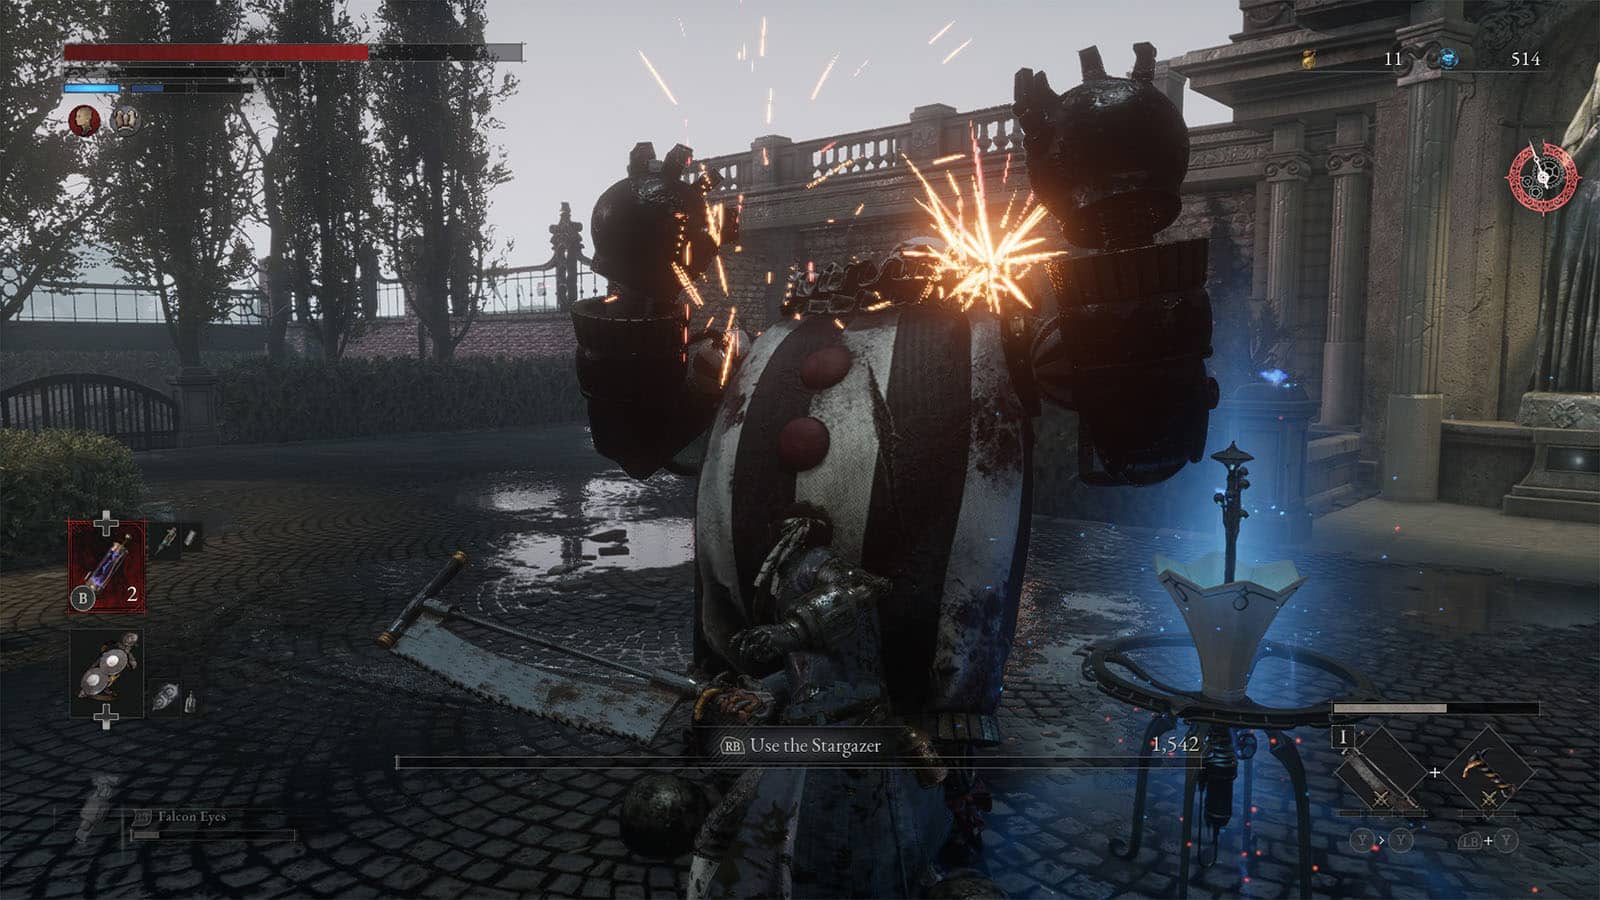
Before engaging with the Mad Clown Puppet, consider activating the Stargazer which is up and behind the building where the boss is standing. This makes it easier to get back to the boss, and also the courtyard in front of the opera house is a good place to fight the boss in a wider area without any other distractions.
The Mad Clown Puppet is a huge clown puppet that uses its fists to perform its attacks. It also has the ability to shoot its fist forward which covers a large distance. This fist can also deal damage as it gets retracted back to the body. It can also launch itself forward to do a belly bash towards you.
The recommended way to fight the clown is to use an electric weapon, and be balanced when it comes to being offensive and defensive. When the boss is swinging its fists, try to perform perfect guards to exhaust it, then once it does its spring-loaded punch, sidestep and then approach the boss on its sides.
Once the boss has been defeated, you will be rewarded with a Quartz.
Estella Opera House Entrance
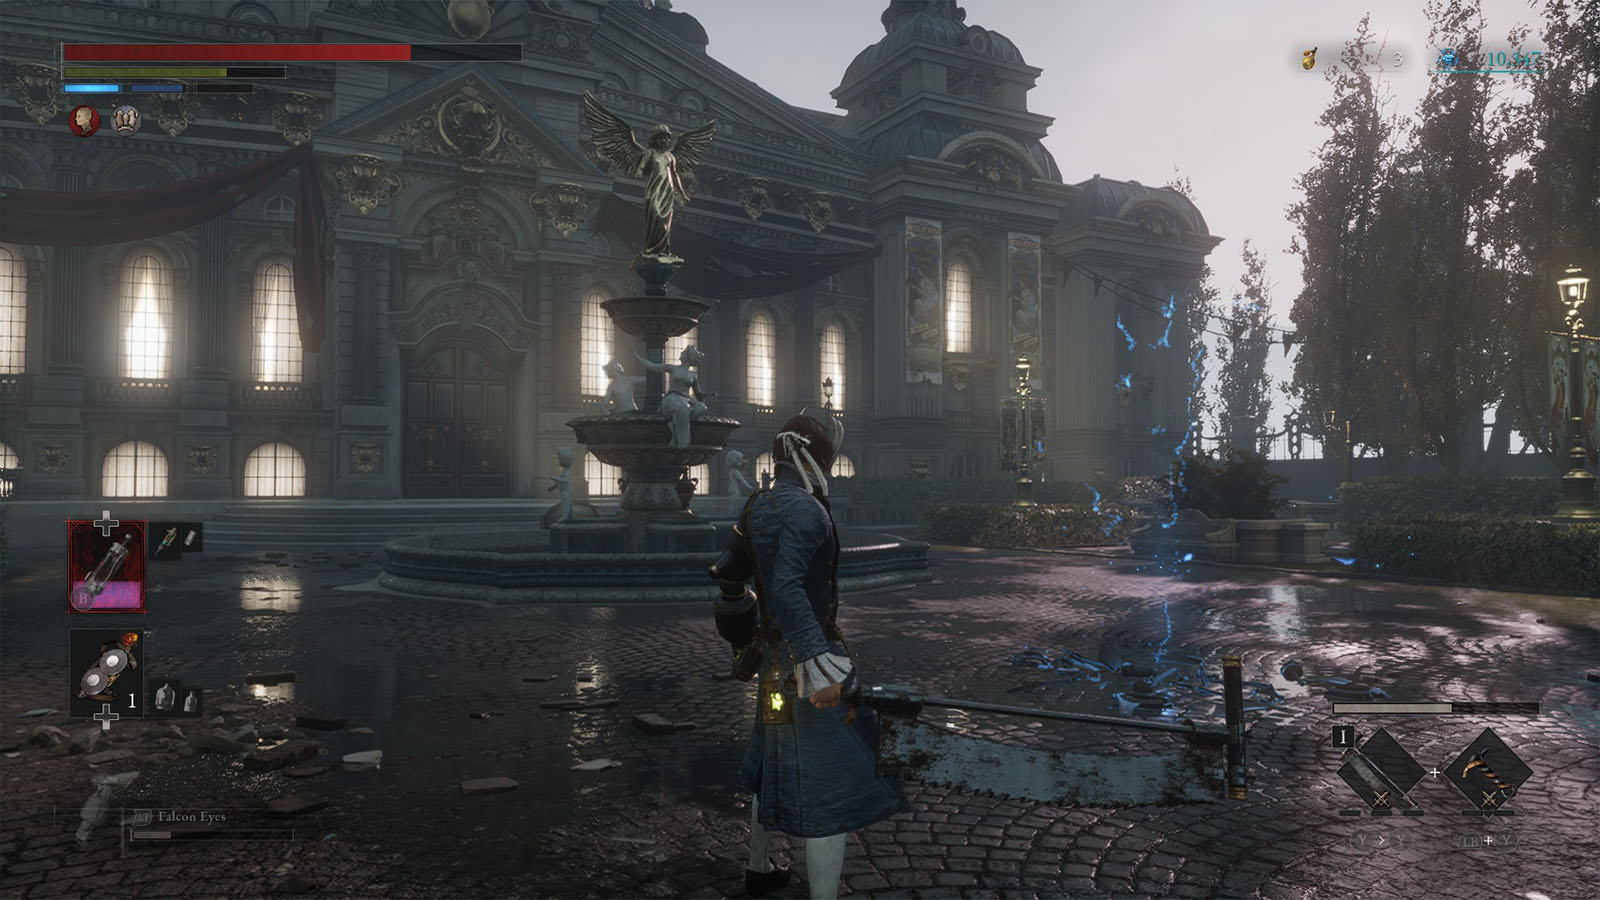
Activate the next Stargazer if you haven’t yet and take the time to prepare or complete the side quest that you took for Julian.
Go back to where Julian is and give him the Wedding Ring. You will then be given an option to tell him about his wife’s message (lie) or say you haven’t seen it before (truth). You will get the Collectible – Wedding Ring back and the Emote – Sad.
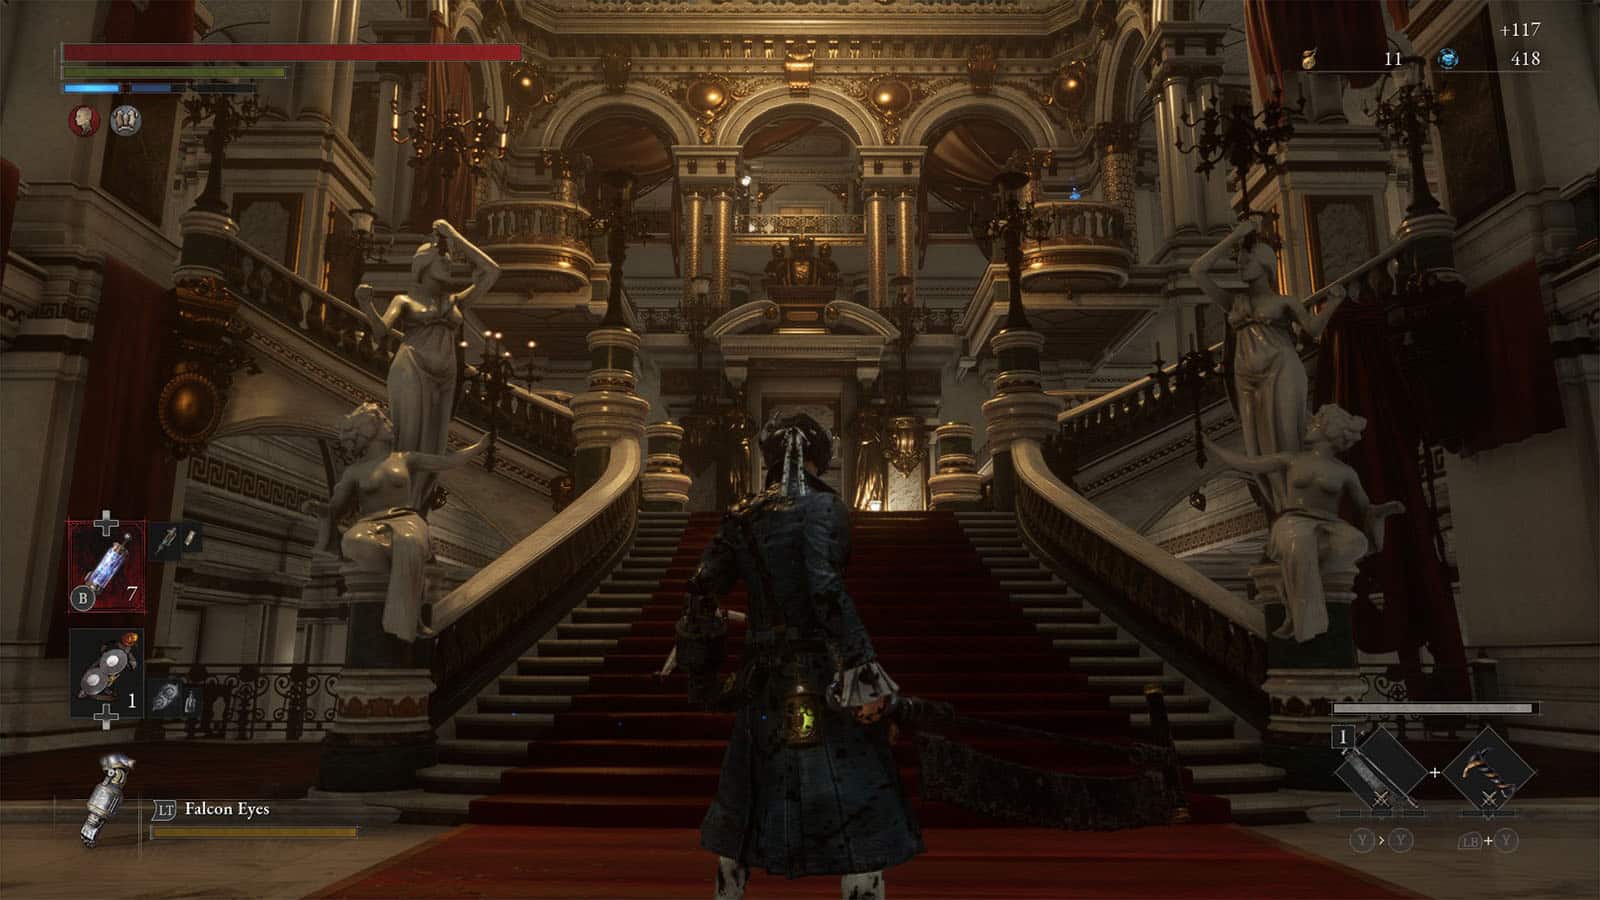
Head inside the opera house, then take the stairs up. You will be encountering more fast puppets, and a new enemy that looks like a huge spider. These enemies have the ability to sing and inflict Disruption on you. If the Disruption meter fills up completely, you will be instantly killed.
Take the stairs to the right and clear the enemies, then move up another floor to defeat the spider puppet. Enter the arch to the next room overlooking the swinging chandelier. To the right is a chest that contains a Cartridge – Belford Disruption Cartridge.
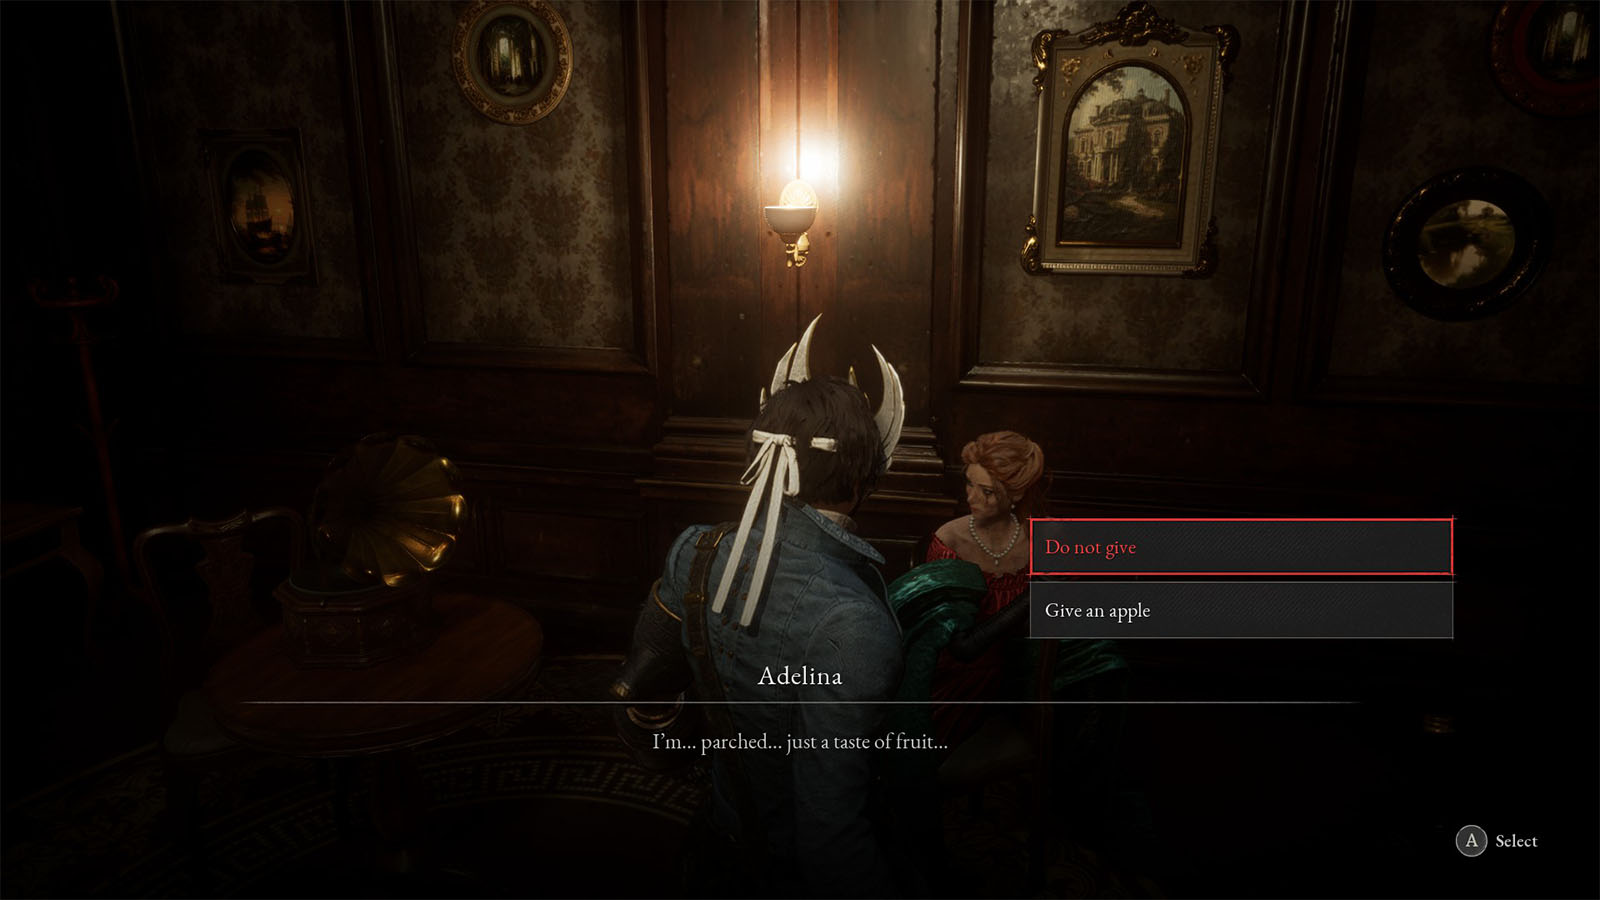
To the left path is a room where you will meet Adelina. If you have already managed to unlock the expanded shop at Pondelina’s, purchase a Red Apple and give it to Adelina. After you defeat the boss, go back to this room to find Adelina dead. You can then get the Record – Fascination afterwards as well as the Collectible – Red Actress’s Locket.
Go back down and take the stairs to the left and clear out the enemies on the upper floor. You can also go up the next flight of stairs to fight another spider puppet.
Then, go down the hallway and take the stairs down at the end of it. There’s another hallway with a room at the end which is guarded by a brute. Before heading there, take the door to the right in the middle of the hallway to find the chest that contains the Amulet – Technique Amulet.
Take on the brute back on the hallway. This brute has the ability to jump up and pounce on you, as well as use the wheel on its back as a weapon to bash on you. After defeating it, go to the room it’s guarding to find a safe that contains the Exploding Pickaxe weapon.
Continue walking down the hall as it turns left and back up the stairs. You will find a shortcut you can open which leads back to the stairs by the lobby.

In the room with the swinging chandelier is where you will find the door to the boss area. However, you can jump down in the hole to find the Trinity Sanctum. Once you get the Trinity Key in Chapter 7, you can open this sanctum and get the Belford Superior Radiation Converter.
Exit the area and you will reach another hallway on the other side of the house. Take a right turn and you will find another shortcut that you can open.
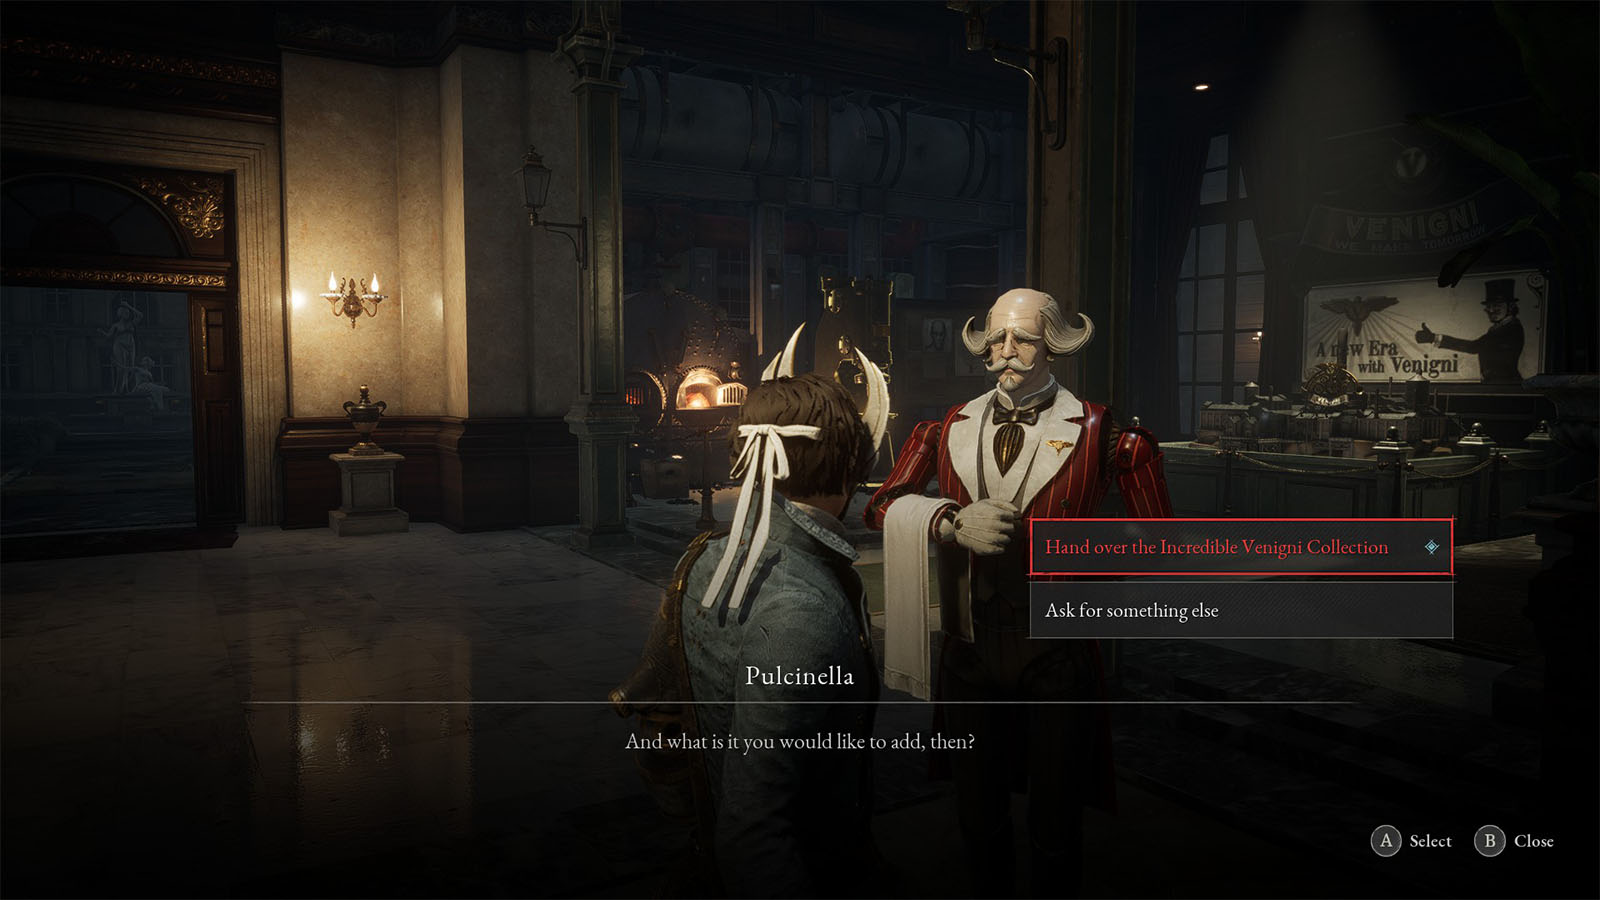
Inside the room near the shortcut are more enemies and a safe that contains the Incredible Venigni Collection which you can bring back to Venigni to expand Pulcinella’s shop.
Go back out to the hallway and take the other side. There’s another staircase leading back up and a brute patrolling the next hallway. Lure the brute back down to make the fight easier, then defeat it.
Back on the upper hallways are more doll puppets and a spider puppet. Up ahead is another room that has a open hatch; turn to the right and you will find a ladder that leads up to a space above. There’s a chest on the upper space that contains the Jeweled Cryptic Vessel. There’s also the Collectible – Notes from an Experiment by the desk.
Go down into the hatch, but be careful as you get to the ground. There are two shooters just outside the door. There’s also a red butterfly that gives out a Technique Crank outside. Once dealt with, you can open the shortcut that leads back to the entrance Stargazer.
At this point, you can make your preparations back at the hotel before heading towards the boss fight.
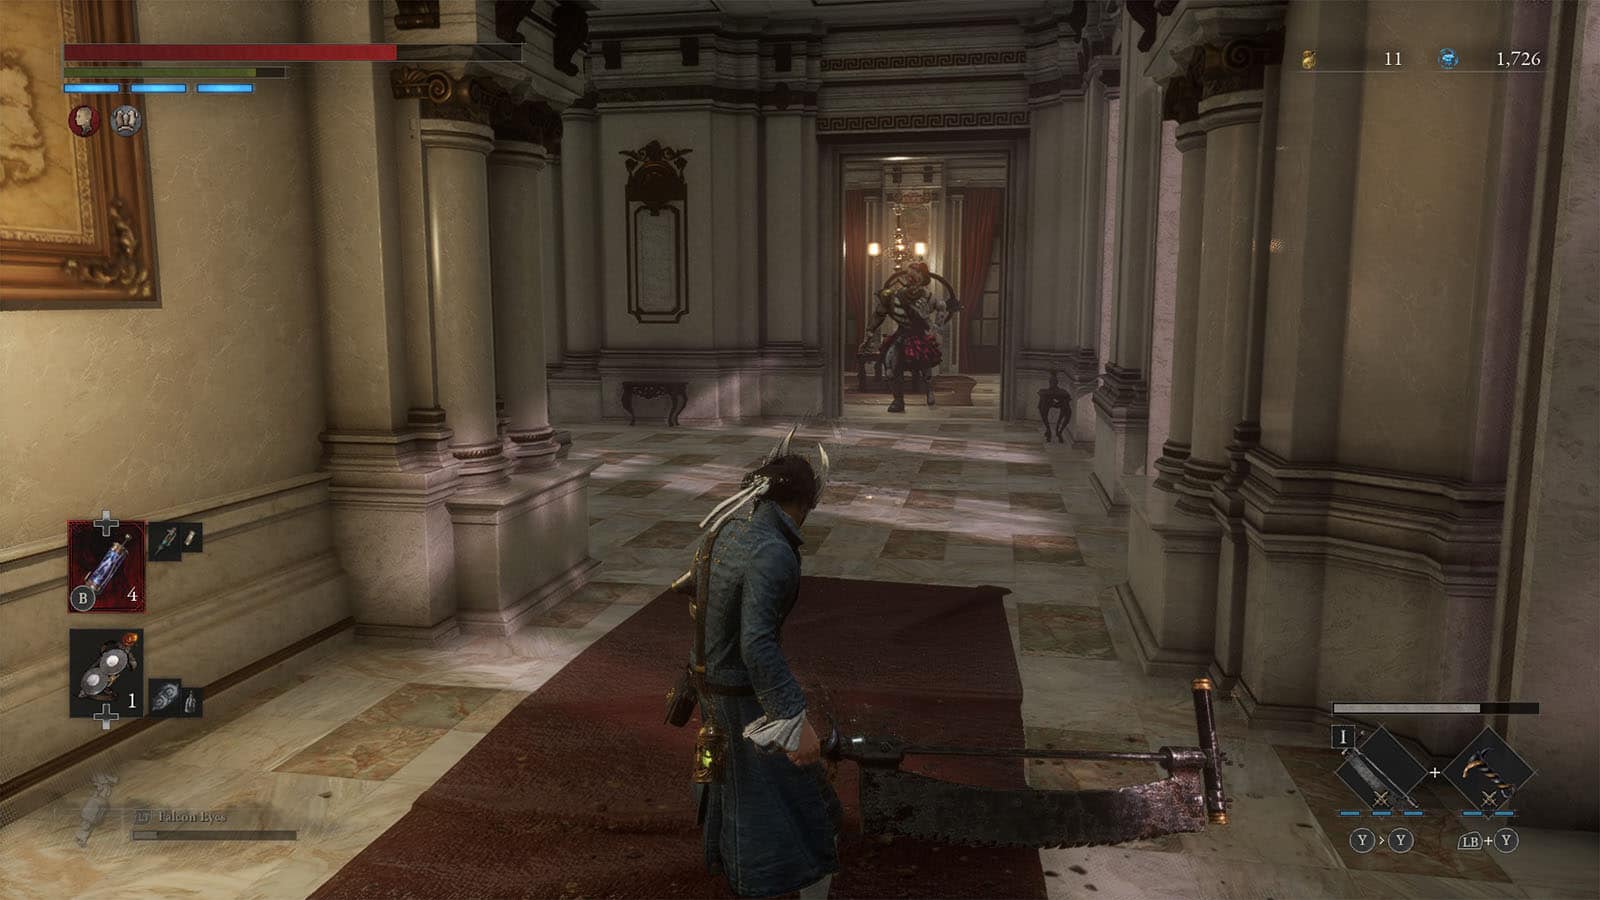
Boss Fight: King of Puppets
The King of Puppets has two phases: the first phase is a huge animatronic puppet that has long arms, while the second phase is Romeo, King of Puppets itself that is controlling the huge body from the inside.
King of Puppets First Phase
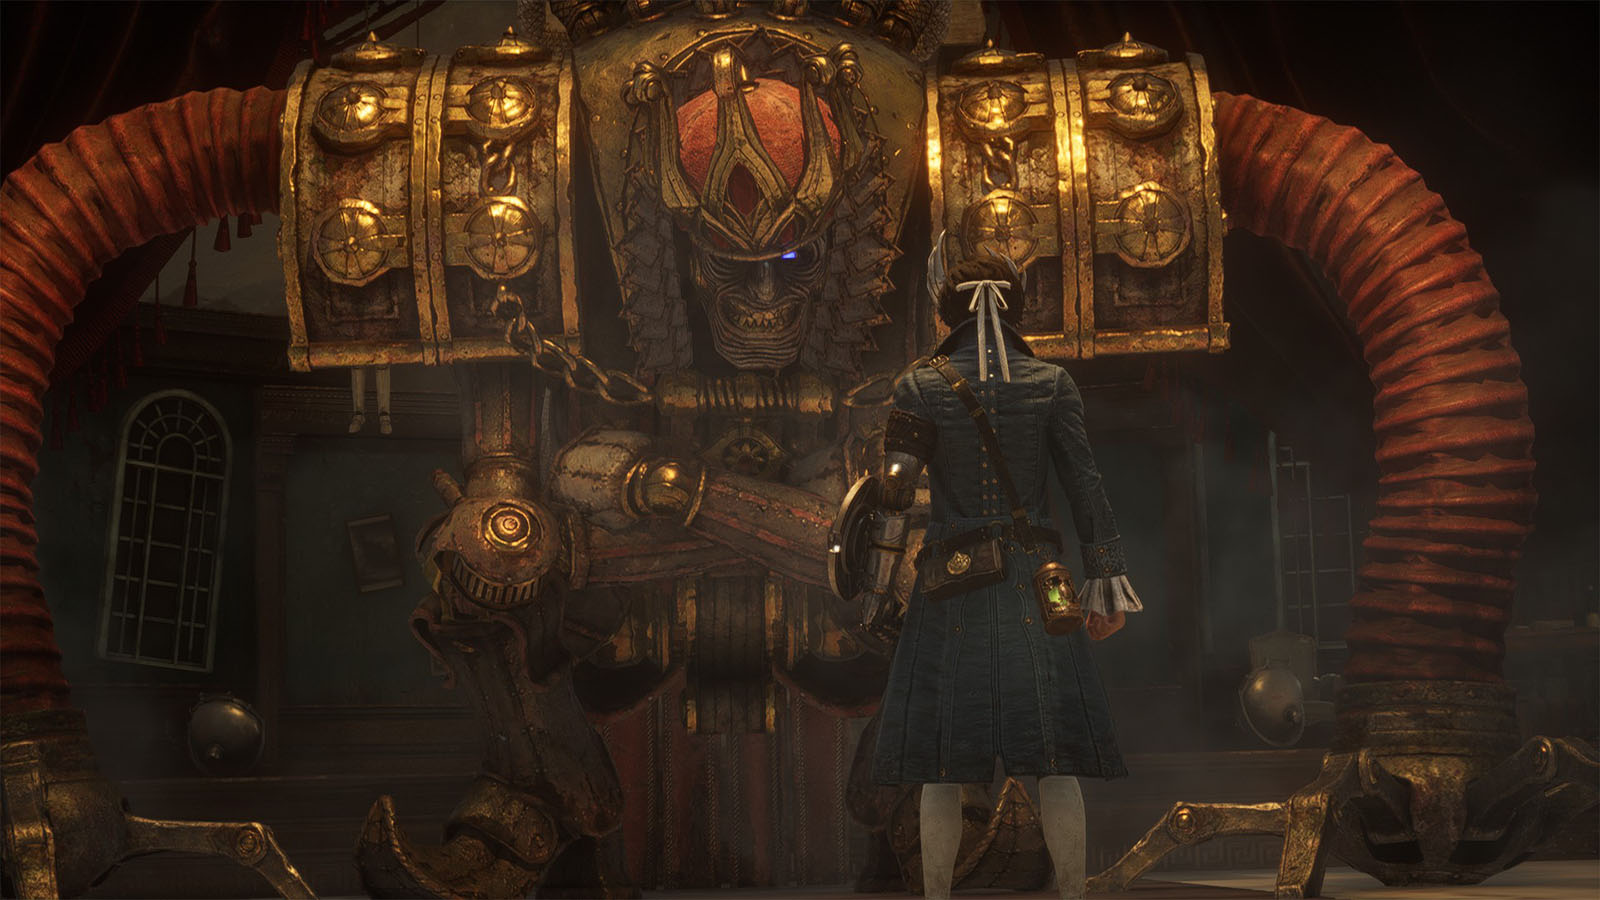
During the first phase, the King of Puppets is a bit slow and lumbering, so it is easy to get behind it especially if you have a Specter with you. To compensate with this, the boss has long arms which it can use to slam on you from a mid range, and it can also swing them around. Look out for its spinning jab which allows the boss to quickly spin around towards your direction and land an attack.
Its deadly attacks are its arm whip combo that ends with an unblockable slam. It also has a super attack where it rotates its body and uses its back fan to suck everything closer to it, then finishes it off with an explosion of air that can take you off the ground. This can be avoided by simply repositioning at its backside and backing away from the explosion.
Romeo, King of Puppets Second Phase

Once the huge body is destroyed, Romeo, King of Puppets is revealed from the inside. Romeo is a much more agile enemy that uses a sickle as a weapon. It can leap long distance which will make it hard to stay on top of your repositioning.
The boss has fast and relentless attack combos that can keep you grounded, especially its super attack where it imbues its sickle with flames and lashes out with a flurry of swings.
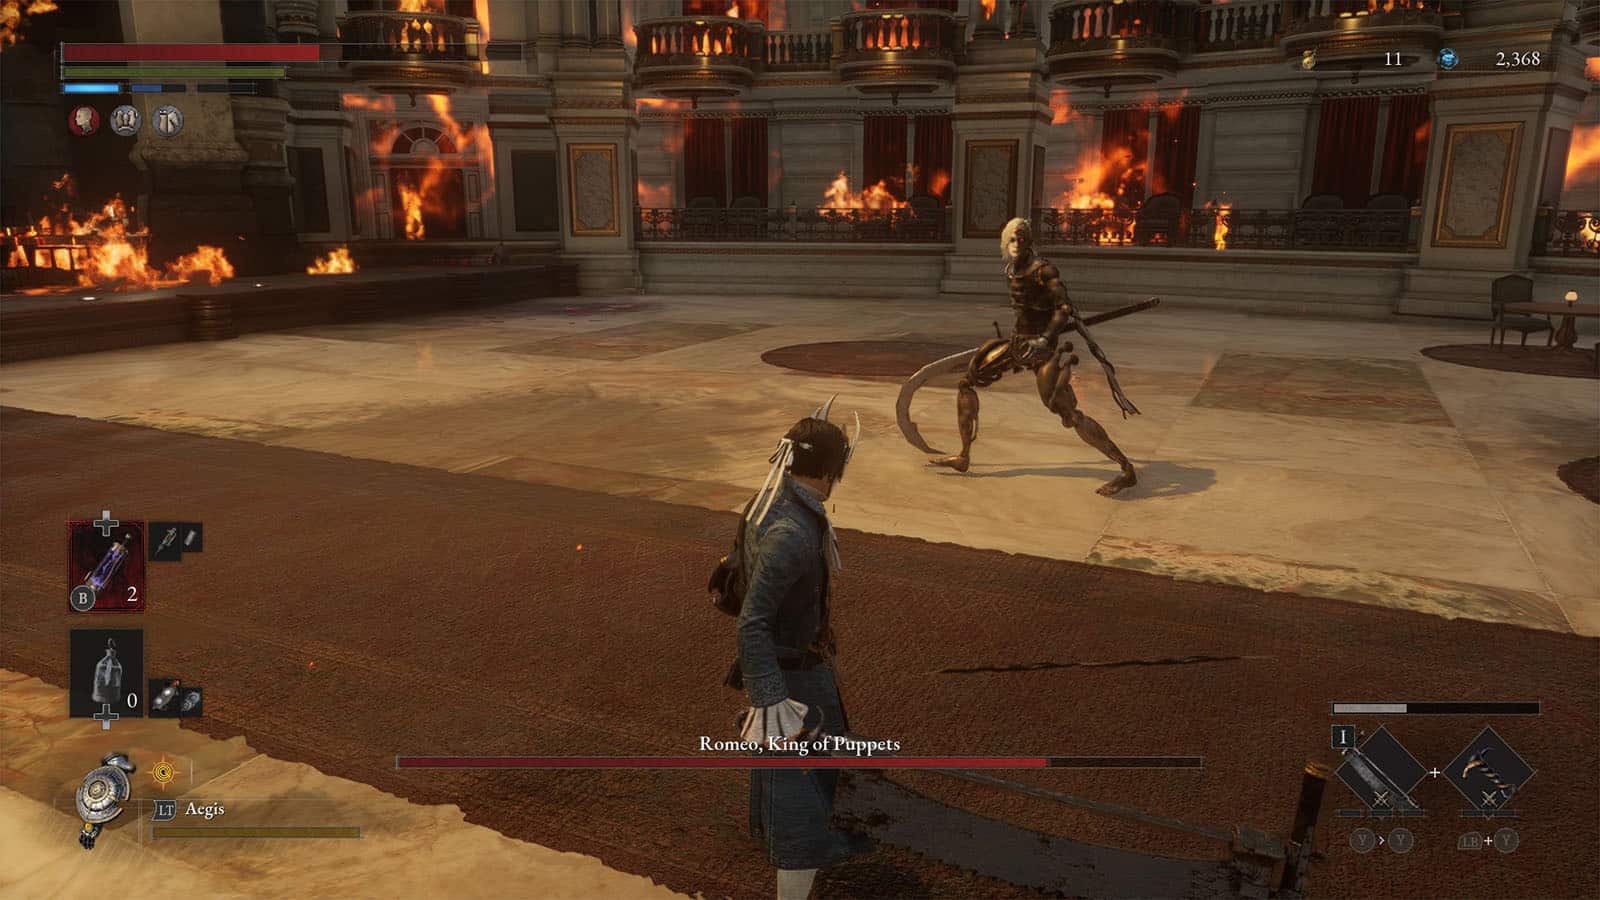
It’s recommended to use and master the Aegis on this fight to help increase your blocking capability. Also, try to stay mid to close range as keeping a far distance from Romeo will just give it the opportunity to land leaps. Focus on timing your blocks to minimize the damage taken, and keep in mind the amount of hits that you’ve made so that you can easily asses when to go on the offensive and proc a stagger.
Once the boss has been defeated, you will be rewarded with the Burnt-White King’s Ergo, the Costume – Puppet Prince’s Formal Dress, and the Collectible – Someone’s Necklace.
Estella Opera House Stage
After the fight, activate the Stargazer at the stage, then follow the exit to meet up with Geppetto once again. He will tell you to go to the Grand Exhibition next to find something that will help create the cure for the petrification. You will also be rewarded with another Pulse Cell.


