
Lies of P is an action soulslike game that follows the story of P, a humanoid puppet created as the last hope against the puppets that have turned against everyone in the City of Krat. Venigni proposes that the Golden Ergo is needed in order to create a cure for the petrification disease, but it can only be found from the monster that has been living in the Barren Swamp.
Read on for a full walkthrough of the events in Lies of P Chapter 8: Barren Swamp.
See previous: Lies of P: Chapter 7 Grand Exhibition Guide
Lies of P: Chapter 8 Barren Swamp Full Walkthrough
Barren Swamp Tram Station
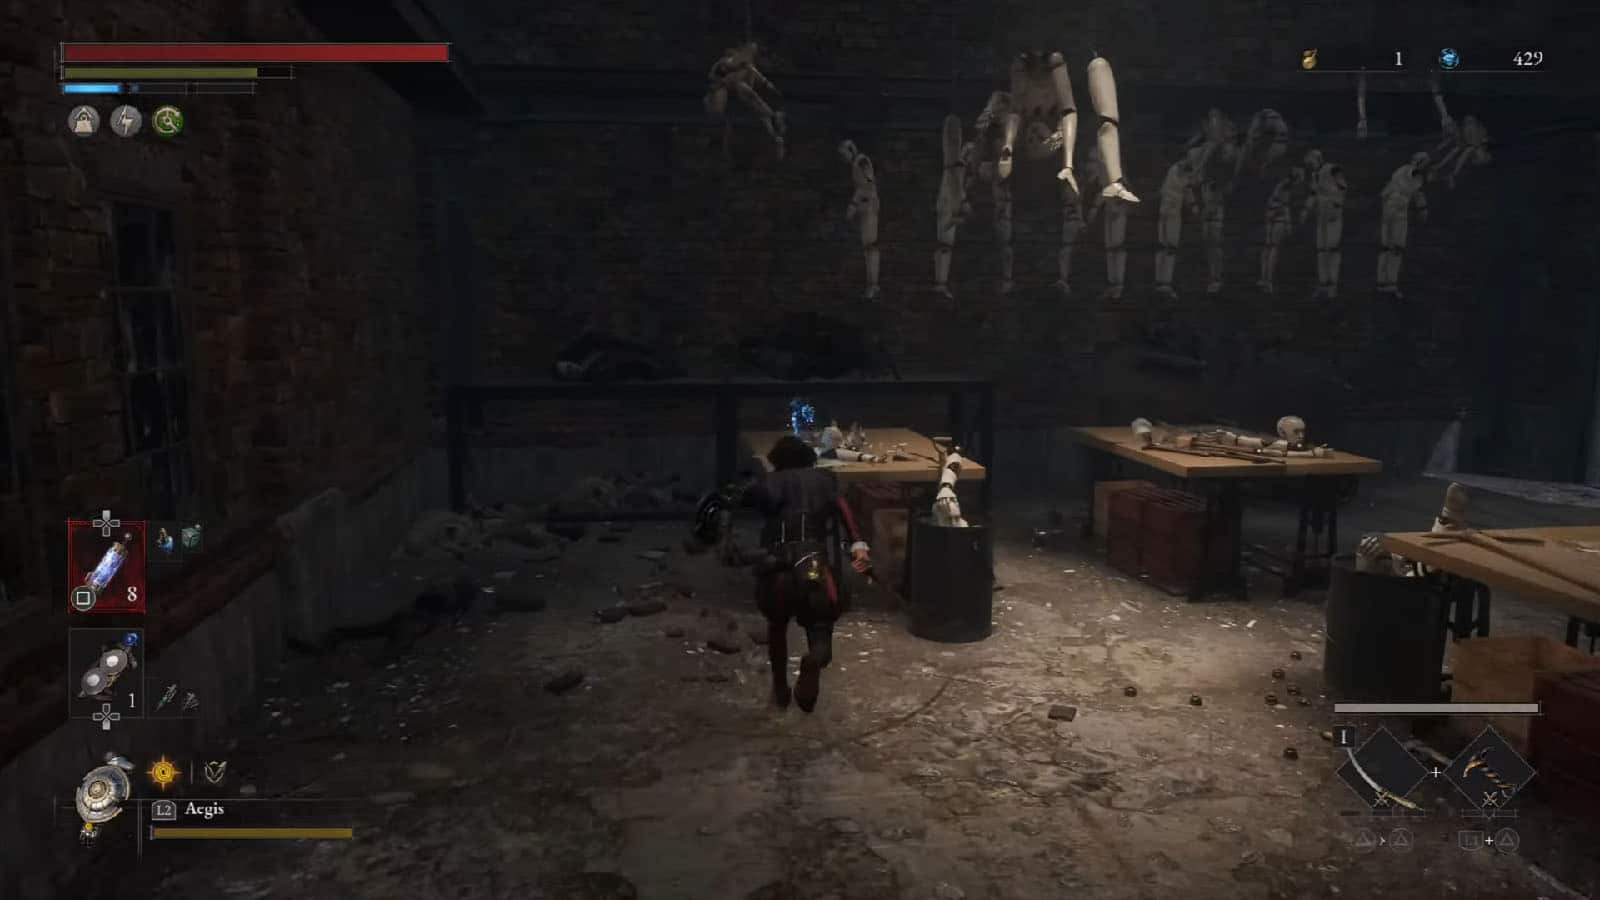
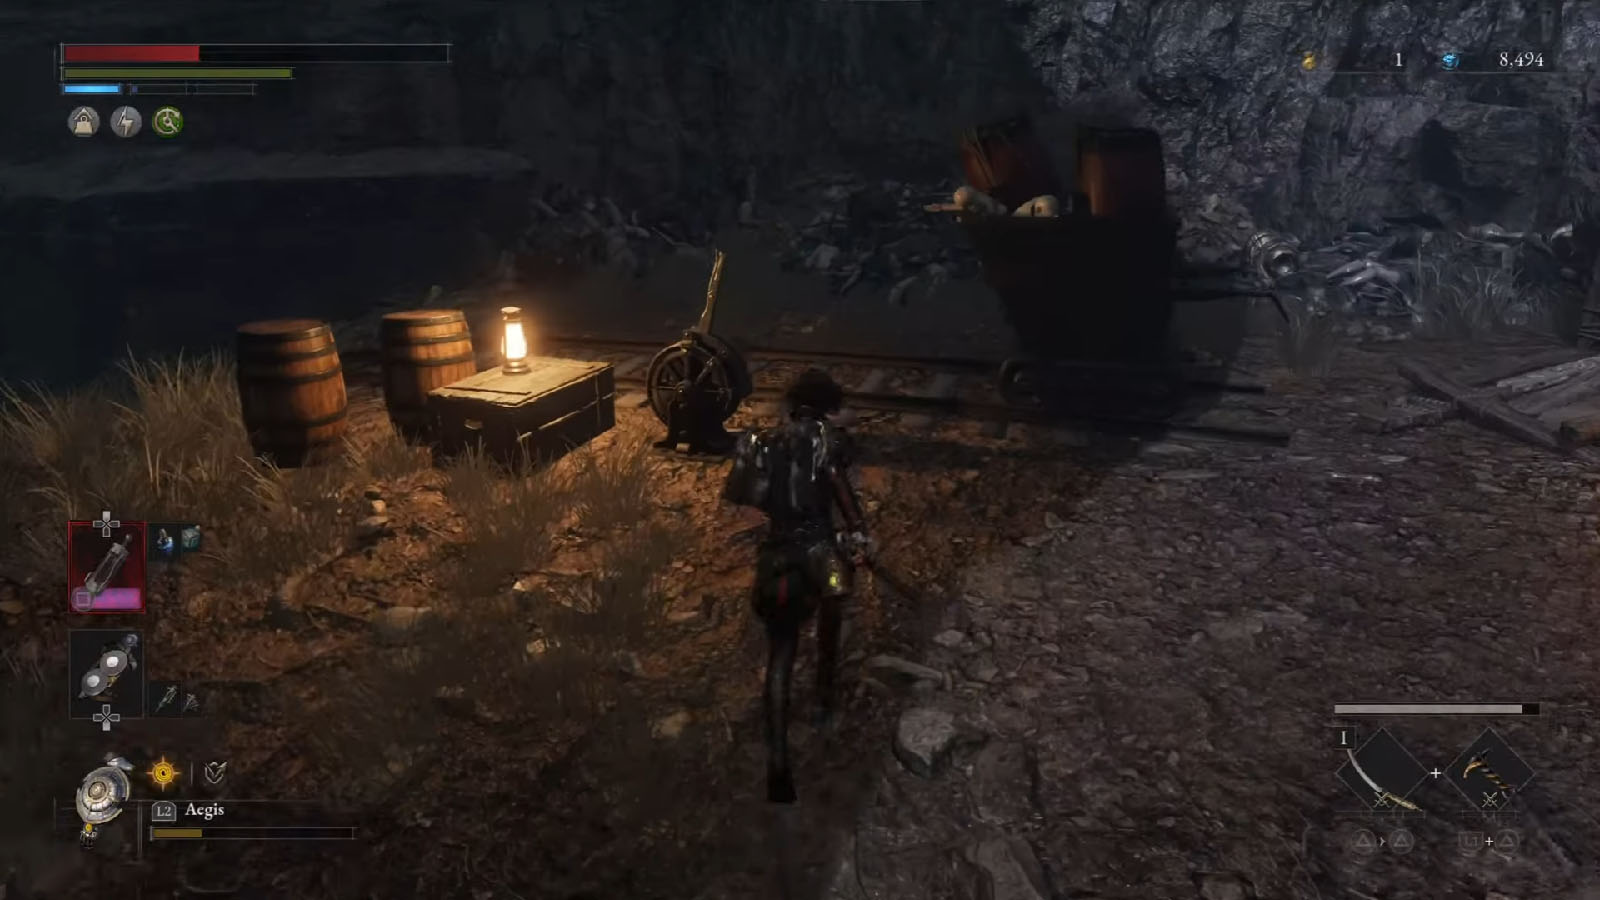
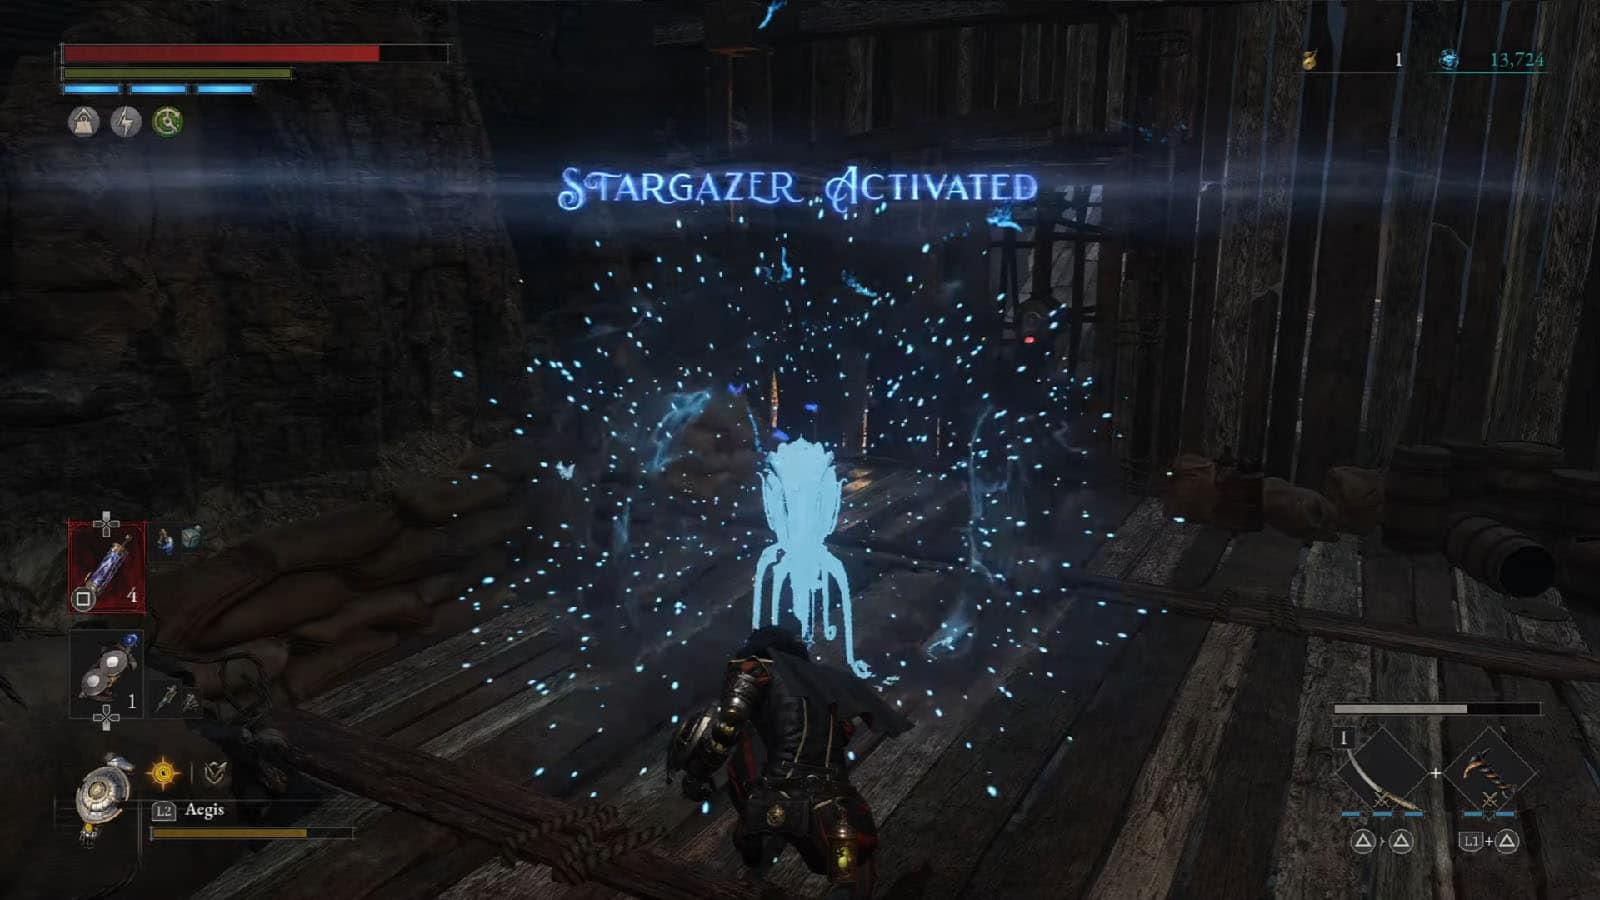
Head down the stairs and go inside the warehouse. In the next room, you will find the Collectible – Venigni’s Krat Landmark Guide IV. Head outside the warehouse and you will find the first Stargazer.
Barren Swamp Entrance
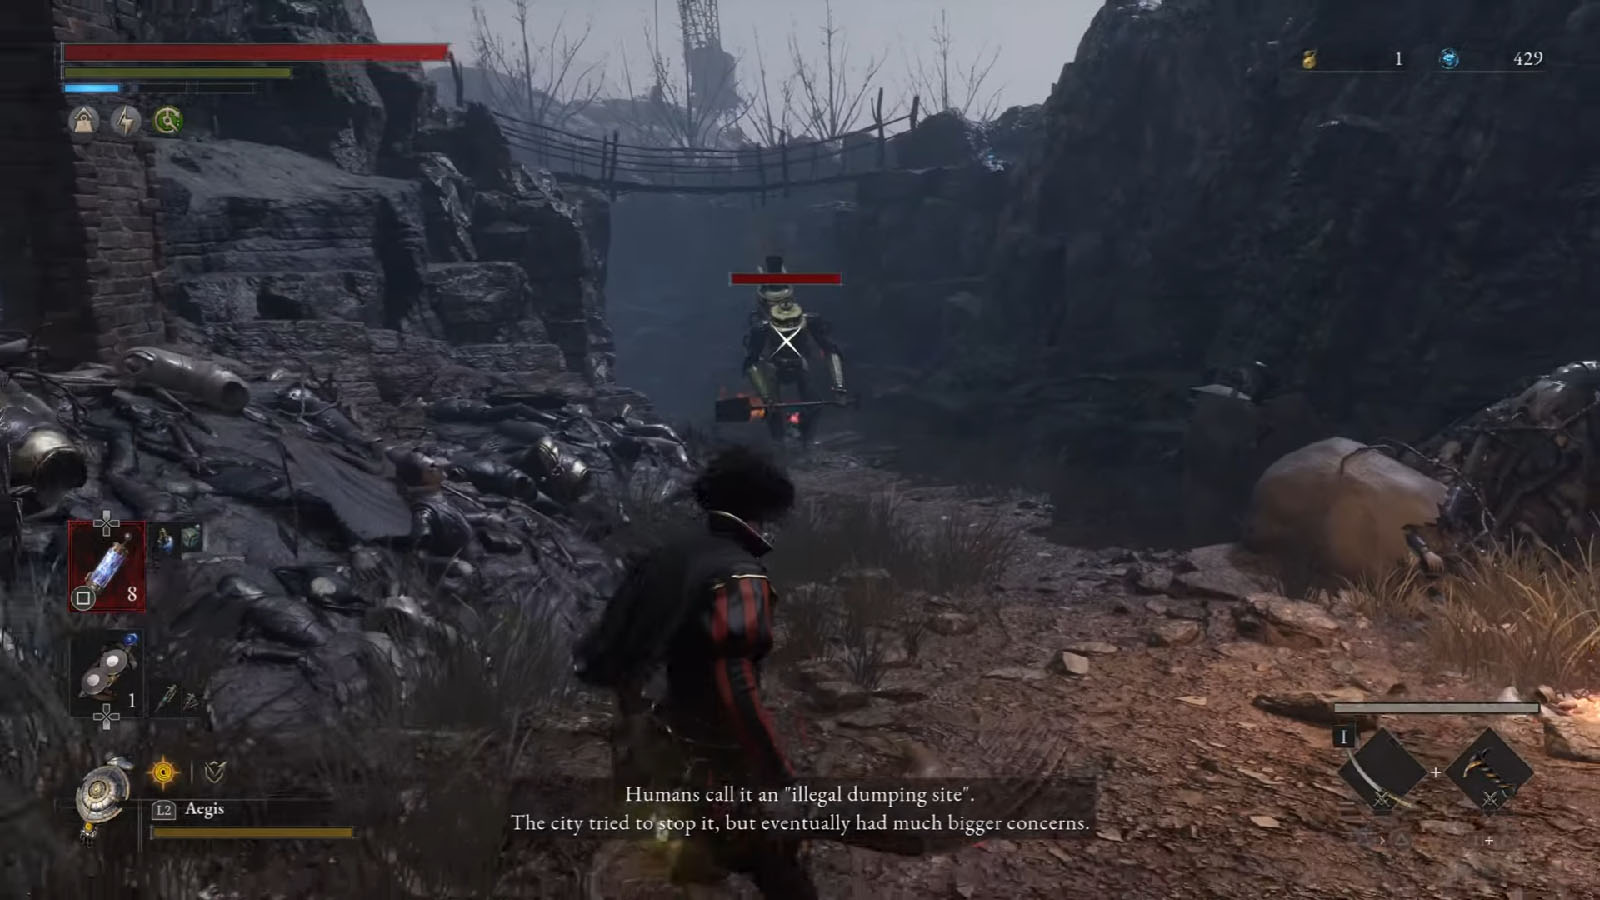
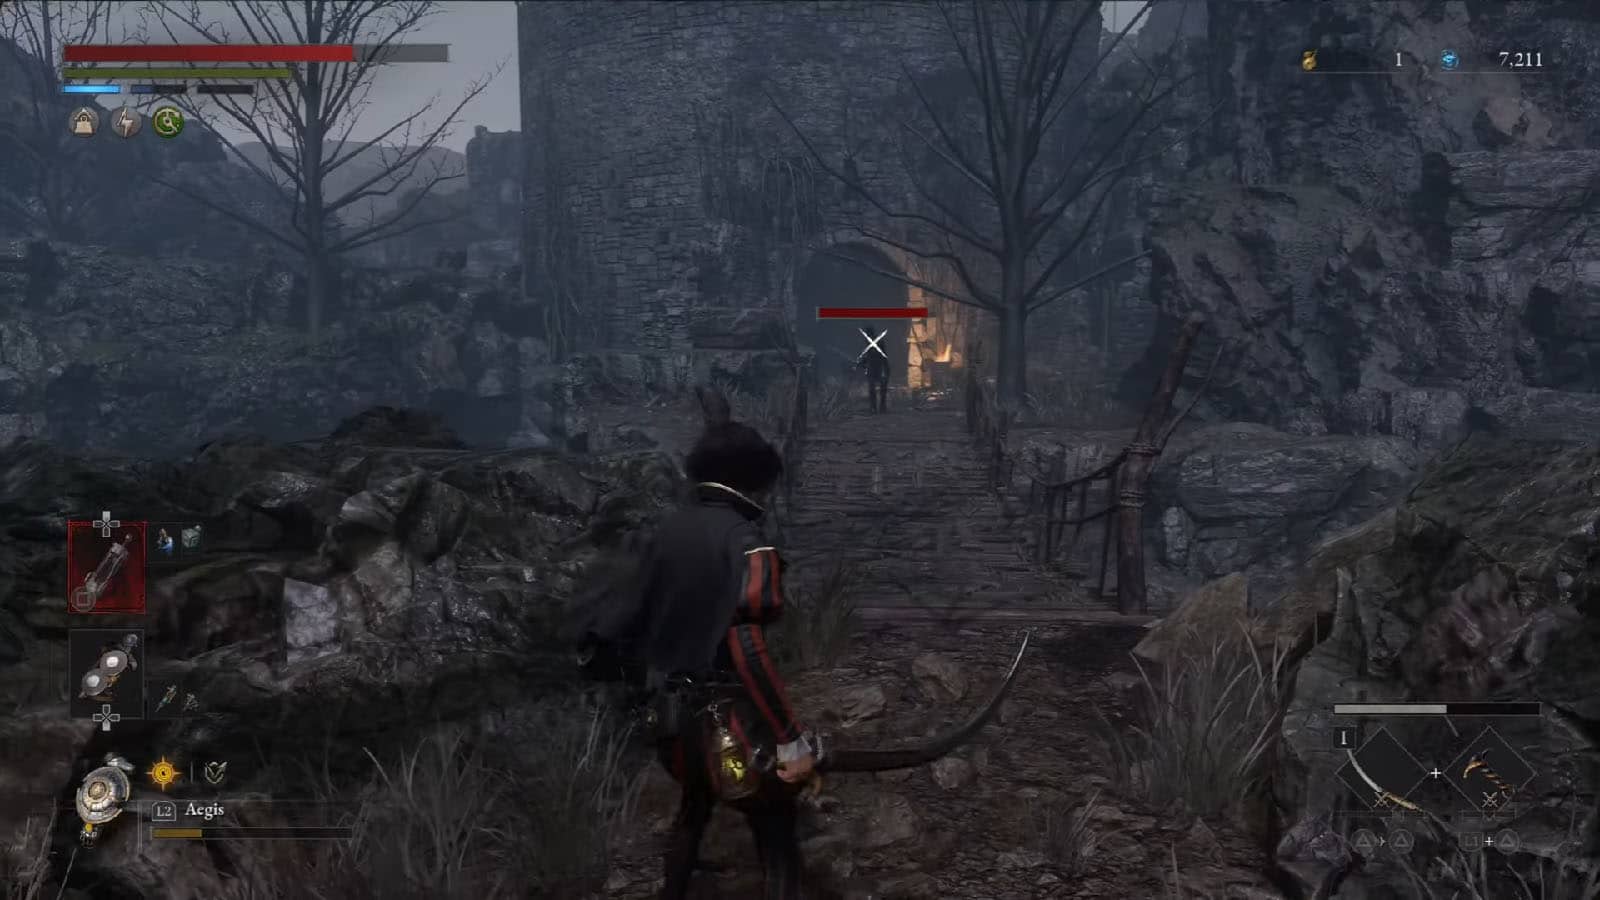
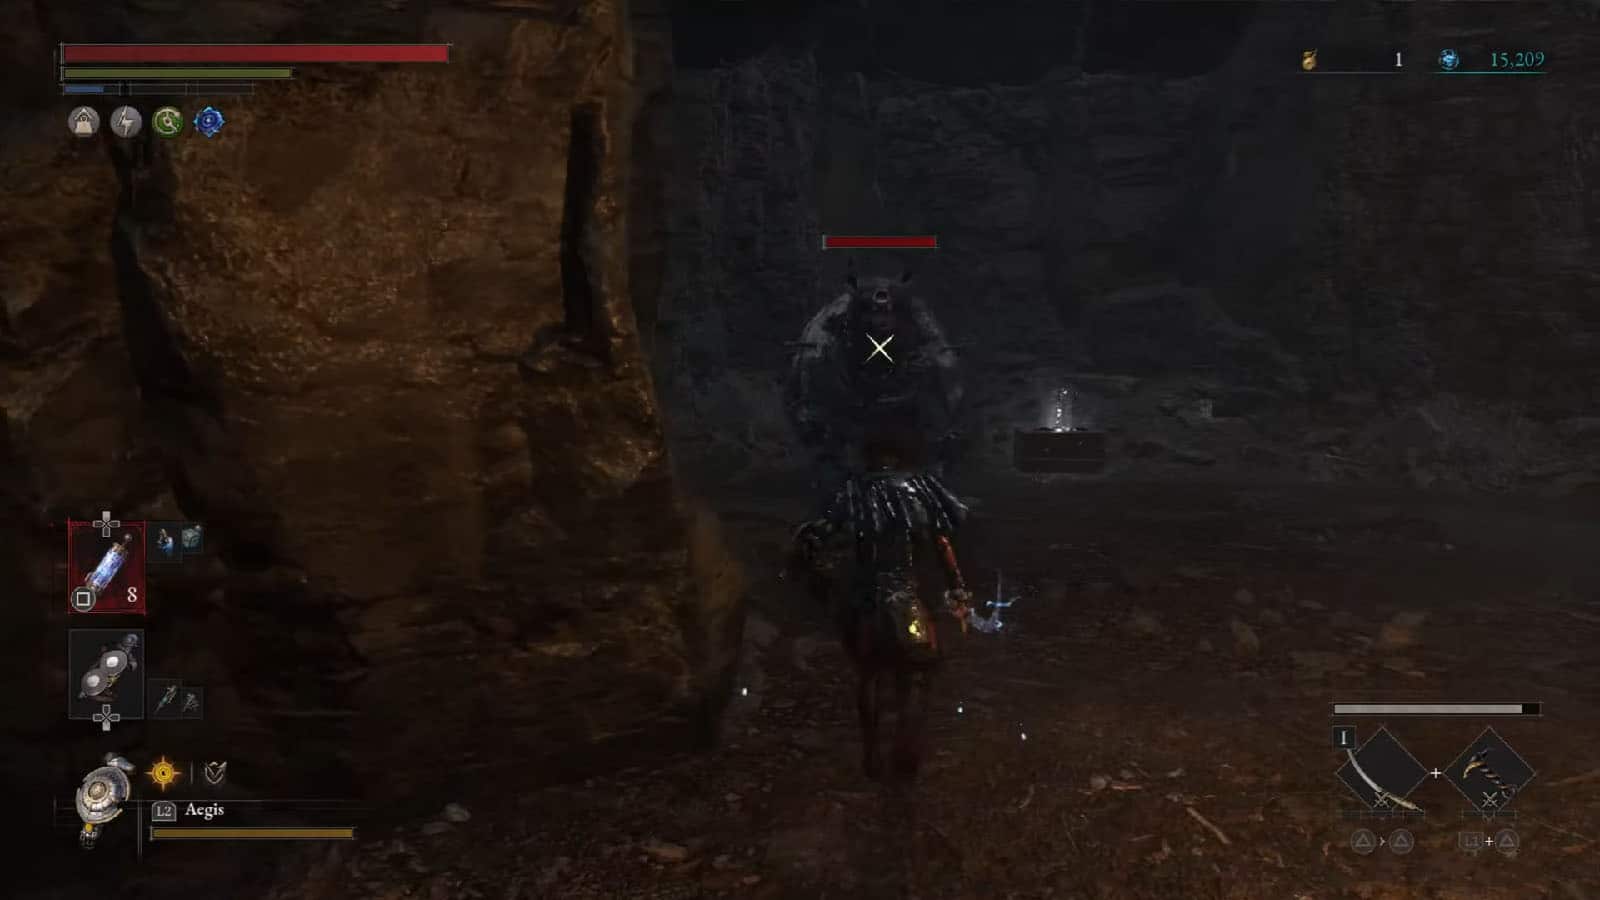
Down through the path is a shovel automaton patrolling. Defeat it and then continue down the path. There is a new kind dog puppet that explodes after a few seconds; destroy it right away to stop it from exploding.

Once you reach the turn by the cart, prepare for an ambush by a shooter. Clear the enemies, then open the chest to get the Converter – Belford Superior Insulation Converter.
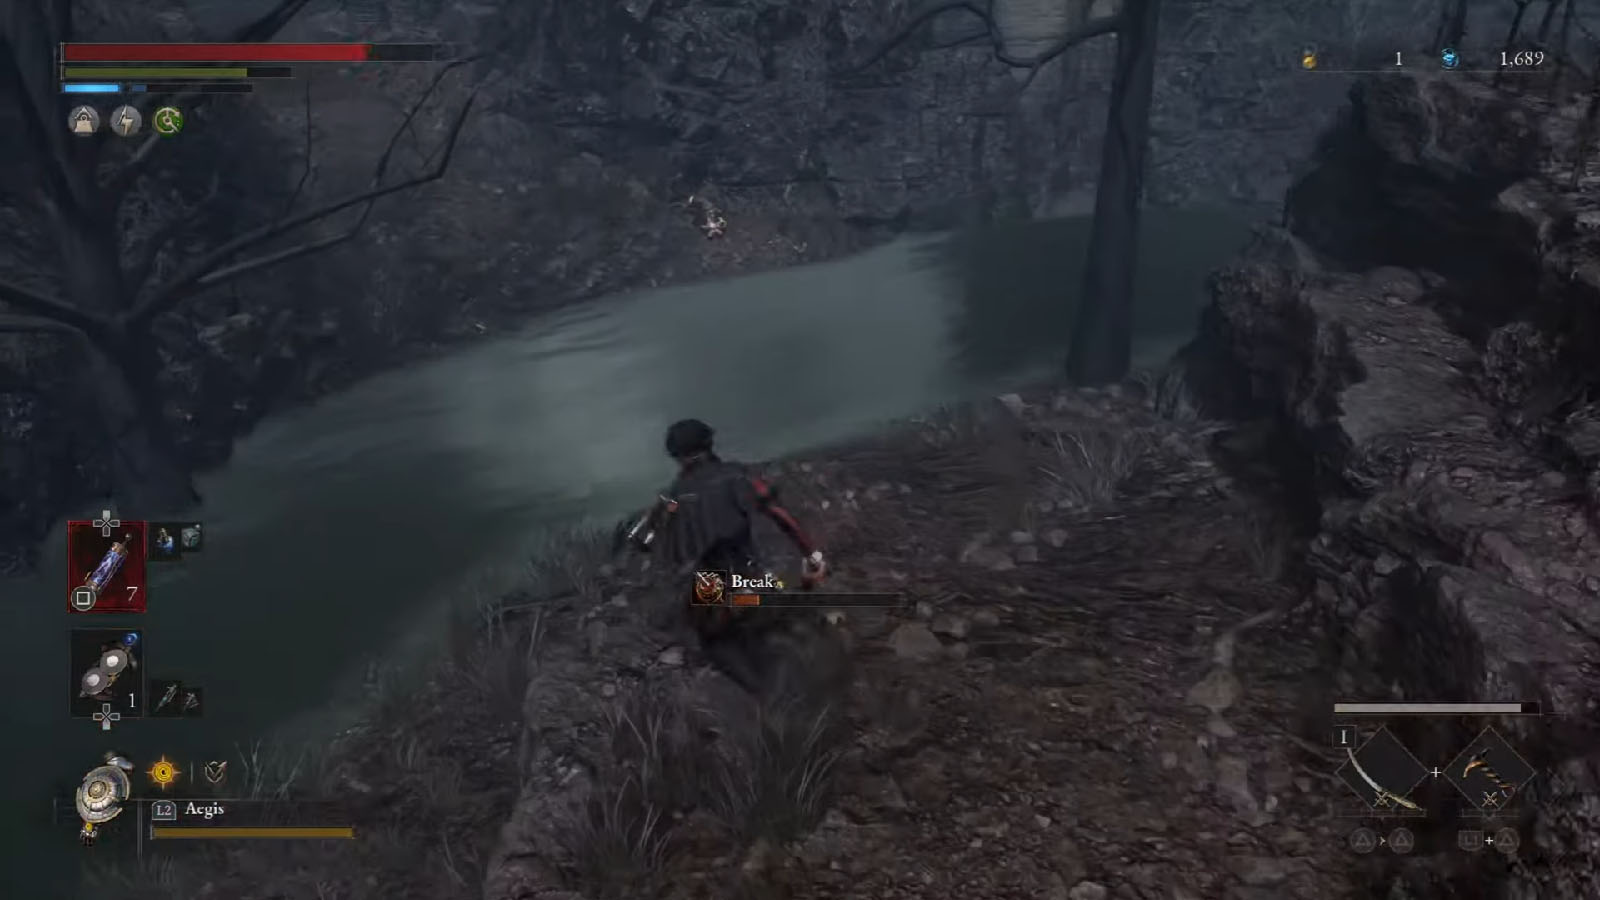
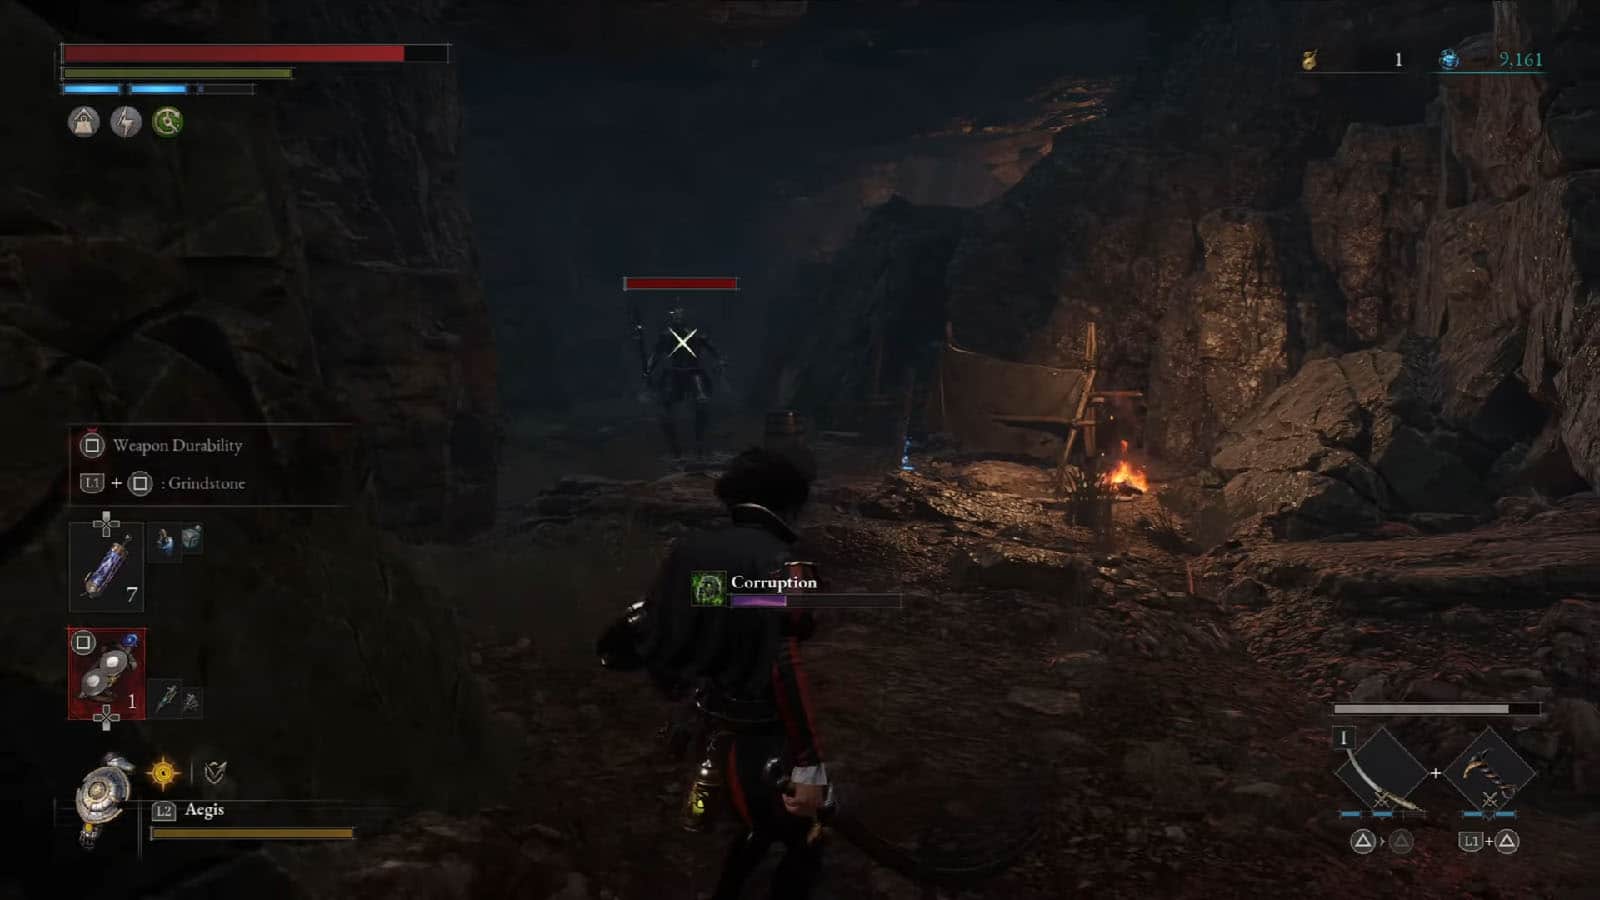
Once you reach the area with the cliff to the right, be aware of the bear traps on the ground, as well as the shooters up at the cliff; keep moving forward to not get rained on by shots. You will have to wade through a small pond of corruption, so prepare some ampoules as well.
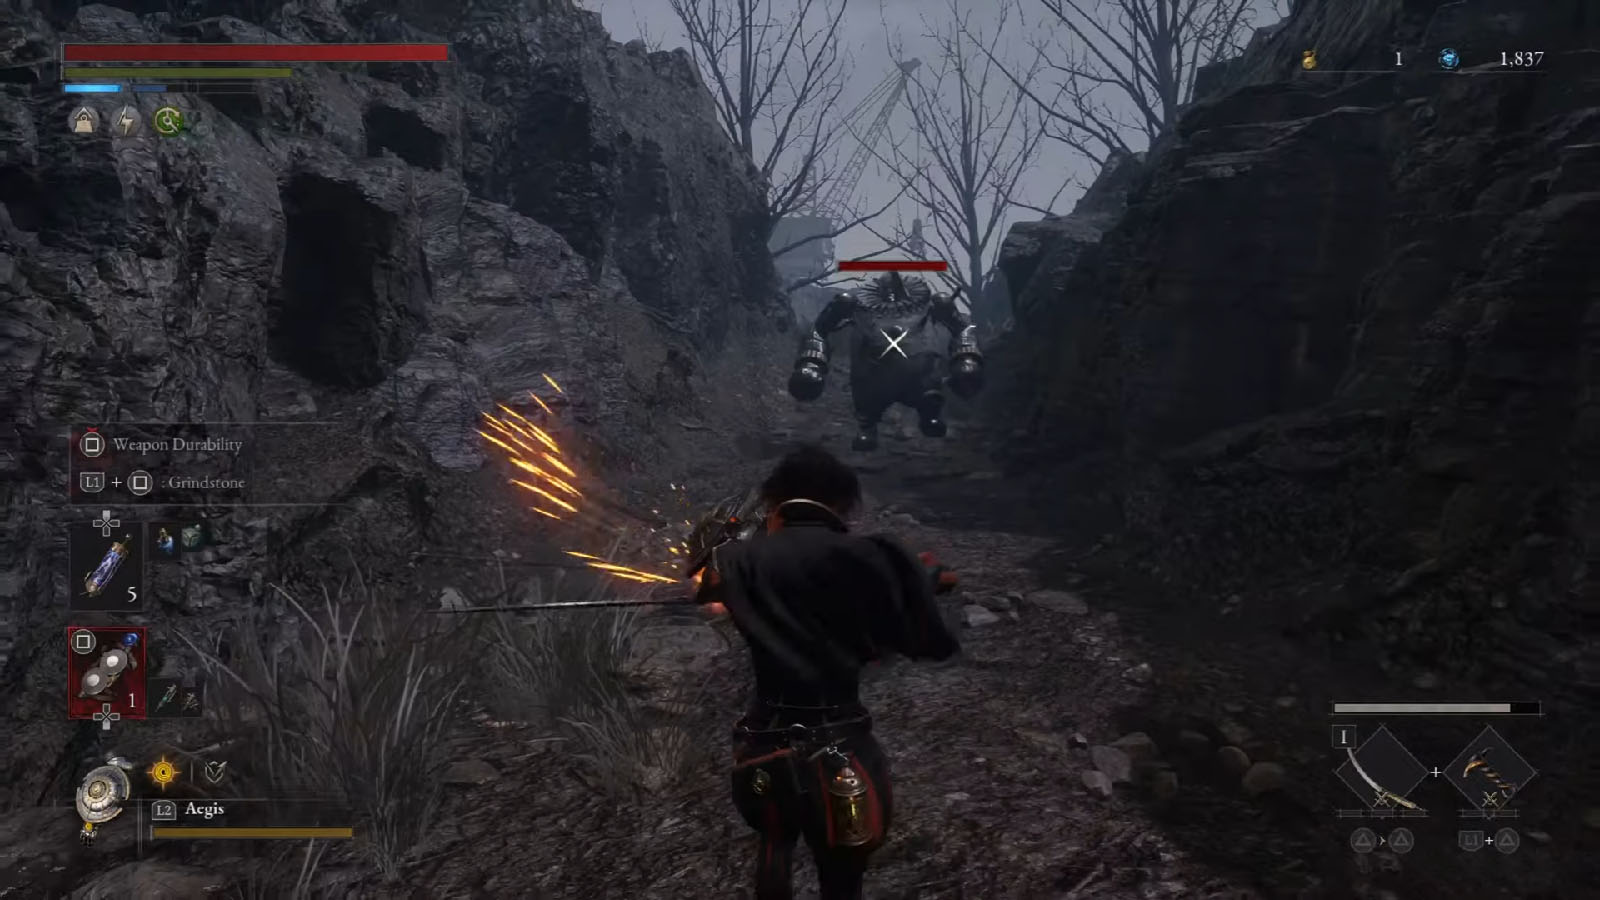
Go up the hill and once you see the campfire, don’t approach it yet and wait for the huge ball of puppets to crash down from the slope on the right. You’ll find another mad clown puppet up ahead, this time it is electrified, so switch to your anti-electric converter before engaging. After dealing with the clown puppet, you will be rewarded with a Legion Caliber. You can also go to the cliff to destroy the shooters.
Next, there is a bridge that crosses over to the other side, with an enemy guarding the other end. The bridge will break in the middle, so try to jump first, otherwise you will fall down and will have to climb up again.
Inside the tower up ahead, you will need to climb up to the top. the path spirals up and is guarded by enemies. You can also take a detour and take care of the shovel automaton on the base level. After crossing the first few platforms, cross the beam sticking out to the middle to get a Half Moonstone.
Once you reach the top, you will find a lever that releases a cart of explosives down the slope. This will blow up the gate below that leads back to the first Stargazer.
Head back to the tower and look to its side to find a ladder. Climb up this ladder and deal with the enemy, then open the chest to get the Amulet – Recharged Amulet.
You will find another bridge to cross over; make sure to jump over this one as well to not drop back to the clown’s path. Follow the path ahead and clear out the enemies. There are also some loot along the way, like Crescent Moonstones and throwables.
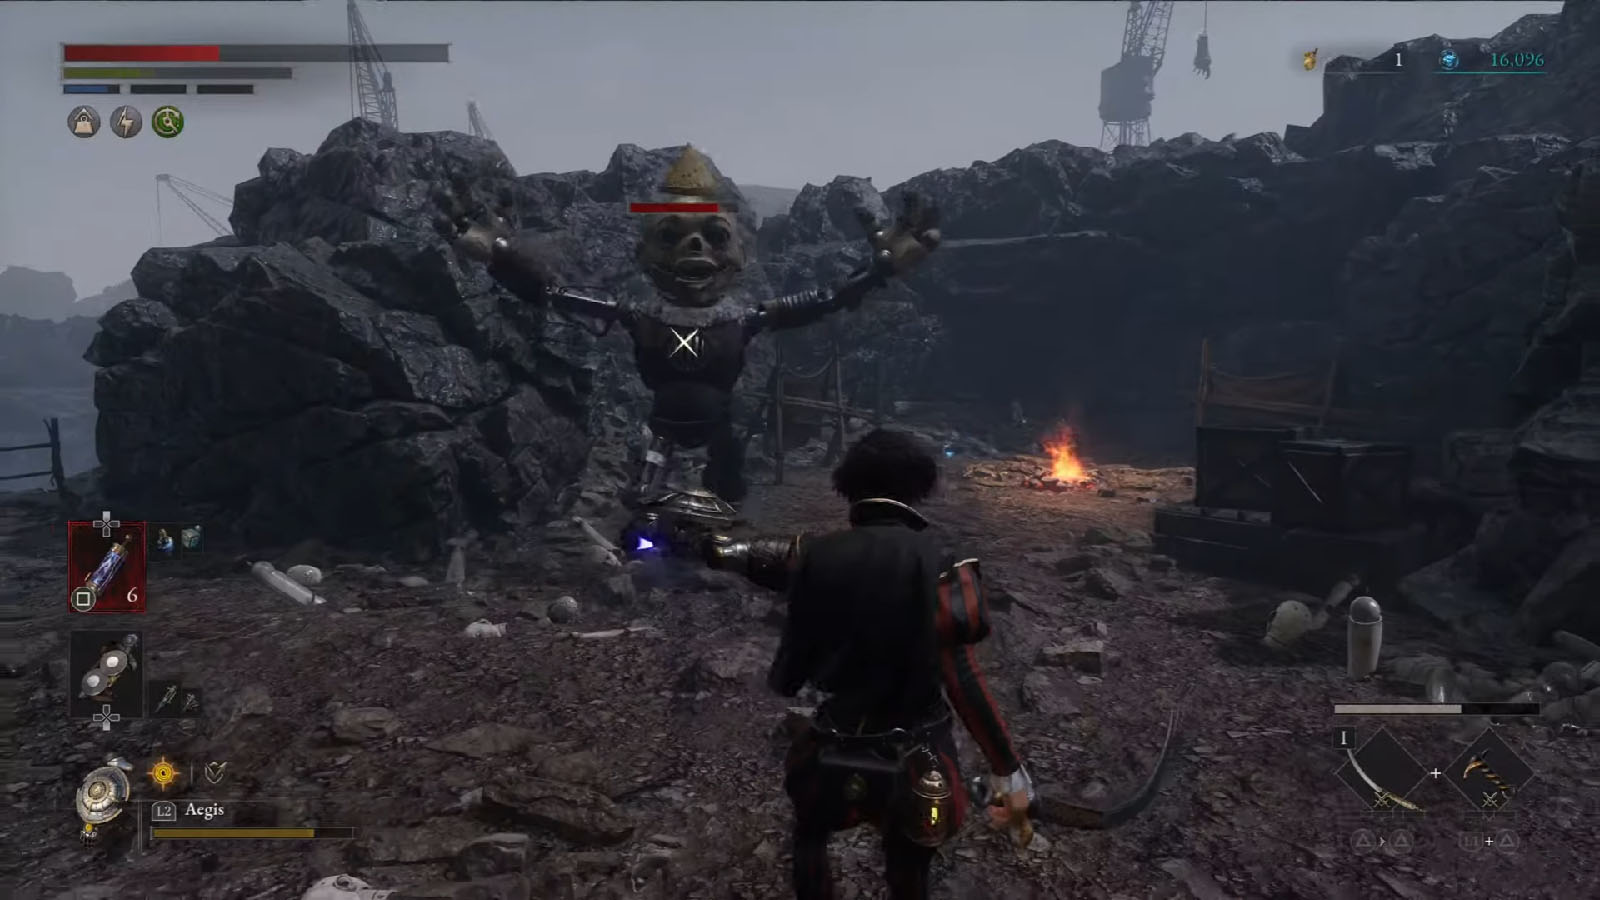
Once you’re down at the puppet dump, pay attention to the tower as it has a cannon on the upper level. This cannon will be shooting at you as you try to make it across the dump. Use the huge boxes as cover from the enemy fire. You’ll have to move quickly as the boxes will break once it gets shot. The second crate contains a Crescent Moonstone, so have the cannon shoot at the crate to get the item.
On one of the mounds on the dump is a Half Moonstone. You can then proceed to the tower and clear out the area, including the puppet operating the cannon. There’s also a chest that contains the Live Puppet’s Axe weapon.
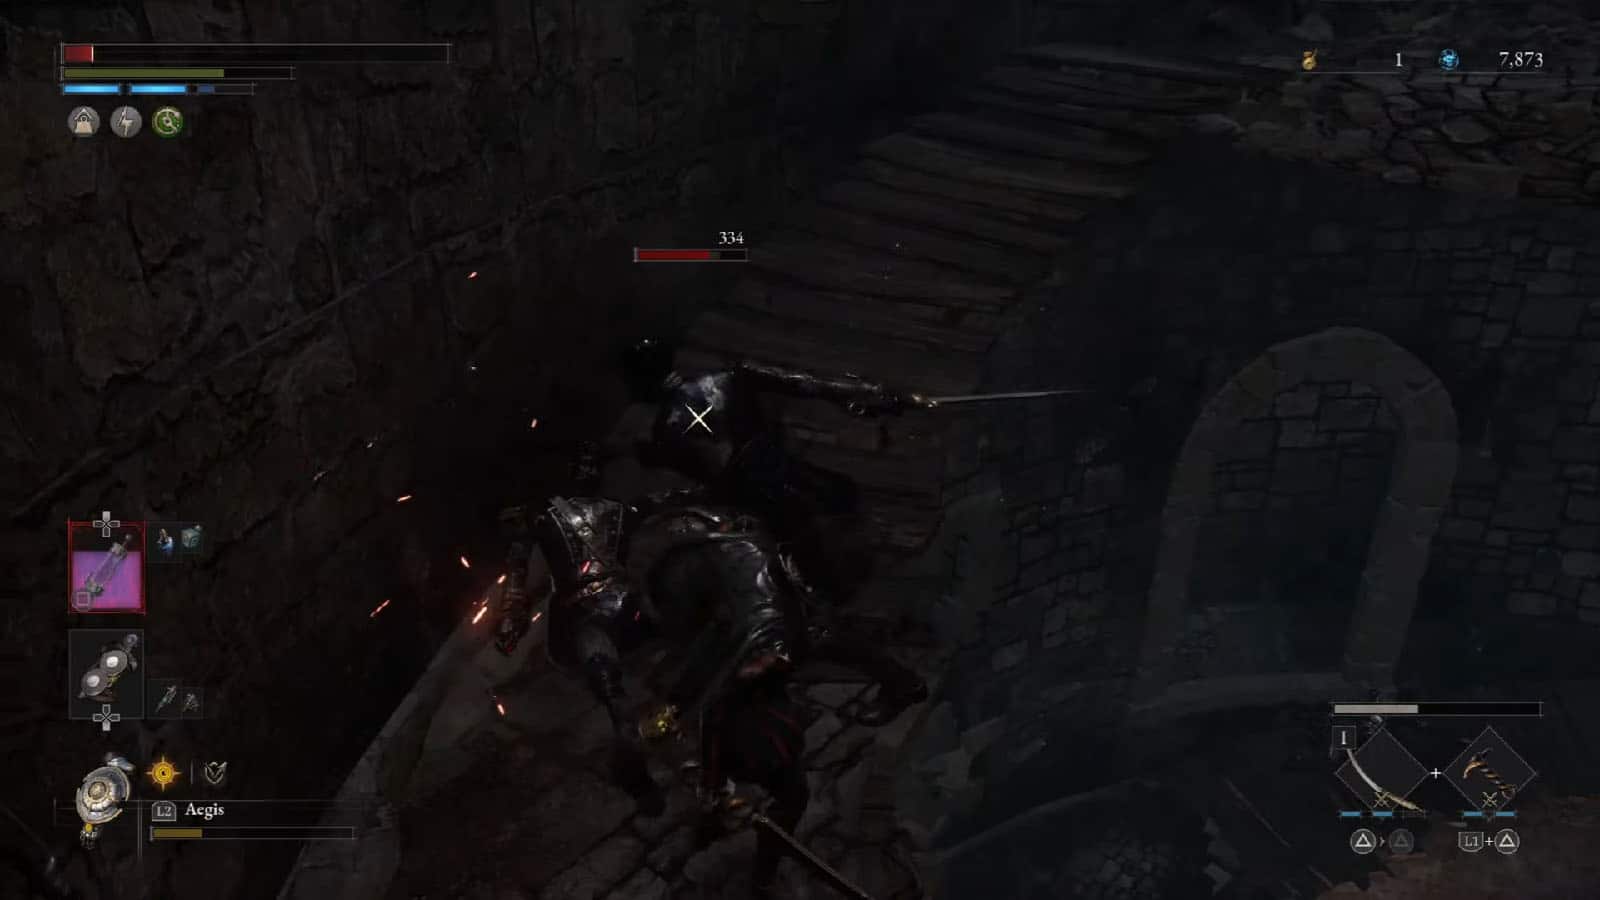
Cross over to the other side by following the puddle of acid. It will lead you to a cave guarded by a tough puppet. Defeat it, then venture deeper to find the next Stargazer. Look around as there is also a Dark moon Moonstone of the Covenant on the other side of the cave.
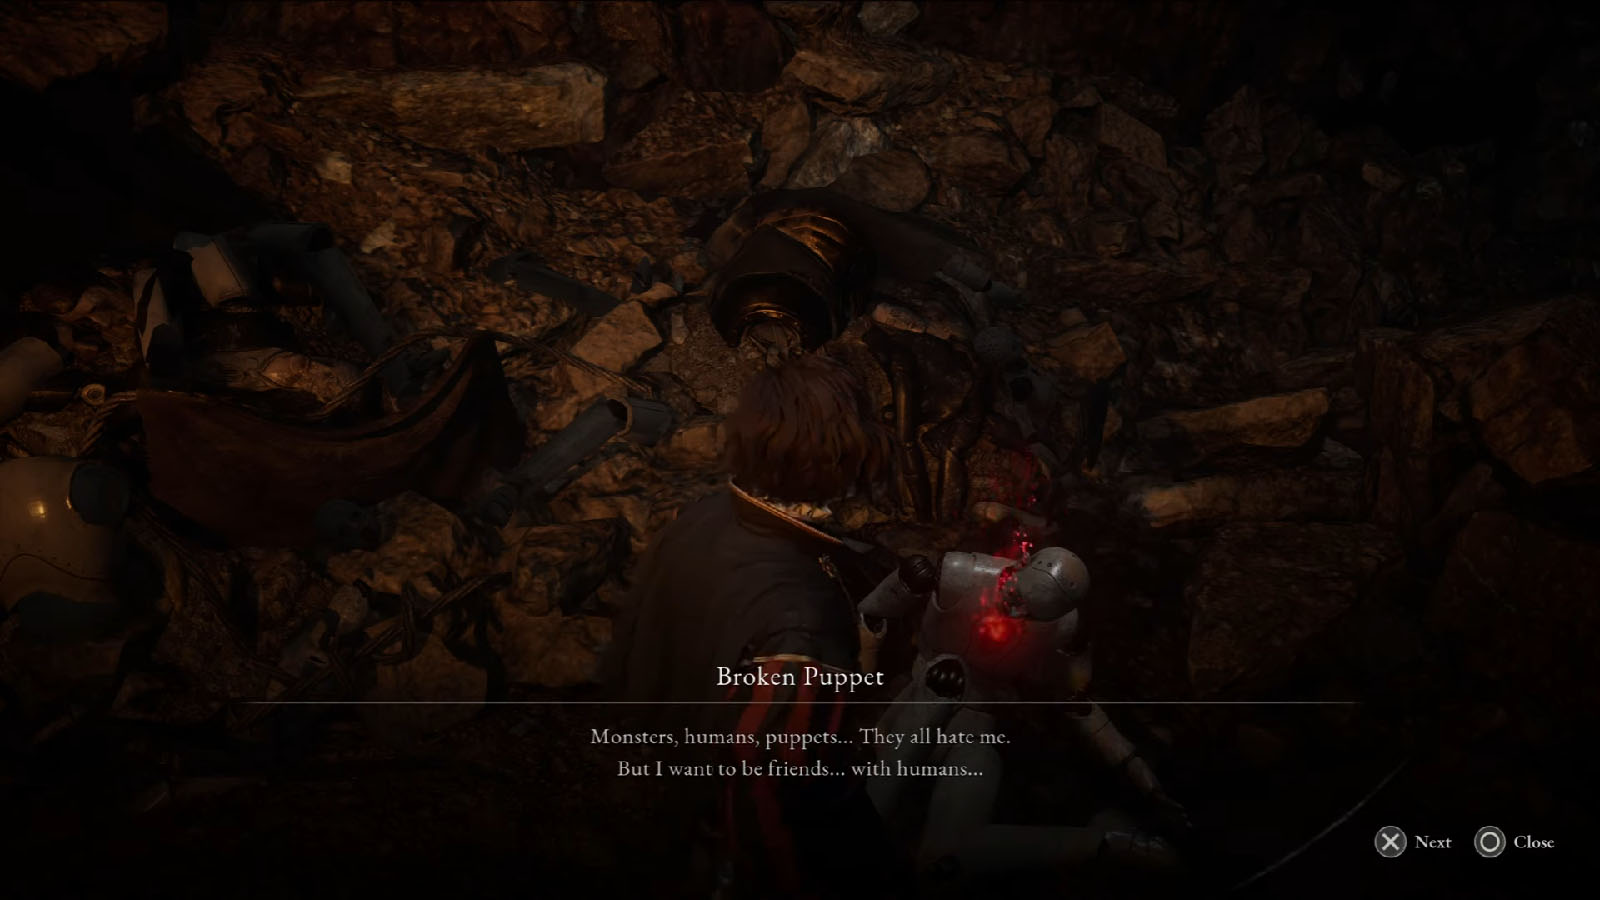
Near the Stargazer is the Broken Puppet. Talk to it and it will ask you to teach it about emotions. For now, you can only teach it sadness through the Sad emote, but you can return to it later once you obtain the Clap, Happy, and Anger emotes. Showing all of the emotions to the Broken Puppet will reward you with a Quartz.
Barren Swamp
Continue to the next dump site where there are Puppets of the Future patrolling the area. There’s also another cannon up top that will be shooting at you.
Go towards the right side and through the puddle to find a chest that contains the Fancy Venigni Collection. Take this back to Venigni to expand Pulcinella’s shop.
You can take the time to clear out the enemies in this dump as the two towering puppets will drop Quartz, and there are also butterflies floating in different sections of the dump that can give a Motivity Crank and a Dark moon Moonstone of the Covenant. However, it would be hard to do so as the tower where the cannon is at is locked, so do the other stuff in the dump for now.
Go to the left side of the cave entrance is a Half Moonstone. Further left is a Stabilized Alchemical Booster that you can use to speed up the growth of the Gold Coin Fruit Tree.
At the end of the left path, you will find a shack that has the Collectible Experiment Report of the Order – Test Subject 890 in it.
Go down to the lower level where you can find the Owl Doctor.
Boss Fight: Owl Doctor
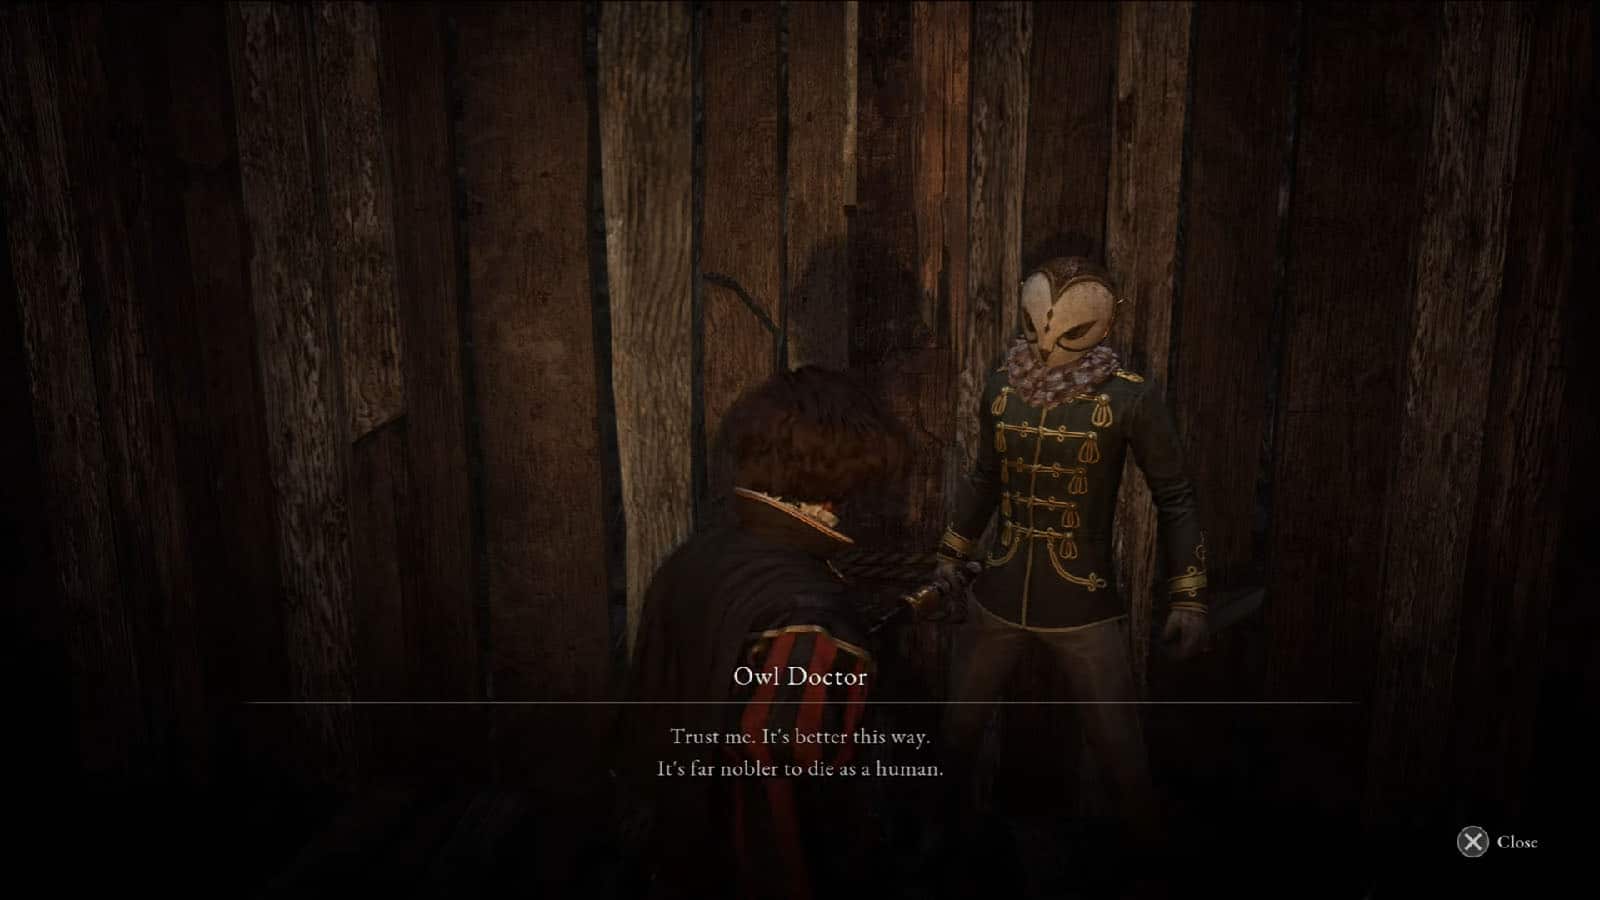
The Owl Doctor is a nimble boss to fight against as he has its bone saw, a dagger, and throwable knives, making him able to cover a large range.
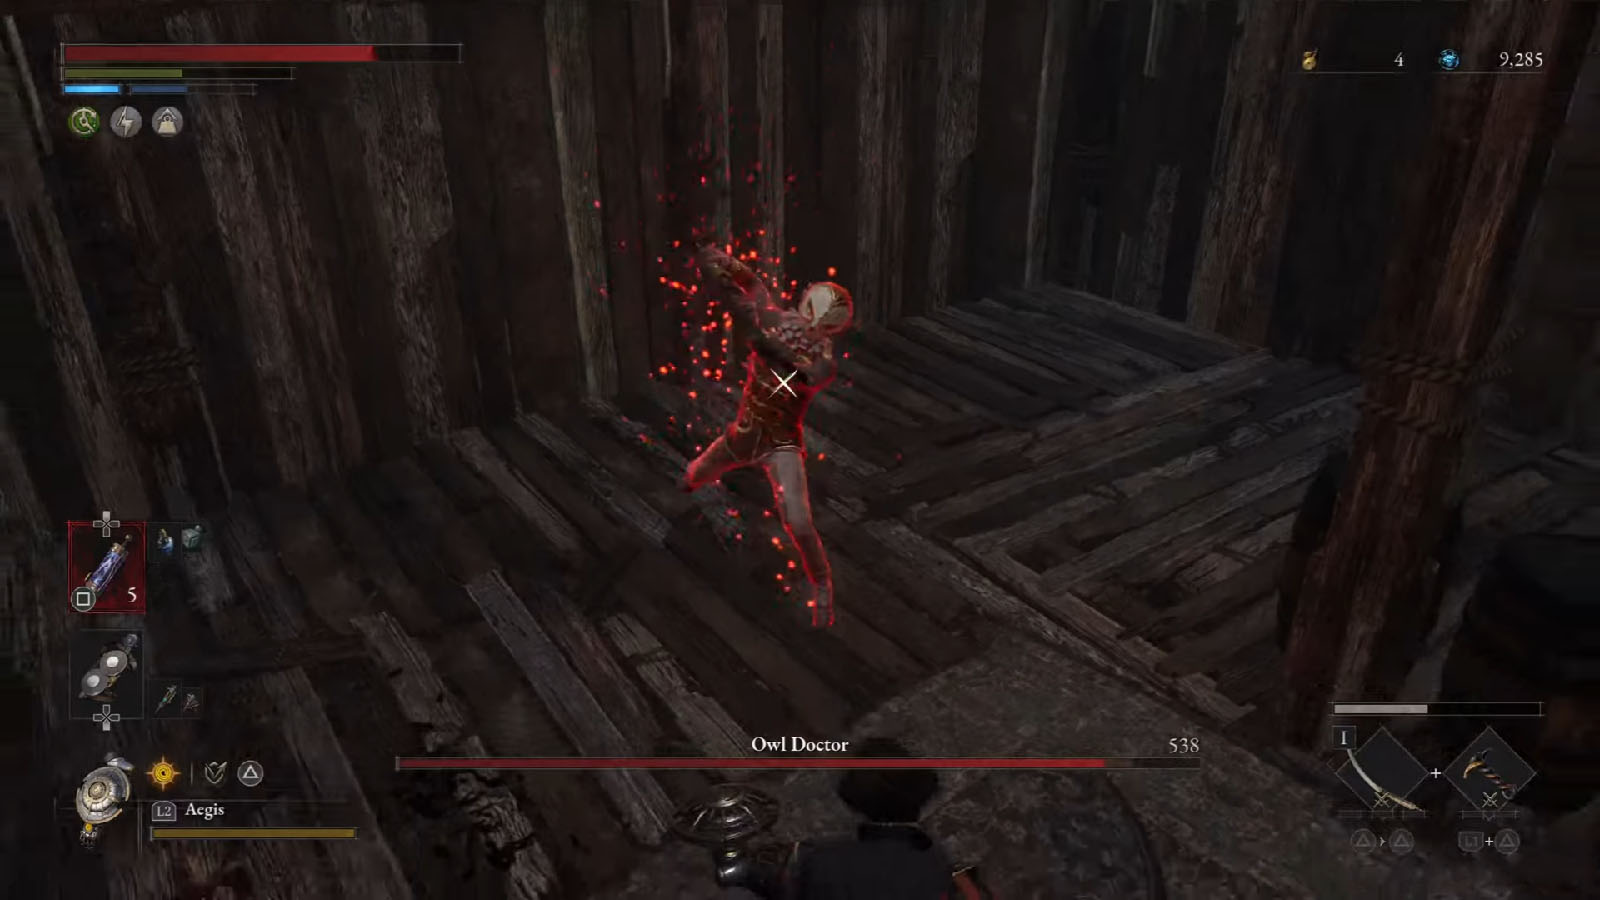
The strategy against the Owl Doctor is to stay within his close range so that he won’t be throwing out his knives often as the knives are harder to anticipate and block. Try to perform perfect guards at the start of the fight to break his main weapon right away, significantly reducing the damage that he can deal.
Once the Owl Doctor has been defeated, you will be rewarded with the Accessory – Owl Doctor’s Mask.
Barren Swamp Ravine
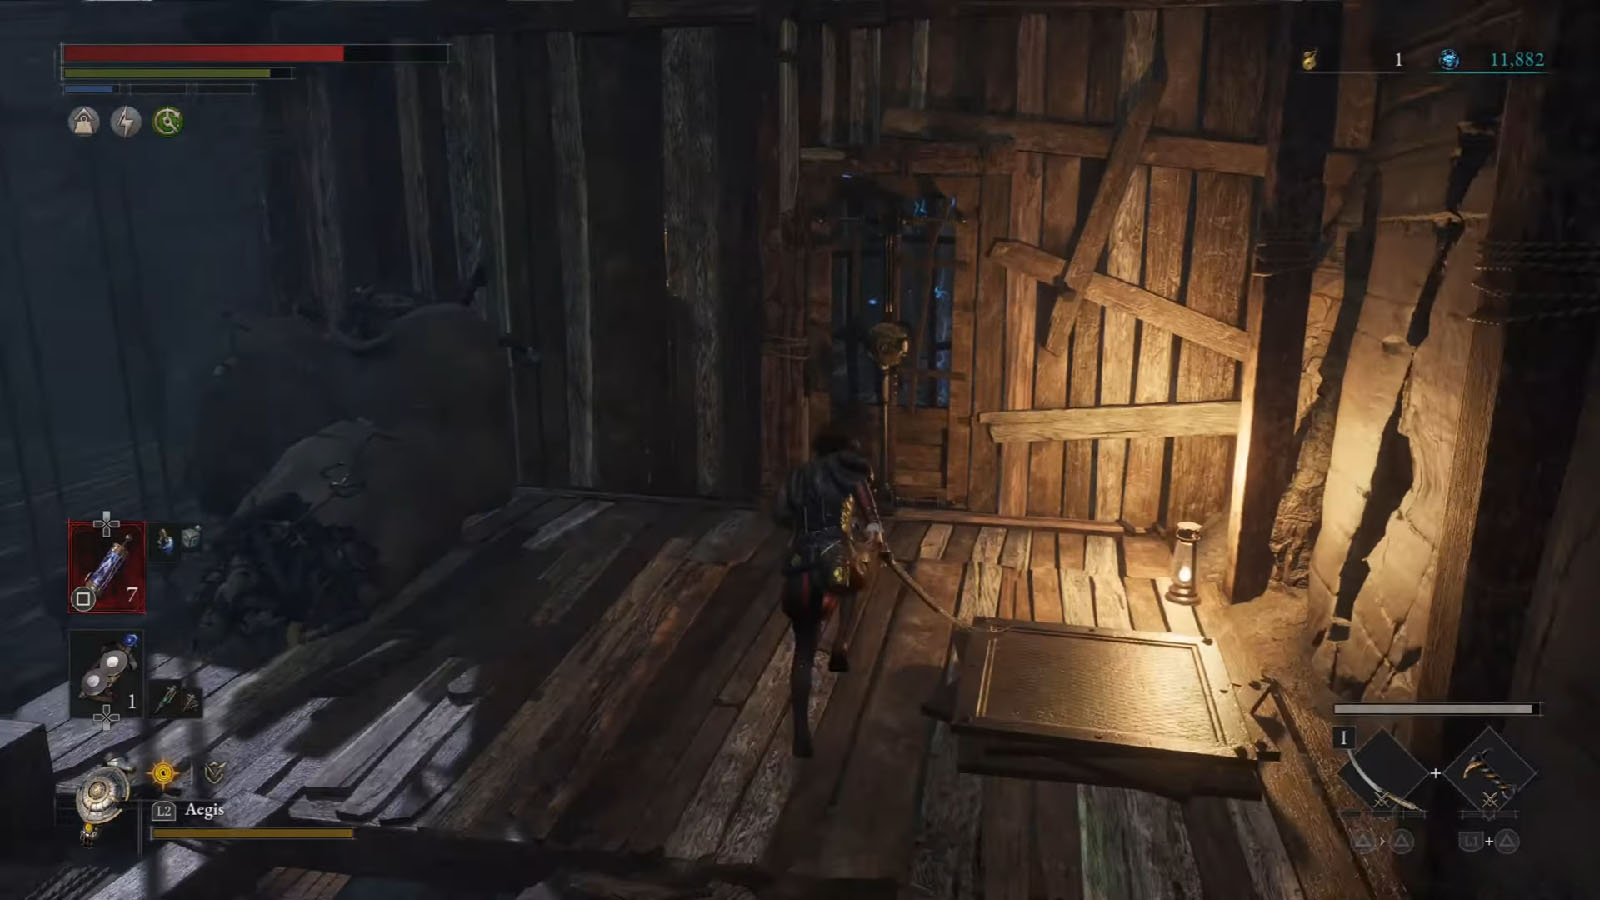
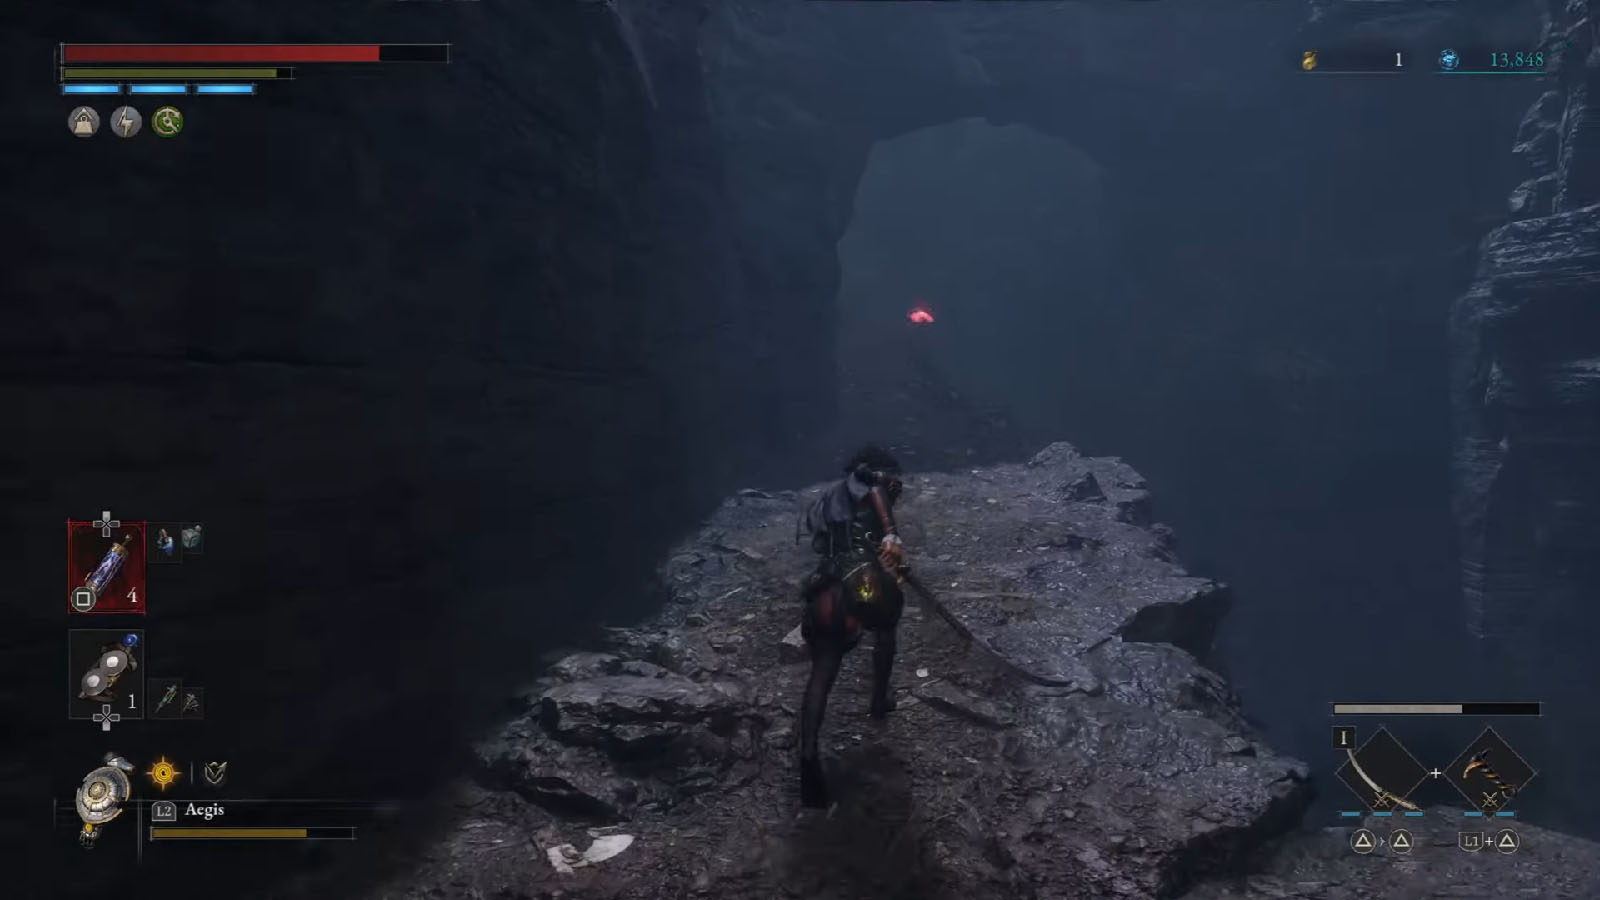
Continue onwards to the upwards slope that leads to the ravines. The platforms around the ravines are infested by mutants. Not far through the platforms, you will see a shack with a locked door and inside the shack is the next Stargazer; you will need to go around and unlock the door to the other side.
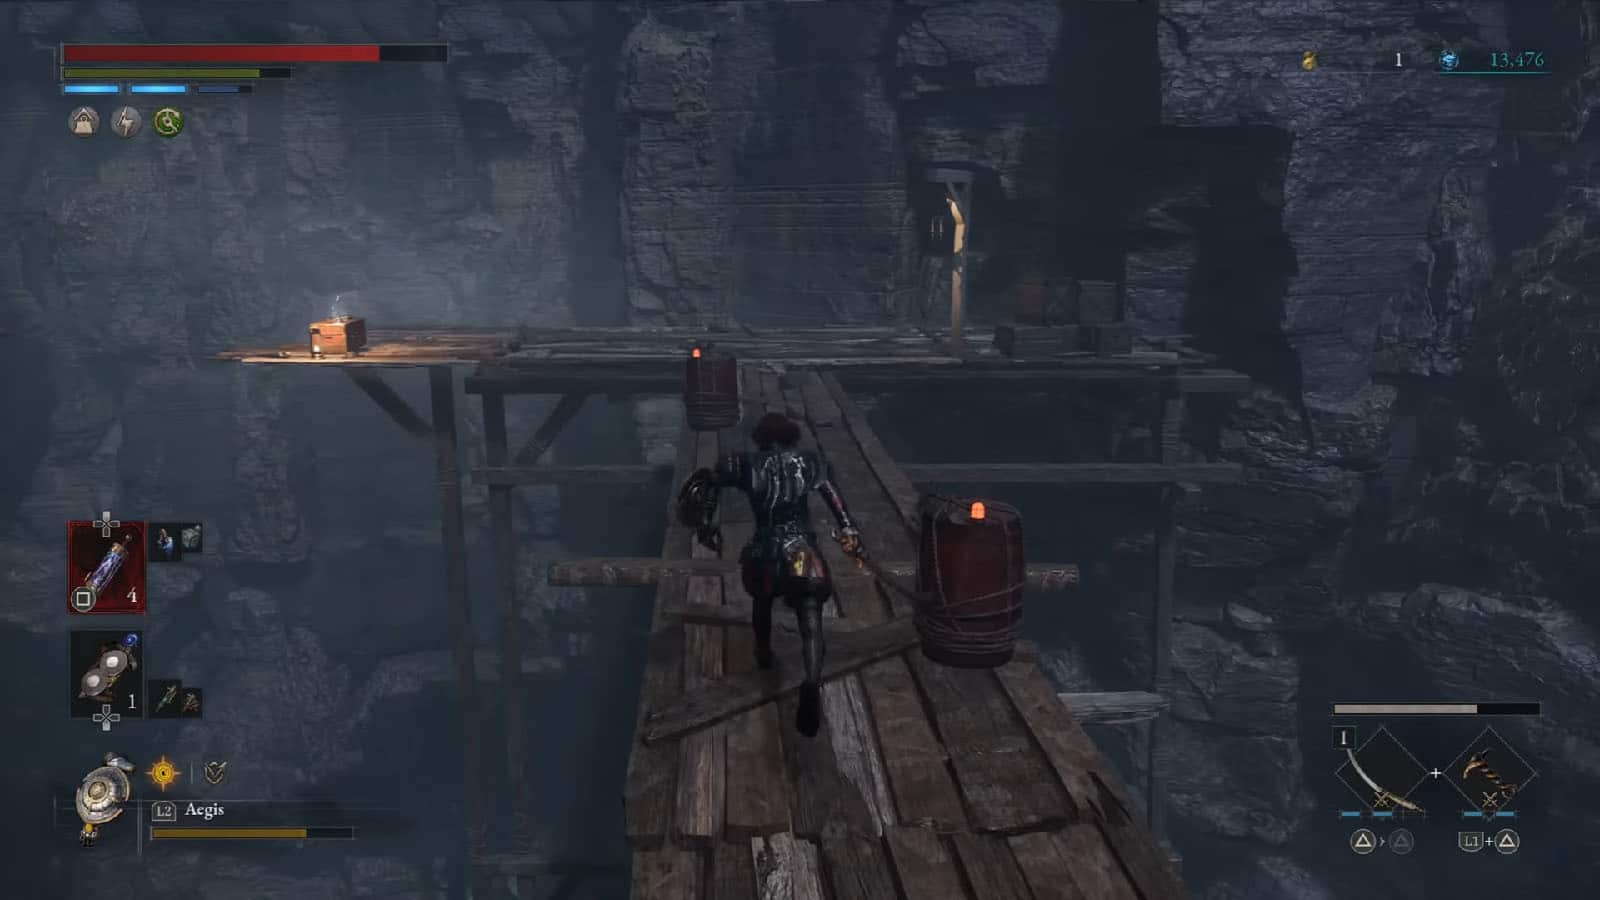
Go down the nearby ladder and clear out the enemies, then go down the next ladder to proceed. There’s another ladder up ahead; jump over the middle section to avoid falling down.
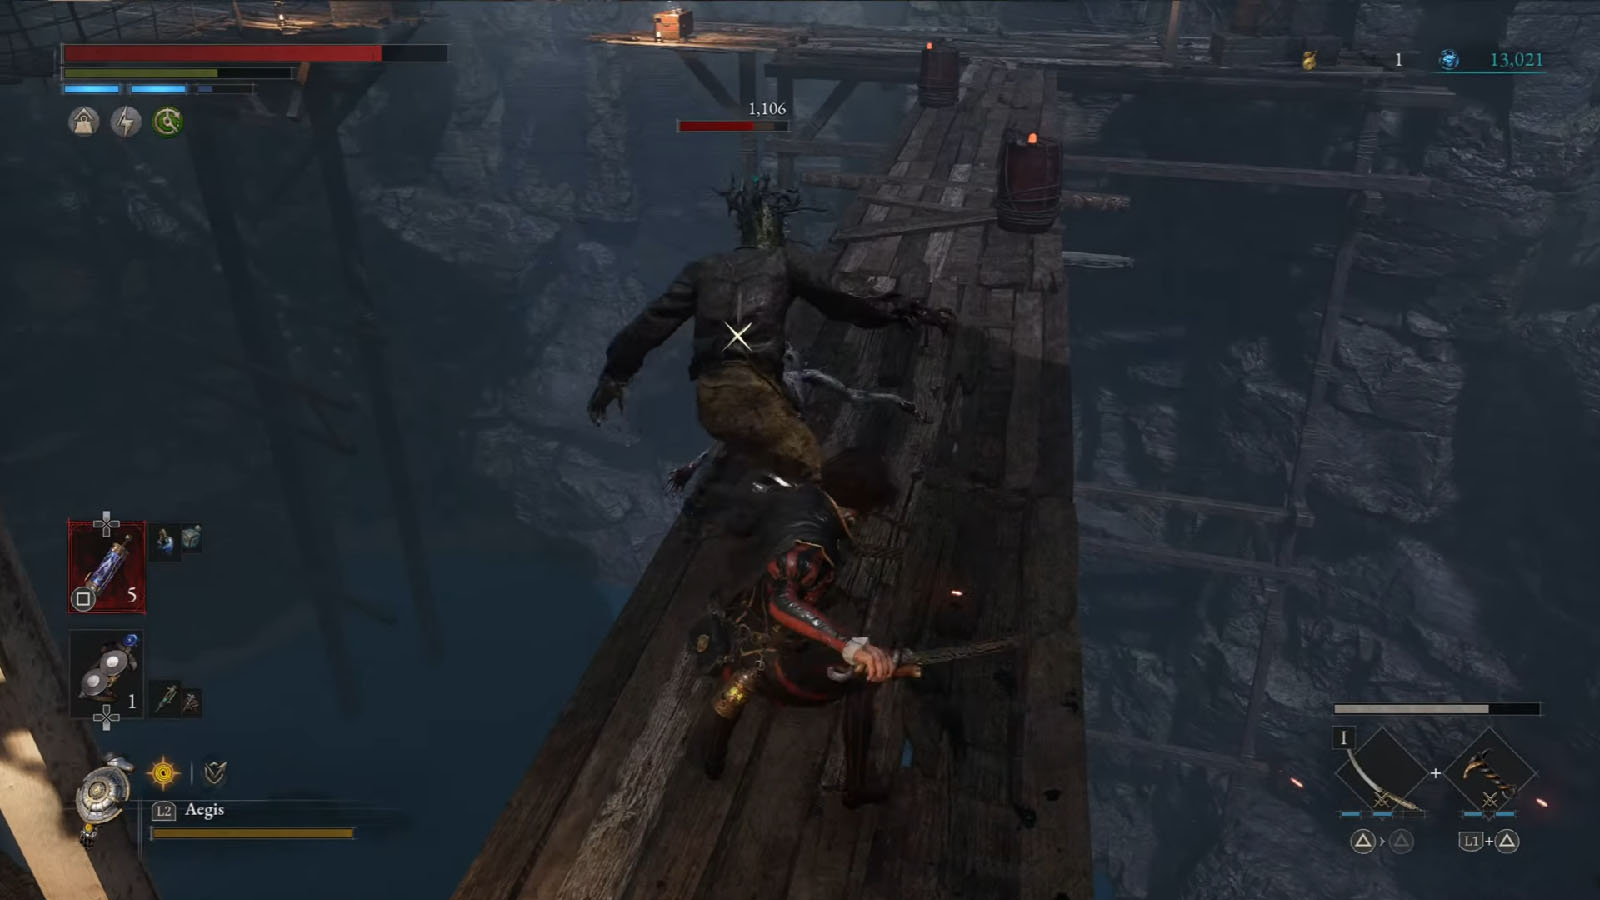
There’s another platform bridge up ahead lined up with barrels and hanging mutants. These mutants can spit out mud that will slow you down. Take them down one by one and try to avoid hitting the barrels as they can knock you off the platform. There’s also a tough elite mutant on the other side. You can try to lure it and once it’s next to a barrel, hit the barrel with a throwable to send the mutant off the bridge.
On the other end of the bridge is a chest that contains a Legion Caliber.
Head back to the other side and climb up the ladder on the side of the shack to get to the upper floor. On the side of the floor is a ledge that you can jump on, but make sure to land in the middle as the sides will break off.
Continue up the shack where you can finally activate the Stargazer and open the shortcut door. Afterwards, go back down to the platforms below and make your way towards the campfire at the distance. To the right of it is a cave entrance.
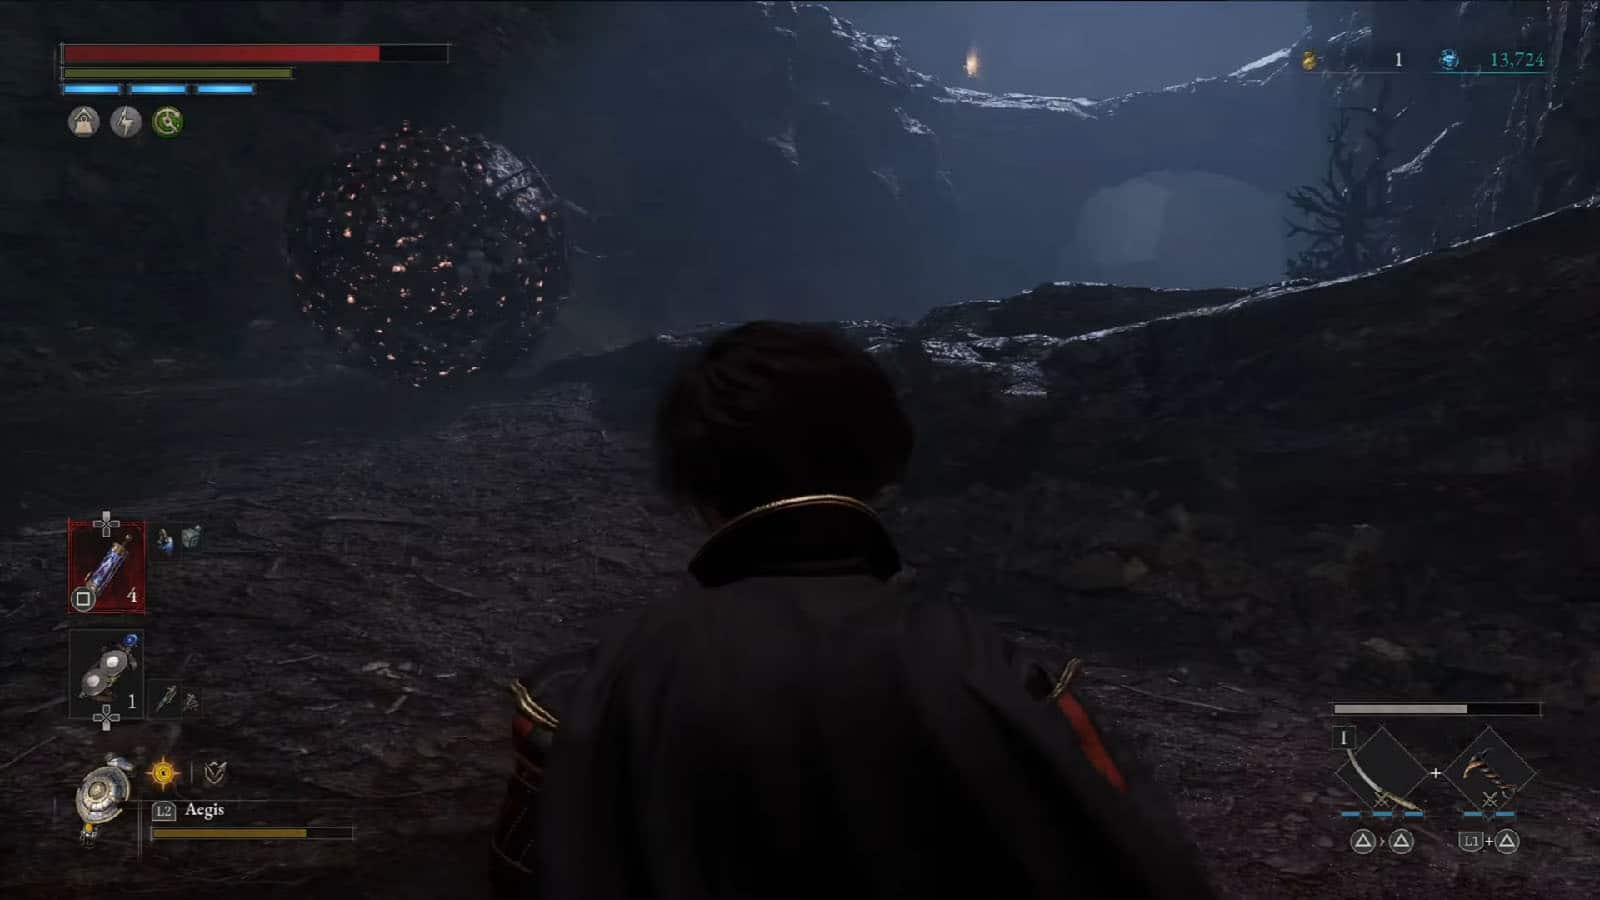
As you enter the cave, pay attention to the rolling balls that will be coming from the right. Up the slope they will be rolling on is a red butterfly that will slowly go up the slope. Follow the butterfly while avoiding the balls, then kill it to get an Advance Crank.
Up ahead is a rock bridge; time your crossing to avoid the balls. Another red butterfly will appear that can give you a Half Moonstone. Continue up the path and cross another bridge, then go down the ledge on the right side. Jump down once more, but time it in between the rolling balls. Follow the balls as they roll down to find another butterfly that gives another Half Moonstone.
Head towards the lit area and you will arrive at a fork. Take the right side first and push the button to lower the ladder leading back to the Stargazer.
Then, head to the left side where there is a chest guarded by a mutant bear. Defeat the bear and open the chest to get the Cartridge – Arch Disruption Cartridge.
Go back near to the ladder, then continue onwards to the shack to the left. Prepare for the ambush by the door, then kill the bar maid mutant inside. Open the chest inside the shack to get the City Longspear weapon.
Elite Fight: Giant Boy Puppet
Go up the path to the left of the house and you will encounter the Giant Boy Puppet elite. It’s quite a nimble enemy that can punch and slam on the ground. It has a special attack where it raises its hands and runs towards you. If you’re caught, it will grab you and throw you on the ground.
To avoid its grab attack, you will have to time your evade just as its arms are about to grab you; this enemy homes in on your direction quickly, making it almost impossible to strafe and sidestep the incoming grab.
Once the elite has been defeated, you will receive the Amulet – Leaping Amulet and a Dark moon Moonstone of the Covenant. Check the campfire nearby to find a Carcass Body Fluid Bottle.

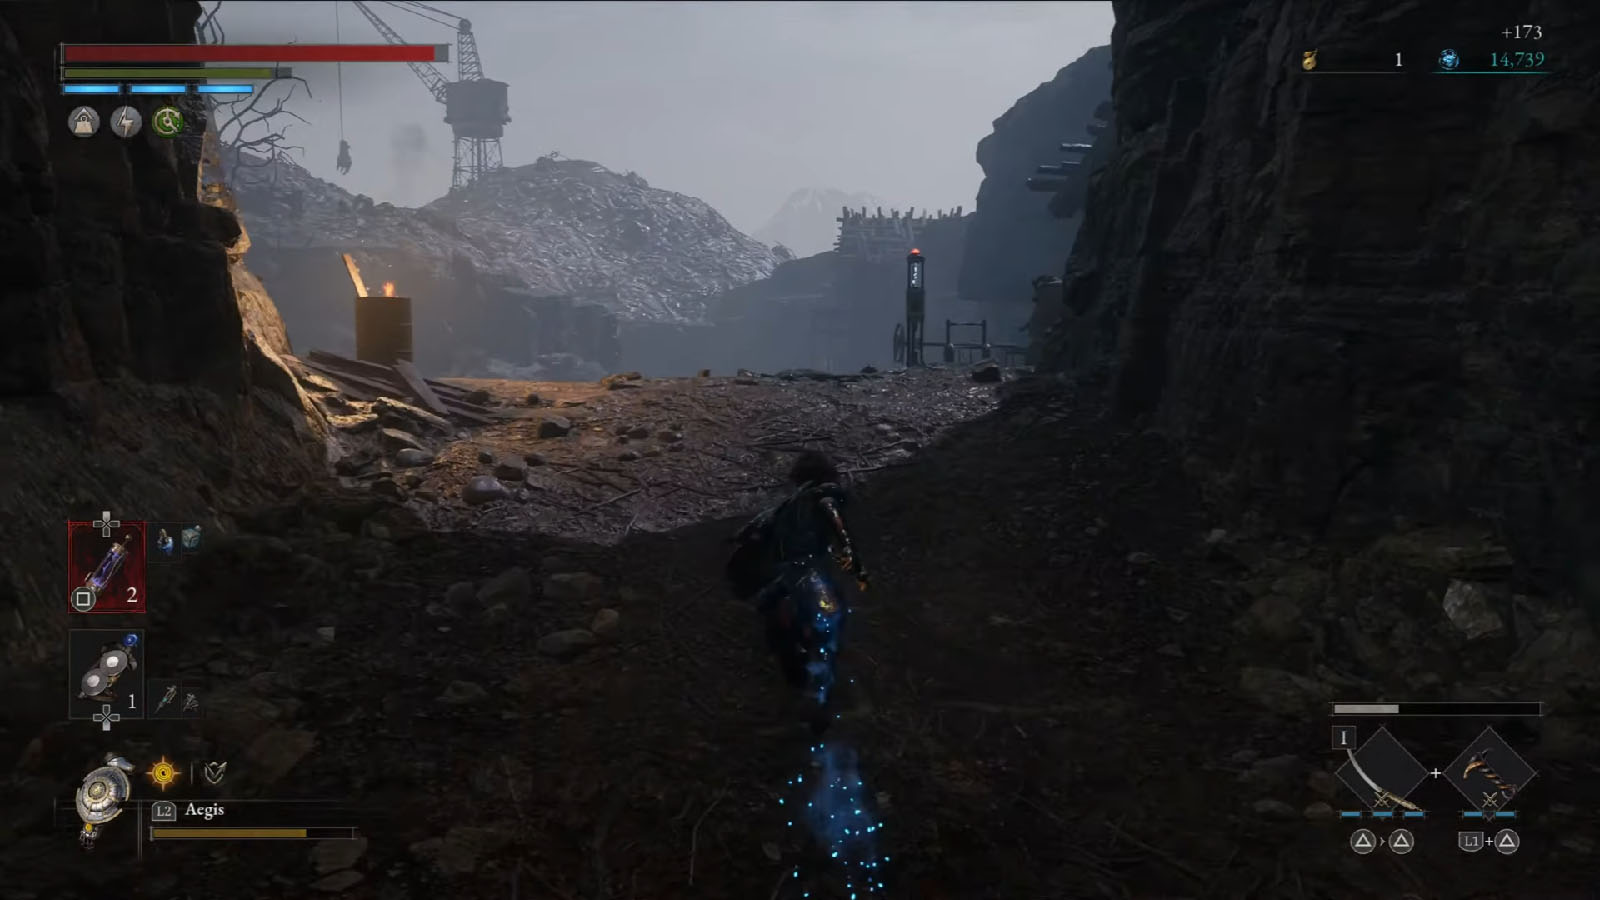
Move towards the tower and enter it. Check the right side for an ambush, then you can make it down the tower to fight more puppets and open the gate leading back to the dump. At this point, you can proceed to clearing out the enemies in the dump easier than before.
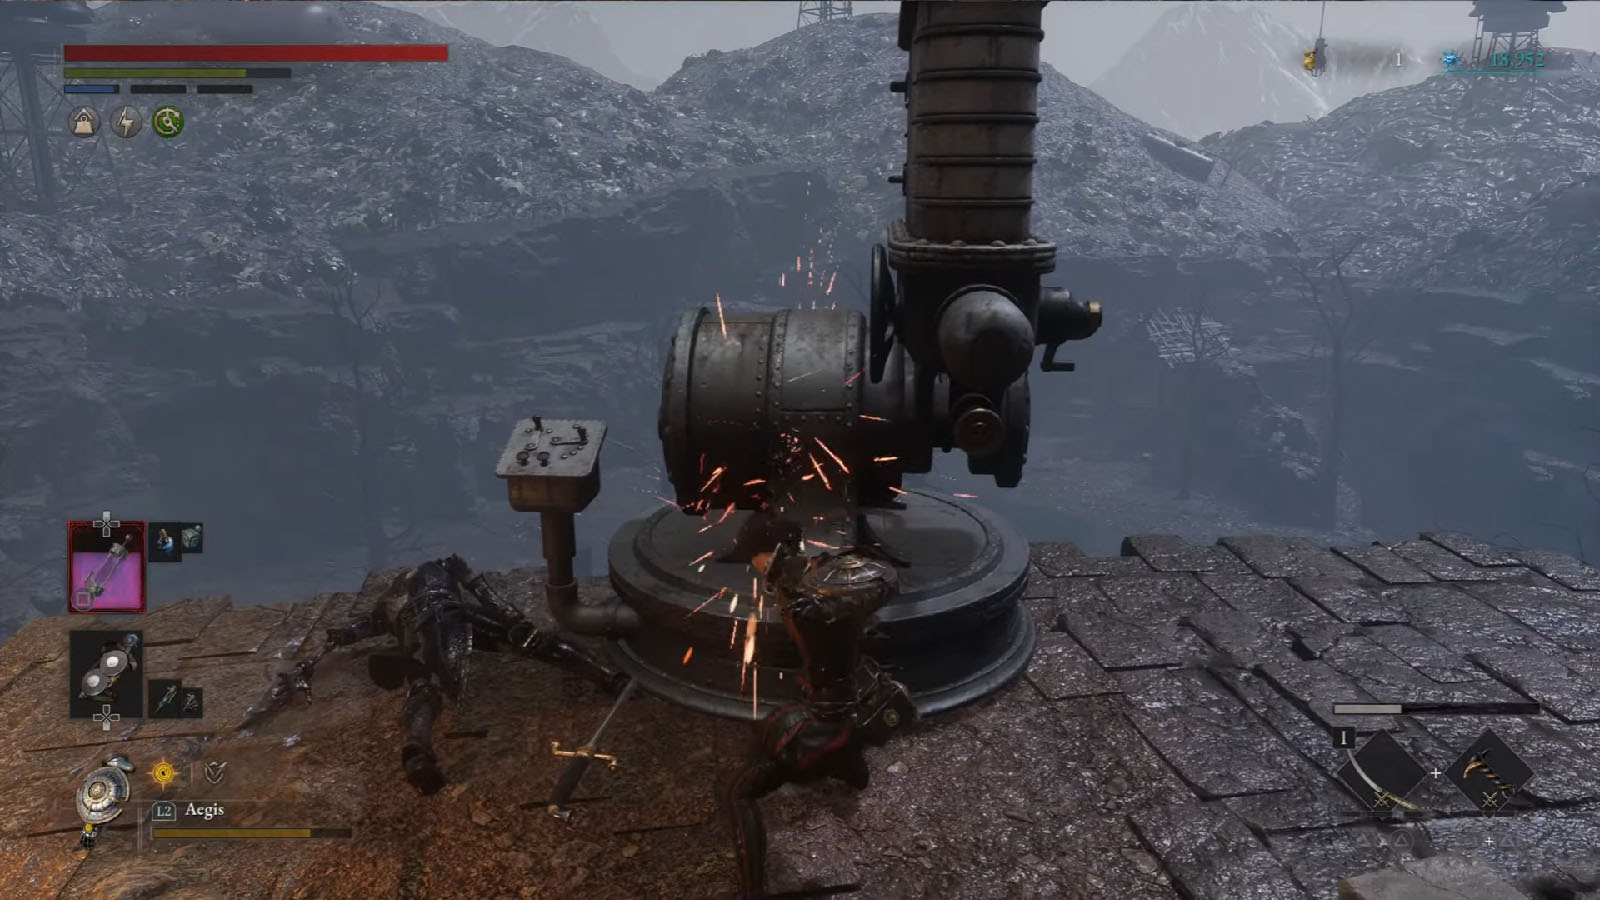
Next, climb up the ladder on the side first. You will then get access to the cannon; defeat the puppet controlling it and destroy the cannon. Afterwards, climb down the ladder inside of the tower to get to the other side.
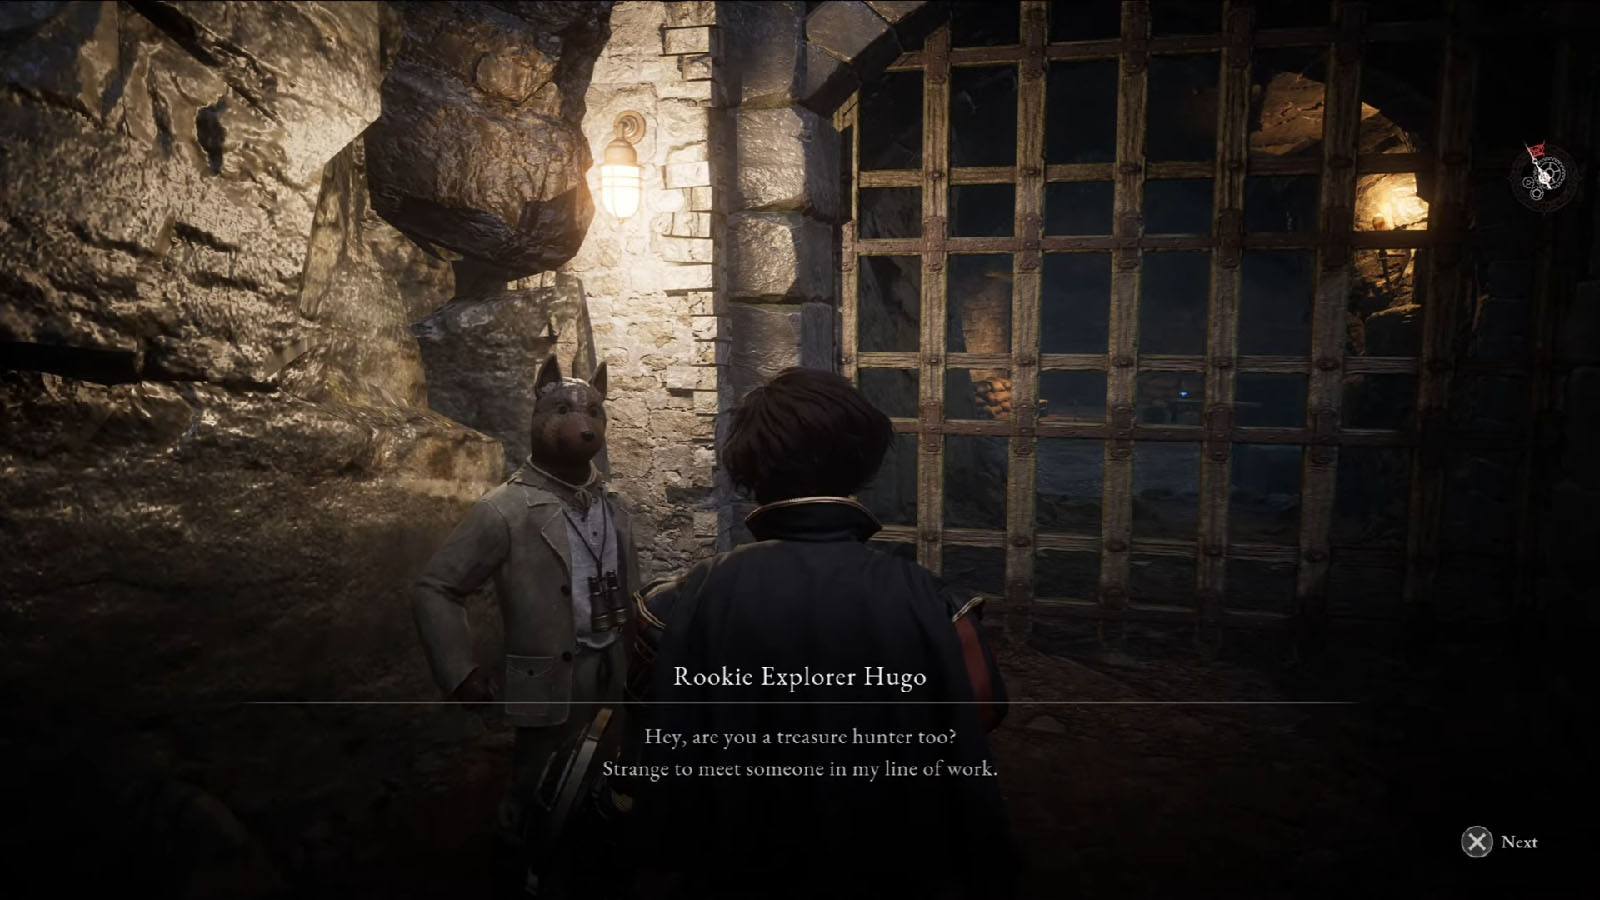
Continue down the path and cross the bridges. After the second bridge, look to the right to find Rookie Explorer Hugo. Talk to him about the discovered treasure and you will get the Old Cryptic Vessel that you can bring to Venigni. You won’t be able to open the gate to the Hermit Cave yet, so continue on down the other path where you will find the next Stargazer.
Barren Swamp Bridge
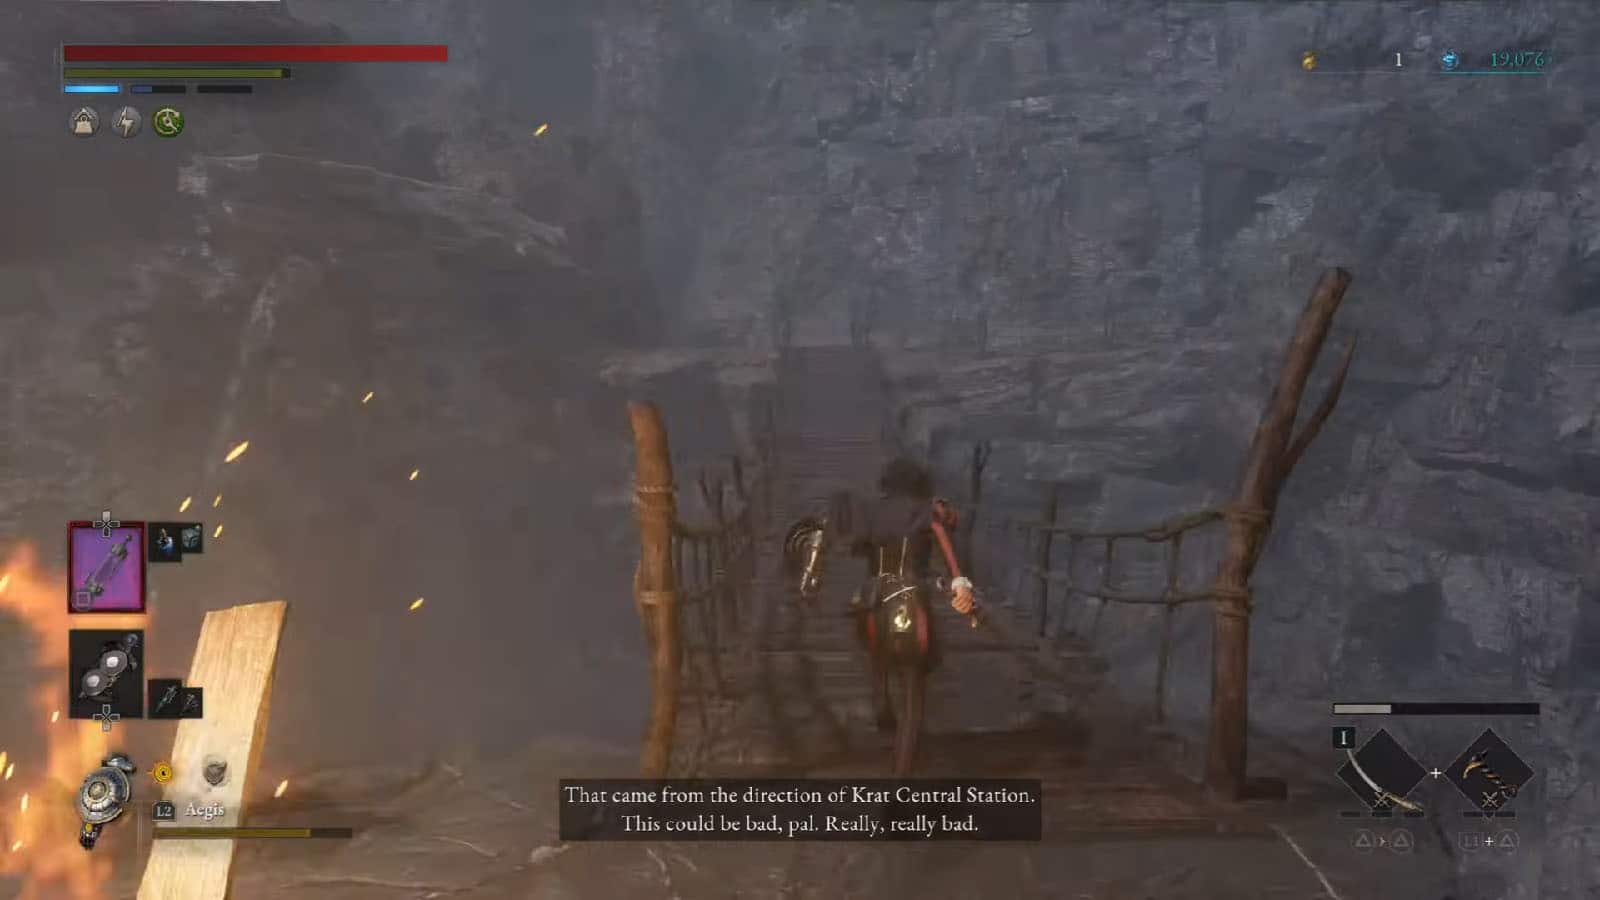
From the Stargazer, you will find the Collectible – Sentry’s Notebook. Just up ahead is the lair for the boss of this chapter.
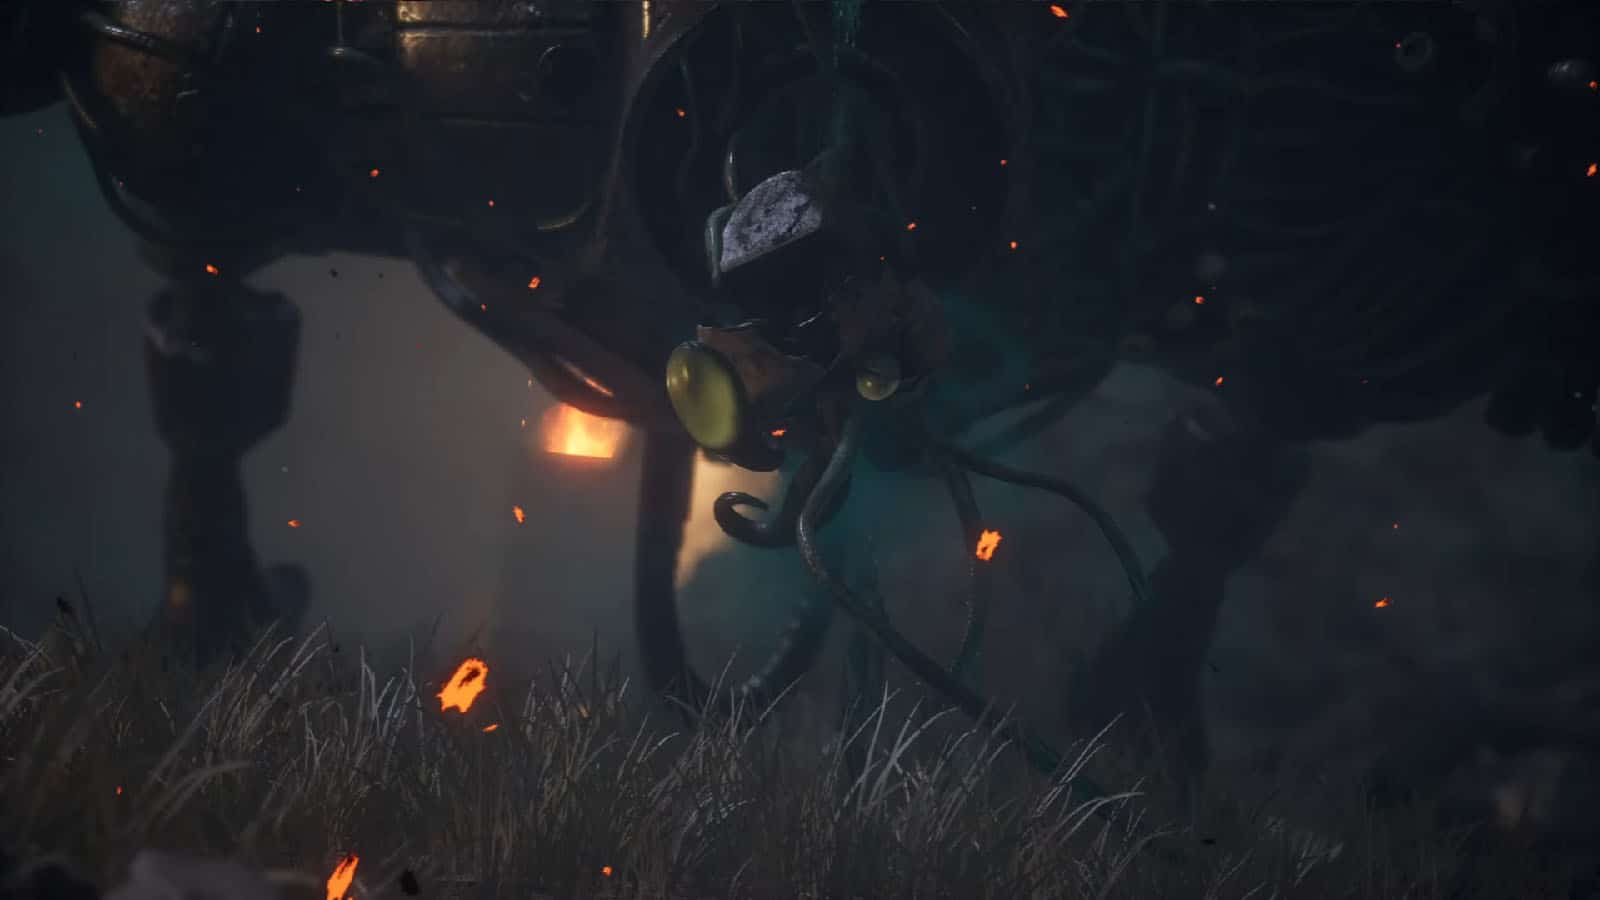
Boss Fight: Green Monster of the Swamp
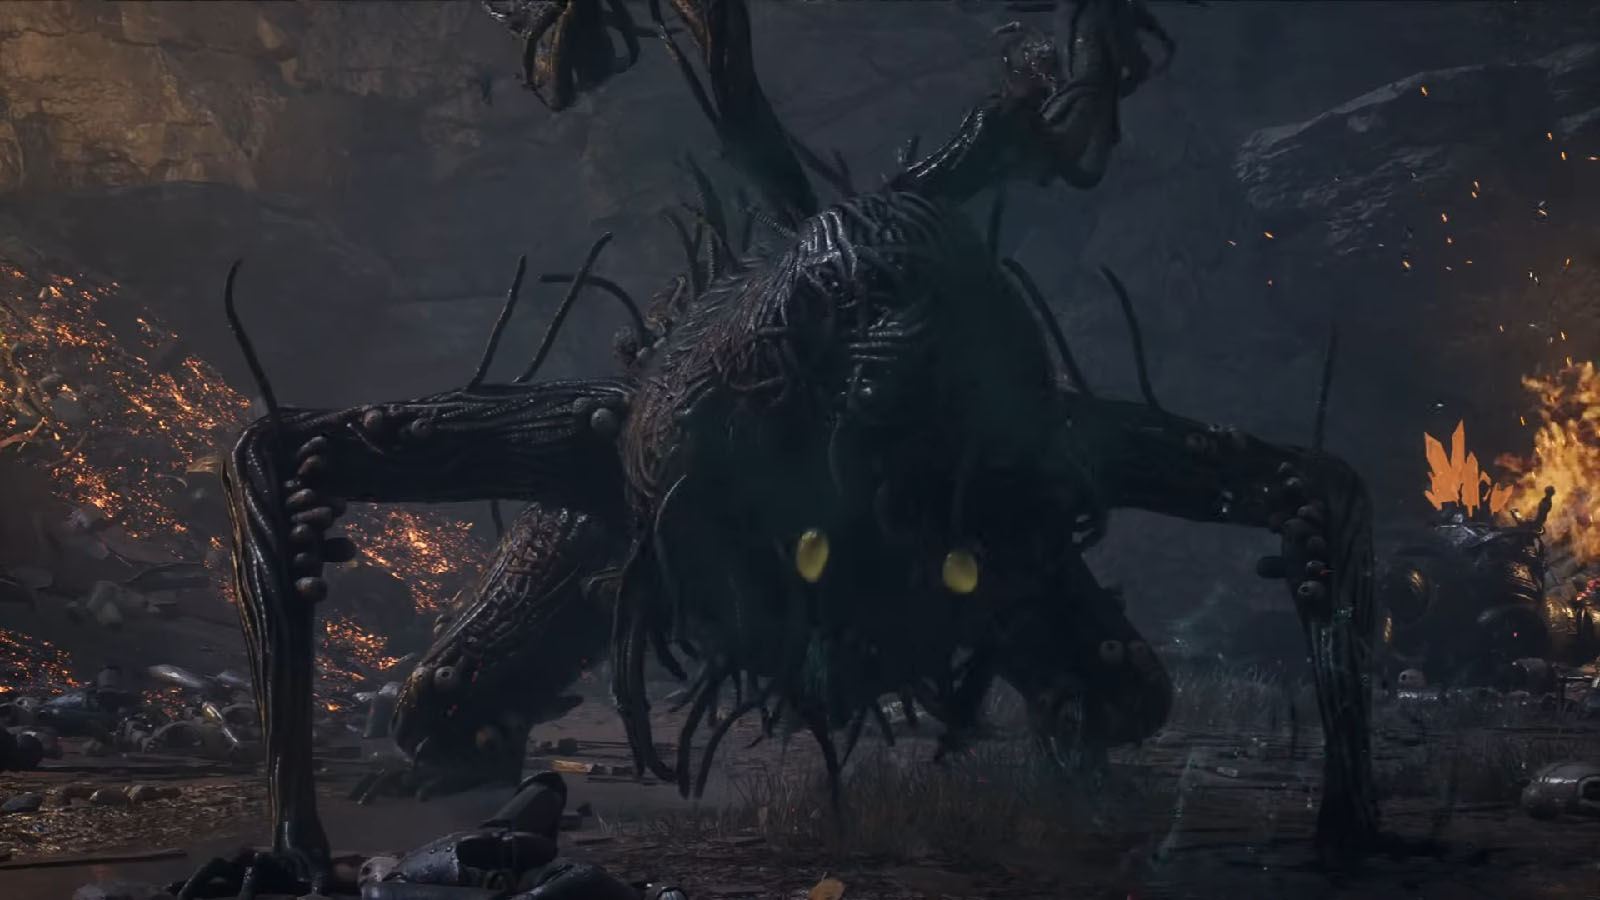
The Green Monster of the Swamp is a mutated creature that has two tendrils with claws. It has two phases, and on the second phase, it will transform into the Puppet-Devouring Green Monster.
Green Monster of the Swamp First Phase
On the first phase, the boss has several arm attacks and tendril swipes to look out for, along with an arm slam. It also has the ability to spit out acid and send out its tongue from its face. Pay attention to its tendril attack where it lashes out its tendrils multiple times as it back away.
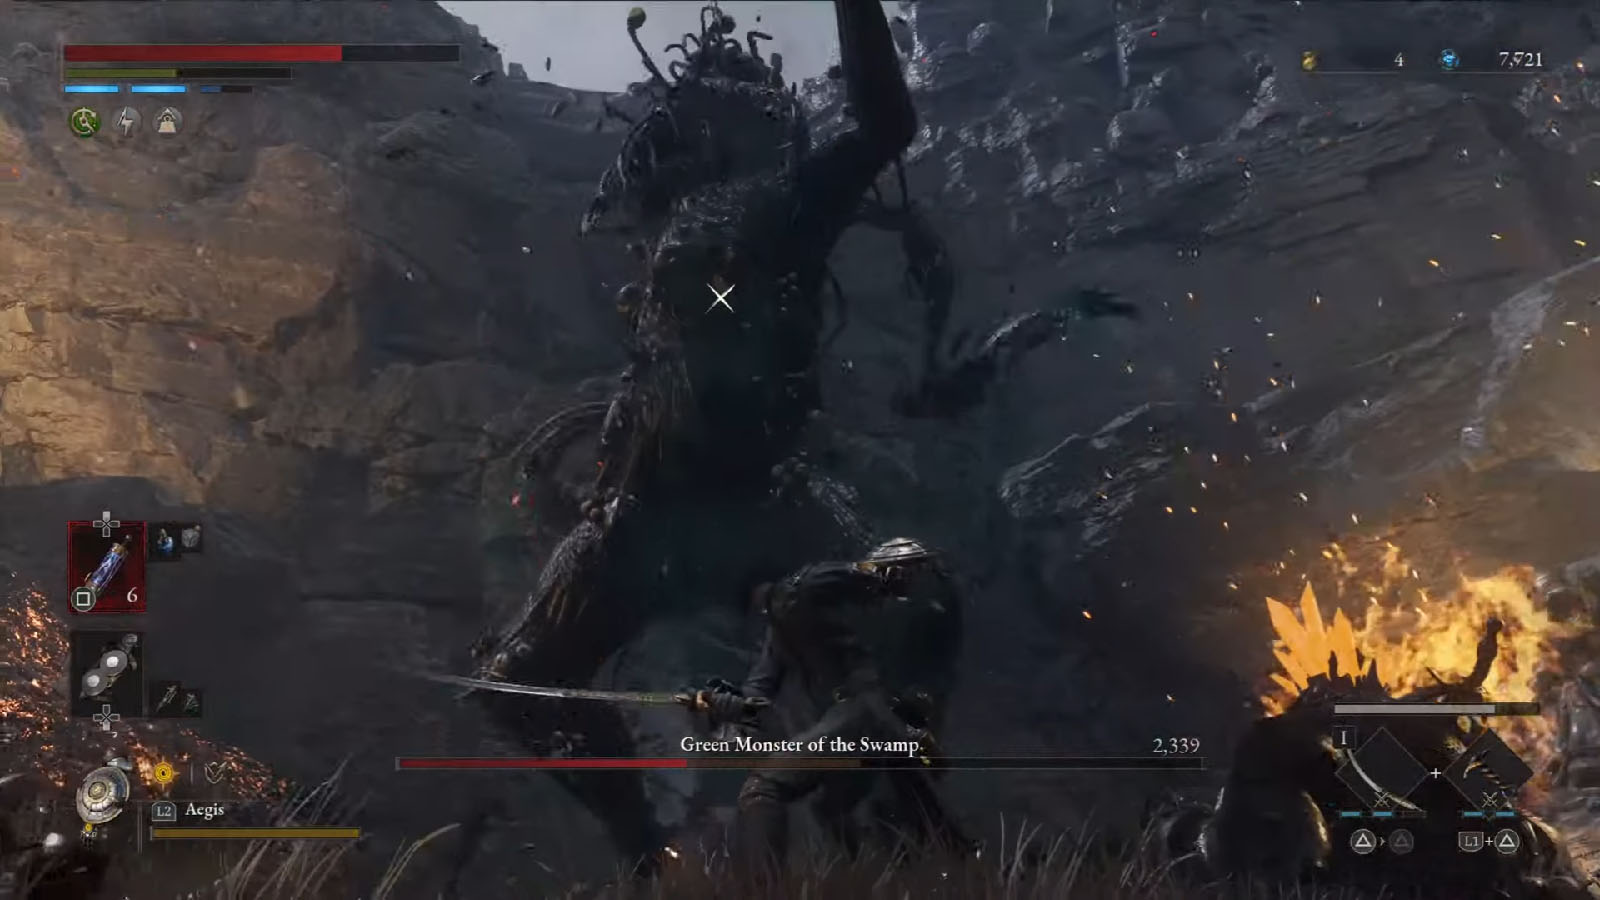
Puppet-Devouring Green Monster Second Phase
Once its health reaches zero, the boss will assimilate itself with a broken puppet to transform into its new form. In this form, it becomes more nimble and more aggressive. Once of its big combos is when it starts running and jumping around, followed by a flurry of arm attacks and finished off with a double tendril stab.
The boss can also rotate its upper torso which is followed up by a combo of tendril attacks. Its super attack is when it spins its arms around, raises them up, then slams them to the ground. It’s also followed up by a tendril sweep on both of its sides.
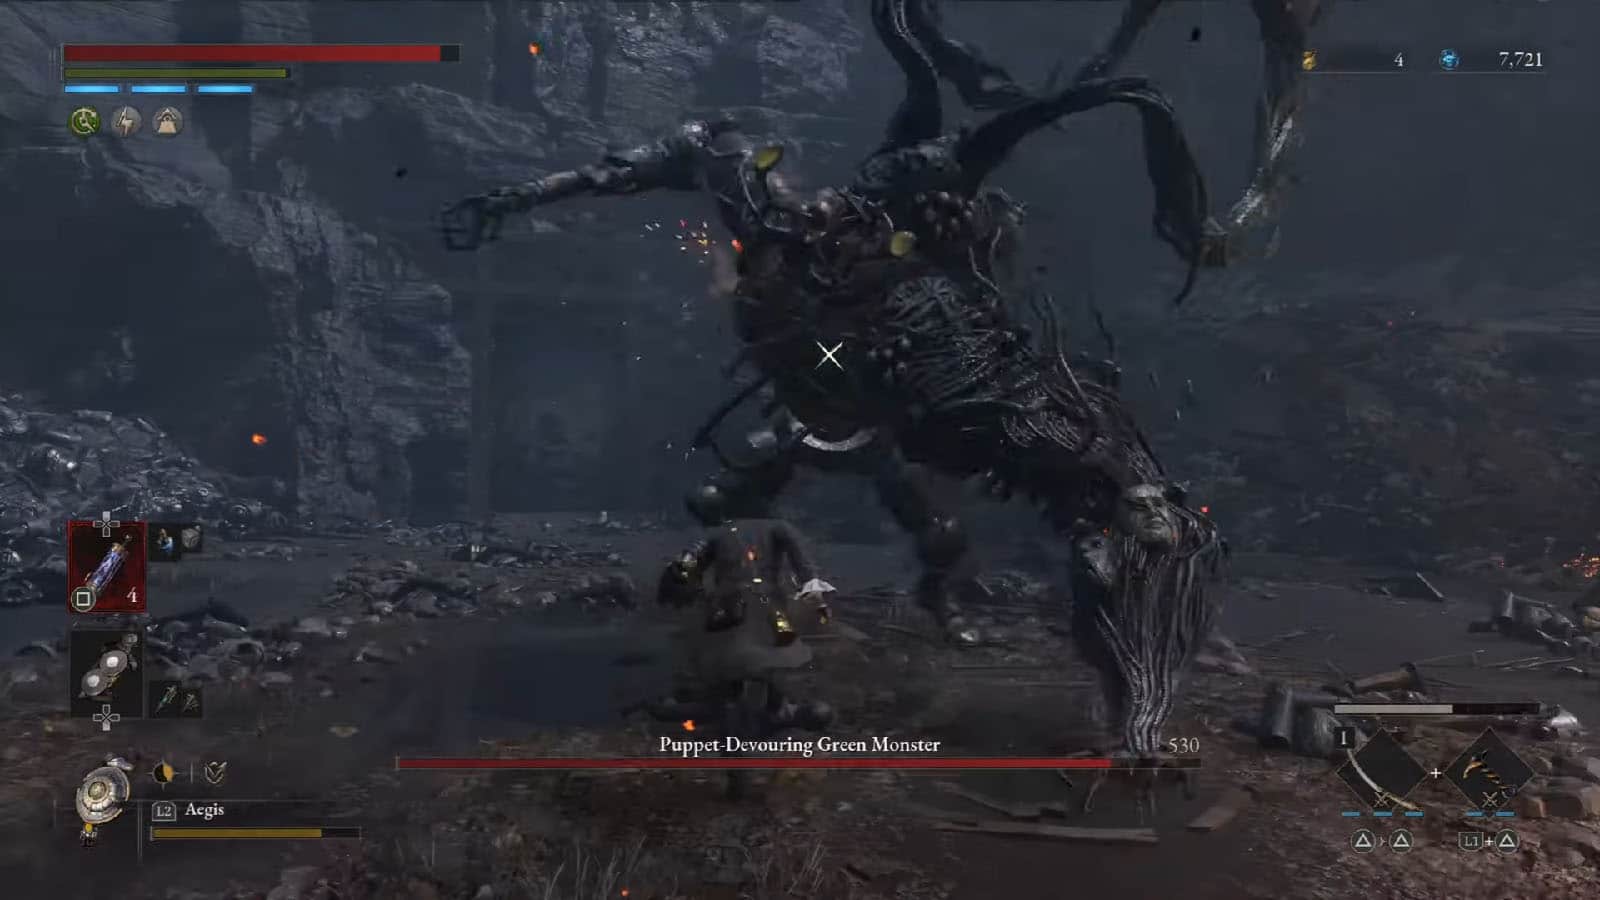
For both phases, it’s recommended to use a weapon that causes fire damage, then equip P with as much acid protection as possible to not worry about decay during the fight. Also wear the Carcass Butcher’s Amulet which can be bought from Pulcinella to increase the damage dealt to the boss. It’s best to use Aegis as the arm to add some blocking potential, plus try to study the timing of all the attacks, most especially the tendril attacks which come in quick.
Once the boss has been defeated, you will be rewarded with the Puppet- Devouring Green Hunter’s Ergo and the Golden Ergo that Venigni has been looking for. Remember to activate the Barren Swamp Nest Stargazer for later.


