
Lies of P is an action soulslike game that follows the story of P, a humanoid puppet created as the last hope against the puppets that have turned against everyone in the city of Krat. After obtaining the Golden Ergo, P now has to make his way back to the hotel through the train station. However, the effects of the disease have spread out significantly, and even the puppets in the station have already been mutated as well.
Read on for a full walkthrough of the events in Lies of P Chapter 9: Krat Central Station.
See previous: Lies of P: Chapter 8 Barren Swamp Guide
Lies of P: Chapter 9 Krat Central Station Full Walkthrough
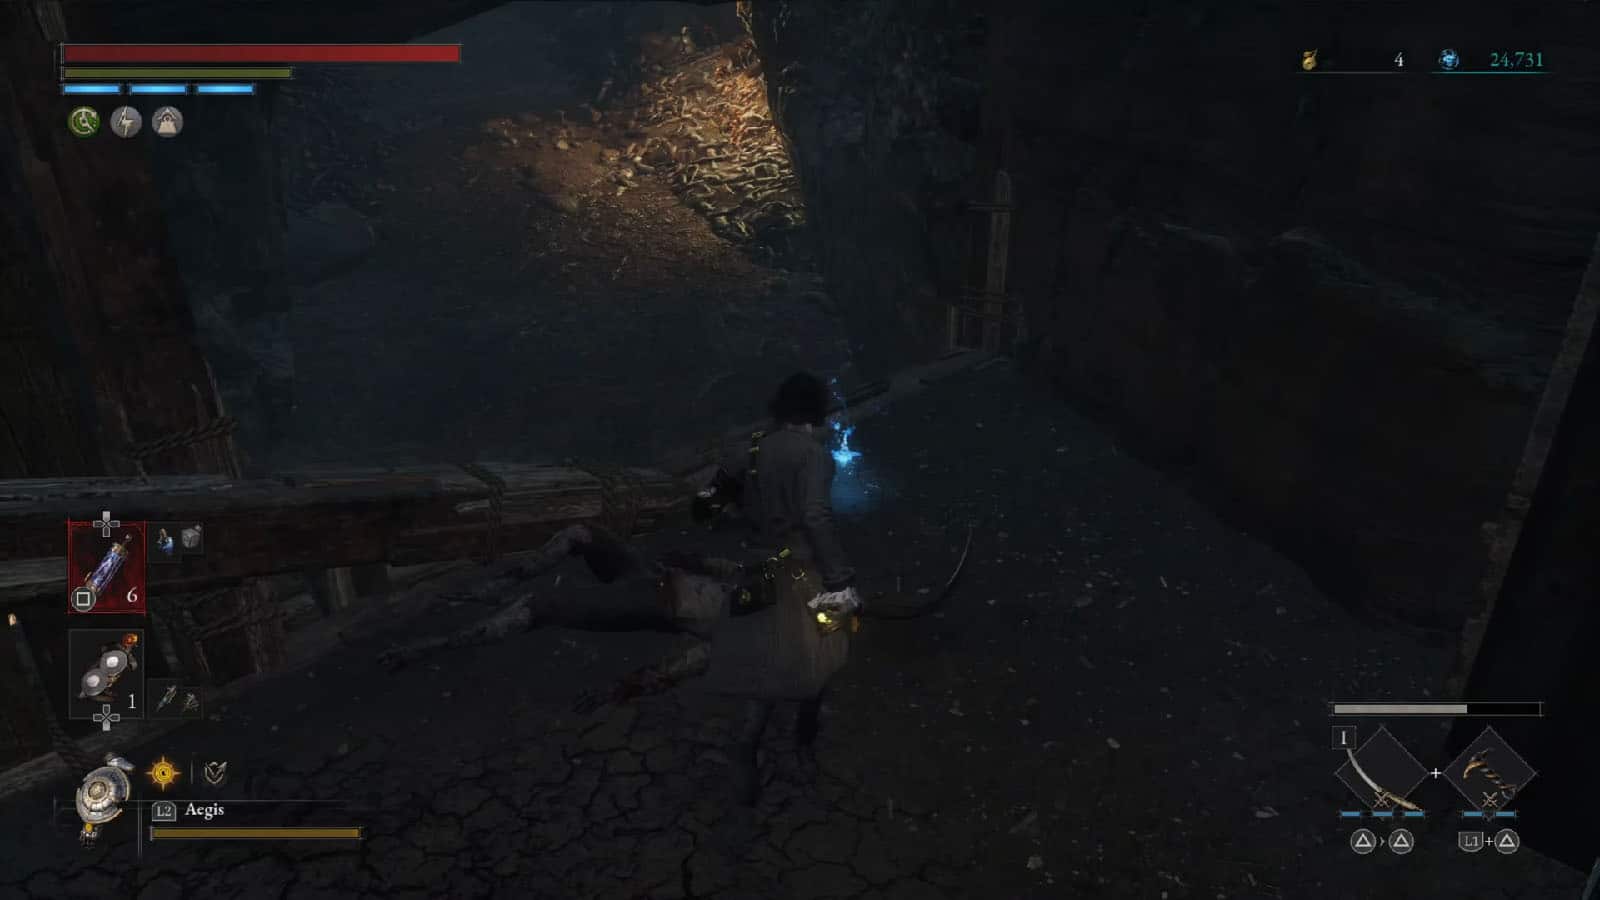
From the Barren Swamp Nest Stargazer, proceed through the cave ahead. Drop down the ledge on the side of the downward slope to get an Acid Canister.
From the platform at the end of the path, climb down the ladder and you will be fighting against a dual-faced brute. Defeat it, then head to the room ahead to open the gate to the next area.
Turn to the right and climb up the illuminated ladder. Before moving ahead, turn around and go through the gate to find the Collectible – Frayed Notebook.
Once you get to the top, wade through the acid towards the right (left path has a Saw Blade at the end) until you reach a familiar location.
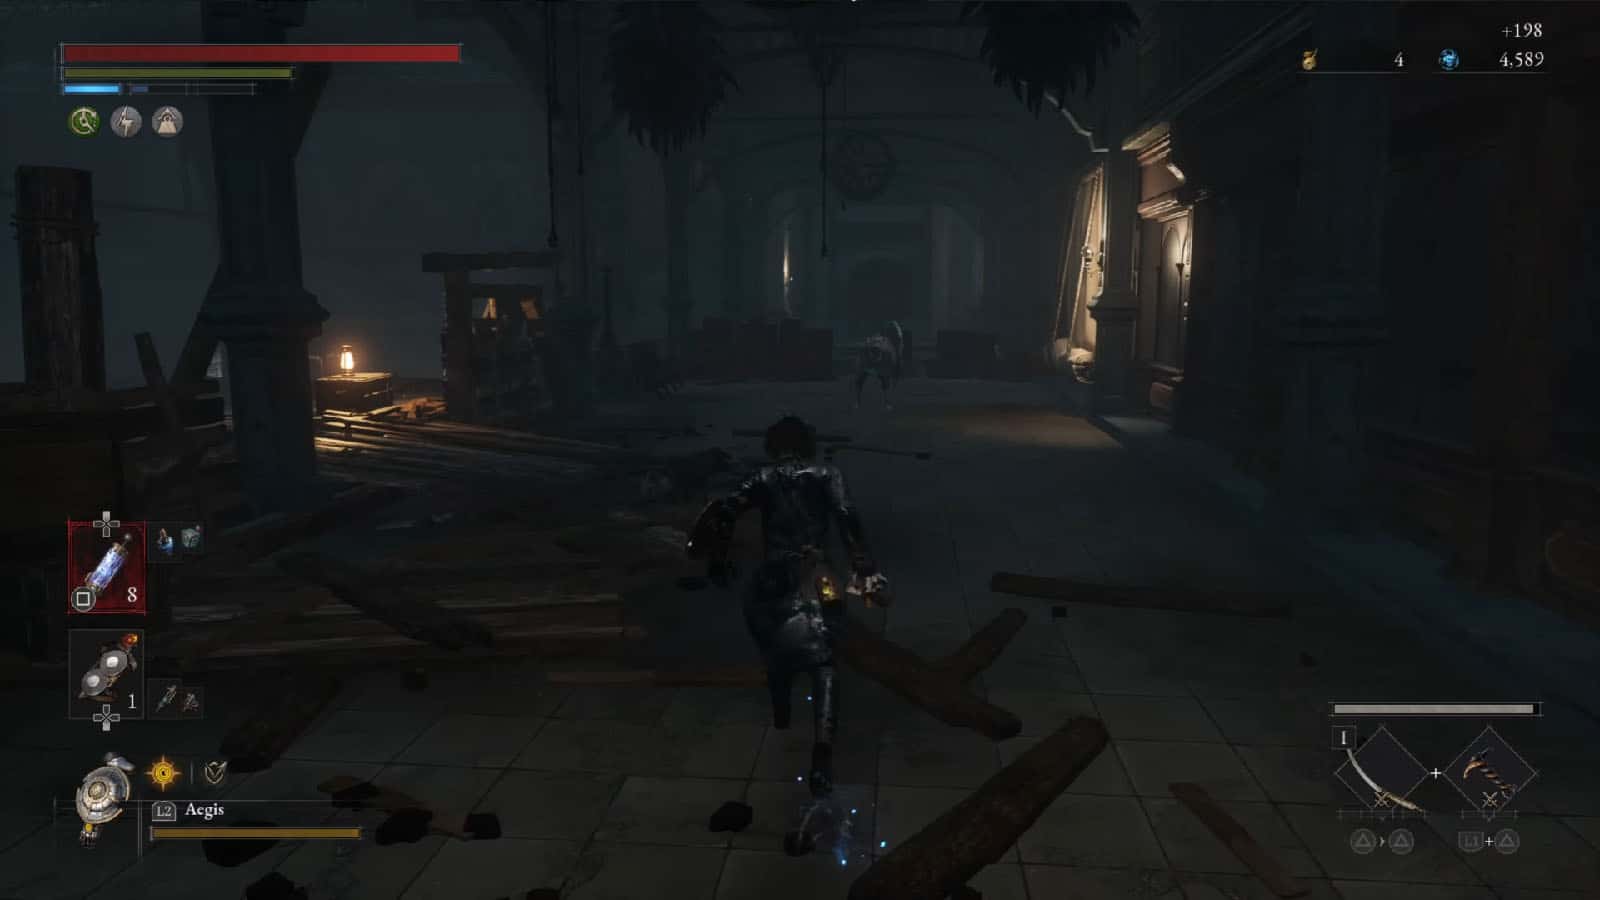
Krat Central Station Platform
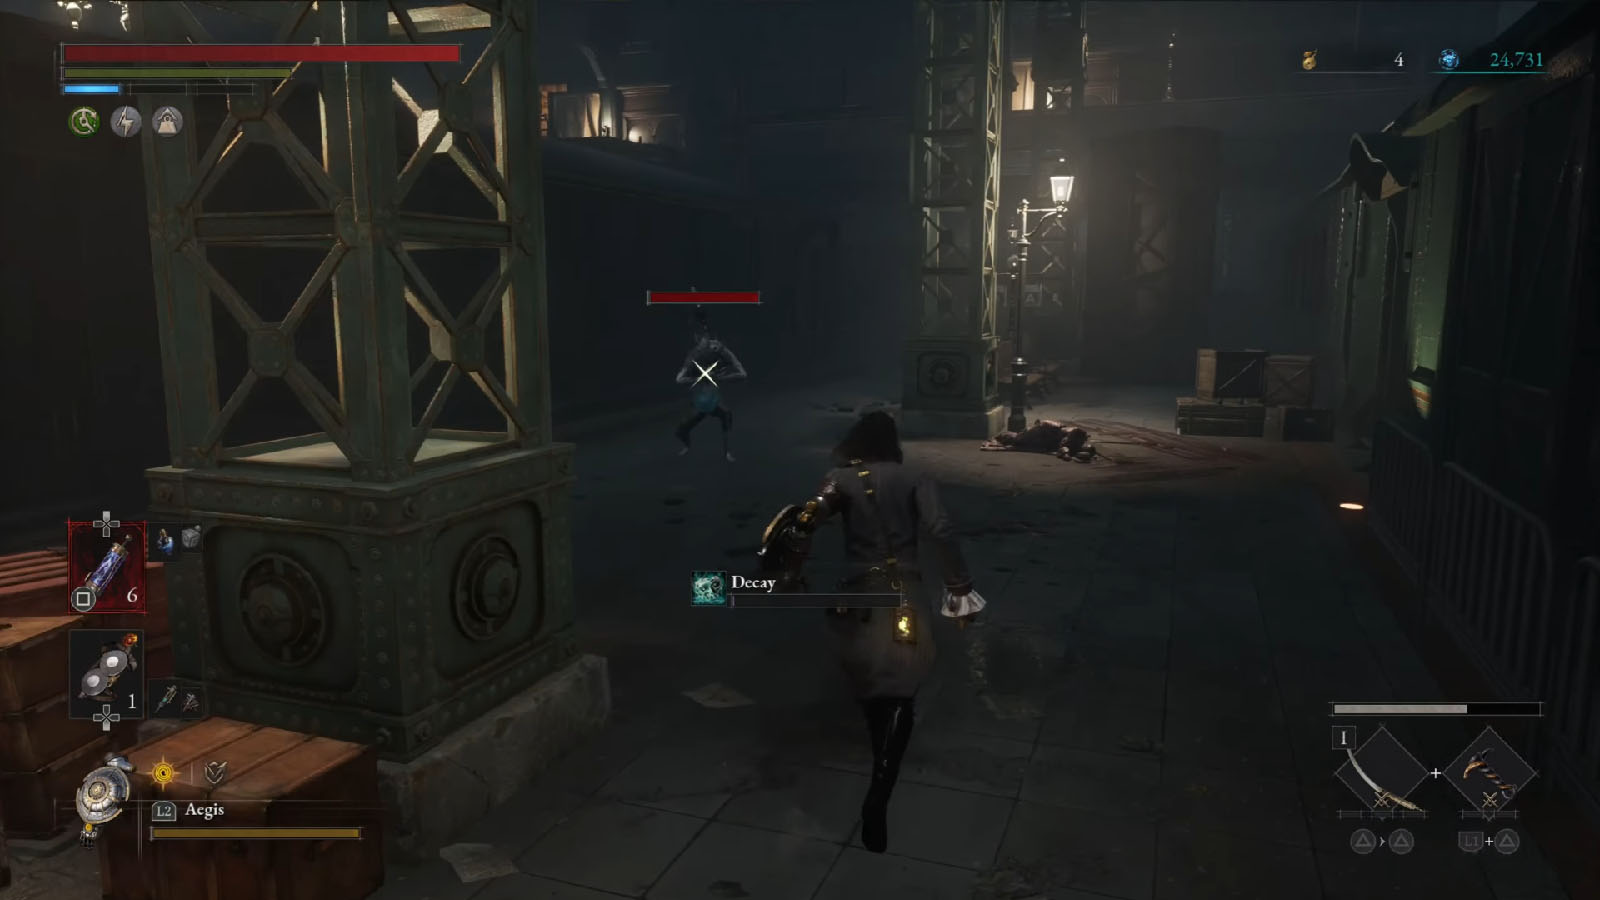
Back in the Krat Central Station, it’s now also infested by mutants. Defeat the scorpion mutant up ahead, then get the Collectible – Bloody Letter near the crates.
Enter the open carriage to cross the other side where another enemy is waiting. Go to the next room and climb up the stairs to find the first Stargazer.
Continue inside the station where you’ll find more mutants. There are also acid sacs on the ceiling now that spawn explosive mutants as they drop to the ground. Up ahead is a hole on the ground and a beam that you can cross, and further ahead is a gate that’s locked on the other side.
Go to the platform on the side first and you will find an enclosed area covered with acid smoke and patrolled by multiple enemies. Try to jump and slash on top of the smoke pod to dispel the smoke, then kill all of the enemies before the smoke comes back. You can find a chest that contains a Quartz.
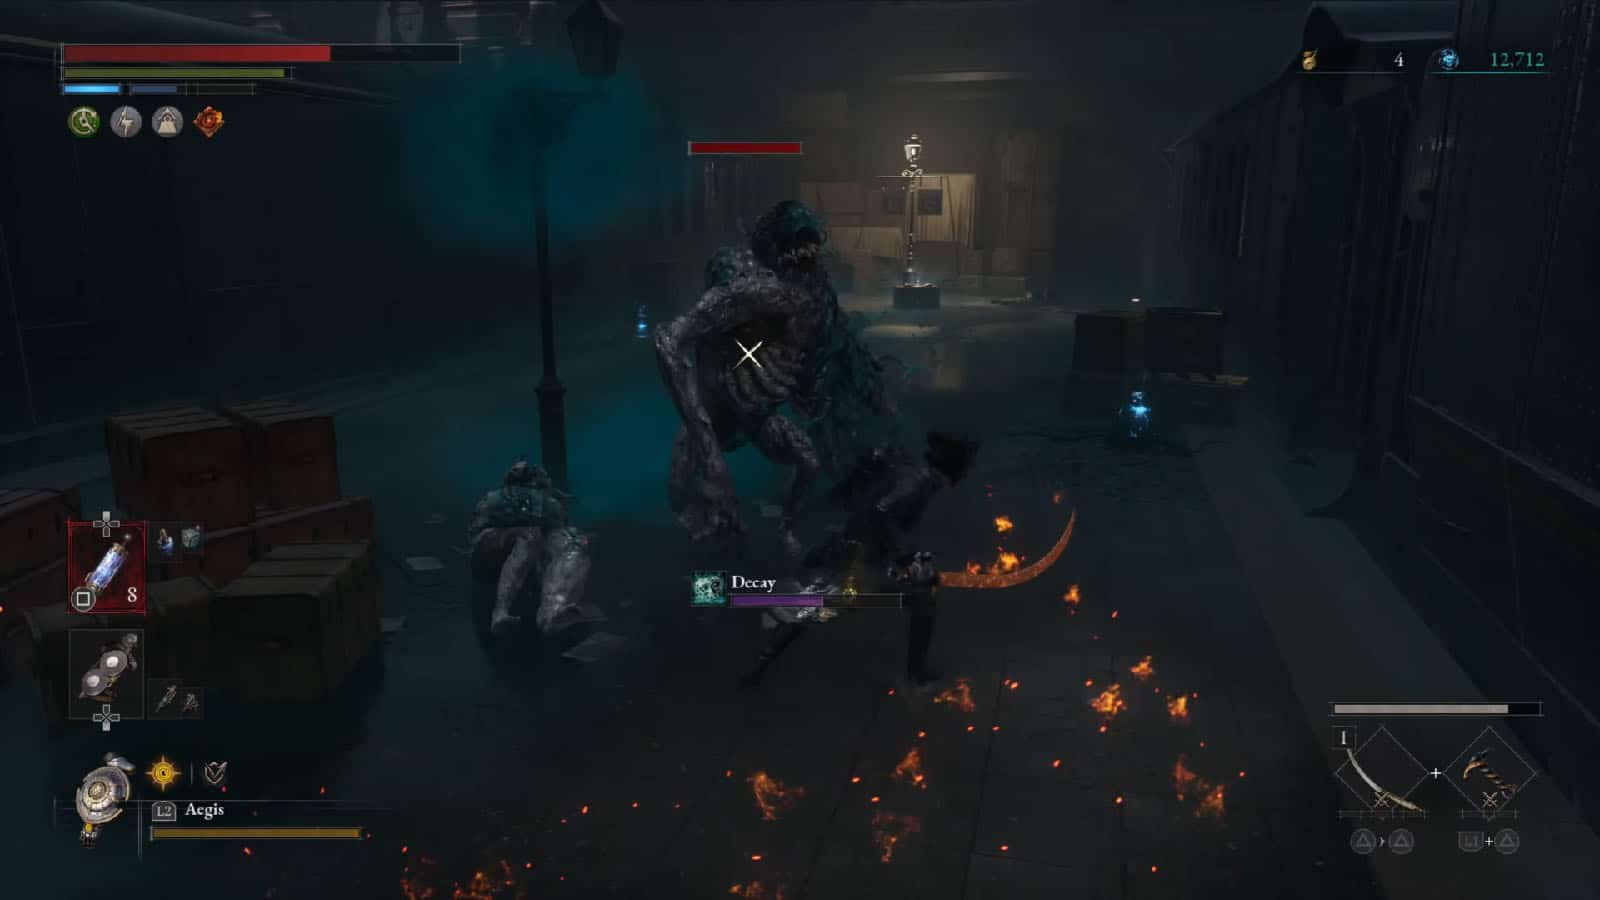
Jump down the hole and then go through the carriage on the far right. At the end of this carriage are multiple mutants, including a torso one that’s tough and can lunge at you. Clear them out and avoid sticking to the walls to prevent your swings from getting interrupted.
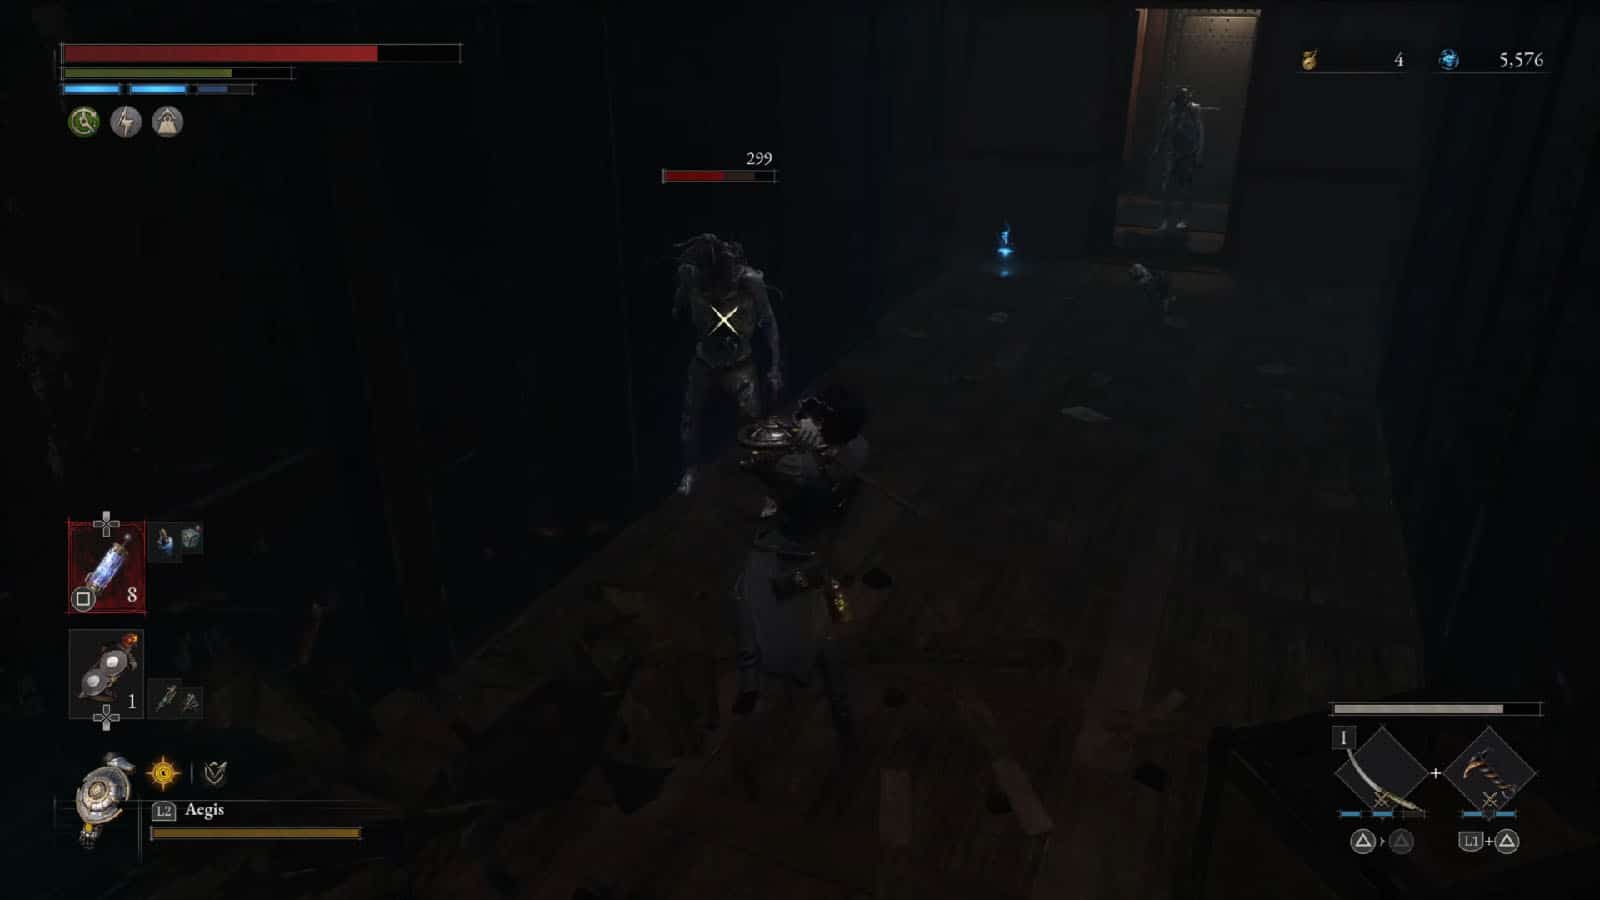
Make your way towards the stairs. You’ll encounter puppets this time who have succumbed to the disease and area now turning into mutant hybrids.

Clear the enemies, then climb up the stairs where you can open the shortcut gate leading back to the previous area.
Up ahead are more exploders dropping from the ceiling and a new brute mutant. Defeat all of them, then climb down the ladder back to the ground level.
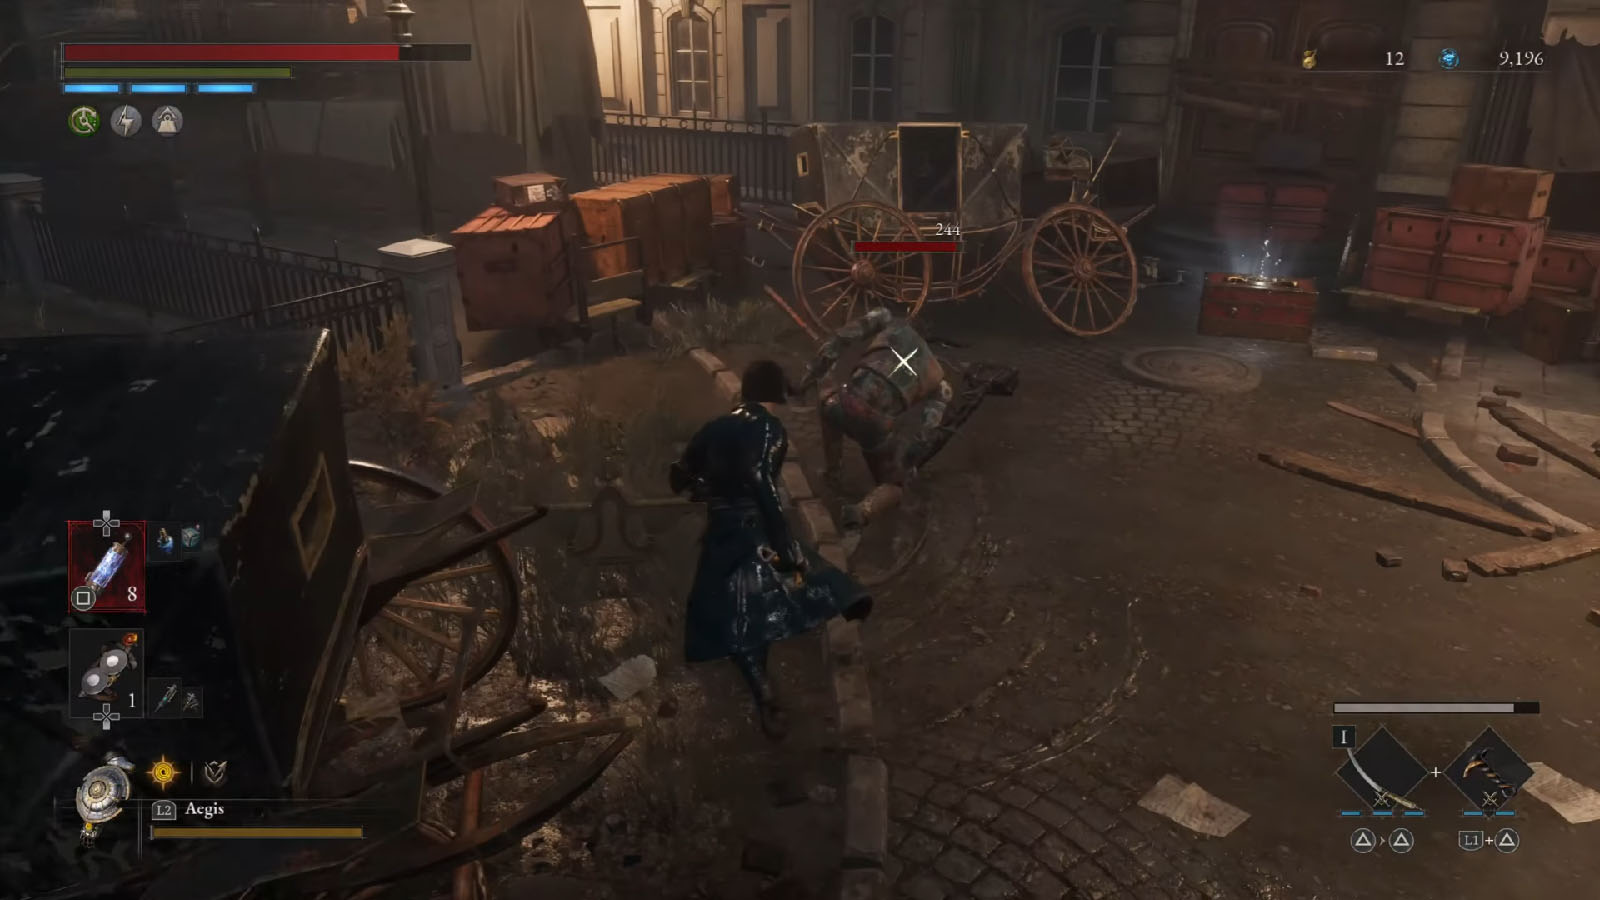
Elite Fight: Manticore Mutant
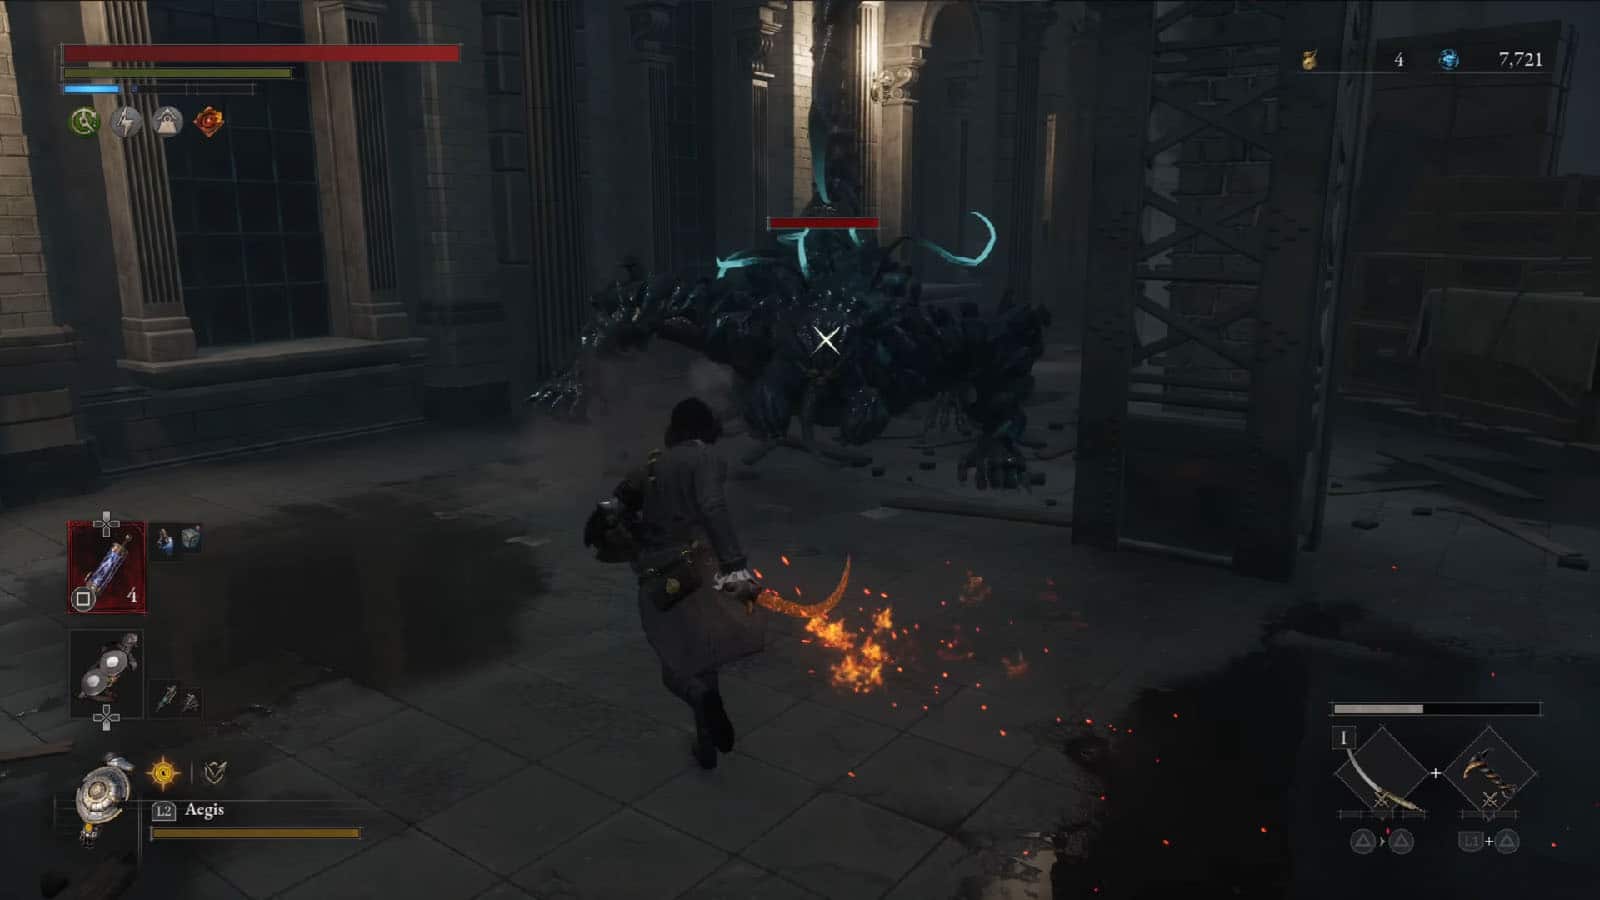
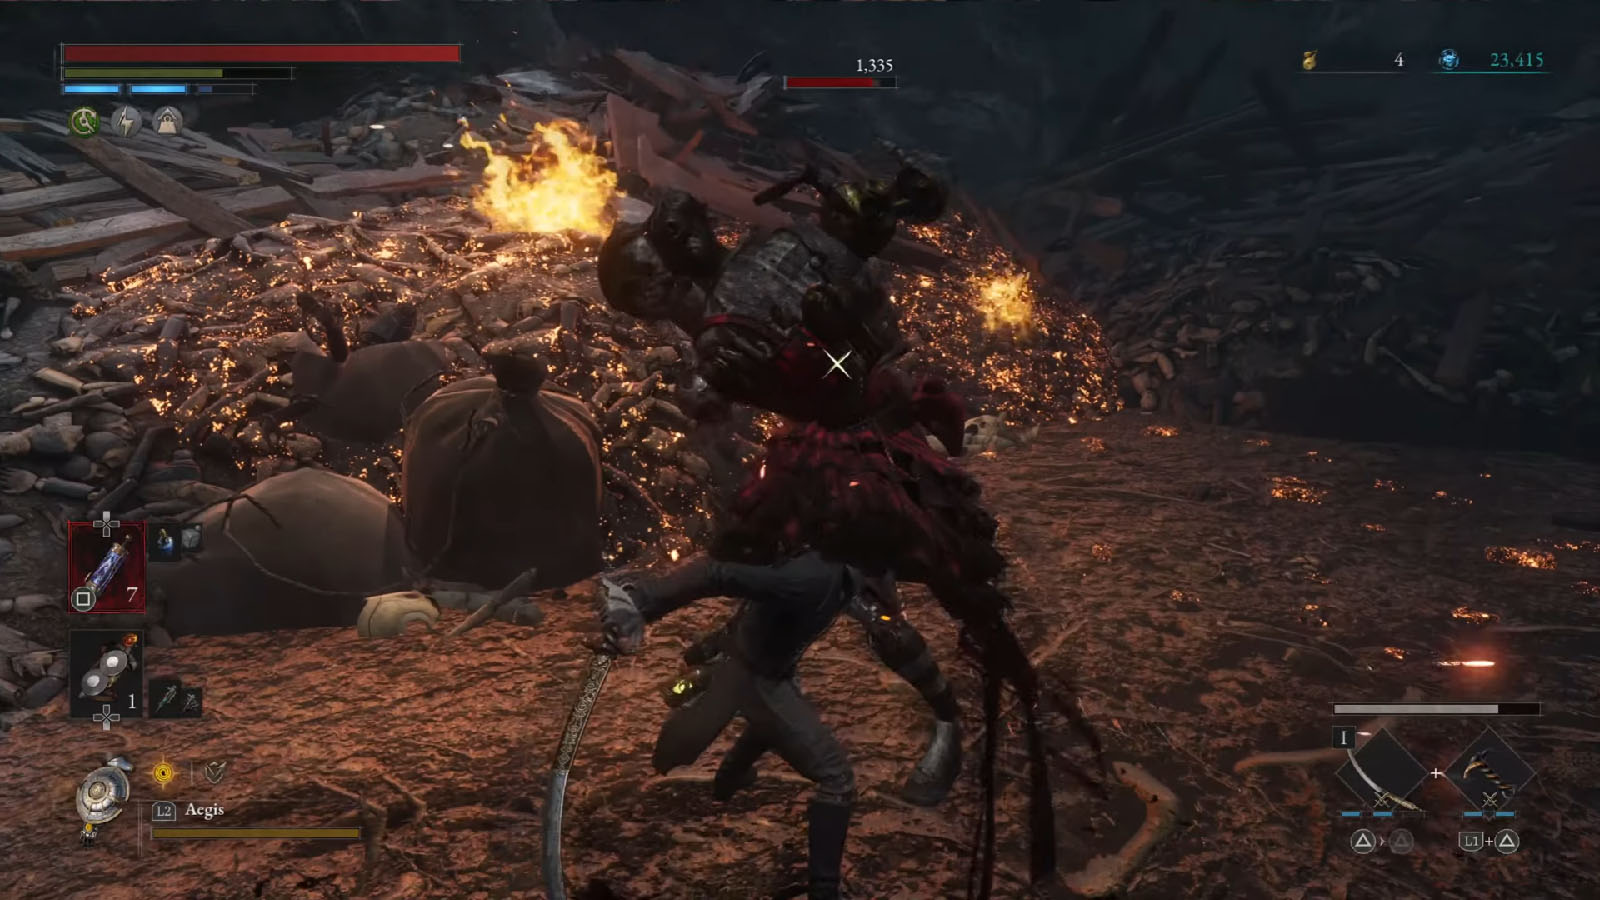
In the middle of the train tracks is a new type of mutant elite that looks like a manticore. This is an agile mutant that can run on its four feet, plus it has a scorpion tail that it can use to attack with acid.
Look out for its pounces; it growls and winds up in place to prepare for a pounce. It can also swipe its tail in a wide arc which reaches both of its side. Try to anticipate its tail; attacks as you can either evade it or block it.
Once the enemy has been killed, you will get the Amulet – Murderer Puppet’s Amulet.
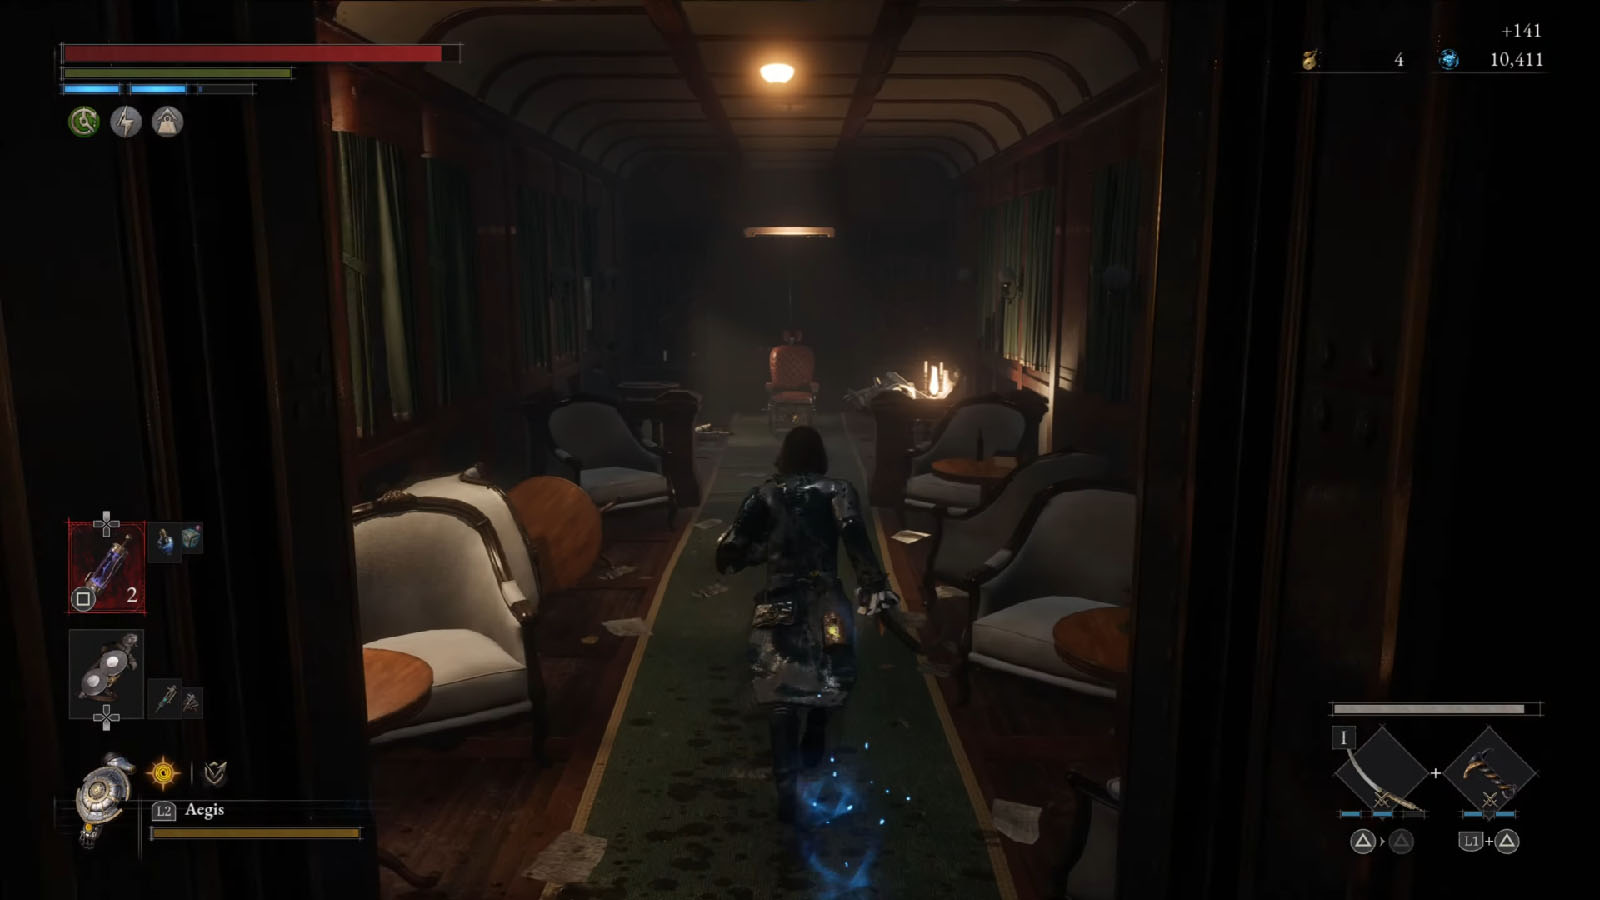
Go inside the blue carriage and you will be back to the place where P first woke up. Go to the back of the chair and break the divider to reach the next carriage. You will find the Collectible – Letter from Someone Who Has Gone Ahead. You can also use Geppetto’s tools nearby to upgrade your weapons or modify your Legion Arm.
In the next section is a safe that contains the LADA Break Carriage.
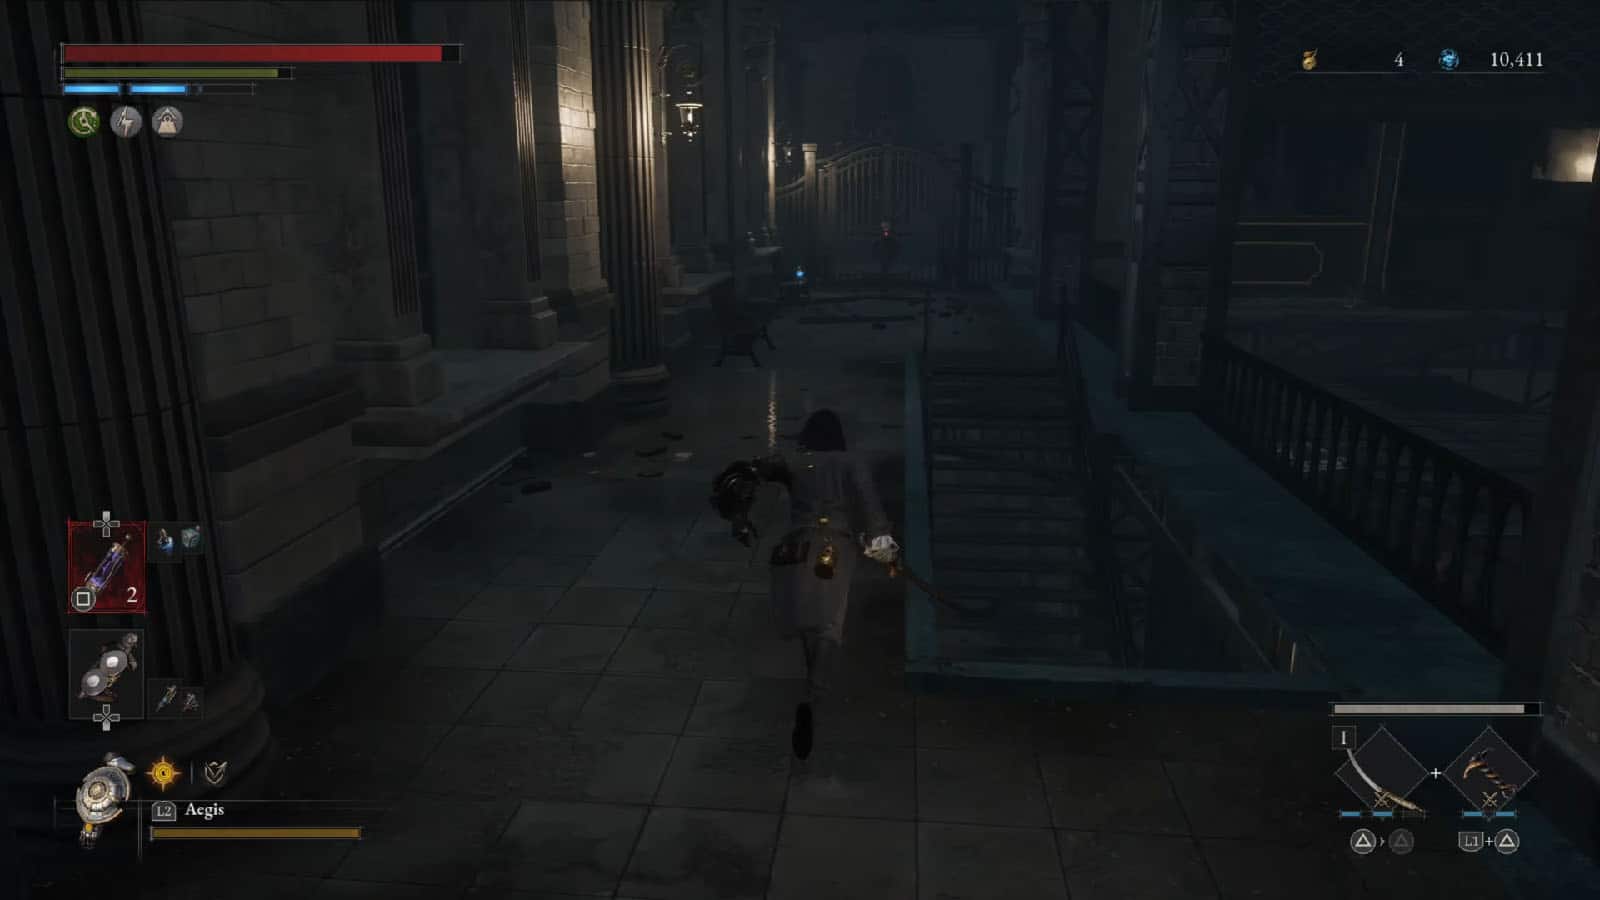
Go back out of the train and climb up the ladder ahead. You’ll find the next shortcut gate that you can open.
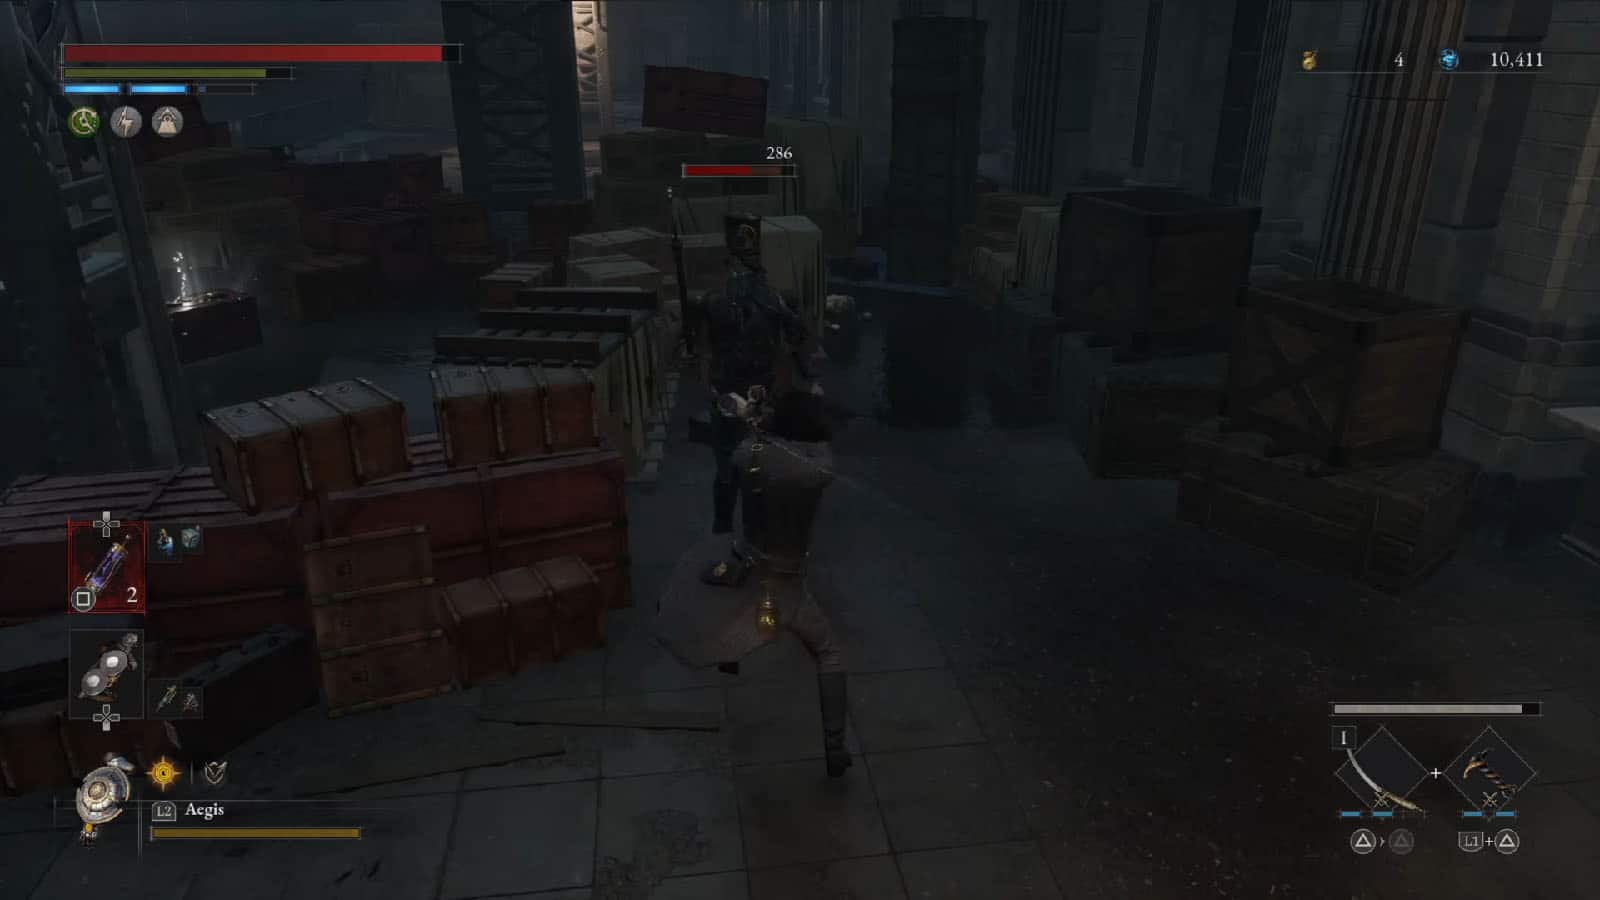
Go down the stairs and take the path up ahead through the gate. You will find a maze of luggage infested with torso mutants. Clear them out, then open the chest ahead to get the Master Chef’s Knife weapon.
Next, go inside the station and prepare for an ambush from the hole above. Climb up the stairs to the right and clear out some more enemies. You will find a Vivid Ergo Fragment near the hole. Now head to the next area in the station to face against another Stalker boss.
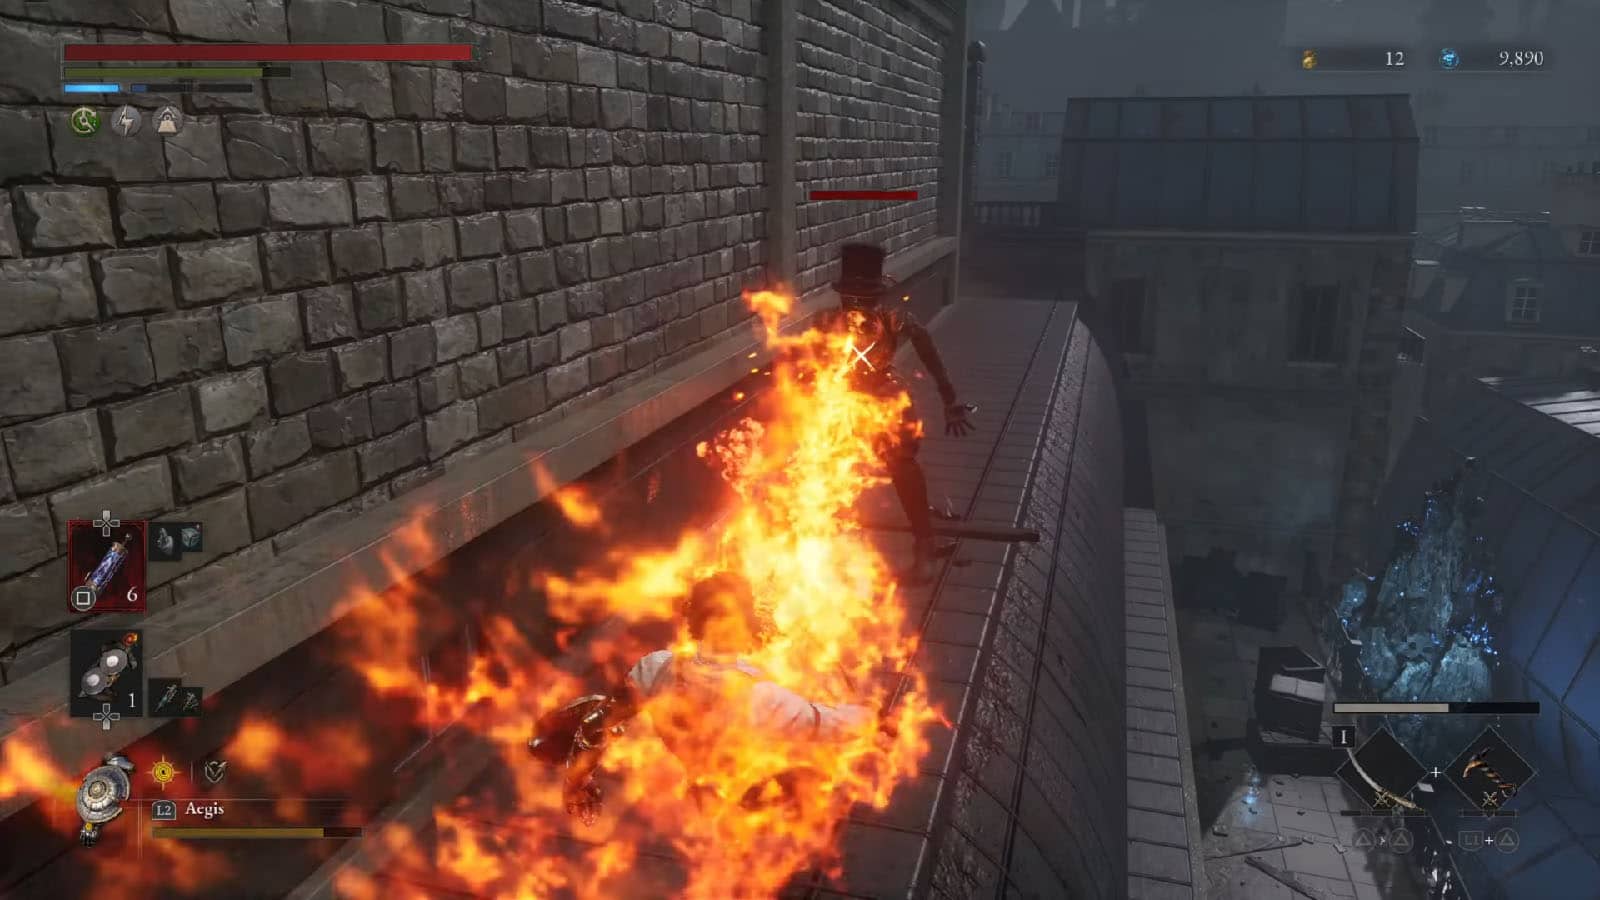
Boss Fight: Robber Weasel
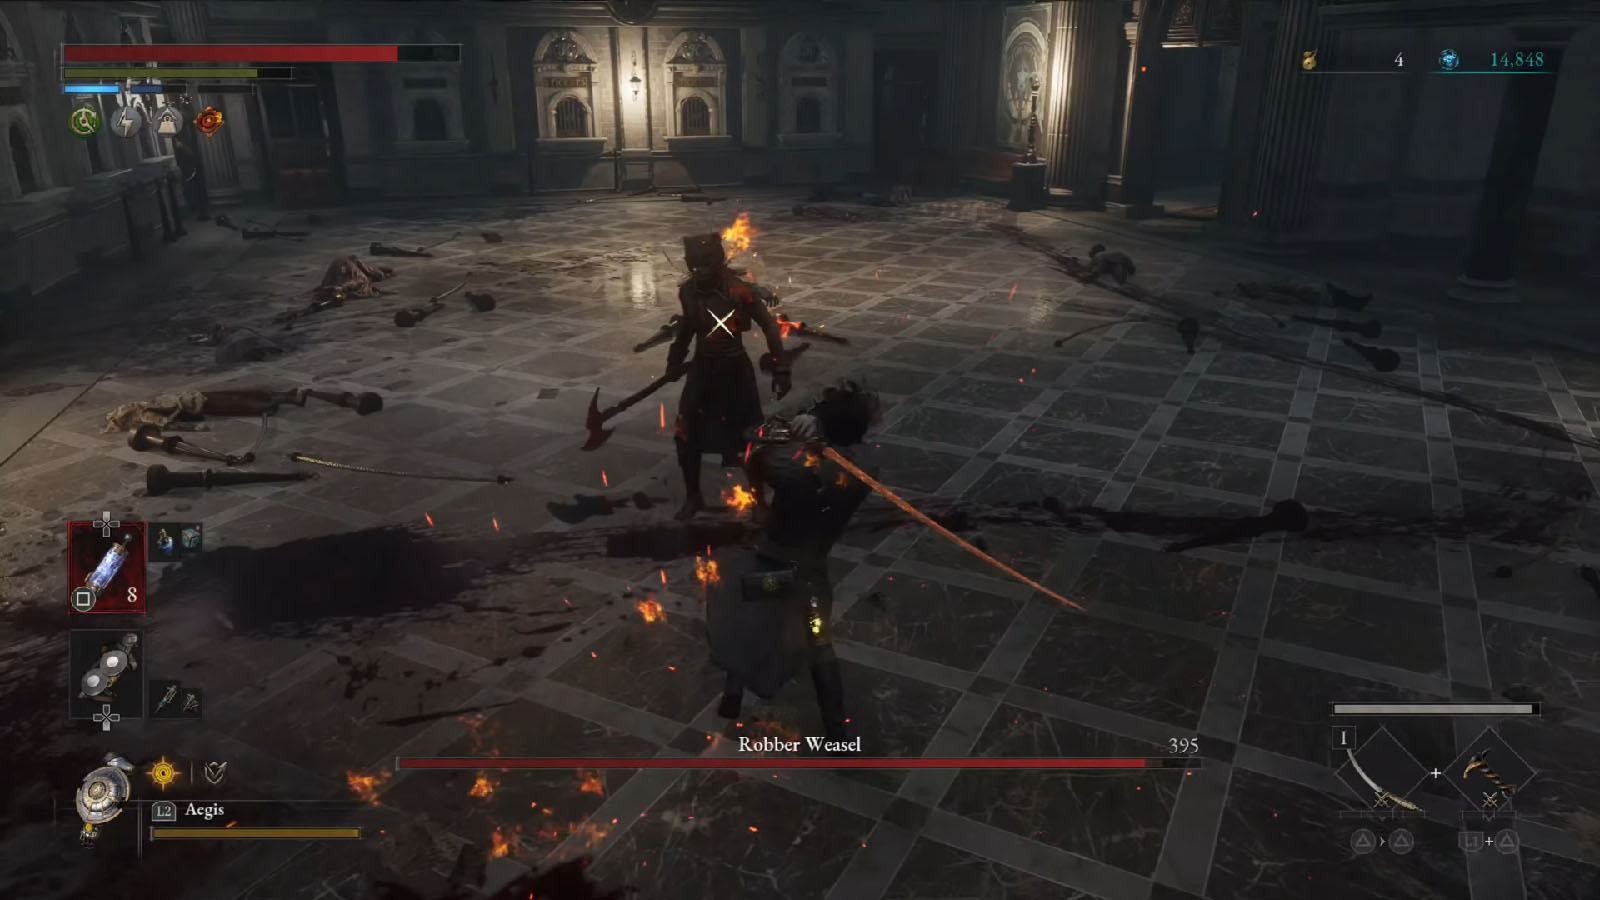
The Robber Weasel is a Stalker that wields the Fire Axe. Although quick and nimble, the axe swings provide a bit more wind up which makes her swings a bit more readable and easy to react to. However, the boss has the ability to throw knives when you’re at mid range to her.
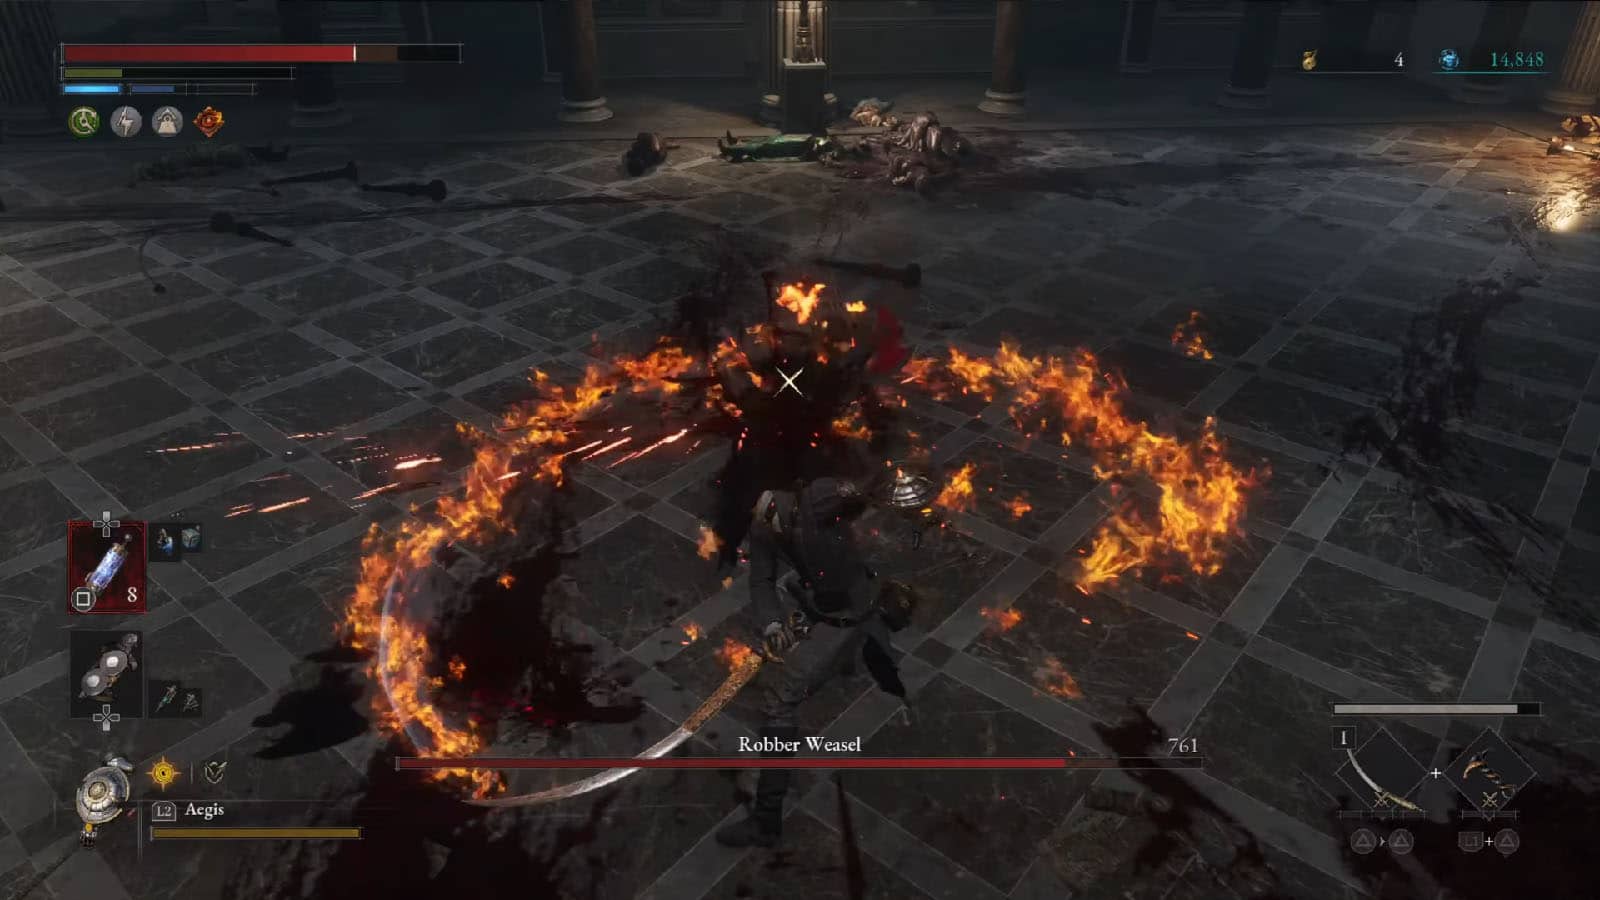
It’s recommended to bring a quick weapon against Robber Weasel and have the Aegis equipped as the arm. During combat, concentrate on the perfect guards first and try to stay in close range to prevent the boss from doing a ranged attack. The ranged knives often give the boss the window to dash at you and strike. Look out for combos that you can evade as they can easily give you the opportunity to do fatal attacks behind her back.
Once the boss has been defeated, you will be rewarded with the Robber Weasel’s Mask and the Robber Weasel’s Hunting Apparel.
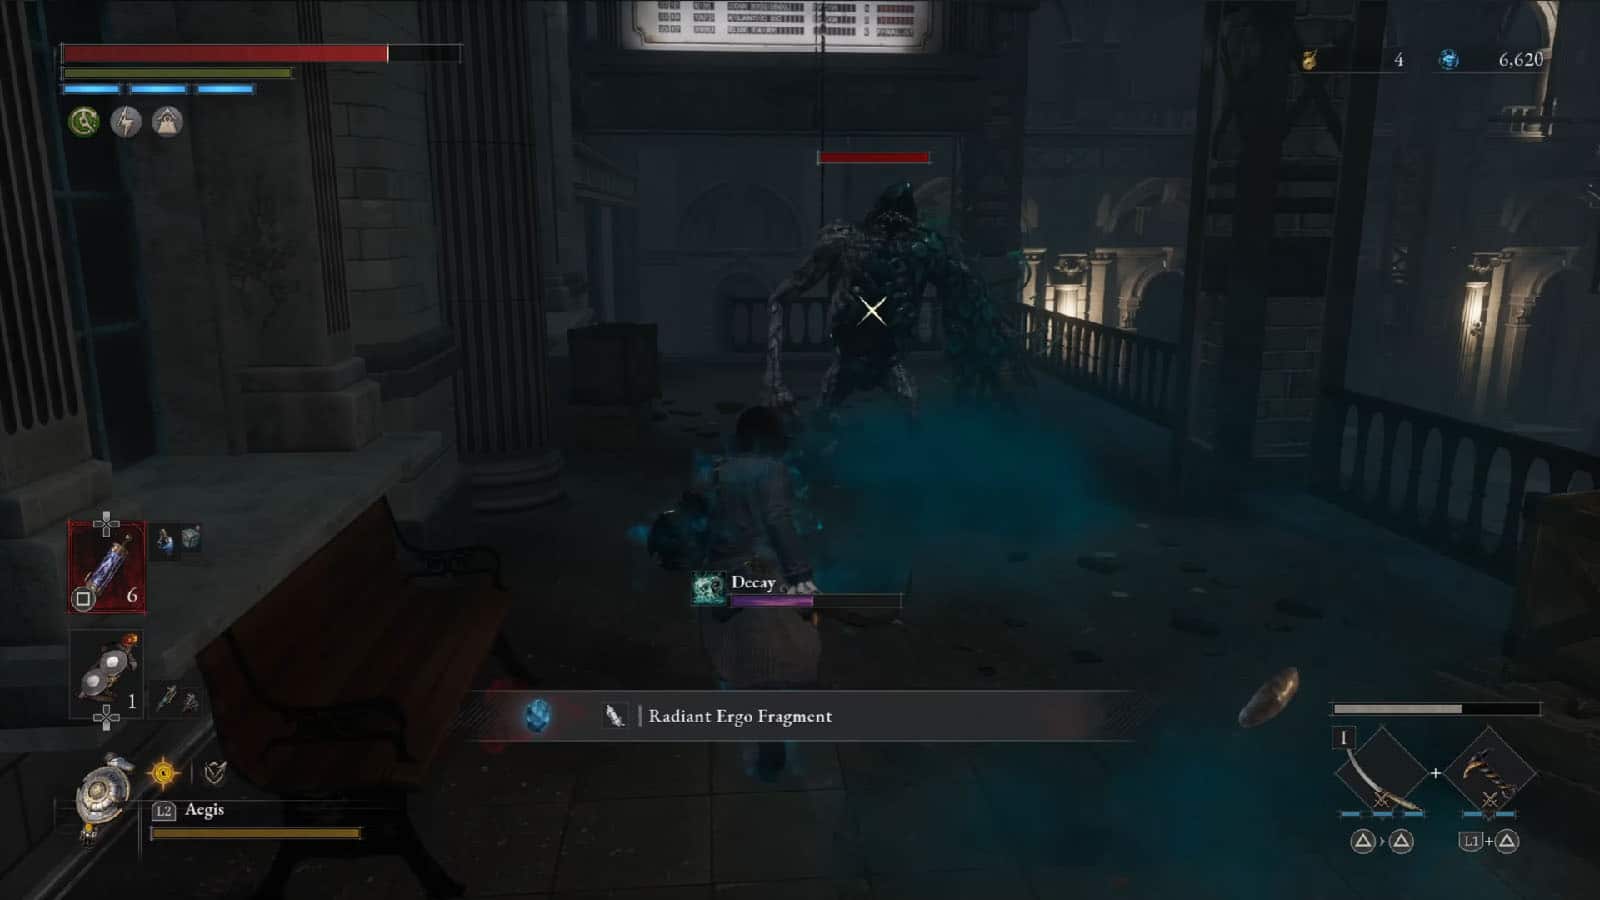
At this point, retrace your steps through the stairs and the hallways as this is the same exact area back in Chapter 1. Make sure to check the side rooms as there are new enemies inside as well as new loot to pick up, such as Ergo Fragments.
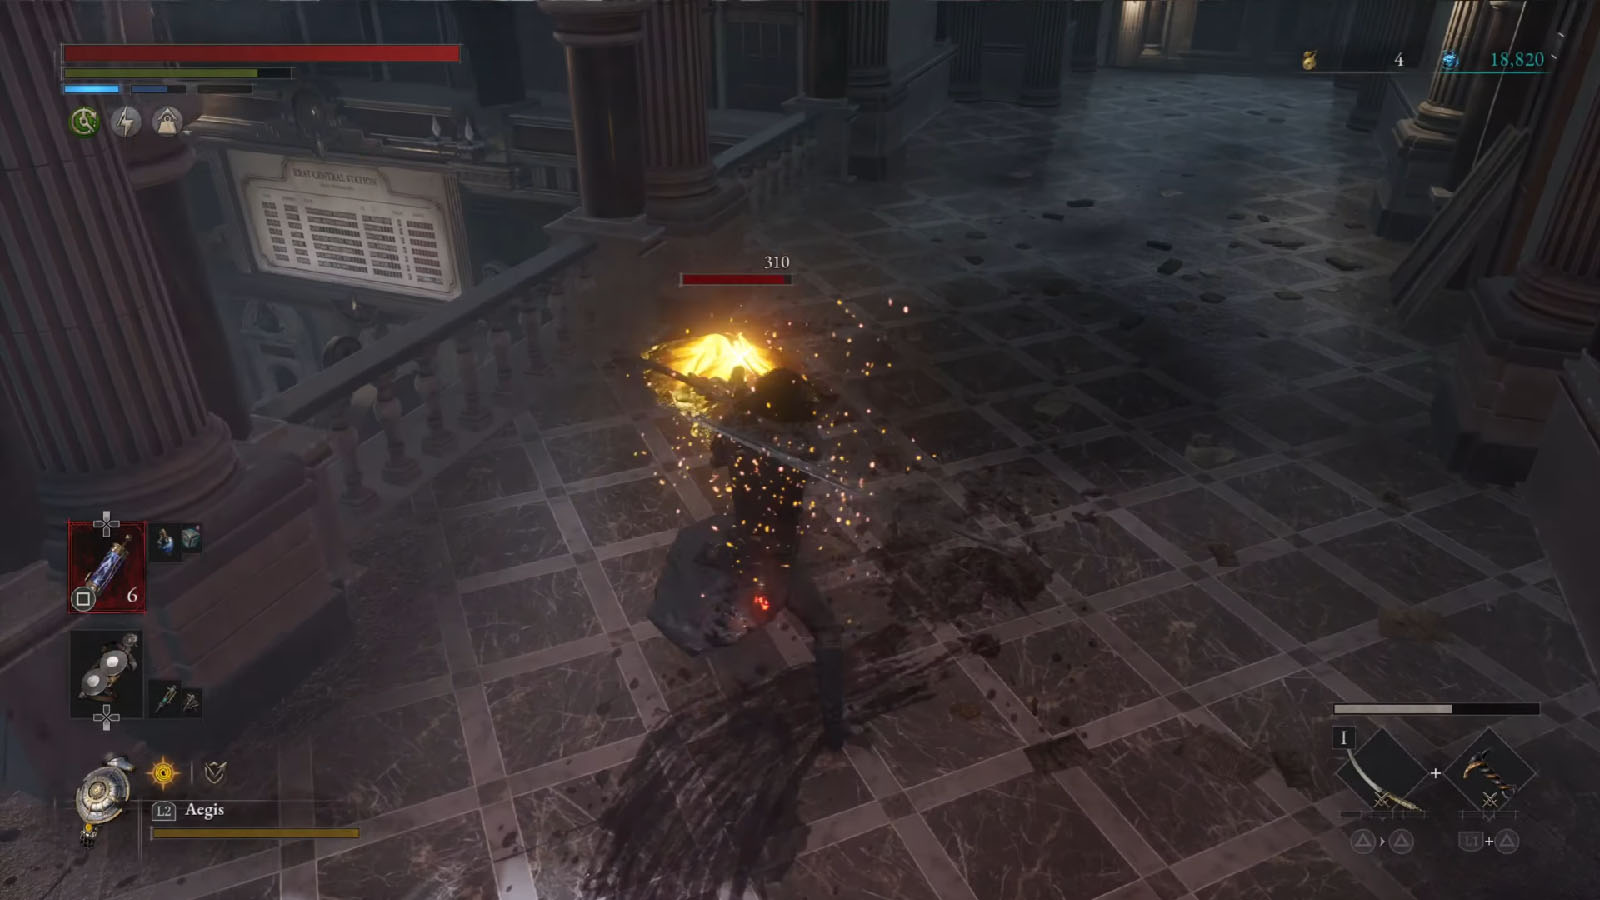
In one of the hallways is a gold butterfly that can give you a Stabilized Alchemical Booster.
By the stairs with the ledge that you can jump on, make sure to check the room to the left as it leads to a restroom with a Dark moon Moonstone of the Covenant.
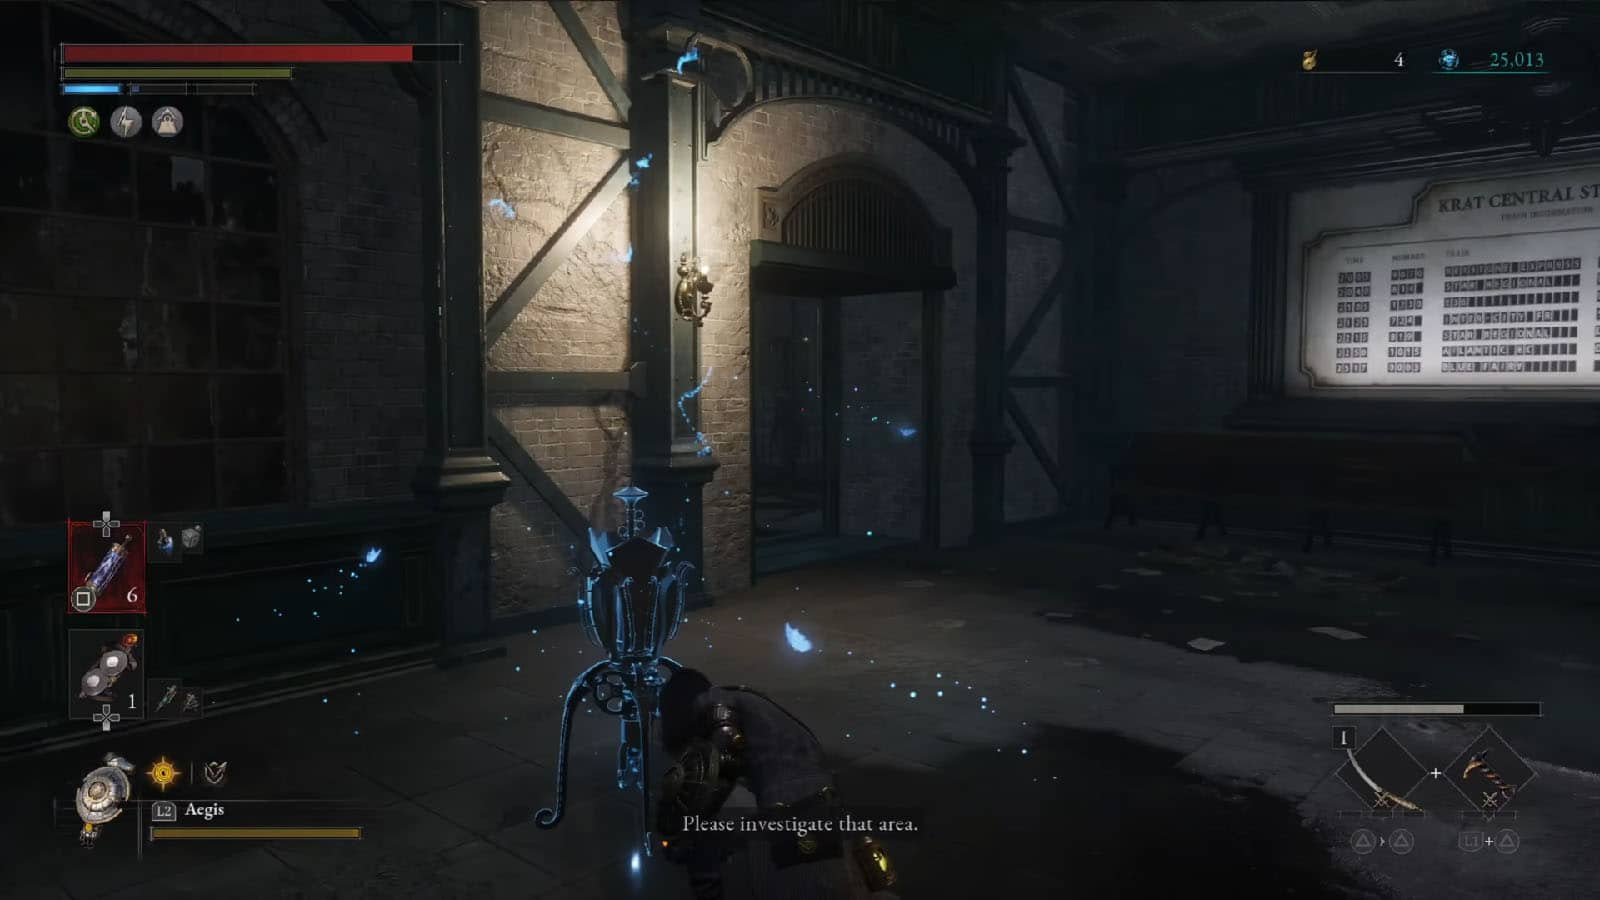
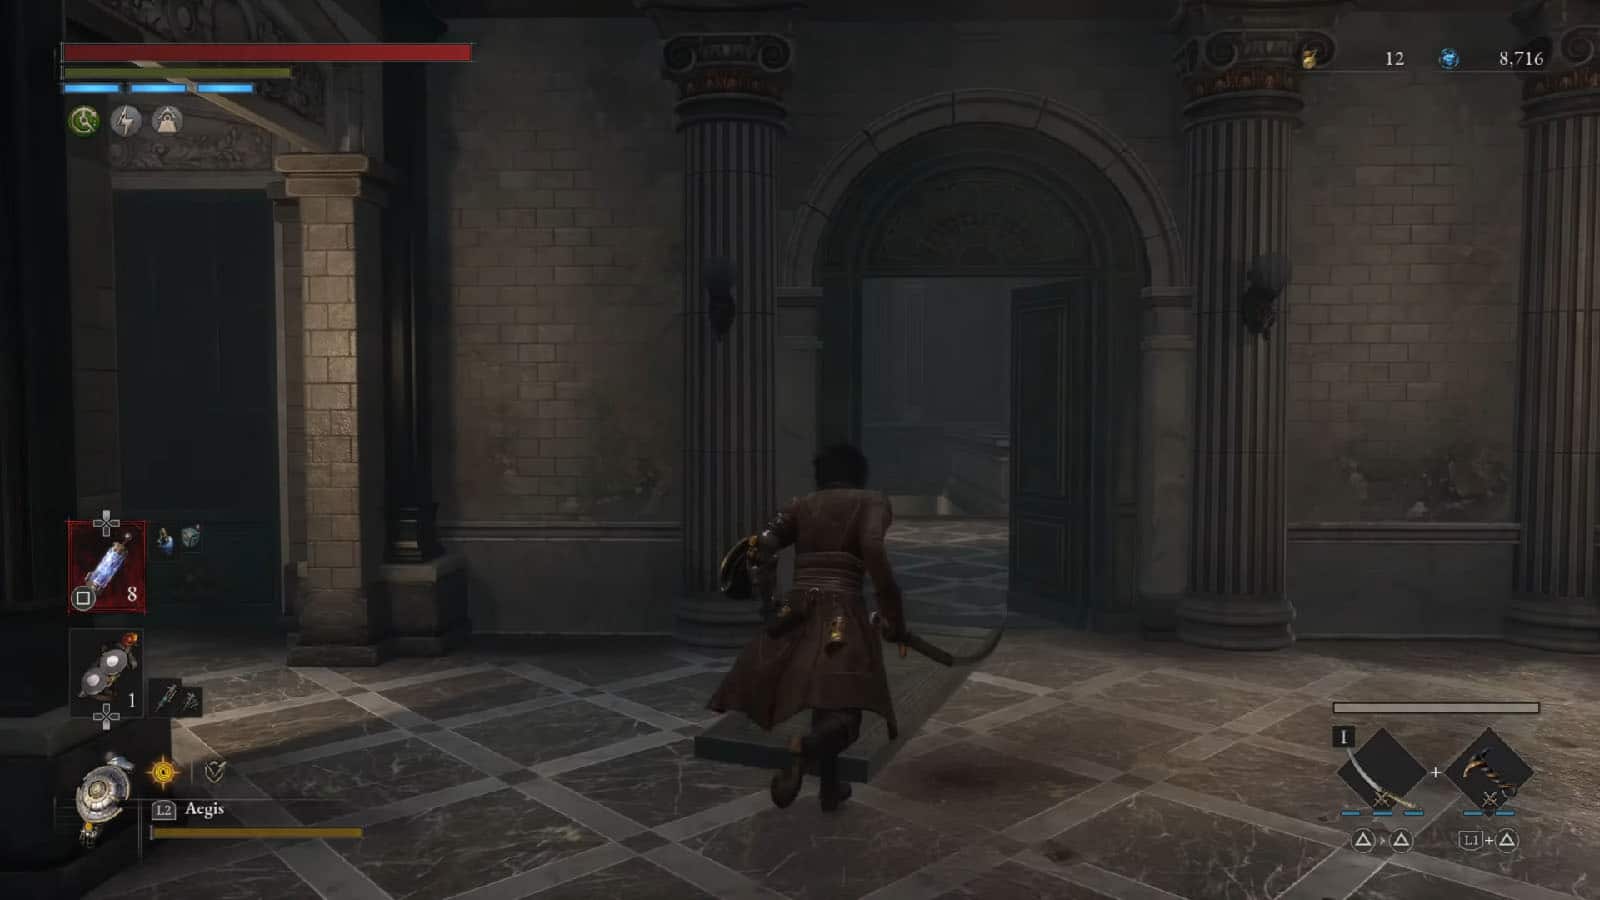
Once you reach the main lobby, activate the Stargazer. This Stargazer is specific for this chapter and is separate from the one in Chapter 1.
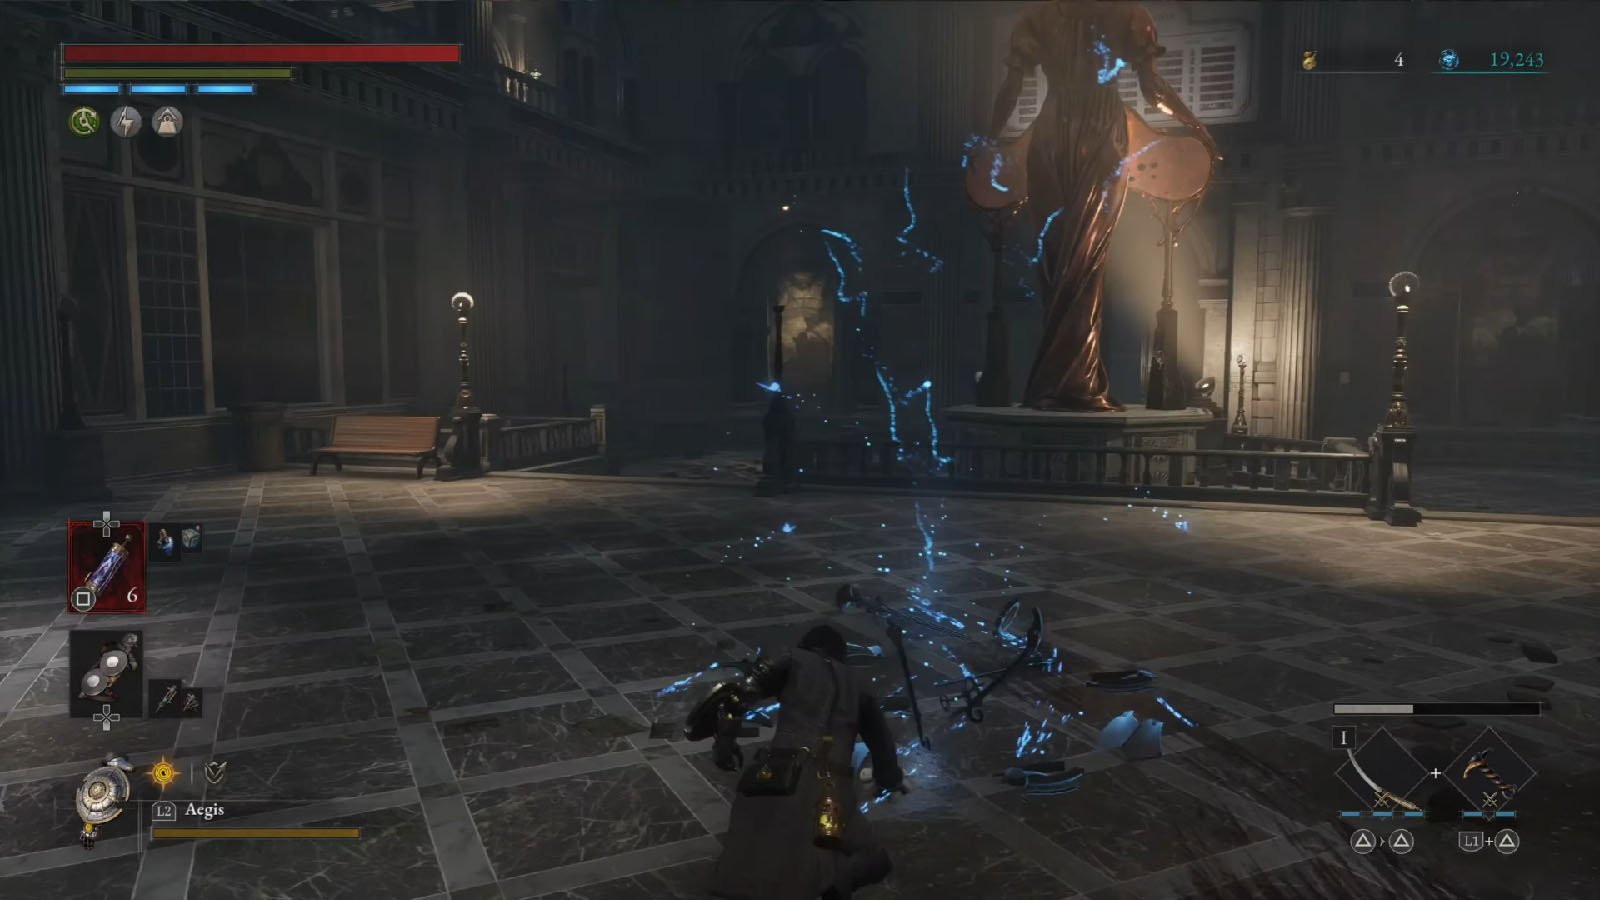
Krat Central Station Lobby
From the Stargazer, head to the stairs, but before you go out of the door, turn left to find an open door that leads to another Trinity Sanctum. You won’t be able to open this yet until you get to the Krat Central Station Street telephone and receive the key from there. In here, you will get the Workshop Master’s Workwear Costume and the Carrier’s Amulet +1.
The plaza is now more dangerous than ever before as there’s now hybrid mutant puppets as well as stronger mutants patrolling the area. Clear them out, then check the far left corner to find a chest containing the Coil Mjolnir weapon.
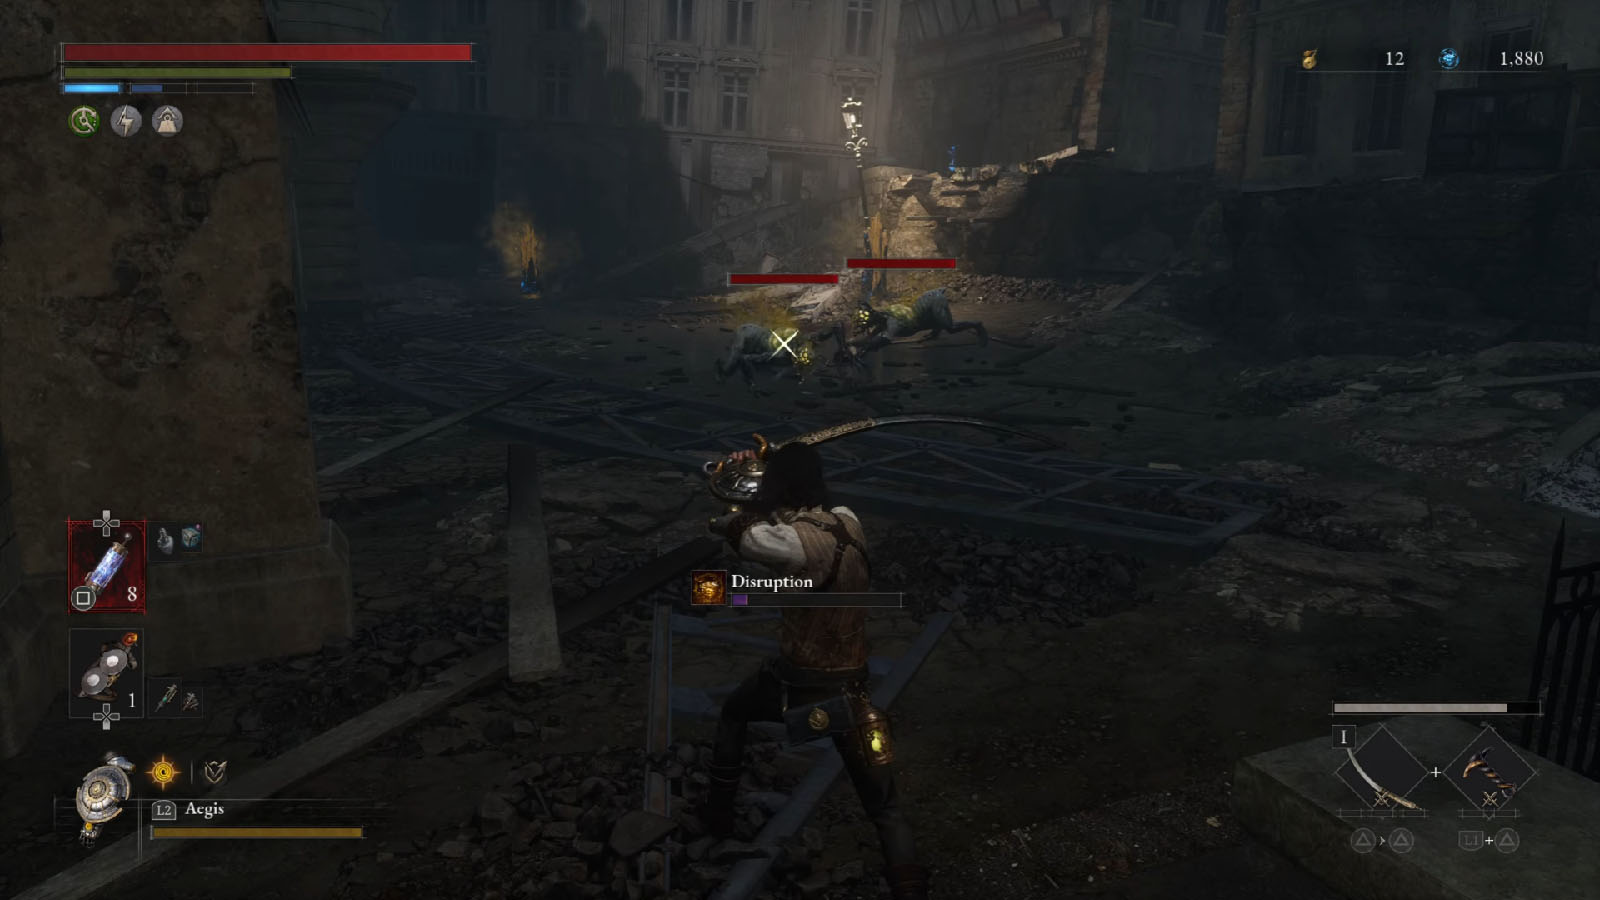
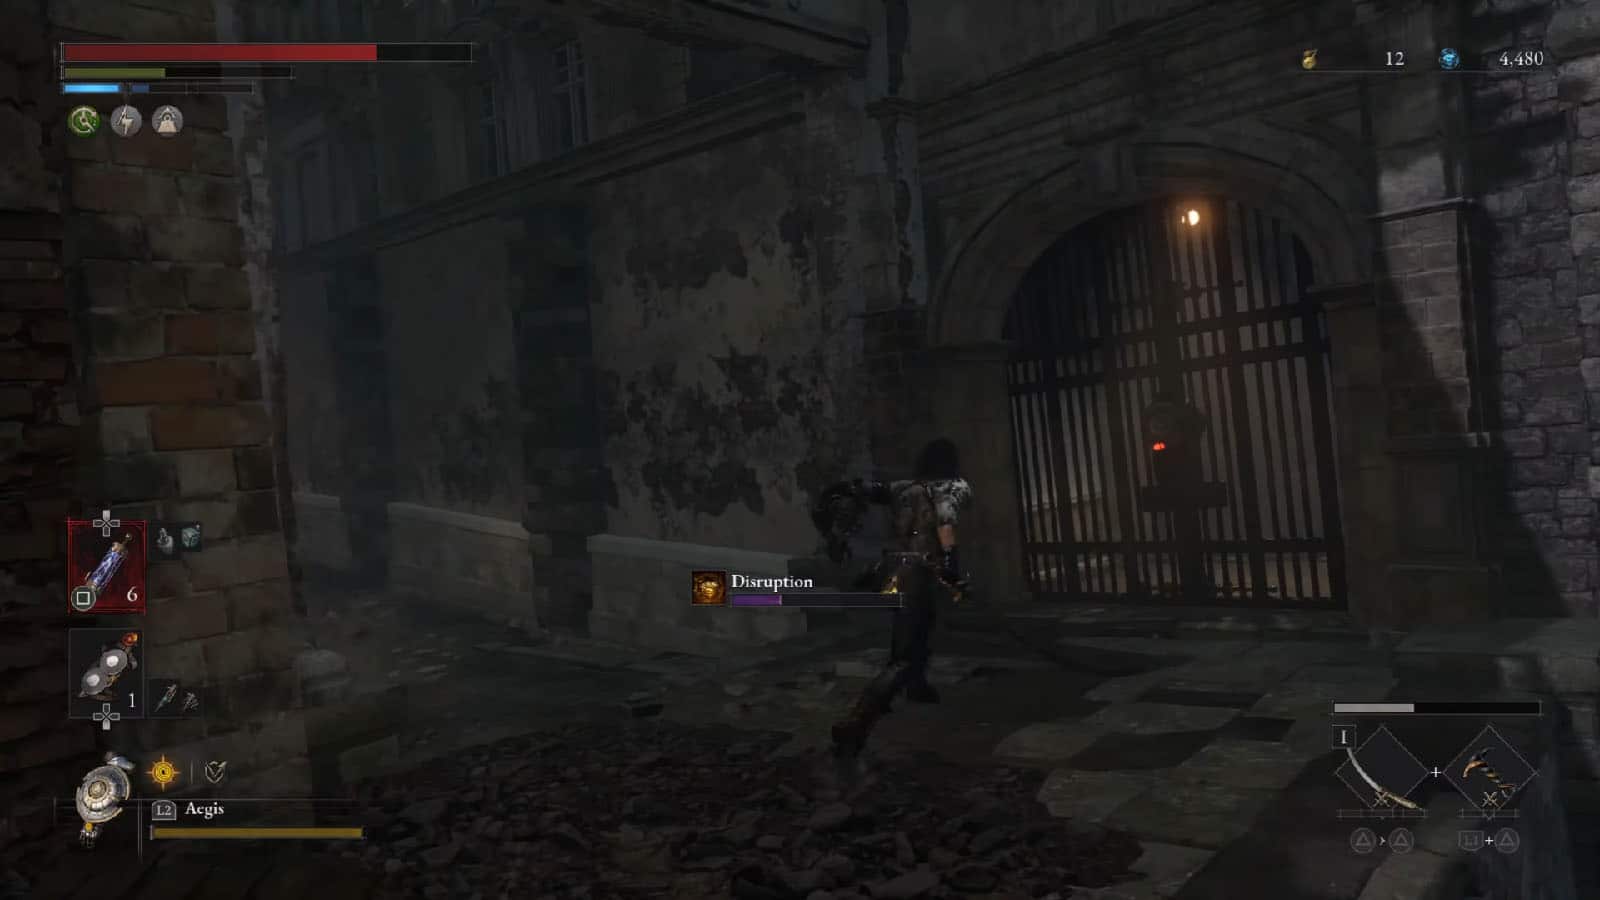
Be careful of the new type of enemy that stalks on top of buildings. These enemies act like frogs that hop towards you and they have a yellow head that sends out a Disruption aura. They can also send out a smoke of Disruption.
Proceed to the right path from the plaza. Up ahead is a brute that is busy bashing up a door. This brute mutant has the ability to change its arm to wield wither a blade or a club. Once defeated, it will drop a Legion Plug. There’s also a Half Moonstone by the lit corner ahead.
Go through the open door to get inside the Abandoned Apartment, then activate the Stargazer.
Abandoned Apartment
In the apartment, go up the stairs and head into the room where you will find the Collectible – Fairytale of the Three Brothers of the Workshop Tower. You can also find the Wandering Merchant inside this room. He sells the LADA large capacity converters, a Legion Caliber, and the Military Shovel weapon.
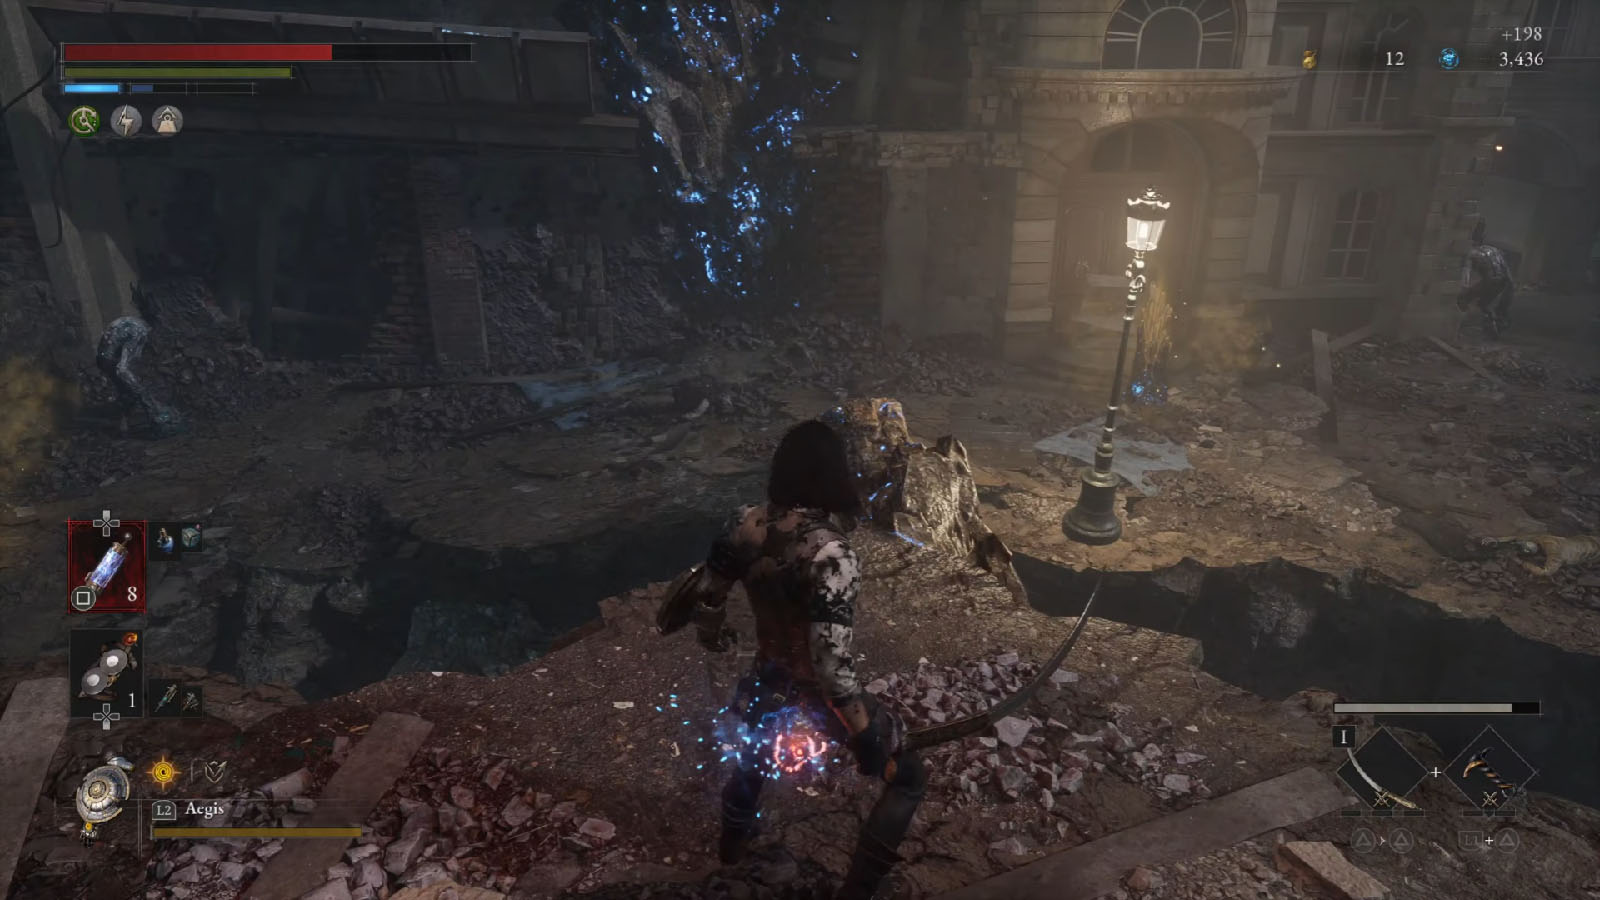
You can then open the huge door to find that the rest of the streets outside have collapsed and Ergo-filled stones have grown out of the cracks.
Collapsing Krat
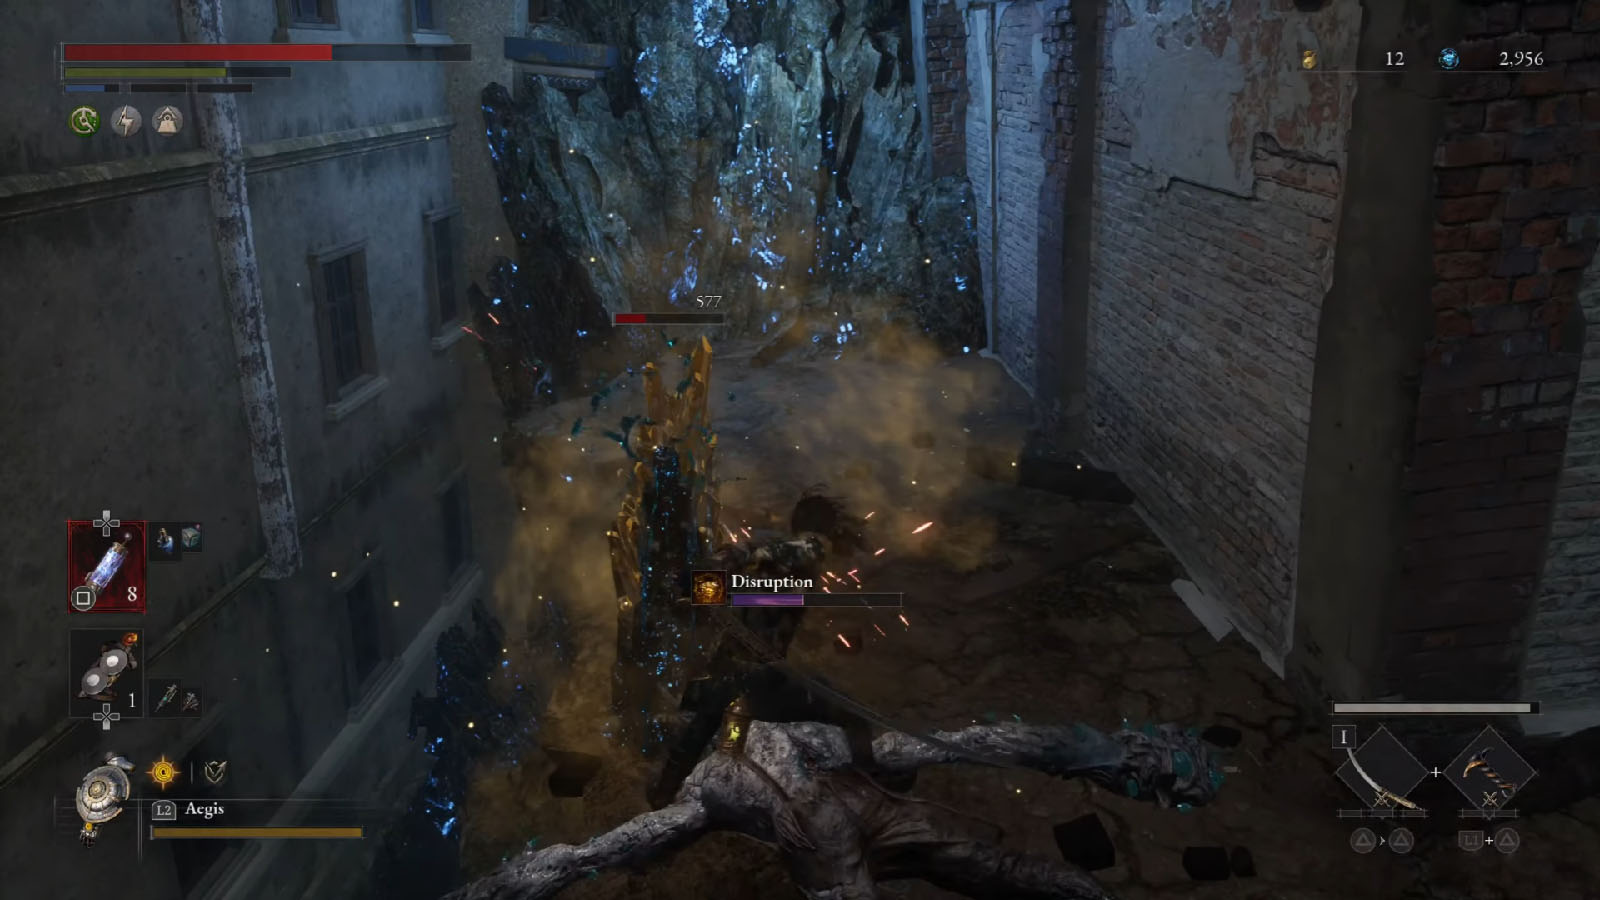
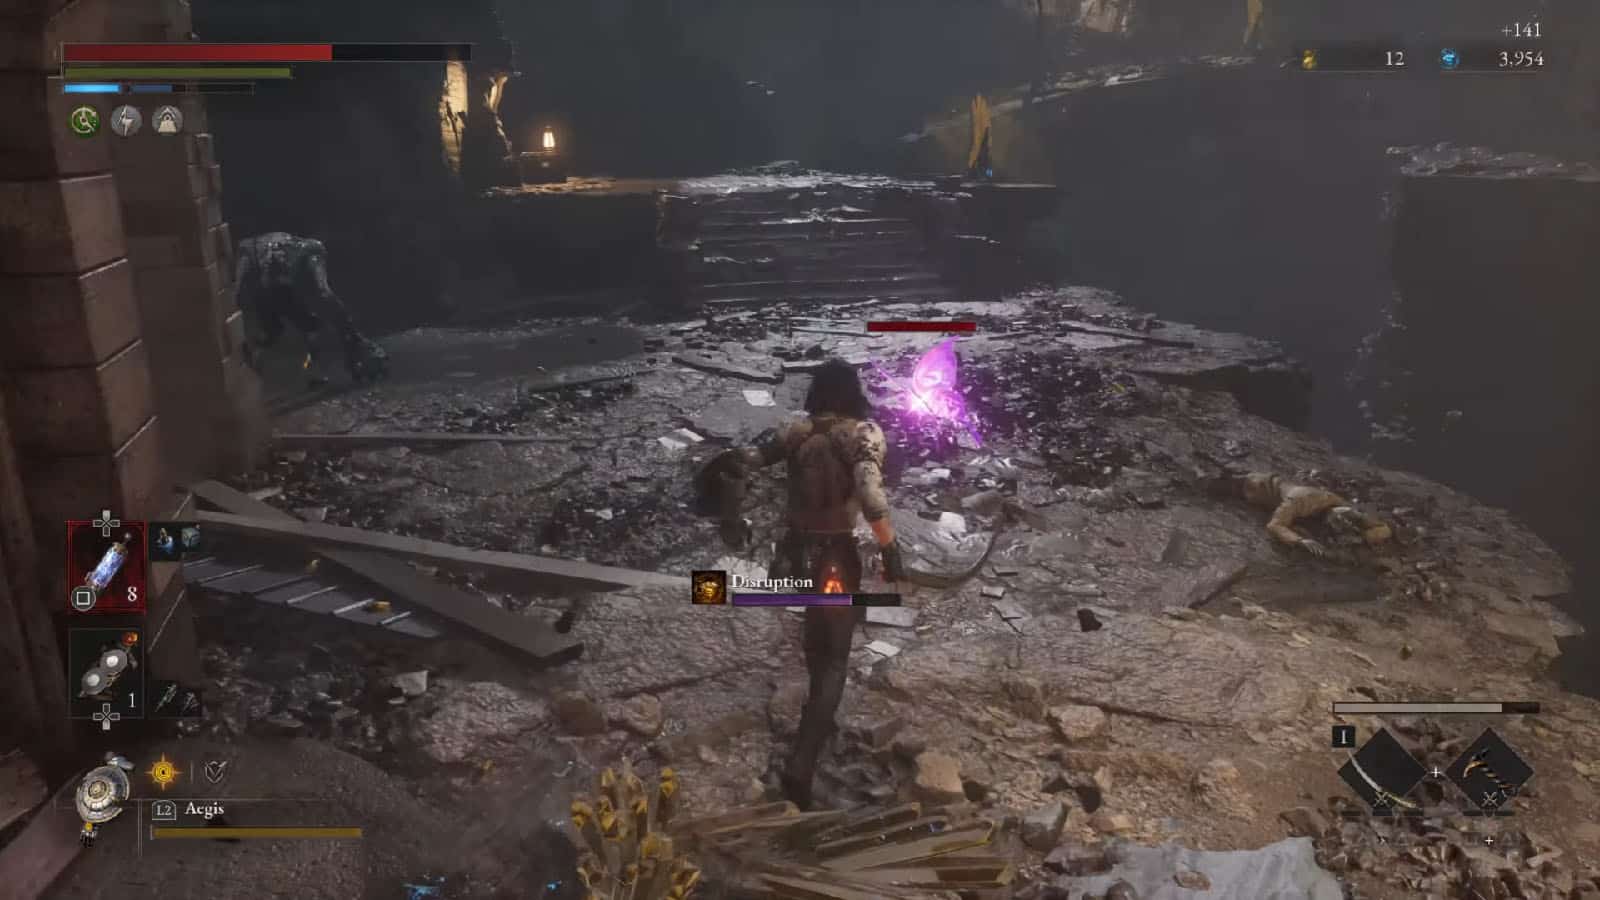
From the door, head to the right and cross the fallen signage. There are now yellow crystals growing from the ground. These crystals send out Disruption auras in pulses. Try to destroy them as quickly as you can to prevent maxing out the meter. Near the first crystal that you find is the Collectible – Lover’s Letter.
You can head up to the right path and defeat the enemies to get a Resplendent Ergo Fragment.
Head back to the path on the left side and you will find a shortcut gate that’s locked from the other side. Follow the path and then cross over to the other side using the rocks.
A pink butterfly will appear near the end of the rock bridge; destroy the yellow crystals first, then deal with the enemy nearby to make it easier.
On this fork, move to the left path for now. You will find a square that has three yellow mutants. Take them one by one to prevent the meter from maxing out. Past the yellow crystals to the right is a ramp that has an Attribute Resistance Ampoule and a Saw Blade. The path to the left will circle back to the main road.
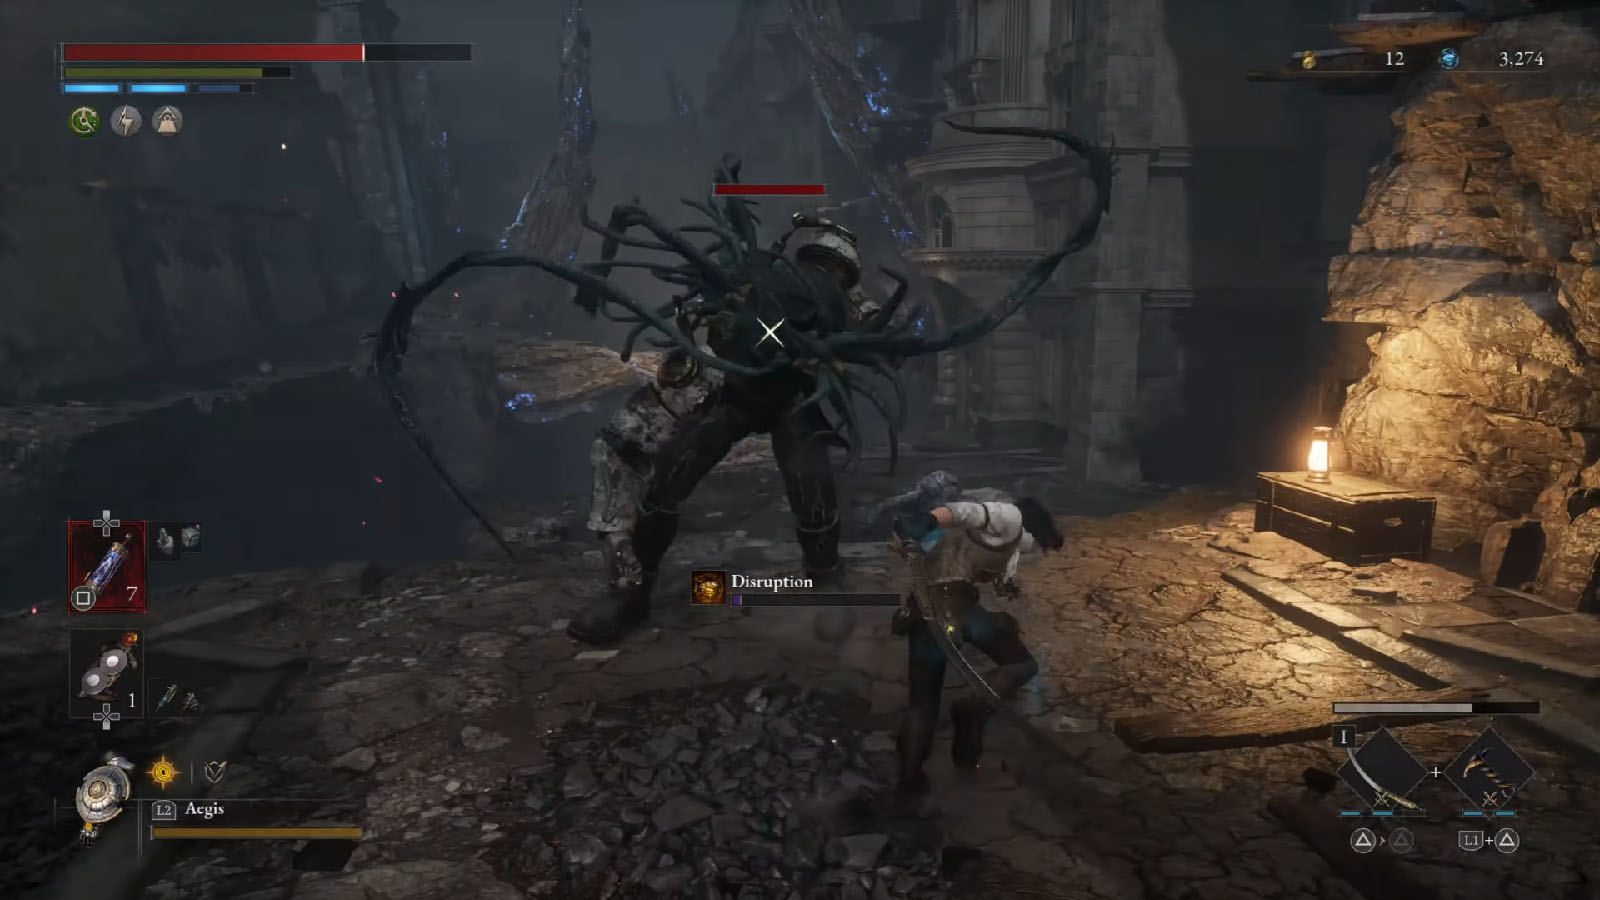
Back on the first fork, you will be facing against a mutant brute puppet. Aside from its fists, you will also have to pay attention to its tendrils that swing independently.
Continue up the path then turn right to unlock the shortcut gate from before.
From the shortcut gate, turn left and go inside the house where you will find a Vivid Ergo Fragment. Then climb up the stairs and head through the doorway.
Enter the hole on the side of the building and prepare for an ambush as an elite will bust out of the wall. This elite mutant has a huge bulbous head and it can slash its claws in quick succession. Try not to get caught in its flurry of swipes. Once defeated, you will receive the Frame – Arch Extra Heavyweight Frame. There’s also a Motivity Crank in the corner of the room.
Exit the building and follow that path to get to the next Stargazer.
Collapsed Workshop Tower
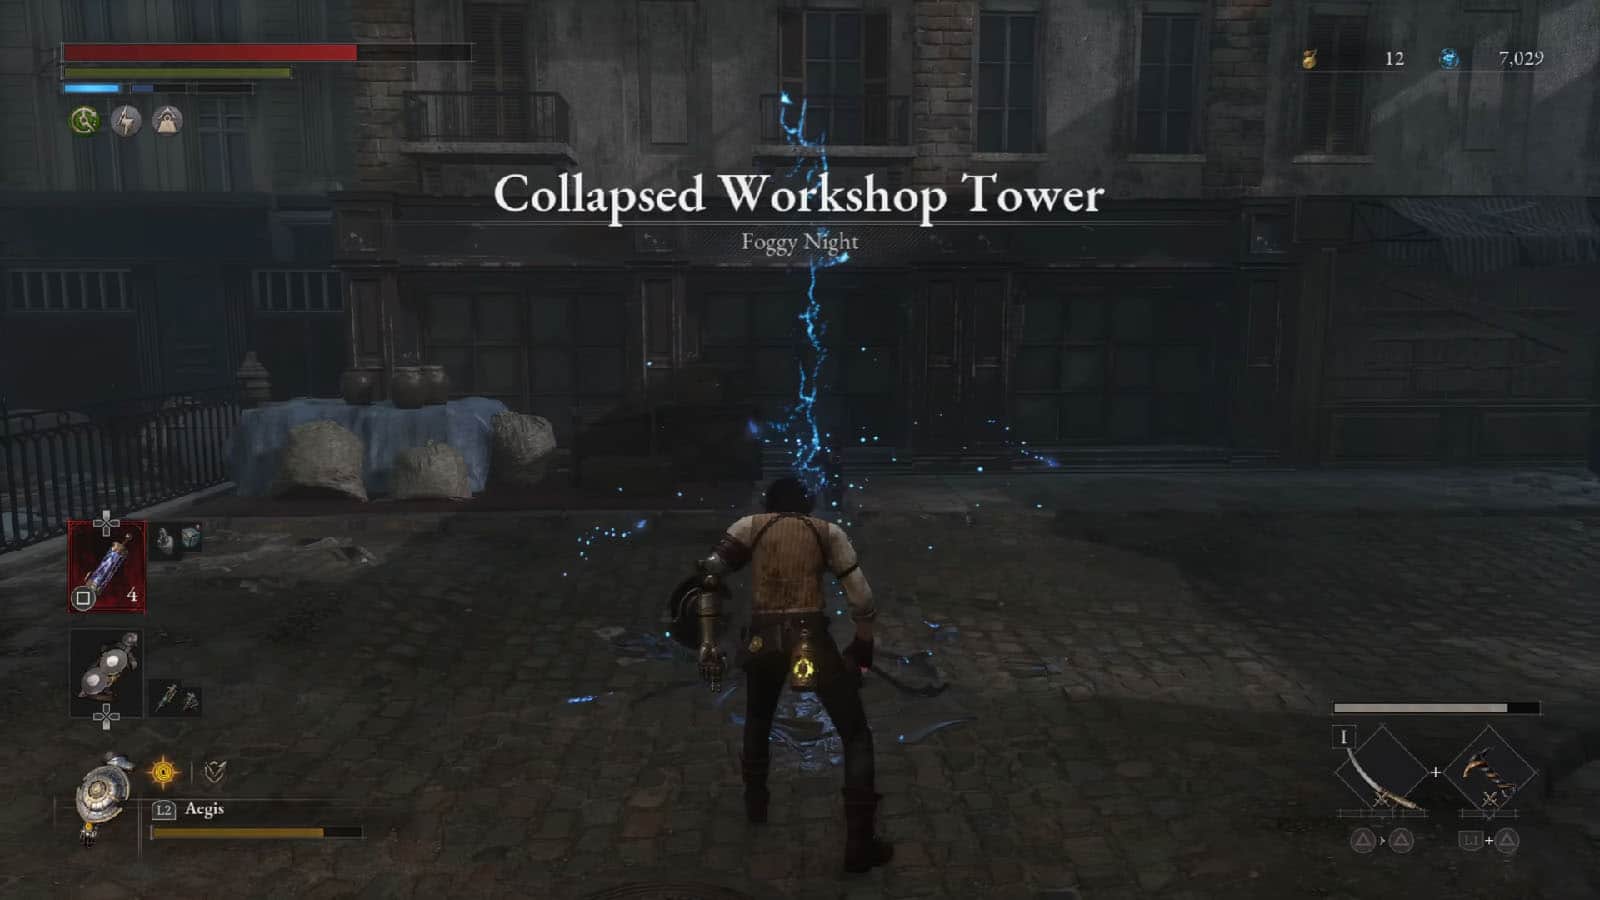
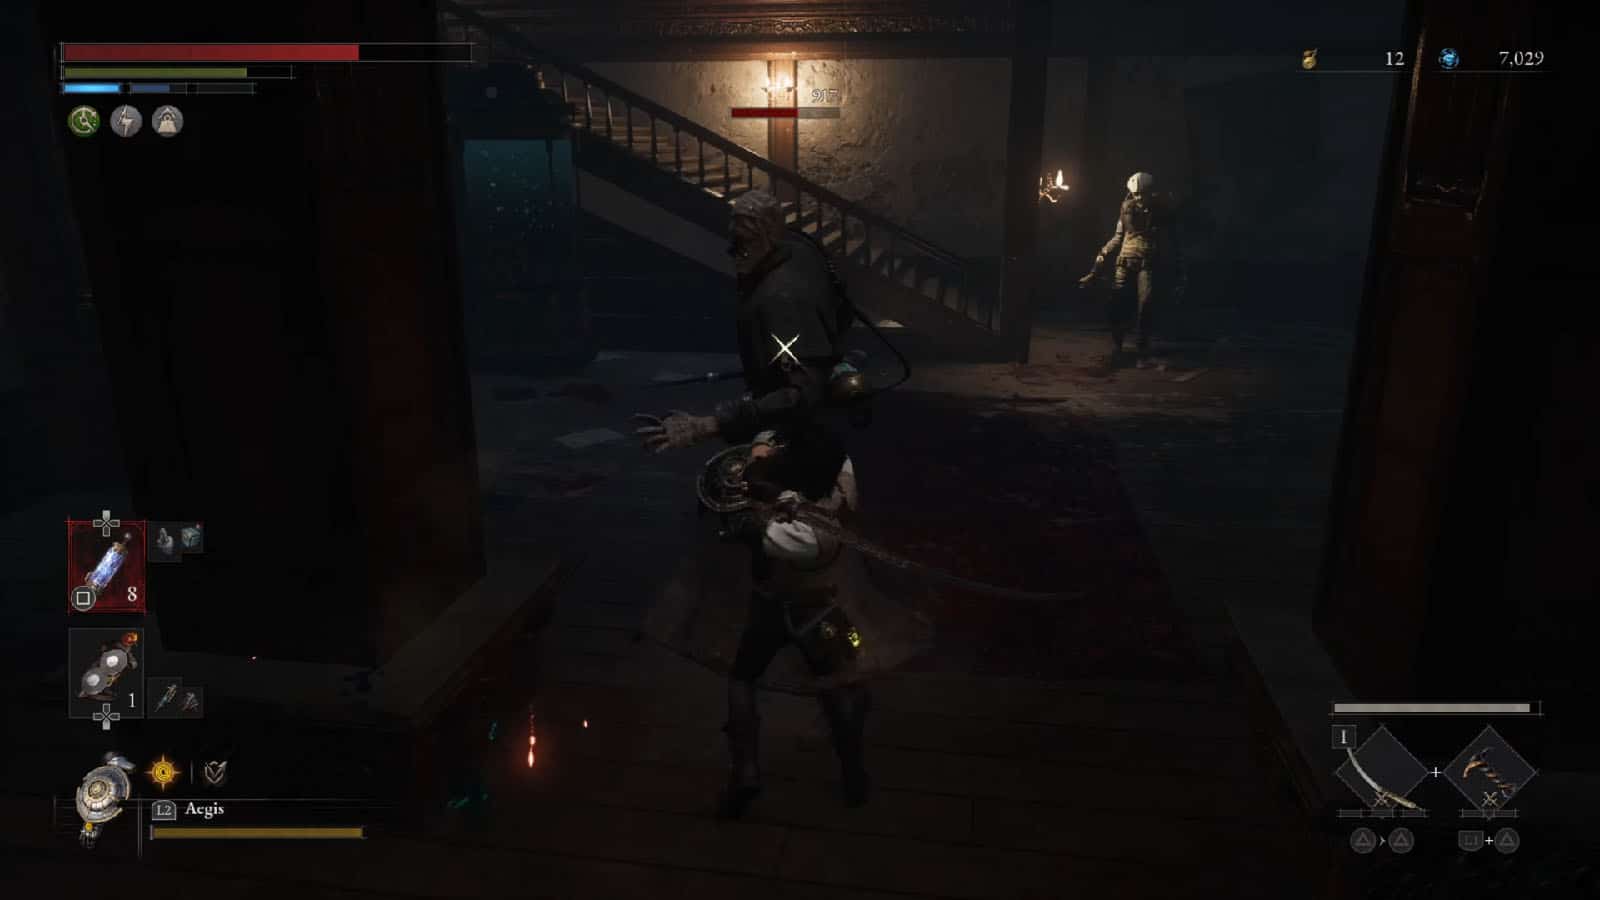
Proceed inside the building where you will encounter a mutant general, plus a shooter that will be coming from the stairs. Use the pillars as cover while you fight against the general. There’s also another general inside the room to the right, so try to avoid going there to prevent being mobbed.
Go up the stairs to the second floor where there will be two more mutant generals. Clear them out, then proceed to the third floor. Defeat the next general, then grab the Collectible – Primer for Workshop Technicians.
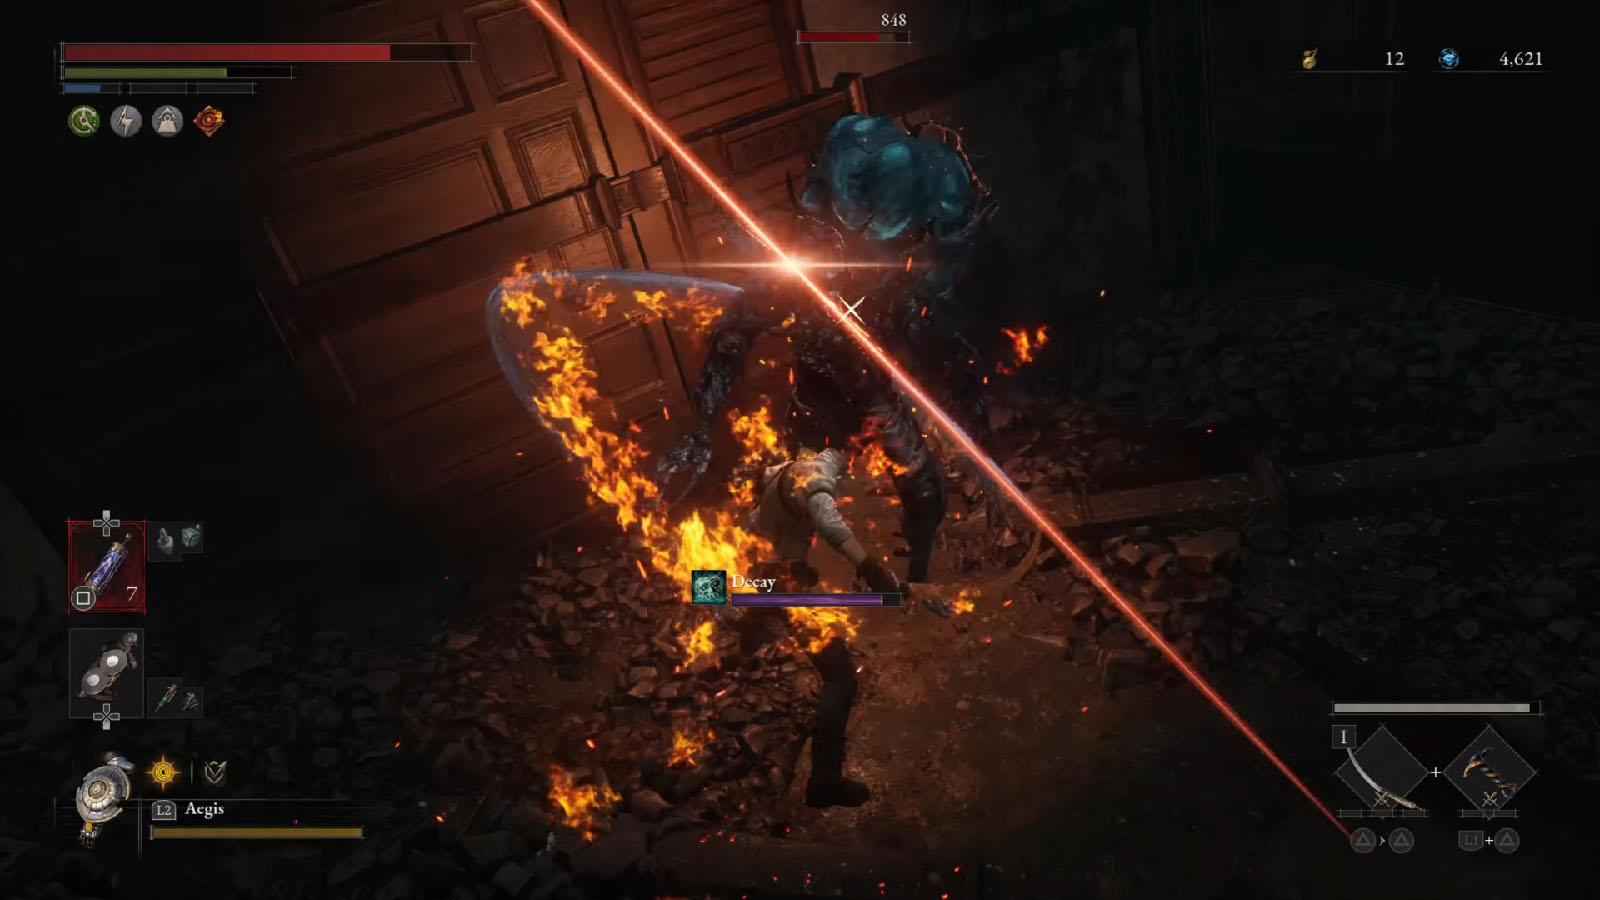
Go outside the hole and follow the ledge to the left. You will encounter a new type of mutant that breathes fire. Once you defeat it, move away from its body as it will explode. Go down to the left side where you will find another fire breather. At the end of this path is a chest that contains the Special Krat Supply Box that can expand Polendina’s shop. Climb back up the ladder to reach the ledge again.
At the end of the ledge is a ladder that you can drop down to get back to the previous Stargazer.
Go inside the room to the left, then climb up the stairs to reach the next floor. In here, you will be fighting against a boss enemy.
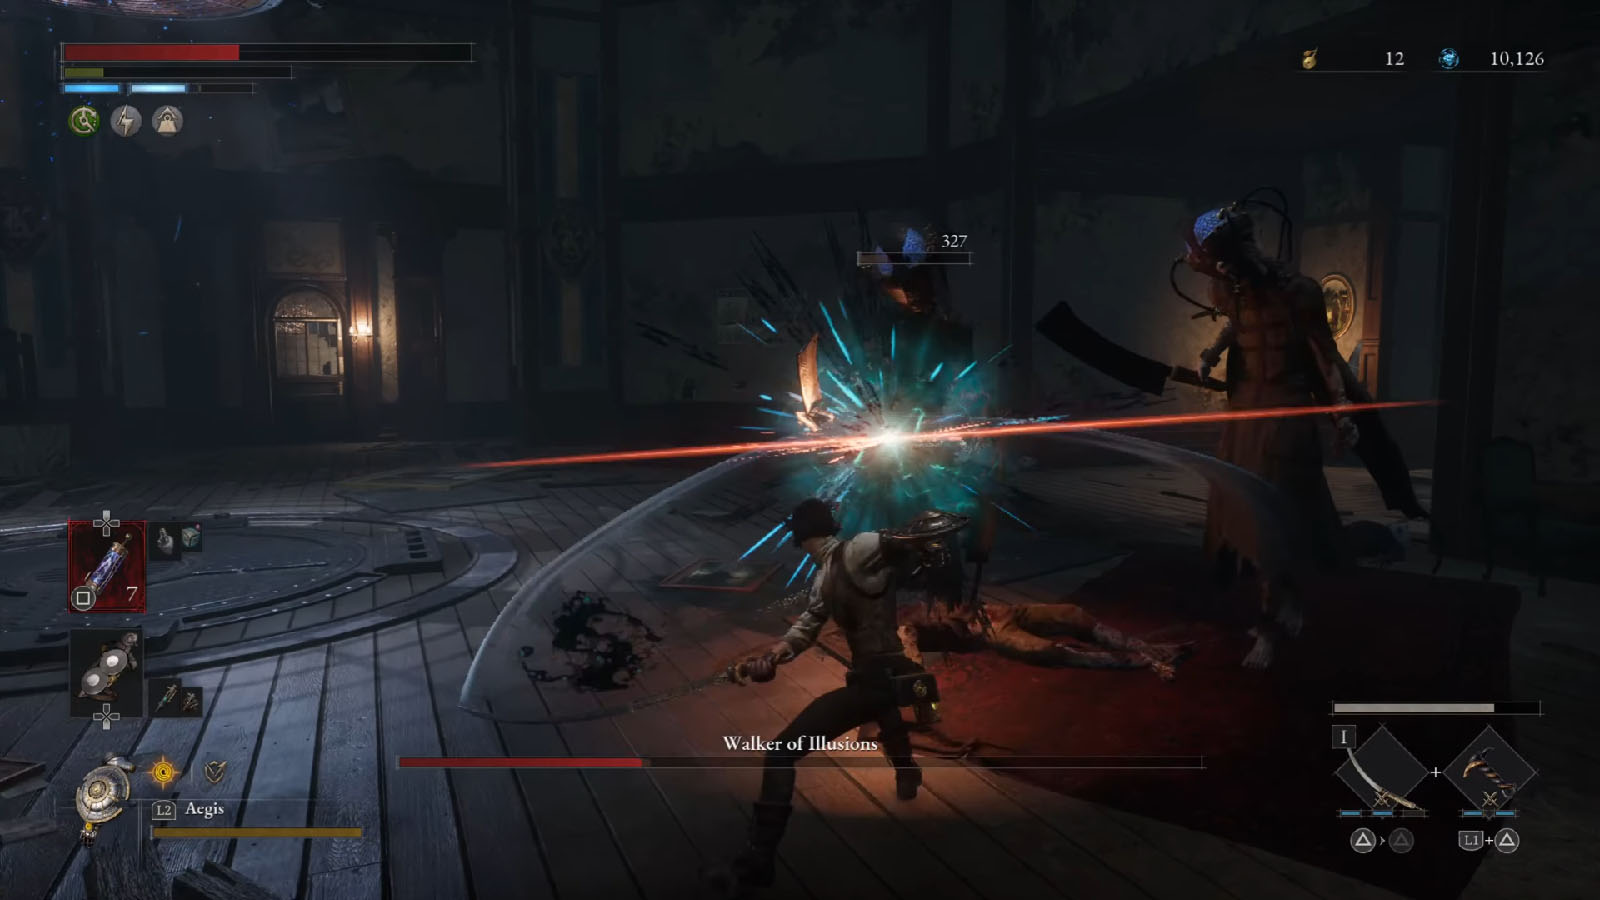
Boss Fight: Walker of Illusions
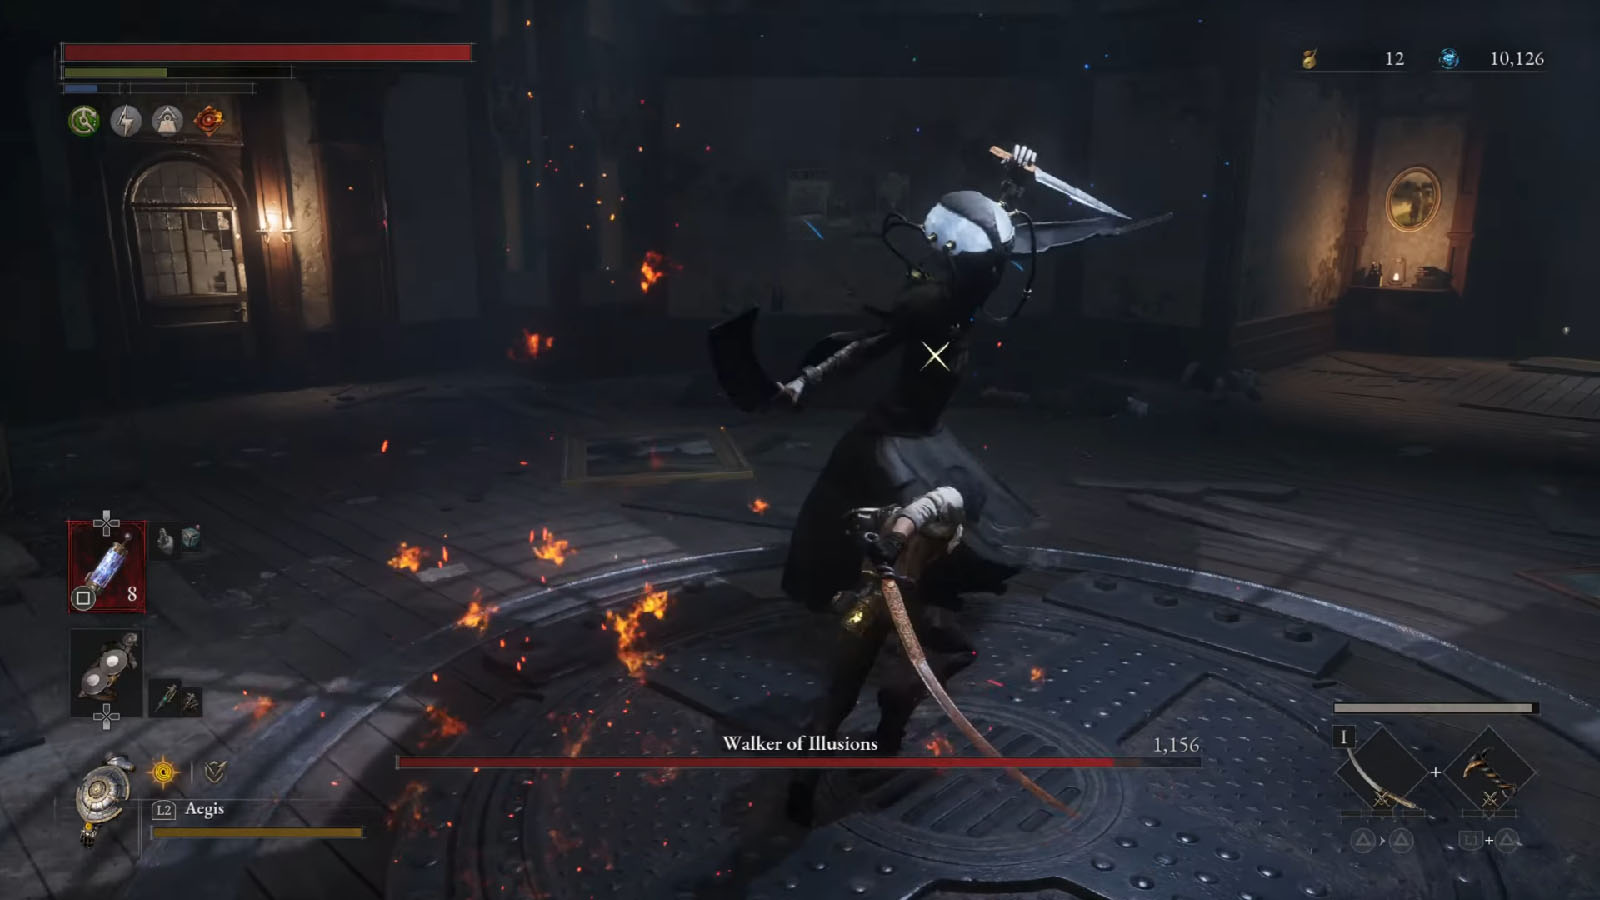
The Walker of Illusions wields a huge blade and a dagger. Its blade has quite a reach, and its dagger is usually used whenever you’re within close distance. It also has the ability to create a clone of itself that has its own health bar and it can also deal damage.
Once the clone is out, try to prioritize in killing it; its health bar is just small, so it’s quick to kill. Focus on blocking its wide slashes; they are quick and done with small windows, so try not to get caught in a combo.
Once it has been defeated, the Walker of Illusions will drop a Legion Caliber and a Dark moon Moonstone of the Covenant.
After defeating the boss, continue through the opened room, then ride the elevator. Once you have reached ground level, Sophia will tell you that the hotel is being attacked.
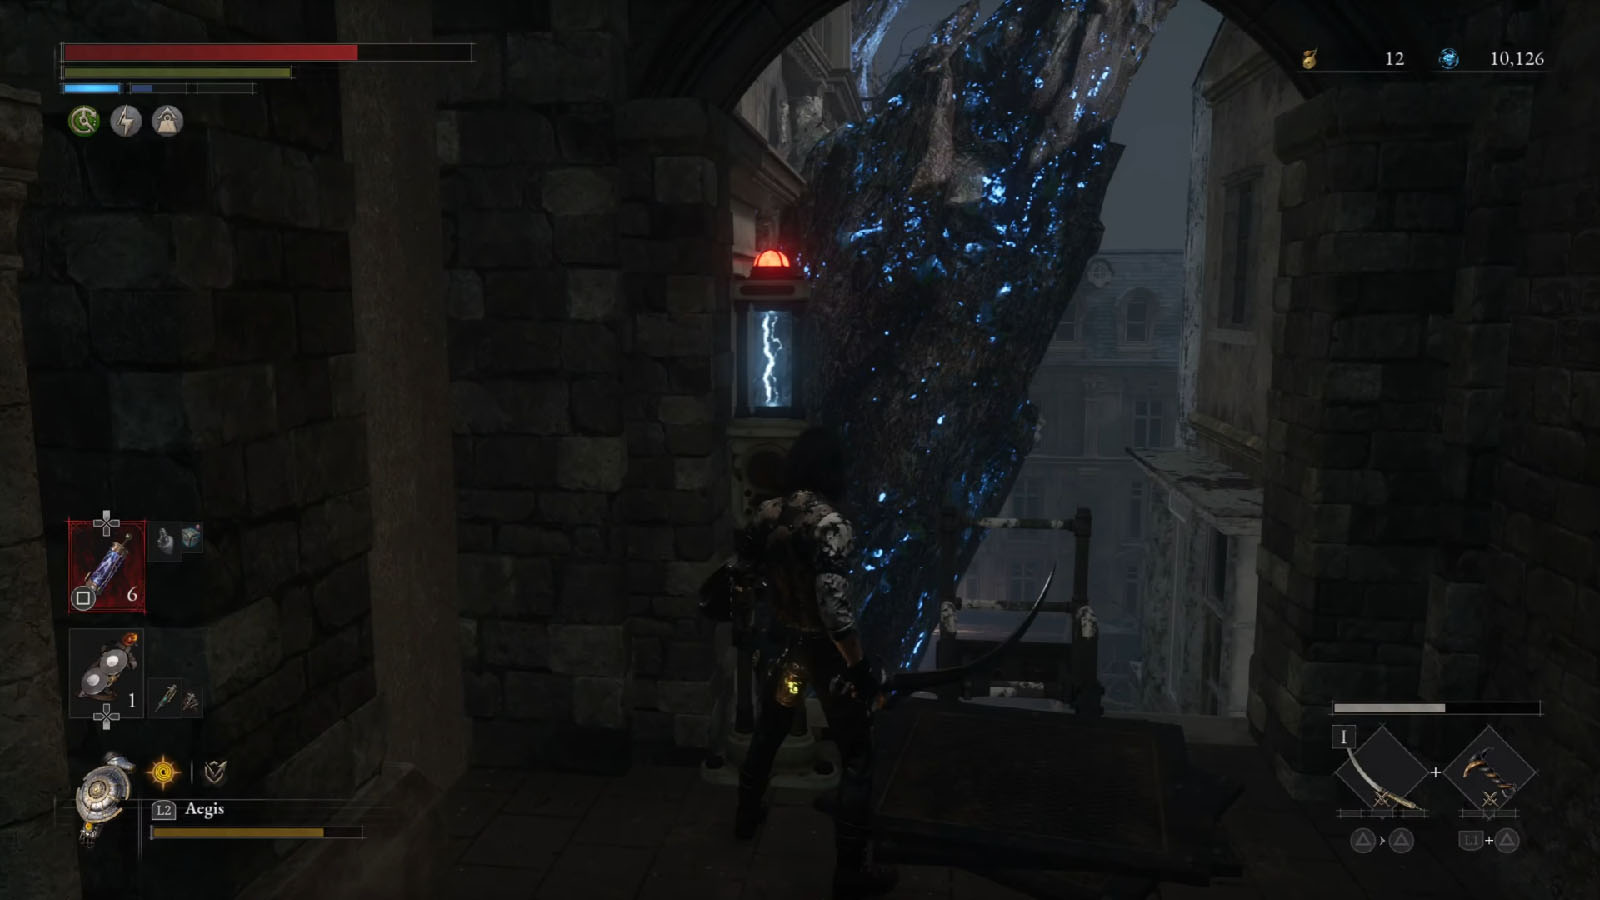
Make your way through the barren streets. You will find a Half Moonstone by the arch along the way. You will eventually arrive at the next Stargazer.
Krat Central Station Street
From the Stargazer, follow the path to the right and defeat the enemies along the way.
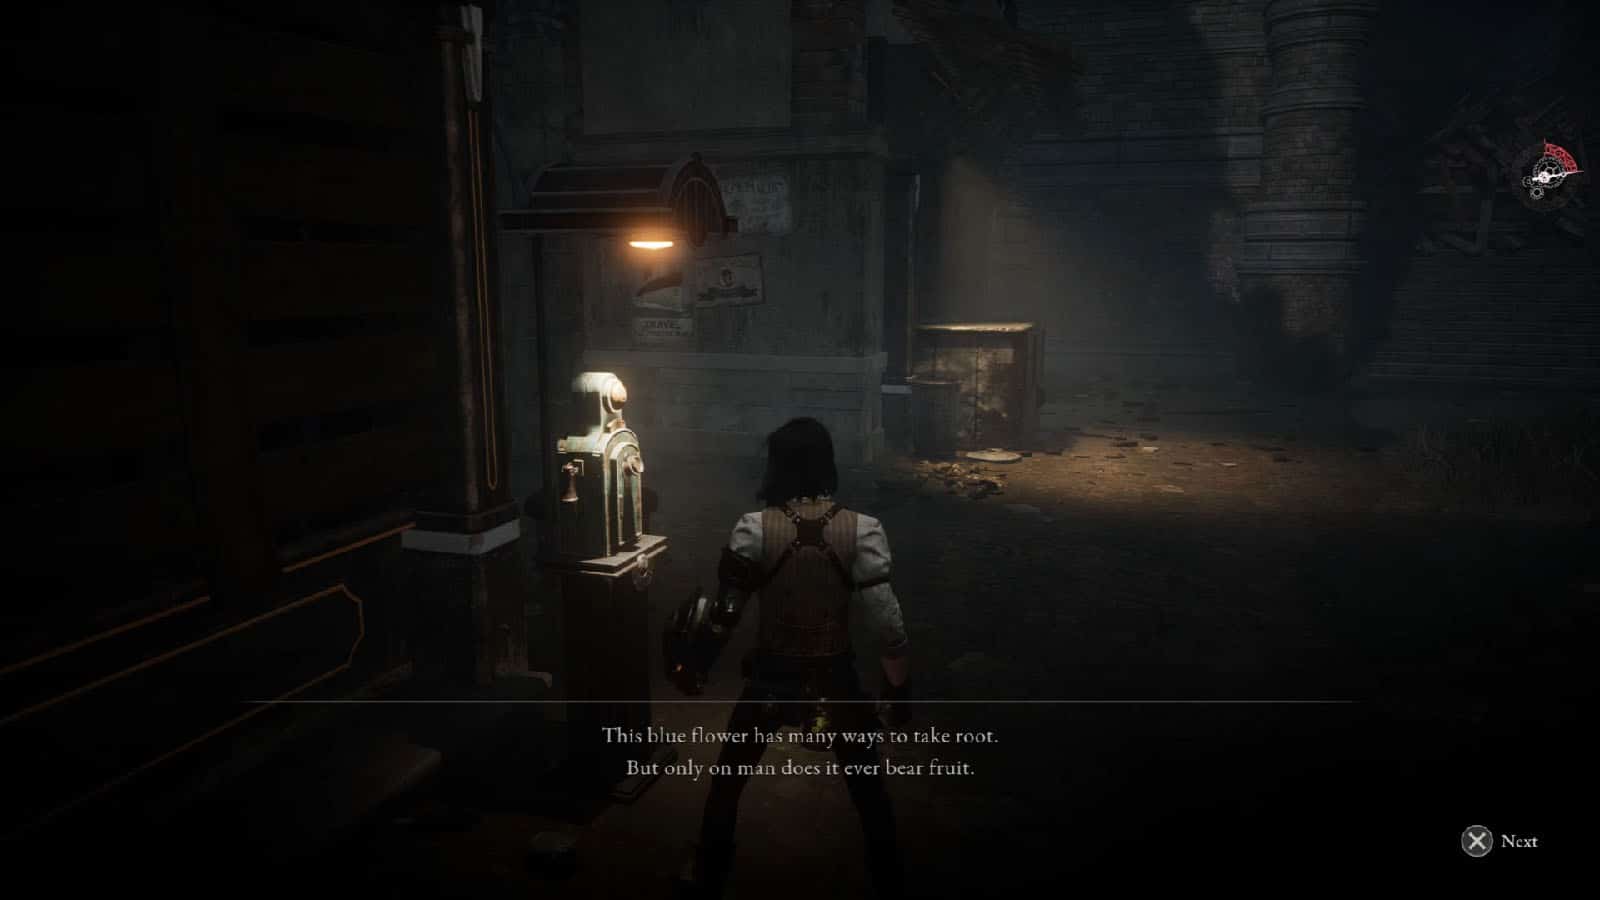
You’ll eventually hear the nearby telephone ring. Answer it to get another one of Arlecchino’s riddles, which goes “This blue flower has many ways to take root. But only on man does it ever bear fruit.” Choose Ergo as the answer to get the next Trinity Key. You can take the time to get back tot he station to open the sanctum and get the rewards from it.
Proceed through the path lined up with yellow crystals. The milkman puppet patrolling this area has now been mutated, gaining the ability to shoot out a tentacle from its neck. At the very end of the path past the turn is another Half Moonstone.
Take the next path which circles back to the Stargazer. Now take the path to Ceresani Alley and prepare for a boss fight.
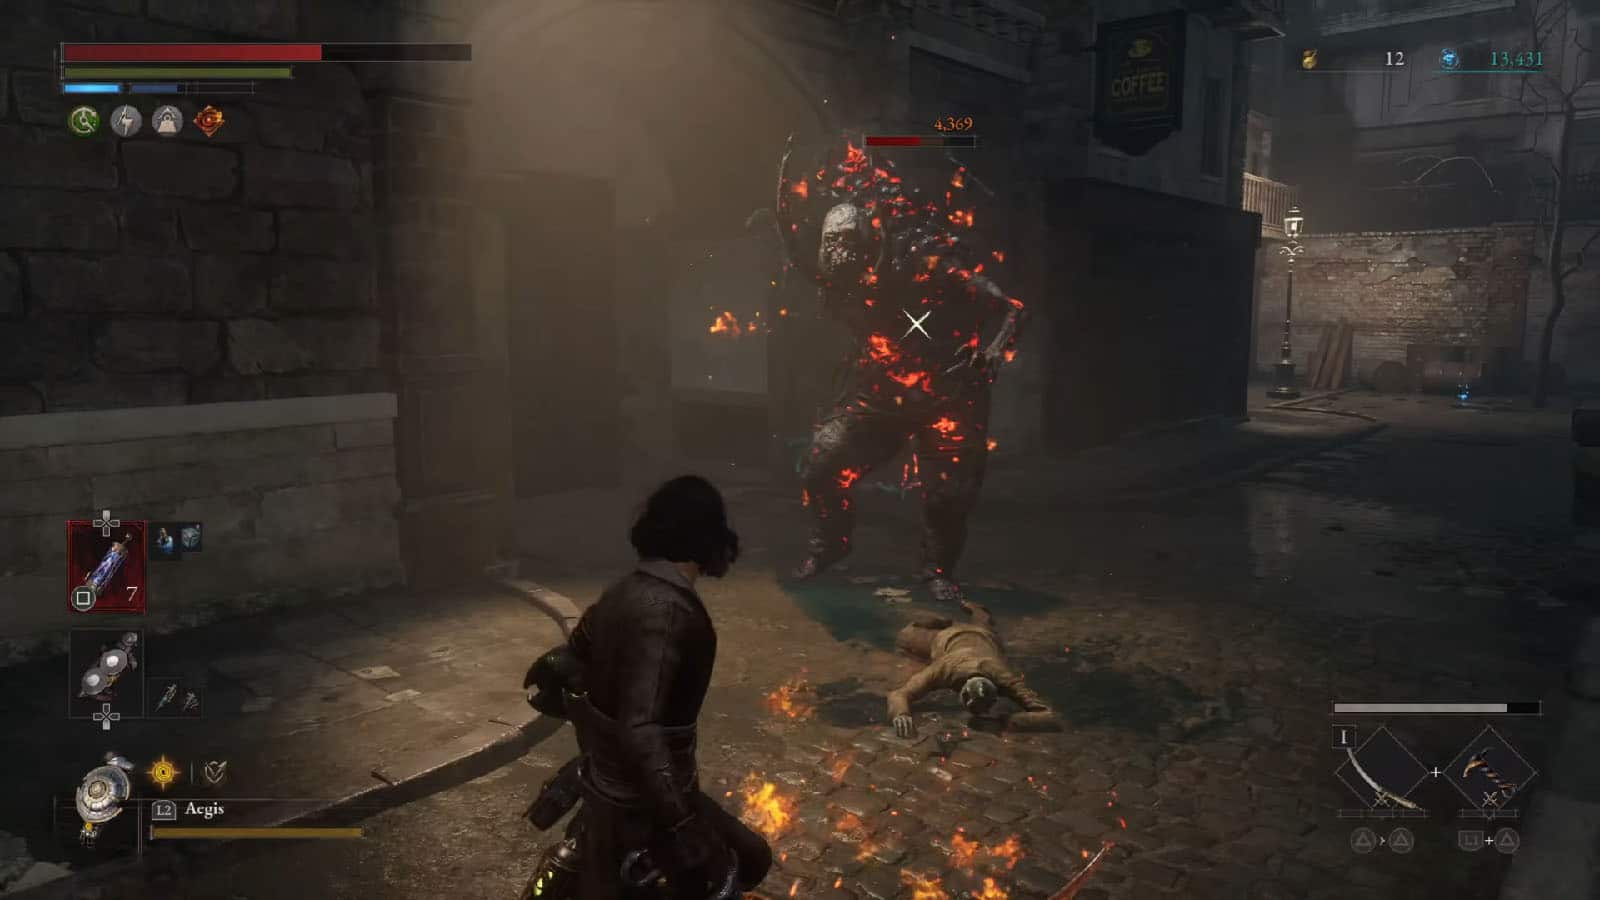
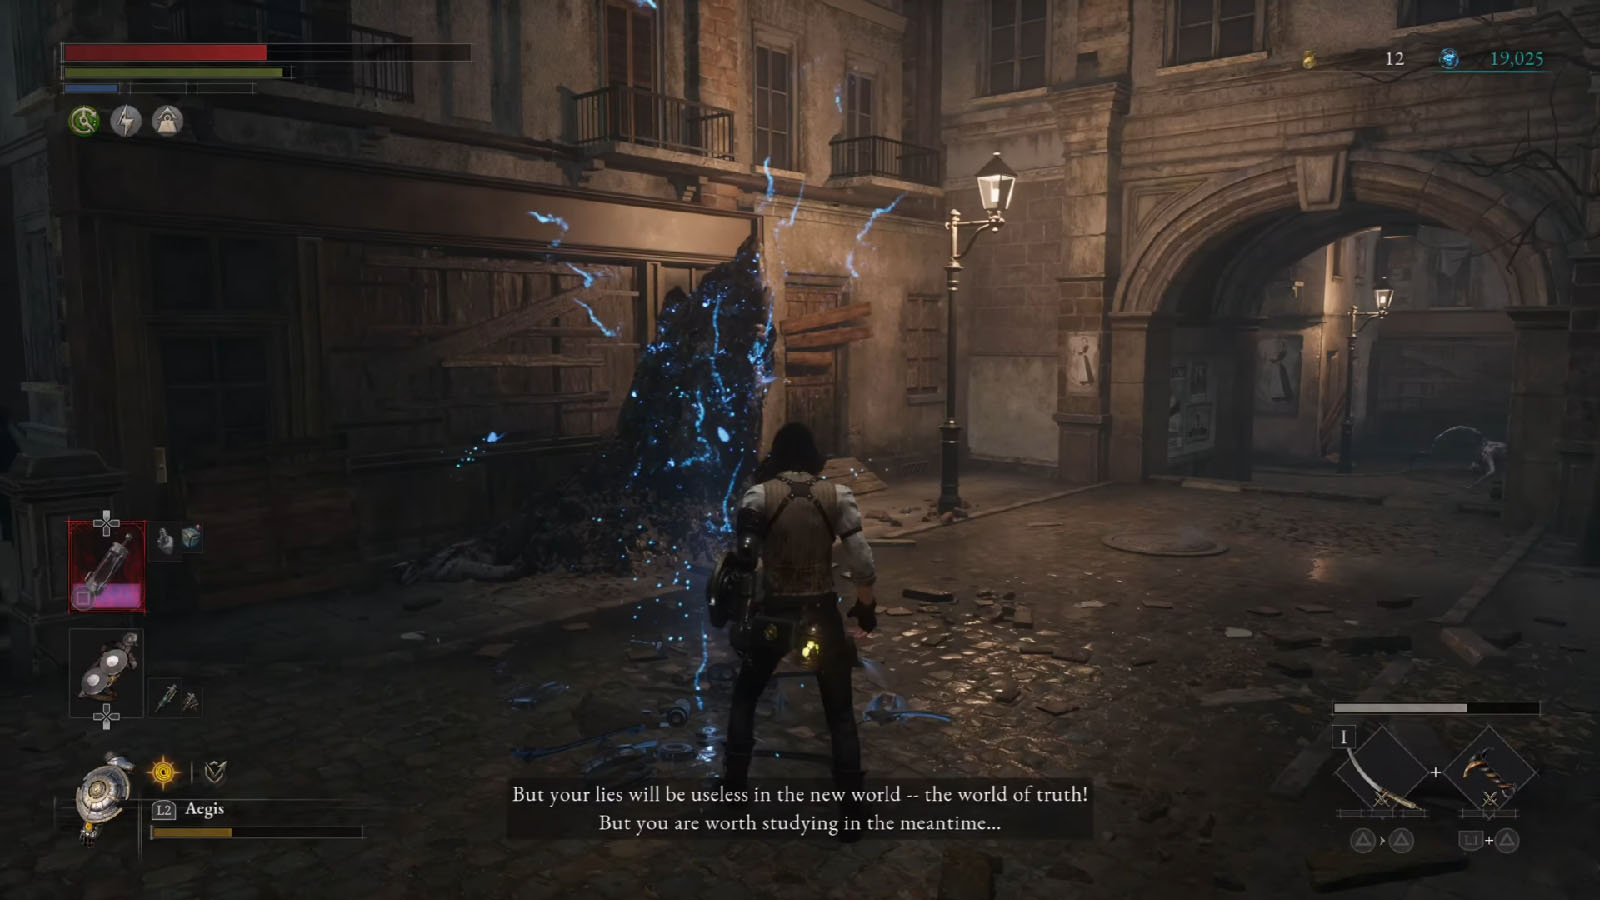
Boss Fight: Corrupted Parade Master
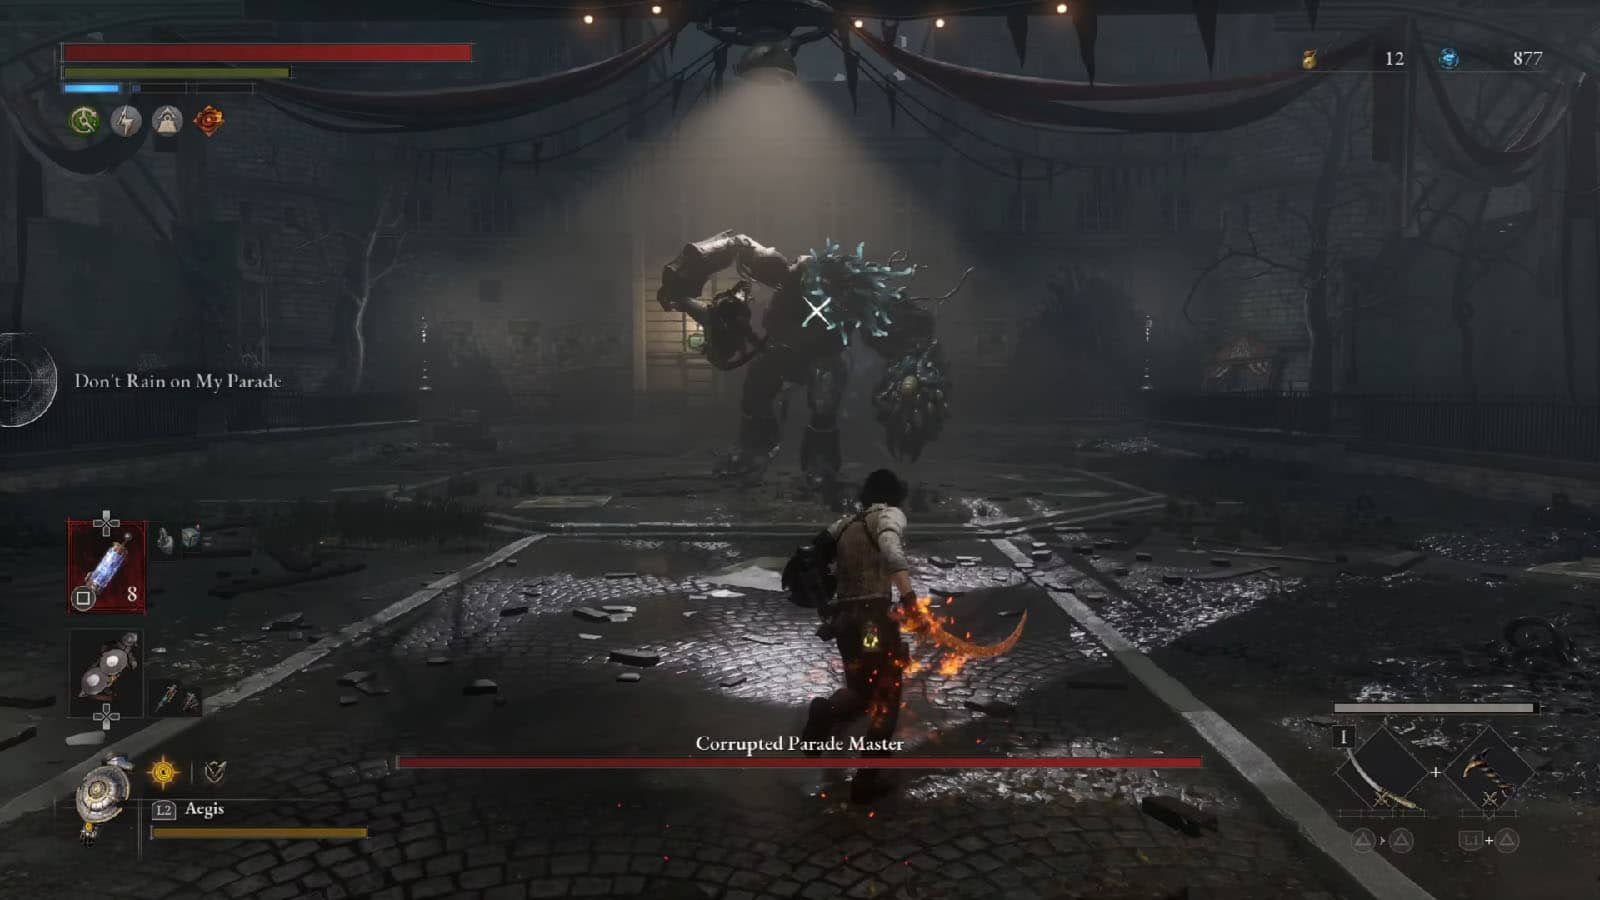
Unlike in previous boss fights, the fight against the Corrupted Parade Master will not allow you to summon a Specter with you. The boss also has the ability to summon exploder mutants once in a while.
Aside from the usual ground and pound attacks, the Corrupted Parade Master can grab you and swallow you whole, causing multiple damage and decay damage before spitting you out. It can also do a body slam, followed by a crawl towards your direction.

For this fight, bring your fire weapons and set your grinder for the fire element. Be sure to bring some ampoules and emergency repair kits as well if you can as the decay can quickly ruin your weapon. Consider equipping the best converter against acid to mitigate the effects of decay.
Pay attention to its left arm mass; once it’s winding up, move away from the boss to evade the grab. If it does the body slam, block the slam, but immediately back away to avoid getting hit by its crawl. Prioritize killing off the adds as soon as they appear to keep the fight manageable.
Once the Parade Master has been defeated, you will be rewarded with a Full Moonstone and a Quartz.
Make your way back to Hotel Krat to complete the chapter.
Attacked Hotel Krat
You’ll arrive at the hotel in its worst state as the alchemists have attacked the area. Talk to Sophia to find out that Geppetto has been kidnapped by the Stalkers. She will also tell you to go to the upper floor to check on everyone else.
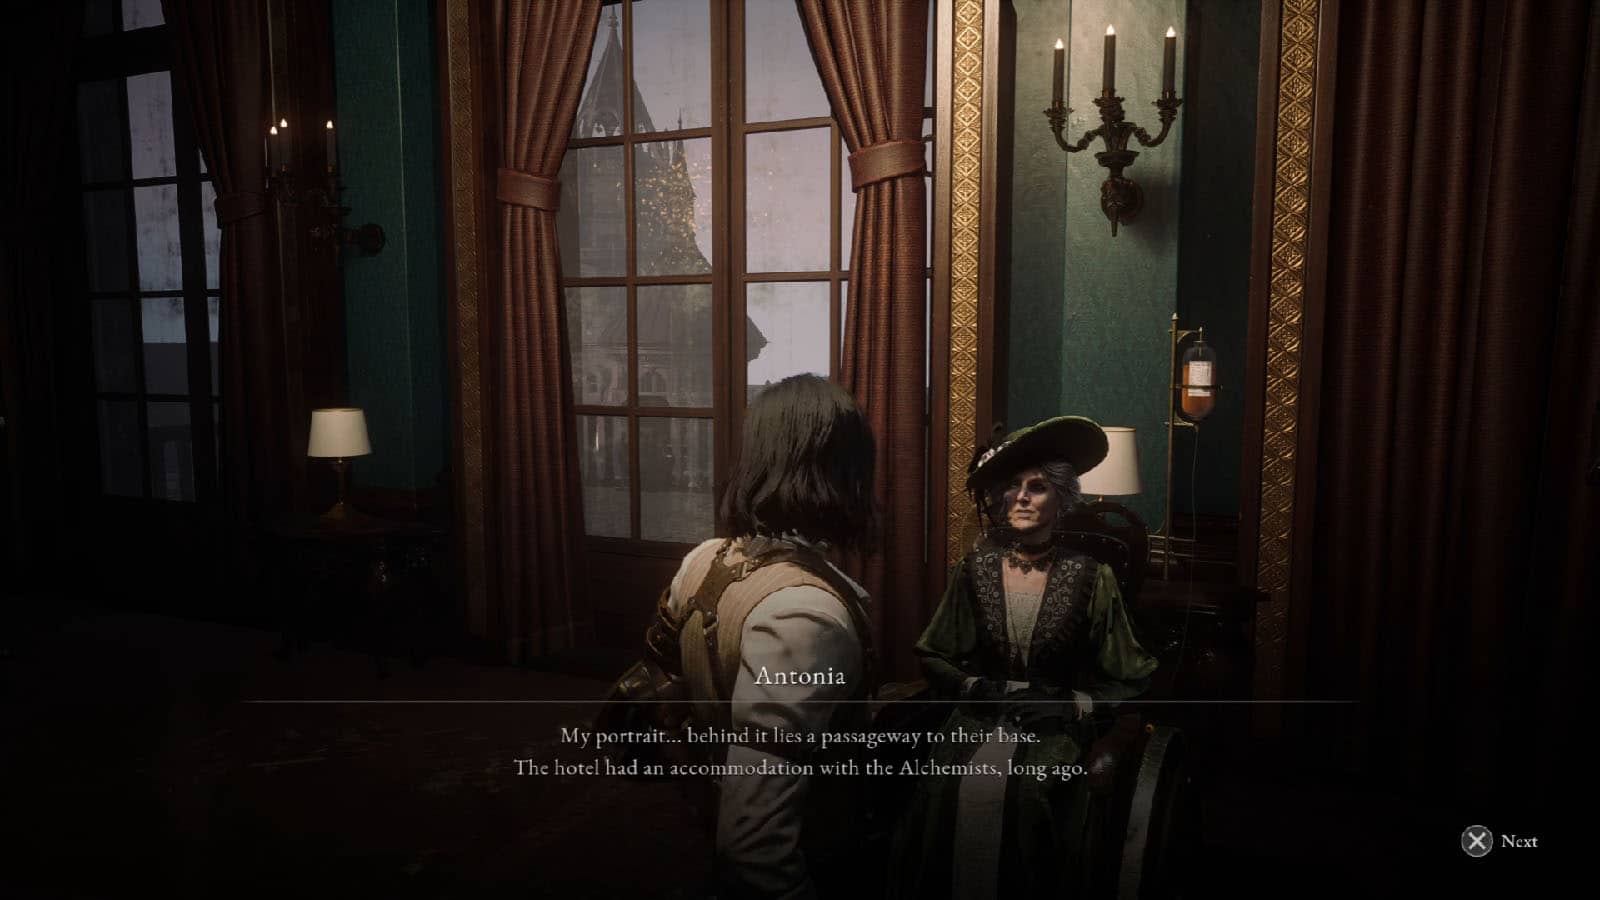
Head over to Geppetto’s study to find that everyone else is safe. Talk to Antonia as she will tell you on how to open the secret passage in her room. Then, talk to Venigni and he will tell you about your transport to the Isle of Alchemists. He will also give you the Golden lead-acid Battery and the Anger Emote.
Head over to Antonia’s room and interact with the piano to play a tune. This will then reveal the path behind Antonia’s portrait.
Belle – Find My Partner
Talk to Belle and she will ask you to find her partner, Atkinson. Travel to the Krat Central Station Platform Stargazer, then take the path to the right. Head down the stairs and go inside the carriage where you will find Atkinson in a mutated state. Talk to him to receive Atkinson’s Letter.
Go back to Belle and you will have to decide to tell her if her partner was killed in action (lie) or that he became a monster (truth). Answer depending on your run and you will be given with the Why Record regardless of your answer.


