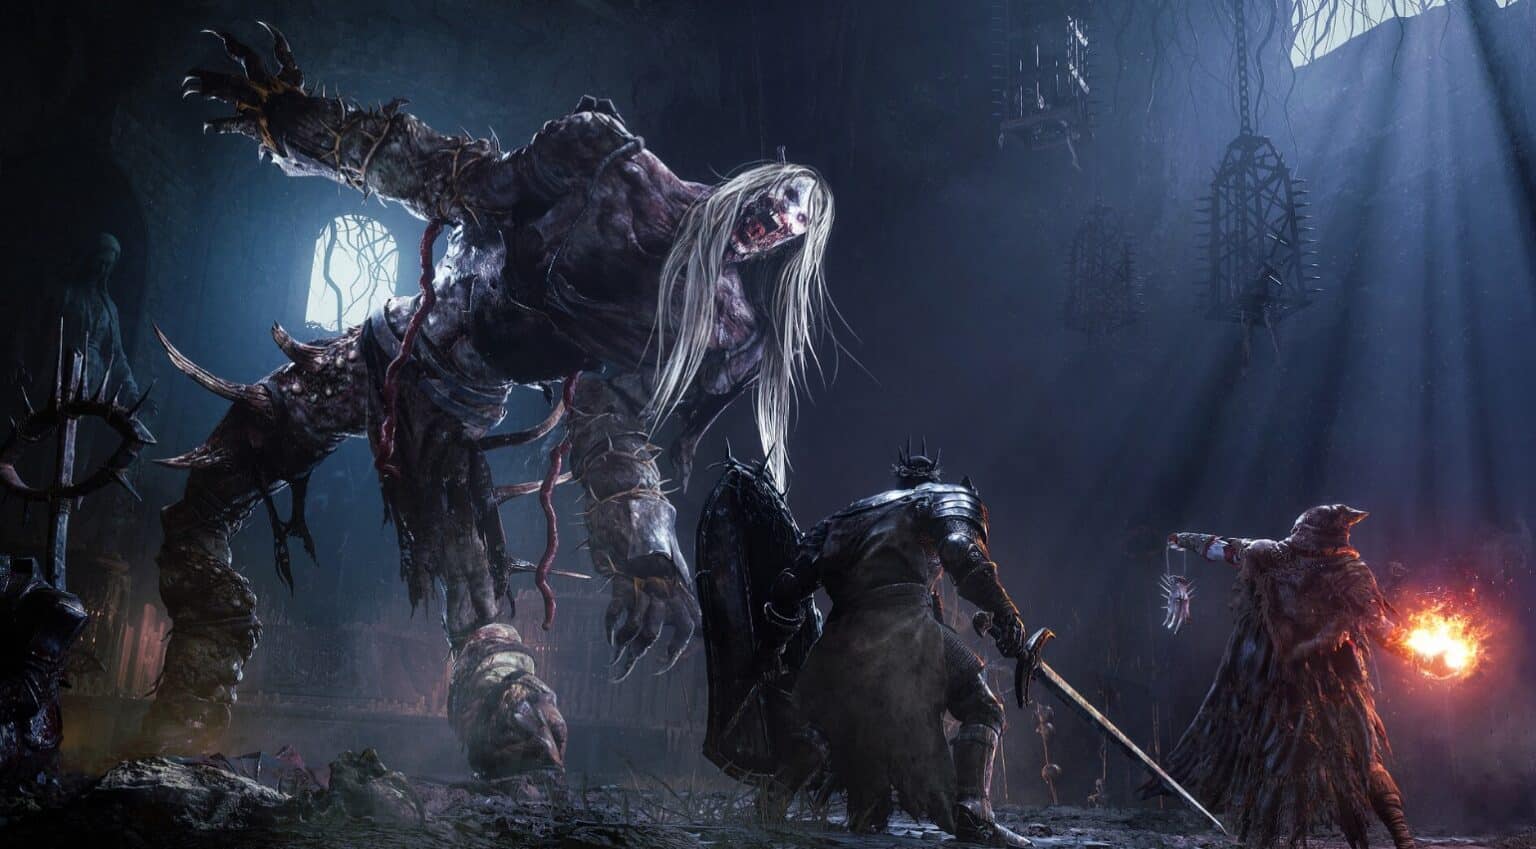
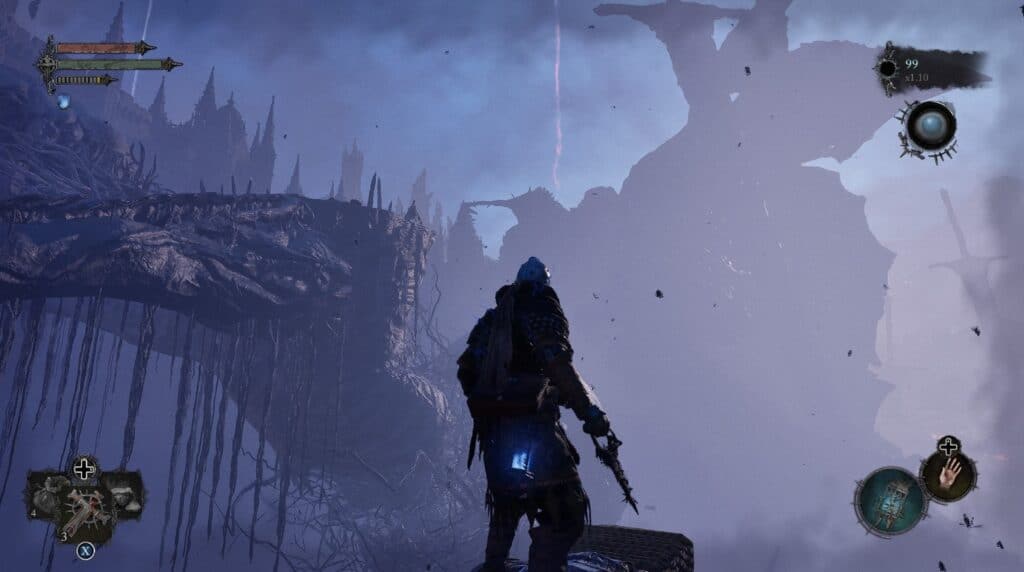
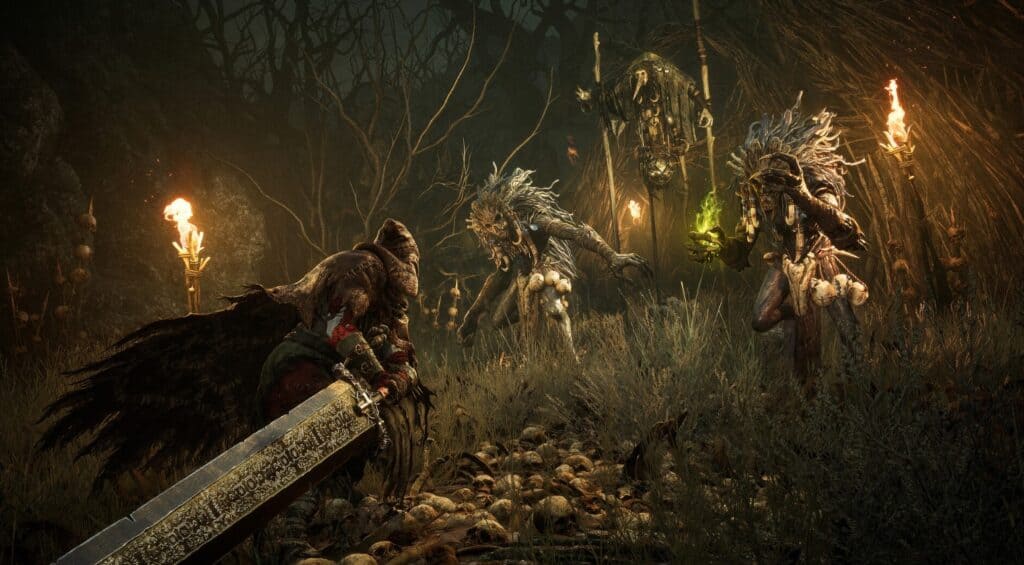
There are 32 Lords of the Fallen bosses that you need to face and defeat in the game. Like any soulslike game, the bosses you encounter in this game are all extremely powerful with different abilities, attack patterns, and quirks. Let your guard down and you could be back at your last Vestige point in a heartbeat. Beating these bosses do offer attractive rewards such as their Remembrances and some of the best weapons you can get.
All Lords of the Fallen Bosses in Order
These are the bosses you’ll encounter in Lords of the Fallen in consecutive order including where to find them and how to beat them:
Holy Bulwark Otto
- Boss Encounter: Mandatory
- Location: Defiled Sepulchre
- Weakness: Burn
The Holy Bulwark Otto is the very first boss you encounter shortly after leaving the tutorial area. Holy Bulwark Otto has some heavy attacks that are easy enough to parry. He may give you the impression of Lords of the Fallen being too easy but that’s only until you realize he’s just a decoy for the real wake up call. You can easily beat Holy Bulwark Otto by parrying his attacks since they’re telegraphed heavily. Once he shows he bends a knee, hit him from the front with a light attack to do a lot of damage.
The Lightreaper
- Boss Encounter: Semi-Optional
- Location: Defiled Sepulchre, Fitzroy’s Gorge, Upper Calrath, Fief of the Chill Curse
- Weakness: Poison, Holy
The Lightreaper rides a dragon-like creature that breathes flames over anything below it. This boss is obsessed with taking your Umbral Lamp for himself and is technically encountered just after you finish the tutorial. However, you’ll likely die but the good news is that you can schedule a rematch. Your first real fight against him will likely be at Fitzroy’s Gorge. Unlike any other bosses, the Lightreaper will change locations. You’re actually meant to die to this boss during this first encounter. Even if you do beat him, the end result will still be the same.
Peita, She of Blessed Renewal
- Boss Encounter: Mandatory
- Location: Skyrest Bridge
- Weakness: Wither, Burn
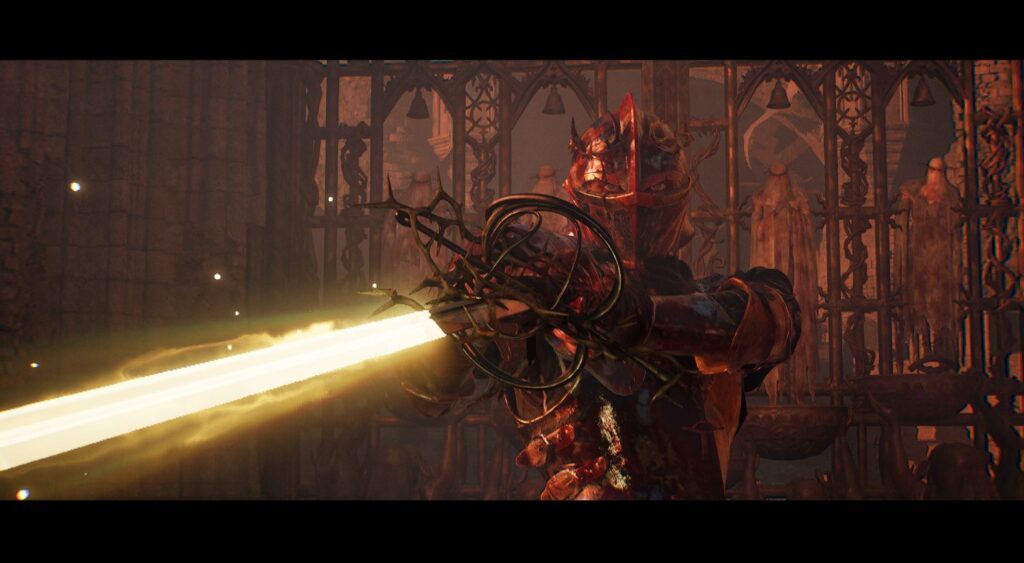
Peita, She of Blessed Renewal is the first main boss of Lords of the Fallen, not counting the Lightreaper who you’re supposed to lose against. Pieta is encountered in front of the Skyrest Bridge before you can first enter the hub. As the first true boss of the game, you’ll understand just how tough the journey ahead is when you die multiple times to her conjured light lasers.
Defeating Peita requires knowing when to properly counter her attacks. Parrying her is hard due to how difficult it is to tell when she’s done with her combos so dodge until you can be sure you can counter. Peita does leave herself wide open when finishing her attack chains.
Watch out for when she raises her blade in the air as you only have a split second to start dodging before a beam of light hits you. She’ll also enter her second phase where she grows wings on her back. Peita will also occasionally summon a spectral to do an attack before disappearing.
If you’re having trouble with this boss, you can summon the Iron Wayfarer at the side of the entrance to make it easier. After beating Peita, you can find her in the Skyrest Bridge hub as an ally who’ll offer upgrades for your Sanguinarix.
Scourged Sister Delyth
- Boss Encounter: Mandatory
- Location: Pilgrim’s Perch
- Weakness: Holy
Scourged Sister Delyth is the second boss you encounter at Pilgirm’s Perch right after reaching the Vestige of Chabui. Scourged Sister Delyth will come into the fight protected due to her connection to Umbral and with a menacing flail that will take out half your health if you fail to dodge it right.
Gentle Gaverous, Mistress of Hounds
- Boss Encounter: Mandatory
- Location: Pilgrim’s Perch
- Weakness: Burn
- Resistances: Holy
Gentle Gaverous, the Mistress of Hounds boss will have her armored hounds ready to fight you. What makes it even more challenging is that Gentle Gaverous will fire arrows at you from a distance while you’re busy dealing with her dogs. Even worse is that the hounds are armored and will respawn even after you’ve defeated them.
The Congregator of Flesh
- Boss Encounter: Mandatory
- Location: Forsaken Fen
- Weakness: Burn
The Congregator of Flesh is a gigantic mass of flesh that may catch you unarmed as you journey through Forsaken Fen. The Congregator of Flesh has a big arm it uses to swipe the area in front of it. Though you can make the fight more trivial by going behind his leg to keep yourself out of reach from most of his attacks.
Mendacious Visage
- Boss Encounter: Optional
- Location: Forsaken Fen
- Weakness: Radiance, Poison
Mendacious Visage is a giant head with unproportionally thin limbs, this boss does loves to jump around blasting AoE damage. When Mendacious Visage opens its head, you can Soulflay him for an easy stun.
The Hushed Saint
- Boss Encounter: Mandatory
- Location: Forsaken Fen
- Weakness: Bleed, Burn
- Resistances: Poison
The Hushed Saint is a large humanoid boss with a big halberd and shield. The Hushed Saint has some straightforward combos but will summon to ride its horse while throwing spears at you.
Crimson Rector Percival
- Boss Encounter: Optional
- Location: Fitzroy’s Gorge
- Weakness: Poison
- Resistances: Burn, Smite
You need to have lit the beacons prior to his fight to encounter the Crimson Rector Percival. This boss wields a dual handed sword and can summon specters to an attack for him. He can even heal from attacks if you don’t interrupt him after he gains distance.
Ruiner
- Boss Encounter: Mandatory
- Location: Fitzroy’s Gorge
- Weakness: Smite
The Ruiner can be encountered as you cross the big bridge at Fitzroy’s Gorge. The Ruiner has a big axe to do some standard combos with and a shield he uses to block incoming attacks from the front. Keep clear of his frontal axe attack which can debuff you with Ignite.
Infernal Enchantress
- Boss Encounter: Mandatory
- Location: Lower Calrath
- Weakness: Smite
- Resistances: Ignite
The Infernal Enchantress is a powerful mage that can casts spells which inflict the Ignite debuff. Heavy attacks is very effective on her if you can close in the distance without getting burned.
Spurned Progeny
- Boss Encounter: Mandatory
- Location: Upper Calrath
- Weakness: Smite
The Spurned Progeny is a pretty big boss you encounter in Upper Calrath, the Spurned Progeny is fought in a large arena at the end of the slums. His attacks are pretty telegraphed but can attack the area in front of him. Watch out for his ranged fire attacks.
Skinstealer
- Boss Encounter: Mandatory
- Location: Cistern
The Skinstealer is a pretty fast boss wielding cleavers along with two additional blades. Because of how fasts its attacks are and the small boss arena, blocking is preferable to dodging. This boss fight will move around the area but will occasionally stand still allowing you to attack.
Bringer of Stillness, Silence, Nullity
- Boss Encounter: Optional
- Location: Cistern
The Bringer of Stillness, Silence, and Nullity are three boss enemies you’ll fight simultaneously. They’ll float around and attack with two blue spectral blades. Though they don’t have a different moveset from each other.
Harrower of Dervla, the Pledged Knight
- Boss Encounter: Optional
- Location: Revelation Depths
The Harrower of Dervla, the Pledged Knight is a knight with a large broadsword and crossbow who’ll fire at you right from the start of combat. She’ll simultaneously fight using melee combos and ranged attacks.
Kingrar Guardian Folard
- Boss Encounter: Mandatory
- Location: Fief of the Chill Curse
You’ll have to fight Kingrar Guardian Folard along with his wolves and in an area with water that slow you down. This boss has a large axe with telegraphed swings but they’re enhanced with ice.
Griefbound Rowena
- Boss Encounter: Optional
- Location: Fief of the Chill Curse
- Weakness: Ignite, Poison, Burn
Griefbound Rowena has multiple ranged attacks that build up Frostbite. Standing still is not recommended as she will summon Umbral enemies who could quickly swarm you during the fight.
The Hollow Crow
- Boss Encounter: Mandatory
- Location: Fief of the Chill Curse
The Hollow Crow is a boss fight where you’ll have to fight an Umbral specter floating around the arena in order to damage the boss. The Hollow Crow itself will loom over the arena in the background while casting ranged ice attacks that build up Frostbite.
The Sacred Resonance of Tenacity
- Boss Encounter: Optional
- Location: Pilgrim’s Perch
The Sacred Resonance of Tenacity is a boss with a giant sledgehammer and a bell on his head. The Sacred Resonance of Tenacity has some heavy telegraphed swings, but his attacks can be powered up with Holy.
Abiding Defenders
- Boss Encounter: Optional
- Location: Manse of the Hallowed Brothers
- Weakness: Burn
- Resistance: Smite
Abiding Defenders is a dual boss fight where you have two enemies to take on, Abiding Defender Lirenne and Abiding Defender Kyra. These two bosses are identical to each other and each wields a broadsword that can build up Smite upon being hit.
Blessed Carrion Knight Sanisho
- Boss Encounter: Mandatory
- Location: Tower of Penance
The Blessed Carrion Knight Sanisho guards the bridge to the Tower of Penance. He wields a staff and uses simple melee combos that have quite a bit of reach. This boss can easily be staggered for some easy damage however you should quickly beat him before he does his poison fog attack that covers a wide radius.
Tancred, Master of Castigations
- Boss Encounter: Mandatory
- Location: Tower of Penance
- Resistances: Poison, Burn
You’ll face Tancred, Master of Castigations at the bottom of the Tower of Penance. This boss wields a staff and can build up Bleed and Smite debuffs. After beating him, he transitions in Reinhold the Immured.
Reinhold the Immured
- Boss Encounter: Mandatory
- Location: Tower of Penance
Reinhold the Immured will quickly come after the boss fight against Tancred, Master of Castigations. This feral boss walks on all fours and will run around causing havoc in the boss arena. After you’ve lowered his health, Reinhold will attack with magma that can build up Burn.
Abbess Ursula
- Boss Encounter: Mandatory
- Location: Abbey of the Hallowed Sisters
- Weakness: Physical, Burn
Abbess Ursula is a boss with a variety of ranged attacks consisting of light beams that can build up Smite. She’ll teleport around the boss arena forcing you to chase after her while dodging her light beams. Ursula is very vulnerable when she drinks out of the chalice in her other hand.
Rapturous Huntress of Dusk
- Boss Encounter: Optional
- Location: Abbey of the Hallowed Sisters
- Weakness: Physical, Burn
You can encounter Rapturous Huntress of Dusk by interacting with the main altar in Abbey of the Hallowed Sisters. Rapturous holds a spear and a buckler and will fight with some basic attacks. This boss is easy to overwhelm especially if you summon the help of the Iron Wayfarer during the fight.
Judge Cleric, the Radiant Sentinel
- Boss Encounter: Optional (Umbral)
- Location: Empyrean
Fighting Judge Cleric, the Radiant Sentinel requires that you are on your way to the Umbral ending. To get this ending, requires killing certain NPC characters which prevents you from buying items from them or using their services.
Andreas of Ebb
- Boss Encounter: Optional
- Location: Upper Calrath
Before you can enter Bramis Castle, Andreas of Ebb will ambush you in the narrow alleyway. However this will only trigger if you returned the Ebb’s Book of Lineage and accept his offer to fight against the Lightreaper boss.
The Iron Wayfarer
- Boss Encounter: Optional
- Location: Bramis Castle Gate
Before you can enter the Bramis Castle, The Iron Wayfarer will stop you at the gate. He has a big hammer imbued with Umbral magic. The Iron Wayfarer is slowed down with all his heavy equipment so he isn’t as mobile.
Damarose the Marked
- Boss Encounter: Optional (Radiance)
- Location: Bramis Castle
You’ll encounter Damarose the Marked as a boss on the Radiance ending path if she’s still alive. She uses a large cleaver-like axe and uses fire magic that can build up Burn.
The Sundered Monarch
- Boss Encounter: Mandatory
- Location: Bramis Castle
- Weakness: Smite, Bleed
The first time you see The Sundered Monarch this giant is just sitting in the corner allowing you to get the first few hits in. He will get annoyed enough to enter the next phase shortly and start using the statue head to swat you down like a fly. Because of his size, plenty of his attacks are AoE.
Adyr, the Bereft Exile
- Boss Encounter: Optional
- Location: Rhogar Realm, Bramis Castle
Adyr is the boss you encounter once you’ve cleansed all the beacons. You can choose not to fight him if you’re not aiming for the Radiance ending so he isn’t mandatory.
Elianne the Starved
- Boss Encounter: Optional (Umbral)
- Location: Mother’s Lull
- Weakness: Smite
Elianne the Starved is the last boss you need to defeat to get the Umbral Ending is Elianne the Starved. This four-winged angel has similar moves to Pieta She of Blessed Renown and also has some spells that can build up Smite. However, Elianne has access to Umbral spells that make the fight tough.


