
The Partition Ordnance Destiny 2 Campaign mission is a weekly rotating mission that sees the Guardian teaming up with Sam Moleyn to clean up a Vex-infected partition. Sam’s job is to open doors while you have an itchy trigger finger. It’s a relatively simple mission with a few minor complications: Sam has a habit of making platforms disappear wherever he goes and going near him lifts the Guardian off the ground. You can imagine how distracting it is in an FPS where aim and positioning are important.
This walkthrough guide will tell you what you need to know about getting access to the weekly partition missions, what to expect, and the twists and turns you will encounter along the way. There’s usually no reason to repeat missions in Destiny 2, but you will want to do these missions for the guaranteed piece of Pinnacle Gear.
How to Start Partition Ordnance Destiny 2
To start a Partition campaign mission, you must complete the Vex Incursion Countermeasures Weekly Bounty.
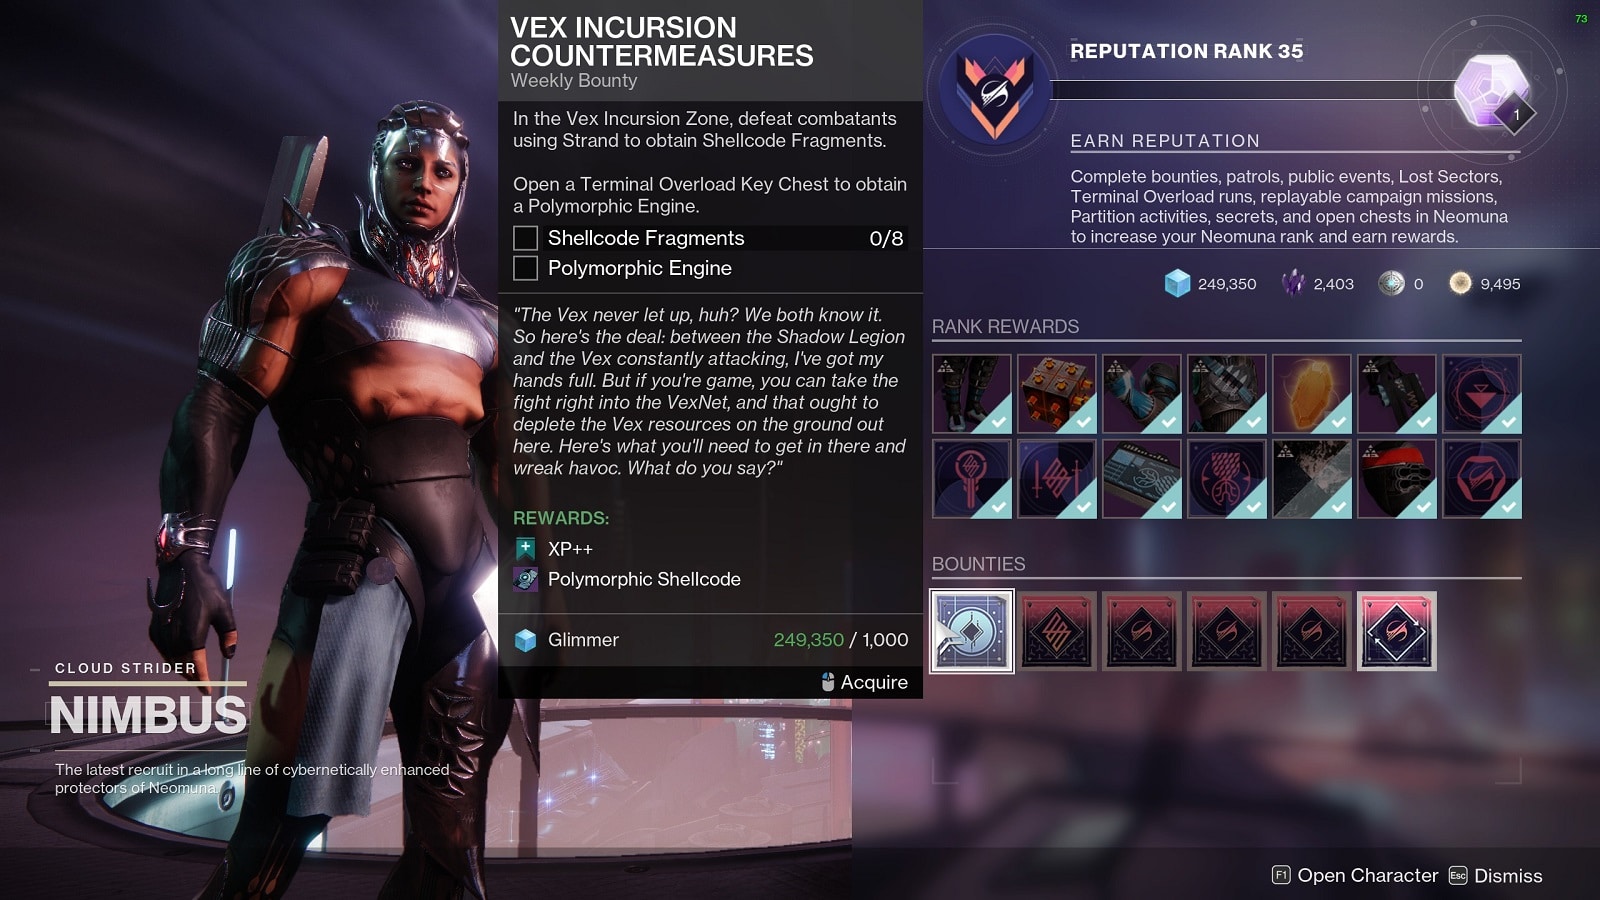
To get the 8 Shellcode Fragments, you must defeat combatants using Strand inside the Vex Incursion Zone. It doesn’t matter what kind of enemy they are, Vex or Shadow Legion, using a Stand ability or weapon is enough to get the fragments.
As for the Polymorphic Engine, you get that by opening a Terminal Overload Key Chest at the end of a Terminal Overload event. You’ll need a Terminal Overload Key to open a Terminal Overload chest.
Next, you must turn in the mission from the Quest screen to get the Polymorphic Shellcode. You’re now all set to start the mission.
Partition Ordnance Location
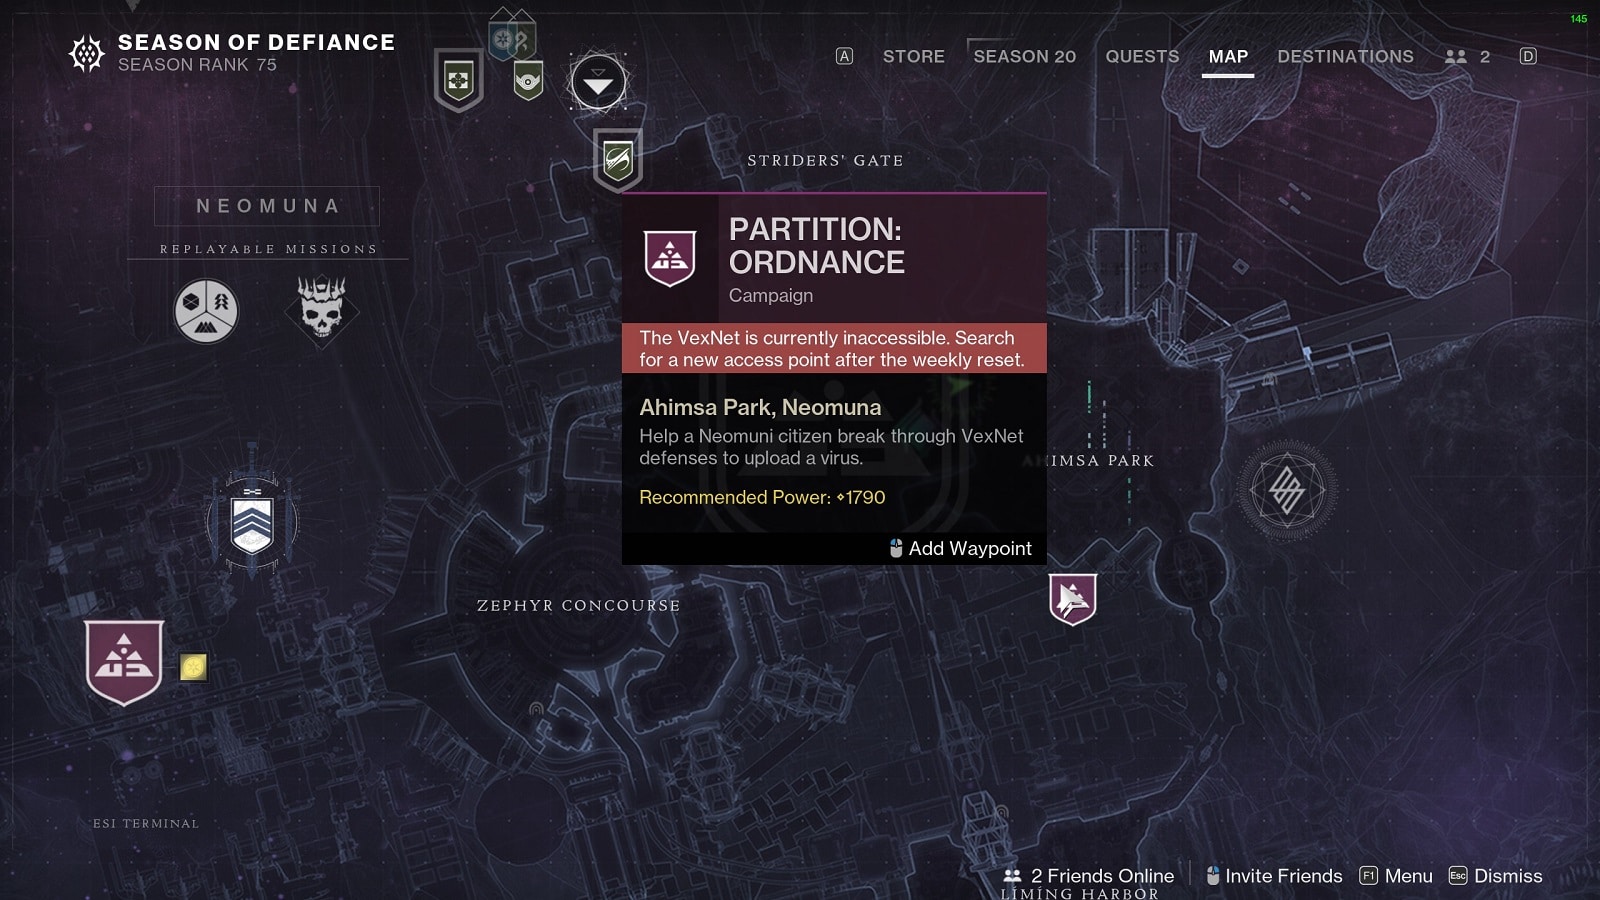
The Partition Ordnance Destiny 2 mission is located in the Southern part of Ahimsa Park. The Partition missions rotate weekly so you won’t be able to access the mission if another is active. You’ll have to wait a few weeks until the mission is active again.
It is highly recommended that you at least have a Power Level of 1790 to get a reasonable time to completion. 1800 Power Level or above makes this mission seem like a walk in the park.
Partition Ordnance Destiny 2 Walkthrough
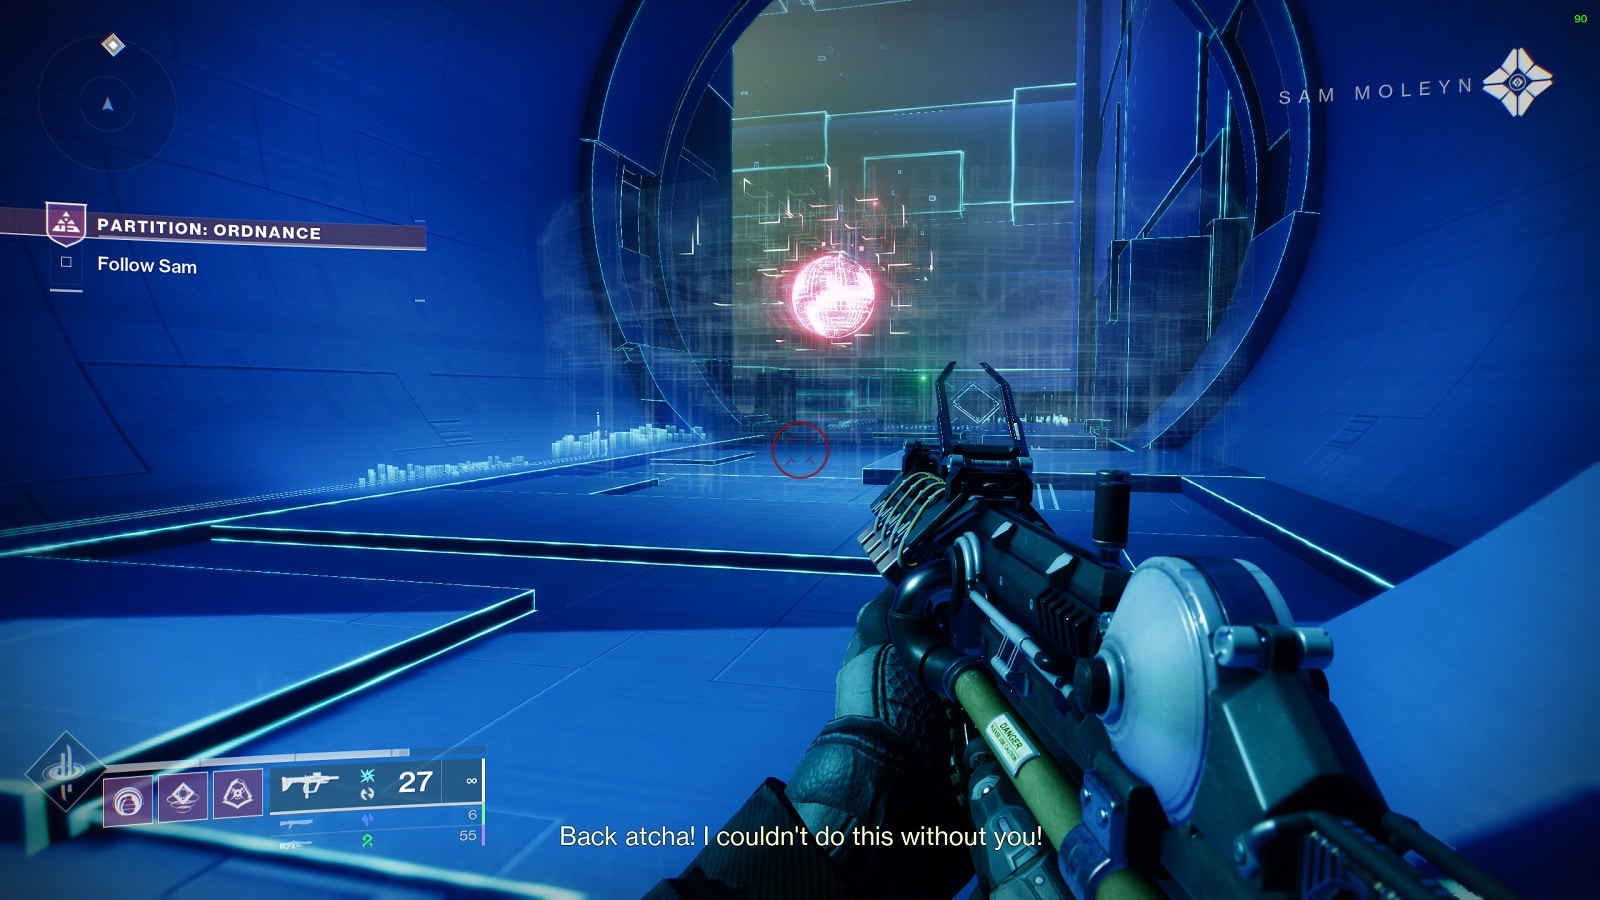
The mission starts relatively the same whether or not you’re doing it for the first time or the nth time. If it’s your first time, Sam will introduce himself and will have a short conversation with you before going to the first encounter. If you’ve been around the block, Sam will greet you like a co-worker greets their office mate before shift starts. He is still blissfully unaware of groups of Vex and Shadow Legion fighting behind the entrance.
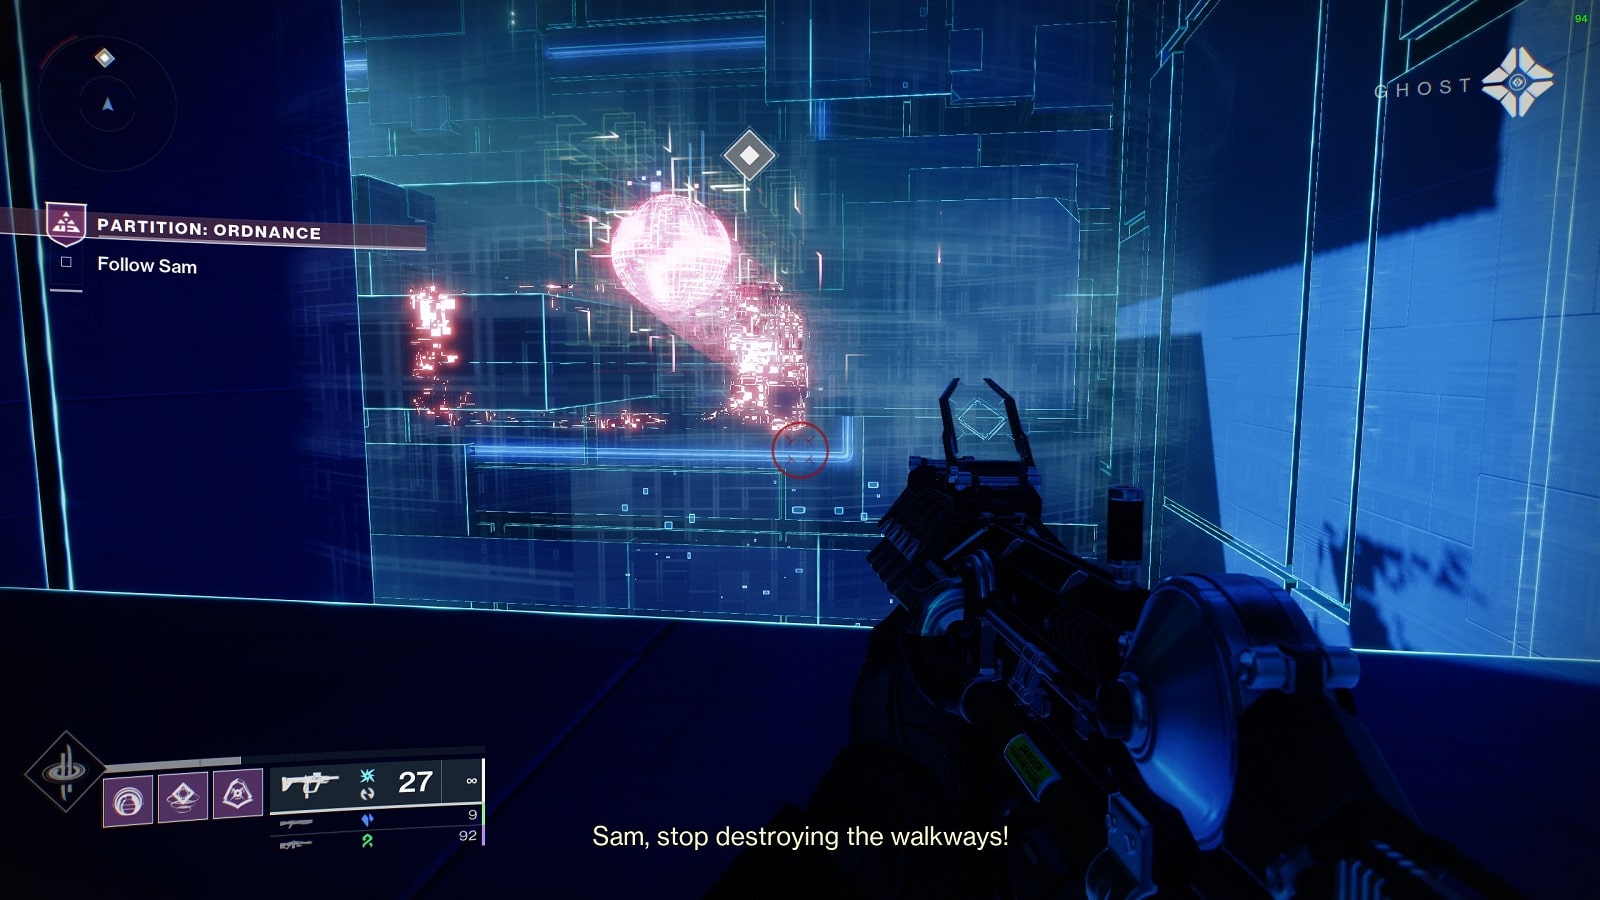
First Encounter
The first gate lies at the top of an ascending bridge guarded by Shadow Legion Incendiors and War Beasts. The best place to fight is on either end of the bridge. There’s no cover in the middle of the bridge. More importantly, if Sam happens to float over the bridge, the chances of you falling off increase dramatically.
To progress to the next encounter, you need to keep fighting until a Databank Courier spawns. In this case, they will appear from a portal on the left side of the blocked door, often accompanied by an Unstoppable Champion. We suggest taking out the Champion out first.
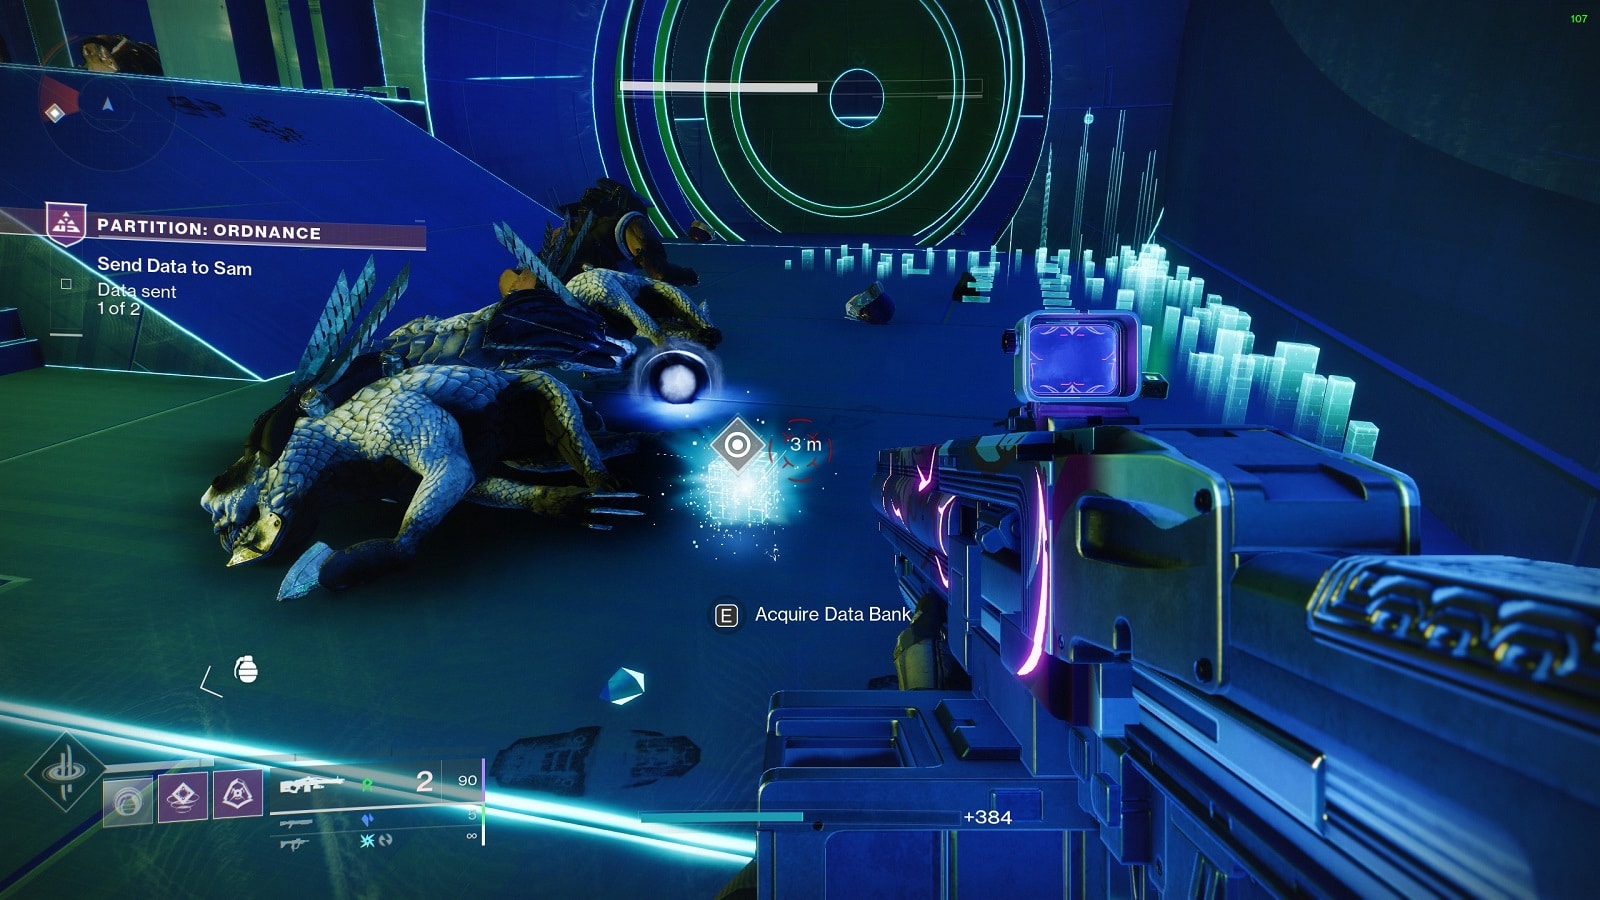
Defeating a Databank Courier will cause it to drop a Data Bank. Simply pick it up and toss it in the direction of Sam. You don’t need to worry about missing Sam. (He is a moving target after all) The Data Bank will spawn in a pre-determined location should it fall off the map. Once Sam has enough Data to work with, he’ll remove the barrier holding the group back. You are now able to go to the next encounter.
The following platforming segment is made slightly harder on account of Sam flying over every single platform, causing most to disappear. We don’t recommend racing him to the next encounter as you might accidentally get close to him. Strand works best here. But any class can get the job done as long as you’re careful. You’ll also be dealing with Phalanx and Hobgoblins on platforms. Break through them and you’ll be at the next encounter.
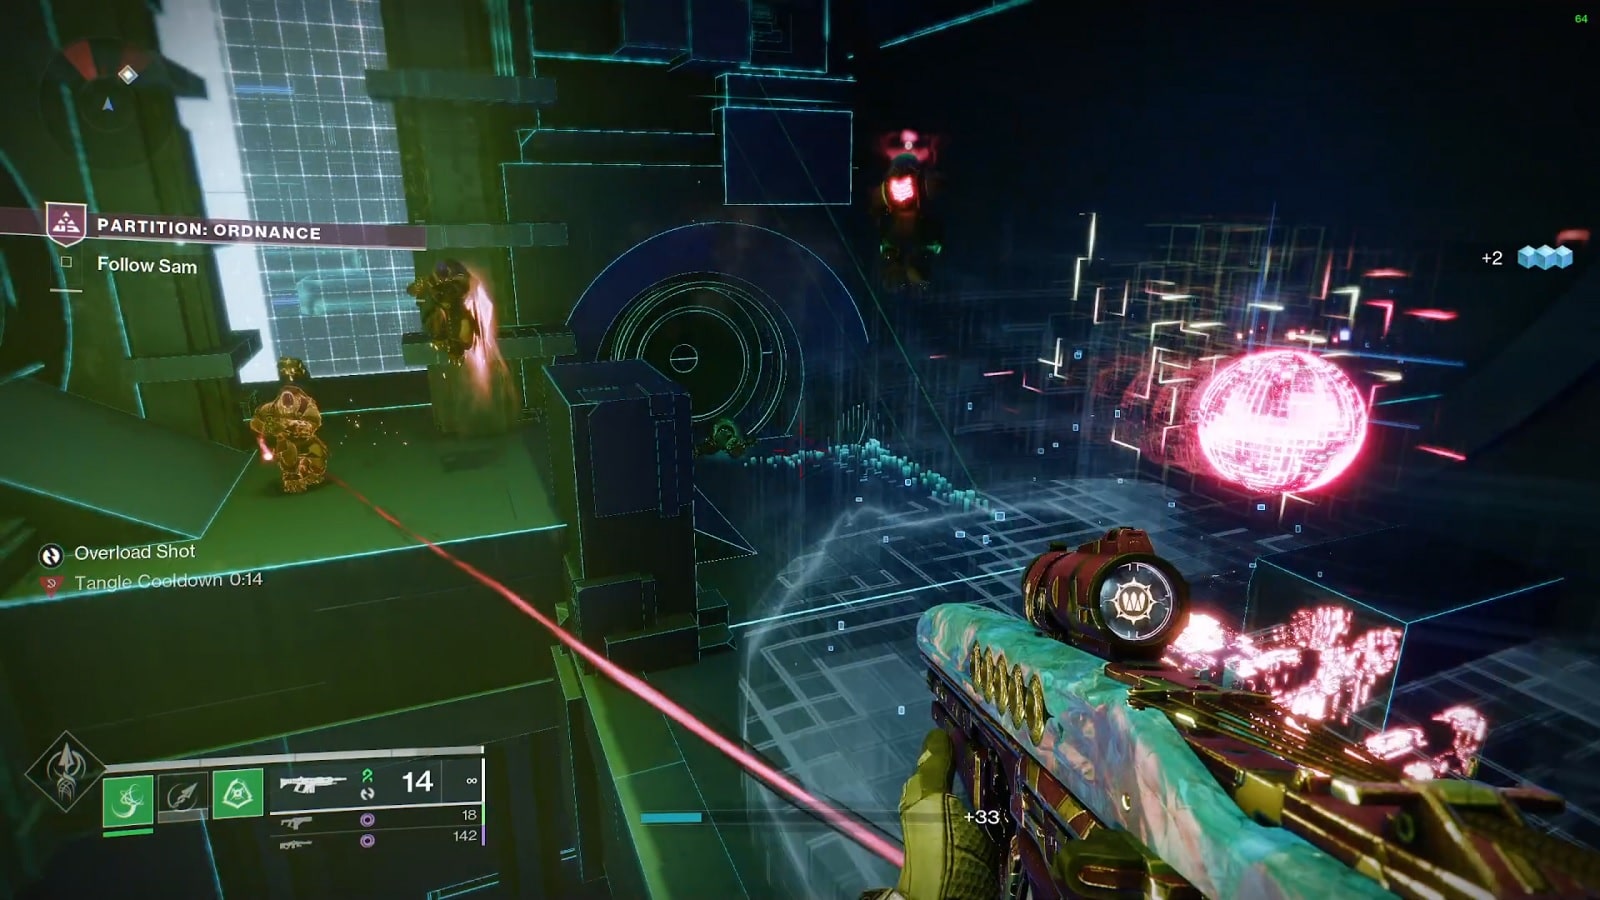
Second Encounter
The second encounter plays out the same way. The biggest difference is that there is a pit in the middle of the room and you’ll have to fight around the edges as enemies storm in from portals at the end of the room.
Objectively, this is a step up from the last encounter as it puts you and Sam in relatively the same area. For your sake, stay clear of him or you’ll find yourself at the bottom of that pit.
When the Databank Courier spawns, it will be accompanied by Gladiators and Legionaries. Interestingly enough, if Sam passes through the same area you’re fighting, he can accidentally knock enemies into the pit.
This encounter requires two sets of Data in order to progress. After you’ve dunked the first set of Data, the newly arrived group will be led by War Beasts. Be careful about getting surrounded. When the Databank Courier appears, another Champion will appear beside them.
To help speed things along, you can actually just kill the Databank Courier and immediately dunk the Data. This will cause any and all enemies to despawn.
Now, it’s on to the next encounter
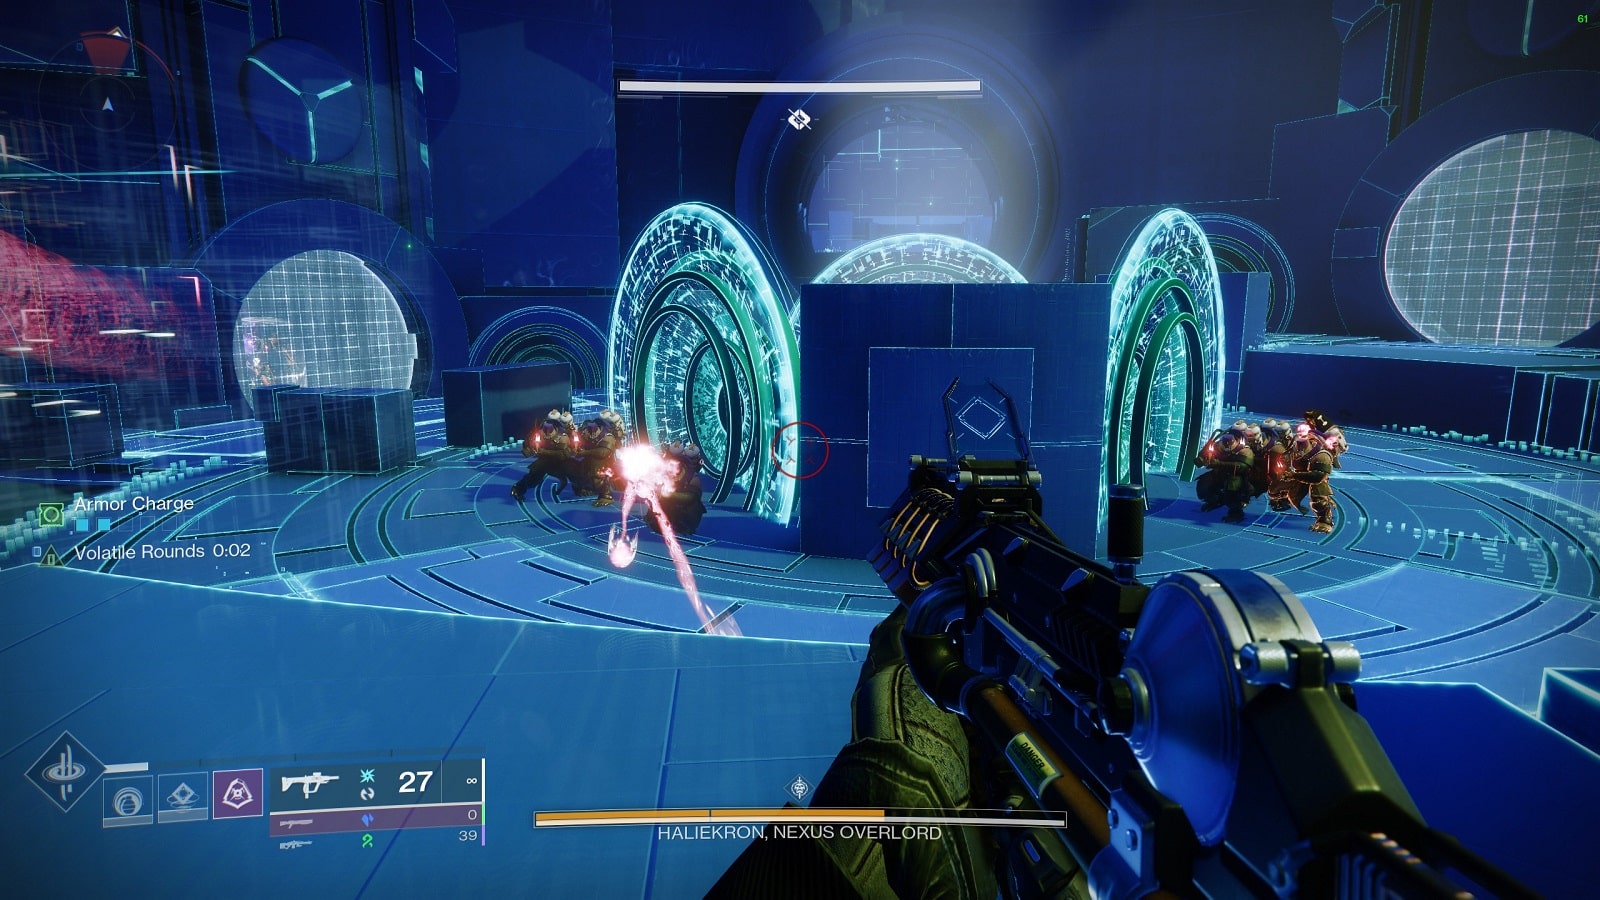
Third Encounter
The third encounter immediately starts after a brief platforming segment. It asks you to gather two Data Banks and it takes place in a large arena with multiple portals along the edges. Enemies will spawn from the portals on the high ground. For this encounter, your best bet is to take the high ground away from the Psions and whoever else comes from the portals.
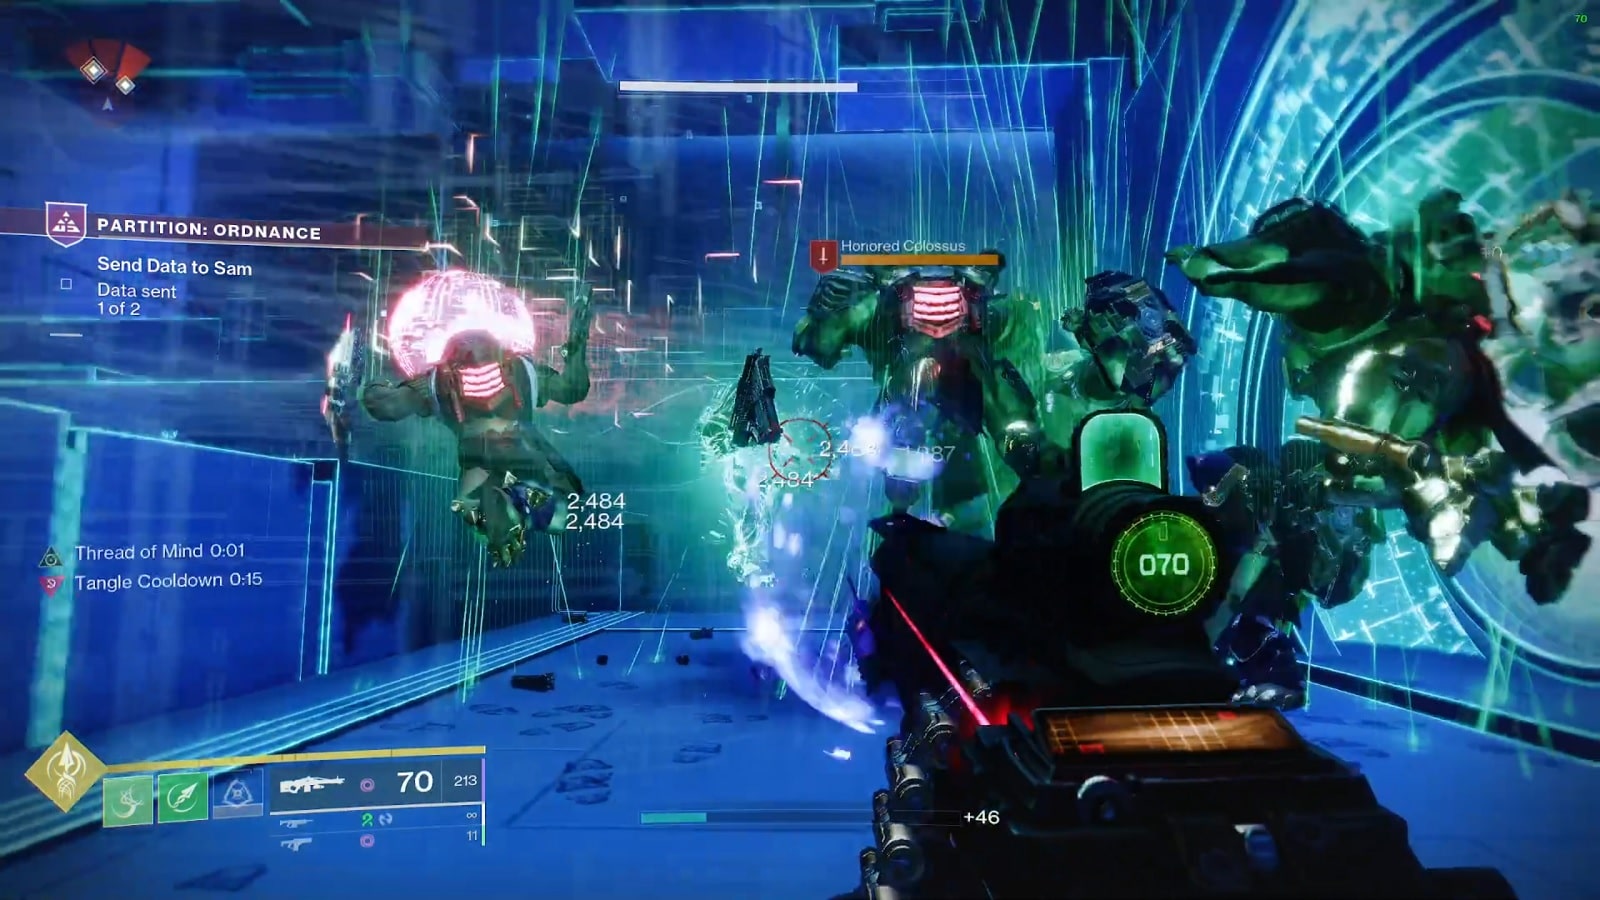
Once you’ve given the first set of data to Sam, Honored Colossi will lead the charge for the next group of enemies. The group will appear from the portal close to where you encounter the arena. The Data Courier will stick close to the Colossi.
You have two options here: play it safe and deal with the Colossi from your vantage point from high ground or jump on top of their heads, kill the Courier, and dunk that data before the enemies kill you. (I’ve actually tried both for the heck of it, and the latter is a valid way of getting through the encounter.)
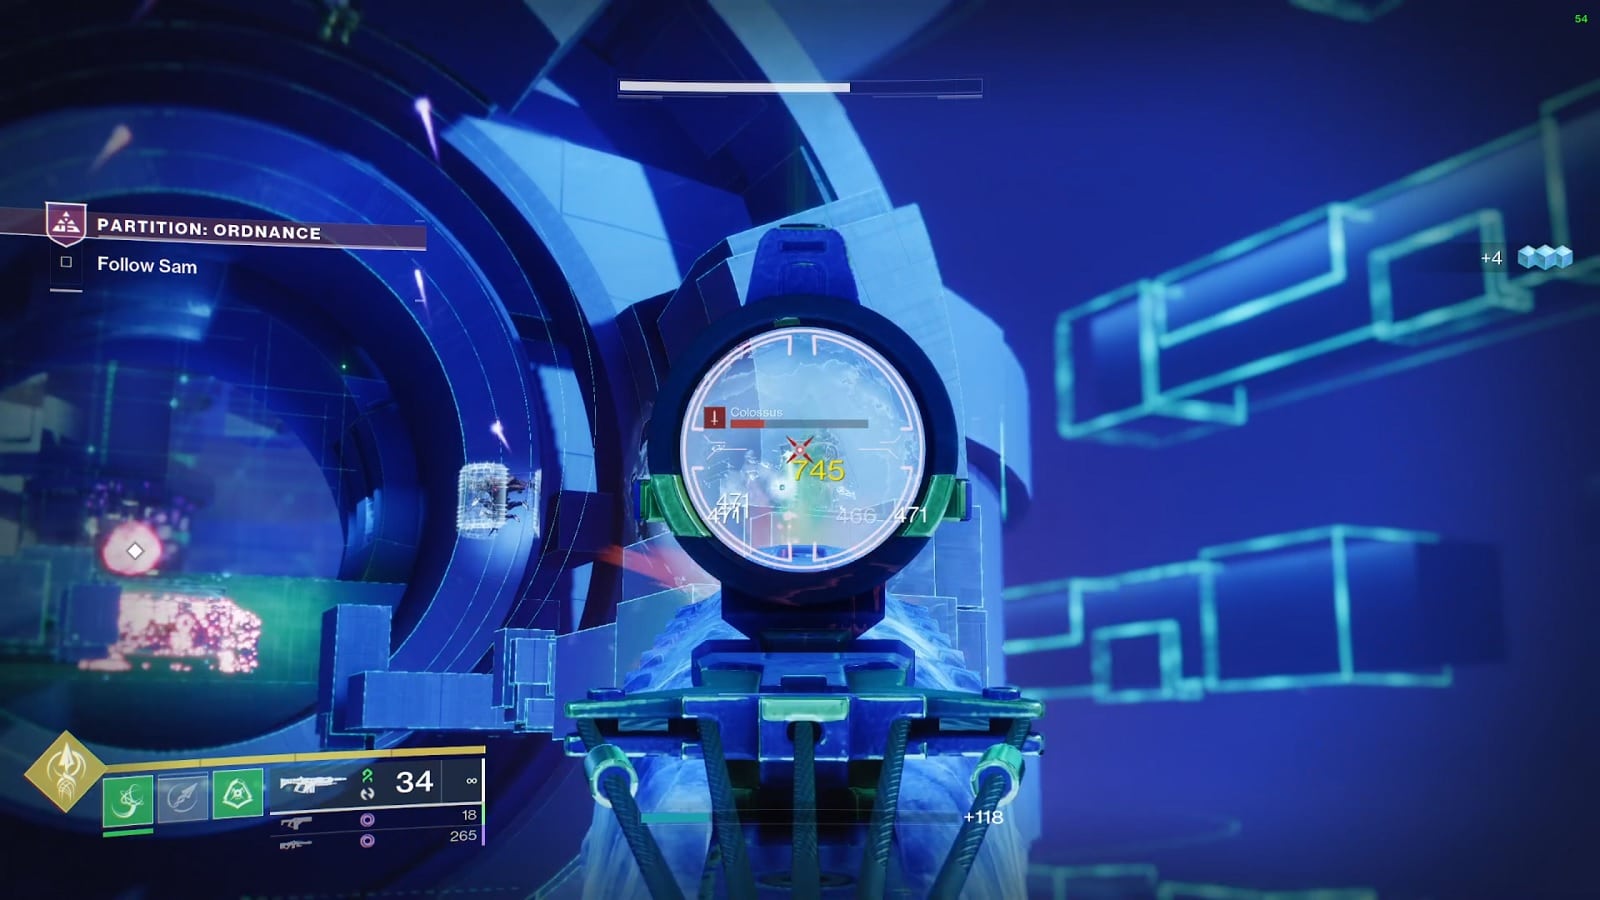
To get to the final encounter, you’ll have to jump on platforms until you get into the arena. There will be a couple of red bar Colossi shooting it out with a duo of floating Hydras. Getting rid of all of them makes sense.
Final Encounter
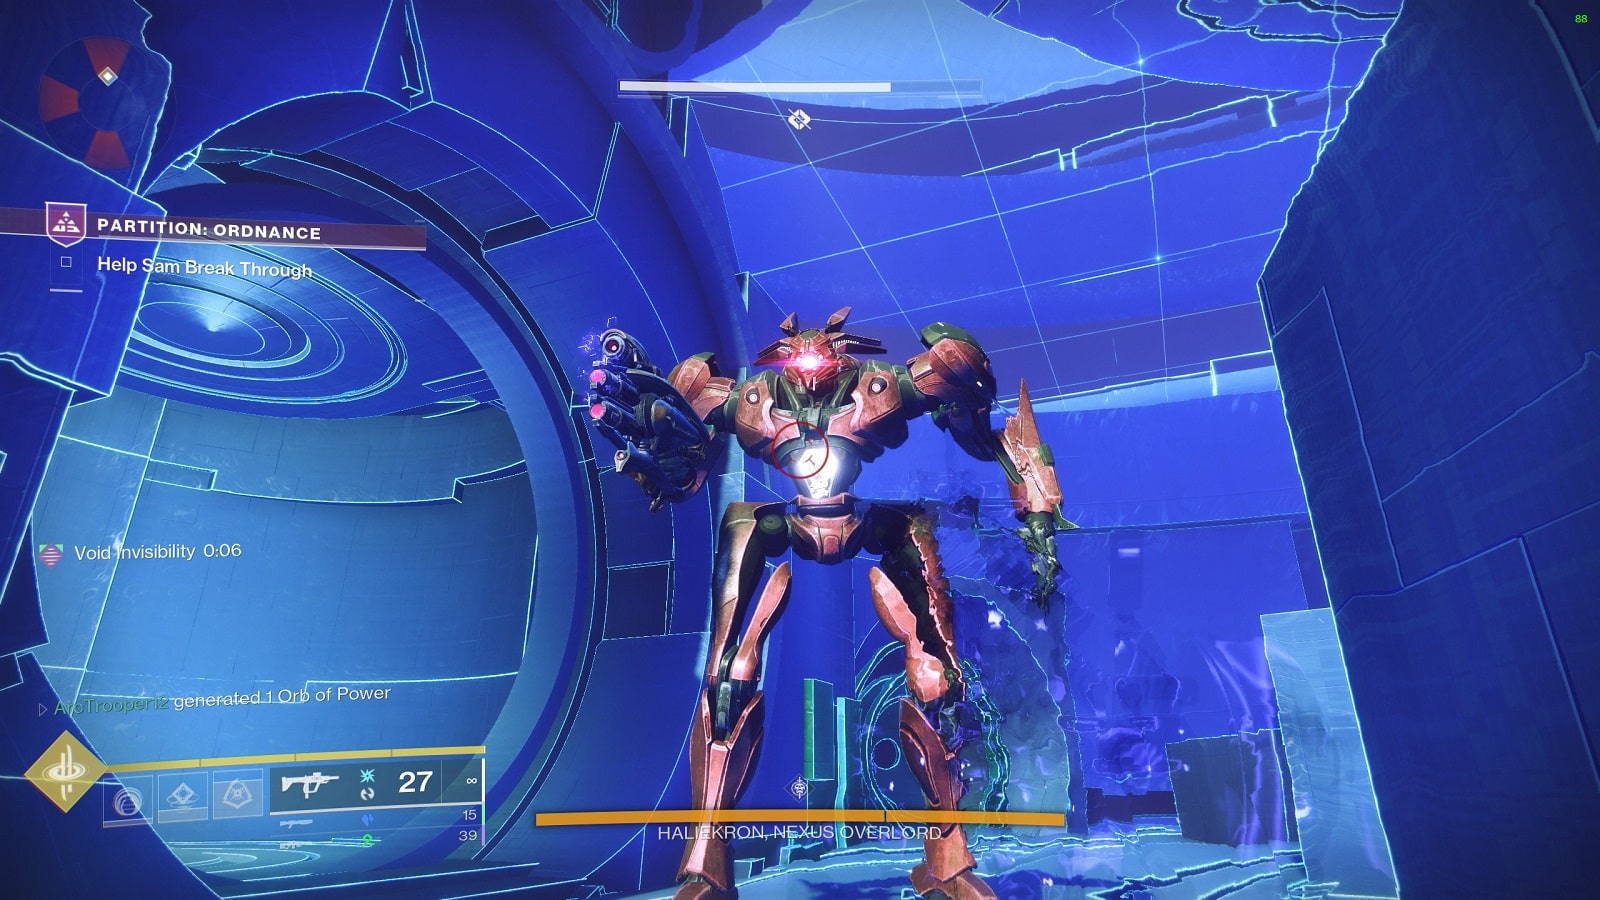
Phase 1
The final encounter is a fight against the Nexus Overlord, Haliekron. When you first approach the boss, a group of Harpies will stand between you and the Nexus Overlord. You don’t necessarily need to destroy them to damage the boss but it is a good idea to remove as many pieces from the board before focusing on the boss.
Sam can be seen doing circular laps throughout the whole encounter. We can’t really blame the guy, he has no control over the floating orb/interface.
At two-thirds health, Haliekron will retreat behind the Partition’s firewalls. A few seconds later, a Shadow Legion squad teleport in from the central pillar and will begin hunting down the Guardian. Same idea as always, kill the courier and throw the Data toward Sam.
If you die at any point in the encounter, you will be sent back to the doorway where you can do the encounter all over again. The penalties this time aren’t very harsh but you still want to get through it in a timely manner. (Yes, there’s a Triumph for getting through the mission in less than 7 minutes.)
Phase 2
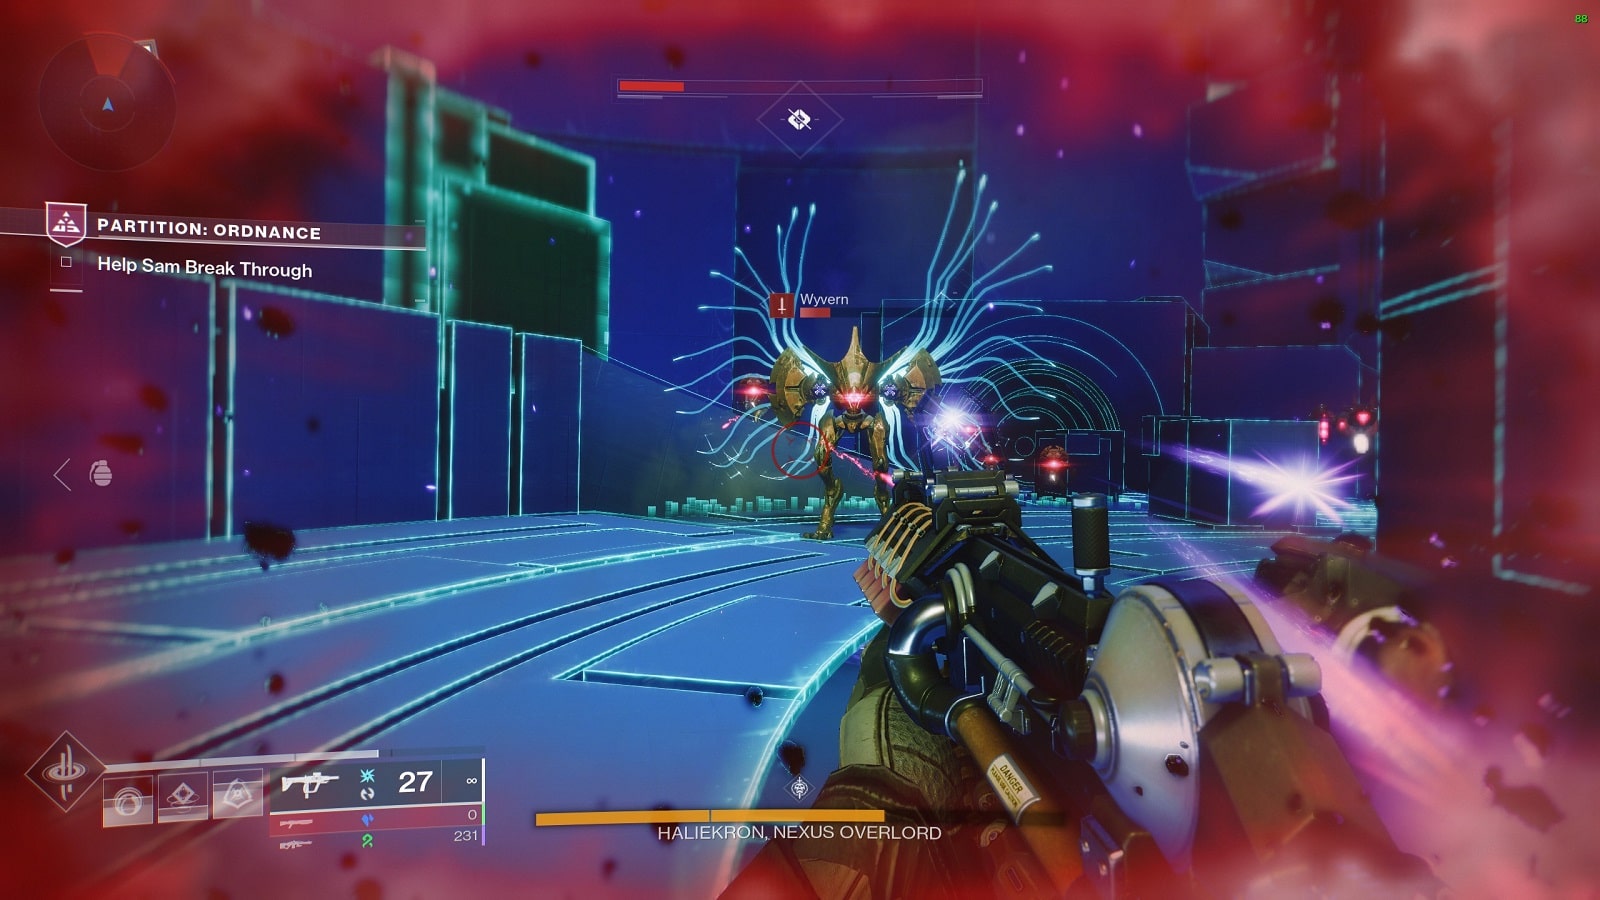
The second phase starts the moment Sam brings down the firewall. A Wyvern, an Overload Champion, and Goblins will try to get in your way. Once you’ve brought the boss down to a third of health, a large group of Shadow Legion will spawn including Honored Legionaries, Psions, and the Data Courier.
This will be the last time the Shadow Legion will appear in this mission. Take them down, claim the data, and then you have just one last phase to do.
Phase 3
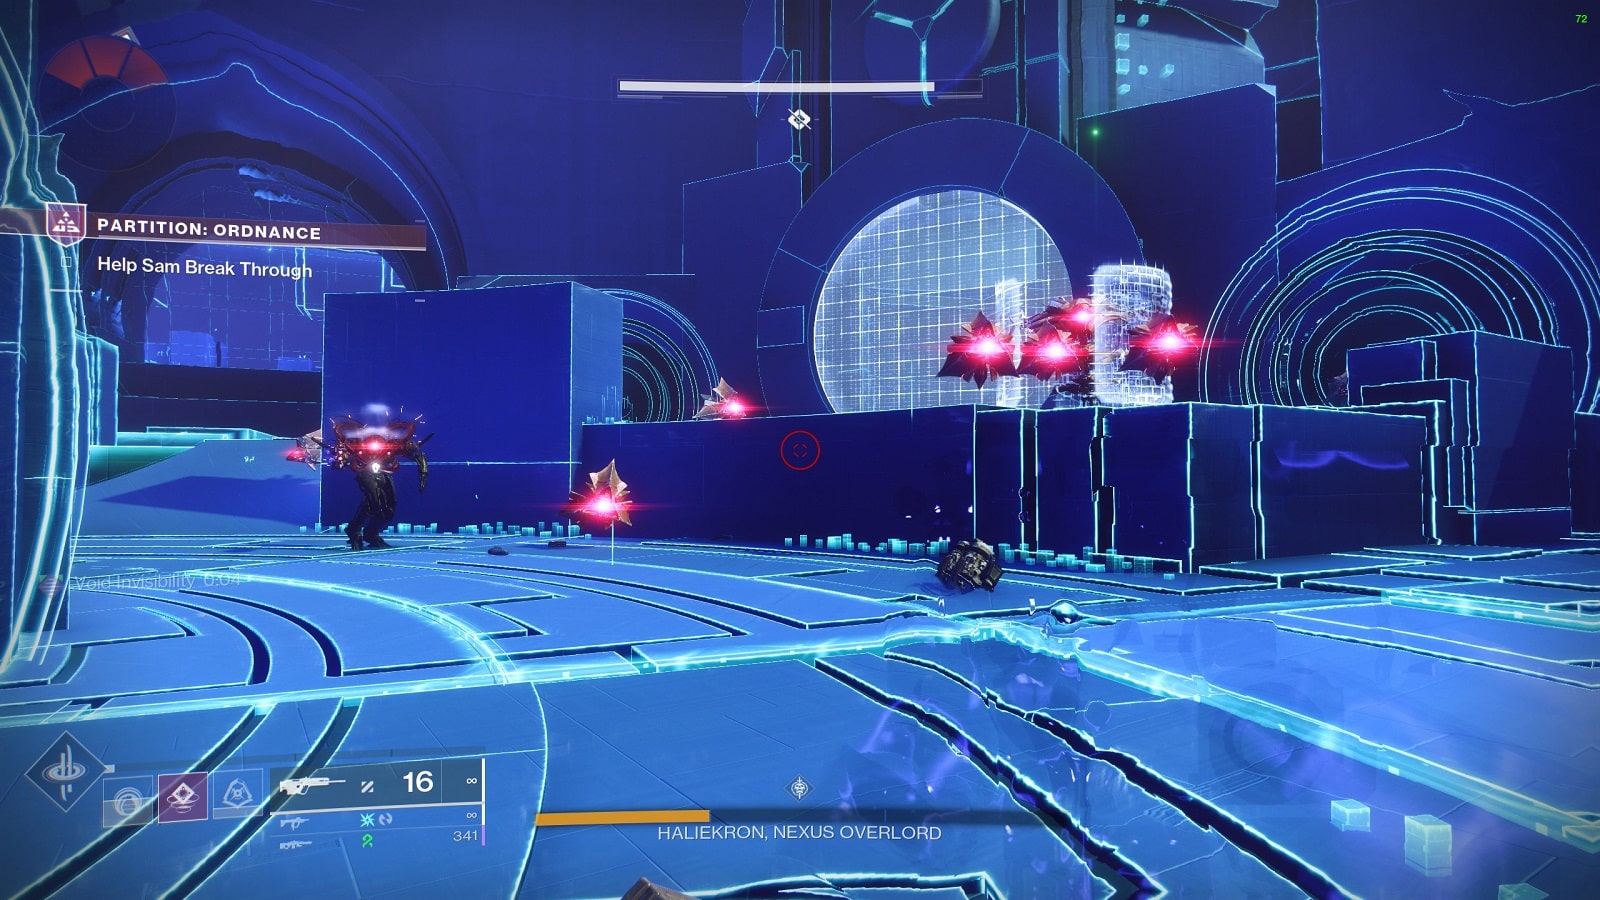
This is Haliekron’s last stand. A Hydra, An Overload Champion, and a bunch of Harpies are going to stand in your way. This is a good time to use your Super to quickly remove the Hydra from the equation as well as anything else around it. Unless you’re confident that you can vaporize the boss in a blink, we advise taking a prudent approach. But not too prudent as Harpies will keep spawning until the boss is defeated.
Once the boss goes down, a chest will spawn containing your hard-earned Pinnacle Gear. Do make sure not to accidentally dismantle it. And just like that, we’ve cleared yet another Partition Mission. See ya next time, Guardians.
Check out the rest of our Partition Mission walkthroughs here:
- Partition Backdoor Destiny 2 Lightfall Walkthrough – Solo
- Partition Hard Reset Destiny 2 Lightfall Walkthrough – Solo
Check out this video from YouTuber Was Good Breh showing how you can get through the Partition Ordnance campaign mission in Destiny 2.
")
")
