
The Partition Backdoor Destiny 2 Campaign mission is a weekly rotating mission that sees the Guardian breaking into a Vex Mind’s stronghold in order to defeat it. While the mission itself is a good piece of content, you ultimately want to do the weekly mission to get the guaranteed piece of Pinnacle Gear for the season.
This guide will tell you everything you need to know about starting the mission, walking you through each encounter, and what the rewards are at the end of it.
How to Start Partition Backdoor Destiny 2
To start a Partition campaign mission, you must complete the Vex Incursion Countermeasures Weekly Bounty.
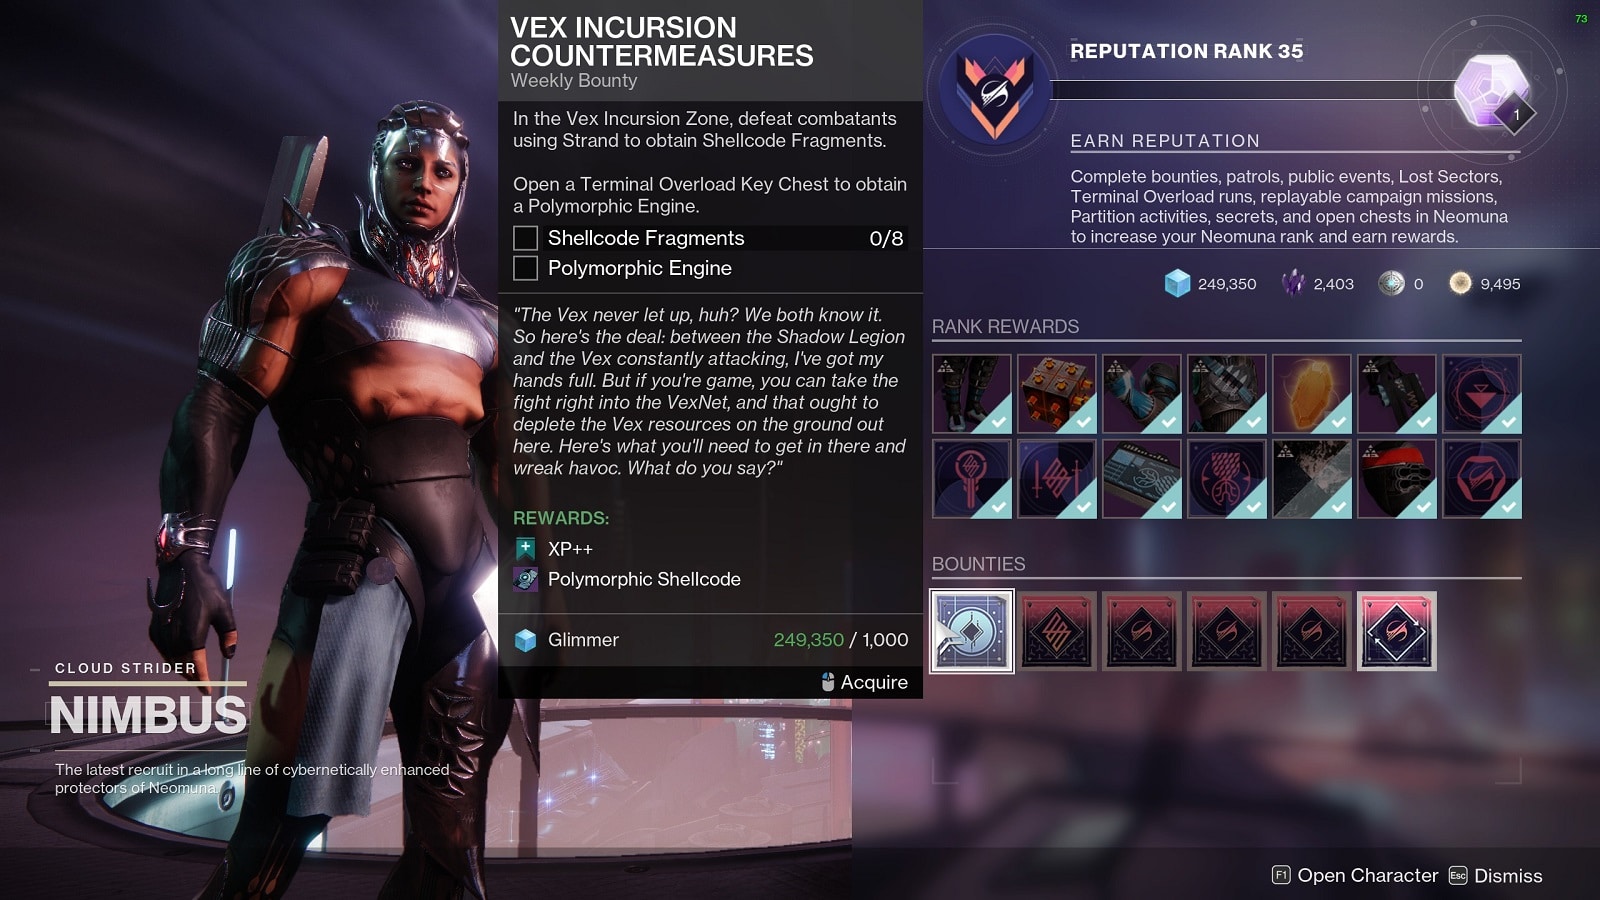
To get the 8 Shellcode Fragments, you must defeat combatants using Strand inside the Vex Incursion Zone. It doesn’t matter what kind of enemy they are, Vex or Shadow Legion, using a Stand ability or weapon is enough to get the fragments.
As for the Polymorphic Engine, you get that by opening a Terminal Overload Key Chest at the end of a Terminal Overload event. You’ll need a Terminal Overload Key to open a Terminal Overload chest.
Next, you must turn in the mission from the Quest screen to get the Polymorphic Shellcode. You’re now all set to start the mission.
Partition Backdoor Location
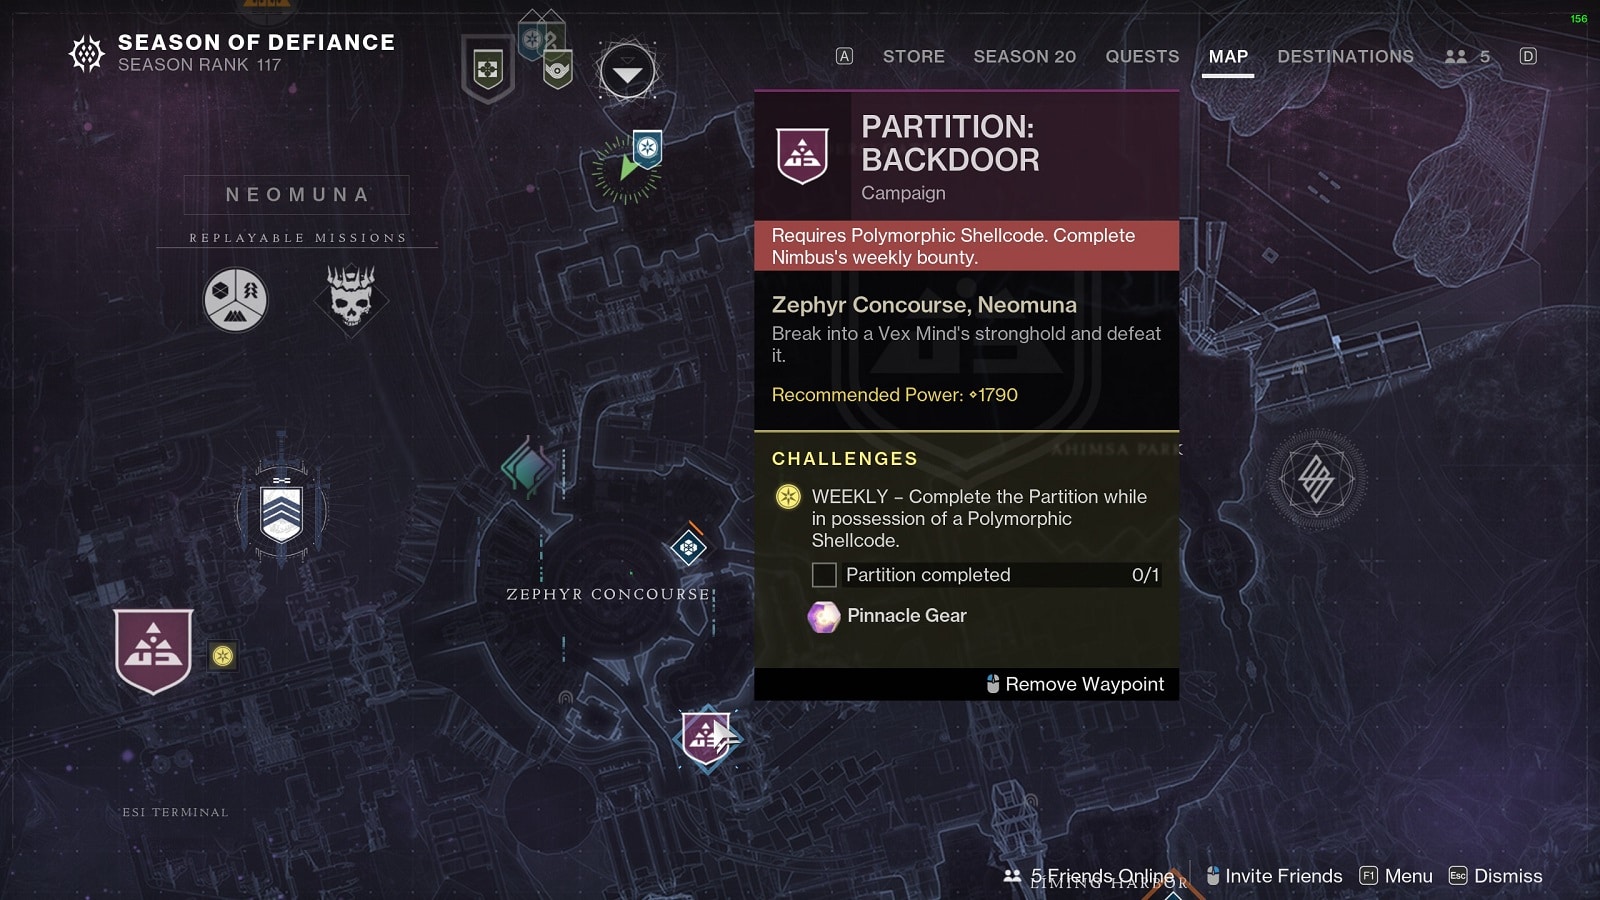
The Partition Backdoor Destiny 2 mission is located in the Southern part of Zephyr Concourse. The Partition missions rotate weekly so you won’t be able to access the mission if another is active. You’ll have to wait a few weeks until the mission is active again.
It is highly recommended that you at least have a Power Level of 1790 to get a reasonable time to completion. 1800 Power Level or above makes this mission seem like a walk in the park.
Destiny 2 Partition Backdoor Walkthrough
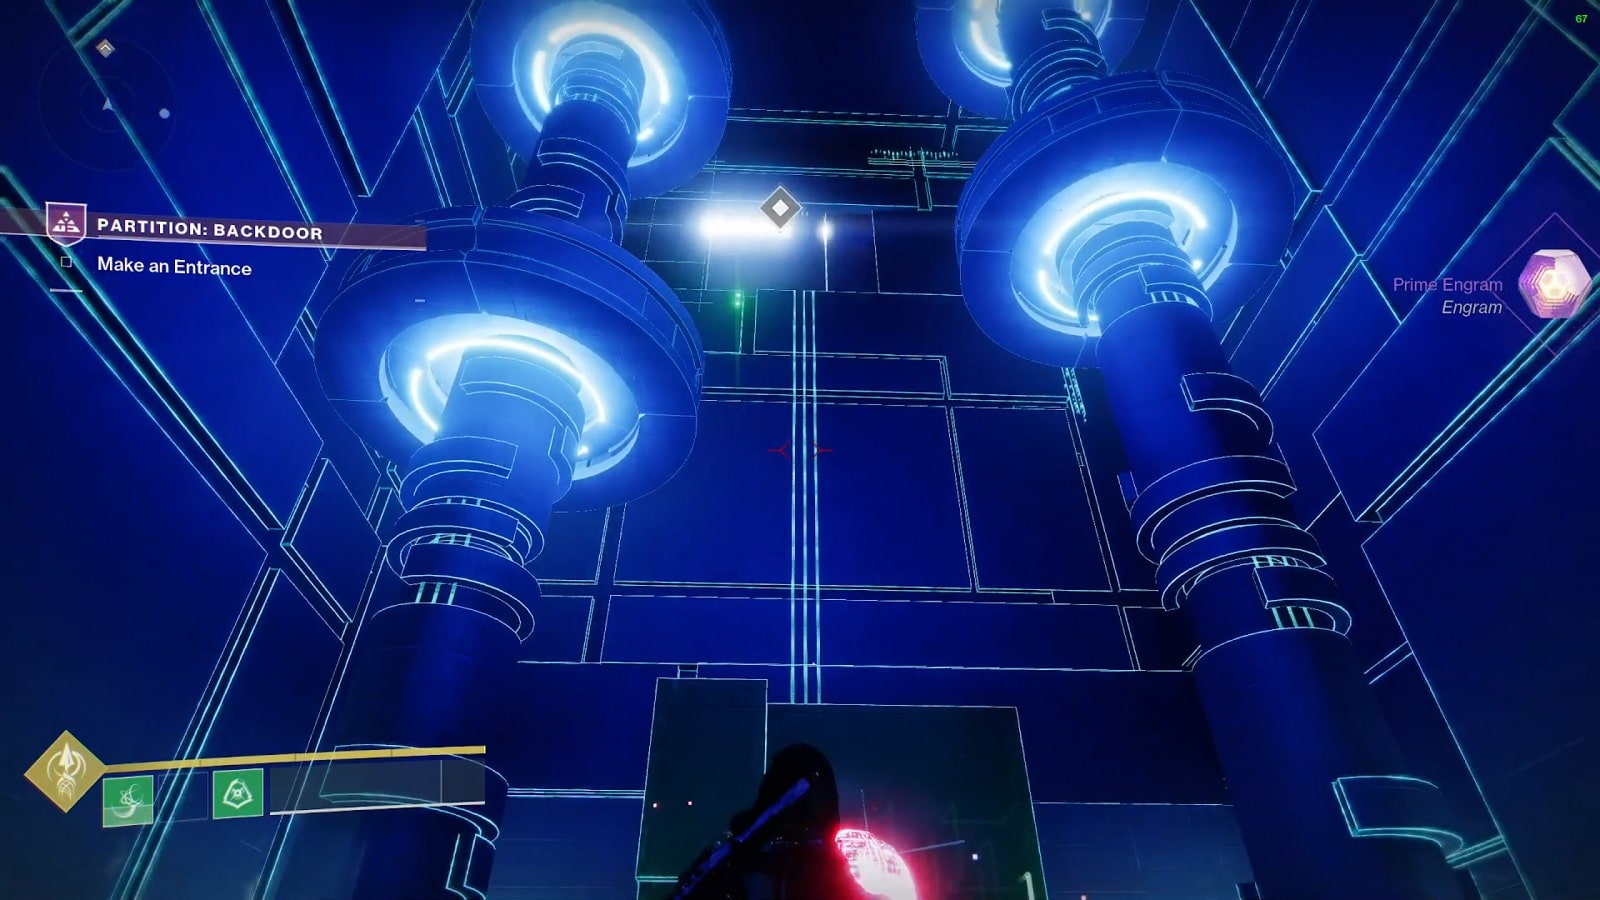
First Encounter
The first thing you’ll see once you start the Partition Backdoor mission is the Vex Mind’s virtual keep. The causeway leading up to the entrance is guarded by Fanatics, Minotaurs, Goblins, and a Wyvern. Further in, two towers will materialize housing a couple of Quantum Hobgoblins. They are yellow bars so things are starting to ramp up. Use the cover in front and take them down as quickly as possible.
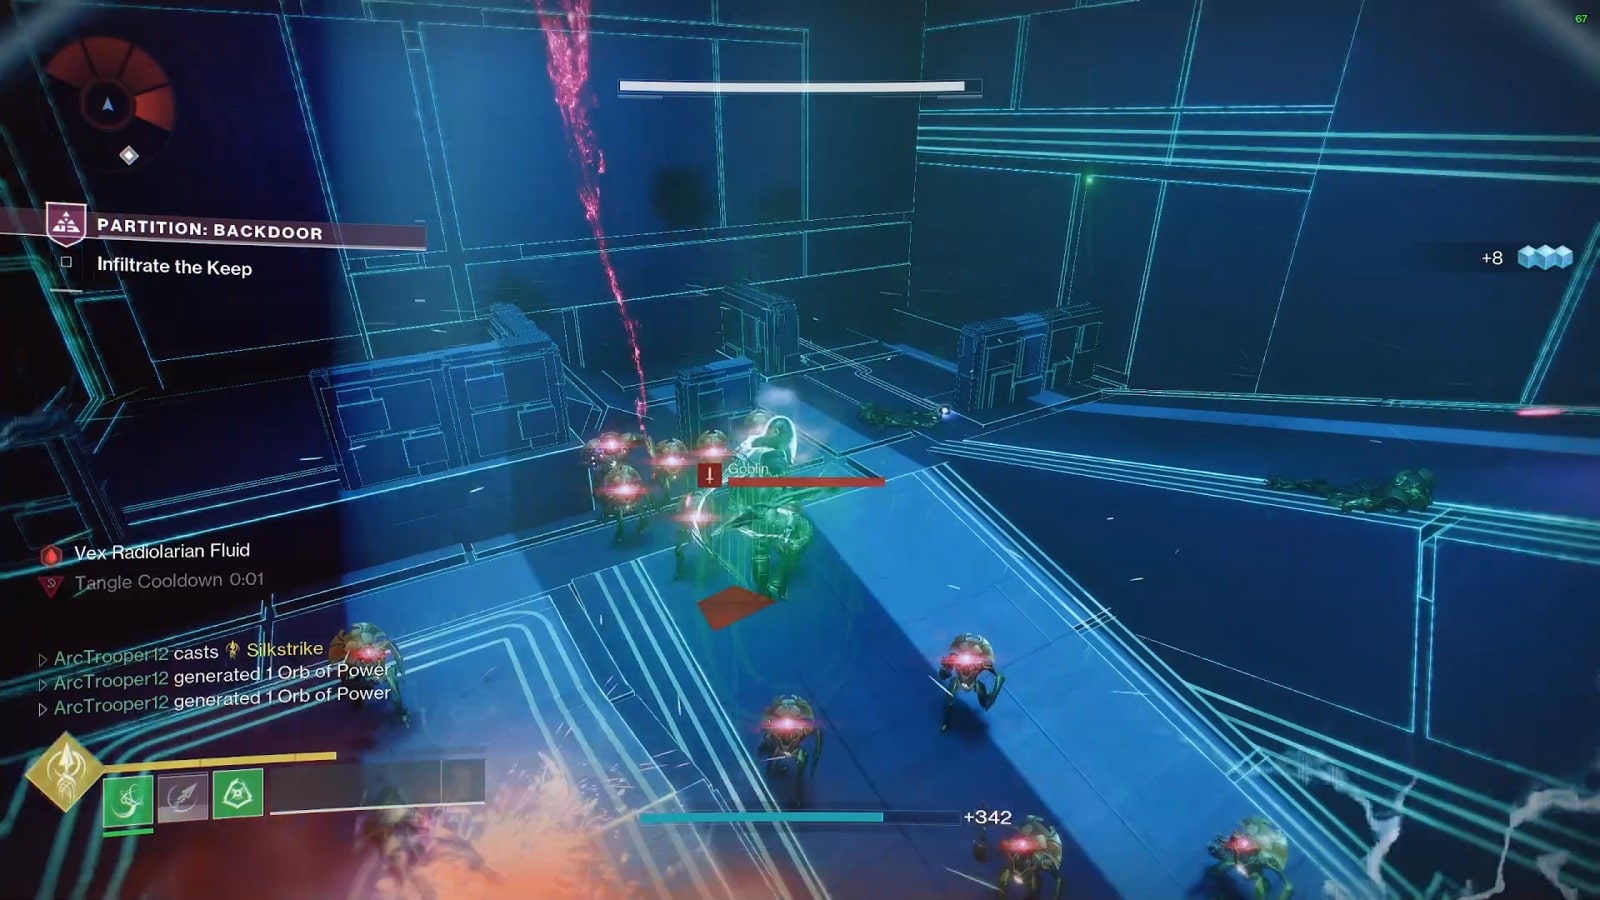
A champion will have spawned on the causeway, along with a squad of Goblins and a couple of Cyclops. You don’t want to take them head-on while Hobgoblins are shooting you from above.
Once you’ve broken through, you’ll encounter two squads of Honored Legionaries in combat with the Vex. It doesn’t matter who you attack first, the moment you start shooting, all groups will change focus to you. Make sure you have a crowd-control weapon that also shreds through shields.
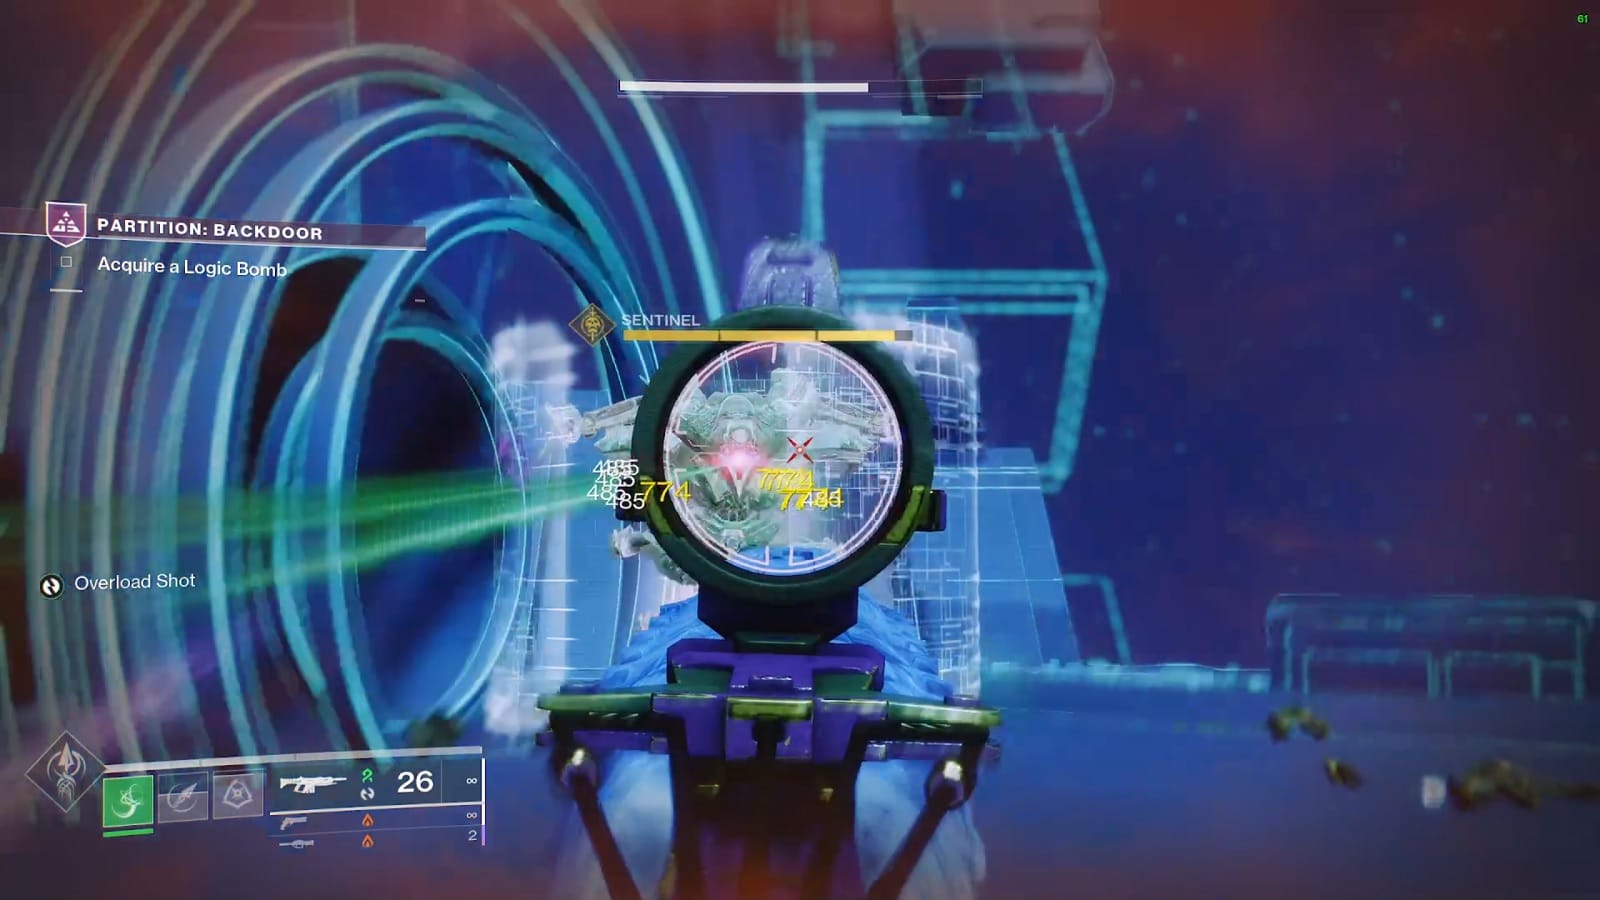
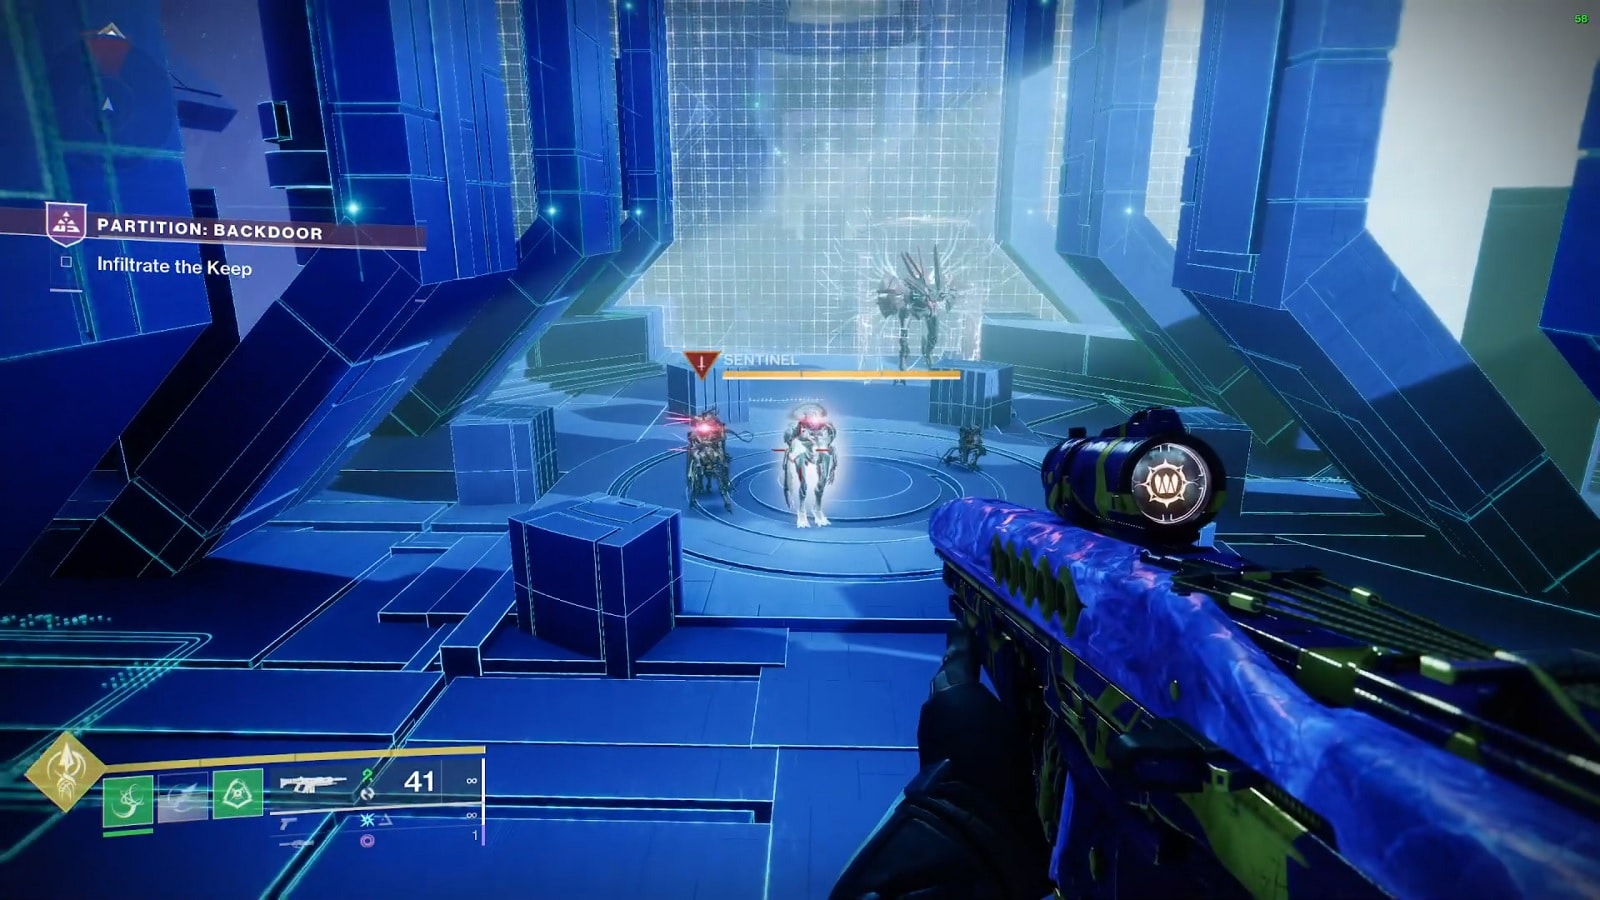
A Sentinel will spawn from one of the gates the moment you clear the battlefield. It’s a little tougher than the enemies you’ve encountered so far. Be patient and stay away from its laser blasts and you’ll be fine.
The newly defeated Sentinel will leave behind a Logic Bomb. This is the key mechanic that you’ll need to progress the mission. Pick up the Logic Bomb and throw it at the wall marked with the quest marker.
You’ll now encounter a group of Goblins and a Minotaur past the hole the Logic Bomb created. Continue down the passage to start the next encounter. Harpies will waiting for you when you exit the passageway.
Second Encounter
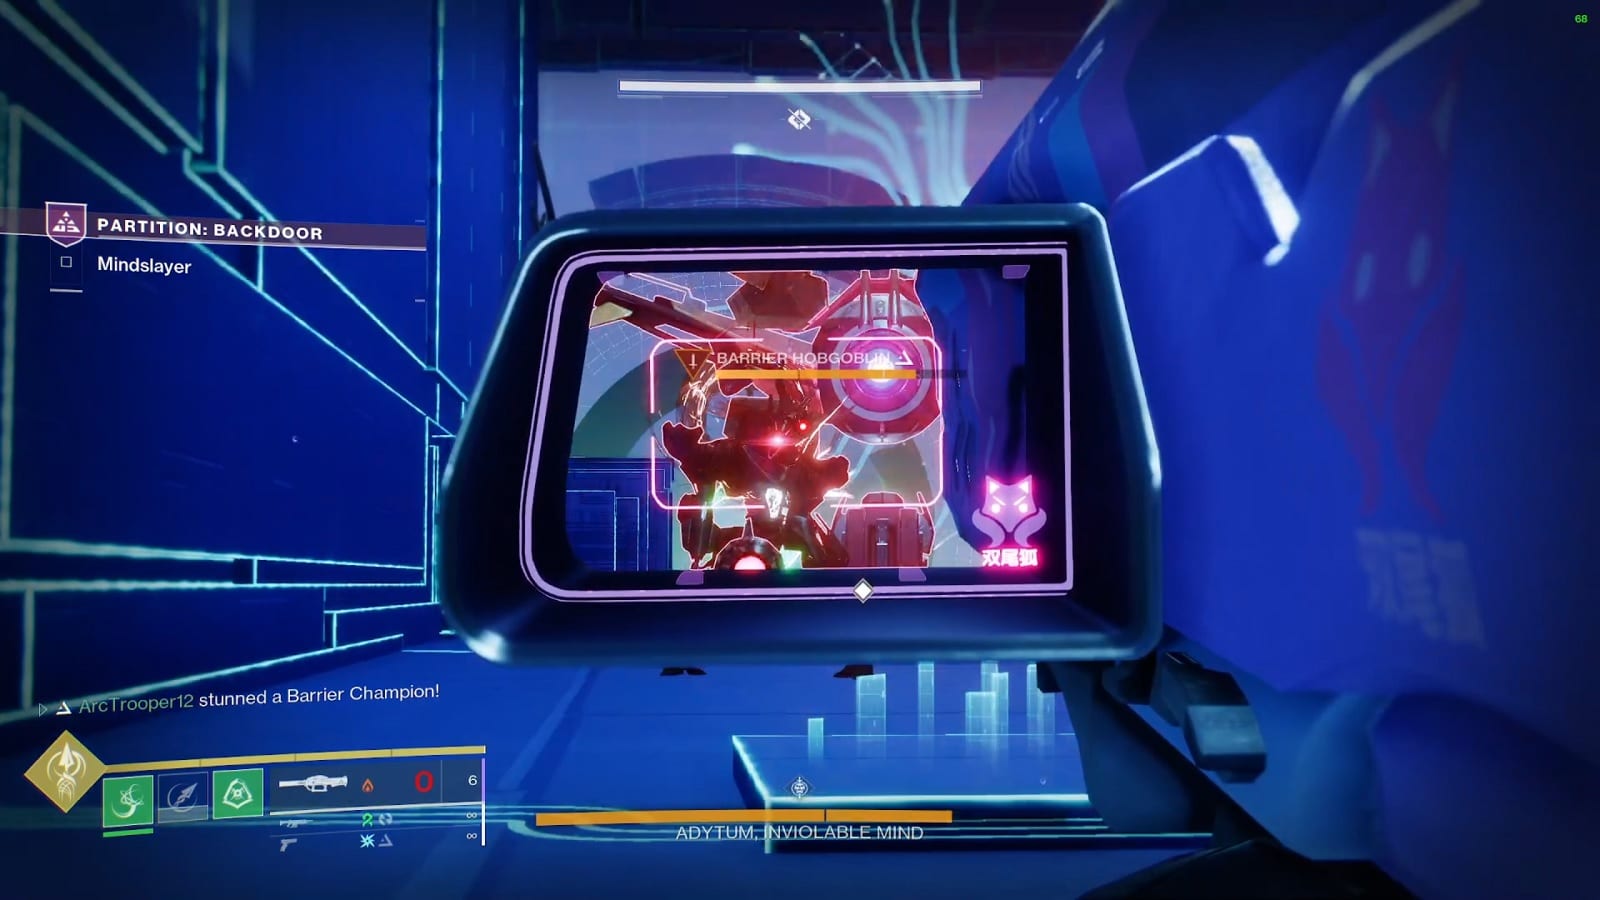
The second encounter begins as soon as you approach the doorway. The Vex have deployed a laser barrier, so you’ll need to find another way to get in. Goblins and a Minotaur will spawn shortly thereafter. It might be prudent to reposition yourself at the previous passageway for better cover.
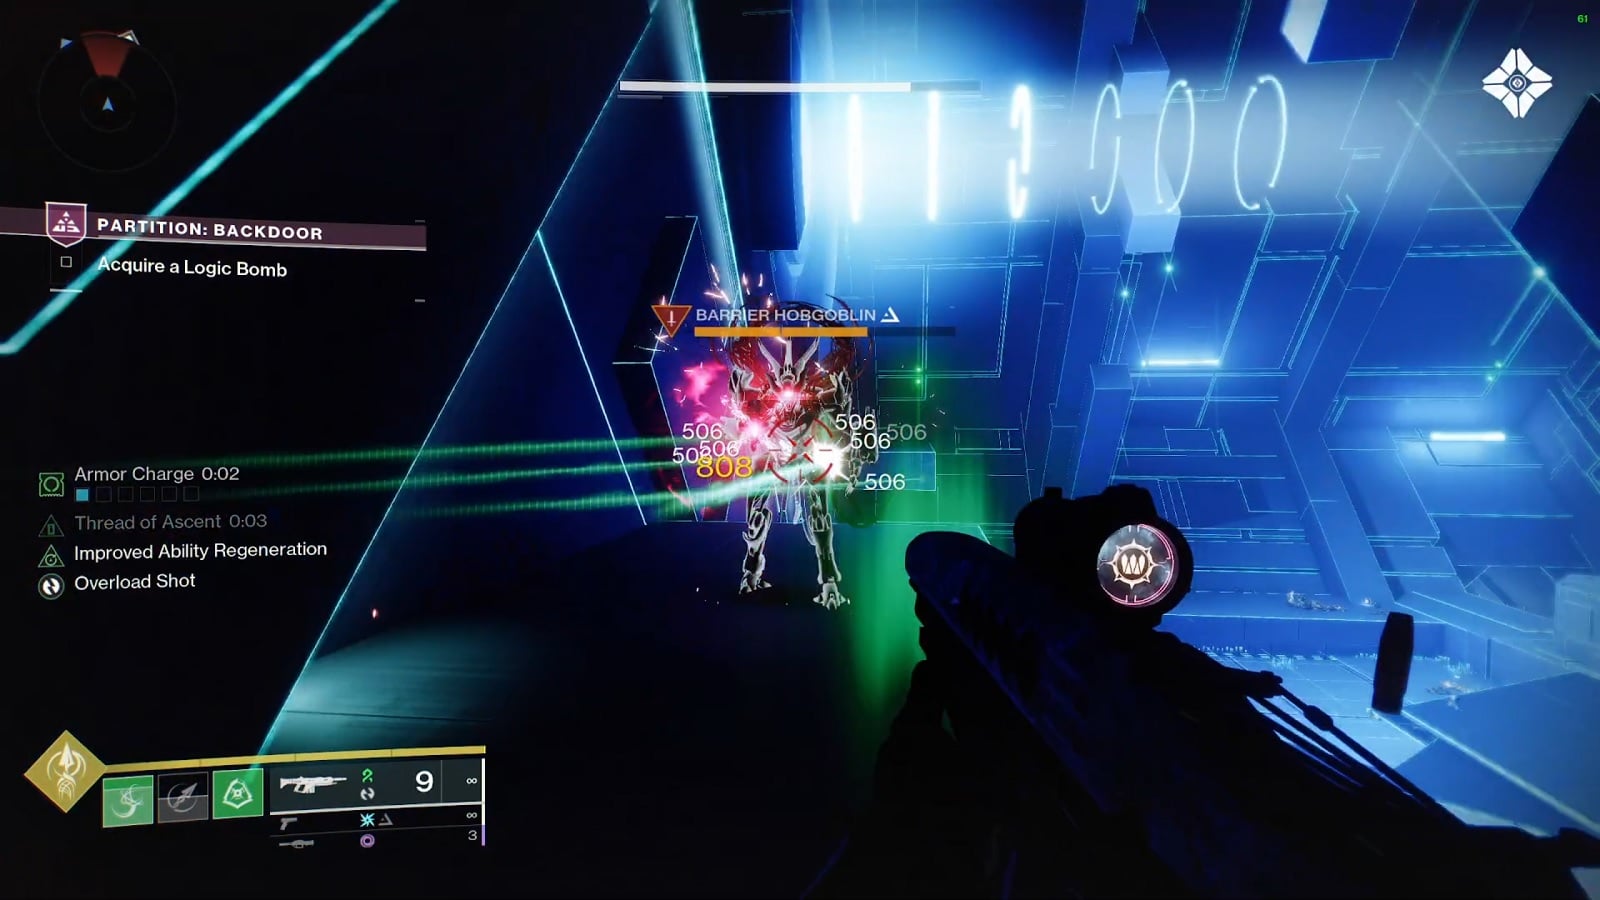
Additionally, a champion hobgoblin and a regular hobgoblin will also be shooting at you from above. Be careful not to stay out in the open for too long. Take care of both of these guys before going after the Sentinel that has the Logic Bomb. By the way, don’t worry too much about the Sentinels. They aren’t much of a threat and their health pool is sizeable, you definitely want to save them for last.
Third Encounter
The next encounter happens immediately after opening the wall on the left side of the room. It appears to be a shaft with a very high ceiling. The Harpies and the Fanatics, you can ignore for the most part. But it’s the Wyvern Sentinel inside that you can’t ignore. Be wary of its attacks. It’ll still melt pretty quickly if you allow it to do so.
After dealing with the Wyvern, the logic bomb and a platform will appear. Jump onto the platform and get yourself some height. Keep ascending until you’re almost on the same level with the hole. Dunk the ball into the hole to open the next part of the mission.
Fourth Encounter
The next encounter starts as soon as you destroy the three hobgoblins that are chilling by the furthest teleporter. It’s going to be a chaotic opening to the encounter as enemies will literally spawn on top of your position. This might be the perfect time to use your Super. Otherwise, there’s cover near the vent you fell out from. Also, a Champion Minotaur will spawn after you’ve dispatched a number of them.
After you’ve killed the Champion, a Sentinel Cyclops will spawn above your head. You don’t need to engage it. Just run toward the middle Vex teleporter and wait for the next sequence to happen.
Your infiltration of the Vex keep is interrupted by a Shadow Legion assault team. It seems they want this piece of digital real estate too. It would be a shame if someone were to stop them.
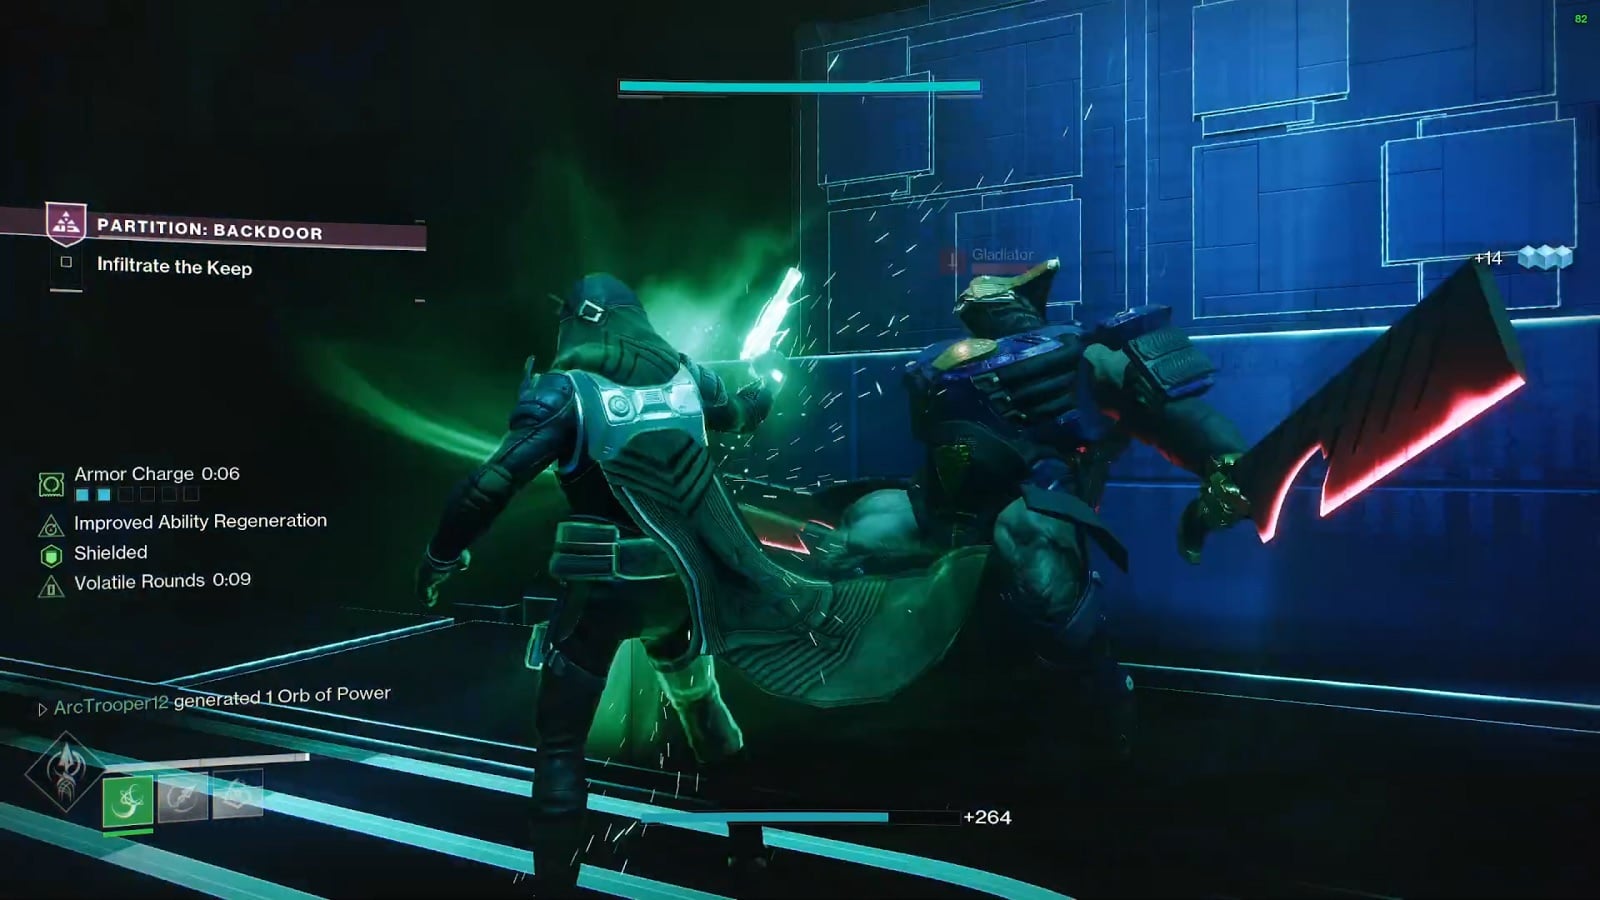
Legionaries and a couple of Gladiators will storm the room you’re in. Keep calm and use a crowd control weapon or ability to thin the herd before focusing on the Gladiator. Don’t forget you can do an early finisher on Gladiators once their health goes down to half. Once you’ve dealt with the enemy, parkour your way up to where the Shadow Legion is coming from.
Now things are getting serious. As soon as you exit the room, you’ll find a group of Legionaries led by an Honored Centurion in combat with a Vex Champion and a group of Harpies. You can wait it out until one side wins but it’s better to just clear the field with a heavy weapon. Cut your way through to start the final encounter.
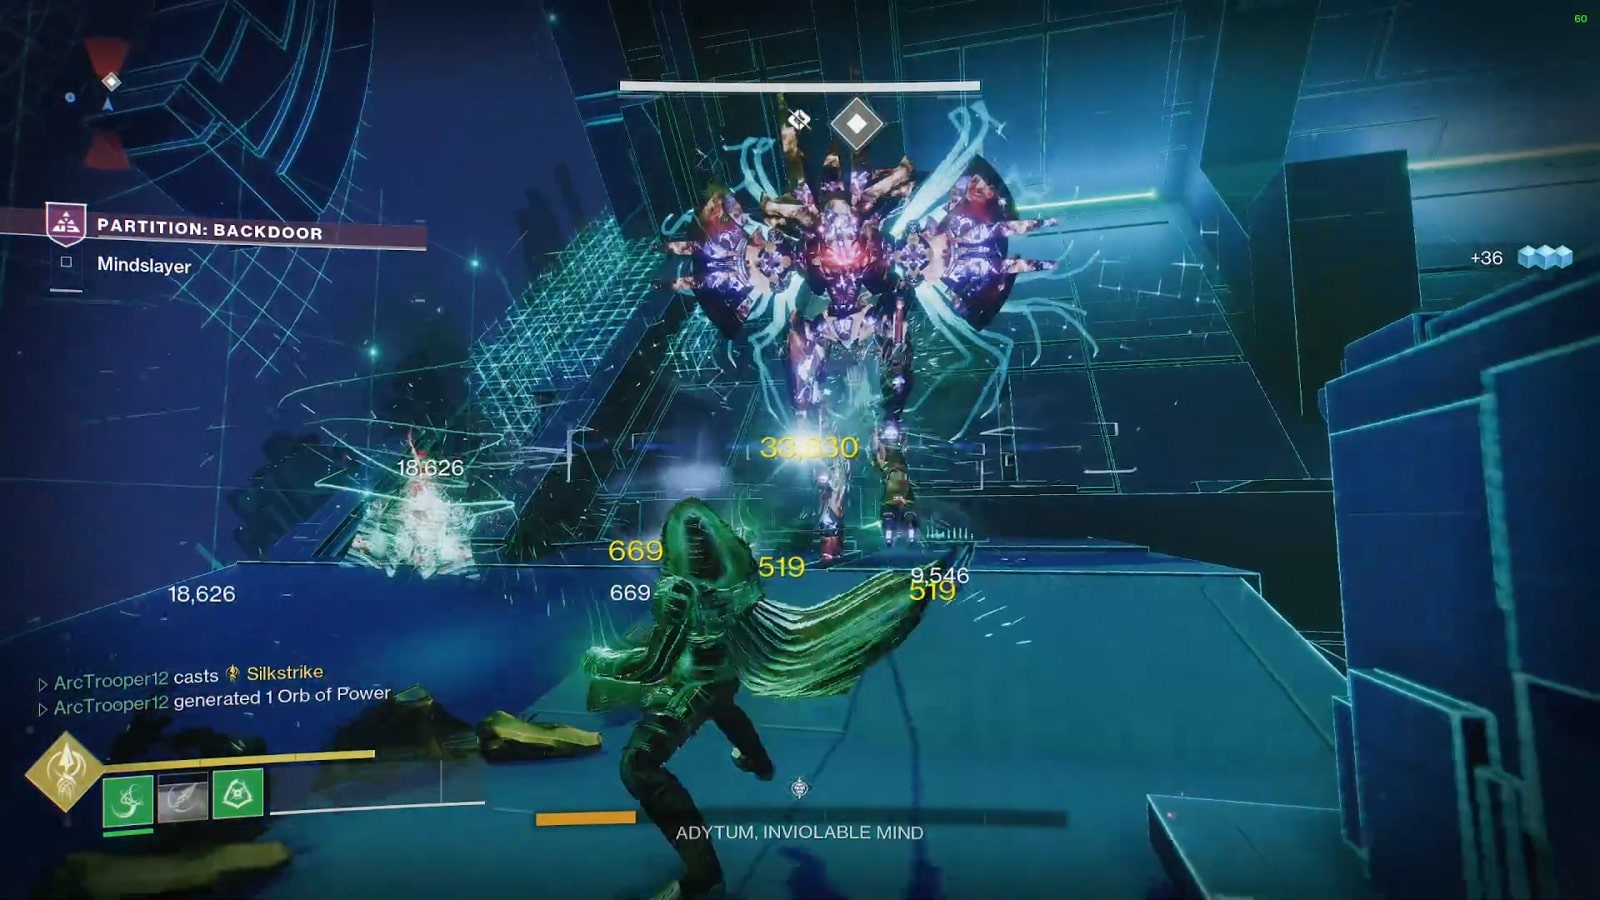
Final Encounter
The final encounter is a multi-stage boss fight against Adytum, the Inviolable Mind. The Vex mind is sporting a powerful shield that can only be destroyed with a Logic Bomb. The Cyclops Sentinel in front of it has the bomb. We advise taking out the rest of the mobs before tossing the Logic Bomb.
Once you’ve damaged the shield, the first small bar will be vulnerable to attack. It’s around 15% of its overall health. Once it’s gone, the Vex mind will retreat.
The next part of the boss fight plays out exactly as before. Defeat the Sentinel and the mobs, and collect and toss the Logic Bomb. This time, however, the boss will not stick around for you to damage it. It’ll retreat the moment the Logic Bomb damages its shield.
You’ll be in a long corridor with mobs and Cyclops. Dodge and weave to incoming fire. Then slowly make your way to the boss without getting yourself insta-killed via Cyclops lasers.
At the end of the corridor, you’ll be confronted by two more Cyclops and a Vex Champion. Adytum is right behind them shooting its laser at you. Thankfully, there’s a barrier between you and all that concentrated fire. Oddly enough, the enemies behind the wall have no interest in advancing toward you. Use this disinterest to pick them off one by one. Starting with the Cyclops and then going for the Champion.
Just keep doing your thing until there’s nothing left except for the boss. Once its minions have been defeated, the boss will have no choice but to stand its ground. Adytum is still a Wyvern so you don’t want to be close to it under any circumstances. Keep your distance and force it to retreat again after dealing enough damage.
The last boss phase takes place in front of a giant Vex gate. Goblins and a Hydra will be waiting for you once reach the main floor. Kill the Hydra to get another Logic Bomb.
Once you throw that Logic Bomb, the boss will be in last-stand territory. A final reinforcement of Harpies will teleport in. Now would be the perfect opportunity to use up the last of your heavy ammo and pop Super for good measure.
We don’t know if more enemies can spawn after dealing with the Harpies. We’re no rush to find out. Really, just hit the damn boss with everything you’ve got. Once the Vex Mind has been slain. That’s mission complete.
Partition Backdoor Rewards
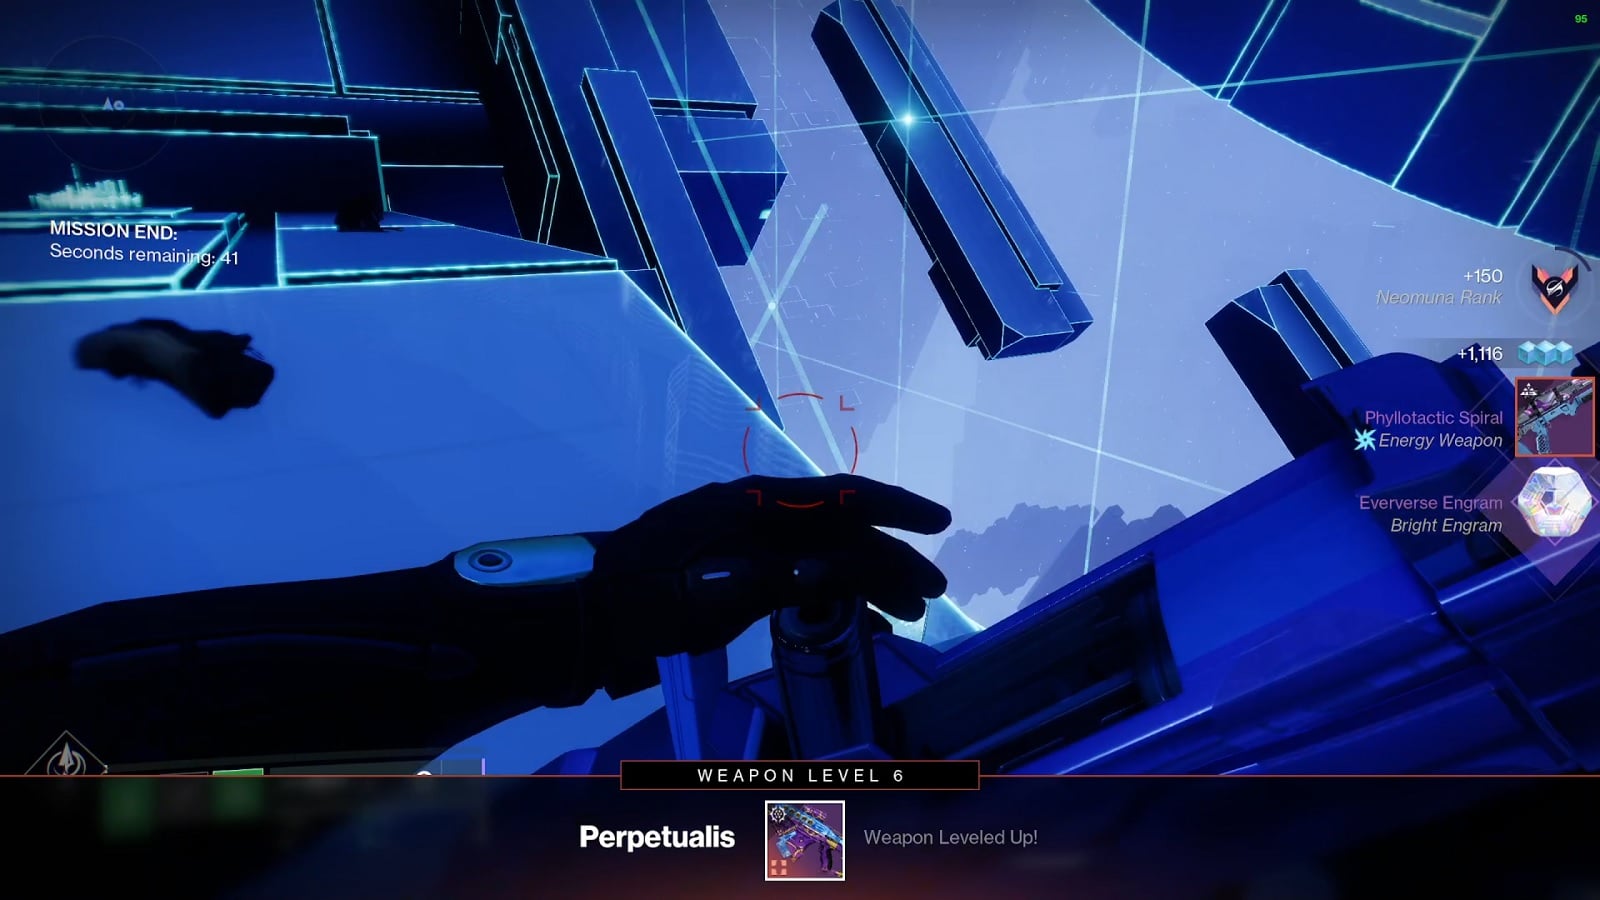
Your reward for beating the mission is a Neomuna weapon and +150 to your Nemuna rank. The weapon is also a piece of Pinnacle Gear, so you don’t want to lose it. There’s also the chance that the weapon is a red border, giving you more reason to get the weekly mission done as soon as possible.
And that’s our walkthrough of the Partition Backdoor Destiny 2 weekly mission. We hope you find it useful in some shape or form. Good luck and have fun, Guardian.
Check out the rest of our Partition Mission walkthroughs here:
- Partition Ordnance Destiny 2 Lightfall Walkthrough – Solo
- Partition Hard Reset Destiny 2 Lightfall Walkthrough – Solo
Check out this video from Youtuber N7_Spectres showing how you can get through the Partition Backdoor campaign mission in Destiny 2.
")
")
