
The Partition Hard Reset Destiny 2 Campaign mission is a weekly rotating mission that sees the Guardian defusing digital bombs planted by the Shadow Legion to save a piece of Neomuna history. Many players agree that this mission is the best piece of post-campaign content Destiny 2 has to offer. It’s an easy choice then, especially when doing this weekly mission will get you a guaranteed piece of Pinnacle Gear for the season.
This guide will tell you everything you need to know about starting the mission, walking you through each encounter, and what the rewards are at the end of it.
How to Start Partition Hard Reset Destiny 2
To start a Partition campaign mission, you must complete the Vex Incursion Countermeasures Weekly Bounty.
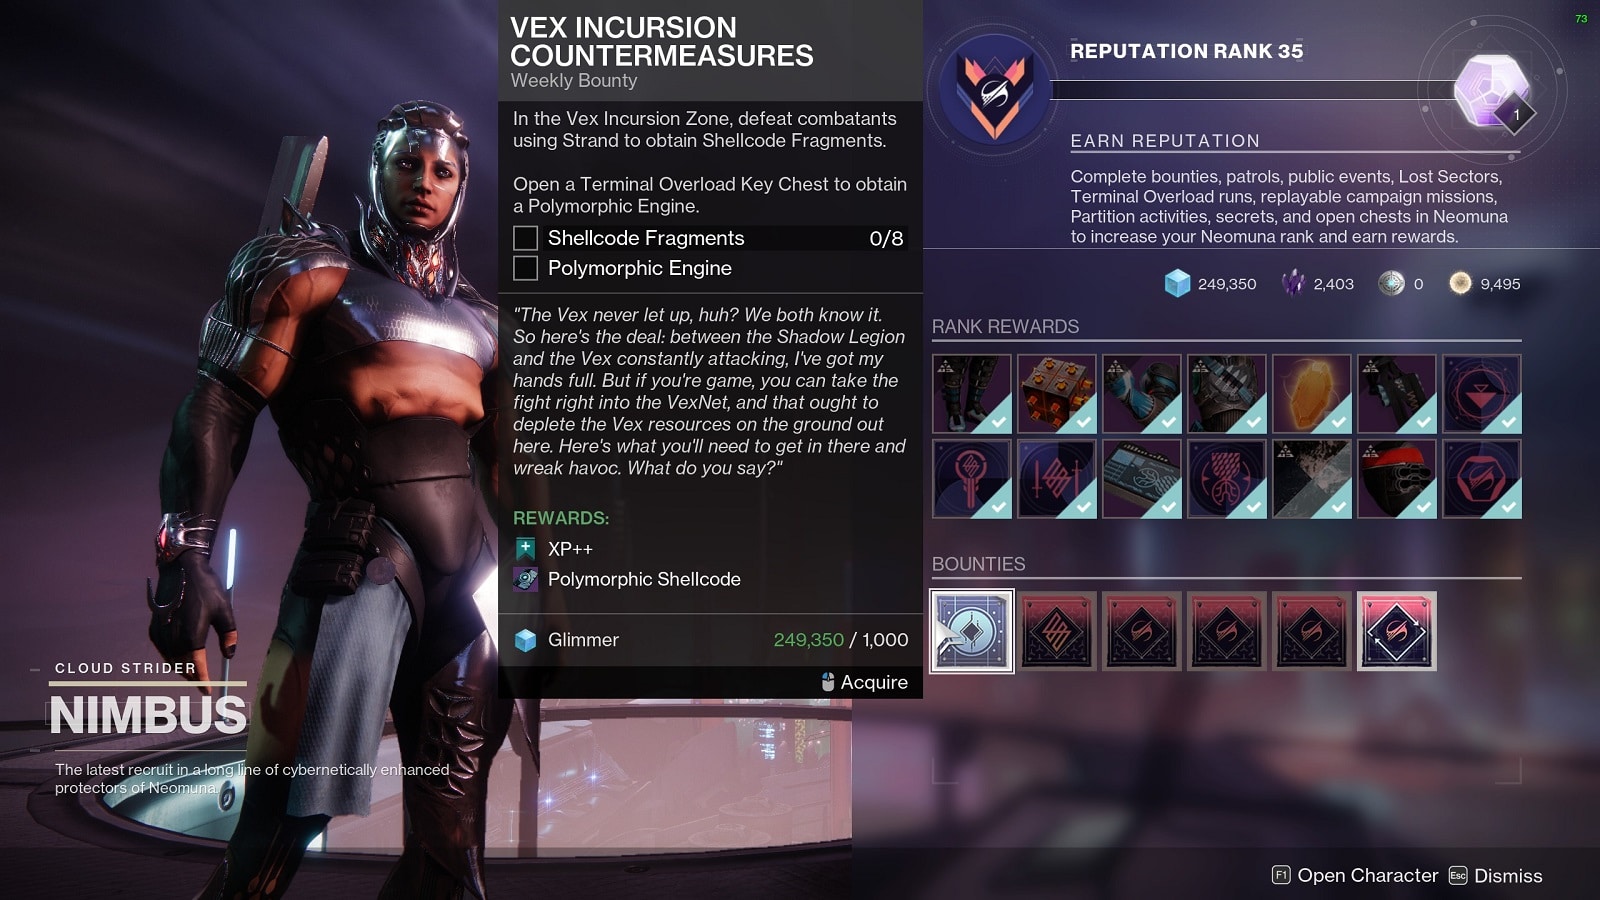
To get the 8 Shellcode Fragments, you must defeat combatants using Strand inside the Vex Incursion Zone. It doesn’t matter what kind of enemy they are, Vex or Shadow Legion, using a Stand ability or weapon is enough to get the fragments.
As for the Polymorphic Engine, you get that by opening a Terminal Overload Key Chest at the end of a Terminal Overload event. You’ll need a Terminal Overload Key to open a Terminal Overload chest.
Next, you must turn in the mission from the Quest screen to get the Polymorphic Shellcode. You’re now all set to start the mission.

Partition Hard Reset Location
The Partition Hard Reset Destiny 2 mission is located in the Southern part of Liming Harbor right next to the Landing Zone. The Partition missions rotate weekly so you won’t be able to access the mission if another is active. You’ll have to wait a few weeks until the mission is active again.
It is highly recommended that you at least have a Power Level of 1790 to get a reasonable time to completion. 1800 Power Level or above makes this mission seem like a walk in the park.
Destiny 2 Partition Hard Reset Walkthrough
First Encounter
The mission starts with the Guardian successfully entering the VexNet. But there is no way forward. Nimbus opens a path for you to proceed. In a fun way, of course.
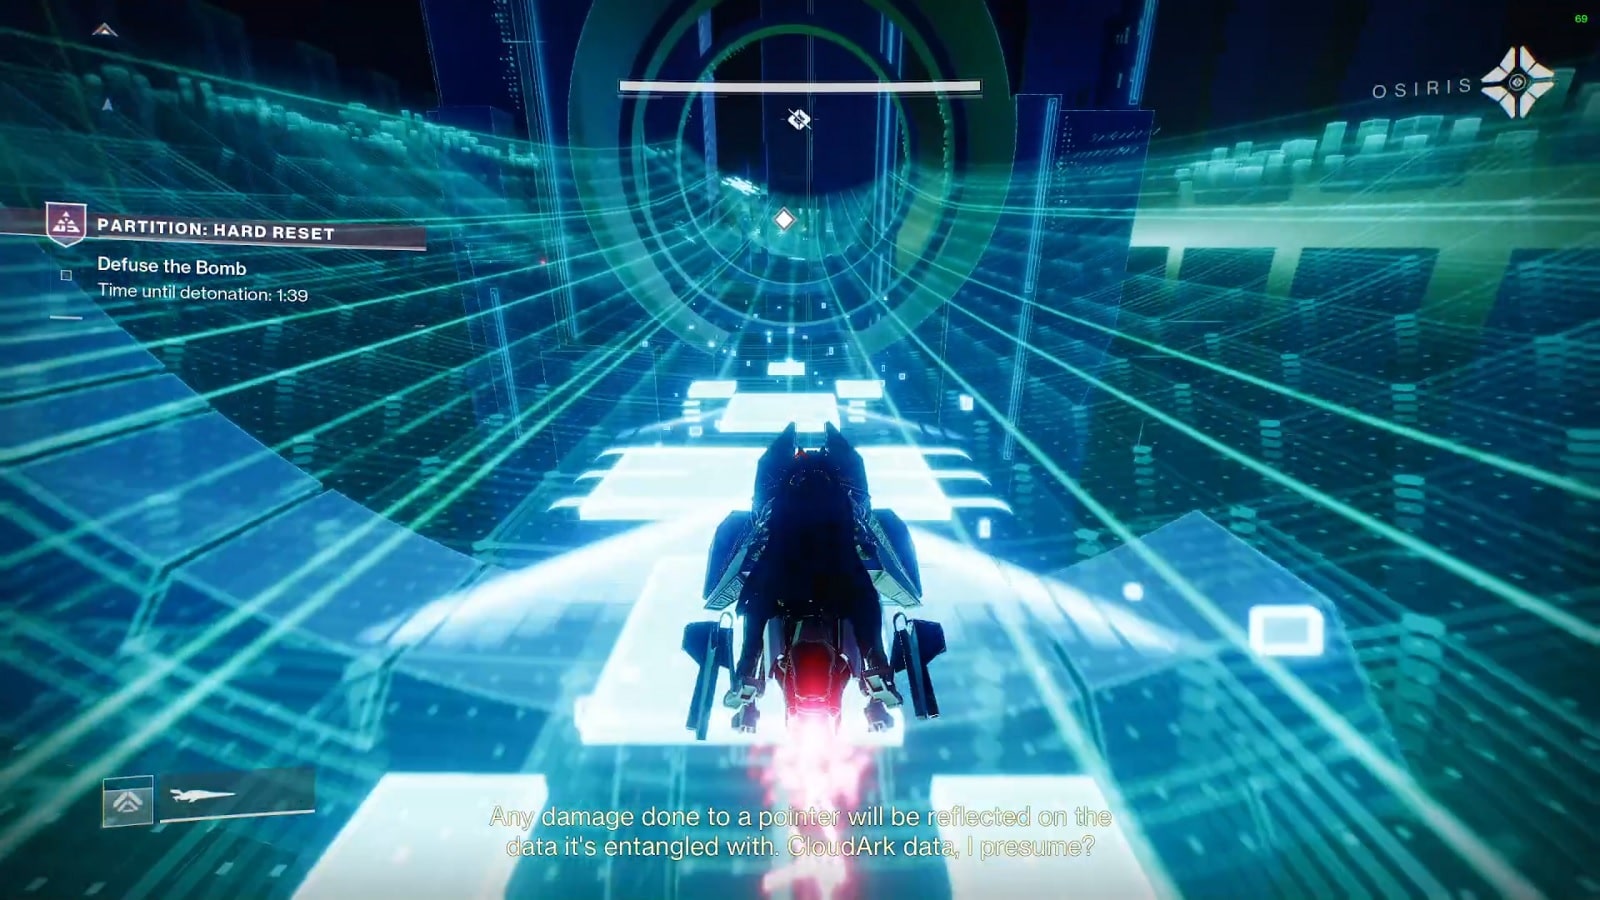
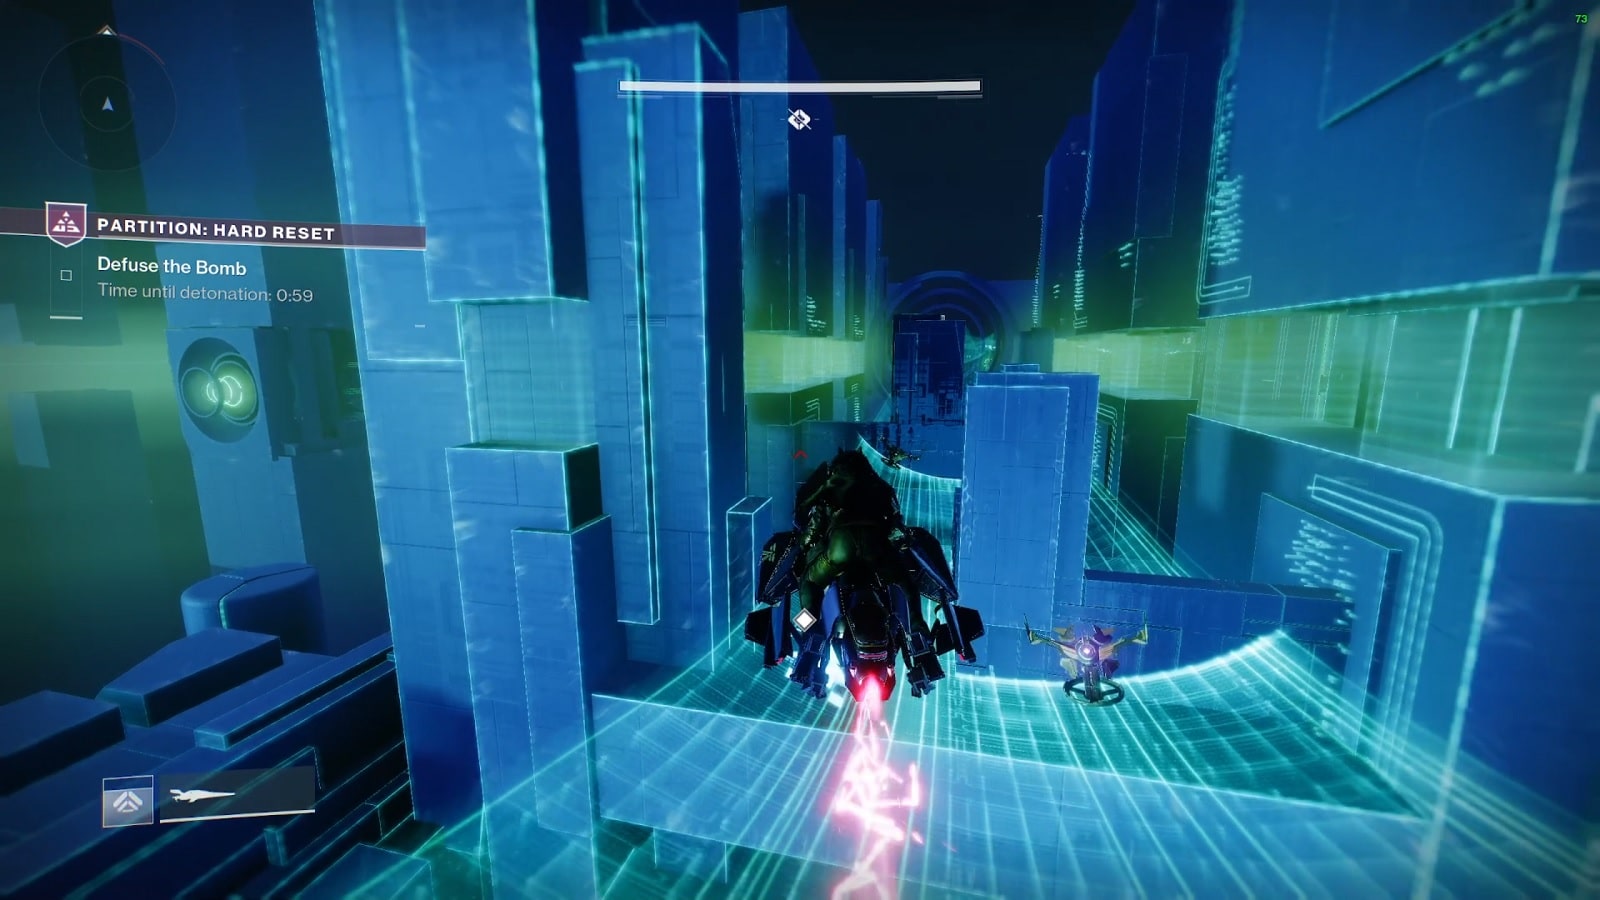
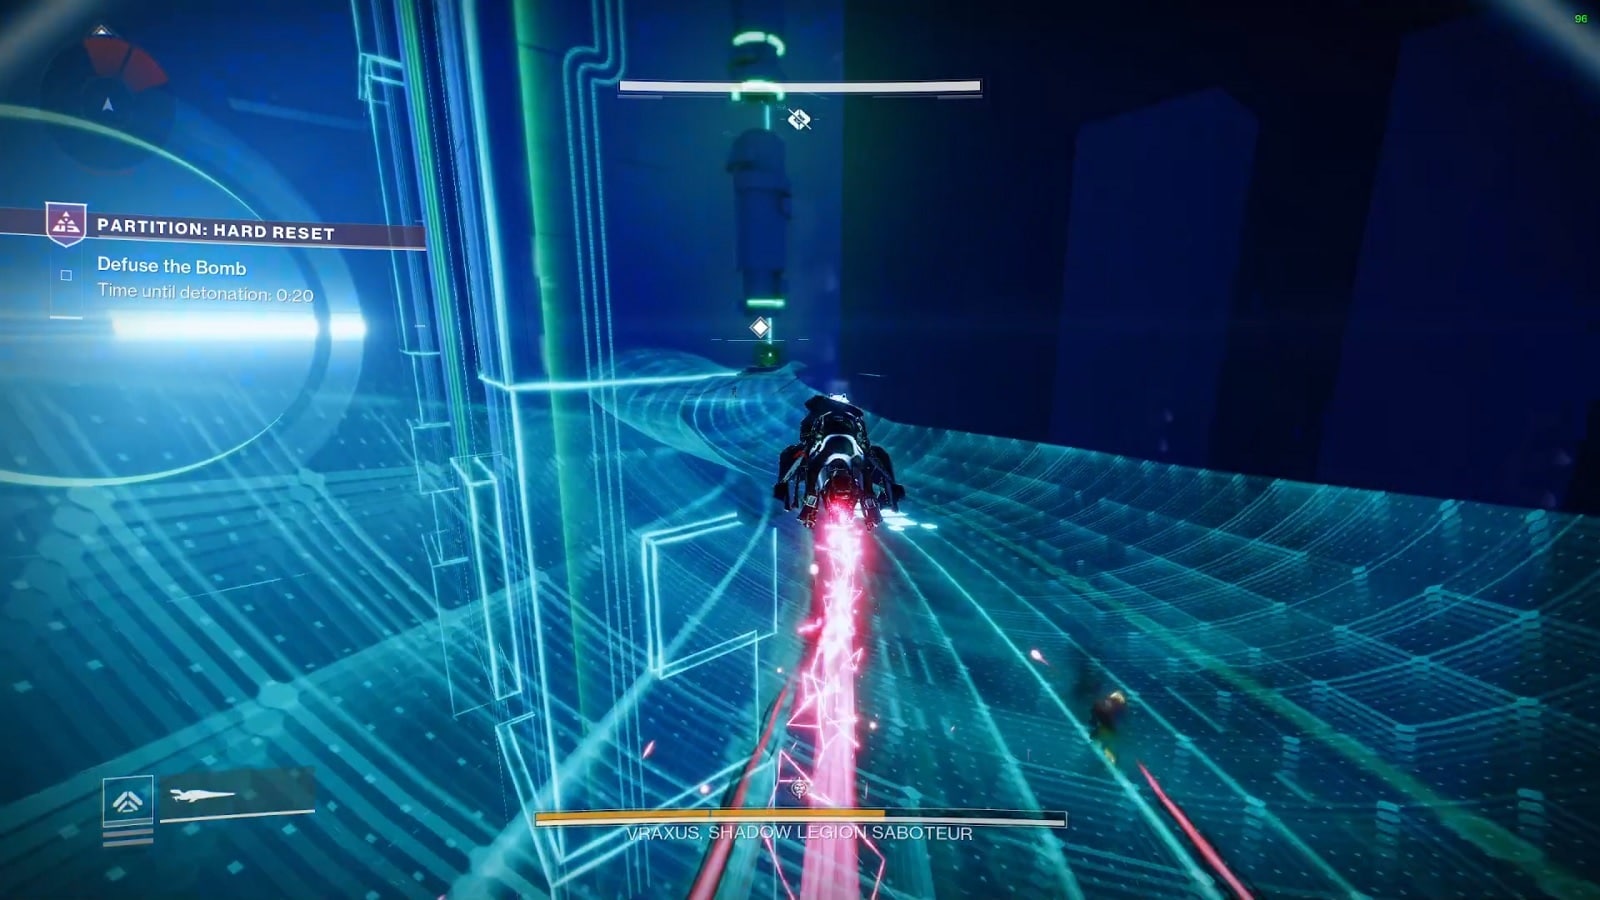
The mission starts with an unlikely Sparrow race sequence Guardians haven’t seen in Destiny in years. The only difference is, we’re racing against other Guardians, we are in a death race against time. The Shadow Legion have rigged multiple bombs throughout the level, and they are ticking down. We are to find the bombs and deactivate them before they detonate.
Along the tracks, the player will encounter different Vex units. They have a tendency to destroy Sparrows so great care is needed to avoid losing your vehicle prematurely. Thankfully, there are boost pads scattered throughout the track. These came in clutch on more than one occasion.
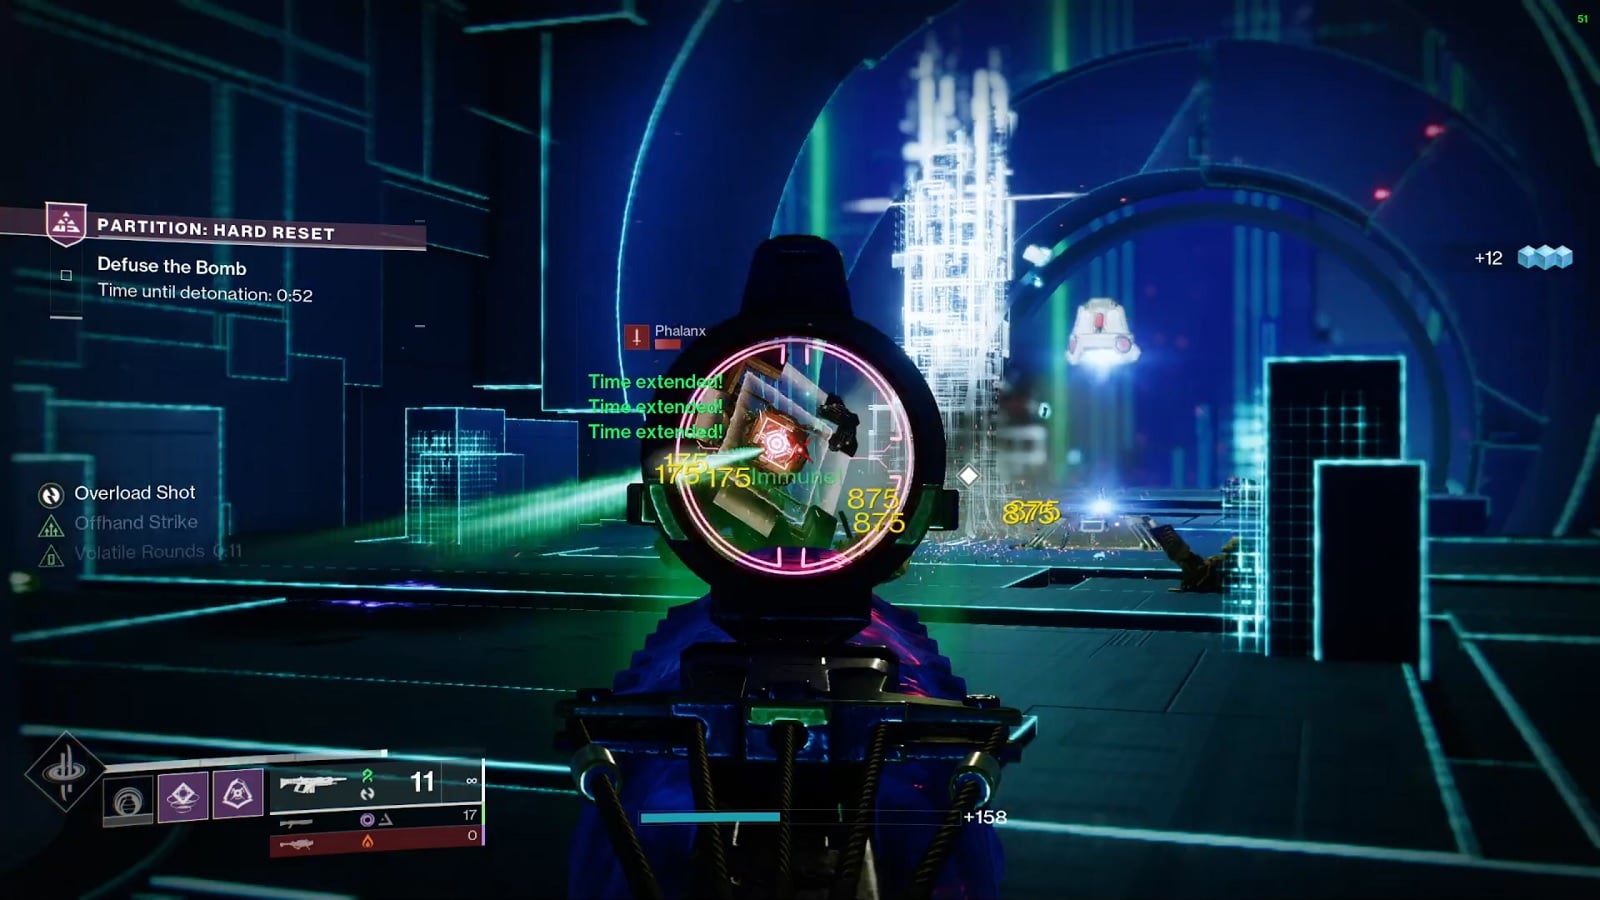
The end of the track signals the start of the combat encounter and the platforming segments. Here, players have to shoot their way through static defenses all the way to the bomb itself. Killing enemies a couple of seconds to the timer. It’s not much but every bit helps. Oh, and might want to take down the Barrier champion here quickly. At the very least, they add more time to the countdown timer.
Once, you’ve killed the surrounding enemies, you are free to defuse the charges. Don’t worry about not finding the bombs, they are at the end of each combat sequence attached to a Vex Conflux. It’s hard to miss.
Second Encounter
The start of the second encounter plays similarly to the first one. Except for this time, the Vex are on you from the start. And you have less than a minute to diffuse the next bomb. You better get a move on or else.
It’s going to be a close call to the combat portion. It’s a good thing then that when you reach the platform the timer will add roughly 20 seconds to your timer.
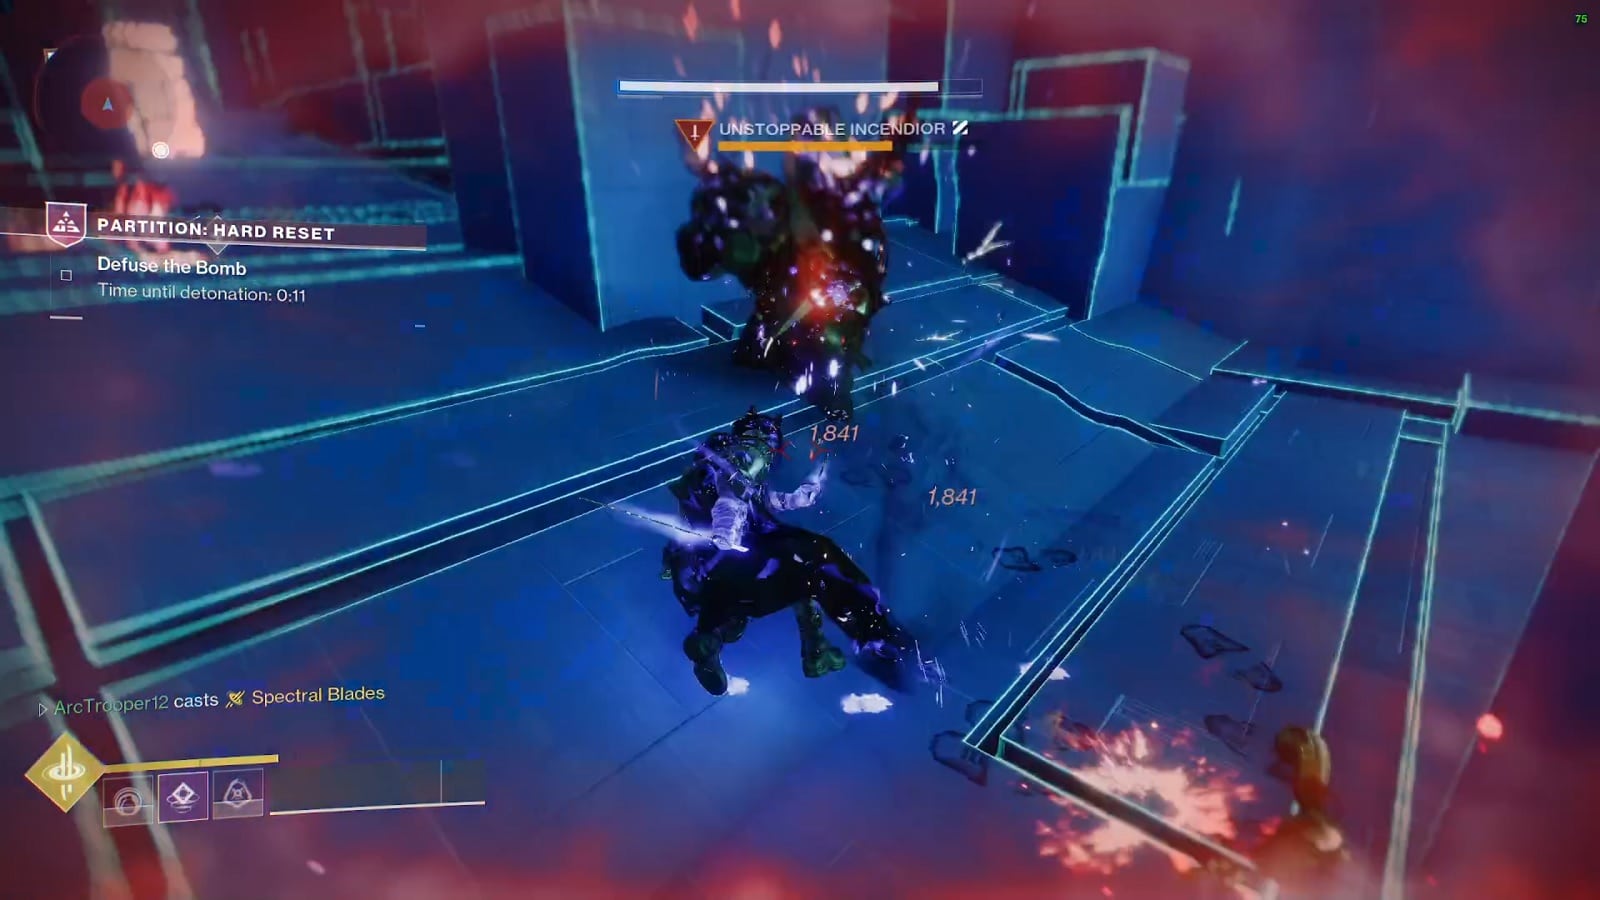
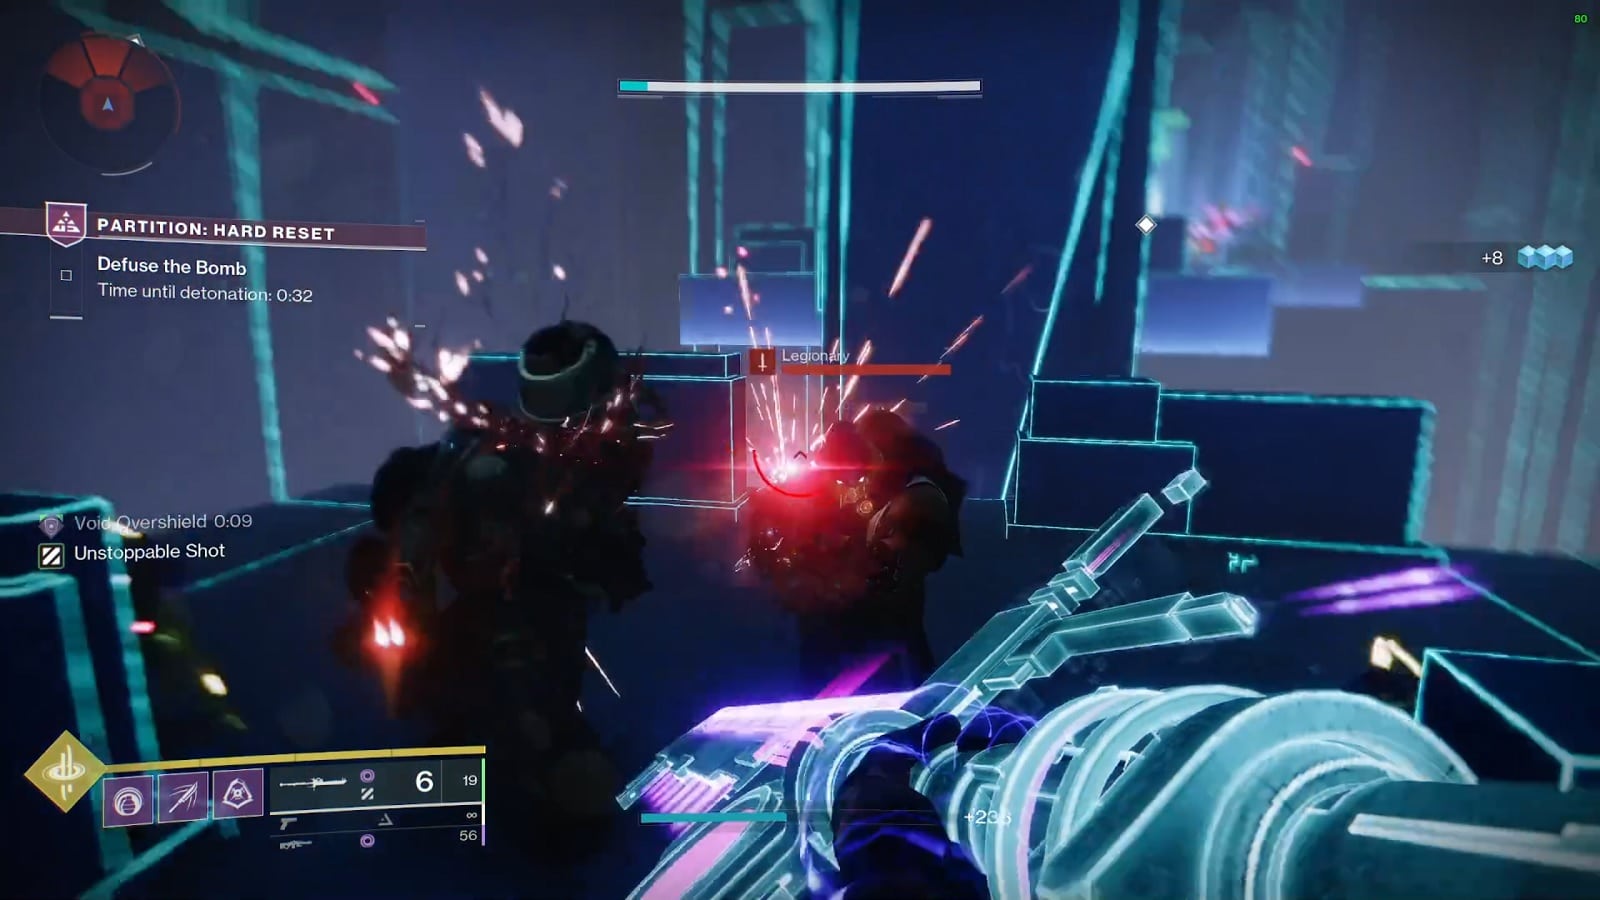
There are three to note about the second combat encounter: mobs are highly dense from both Vex and Shadow Legion sides, the duo of Champions rampaging in the thick of the encounter, and cover constantly appear and disappear in the middle of the corridor.
There are actually four things to watch for but the last one only matters after getting through the defensive line and it is obnoxious as all heck. At the end of the corridor, you will see that the ceiling is covered with lasers. A trio of Honored Psions hold the top of the ramp and their powers threaten anyone who comes close. We don’t need to remind you that they have the power to lift Guardians… into the laser grid. Destiny 2 has always had a wicked sense of humor.
Avoid the psychic blast zones and you should have a clear shot at the bomb. You can choose to stay in the back and pick them off one by one but we’re racing against the clock here.
Third Encounter
The third track sequence is a fun albeit dangerous start to the third encounter. Off the bat, you’ll be playing a deadly game of keep away from the groups of Cyclops and Hydras that guard the track. Basically, if a Cyclops hits your Sparrow, it’s Game Over. Same thing with the Hydra but you’ll have a second or two before realizing that you’re already dead.
On the combat section for the third encounter mostly does away with the long corridors. Instead, multiple platforms hang over a long pit and each of them is crawling with all sorts of enemies, most notably an Unstoppable Champion. The only way clear way across is to zig zag across the gap while dealing with the enemies to extend your time.
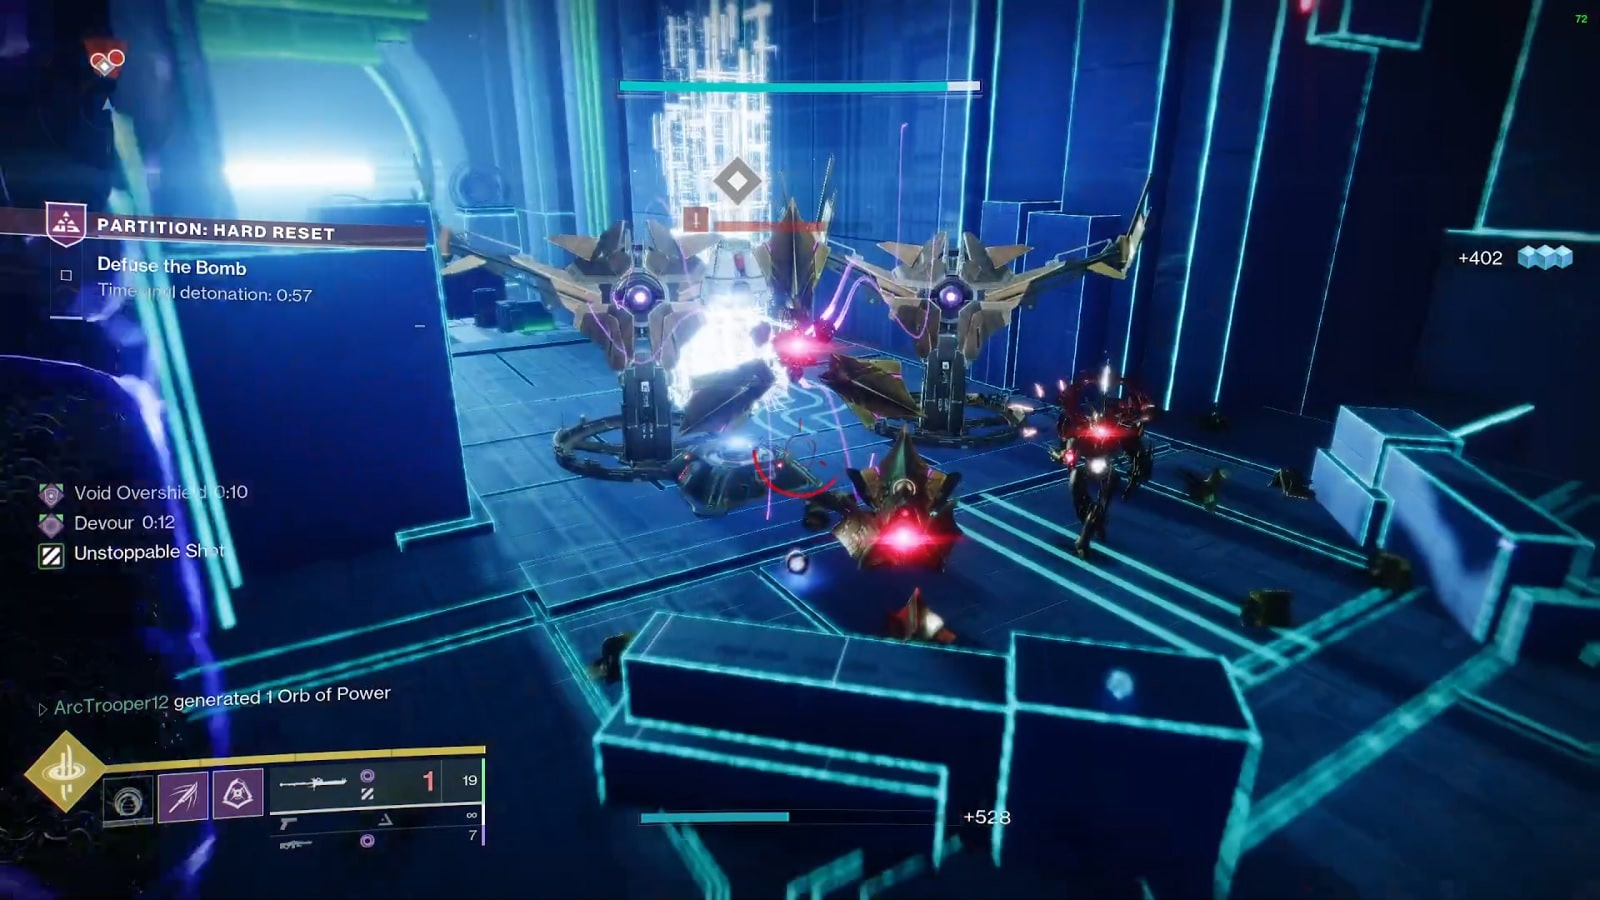
At the end of the hall, there awaits a group of Harpies, a Barrier Champion, and a couple of Cyclops. A well-placed rocket launcher shot is capable of clearing the field. At this point, there should be plenty of time for you to defuse the bomb.
Fourth Encounter
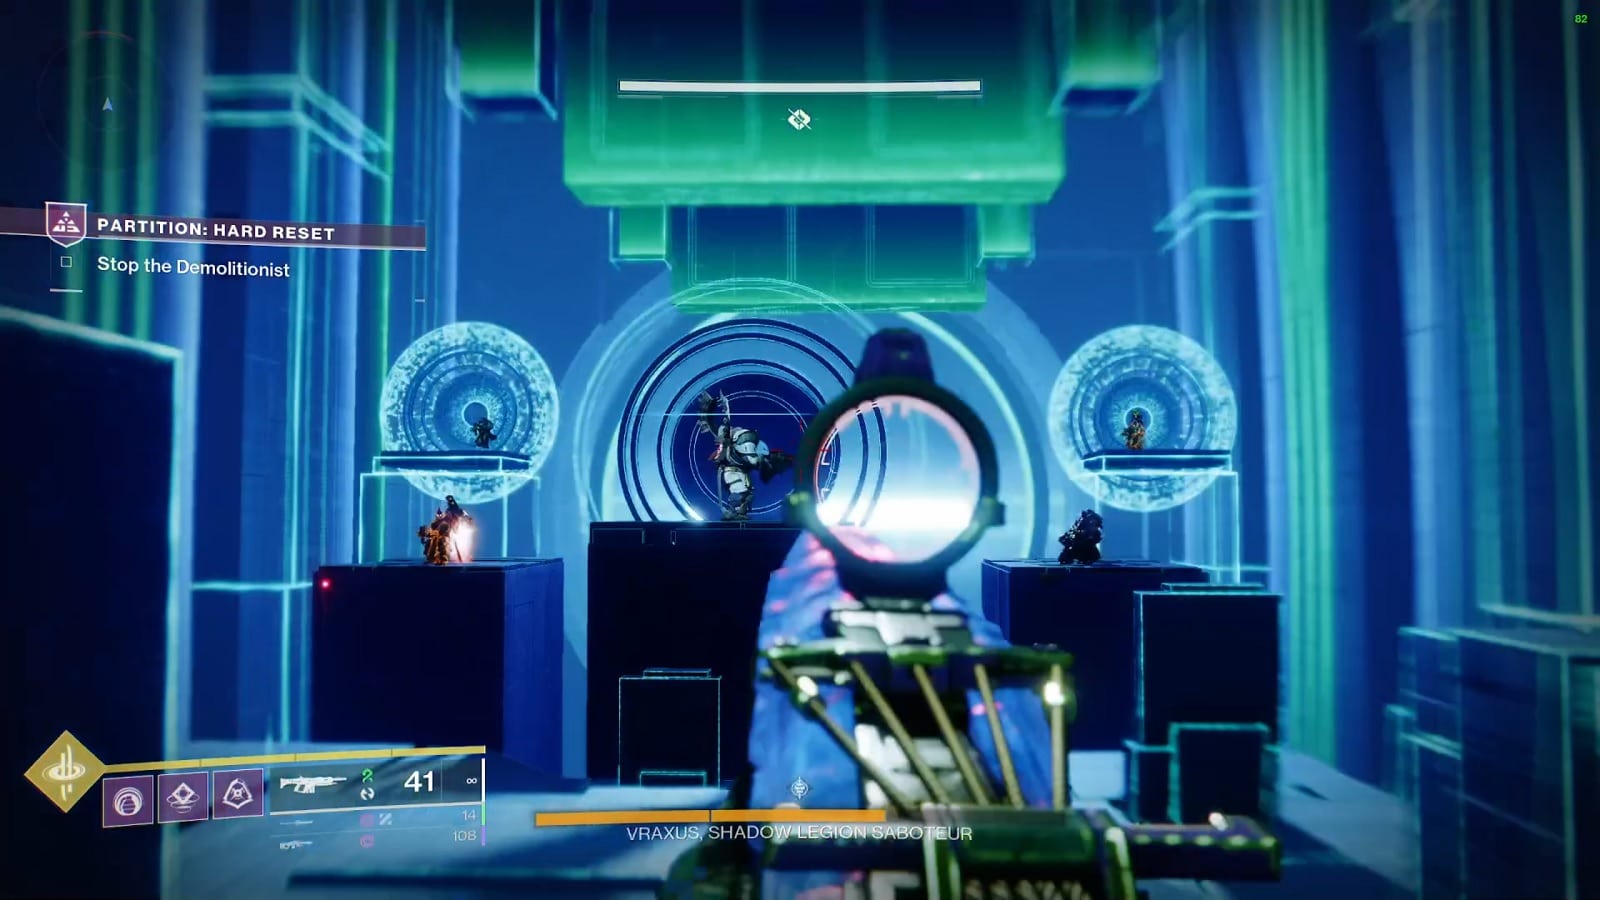
Now that the bombs have been destroyed, now it’s time to deal with the mastermind behind it all, Vraxus, Shadow Legion Saboteur.
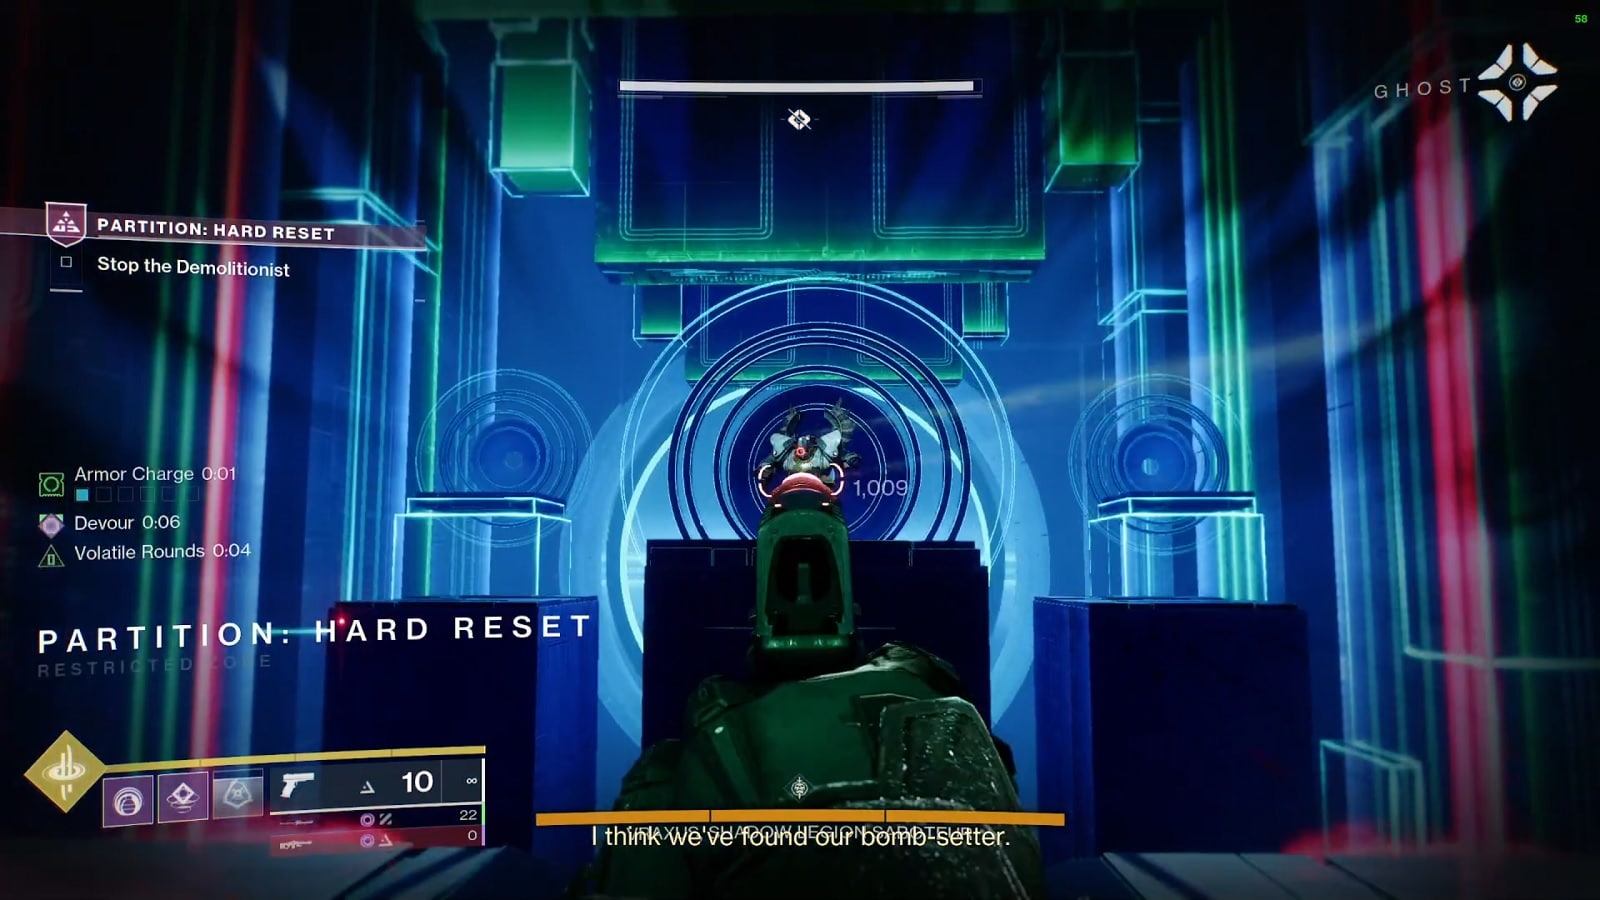
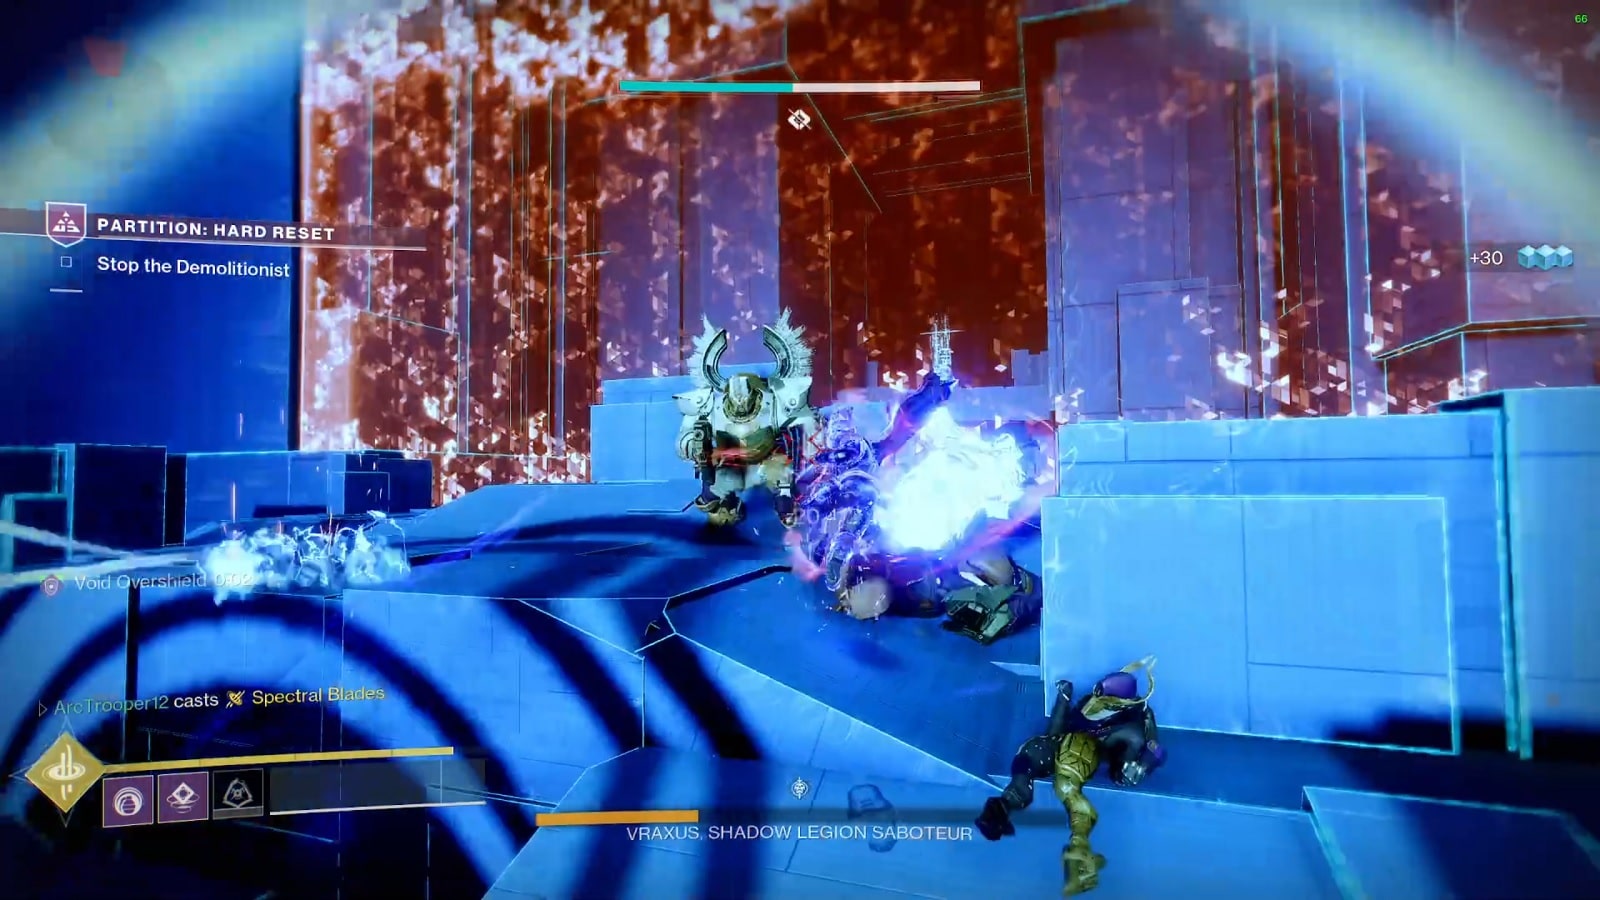
The final encounter starts with the boss carpet-bombing two attack lanes, leaving only the center for you to launch your attacks. The bombings will alternate between the center and the sides for the whole fight. Shortly, a group of psions and legionaries will drop in to muddy up your efforts. It’s a good idea to get rid of them before focusing on Vraxus.
For this encounter, you are only able to attack the boss from the lower platform. If you decide to engage in hand-to-hand combat, the boss will stomp you away. Additionally, the stomp will result in the floor catching fire. You won’t be able to stay on the platform without the right equipment.
Keep piling on the damage until the boss activates his shield at two-thirds health.
In typical Destiny 2 style, once the boss’s health drops down to a certain point. A fail-safe will kick in and you’ll have 30 seconds to drive through the right side of the map to defuse a bomb at the end of a short track. Watch out for the psions that guard the way to the bomb.
Be very careful when unmounting your Sparrow. You don’t have much of a runway other than a circular platform. There is the potential of you overshooting and missing the platform if you are going too fast.
After you’ve defused the bomb, a portal will appear before you, ready to take you back to the boss fight.
The second phase opens with a couple of portals opening up beside the boss. The bomber took extra measures and called in reinforcement while you were away defusing the bomb.
We highly advise you to take care of the surrounding mobs first before taking on the boss again. You may be required to dodge and weave carpet bombs and the boss himself but you can take comfort in the fact that there won’t be more reinforcements coming for the time being.
At one-third health, the shields will return and you’ll have to go to the left side to diffuse another bomb. Nothing much to say about this part other than the jump in the middle. Once you’ve diffused the bomb, a portal will appear for the last stand.
At this point, the boss has had enough of you. After you’ve decimated the last of his forces, he is going to get off his platform and attack you head you. It will the last mistake the boss is going to make.
The last part of the encounter is simply attacking him with everything you’ve got. You still don’t want to get close to him but if you have a roaming Super you can deal a good amount of damage and prevent him from using his stomp attack.
Keep up the assault until the boss is dead.
Partition Hard Reset Rewards
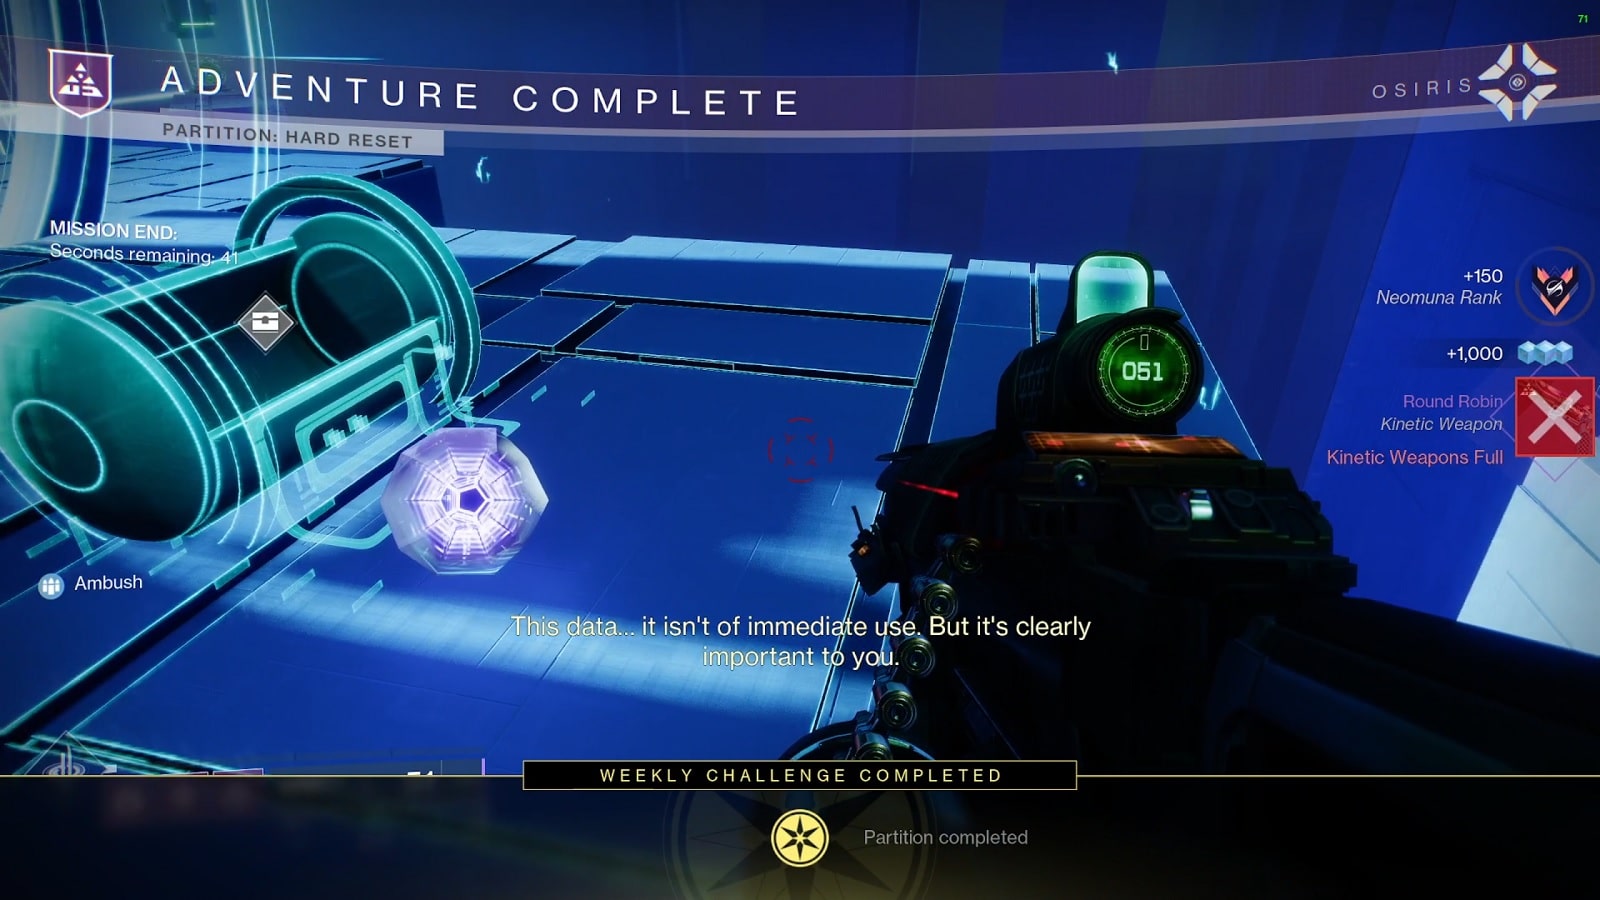
Your reward for beating Partition Hard Reset in Destiny 2 is a Neomuna weapon and +150 to your Nemuna rank. The weapon is also a piece of Pinnacle Gear, so you don’t want to lose it. There’s also the chance that the weapon is a red border, giving you more reason to get the weekly mission done as soon as possible.
And that’s our walkthrough of the Partition Hard Reset Destiny 2 weekly mission. We hope you find it useful in some shape or form. Good luck and have fun, Guardian.
Check out the rest of our Partition Mission walkthroughs here:
- Partition Backdoor Destiny 2 Lightfall Walkthrough – Solo
- Partition Ordnance Destiny 2 Lightfall Walkthrough – Solo
Check out this video from Youtuber Esoterickk showing how you can get through the Partition Hard Reset campaign mission in Destiny 2
")
")
