
No Rest for the Wicked is the first heist in Payday 3, which is the perfect introduction mission for players just getting into the game. Despite being the first heist, this mission is more than a little challenging, with one mistake potentially costing you a large part of the reward money. To ensure that doesn’t happen, we made this walkthrough for that No Rest for the Wicked heist in Payday 3.
Your goal in No Rest for the Wicked is to get to the vault that contains money on the left side of the bank. This heist can be done completely in stealth without alerting anyone, or you can go in Loud and guns blazing. We’ll show you how to do both.
It’s important to note that Payday 3 randomizes certain aspects of its objectives. While you’ll always have the same list of objectives in each heist, their locations can be different in subsequent playthroughs. This walkthrough is designed so that you can finish No Rest for the Wicked, regardless of the randomization.
No Rest for the Wicked: How to Enter the Bank
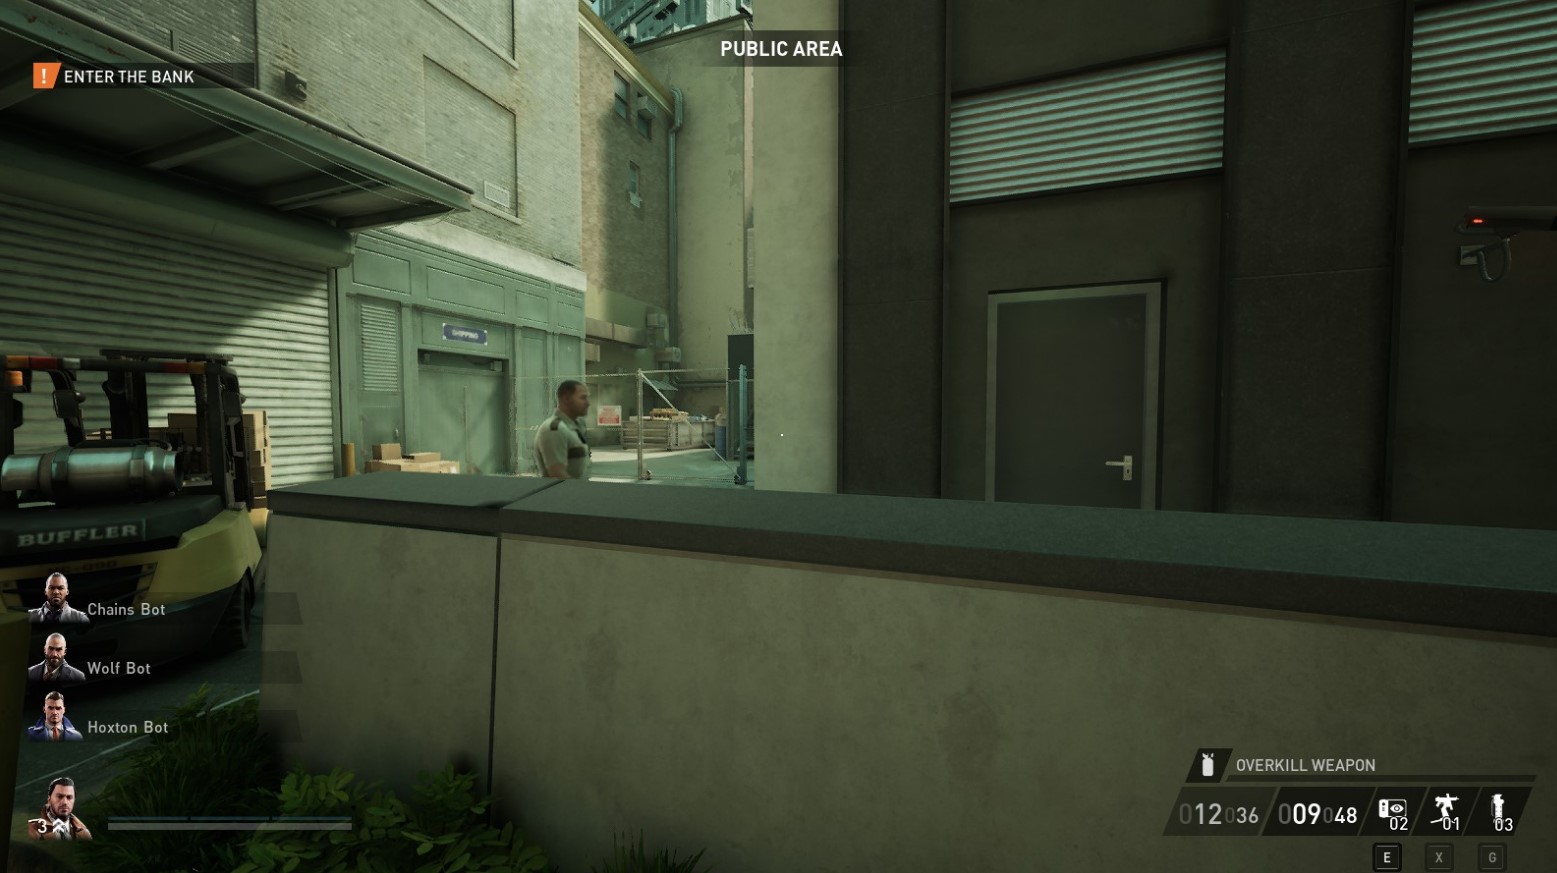
There is a backdoor entrance on the SCB bank building’s parking lot to the left. You’ll have to picklock it in order to open it. Alternatively, you can access the rooftop via the fence and climb the fire escape. However, beware of the security guards patrolling the back.
If you picklock the backdoor, you’ll be led into the backroom. There’s always a single guard patrolling the hallway that connects the manager’s room, IT room, conference room, and backroom. The security guard patrolling the area might have a keycard you can pickpocket by sneaking behind him. So long as you don’t put on a mask, the civilians won’t react to your presence unless you enter the manager’s room.
If you picklock the fence, you can take the stairs leading to the rooftop. There’s usually a camera by the locked door to the stairs. You’ll have to picklock it open as well. You can blowtorch the windows in order to get in, but you can vault over unless you put on your mask.
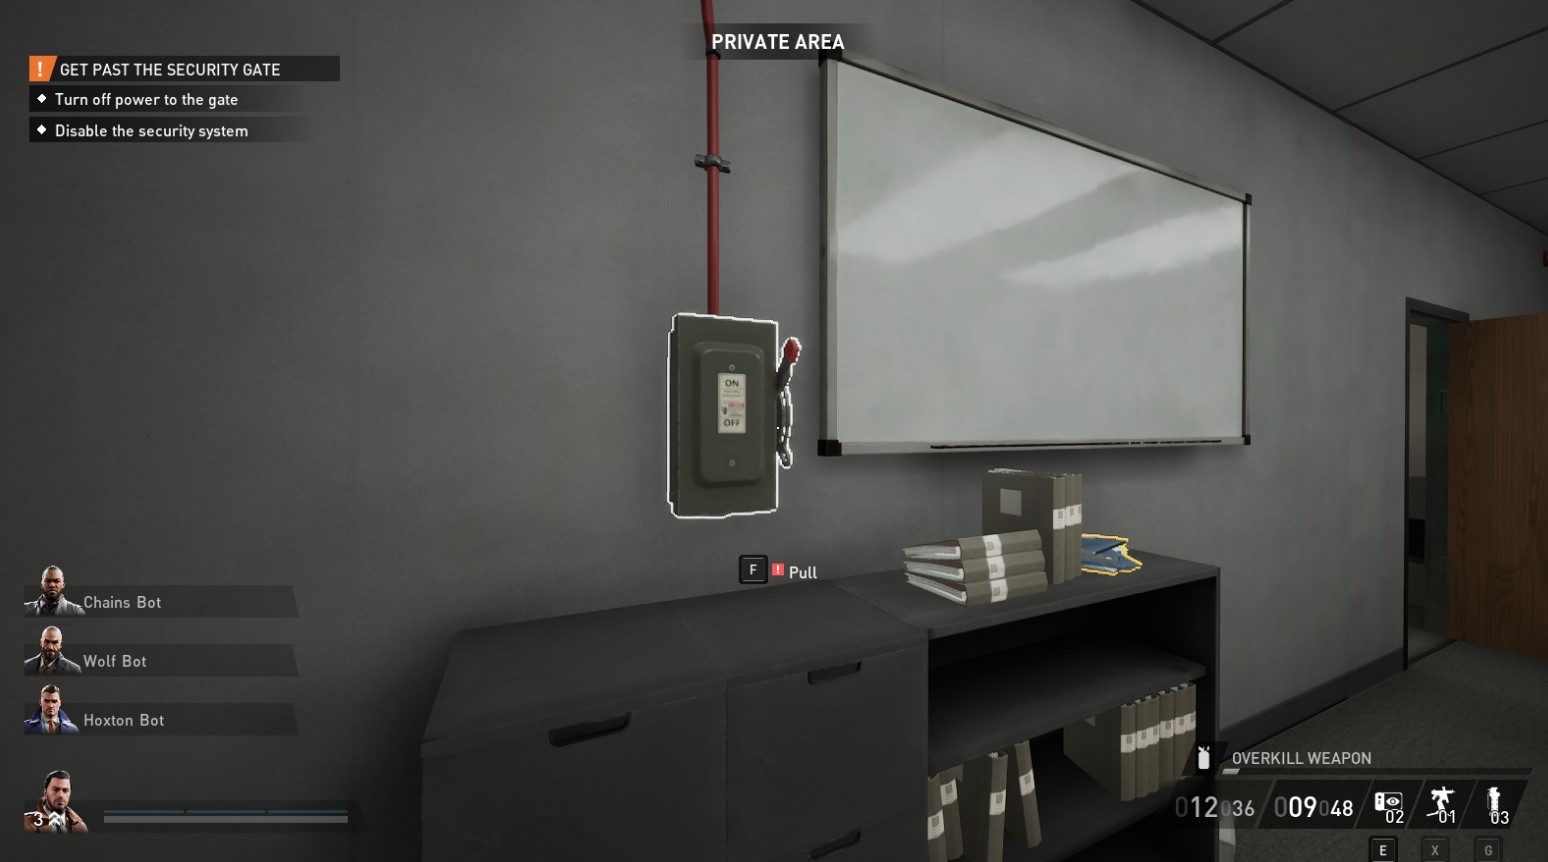
Once you’re inside, your first objective is to turn off the power to the gate. This can usually be found inside the IT room. If it isn’t there, you can find it on the second floor in the small room next to the employee offices.
The guard that patrols the second floor will roam around the hallway. He usually carries a keycard with him, which you can pickpocket. Be careful of the cameras, as there are usually more than two on the second floor. You’ll get the keycards to get inside the security room.
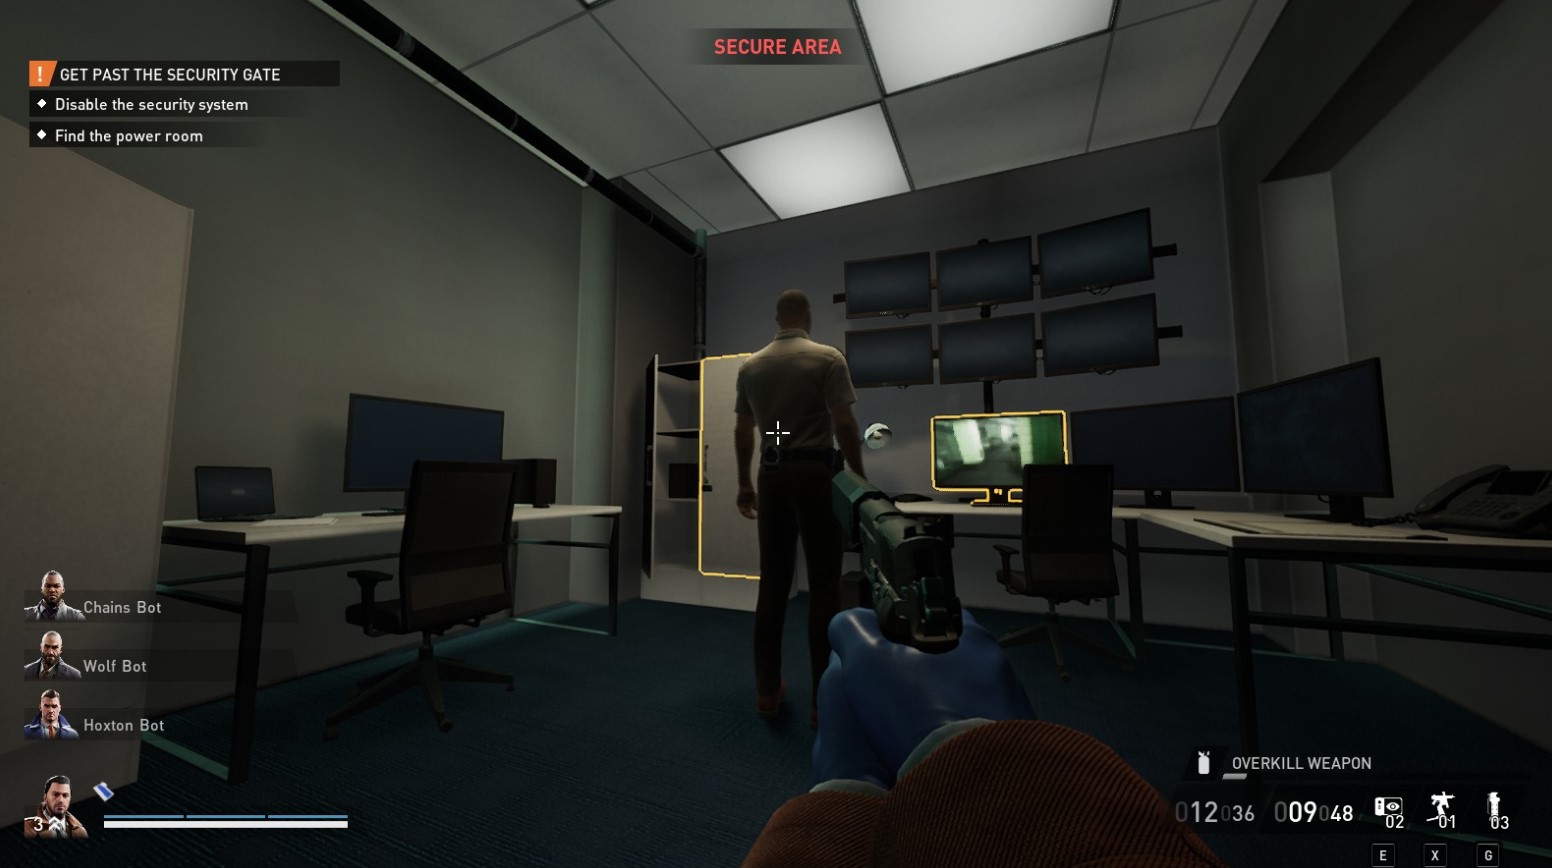
Once you have both keycards, open the security room on the second floor and silently take out the guard from inside. This means that one of you will have to put on a mask, which will alert the civilians as well if they see you. You can silently take out the guard watching the cameras with a silent pistol, but if you don’t have one, you can grab him as a hostage and knock him out.
Don’t forget to answer the radio once the security guard is dealt with. You no longer have to worry about the cameras after taking out this guard. Be warned that you have limited charges to take out security patrolling the bank.
Now make your way to the other room that requires a keycard. This could either be on the second floor or in the room on the rooftop. You’ll be asked to disable the security systems. Now you have to flip the right switch, which starts by accessing the terminal next to the computer. Take note of the color the screen is displaying. Afterwards, head downstairs and go to where the vault is.
You’ll need to disable the switch color that the server told you. There are two switches. One at the front of the SCB bank, left of the reception area. The other one is next to the back room, right beside the vending machine. We recommend taking the back area since you probably already have the mask. Pull the thing open and then pull the right switch color by looking at it and then pressing interact.
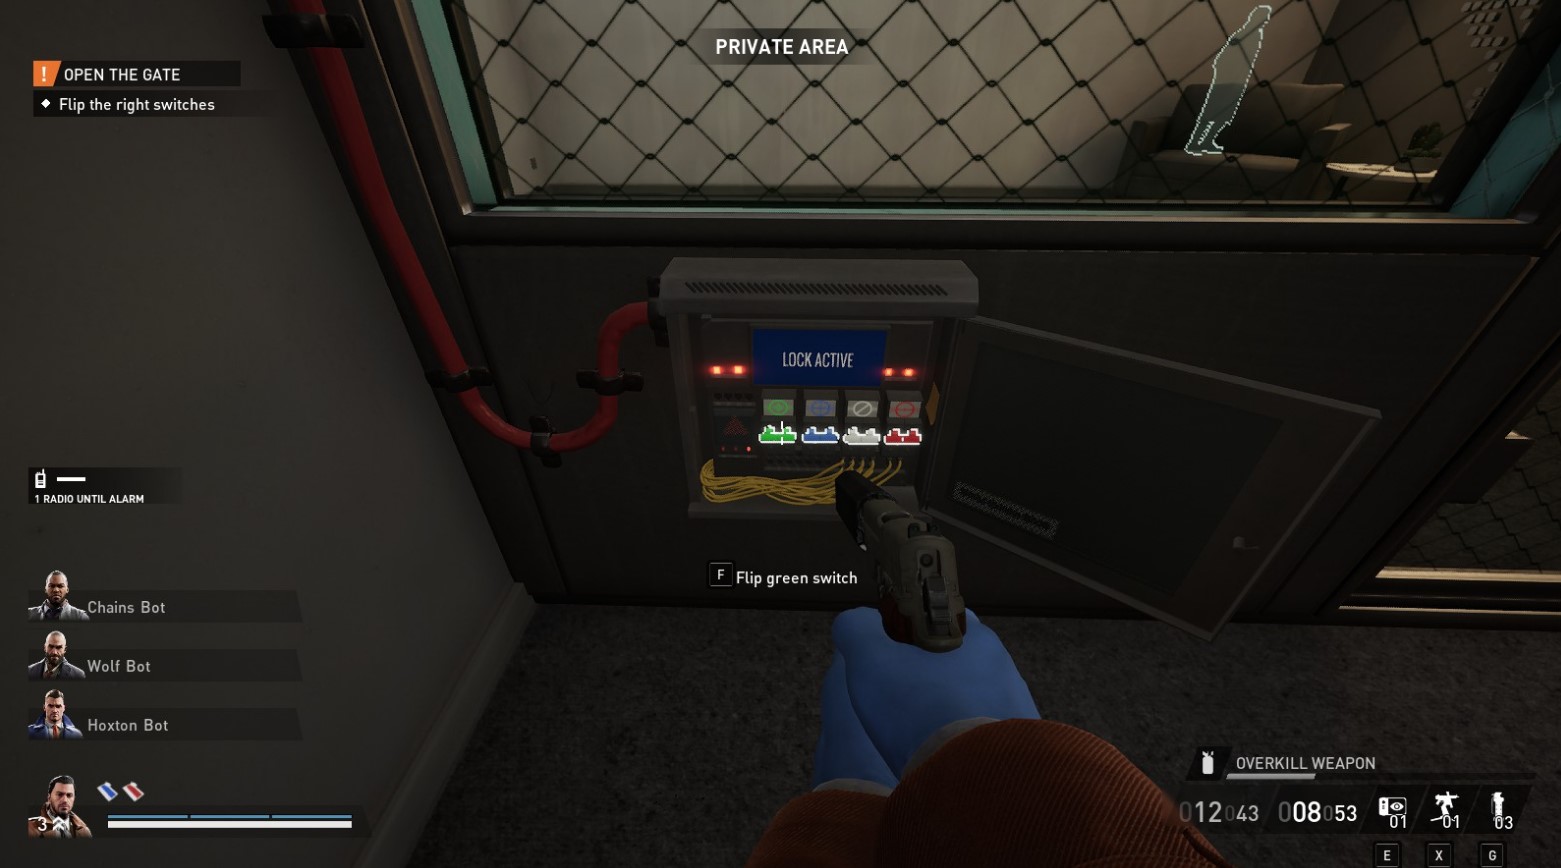
This is where you need to be careful, as the wrong switch can permanently lock the door to the vault. If you accidentally press the wrong switch in the back, you’ll have to turn on the correct switch from the front. By this point, you probably already have your mask, so if you mess up the switch, you’ll have to send another player to turn the switch from the front.
After turning the switch, the door leading to the vault will open. If one of you unlocked it from the front, you could sneak in and unlock the back door for your friends. You now have a clear way to the vault, but it still remains locked.
Here’s when you take out the guard patrolling the first-floor hallway. Since the cameras don’t have a security guard watching them, you don’t need to worry about being seen. Don’t forget to interact with the radio.
Next, get the civilians in the back tied up. You can mark them to yell at them to get down or by hitting them with a melee. The fastest way to get them to comply is to hit them and then tie them up. Make sure to get everyone in the first-floor building except the ones in front. Don’t let anyone escape, which should be easy because their reaction times are slow.
Be careful because there are windows at the back with possible security guards patrolling. If they see a tied hostage, they’ll go for the rescue and call the police.
No Rest for the Wicked Stealth Run
How to Enter the Vault in Stealth
To get inside the vault, you need the Executive. He can be found in his office next to the IT room. Grab his body as a human shield and drag him to the vault. Then, shove him to where the retina scanner is. You’ll be told that you need the PIN code to open the vault.
Take the executive back into the hallway and tell him to get down to tie him up so he doesn’t get seen by the people in front of the building. Then, go to his computer in the manager’s room or the computer in the conference room. Interact with it, and it will give you four possible PIN combinations.
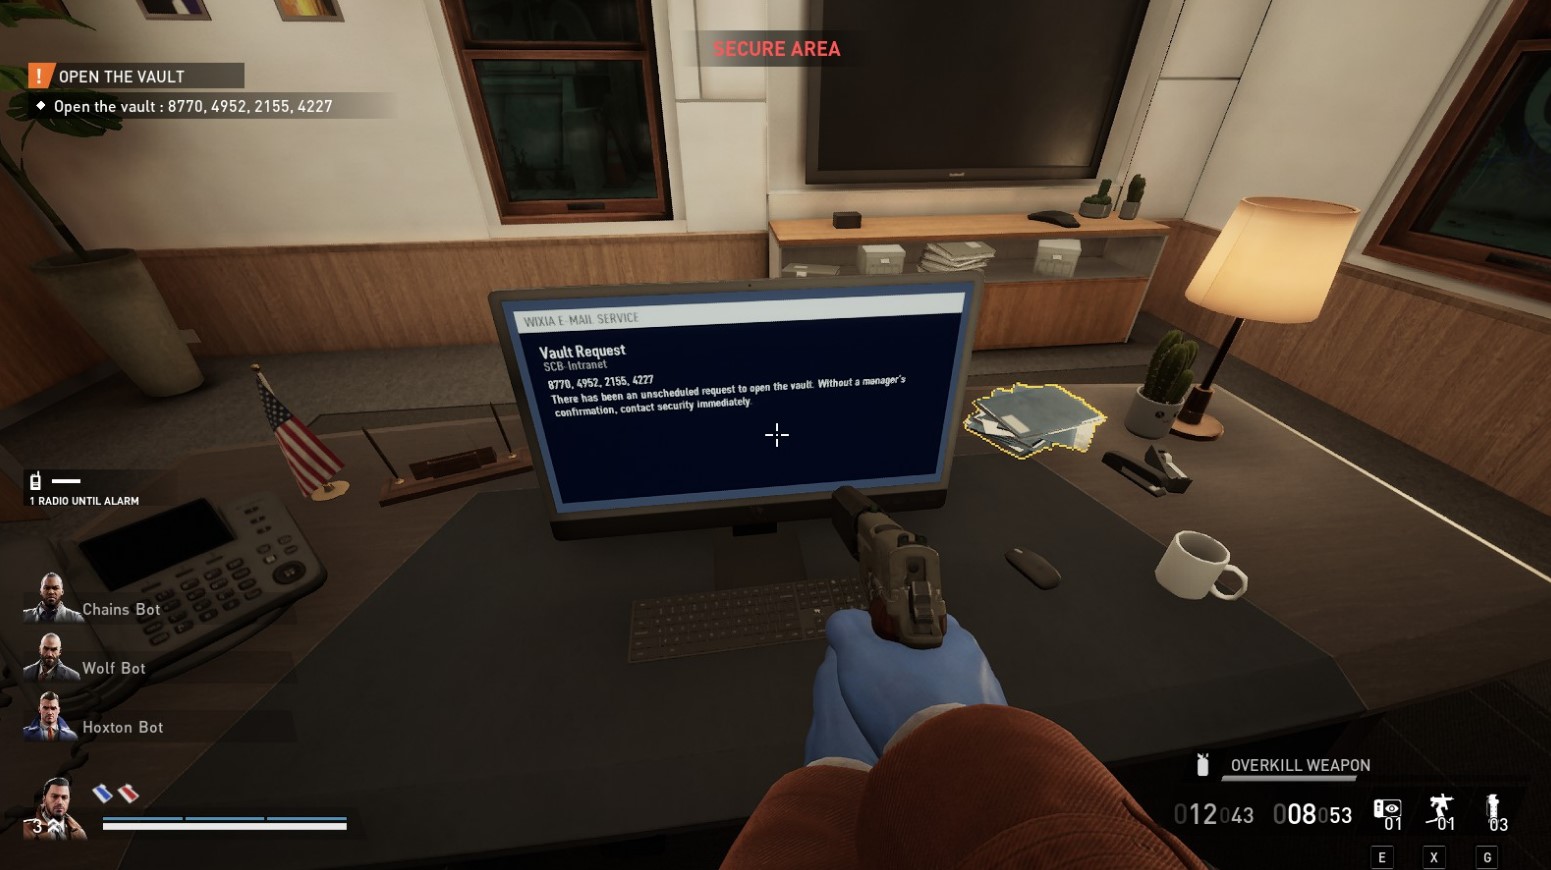
Now go back to where the vault is. You’ll automatically activate your UV flashlight, which will show fingerprints on certain numbers. Match these numbers with the ones you’ve been given and enter them to open the vault. Don’t worry about getting it wrong because you’ll be able to enter the PIN code multiple times after a short wait.
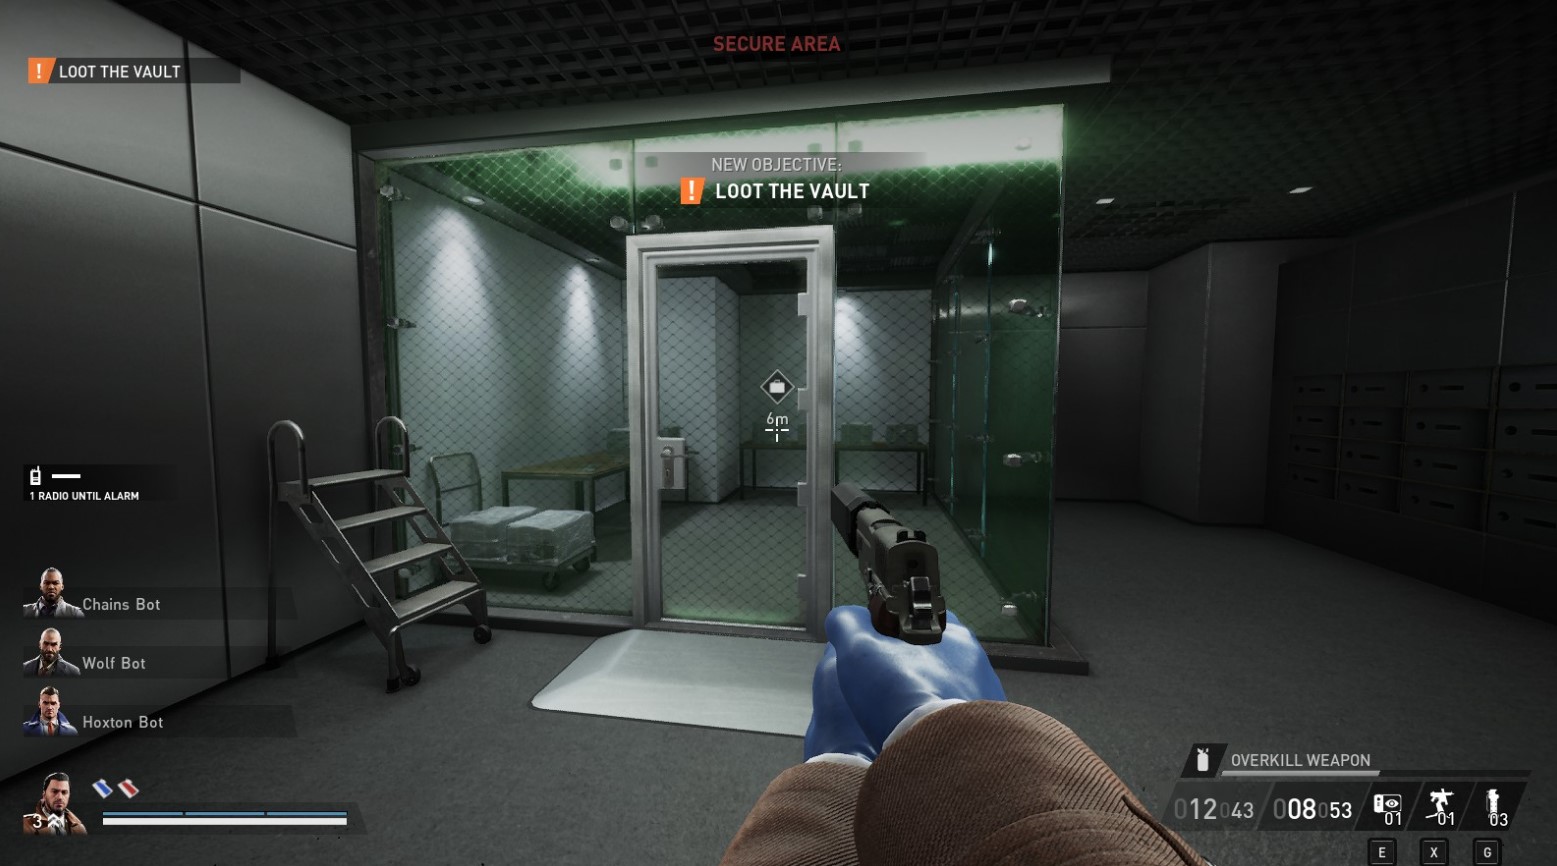
Here’s where it gets important because your cash reward will depend on how many of the loot you can save from the dye pack. Once you open the door to the inner vault, the timer will start and you’ll have a very limited amount of time to disable the dye packs. Get as many as you can disabled before picking up the cash. From our experience, it’s almost impossible to get to disable all the dye packs by yourself.
Once you disabled the dye packs, loot the cash and throw them on the ground. Don’t go just yet as there’s more money to be had. On the right side of the vault, there are deposits which you can lockpick that offer extra cash. Open them up and take everything.
How to Escape the Bank in Stealth
Once you have the loot secured, you need to get it to the van which appears at the front of the SCB bank. This can be a problem because of the civilians roaming the streets. If you have another player who has yet to put on their mask, this could be a massive advantage for you. Give them the money and let them be the one to throw the money into the van.
If you’re playing alone or everyone’s already put on their mask, then you’ll have to time throwing the money to the van when nobody is passing the streets. This is easy enough but requires a bit of patience. After that, all you have to do is escape.
No Rest for the Wicked Loud Run
How to Get Inside the Vault Loud
If you’re caught, it’s time to go loud. Prepare to go in guns blazing by immediately taking the front and securing as many hostages as you can. Have one of your team stand in the parking area as a thermite will dropped either there or on the rooftop which you’ll need to setup on the second floor to get to the vault.
You won’t have much time before the police arrive. Before they can begin their assault, you can use the hostages to negotiate for time. So it helps to have a lot of hostages to trade with. Don’t forget to secure the ones in the back of the bank.
After the thermite arrives, grab it and take it to the second floor where you’ll set it up. Then ignite it to start burning. It’ll take some time for the thermite to burn through the surface. The helicopter will repeatedly make round trips to give you more thermite which you can throw to the fire to make it burn faster.
The police will attempt to stop the thermite by turning on the sprinklers. The sprinklers won’t stop the thermite but it does make it burn slower. You’ll need to turn off the fire alarm which is either in the center office area or the break room. You’ll have to guard it to ensure a police officer doesn’t turn them on again.
Once you’ve burned a hole through the vault, you’ll have to drop down from above. Once you open the inner door, you’ll have to disable the dye packs before they go off. Alone, it’s almost impossible to disable all of them so you’ll need a friend to help you out if you want to maximize your cash reward.
If you’re up for it, you can clear the deposits in the vault as well. Though they need to be lockpicked which is hard to do when the police are trying to get to you.
How to Escape the Bank Loud
Once you’ve secured the money, it’s time to make a getaway. You’ll have to run through the streets to where the van will be marked. Unfortunately this puts you in the line of sight against snipers who are outside the SCB Bank. You can avoid them by taking the alleyway across the parking lot.
You’ll need to lower the bollards so that the van can approach. There are power boxes placed nearby which you have to turn off. Once they’re turned off, the van should arrive soon. Once the van arrives, stash the money in the back and then go back to the bank via the alley to get anything you’ve left behind.
Leaving your money on the ground could be dangerous unless you have a dedicated player to guard them. Police will attempt to retake the money which is why it’s safer to wait for the van to arrive instead of just stashing them on the streets.
When you’ve looted everything, go to the designated area of the van to escape. Wait for the 3 second countdown to be over. Every player must be in the designated area on the van for the countdown to start. After that, you’re done with No Rest for the Wicked heist.
How to Complete No Rest for the Wicked in Overkill Difficulty
The best way to complete No Rest for the Wicked in Overkill difficulty is via the stealth route. You must have a Hacker in your team and someone who invested skills in Infiltrator to make Overkill go smoothly.
Overkill is the hardest difficulty in Payday 3. Cameras are indestructible and there’s a lead guard where you have to answer his pager every 30 seconds if you kill him. Considering that you have answer his pager every time, it’s inevitable that the alarm will go off. By any means necessary, avoid this guard at all cost.
Since cameras are indestructible, a hacker will be immensely useful here. Investing skills in the hacker class allows you to loop cameras for 20 seconds. This allows your Infiltrator to sneak past and do their objectives without being troubled by it.
It goes without saying that you will need other players to complete the Overkill difficulty for No Rest for the Wicked. Teamplay is crucial, as I emphasized in my review of Payday 3, and it is very impossible to run this difficulty by yourself. You’ll also have to grind for quite a bit until you have all the skills necessary, like Hacker and Infiltrator, to tackle Overkill.


