The Ascension update in Phasmophobia has added some new gimmicks to the Sound Sensor, one of the more advanced equipment that you’ll be using in Phasmophobia. Ghosts who haunt an area will produce noise, and experienced ghost hunters can use that to pinpoint its location. In this guide, I’ll be teaching you how the sound sensor works in Phasmophobia.
Table of Contents
What Does the Sound Sensor Do in Phasmophobia?
The Sound Sensor detects sound in a certain area of the map. Once you place it anywhere inside the investigation area, it will display a loud noise in the Sound Sensor Monitor at the back of the truck. It will show you how loud the sounds are.
How to Get the Sound Sensor in Phasmophobia
You’ll unlock the Sound Sensor once you reach Level 11 when you can add it to your Loadout. You can buy more of it at the Equipment Store in the lobby before starting a contract.
How Much Do Sound Sensors Cost in Phasmophobia?
Sound Sensors cost $80 per purchase and will always remain the same no matter what tier you’re buying.
Phasmophobia Sound Sensor Tiers
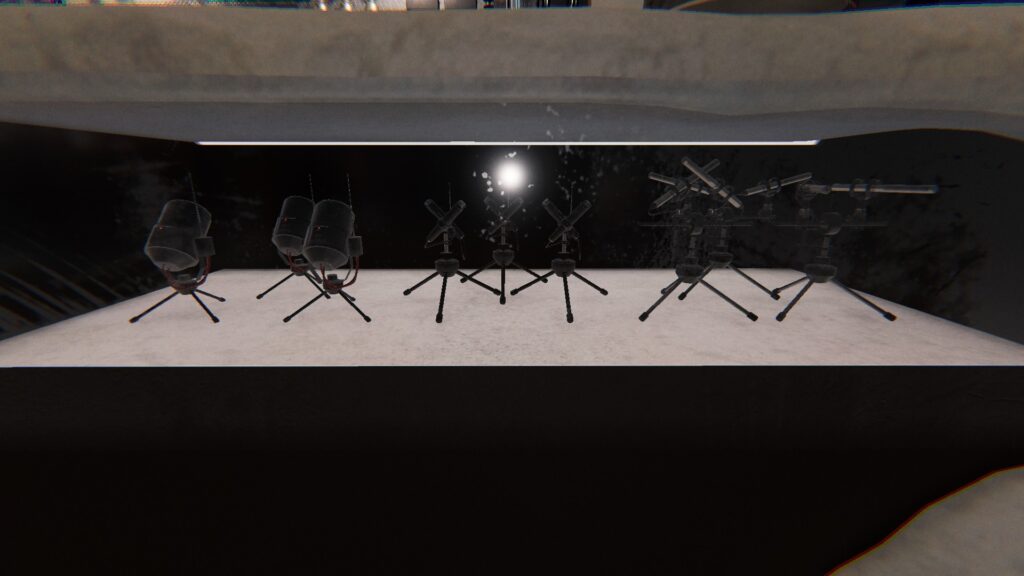
- Tier I — Can switch between 5 and 10 meter ranges.
- Tier II — Can switch between 5, 10, and 15 meter ranges.
- Tier III — Can switch between 5, 10, and 15 meter ranges. Can also change sensor shapes to circle, cones, and sides.
The biggest difference between the tiers is how far its ranges are. While Tier III does share the same range as Tier II, it can also change its sensor shapes to circles, cones, and sides for a more accurate reading.
How to Upgrade Sound Sensors in Phasmophobia
You’ll unlock the ability to upgrade your Sound Sensors once you reach higher levels in Phasmophobia. You can purchase these upgrades from the Equipment Store.
- Tier II Upgrade — Unlocks at Level 32 and costs $3,000
- Tier III Upgrade — Unlocks at Level 58 and costs $1,500
After upgrading the Sound Sensors, you can select what tier to bring with you by going to the Equipment Store, your Loadout, and clicking on the Sound Sensor option. You’ll be able to choose what to bring from the tiers you’ve unlocked.
Once you reach Level 100, you’ll unlock the option to Prestige your character. This resets your tier upgrades back to tier I.
How to Use the Sound Sensor in Phasmophobia
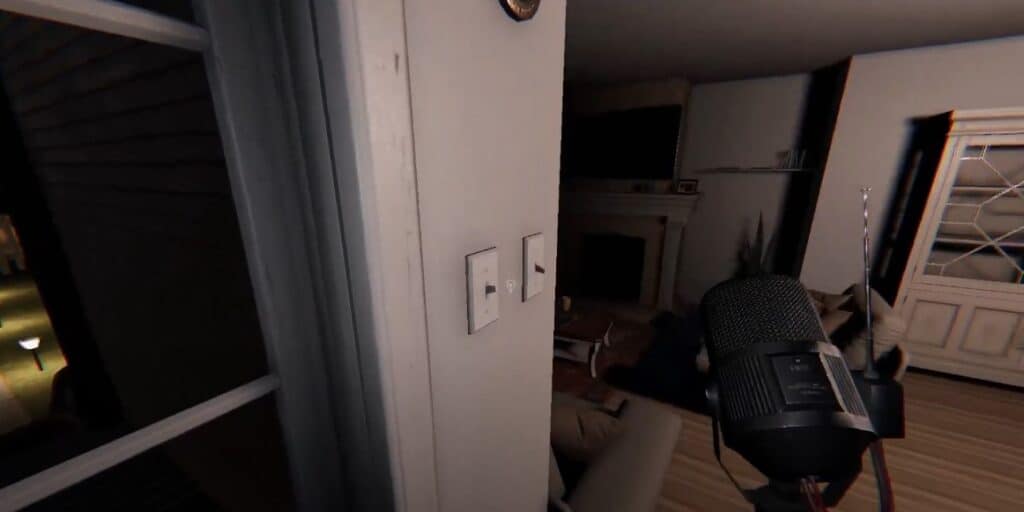
While holding the Sound Sensor in your hand, place it down on any surface by holding the F key on your keyboard and then releasing it. Then head back into your truck and look at the Sound Sensor monitor to see if the surrounding area makes any noise.
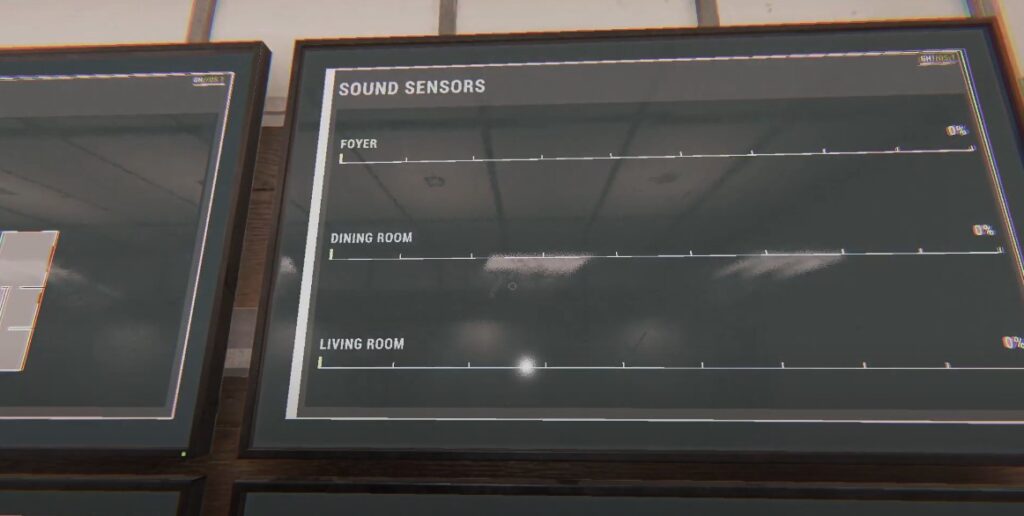
The Sound Sensor monitor is to the right side of the monitor that shows you the map. The map will show you where you placed the Sensor Monitor as well as its range in an orange circle. You can bring a maximum of four Sound Sensors per contract.
Each Sound Sensor will be displayed on the monitor alongside the name of the area they’re on. There will be a bar that shows how loud the sound is in its area. You can adjust the range of the Sound Sensors by clicking on the enlargement icon that’s on the Sound Sensor monitor in the truck.
The Sound Sensor doesn’t just detect ghost noise either as ambient sounds and noise made by other players will also show up on the Sound Monitor. There is a way to separate the noise from each other. Whenever a ghost makes a noise, you’ll be able to tell since the bottom of the Sound Sensor monitor will show a spike in ghost activity.
There’s a unique function in Tier III Sound Sensors in that you can change their sensor shape from the typical circle to either a cone or sides. This will make it so that the area of the sounds it picks up is more specific.
You can change its censor shape by right clicking while the Tier III Sound Sensor is in your hand or aiming at it and left clicking if you’ve already set it down. You can’t change this setting from the truck.


![Phasmophobia All Cursed Items Locations Guide [UPDATED] Featured Image Phasmophobia Cursed Possessions Spawn Locations](https://sirusgaming.com/wp-content/uploads/2022/01/Featured-Image-Phasmophobia-Cursed-Possessions-Spawn-Locations-1024x576.jpg)

