
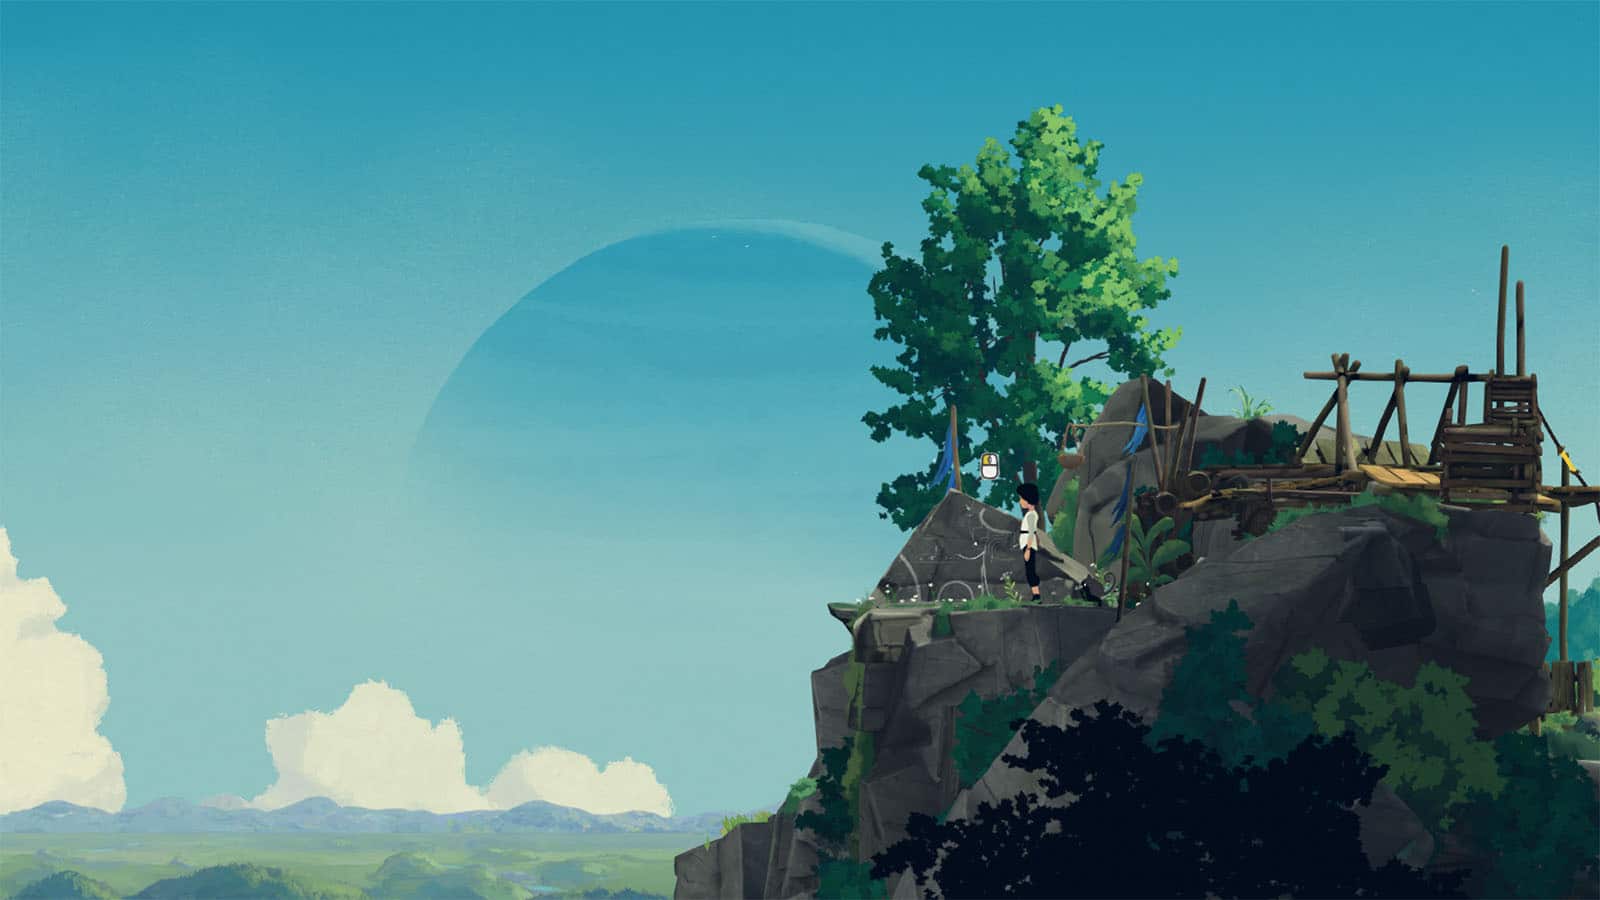
A New Friend is the third chapter in Planet of Lana. In this chapter, Lana and her new companion, Mui, make their way further into the forest, where they see more of the effects of the invasion. Read ahead as we go through Chapter 3: A New Friend of Planet of Lana and share some tips on how to traverse the puzzle areas, plus reveal how to get the achievements in the chapter.
See previous: Planet of Lana: Chapter 2 Alone Guide
Planet of Lana Chapter 3: A New Friend Walkthrough
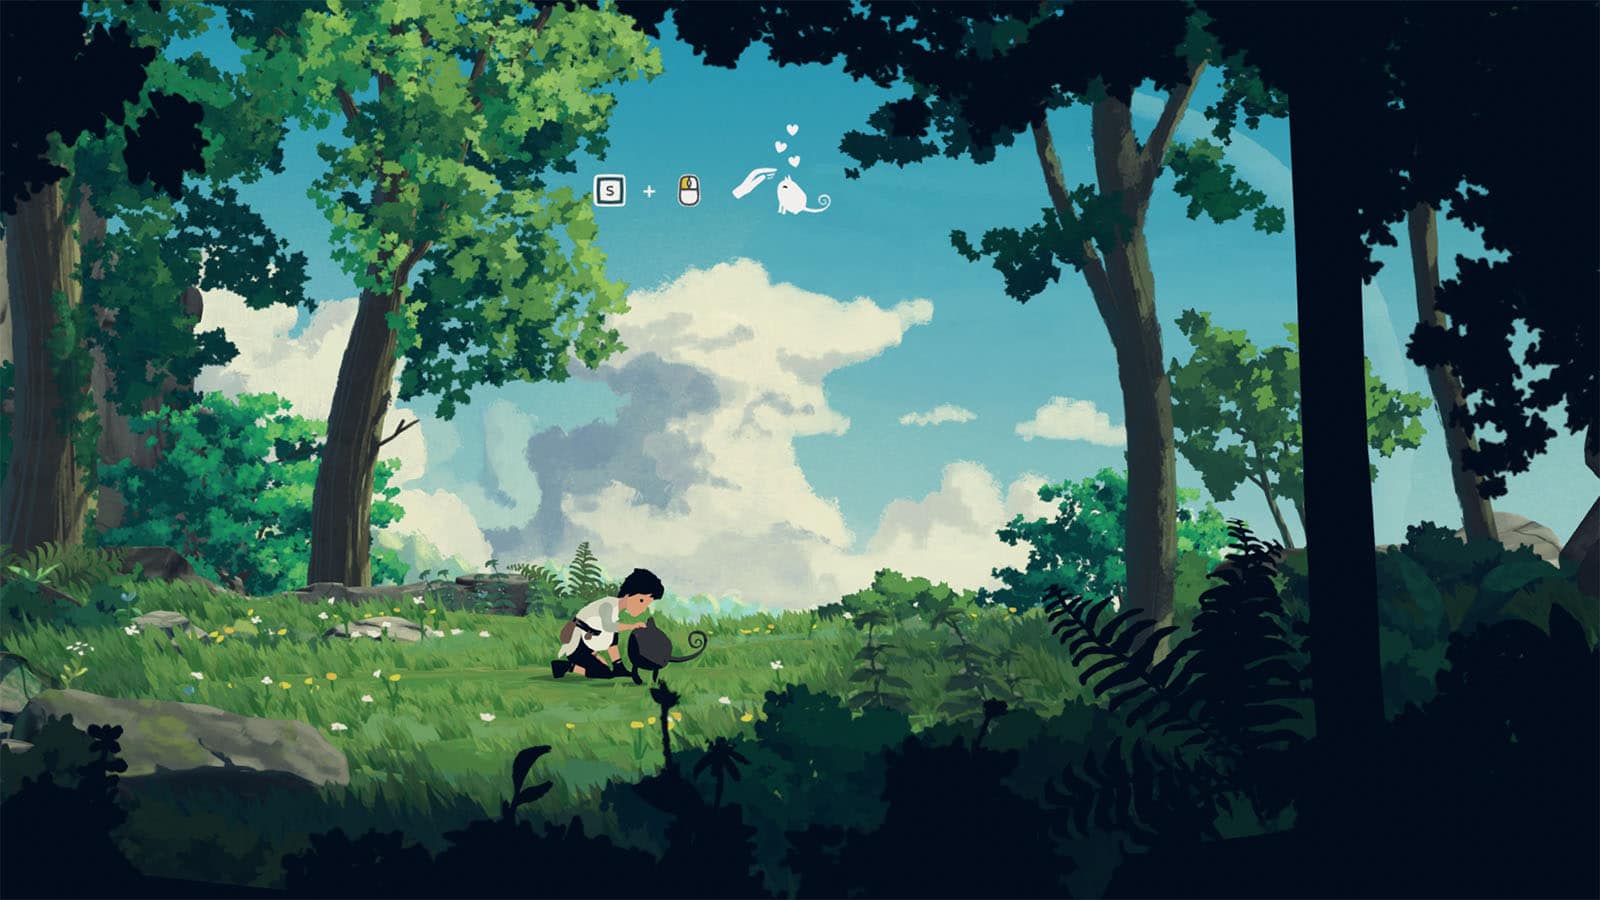
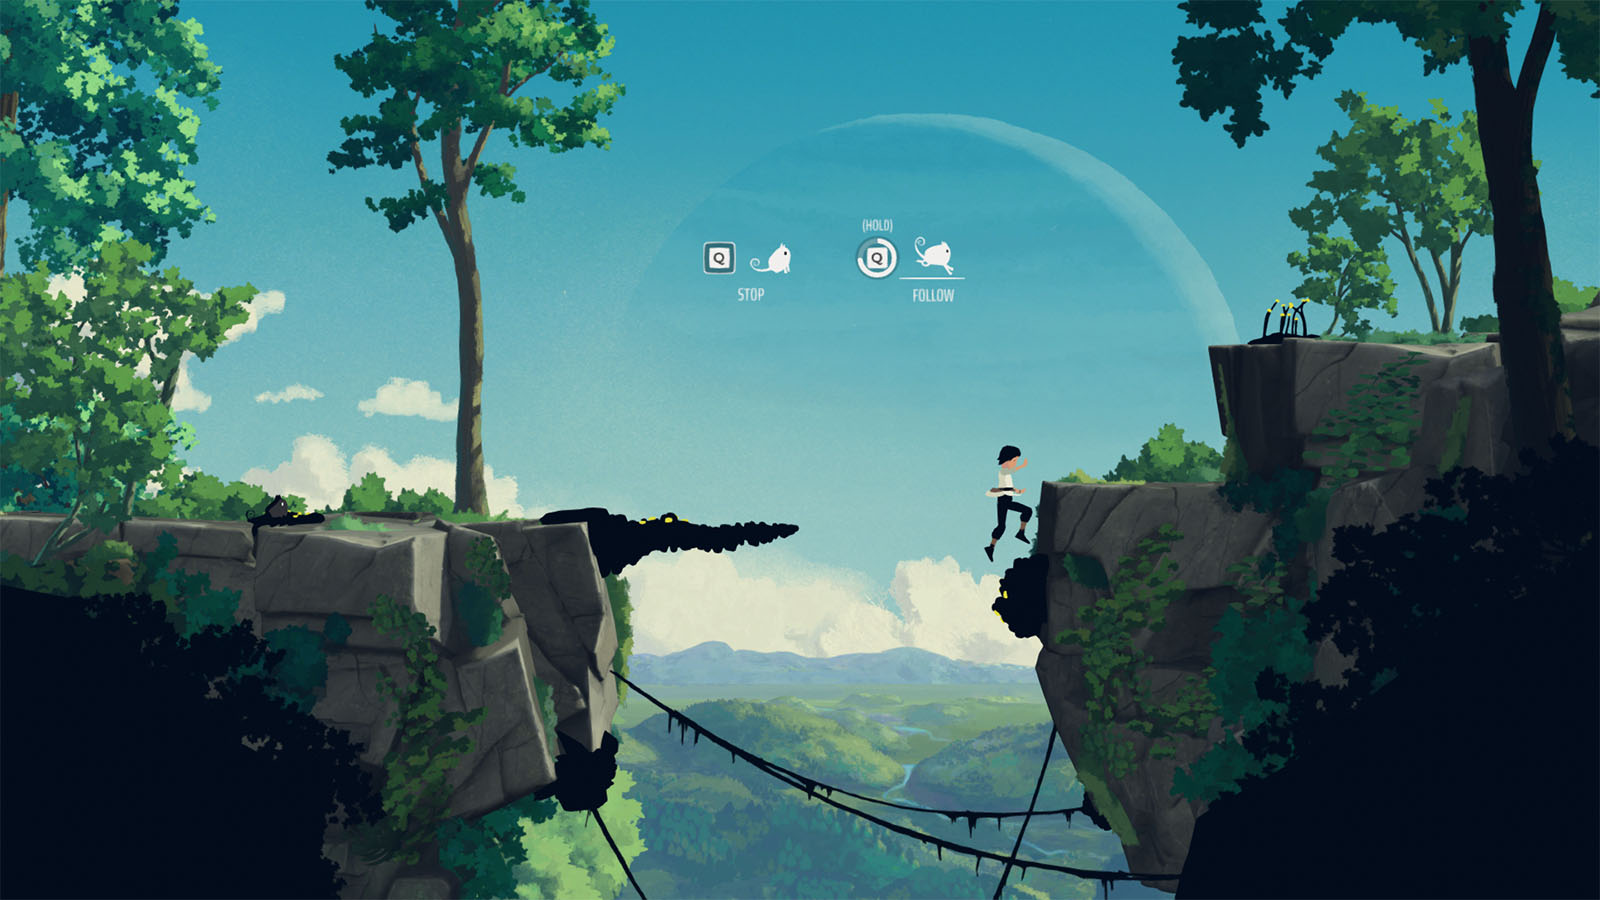
As Lana regains consciousness, she finds that the creature she saved has stayed by her side. She decided to befriend the creature and call it Mui. You can then pet Mui and have it do several things, like stay put, call it to follow you, or move to a specific location. Mui also has some great mobility, as it can jump higher and farther away. As you pet Mui, you will get the It Purrs! Achievement, followed by the A New Friend Achievement.
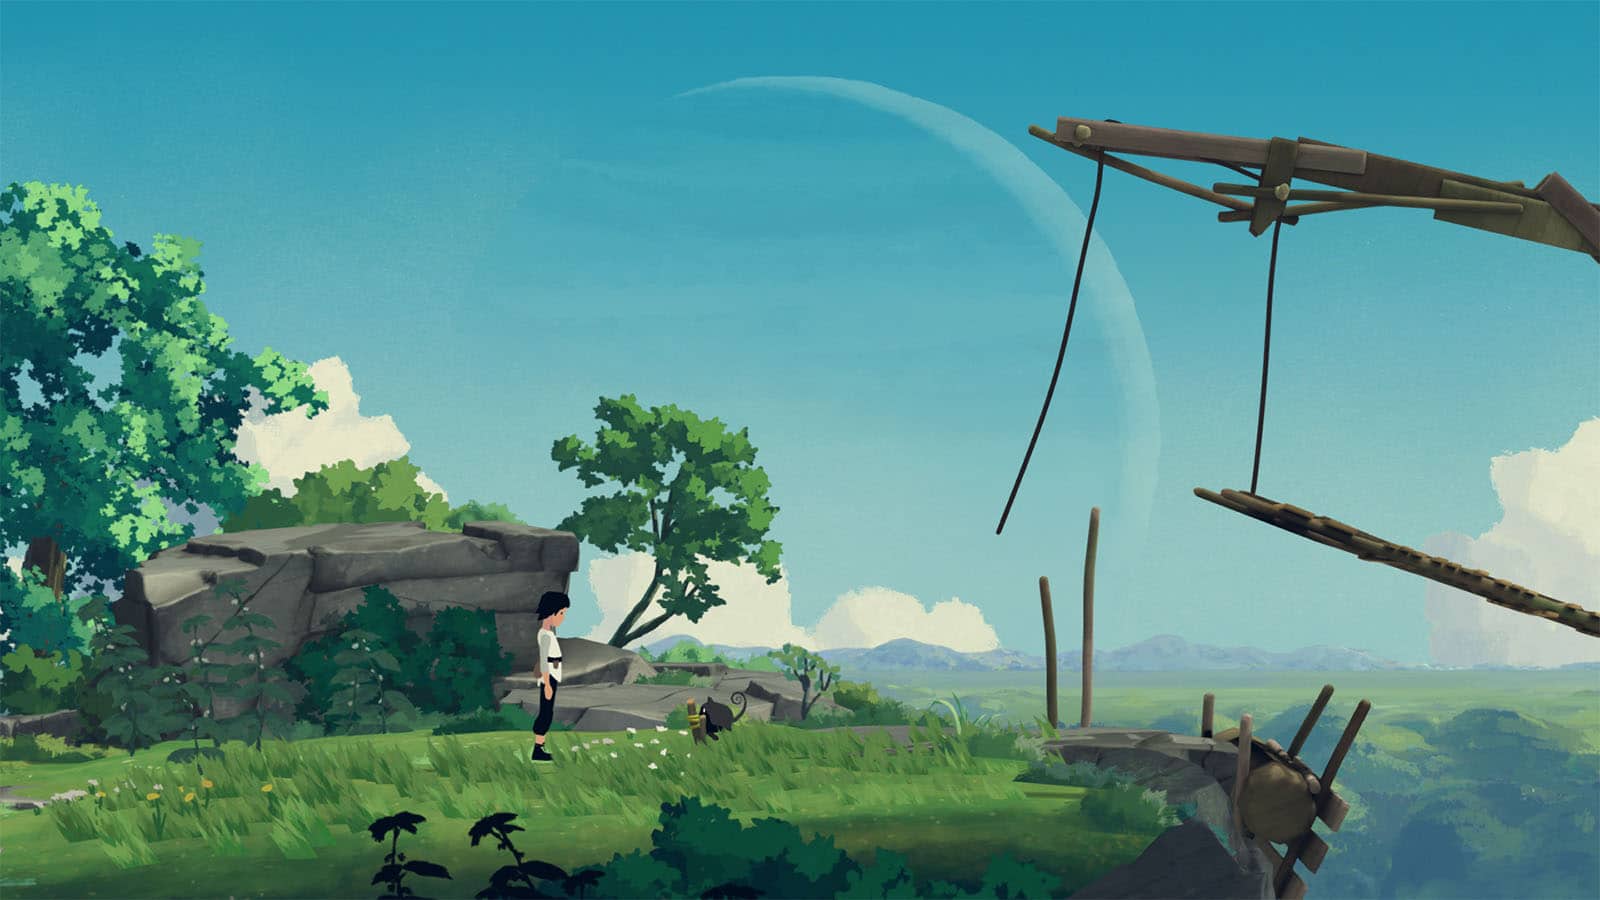
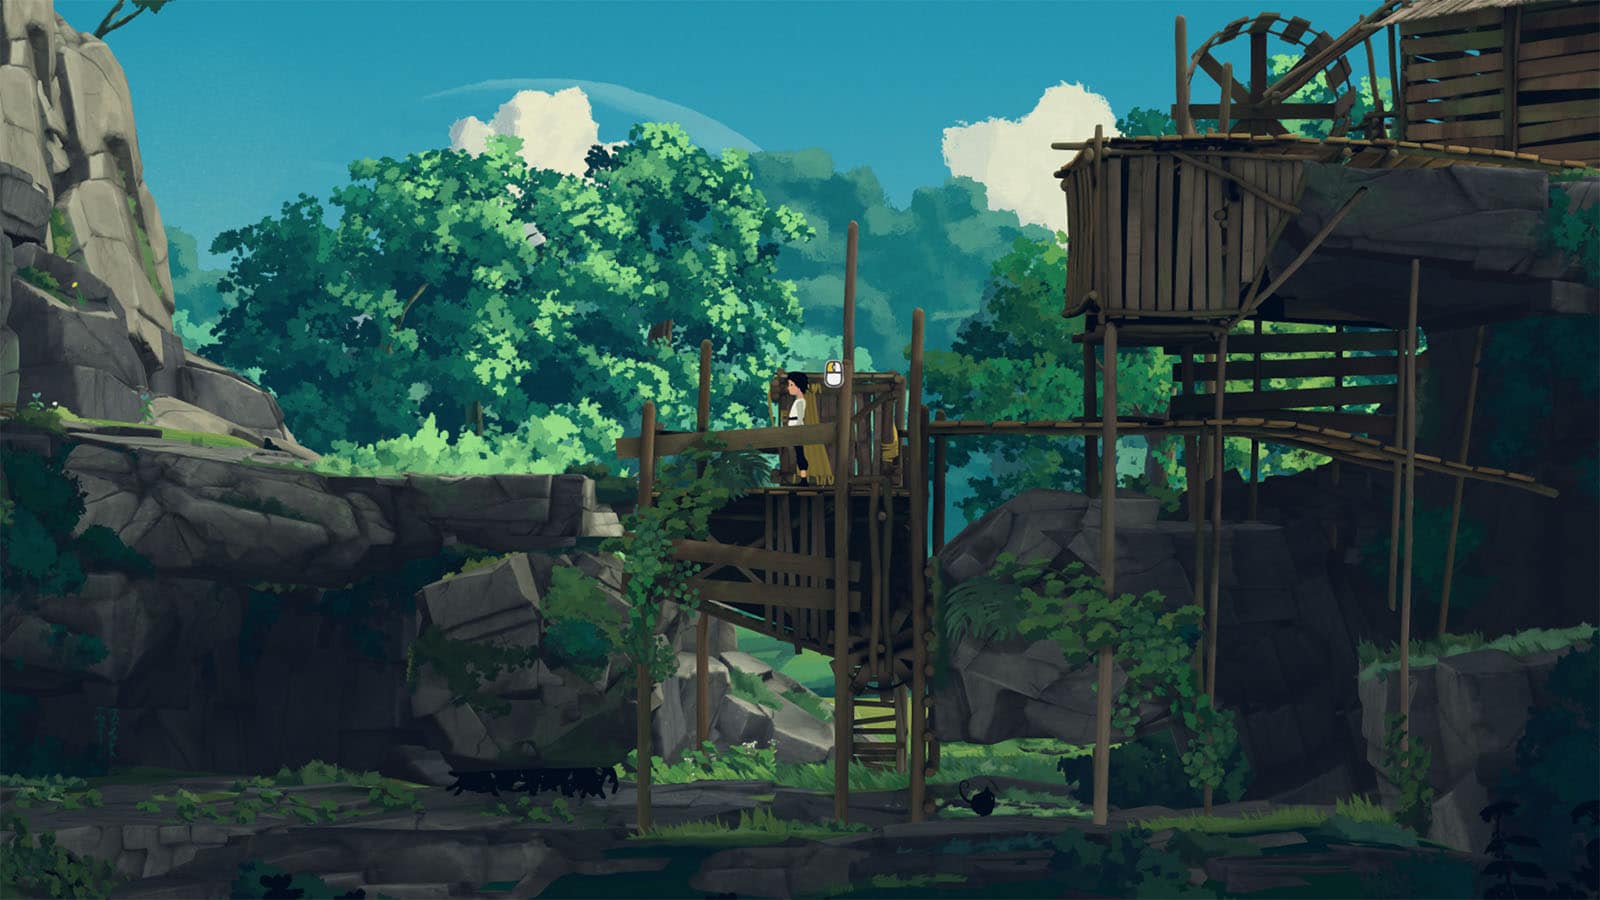
Continue moving eastward, and you will encounter living platforms on ledges. You can have Mui stay on the tendrils to keep the platform up, then you can jump to the other side.
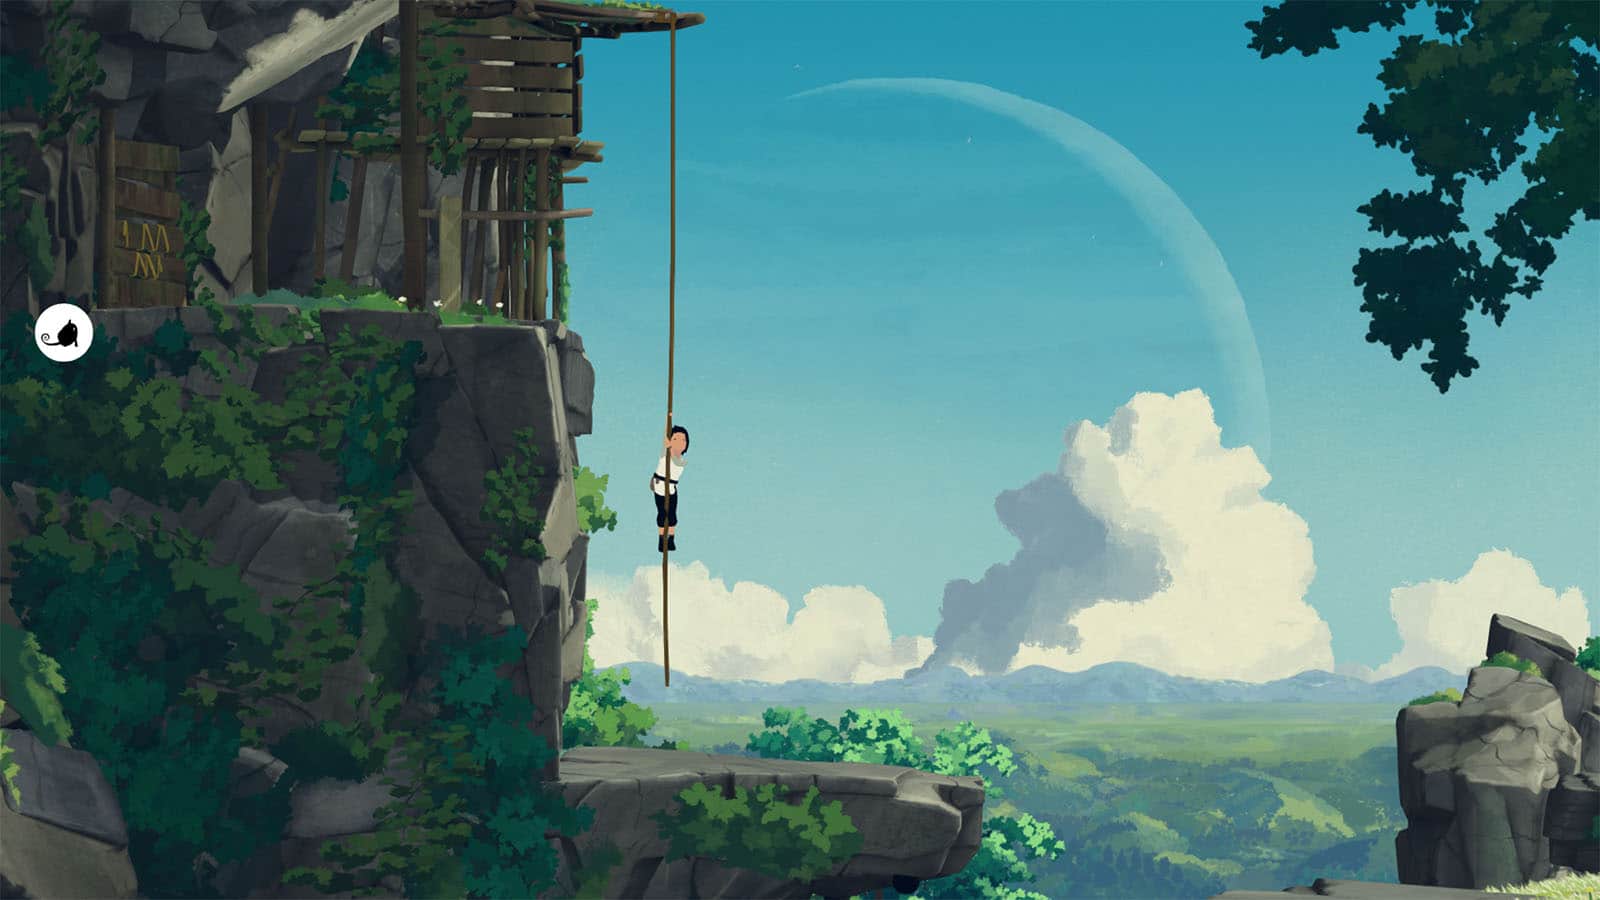
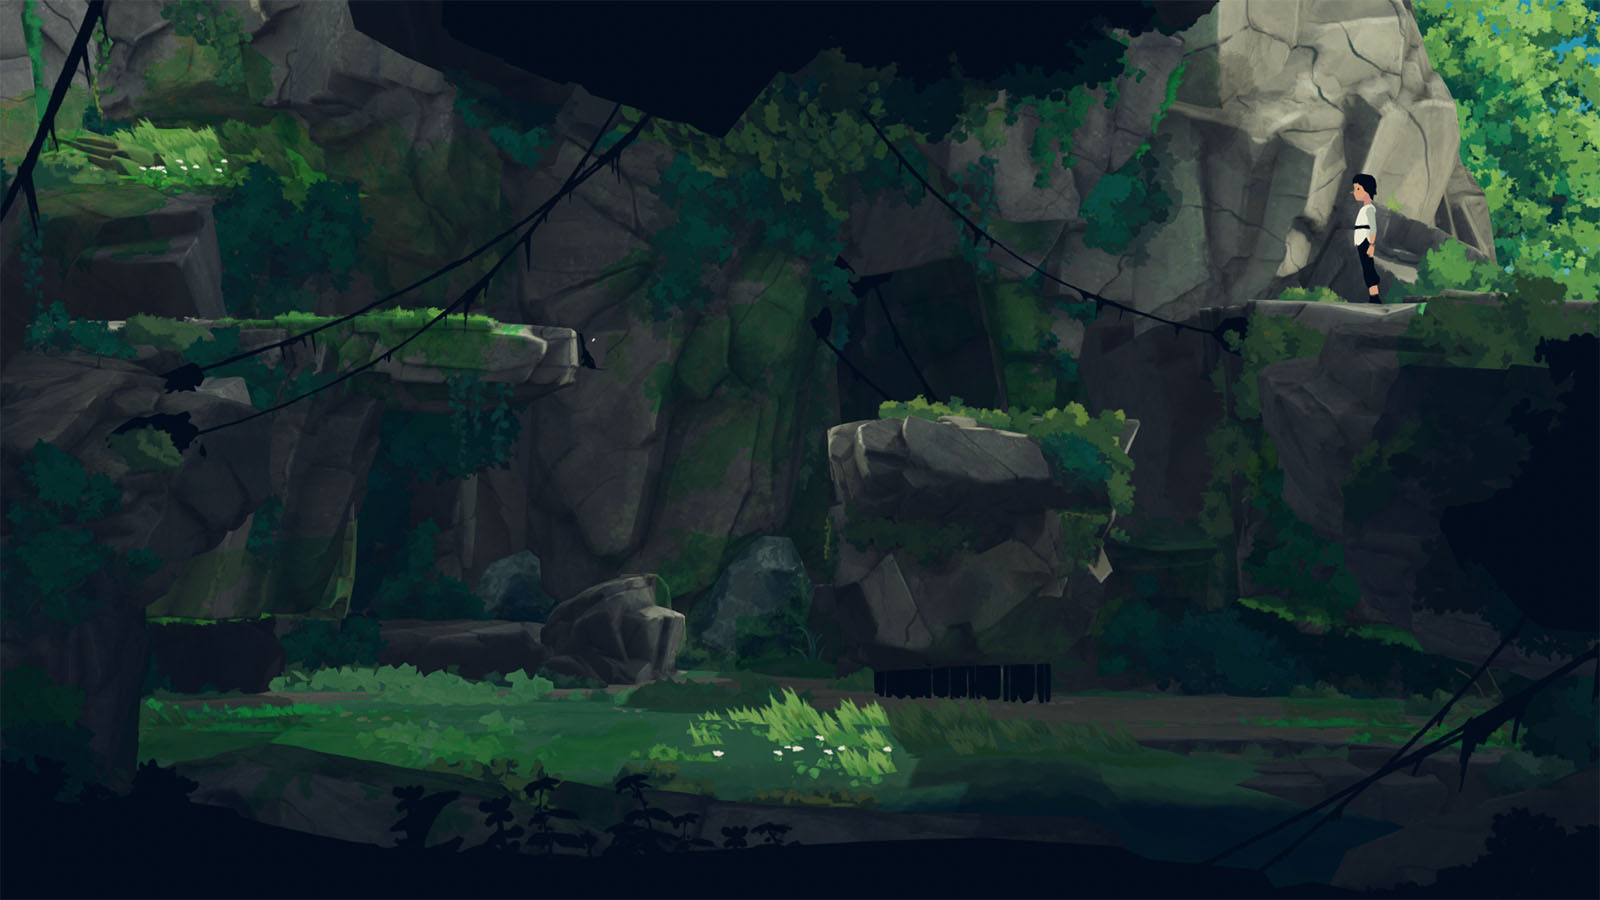
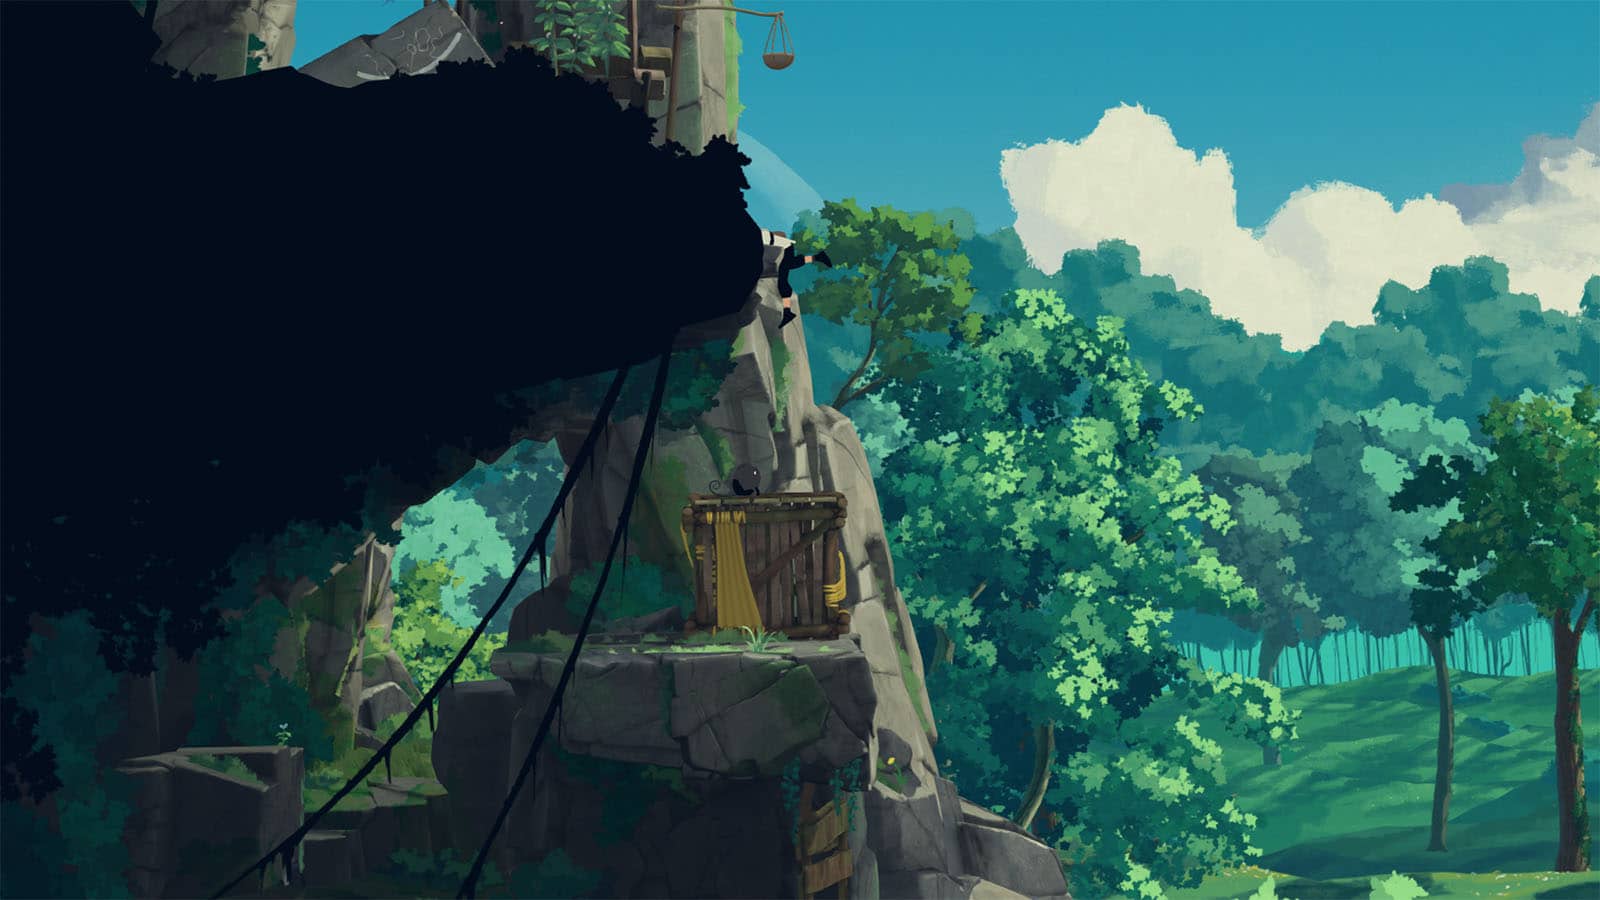
On the next ledge, have Mui stand on the tendrils as you make your way safely down to the bottom. Mui won’t be able to jump down safely, so head to the right and climb up the rope to reach the boarded area. Take out the planks, then call Mui to follow you.
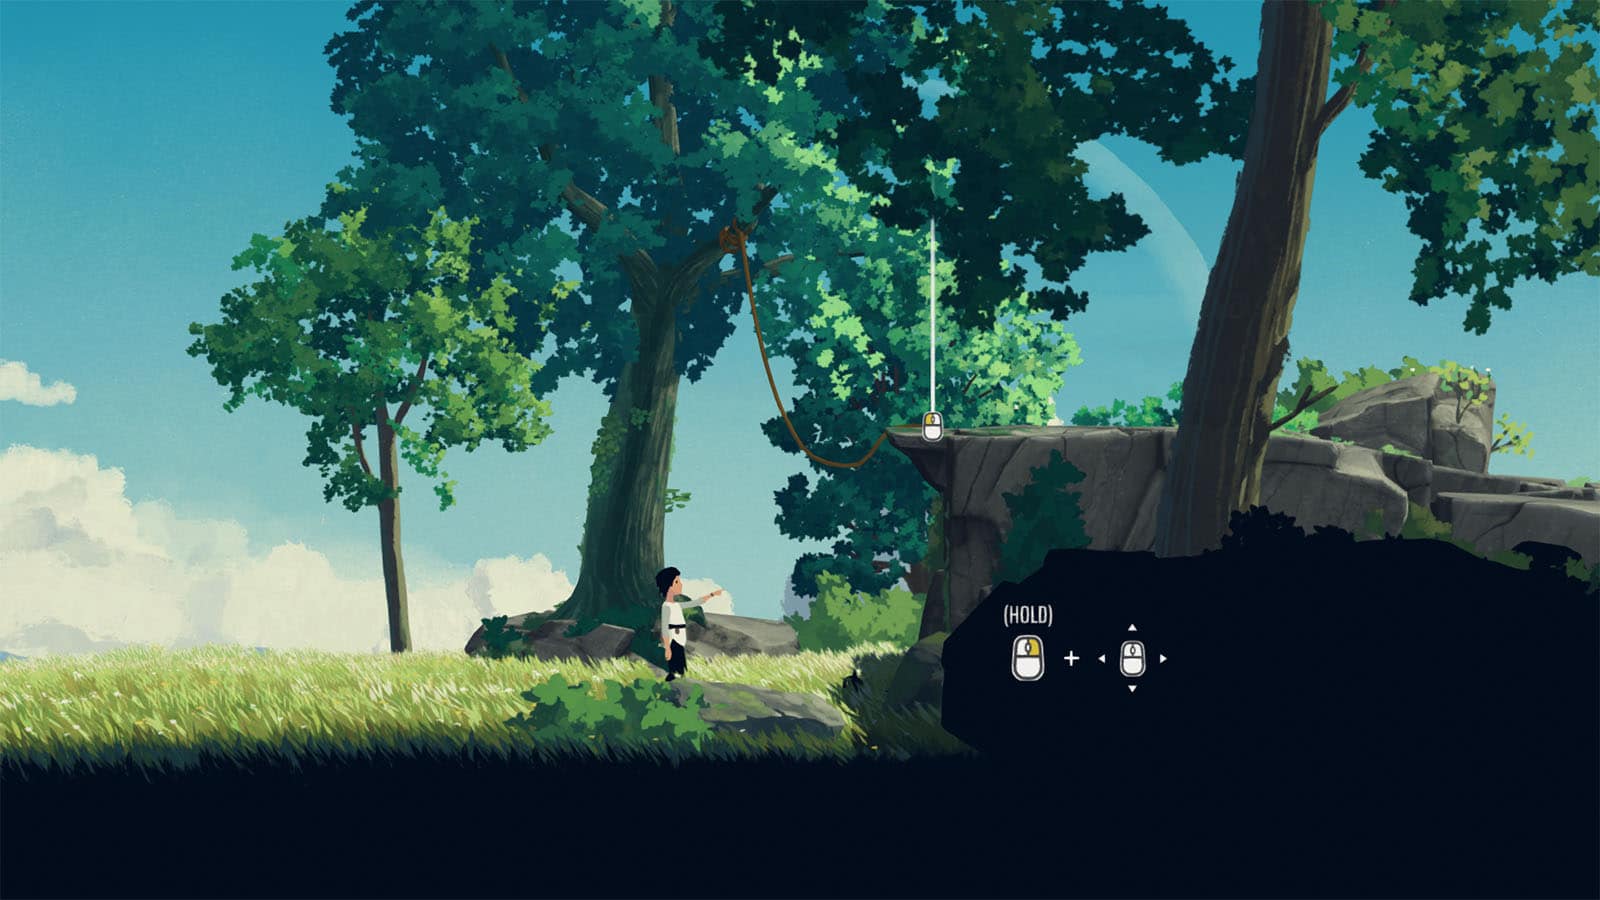
Once you reach a ledge, you will learn how to tell Mui to go to a location and perform an action. Have Mui go up the ledge, then tell it to drop the rope down so that you can use it.
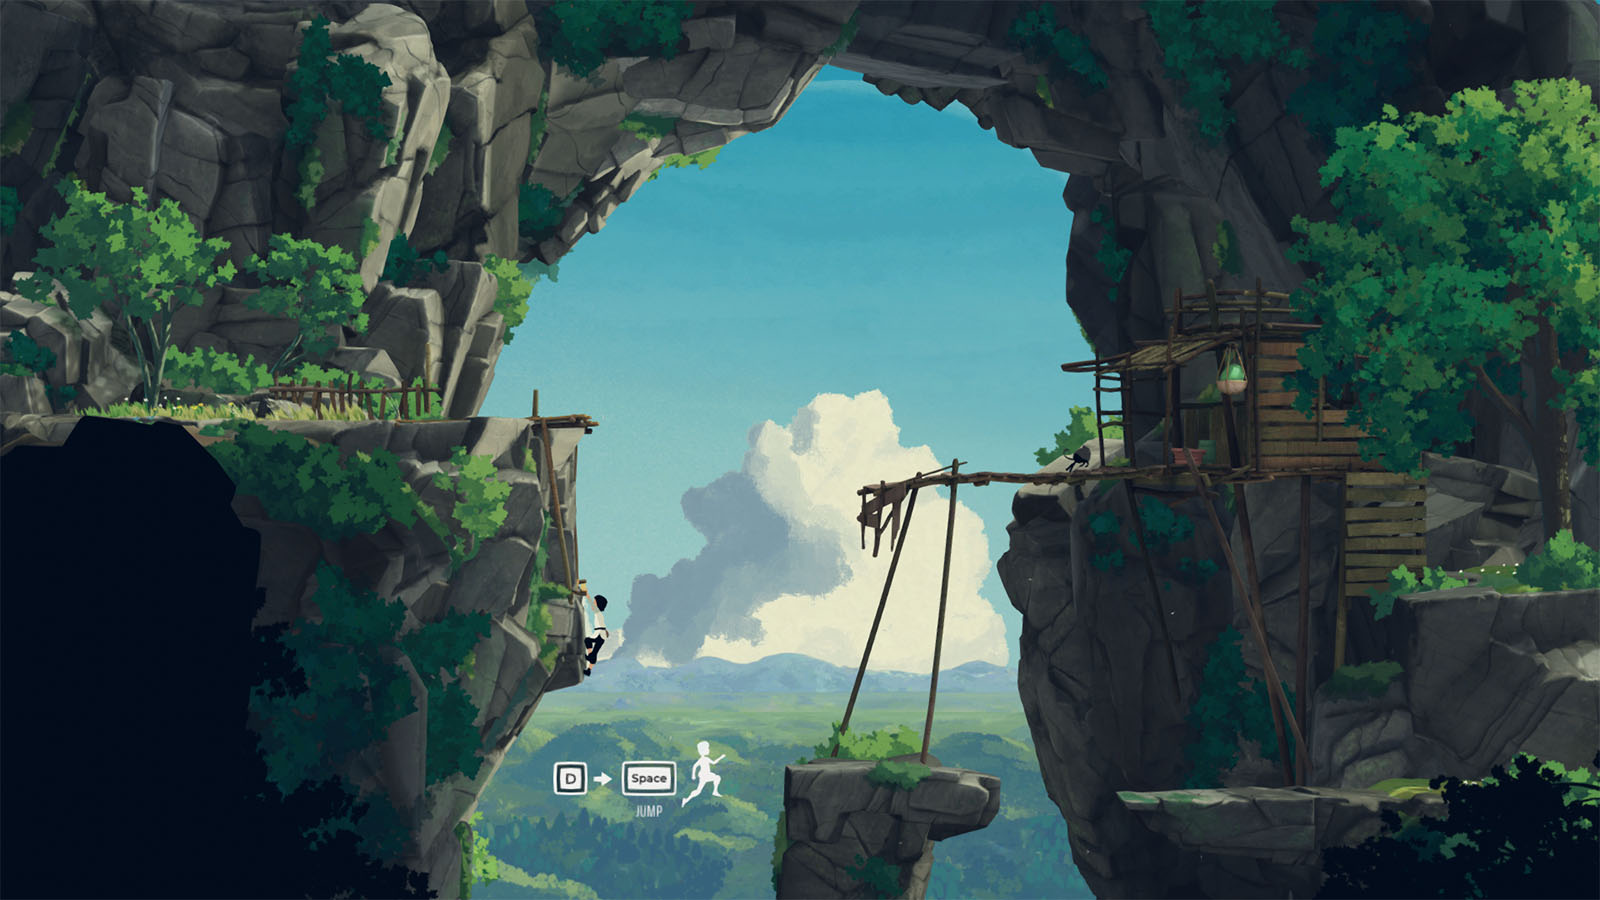
You will then reach a gap that is too far and too high for you to jump. Safely climb down the ledge first, then jump off the wall to the next platform.
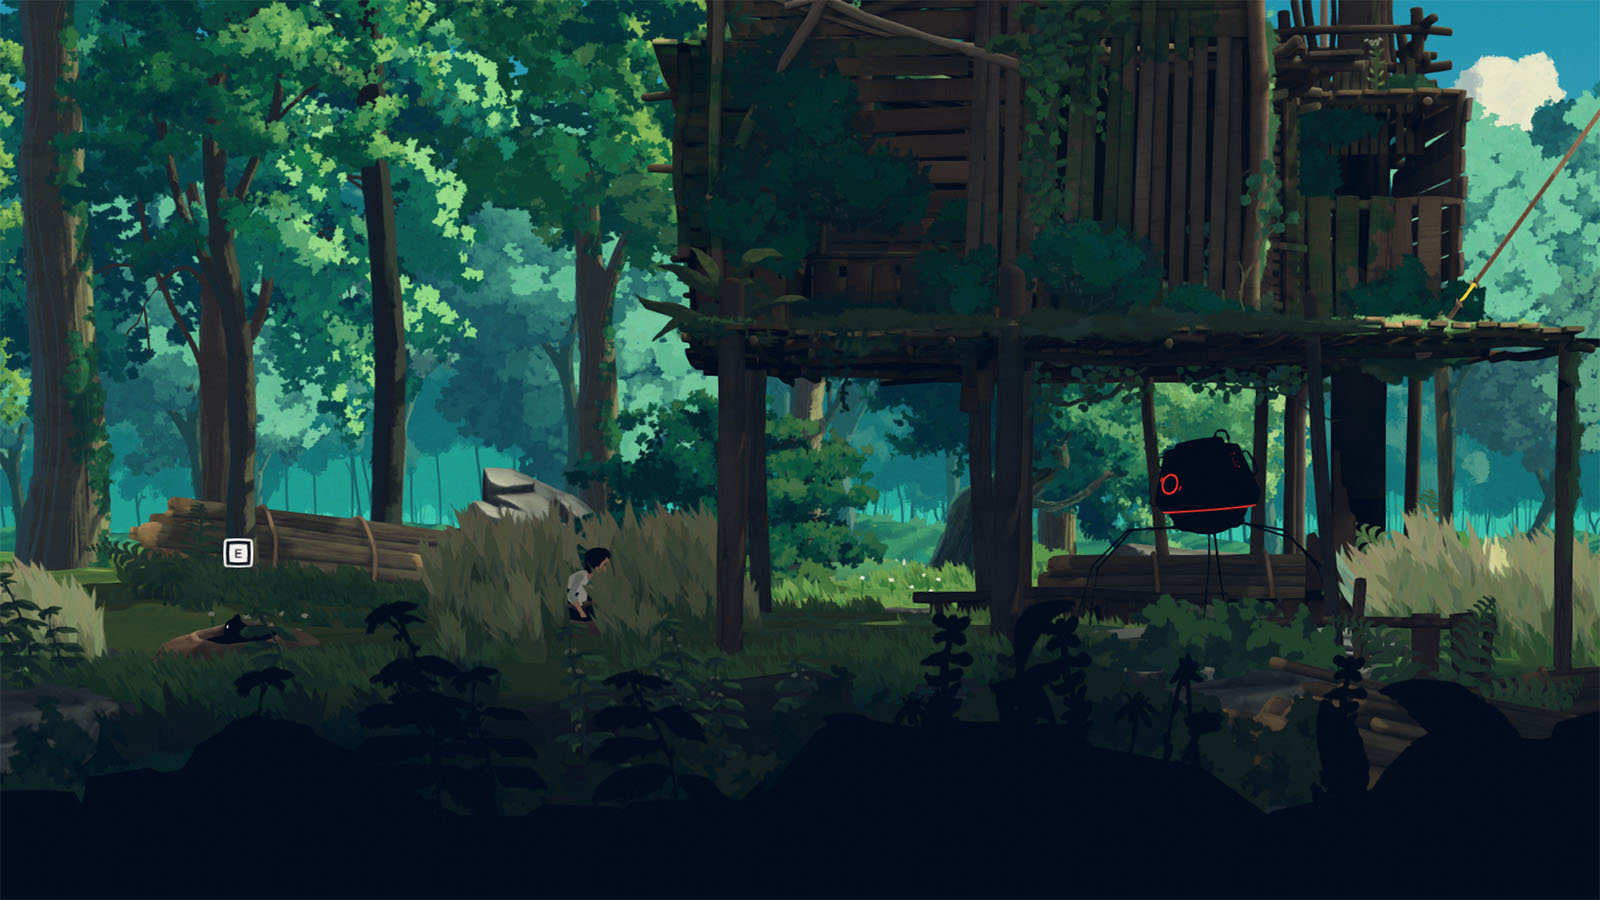
In the next area, you will see a moving boulder. It will follow Mui wherever it goes, but don’t let it get too close, as Mui will get eaten by it. After crawling to the other side, have Mui move to the small gap on the right side where it can lure the boulder safely. Then, head back to the left side and jump on top of the boulder and on to the next ledge. Afterwards, call Mui back to you.
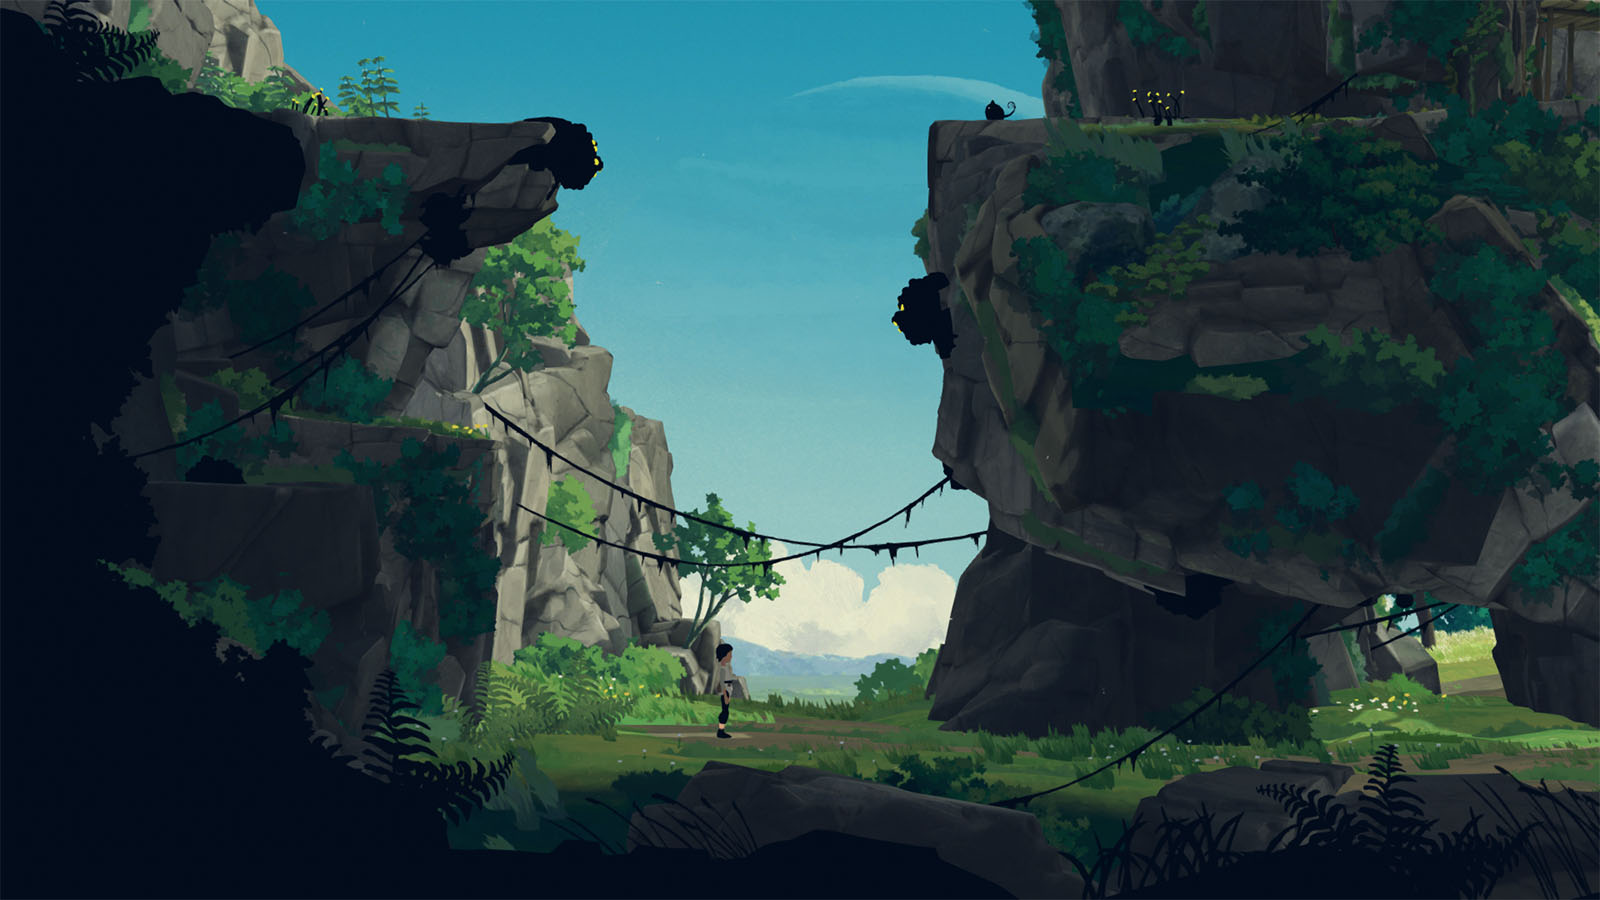
You will then find a drawbridge drawn up. Have Mui go to the highlighted rope and tell it to cut the rope to drop the bridge.
After doing some more platform traversal, you will get to a section where there are two holes. Have Mui go to the hole and go through it to get out of the other hole. This will then make the living platform move, allowing you to jump across the gap and get to the other tendrils. Make sure to call Mui again to follow you.
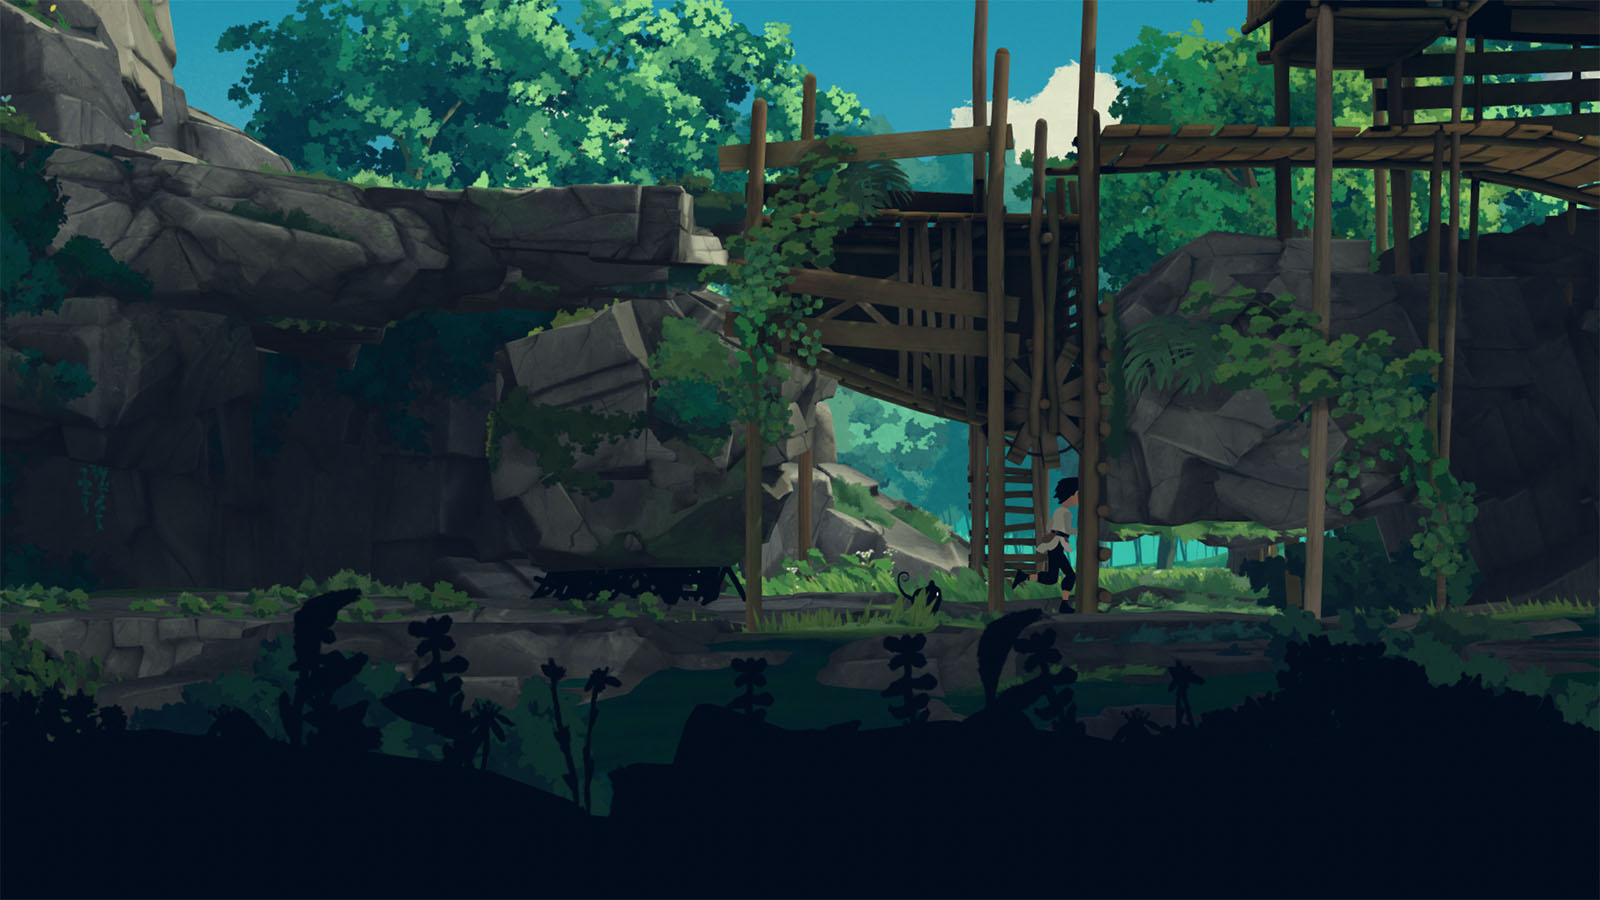
In the next area, you will find a trap connected to a faulty terminal with an exposed cable. Before working with it, head to the left side first, where you will see a cart.
Climb up the cart first and go to the left side to find the Secret Shrine #2 and get the Finding Secret Shrine 2/10 Achievement.
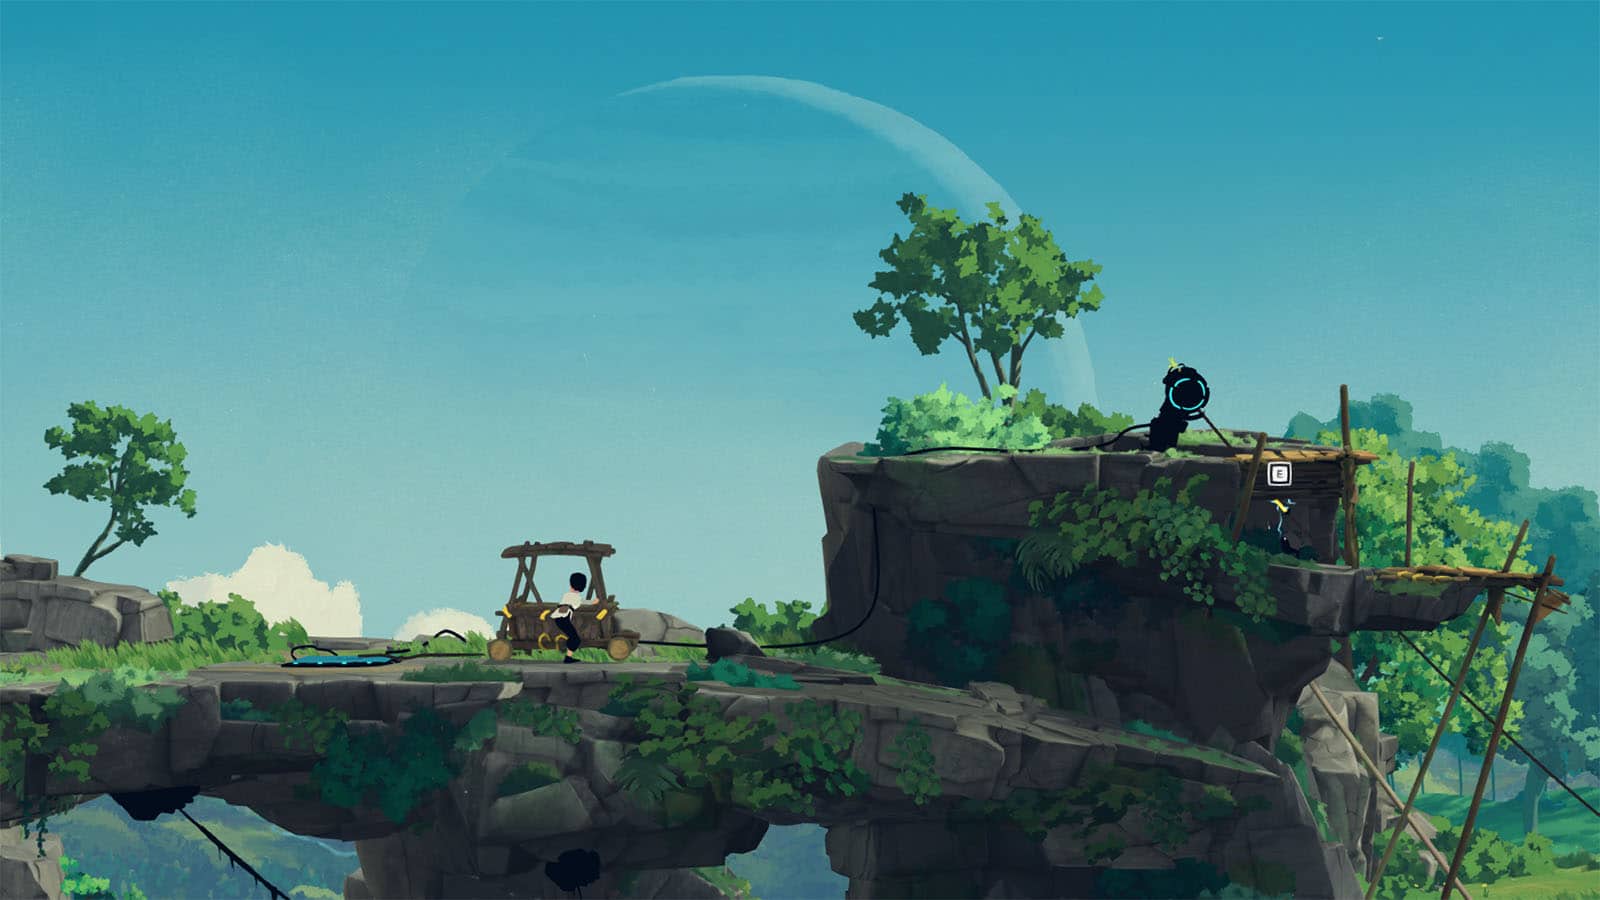
Afterwards, move the cart to the right and use it to climb to where the terminal is. Then, have Mui stand near the faulty cable without cutting it yet.
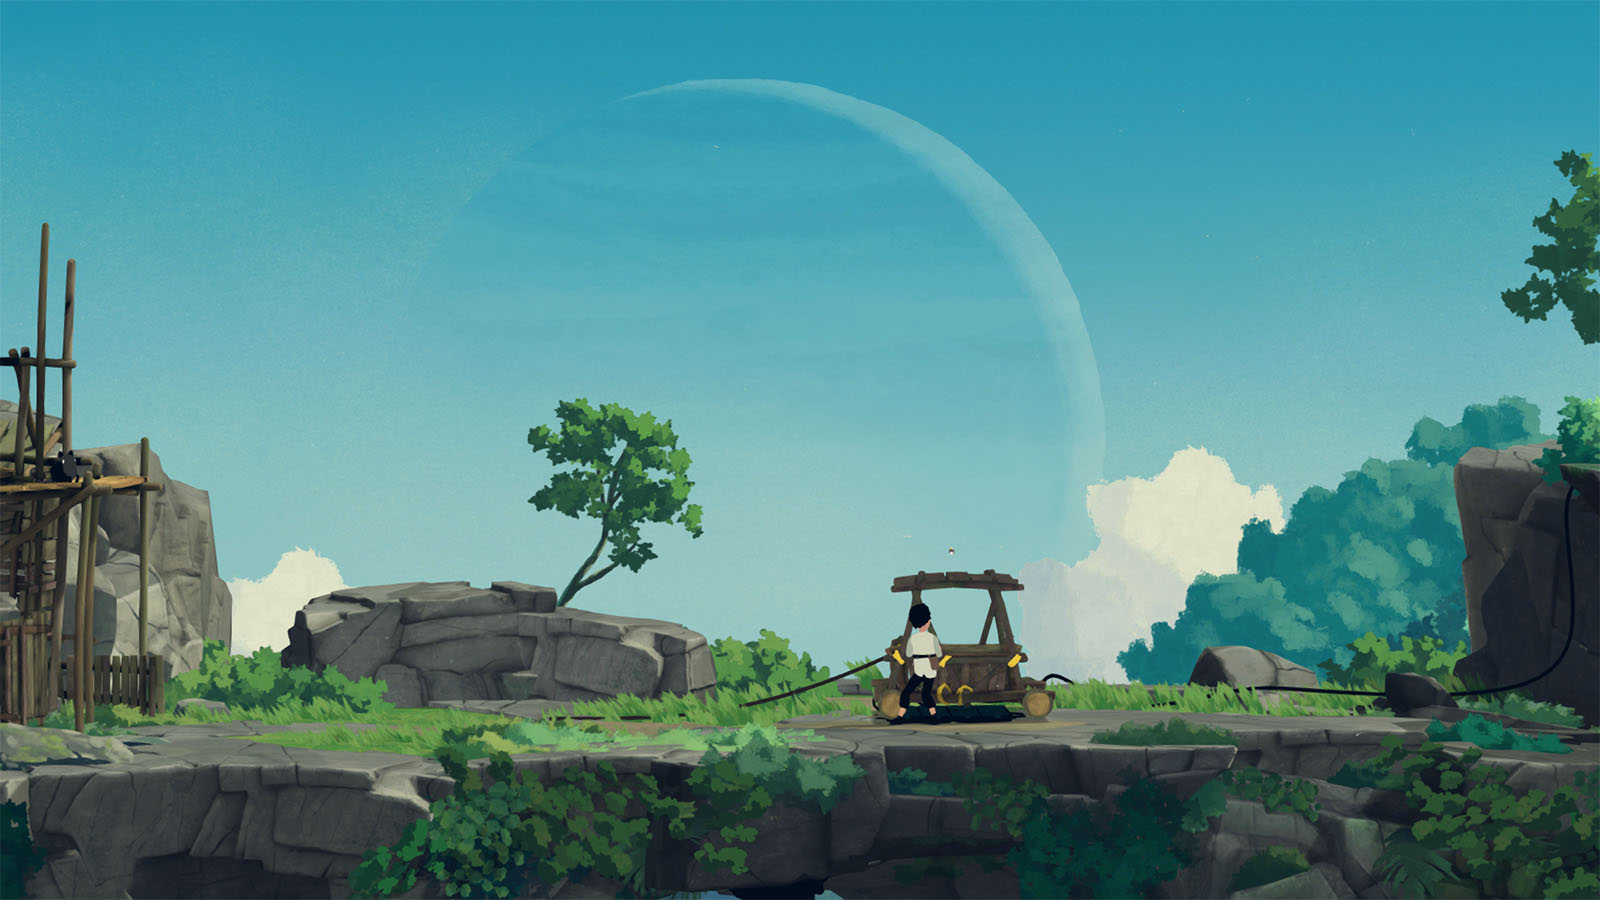
Go back down to the cart and move it on top of the solar panel to cut the power that is going through the cables. Only then can you tell Mui to cut the cable. Go to the trap, and then move it next to the ledge for you to climb on to.
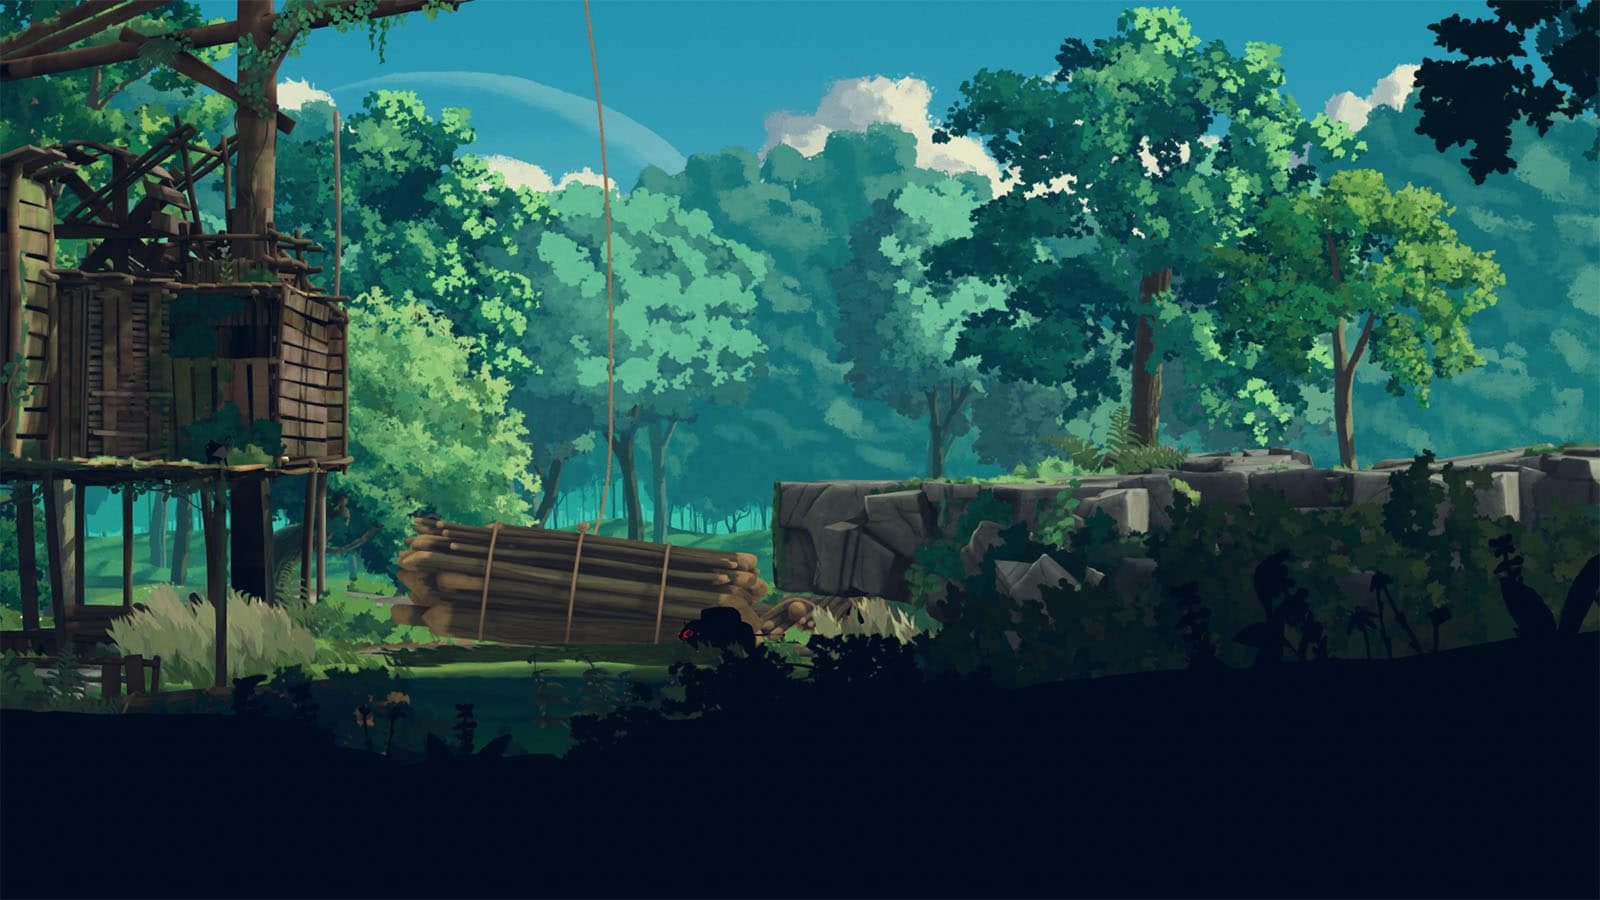
As you make your way further east, you will spot another alien machine. Move through the tall grass without being seen until you get to the other side of the rock. Continue moving to the right, where you will pass by a huge alien lander. Then, inside the cave, move the cart to the right and use it to climb the high ledge.
You will encounter another moving boulder up ahead. First, have it follow Mui to the right until it pushes the bridge on top of it. Then, climb to the upper level and move towards the left.
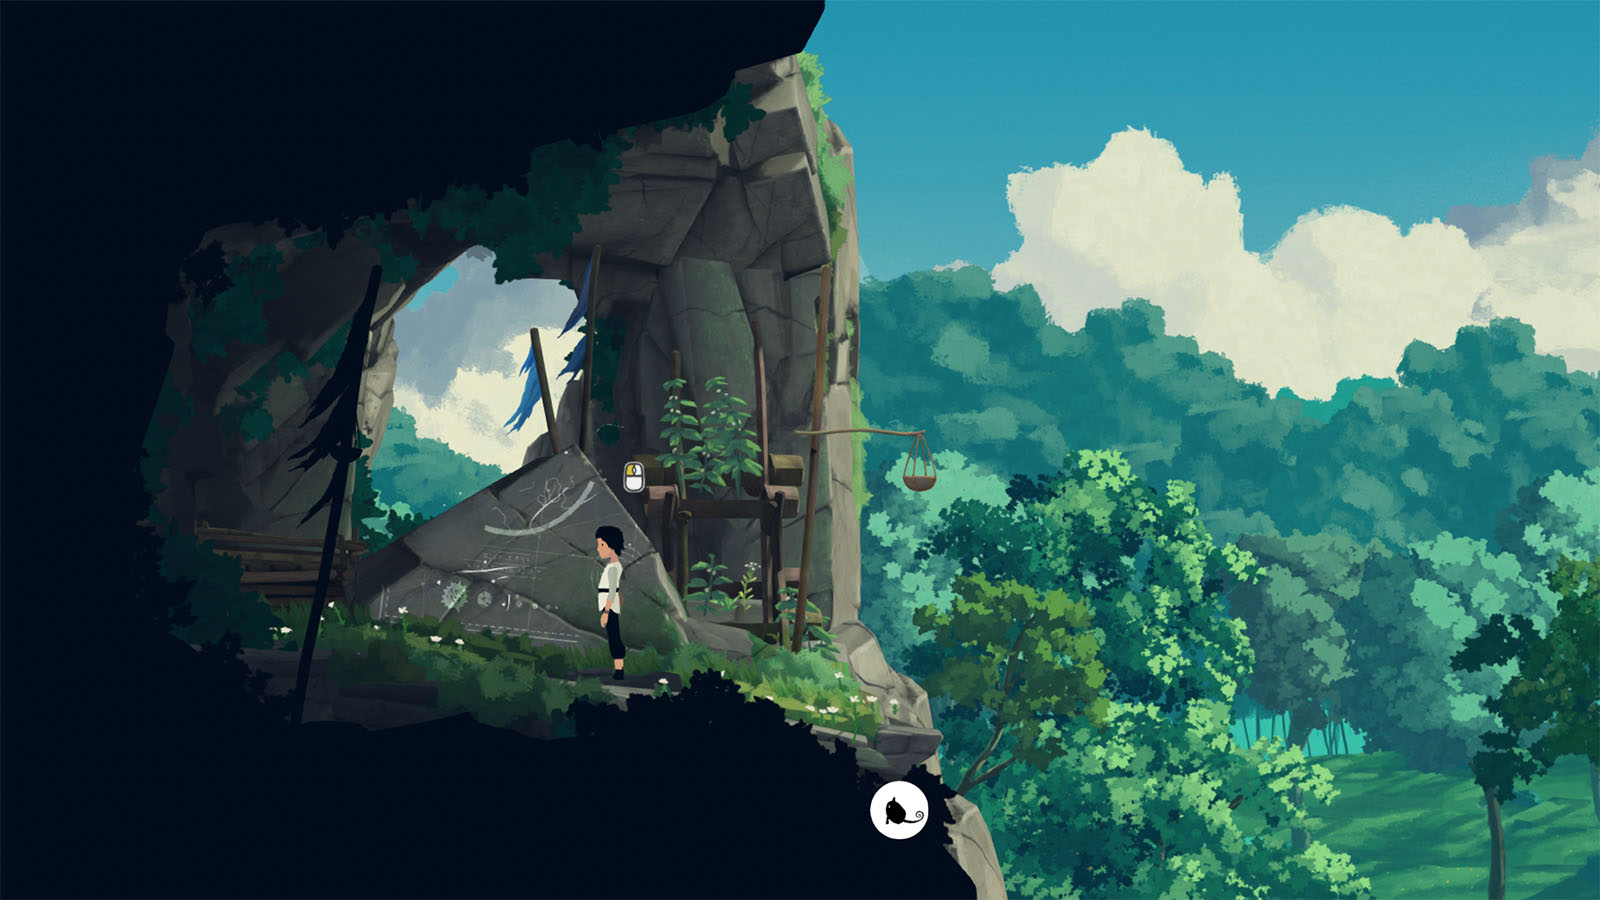
After removing the board, climb up to where the crate is, but don’t push it down yet. Climb on top of the crate, then go to the ledge above to find Secret Shrine #3 and get the Finding Secret Shrine 3/10 Achievement.
Head back down and take the crate to the level below, next to the bridge. Then go back down to the boulder and make Mui move to the other safe side to make the boulder follow it and lower the bridge back down. Go back up and push the crate to the bridge; climb up it to reach the upper platform; then call Mui back.
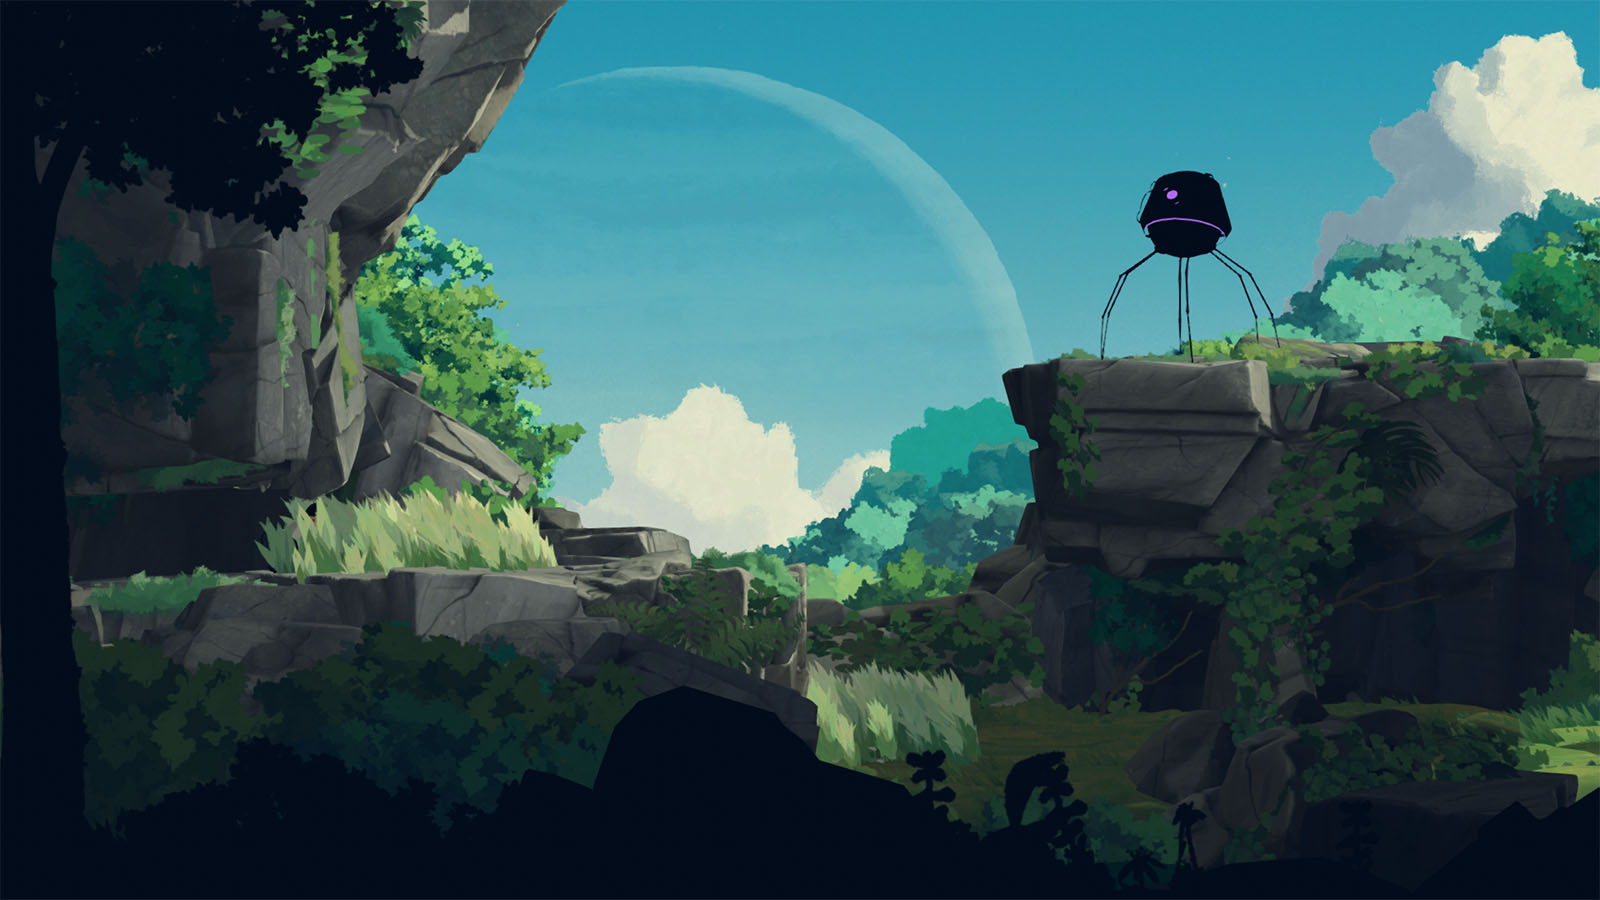
Continue moving to the east until you encounter another alien machine. To get past this machine, cross over to the other patch of grass and hide in it. Then, have Mui go down the hole to appear in the left hole to lure the machine to the left. Immediately have Mui go down the hole again, then run towards the next patch of grass while the machine is not looking. Make sure to call Mui as well while the machine is distracted.
Next, tell Mui to go up to the shack next to the rope. Run towards the next patch of grass and try to alert the machine while doing so. Once the machine is under the logs, tell Mui to cut the rope to crush the machine.
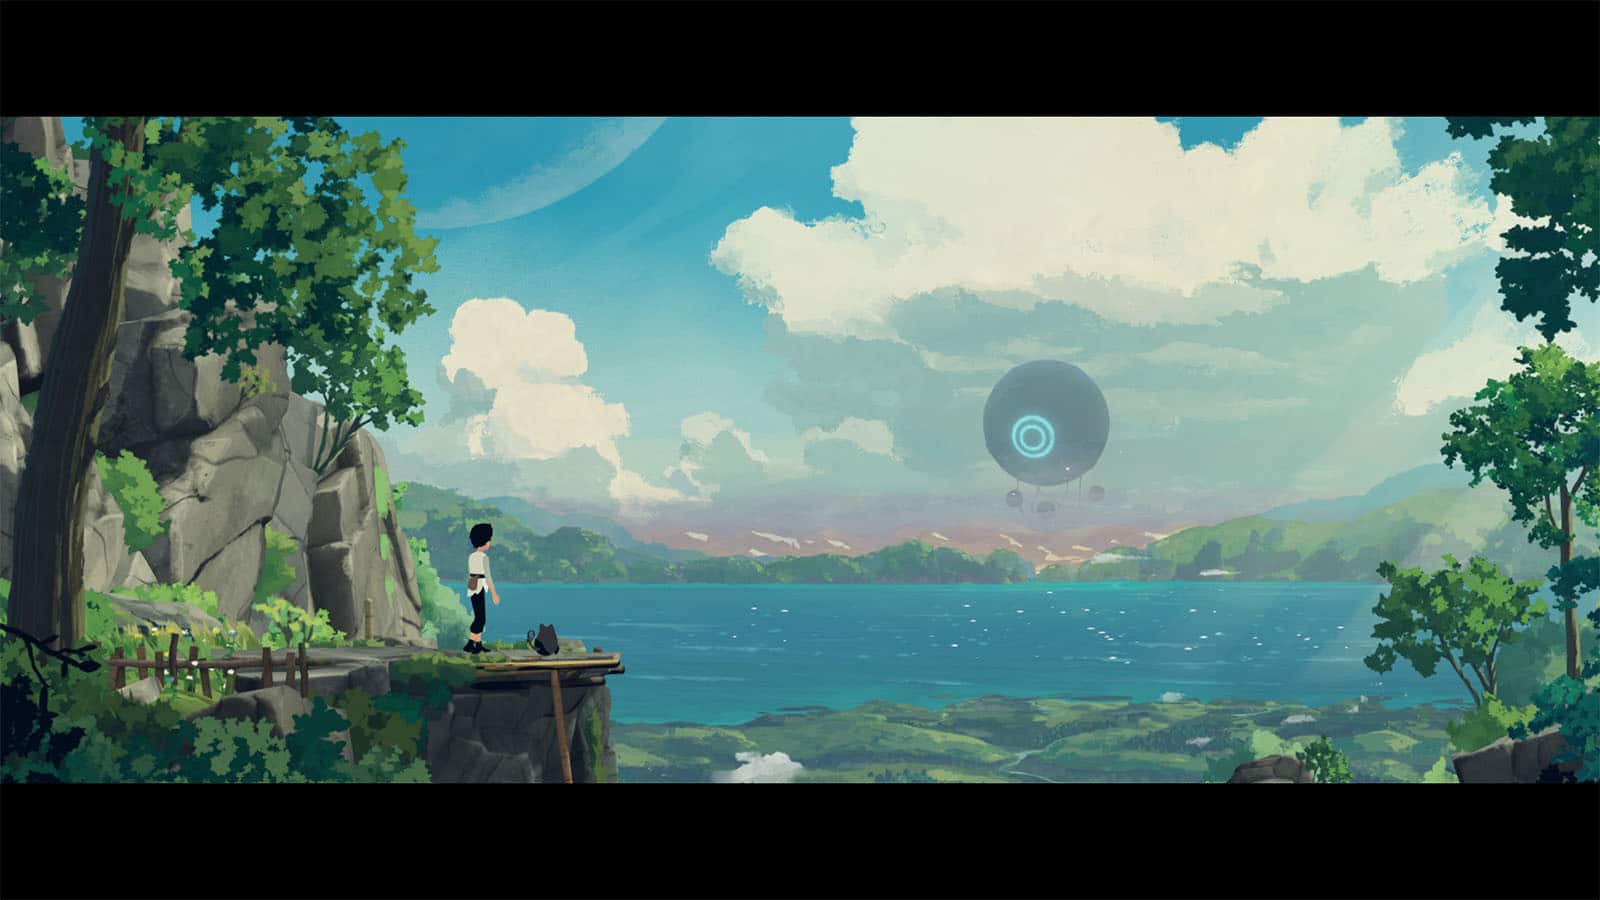
Continue moving through the cave, and you will find yourself on the other side, where you can see a huge mothership off in the distance. Then, as you try to cross the gap, the platform on the other side collapses, sending you down into another cave, where the next chapter begins.
Chapter 3: A New Friend Achievements
These are the achievements that can be obtained in this chapter:
- It Purrs! – Pet Mui for the first time.
- A New Friend – Rescuing Mui.
- Finding Secret Shrine 2/10 – Discovered a secret machine.
- Finding Secret Shrine 3/10 – Discovered a secret machine.
See next: Planet of Lana: Chapter 4 Secrets In The Dark Guide


