
Secrets In The Dark is the fourth chapter in Planet of Lana. In this chapter, Lana and Mui find themselves inside a cave that appears to be hiding secrets that came from an ancient civilization. Read ahead as we go through Chapter 4: Secrets In The Dark of Planet of Lana and share some tips on how to traverse the puzzle areas, plus reveal how to get the achievements in the chapter.
See previous: Planet of Lana: Chapter 3 A New Friend Guide
Planet of Lana Chapter 4: Secrets In The Dark Walkthrough

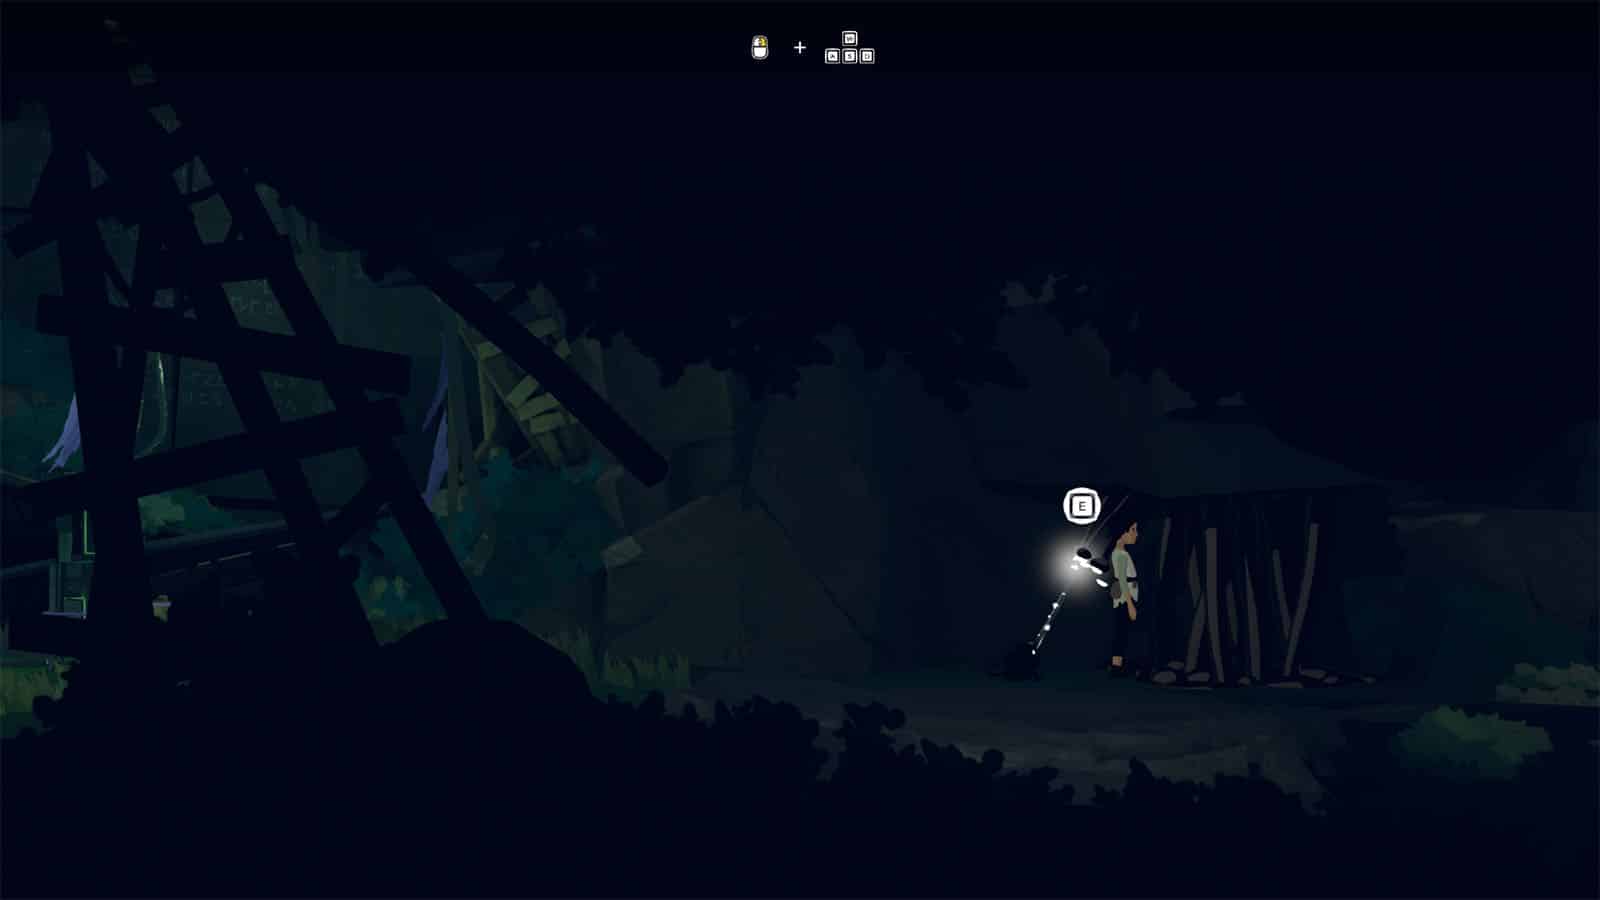
Following the failed jump, you find yourself down in the depths of a cave. Further up ahead is a plant that lights up whenever Mui steps on it, and it extends on to another bulb up ahead. Keep Mui standing on the plant as you jump the gaps.
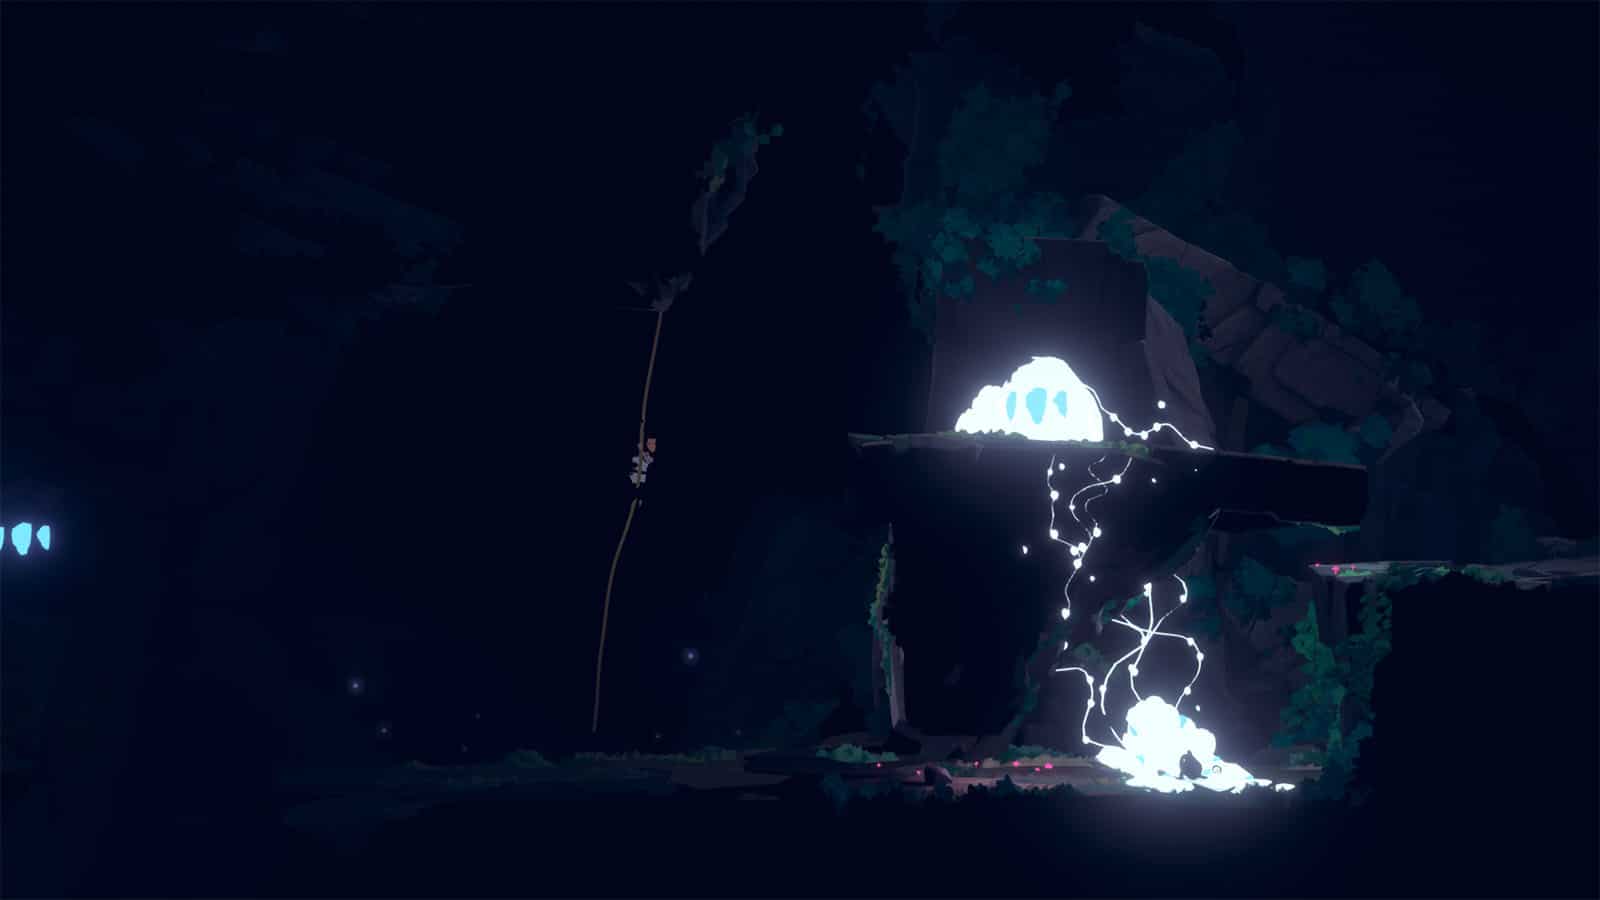
Just as you light up the second plant, backtrack a bit to see a rope nearby. Climb up the rope to find Secret Shrine #4 and get the Finding Secret Shrine 4/10 Achievement.
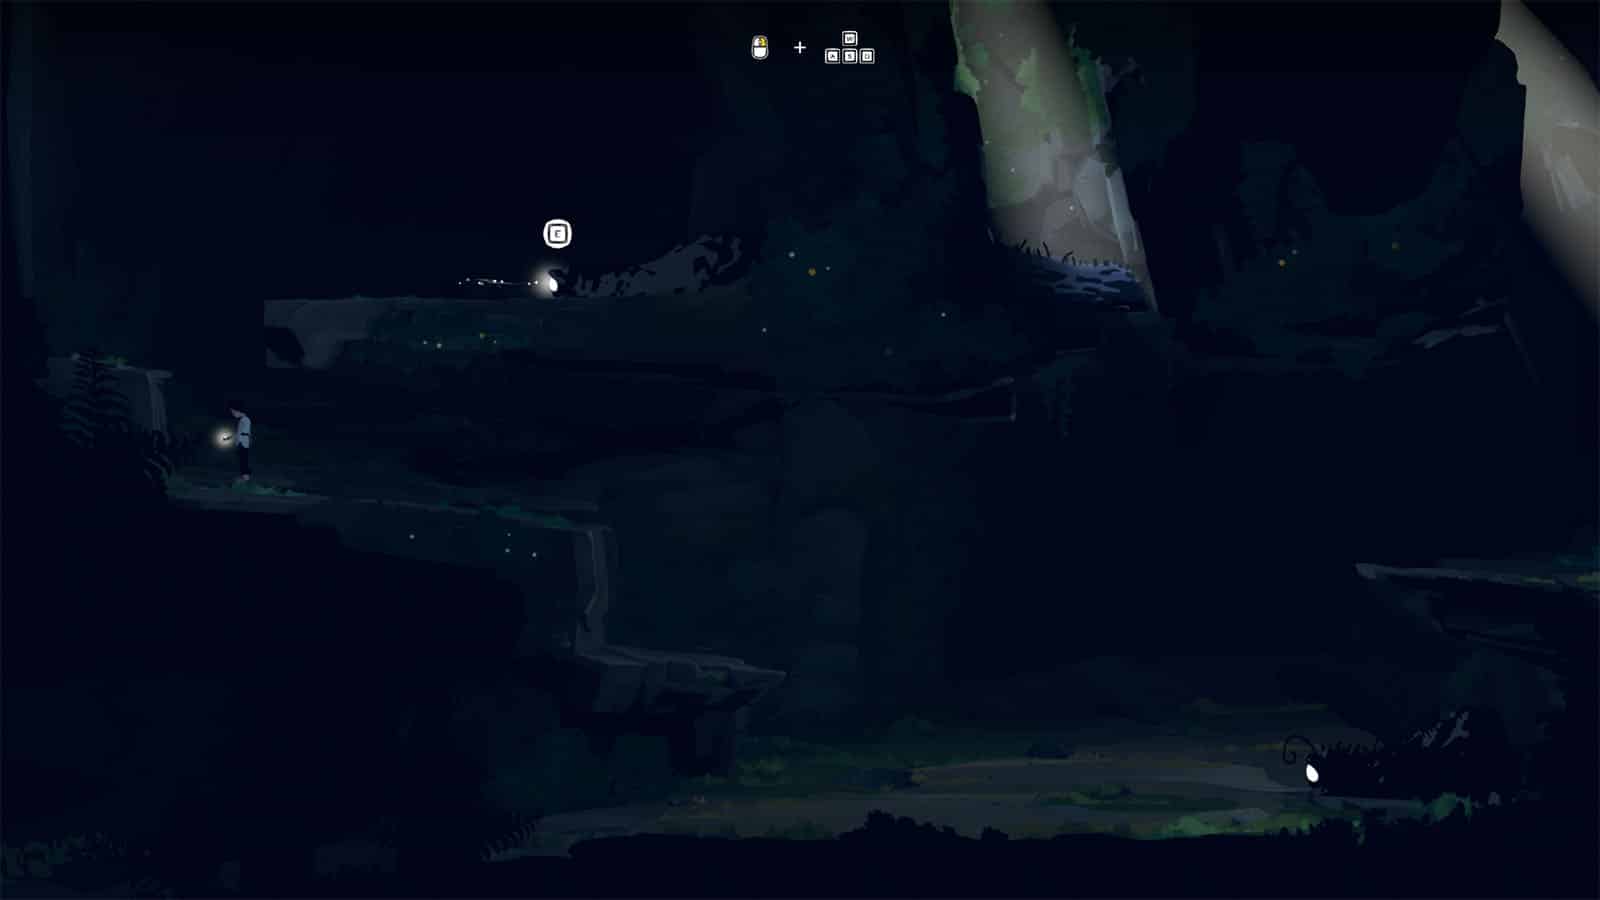
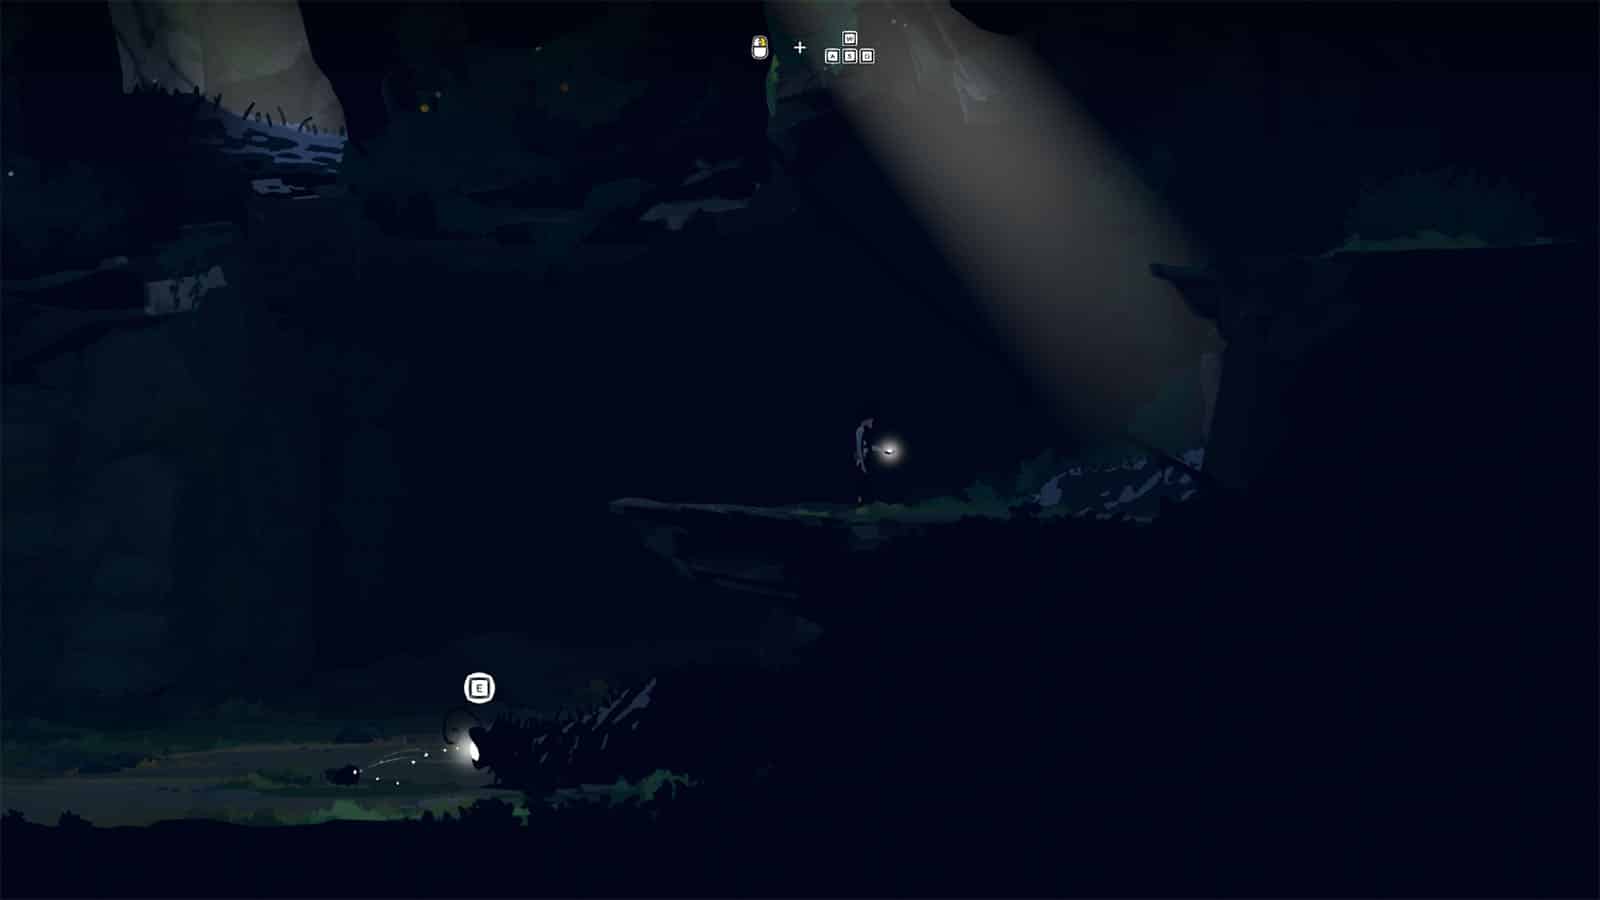
Continue moving towards the right and light up your path as needed. You will eventually arrive at a beast’s lair.
To get past this beast, jump on to the rope and on to the next platform, then get as close as you can to the next hole without jumping towards it. Make Mui go on to the hole for now.
Then, head back to the rope and dangle just low enough so that the beast sees you. Once the beast is past the bulb, immediately go back up the rope and make Mui go into the hole to light up the bulb. This will trap the beast on the other side of the bulb, making it safe for you to cross over.
Climb on the ledge and pry out the planks to let Mui through, then have Mui climb higher and drop the rope for you to cross. Be careful when jumping over, as the beast will be set free from the light trap once Mui leaves the hole.
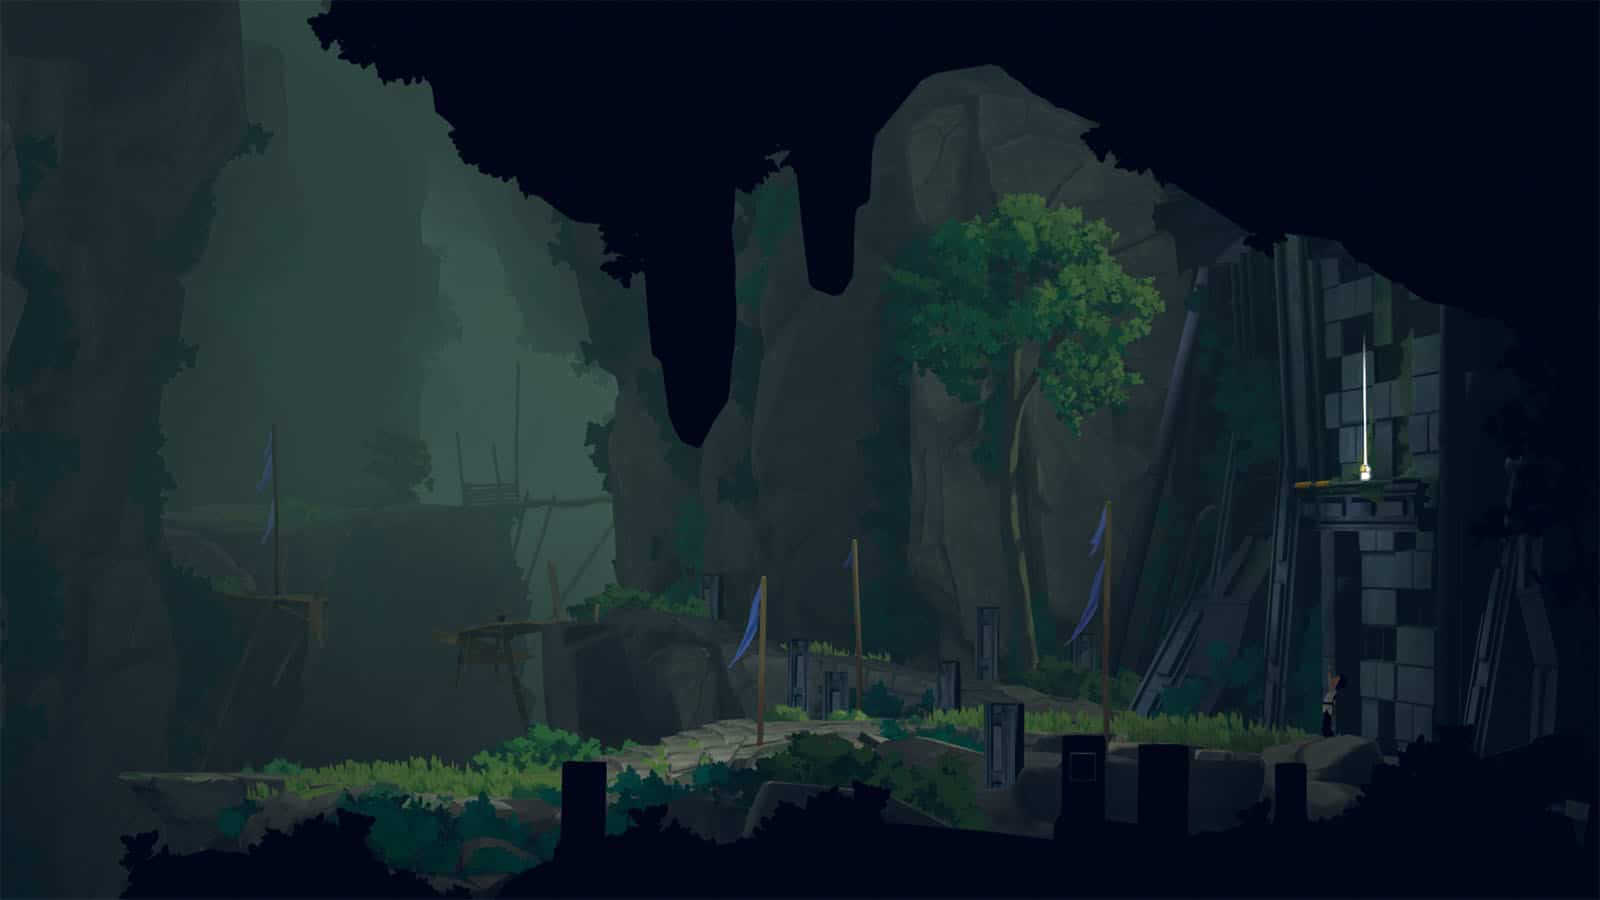
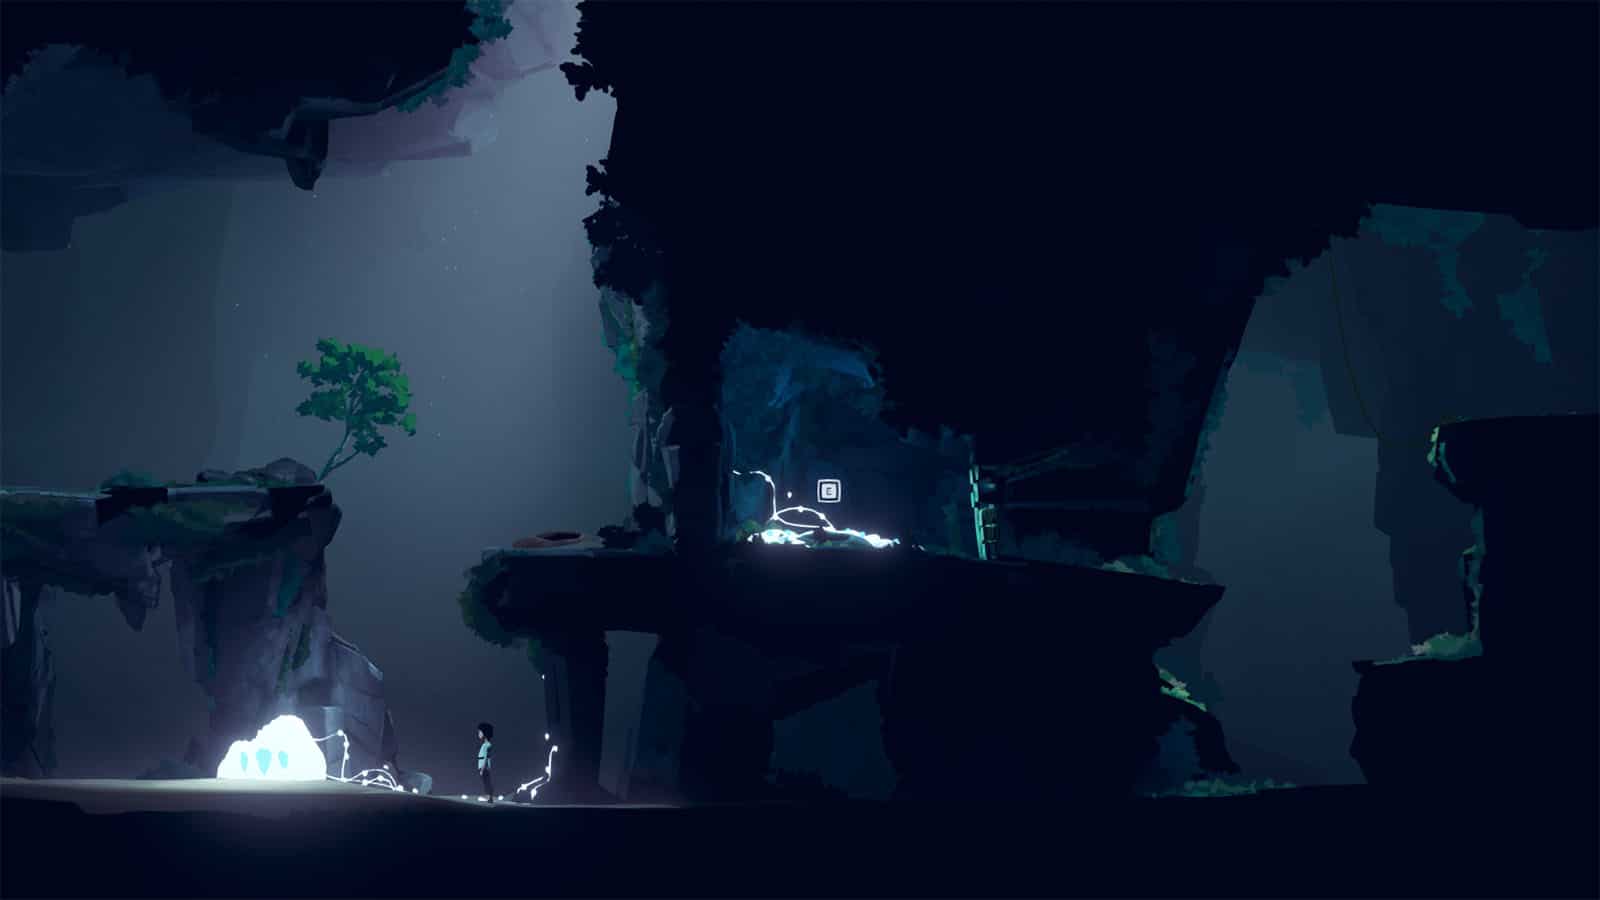
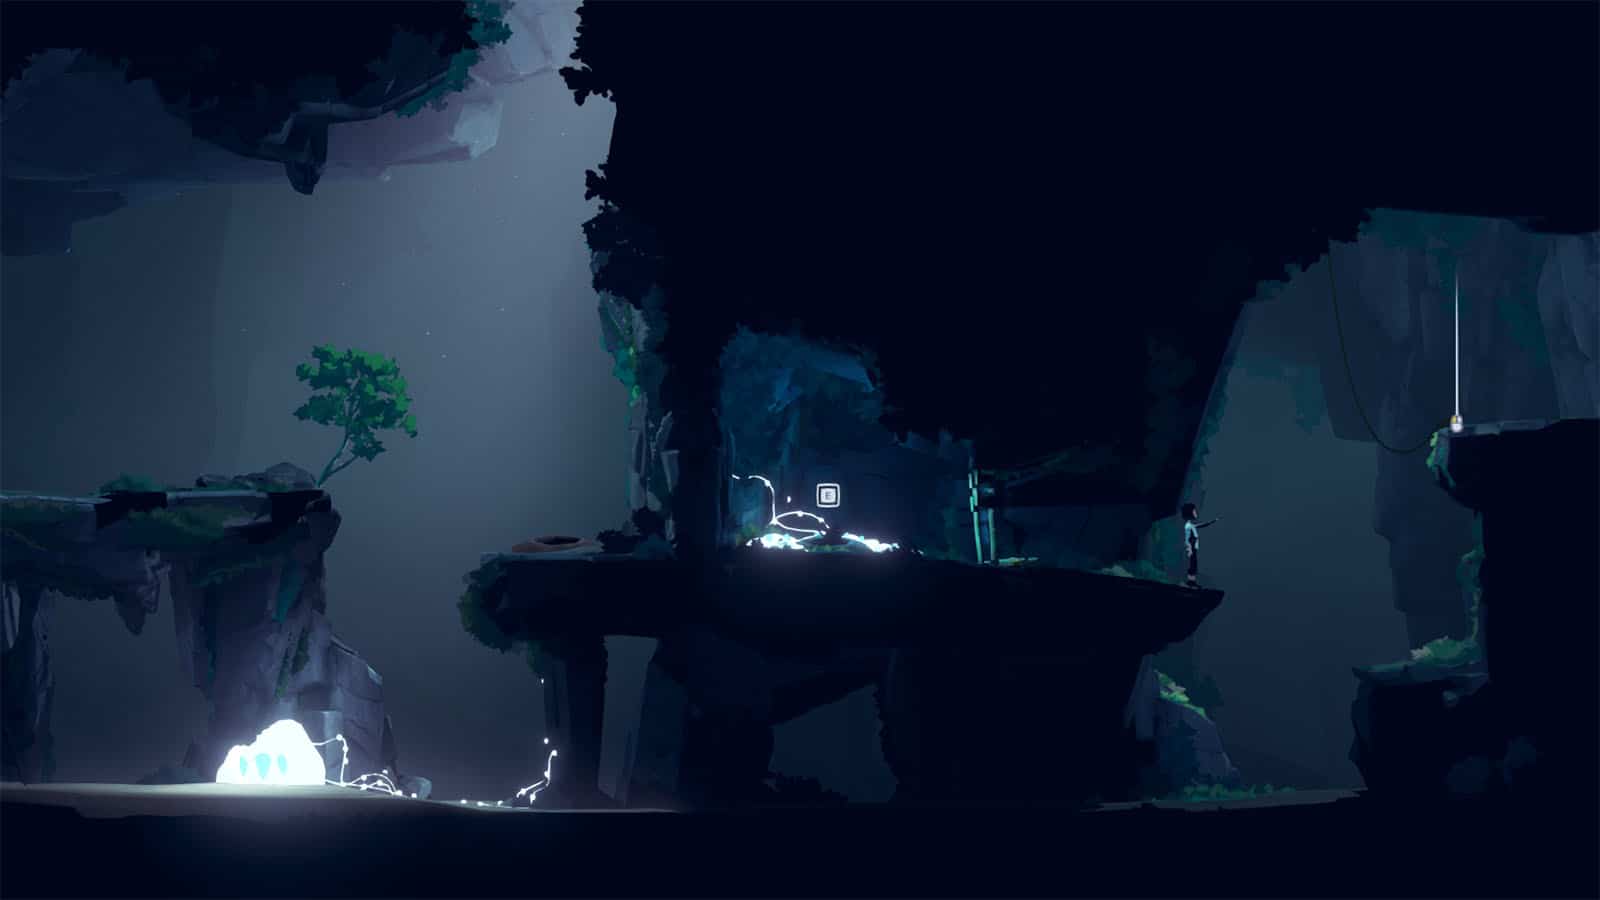
You’ll find yourself in front of a huge, ruined building. Approach the wall, then tell Mui to go up the ledge on the wall and enter the unseen hole. This will activate the door and give you access to the ruins.
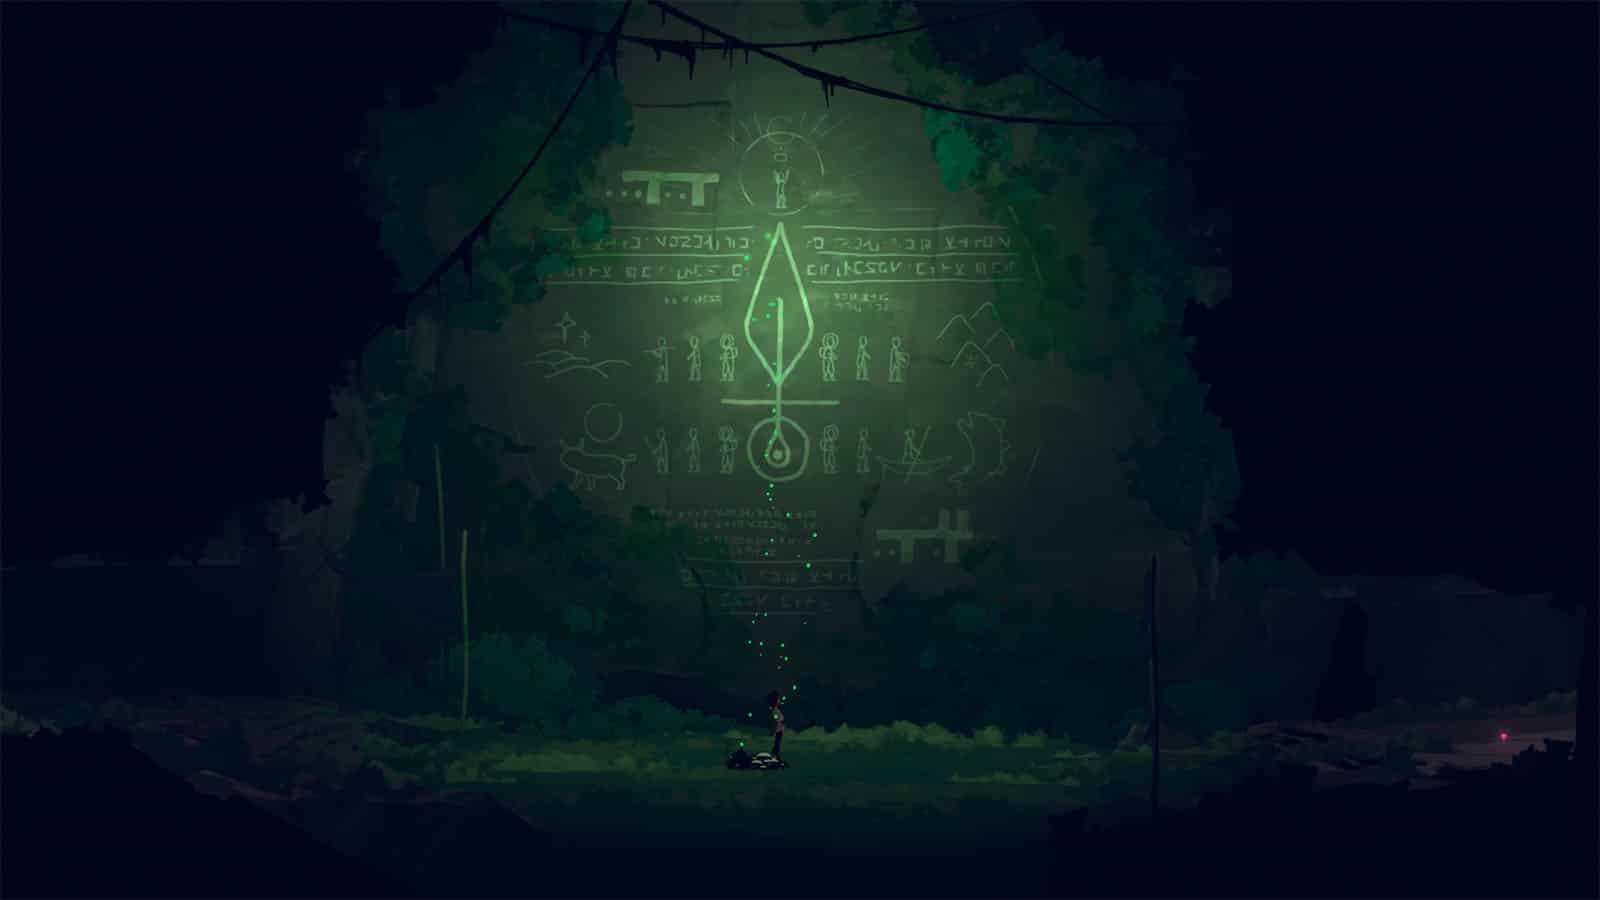
There are a number of walls with glyphs inside, but the one that you need to pay attention to is the largest one, illuminated in green. There are two glyphs on it, on the upper left and lower right, that you will need in order to solve the next puzzle.
In the next area, you will see a huge structure that works like a pipe organ. First, head to the upper left and make Mui stand on the plant to illuminate a spot that shows another glyph. Next, go and pull the cart to the left to reveal another glyph.
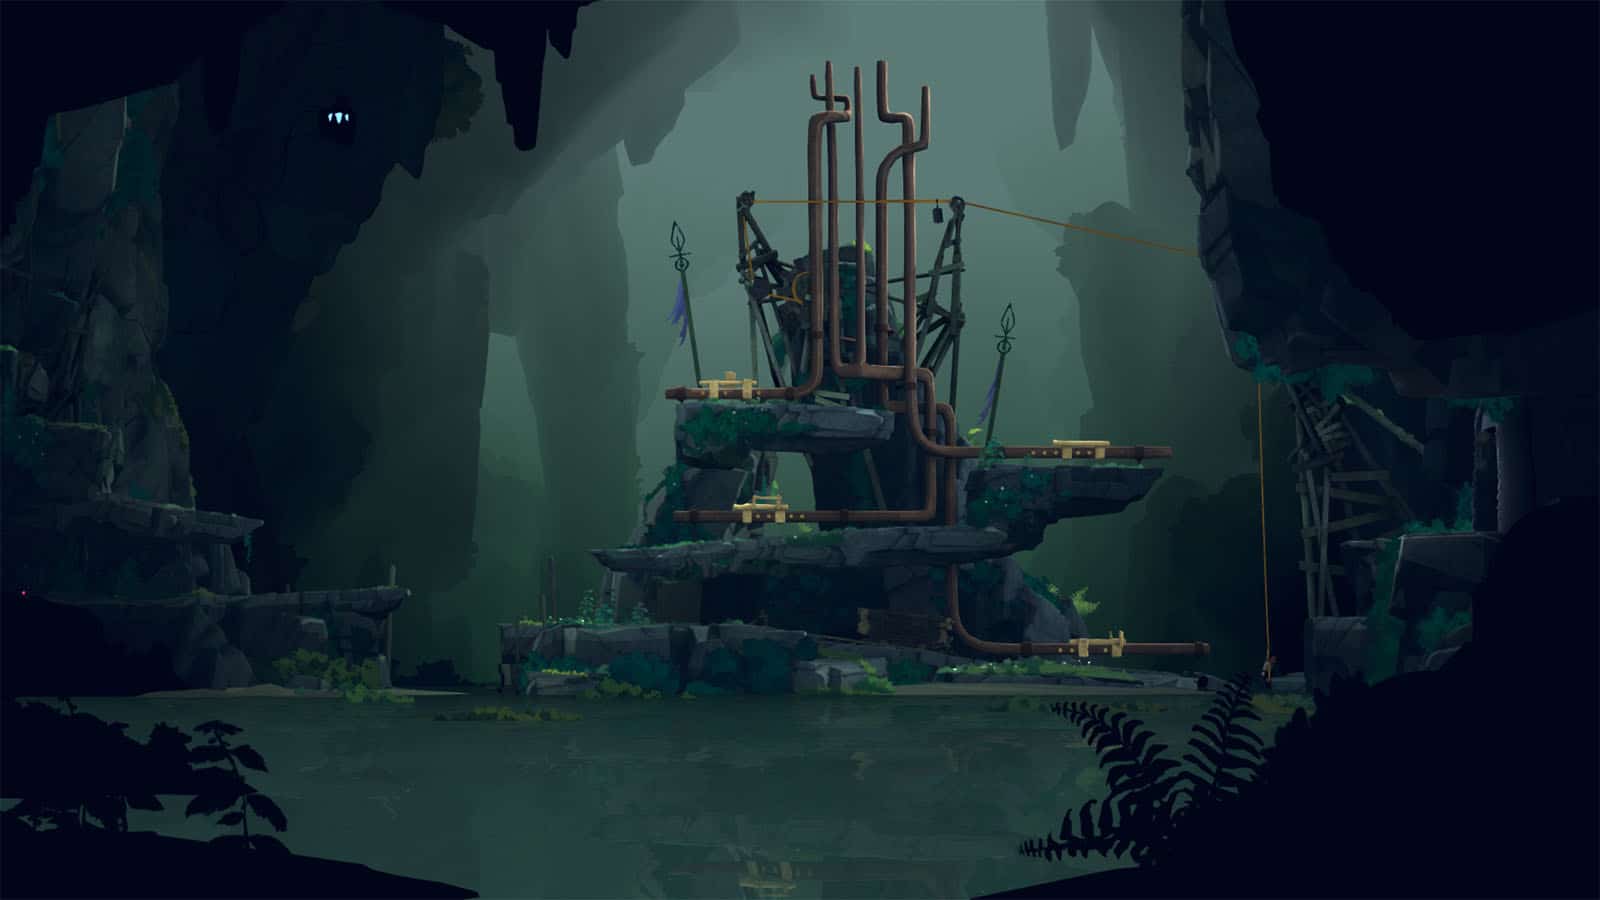
These glyphs show how you should move the yellow sliders that are on the pipes. Take note of the shapes of these gliders and how they are positioned with respect to the holes that they cover (or do not cover). Once all sliders are in the right positions, go and jump towards the rope to play a tune and open the next door.
Once you are in the next room, you will find a terminal. Interacting with it will give you a key, and you will also get the A Key From The Past Achievement.
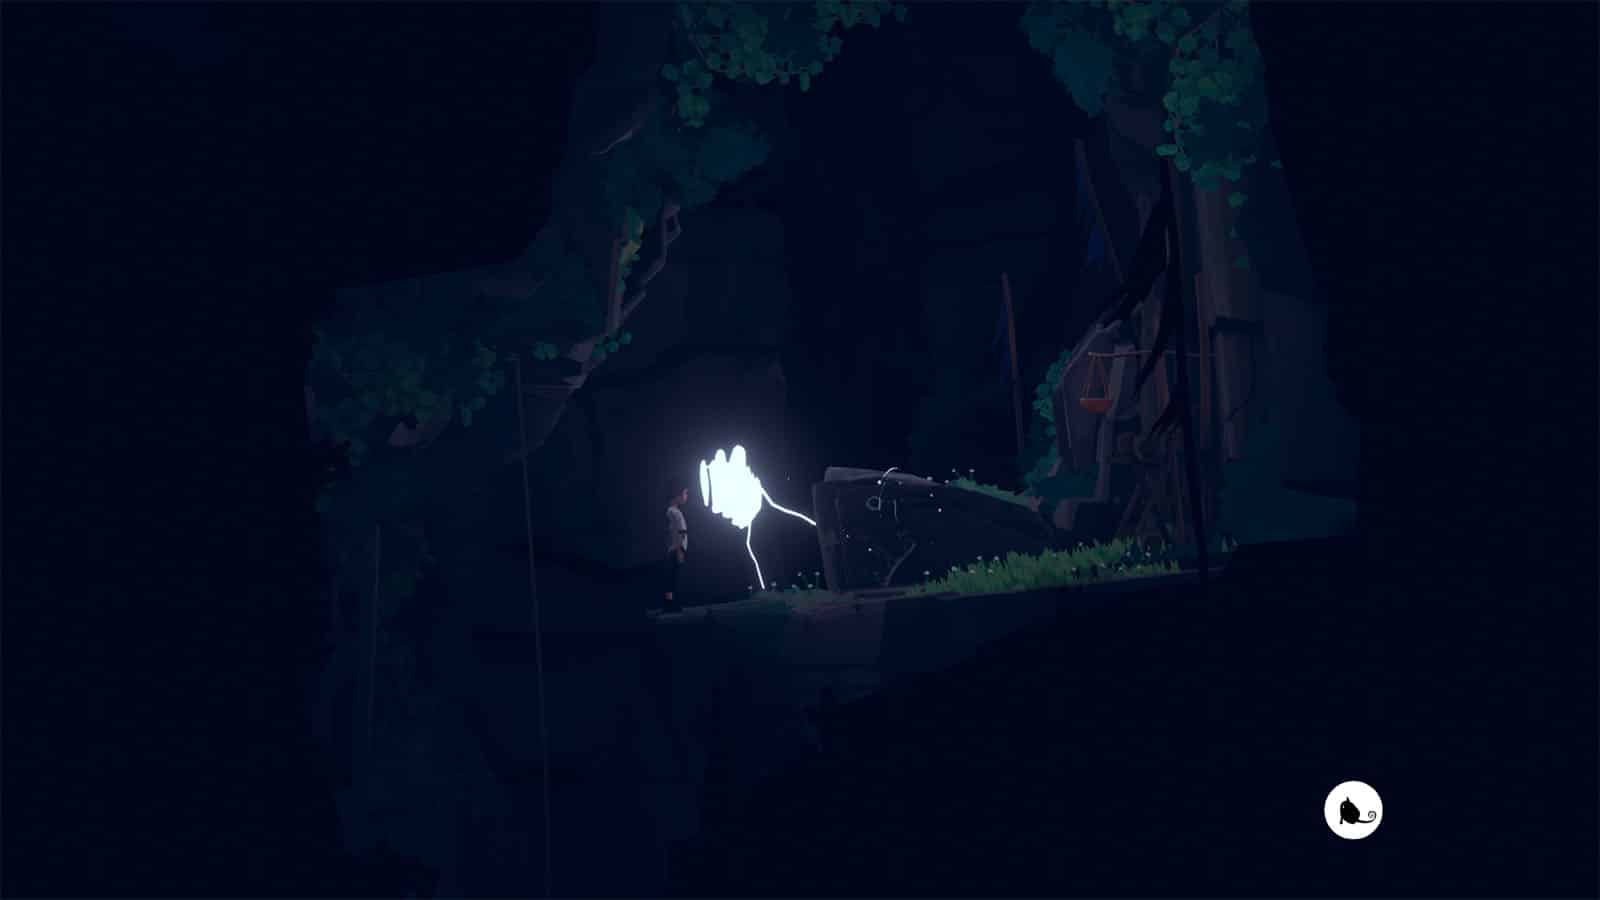
To exit this room, have Mui interact with the eye near the door. Once they are connected, make Mui move to the left to pull all the roots out of the way.
Continue traversing through the gaps and lighting up the plants as you move. You will arrive at another den with worms that are not hostile.
To get through this den, go to the upper left corner and have Mui connect with the worm on top. Make the worm move to the left until the sunlight hits the lower worm and its eye goes bright. Then, go to the lower worm and make it move to the left until its body is out enough for you to climb on it and reach the next ledge. Make the worm move back again so that its tail is out, and you can use it to climb higher. The chapter ends as you make your way out of the cave.
Chapter 4: Secrets In The Dark Achievements
These are the achievements that can be obtained in this chapter:
- Finding Secret Shrine 4/10 – Discovered a secret machine.
- A Key From The Past – Finding the amulet.


