
The Tiger and the Rat is the third chapter of Prince of Persia: The Lost Crown. After Vahram’s revelation of pursuing the crown for his own, Sargon is left to die down in the depths of the Citadel. However, he finds some help from an unusual fellow who claims that they have met multiple times before. Read ahead as we go through the events of The Tiger and the Rat in Prince of Persia: The Lost Crown and share some tips, locations of collectibles, and other helpful tricks to complete the chapter.
See previous: Chapter 2 – The Abducted Prince
Chapter Objectives:
Chase after the Old Man in the Depths of the Citadel to get your Eye back
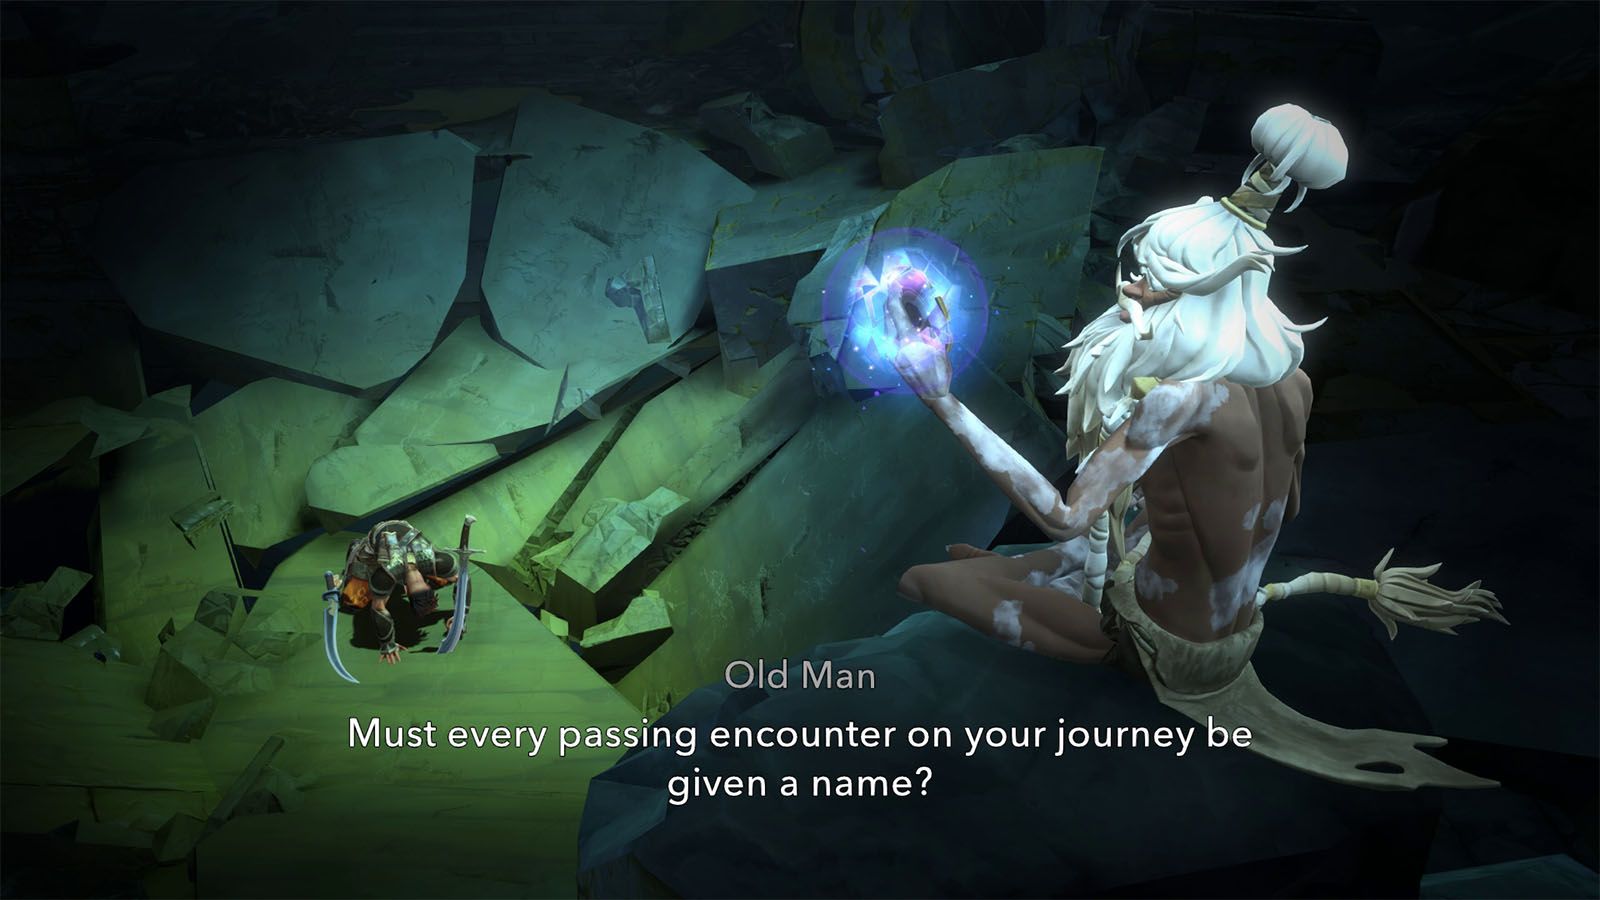
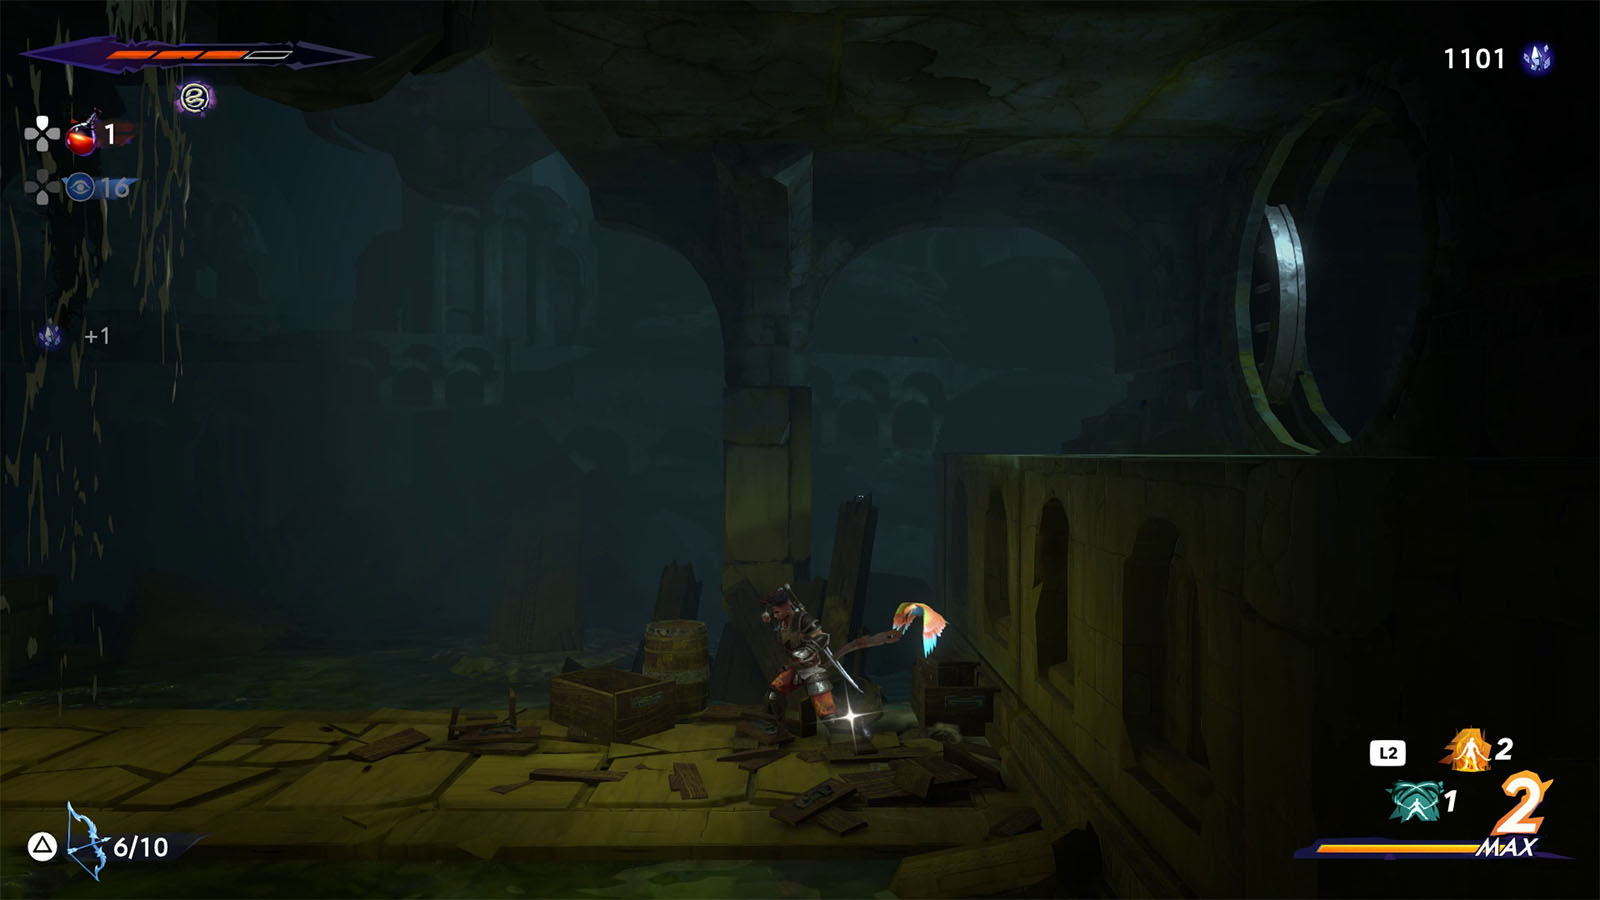
You will find yourself in the Depths as the Old Man runs off with your Eye of the Wanderer, which means that you cannot use your map. Head towards the east for now to chase after the Old Man.
The Depths is reeking with poisonous sewage and is also home to some dangerous creatures. Try not to dip your feet into the sewage to avoid taking in poison damage.
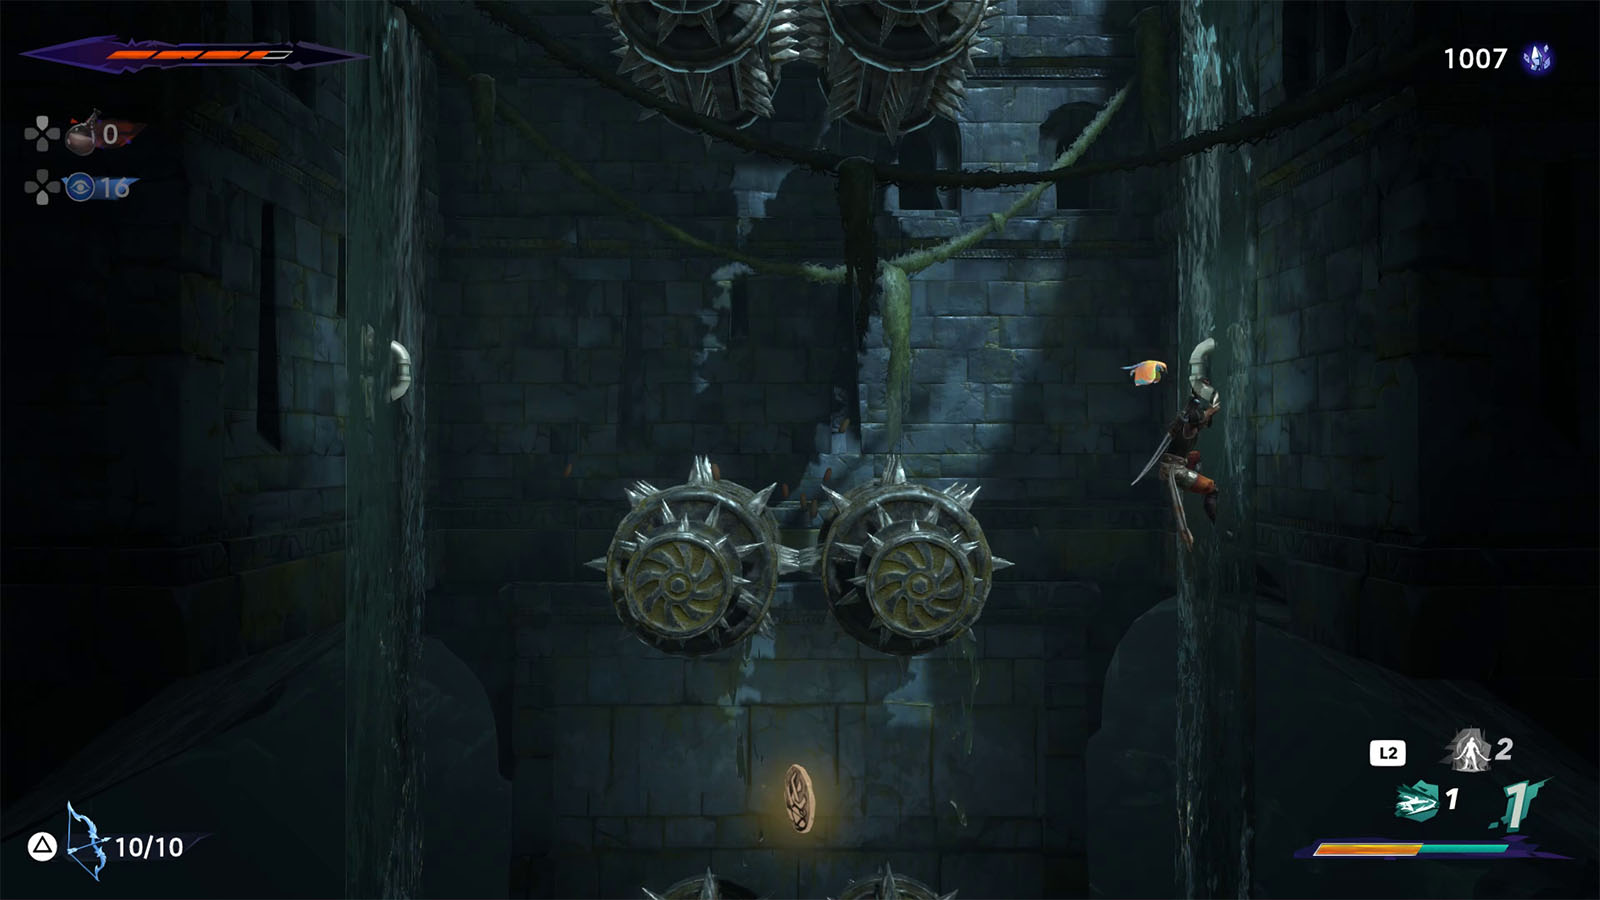
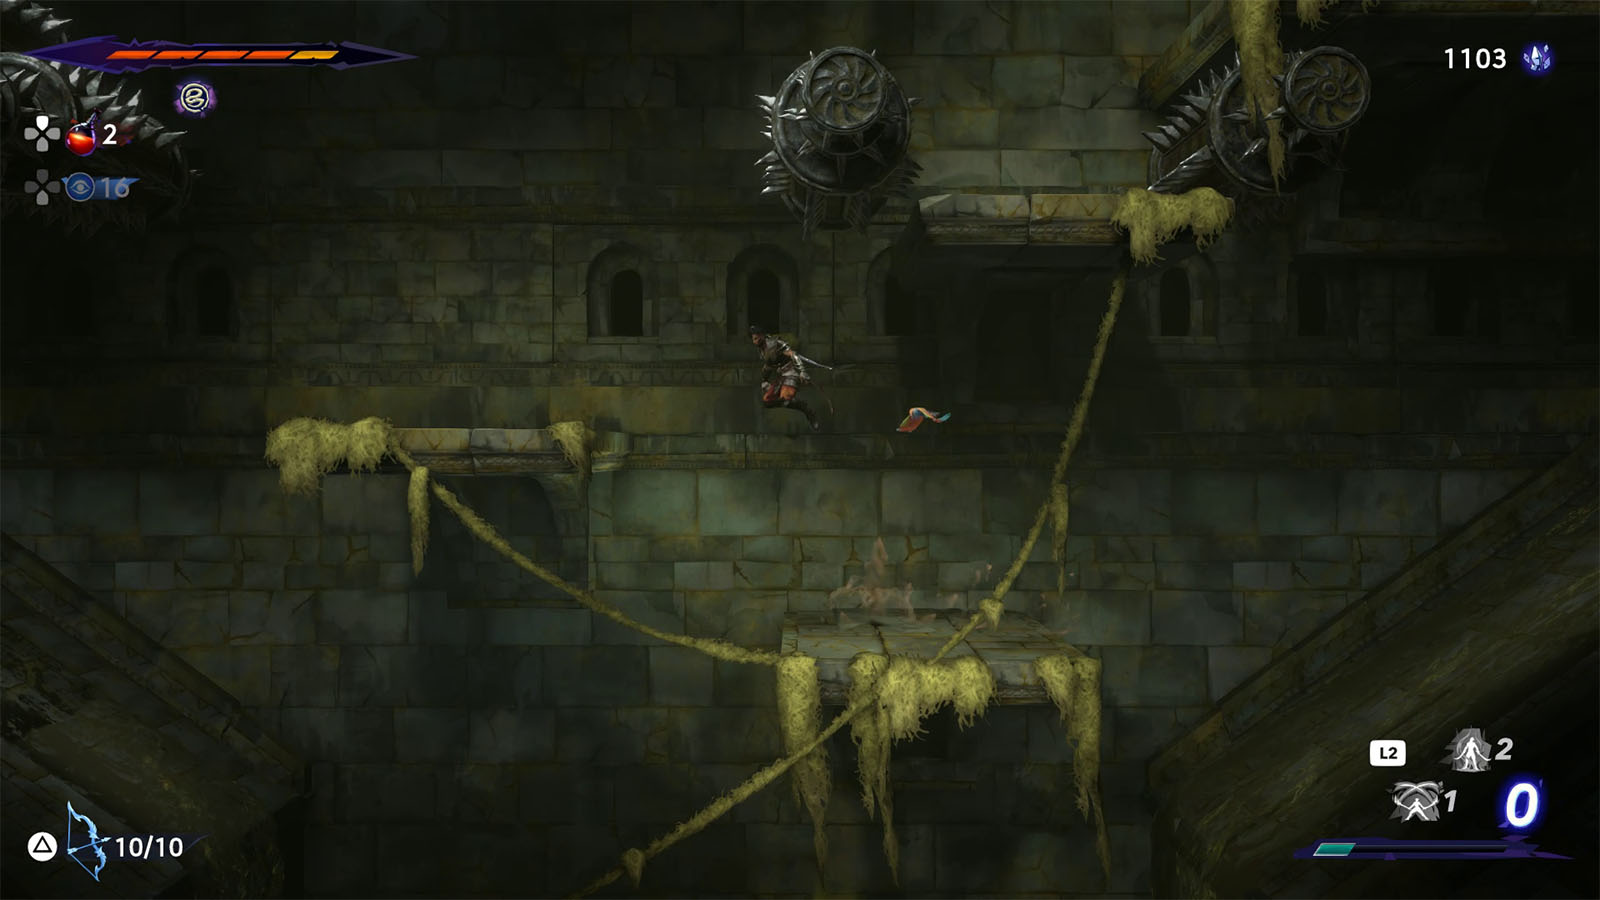
Once you see the conveyor on the wall, ride it up and then move through the spikes. Continue climbing and you will find the Collectible – Child’s Toy.
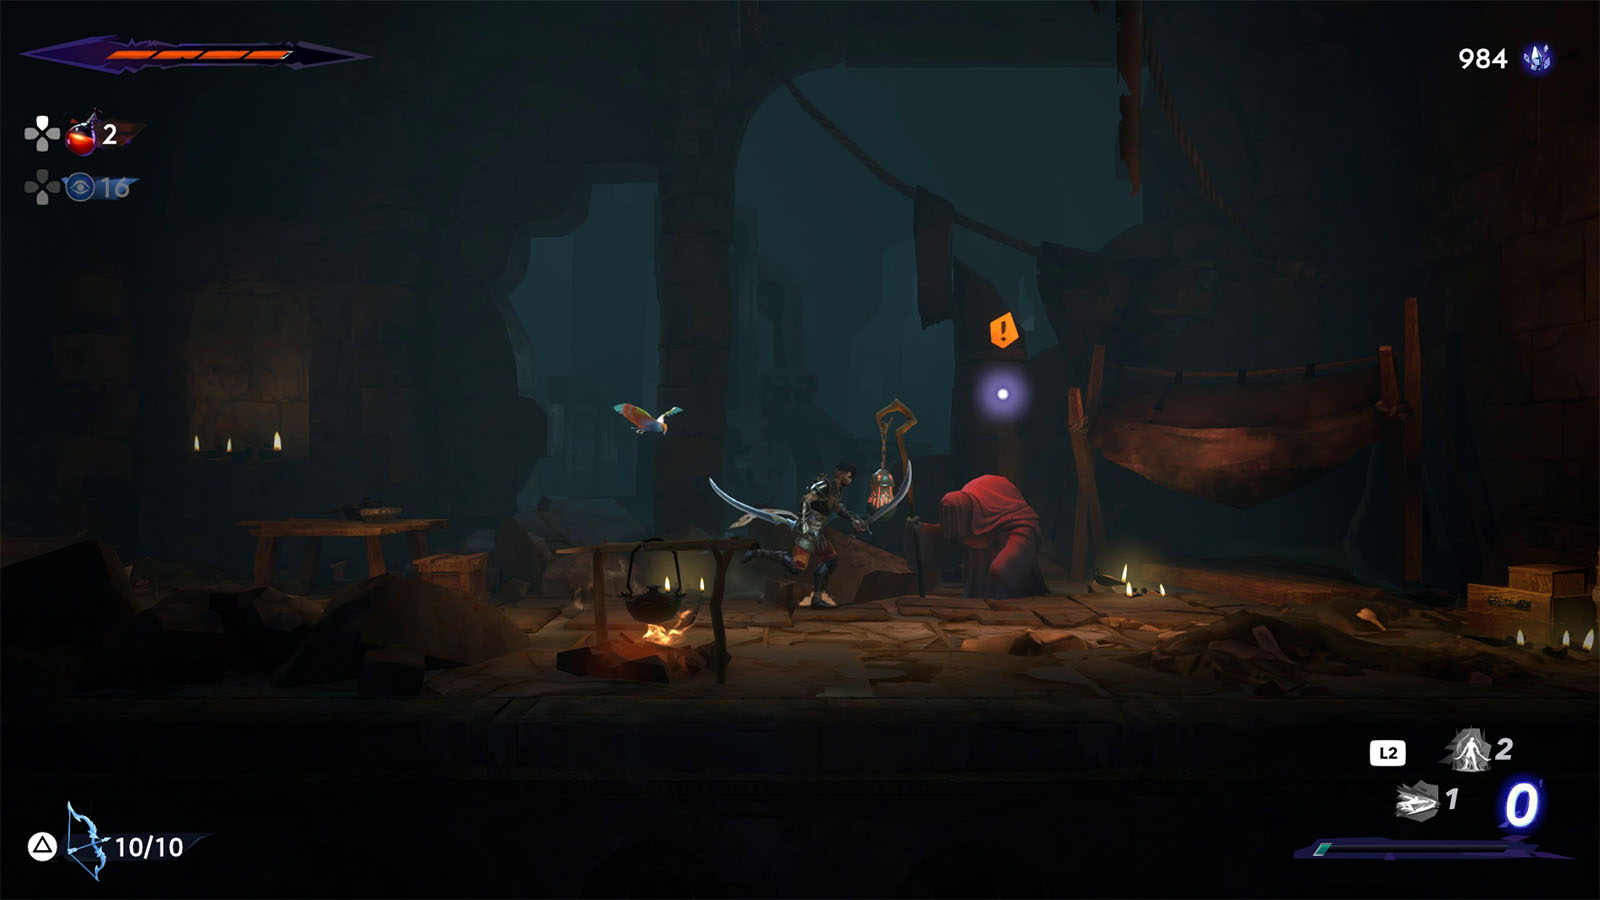
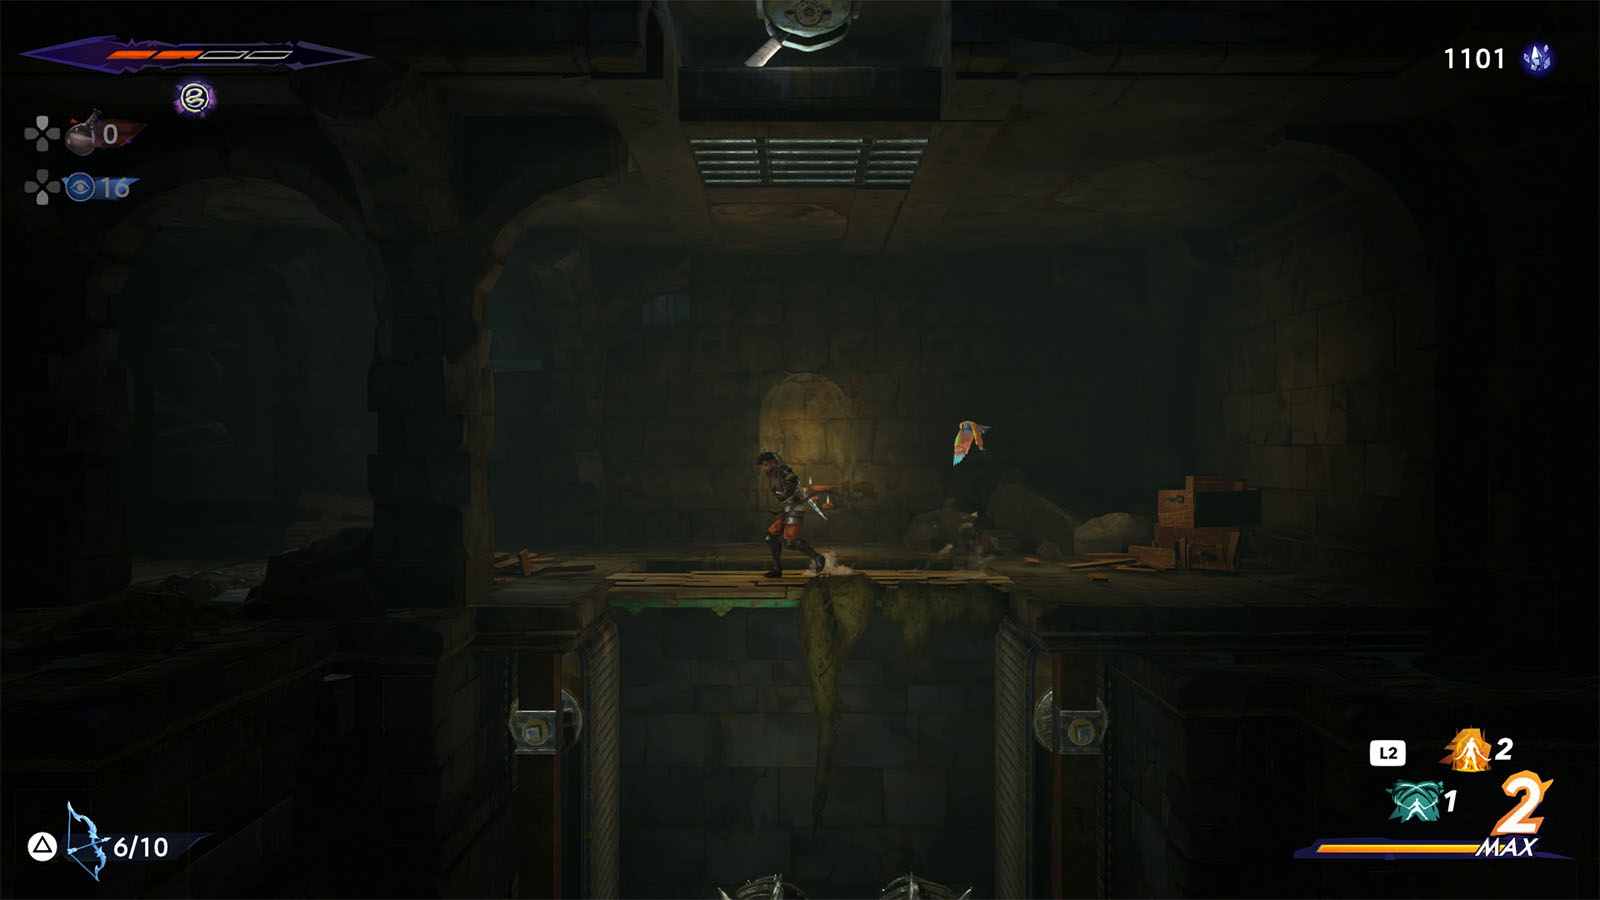
Continue towards the east and you will meet an Old Woman. Talking to her will start the Motherly Love Side Quest which requires you to defeat the Undead Erlik.
Head back down just right before you rode the conveyor and continue downwards. You will see a creature move into a pipe to the right; check at the thing that it dropped to find the Collectible – Dropped Locket, then take the left path for now to continue the pursuit.
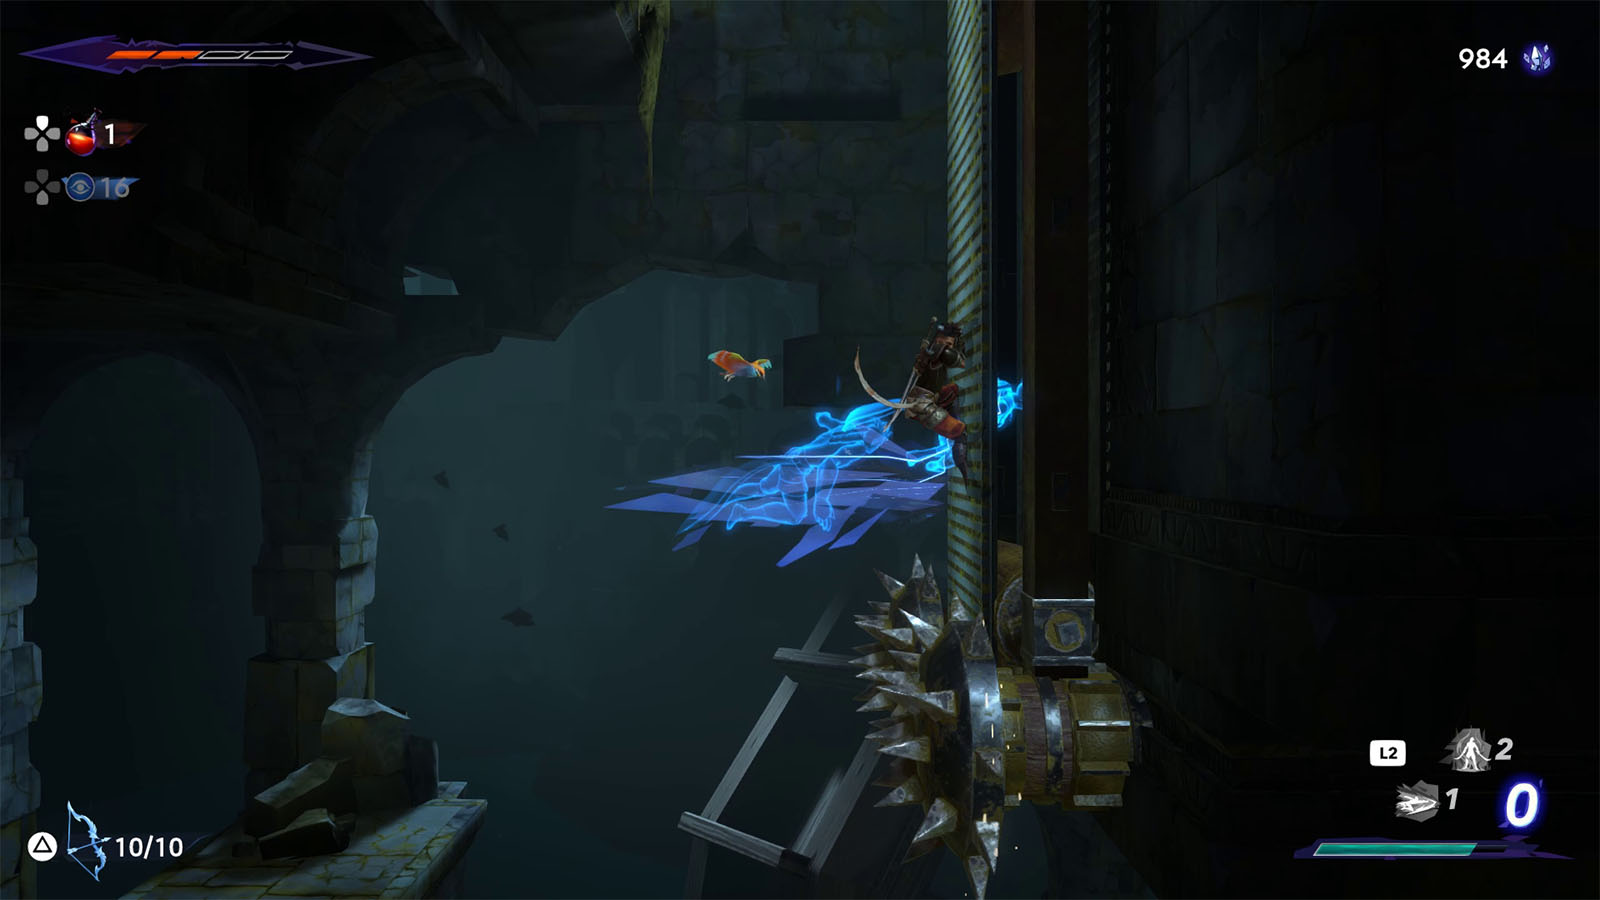
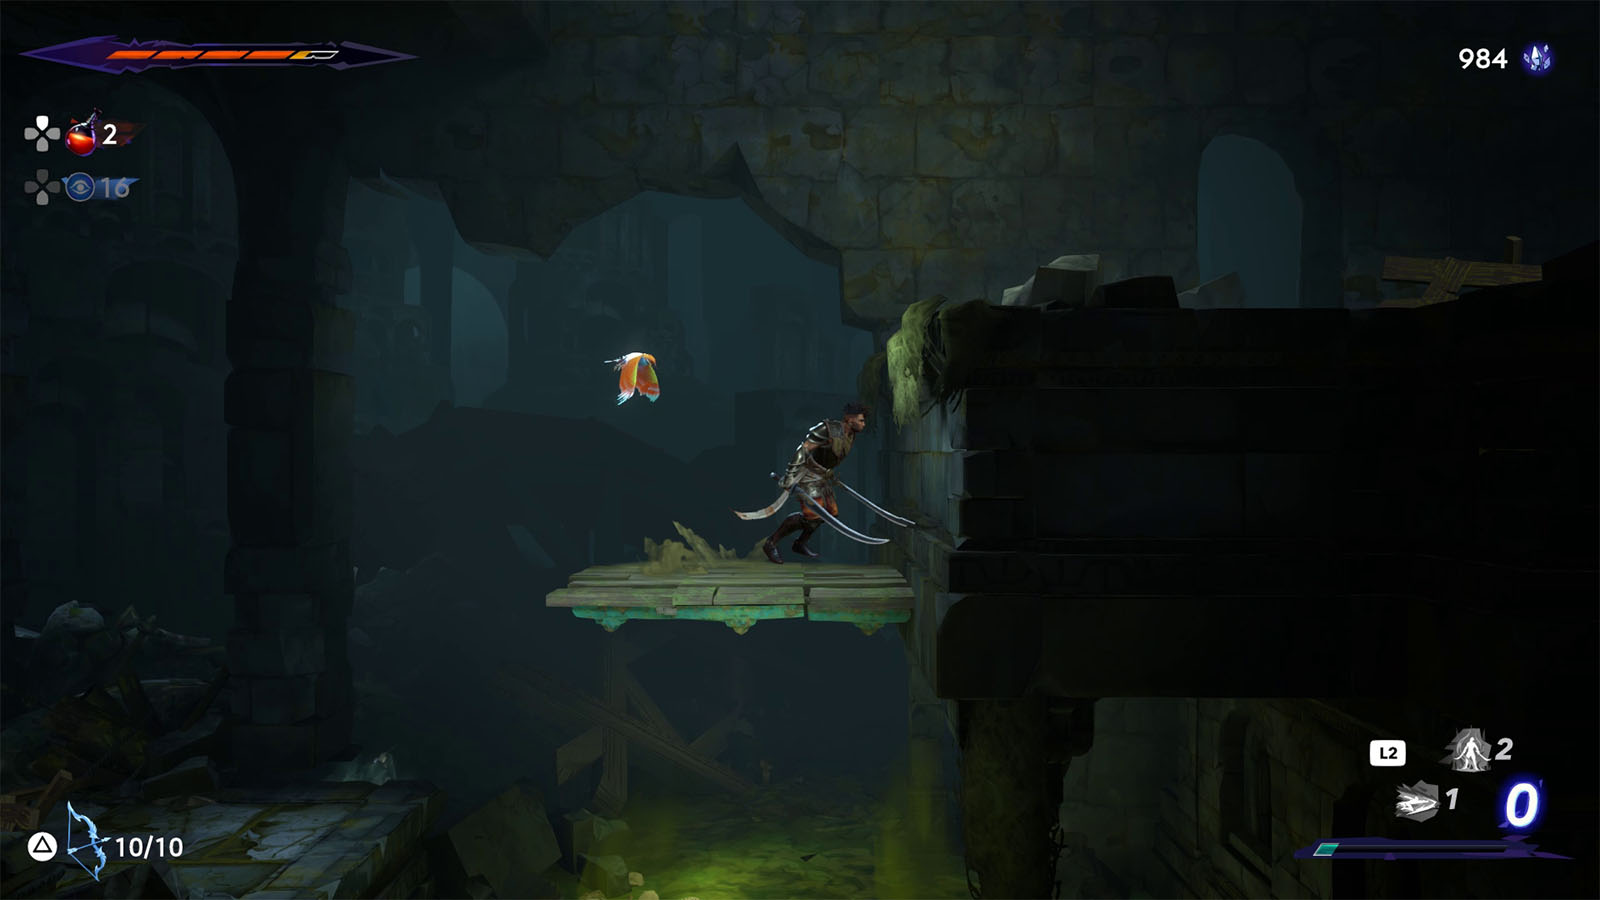
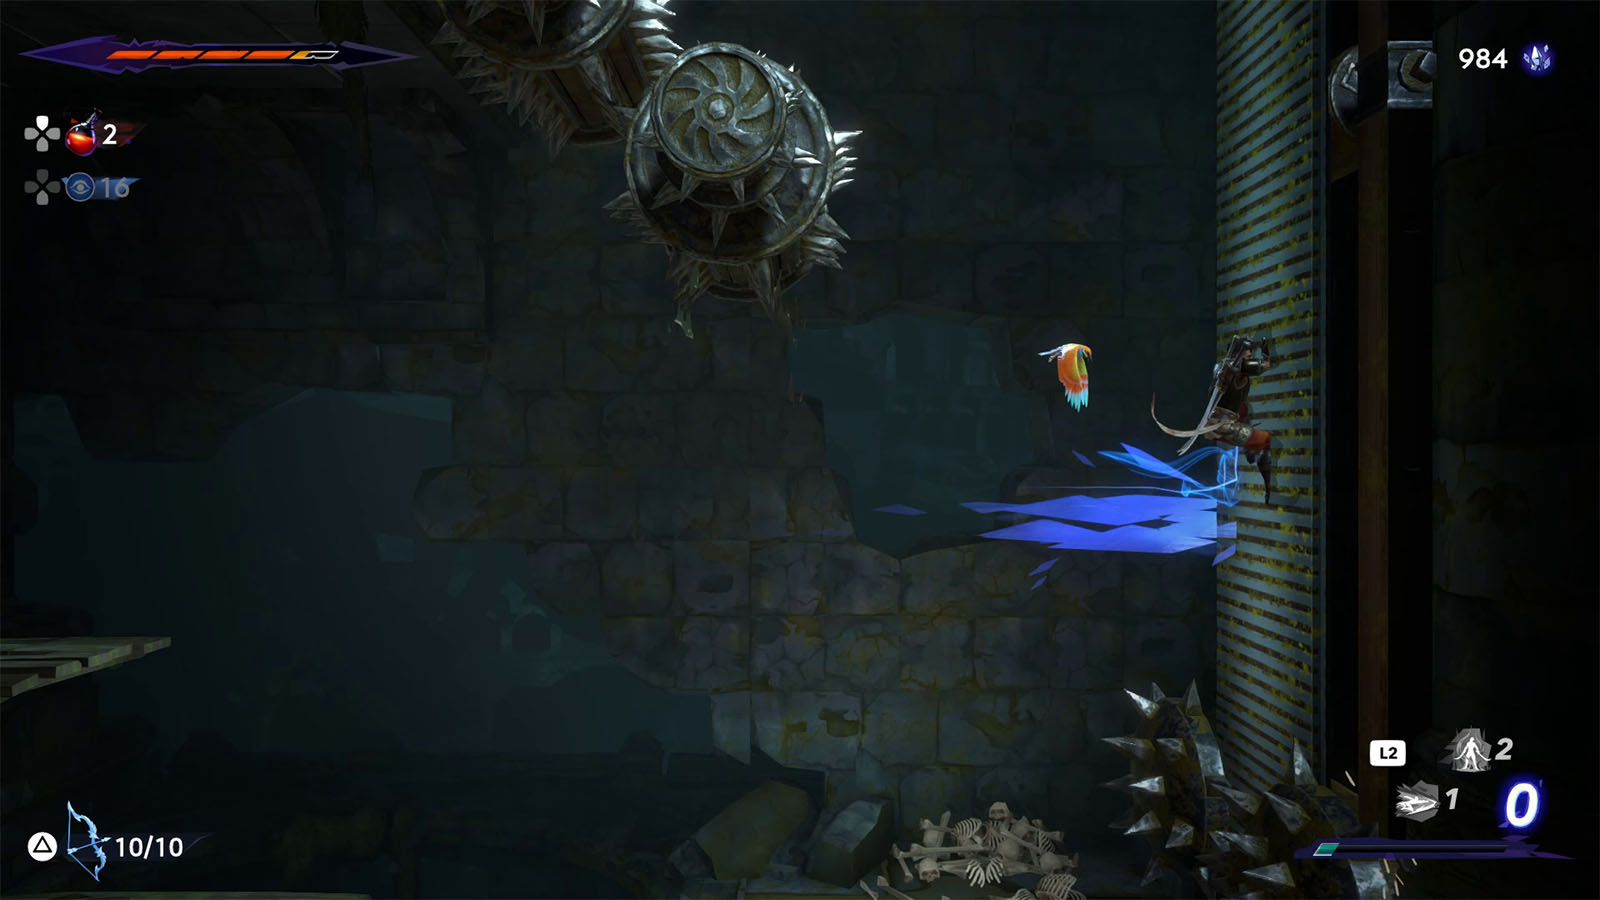
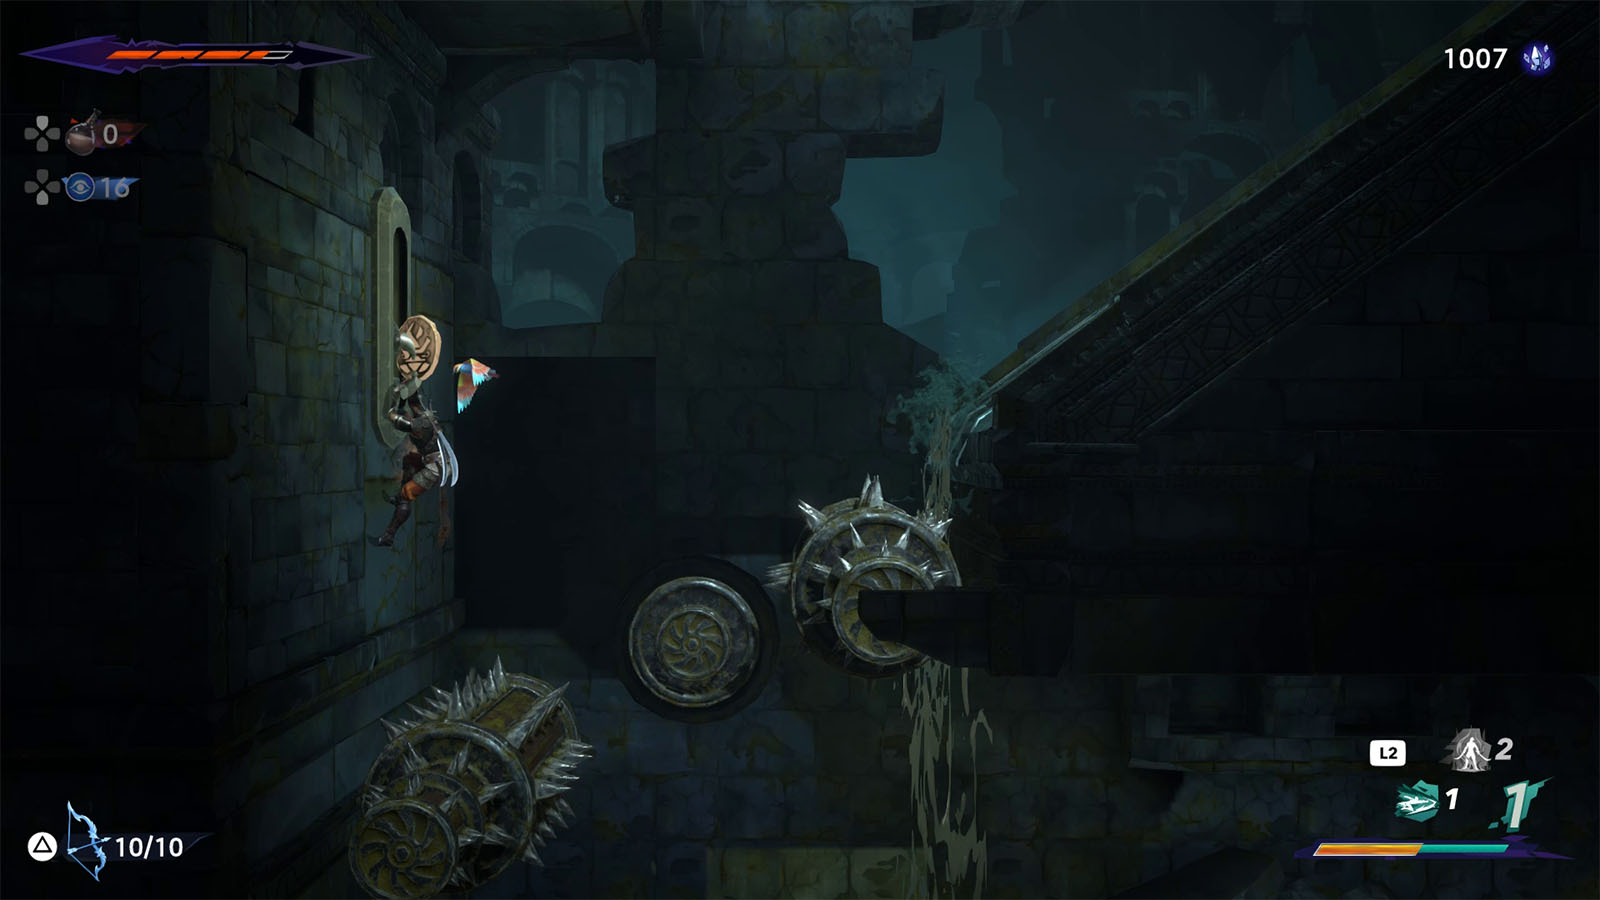
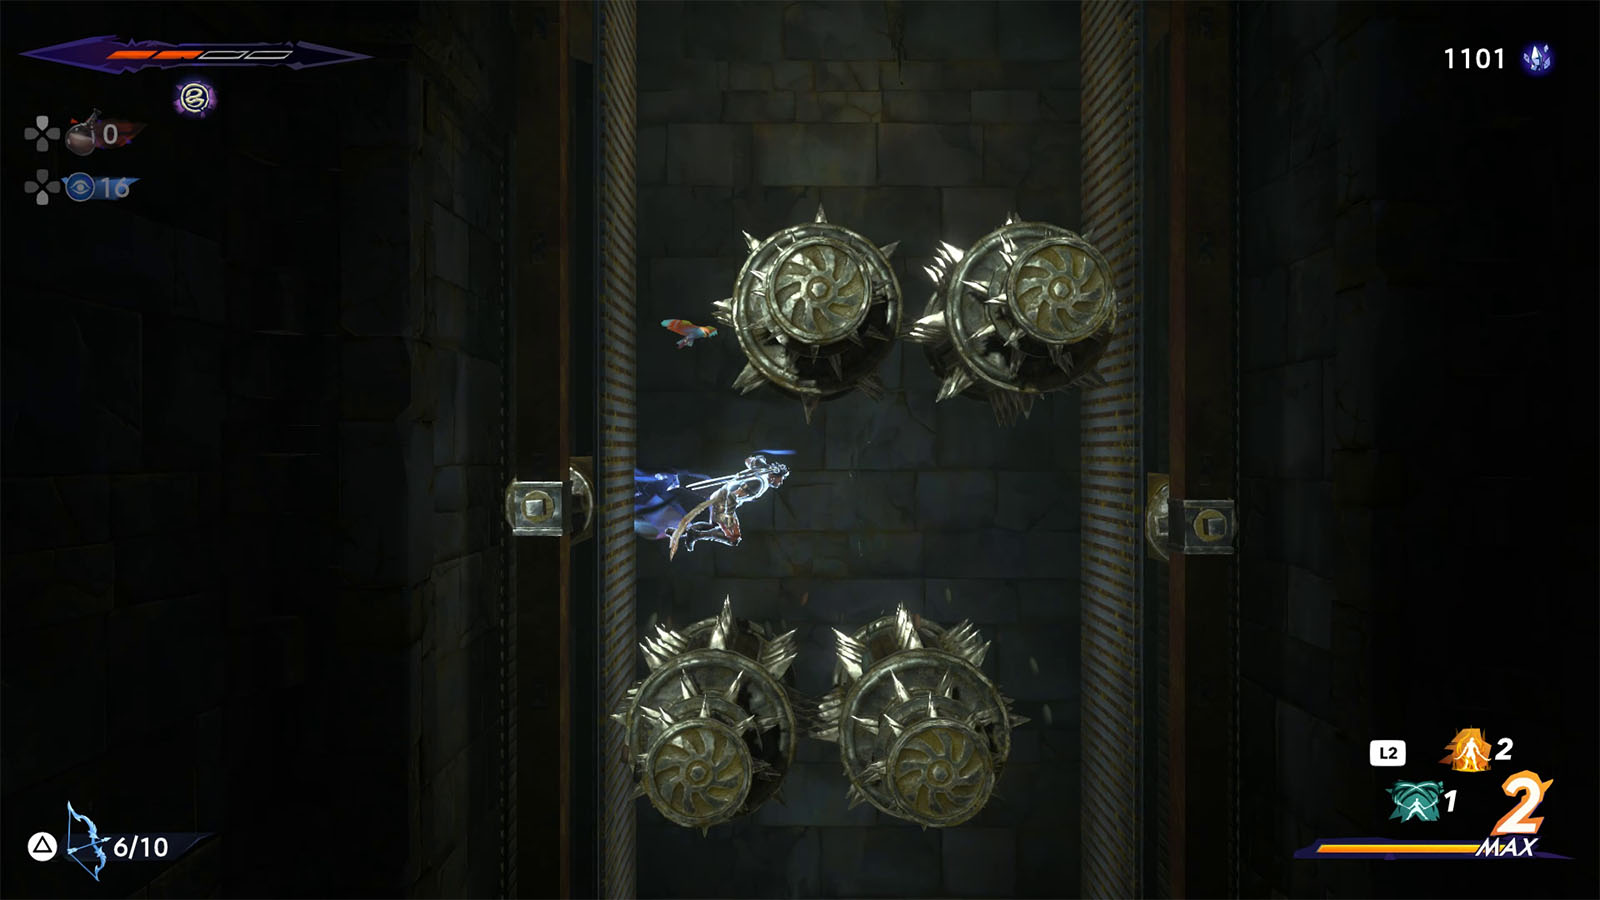
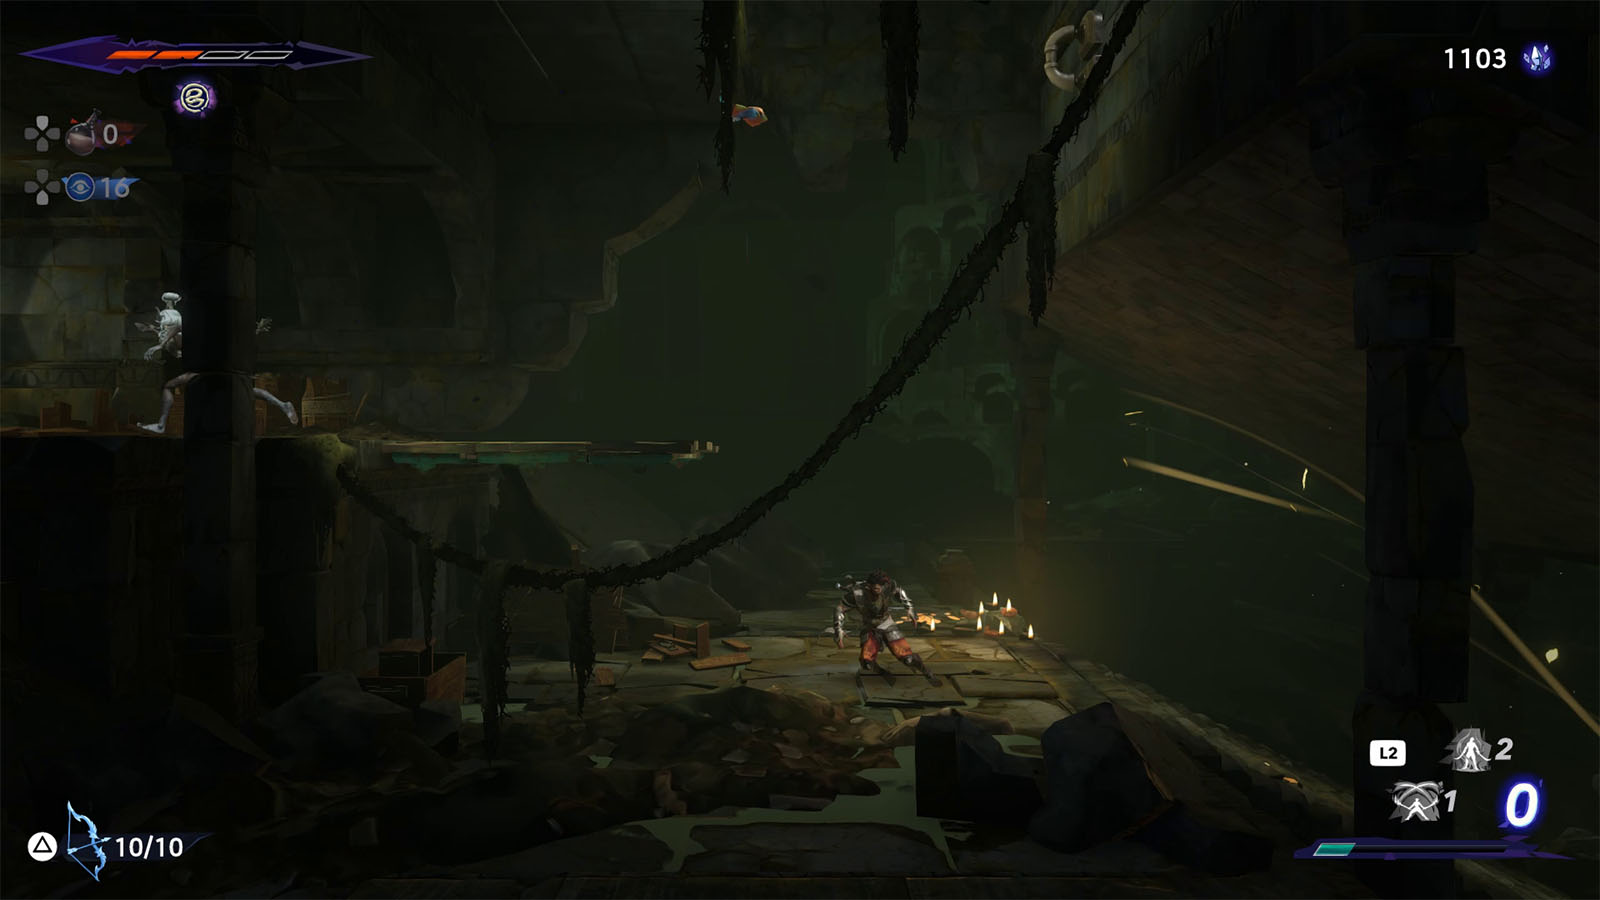
As you cross the sewage, enemies will start appearing. These are more nimble than the ones you have fought before, so be careful. You will find another conveyor leading up which ends at a shortcut to the upper level.
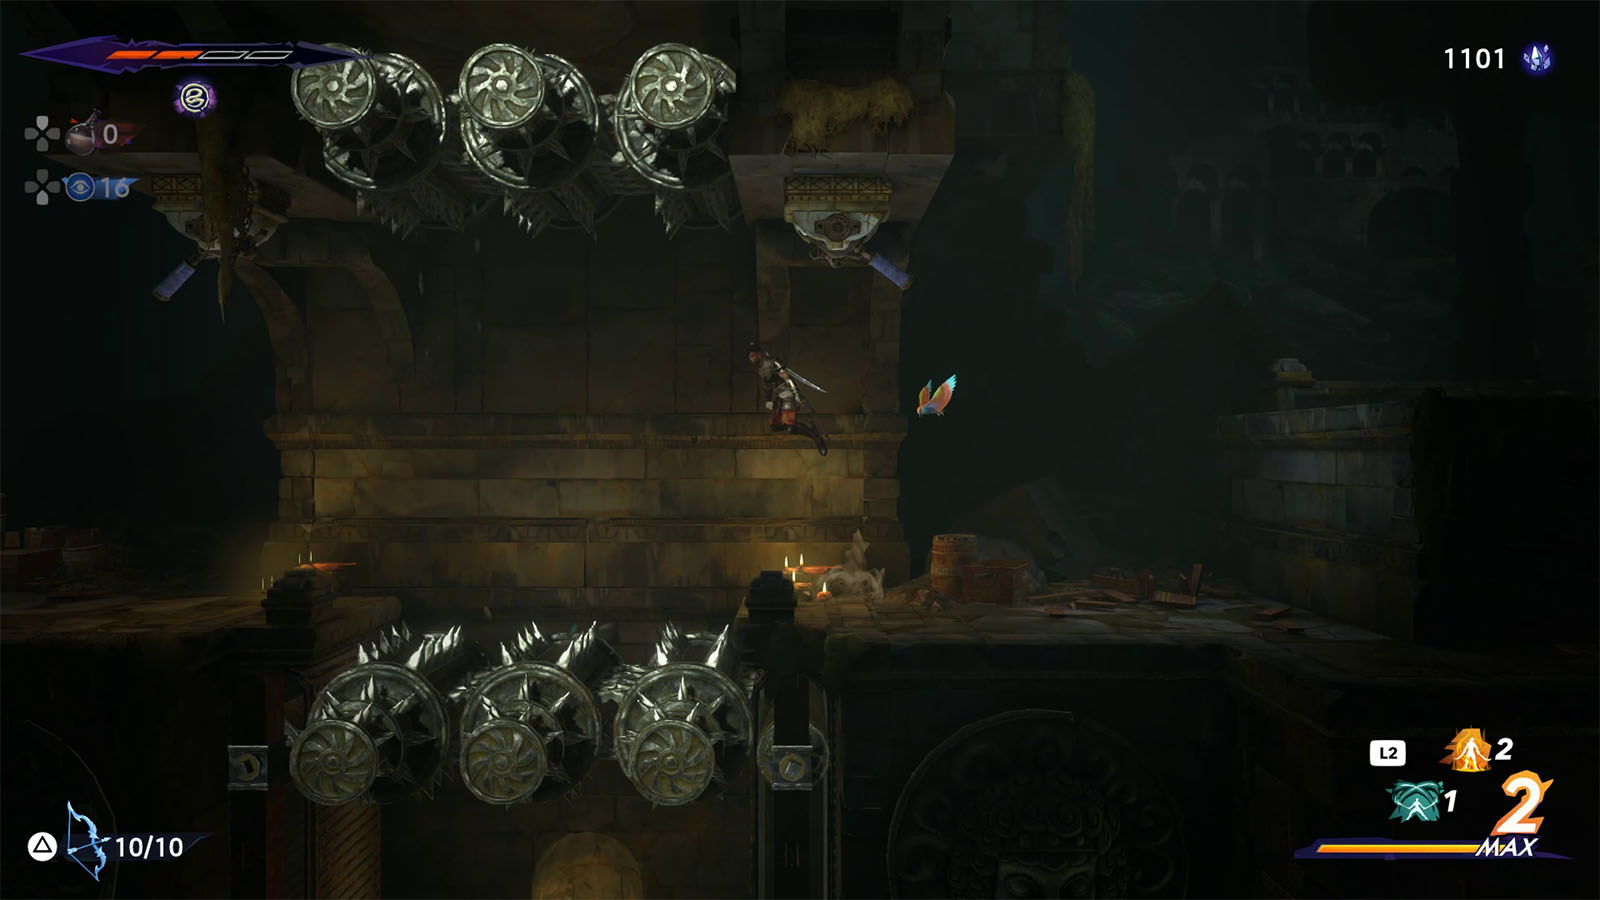
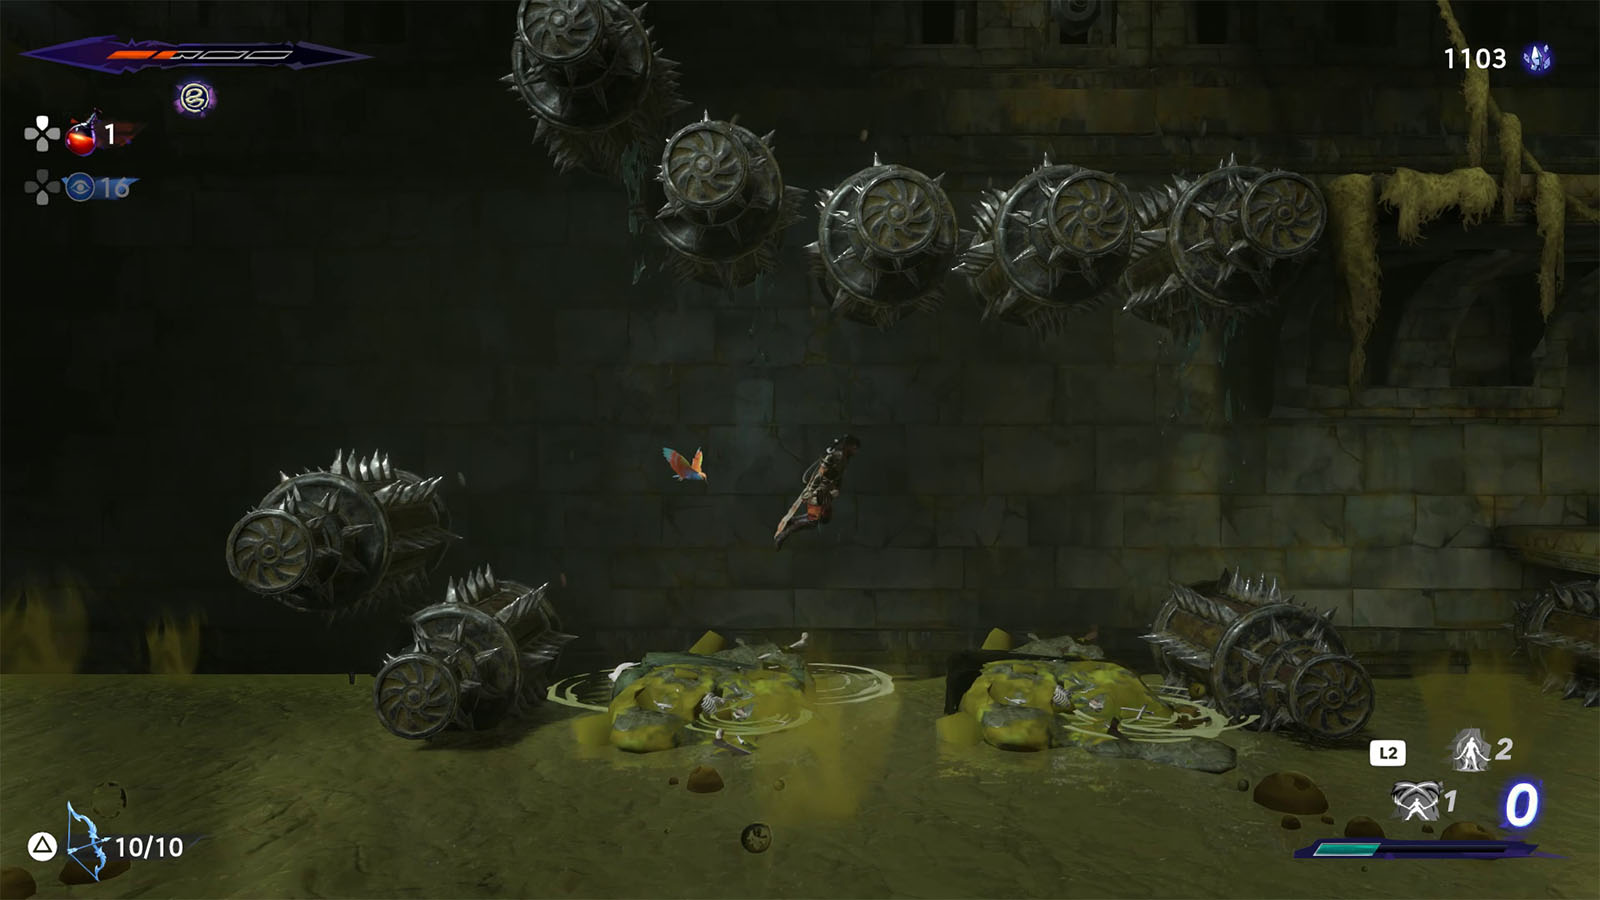
Follow the golden leaves in the next room and try not to get hit by the spikes as you fall down the ramp. There is a Xerxes coin in the middle of the spikes which you can grab with a well-timed dash.
With the coin on hand, continue sliding down to the left and then grab on the rung to retract one of the spikes before falling down.
At the lower level, pay attention to the flowing sludge and time your passing. Be aware that there’s also an enemy that will phase in and out; best to evade this enemy for now and proceed to the lower right level where the Old Man is.
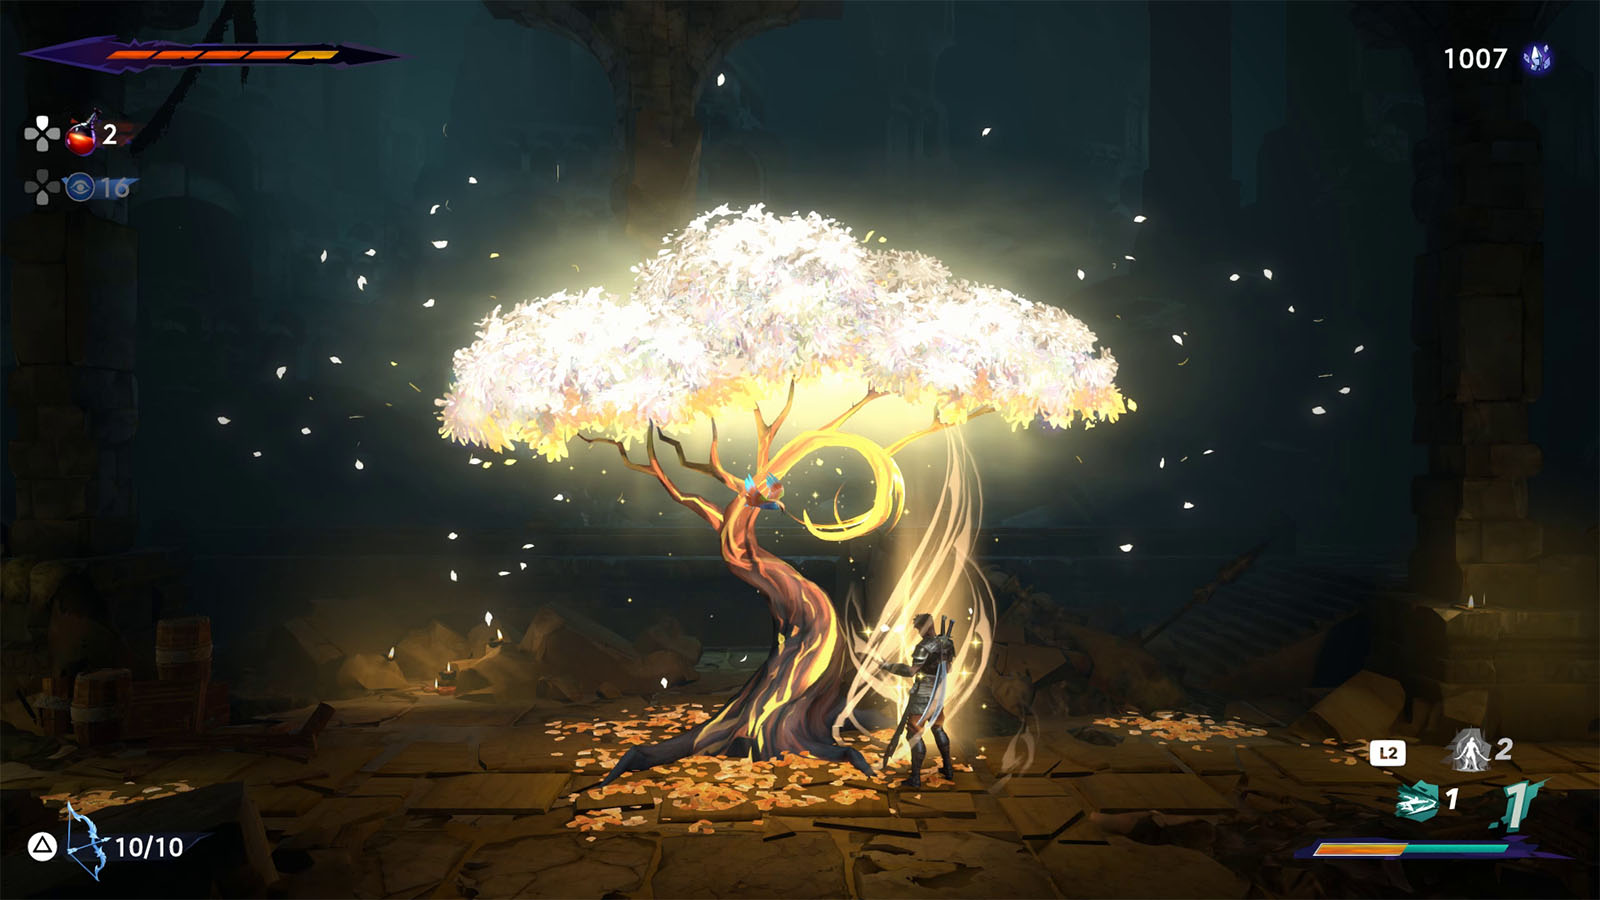
The next room contains another Wak-Wak Tree that you can rest at. Take the opportunity to switch to your Horned Viper amulet if you haven’t yet.
Move towards the right and wall jump to reach the upper platform. Move towards the left to just above the tree to find another rung that will open another path to the level above.
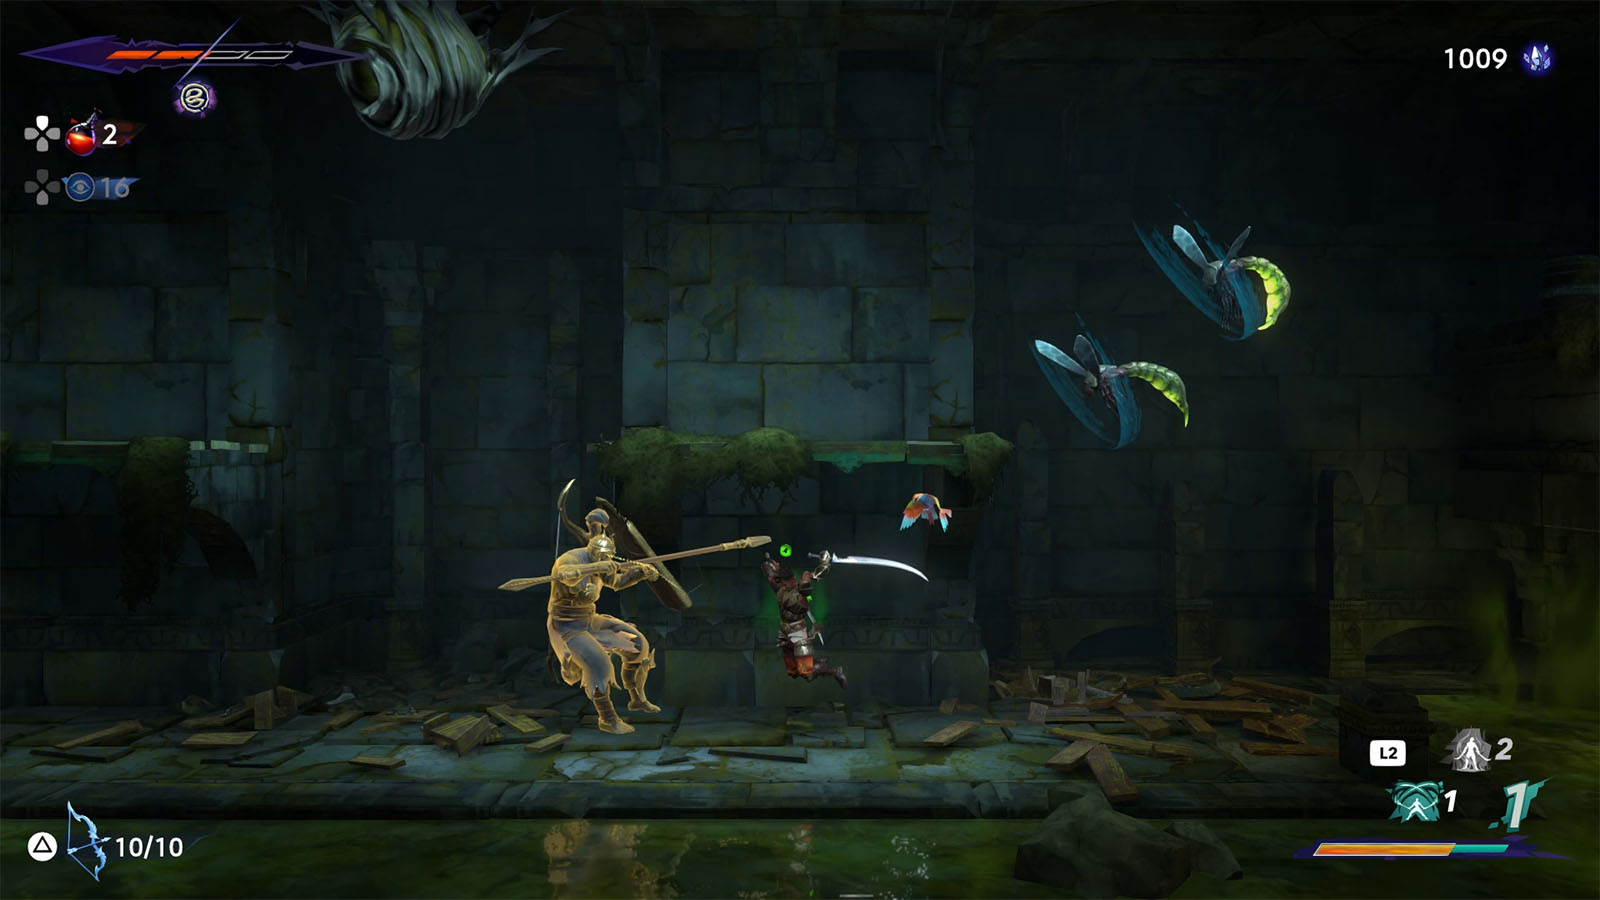

Take this path and you will encounter one of the lost warriors. This fight will be tricky as there are also insect enemies flying around. Once defeated, don’t forget to pickup its insignia. Afterwards, you can circle back to the tree using the other path in case you need to heal up.
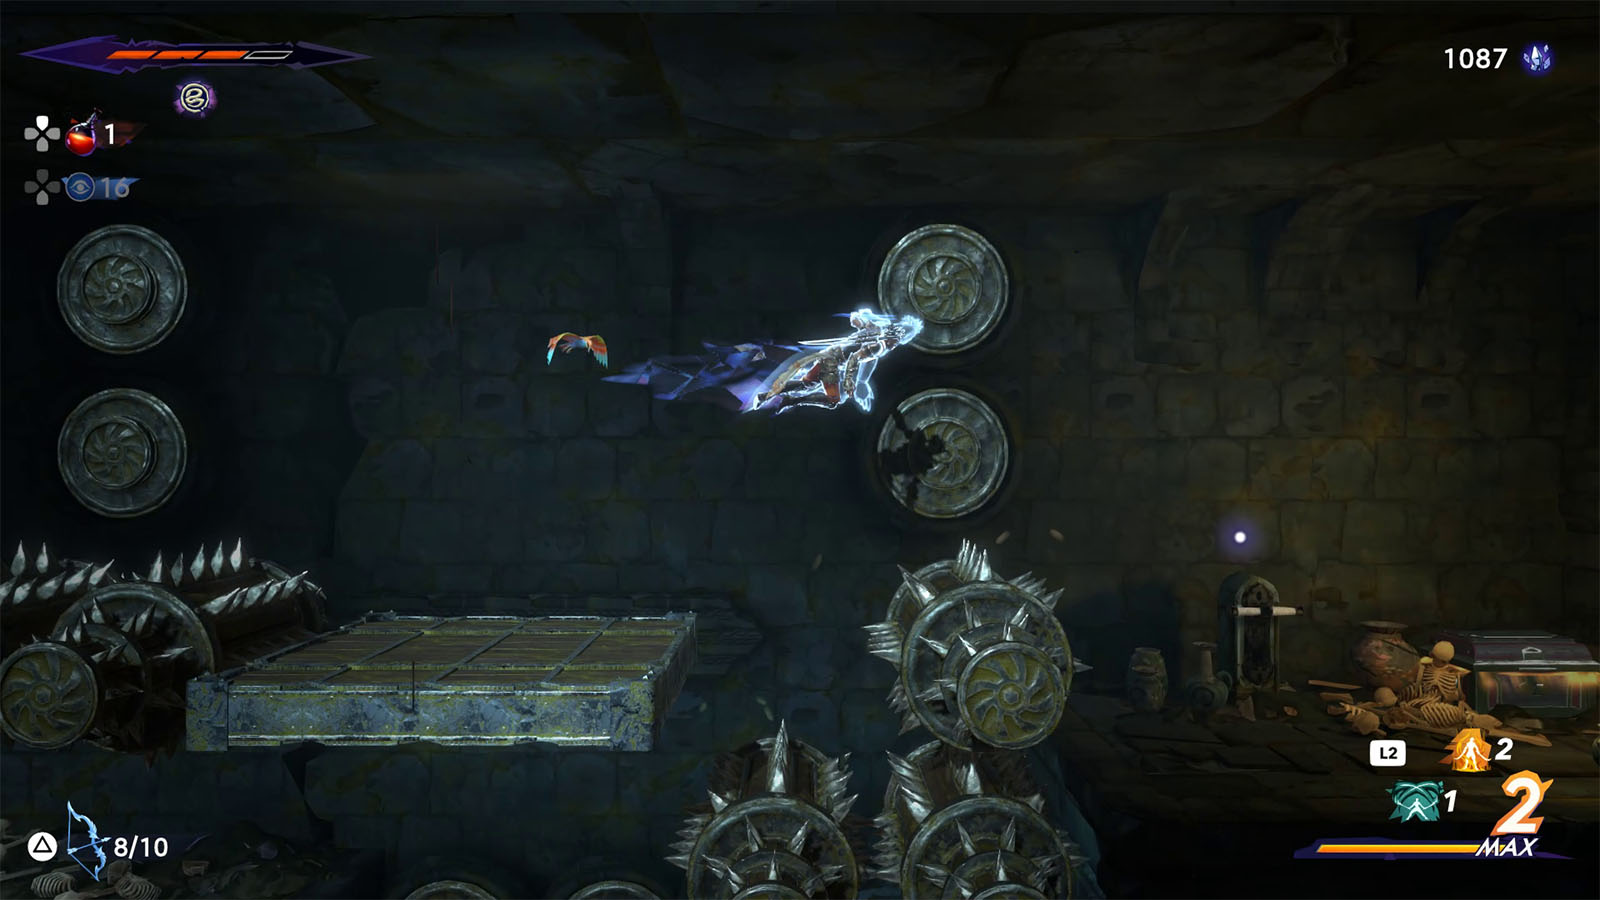
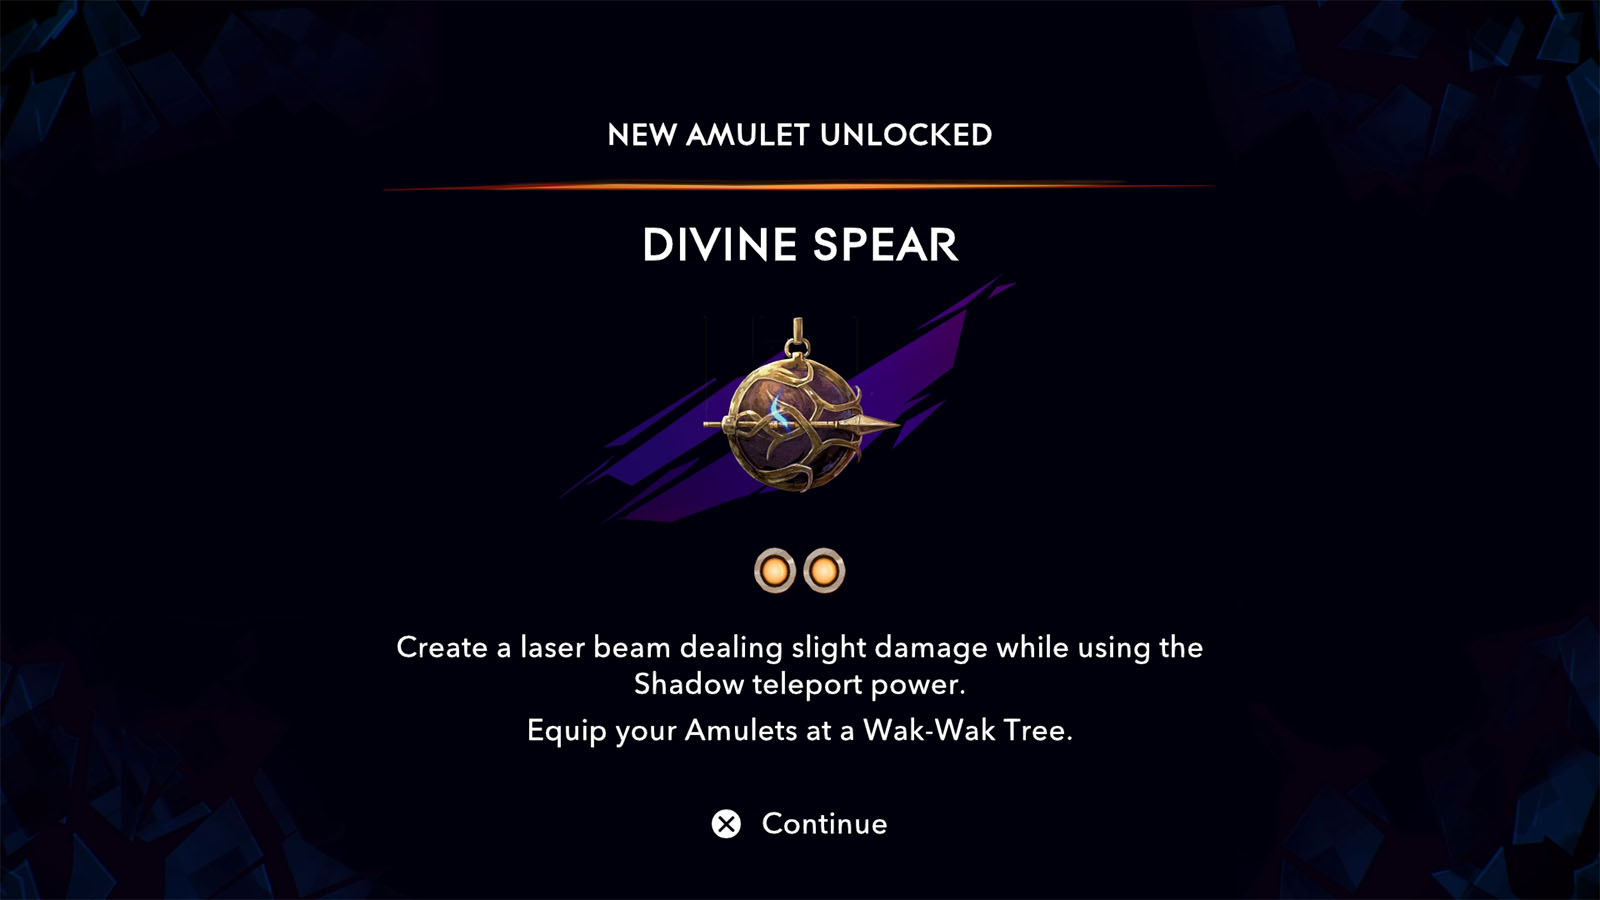
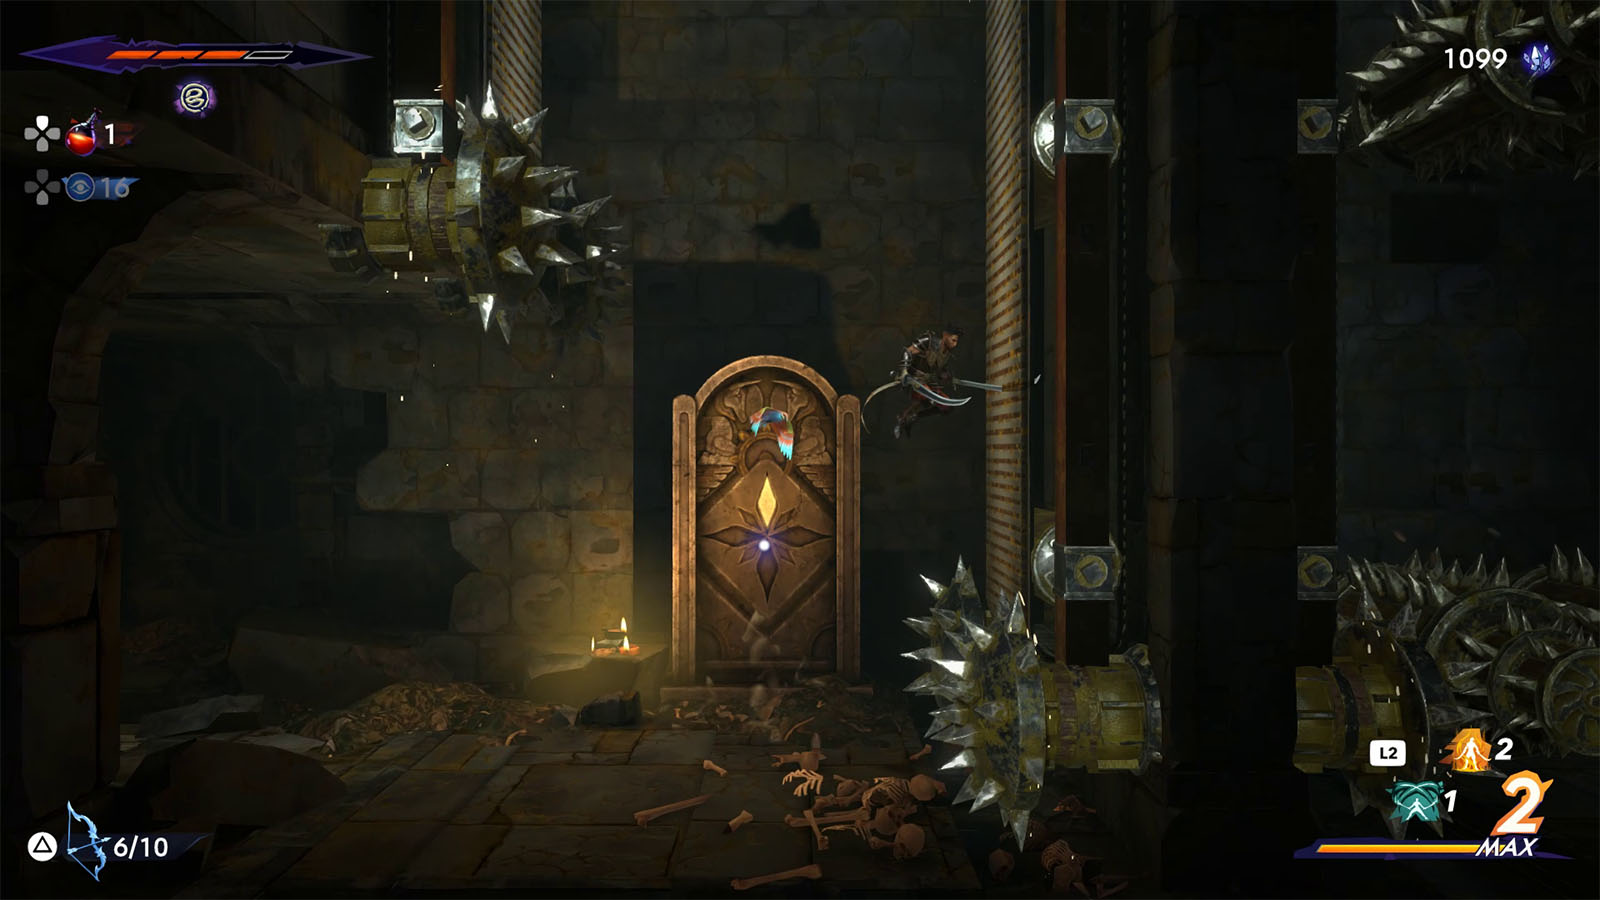
The Old Man is at the lower right path in the next room, but you can take a detour to the lower left path that is lined with rolling spikes to find a chest containing the Divine Spear Amulet which adds a laser beam when using the Shadow teleport power. This will only be useful once you get the power in the later chapter.
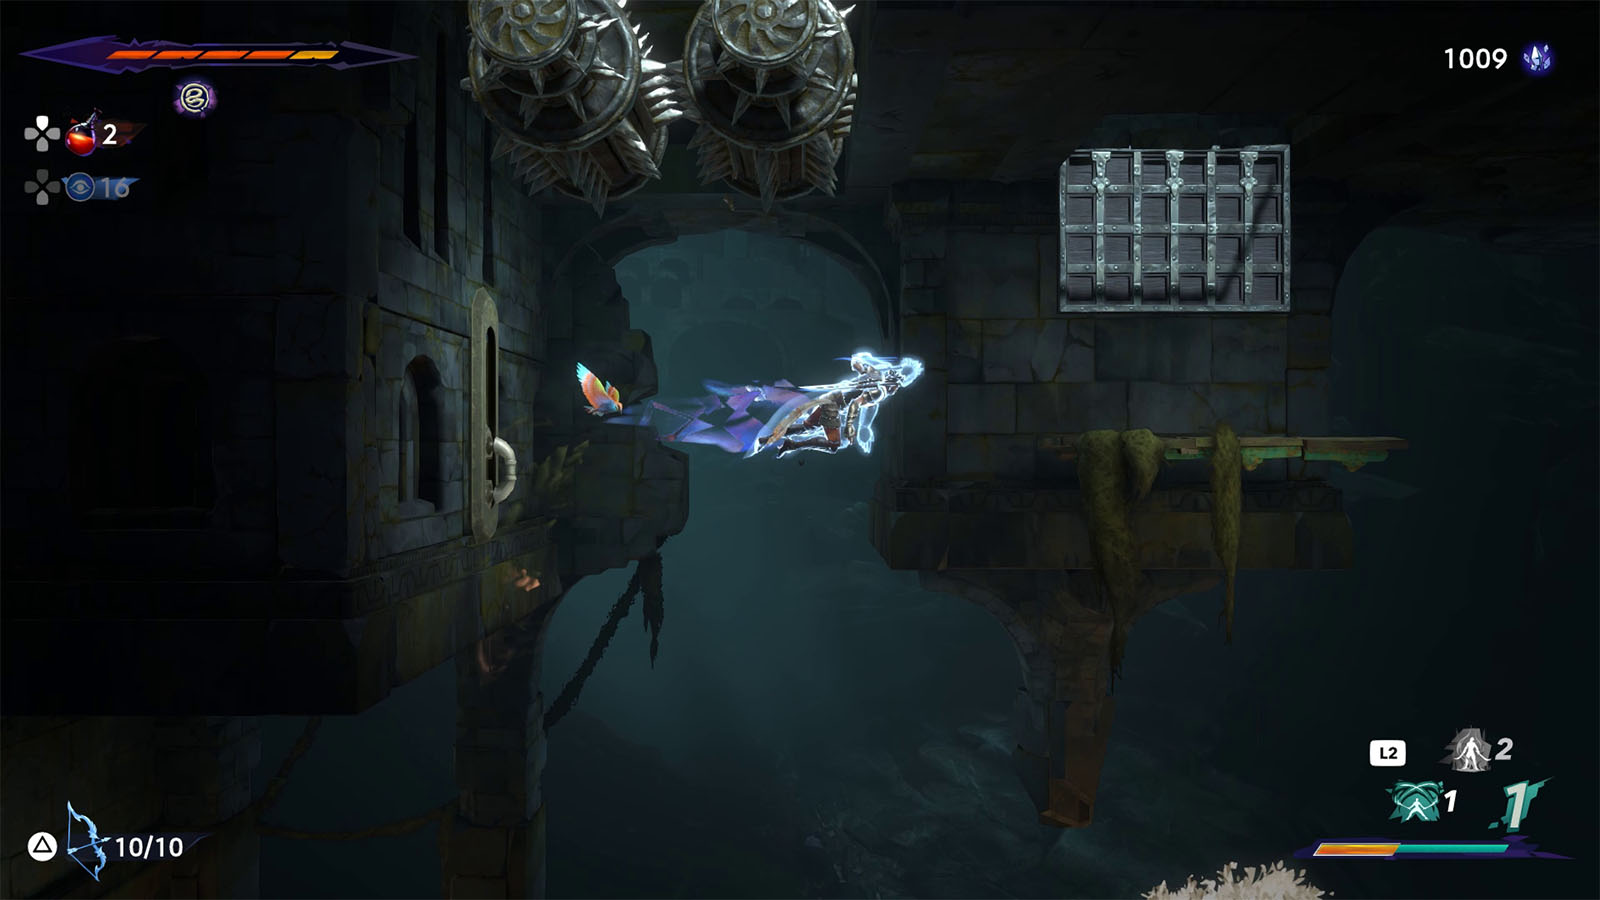
Continue chasing down the Old Man and make your way up the conveyor belts. You’ll soon find the elevator shaft that leads back to the Lower City. You can take this time to head back to the surface and visit The Haven for some upgrades.
The path to the west of the elevator leads back to a previous room. Go back and drop down from the conveyor belts and take the path to a lower floor instead.
Slip through the pouring sewage until you arrive to the other end of the path.
You will see a lever behind a grate on the ceiling. Hit this with your chakram to reverse the turn of the conveyor belt and make them go down. This will help your traversal through the rolling spikes easier.
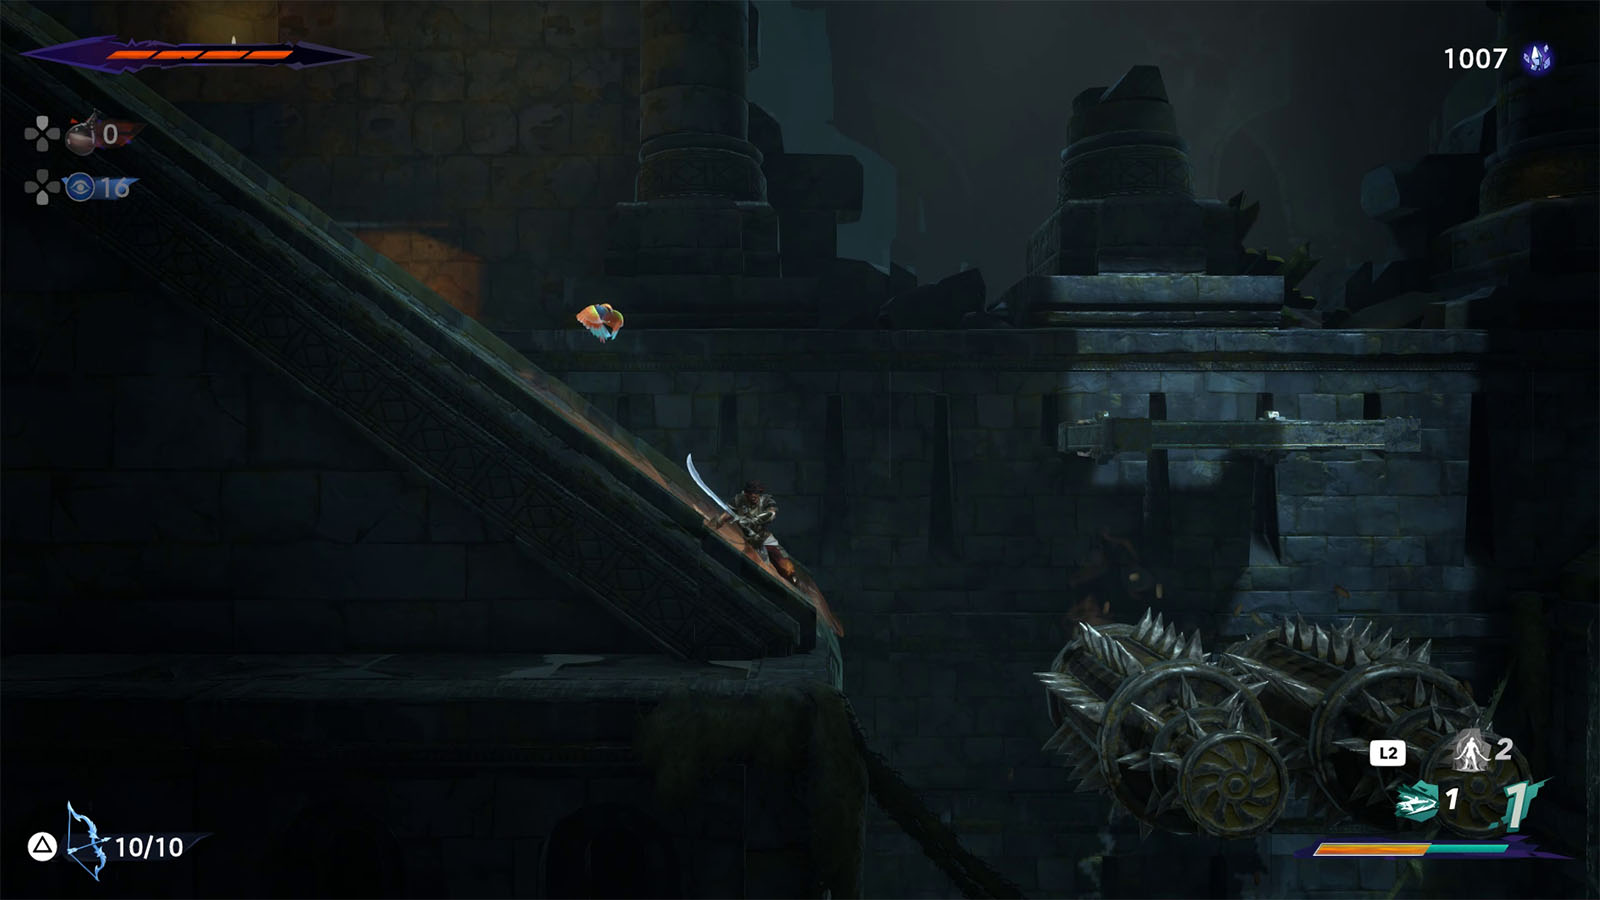
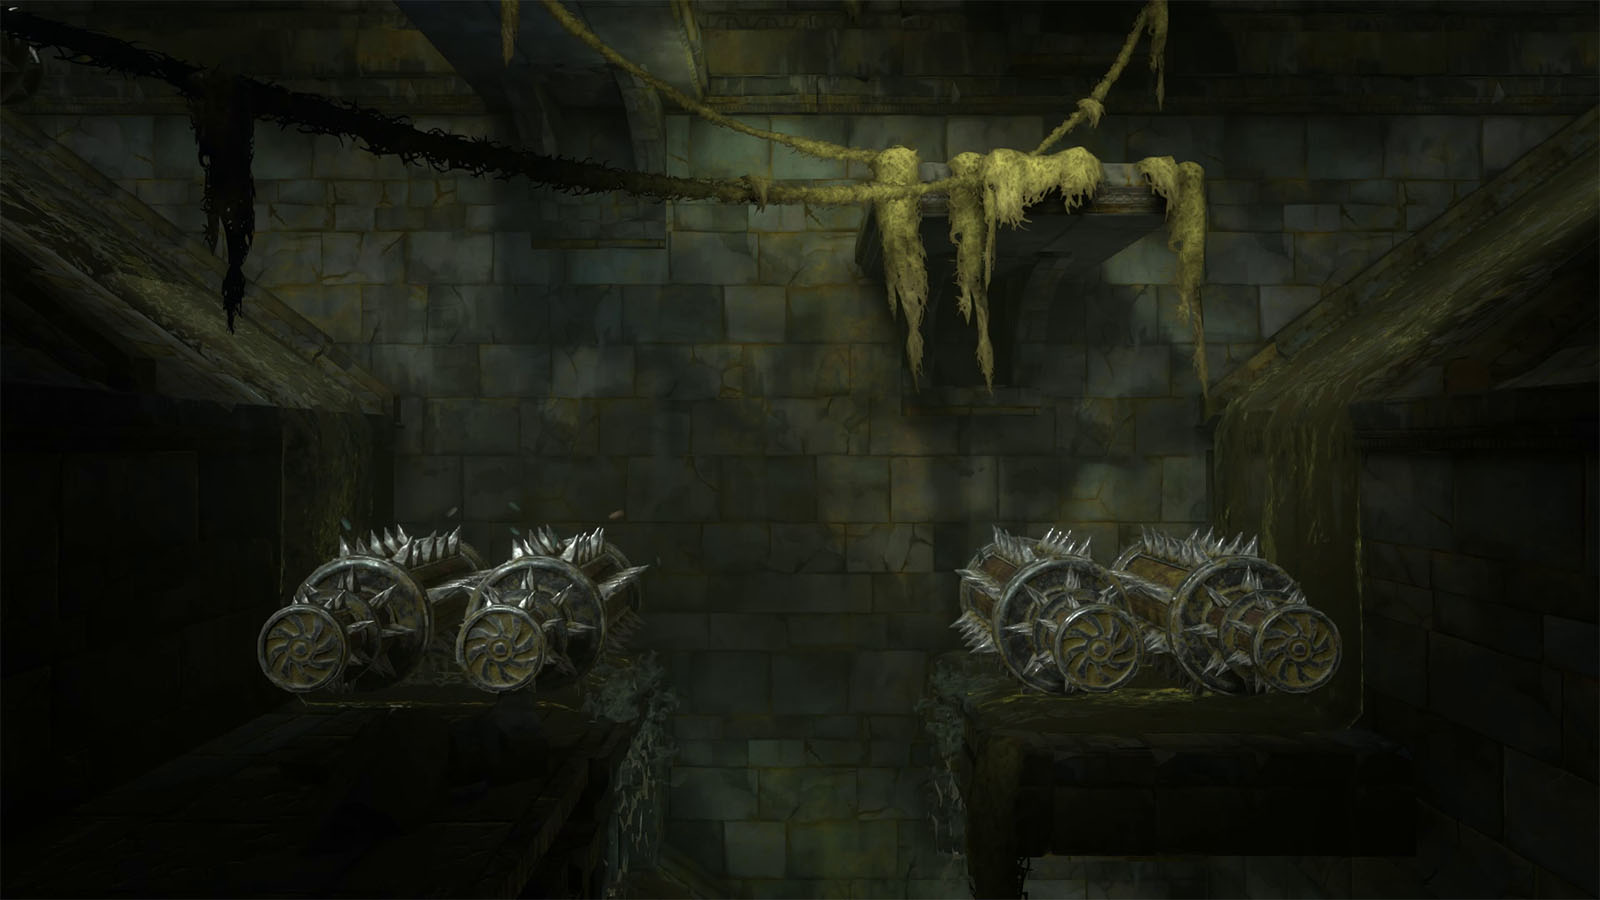
Continue on to the path to the left and you will find more rolling spikes and some levers. You won’t be able to get past the spikes that block the path below just yet, so take note of this path for now and head west.
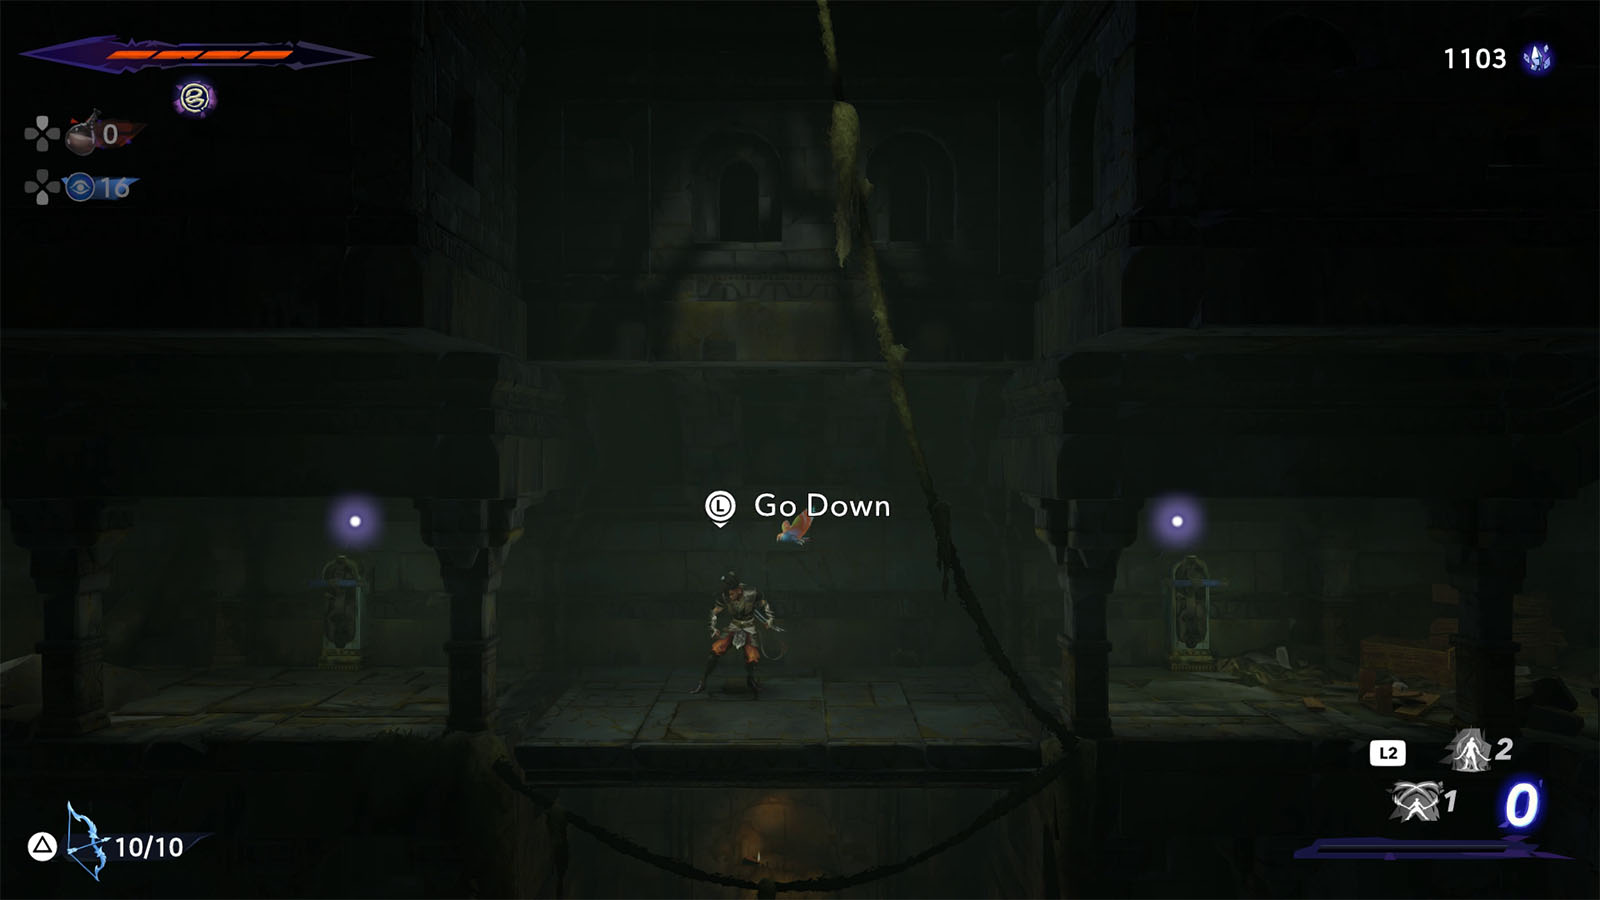
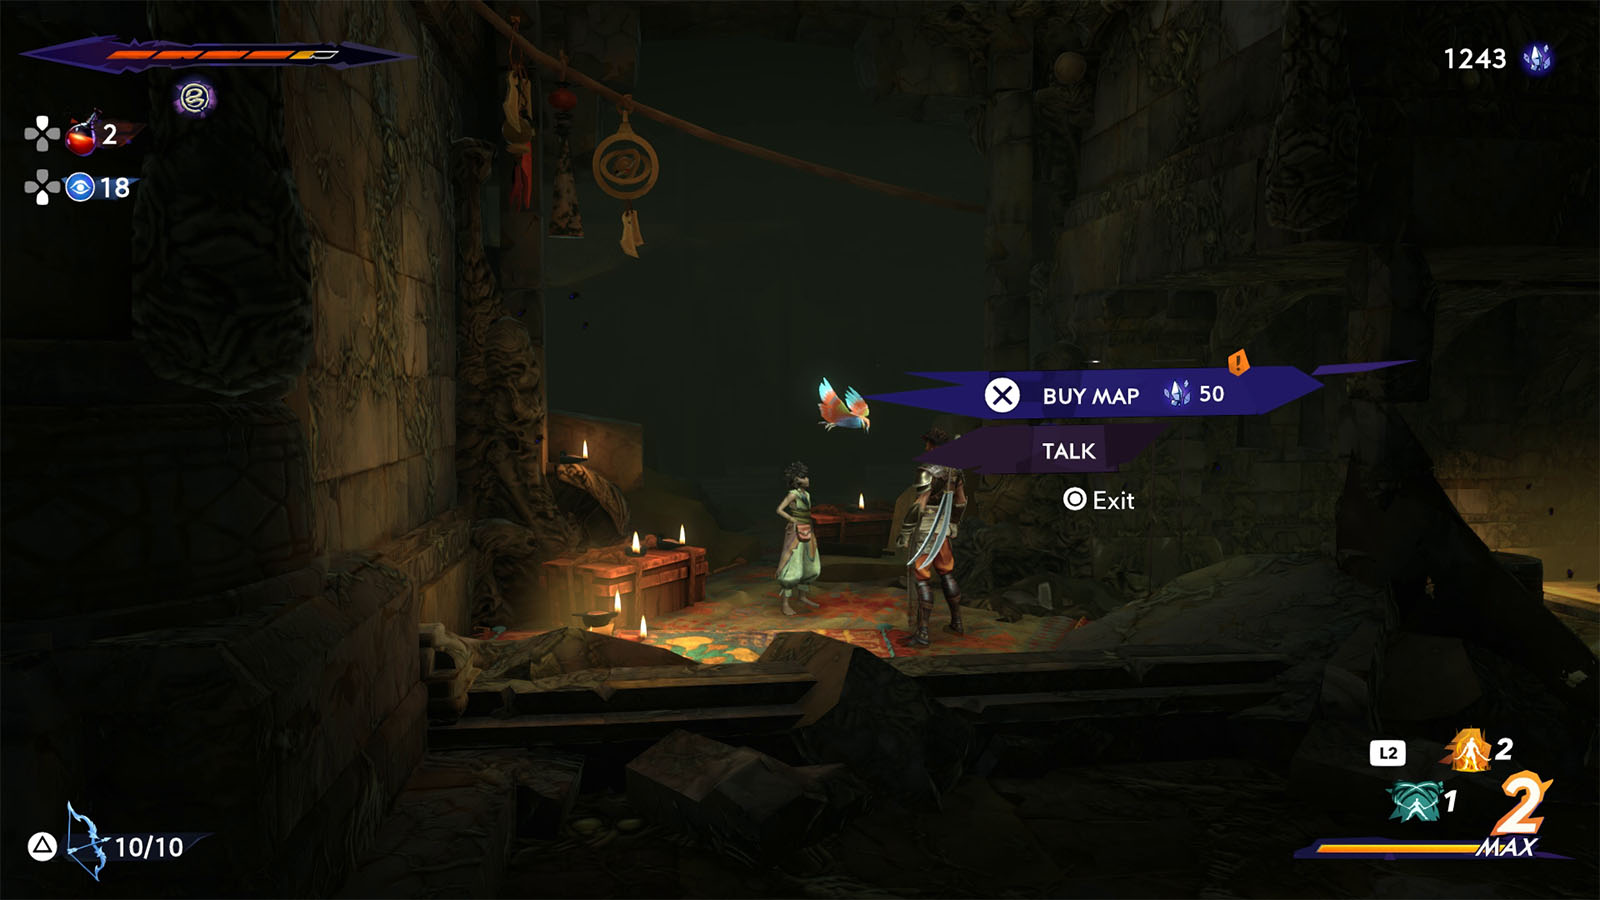
The Old Man runs into the next area which is a different elevator shaft. Take the elevator down, and once it stops make it go back up, but exit the elevator quickly. This will give you access to the bottom level where Fariba is at and you can buy the Depths map.
Go back to the upper level and follow the golden breeze to get to the tree. You will see that the Old Man will move to the opposite path which you can follow once you’ve visited the tree.
The next room is a timed challenge as you will need to get through the obstacles and make it to the top of the room before the room gets flooded with sewage.
Pay attention to the rising sewage as solid mounds will pop out of it at certain points, providing you a platform to stand on. Your path through the room will be snaking upwards, and once you reach the top, pull the lever to make the sewage go back down.
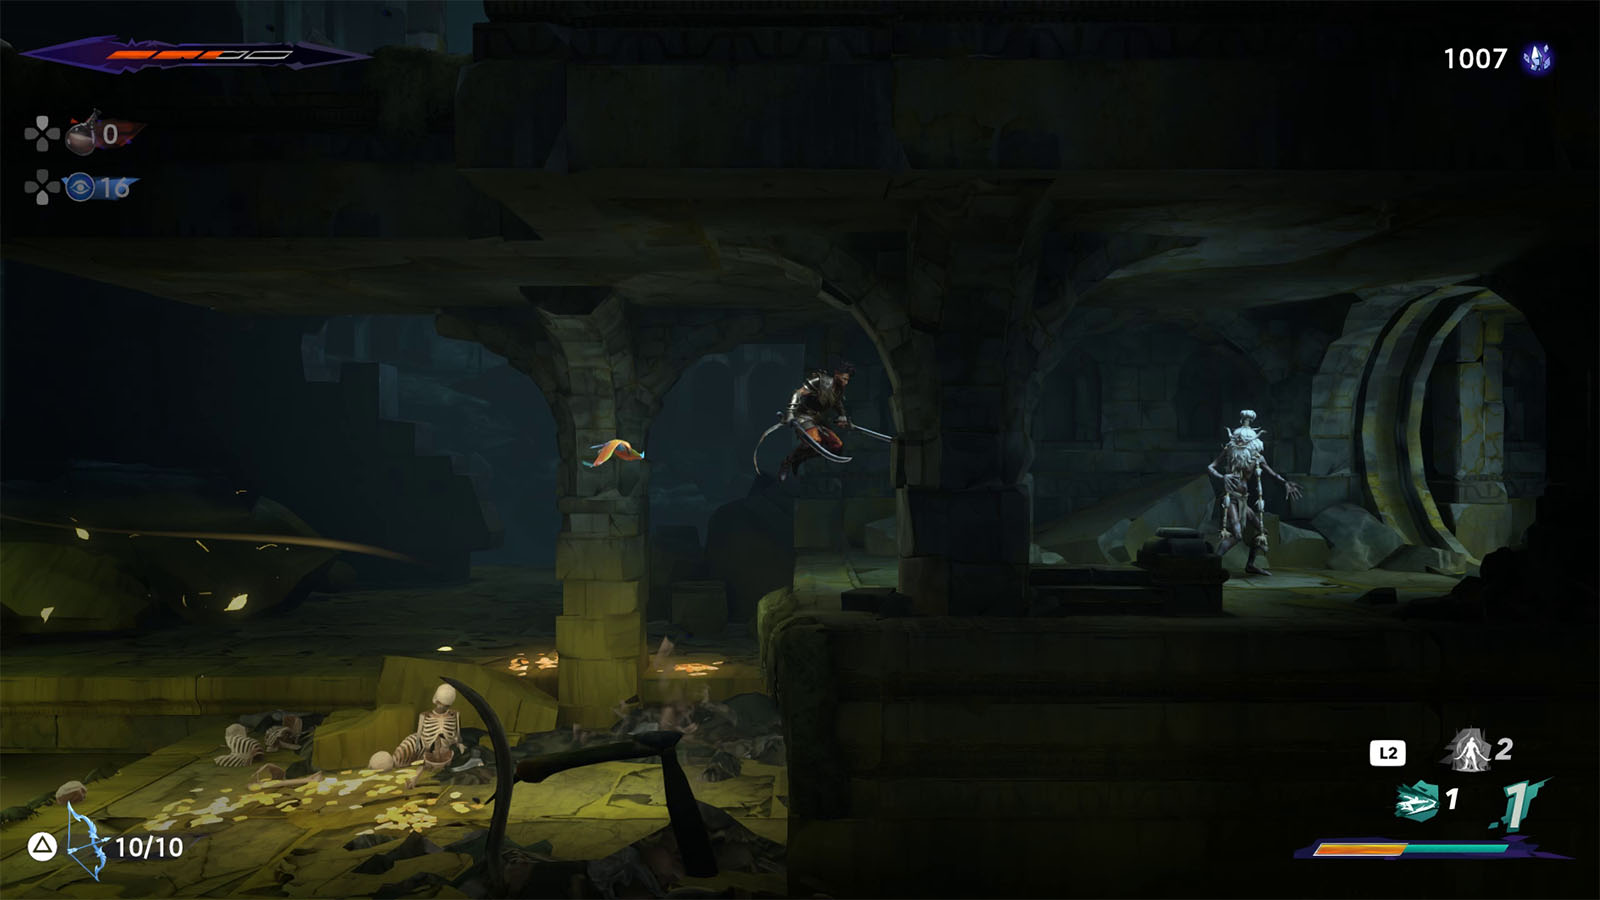
Go down to the very bottom where a path has been opened. Continue on to the right path where you will find another tree. Just up ahead is the Old Man who once again moves into another room.
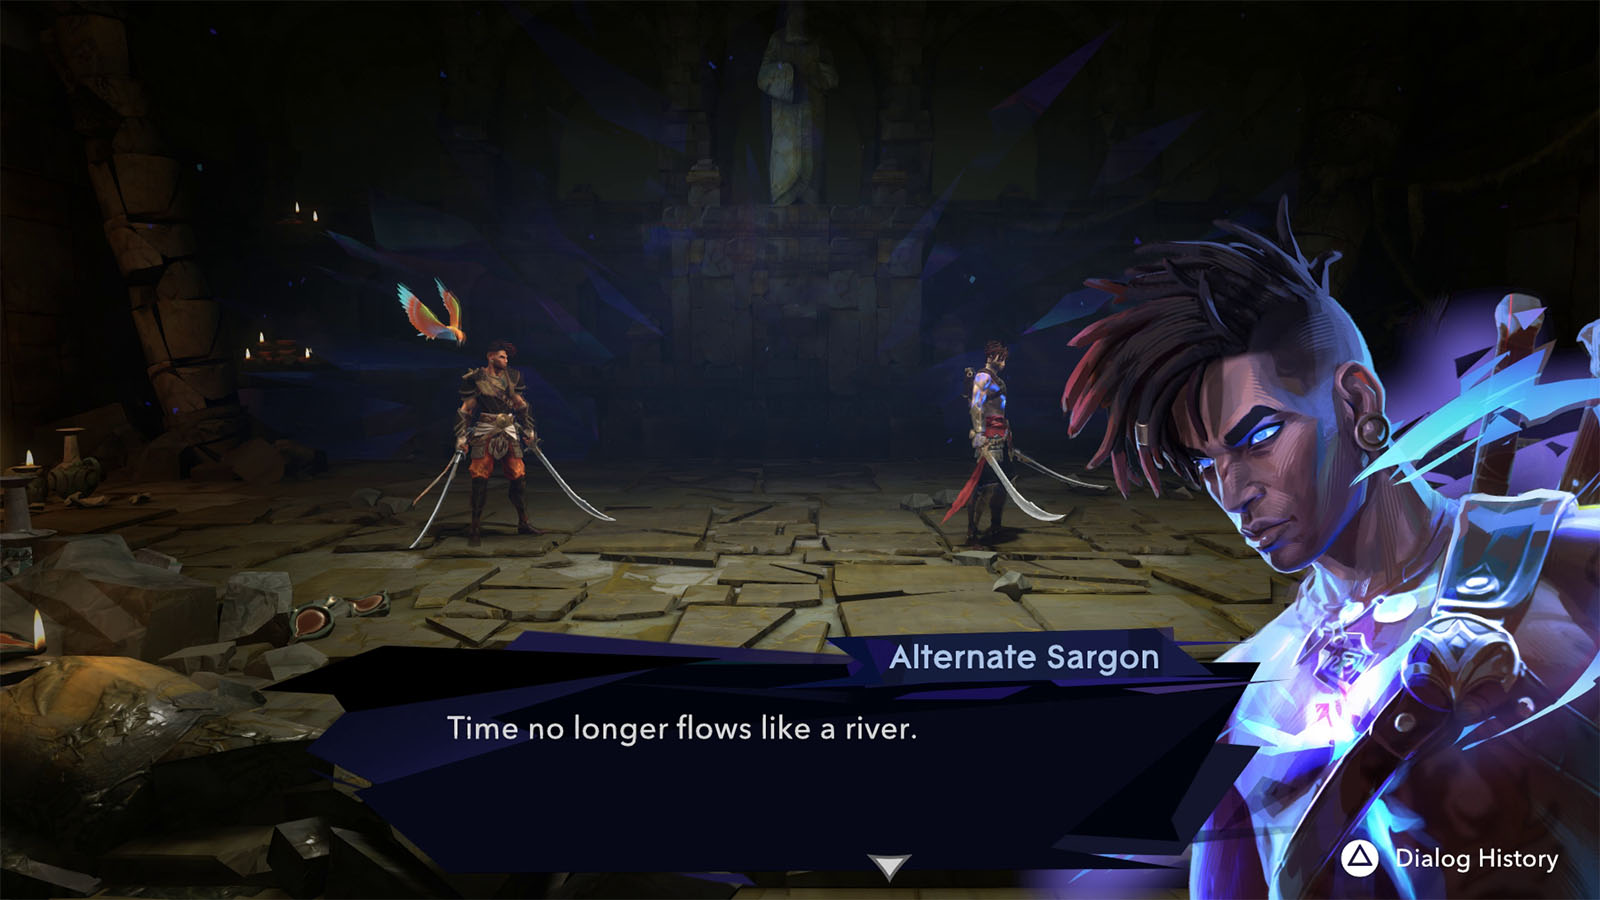
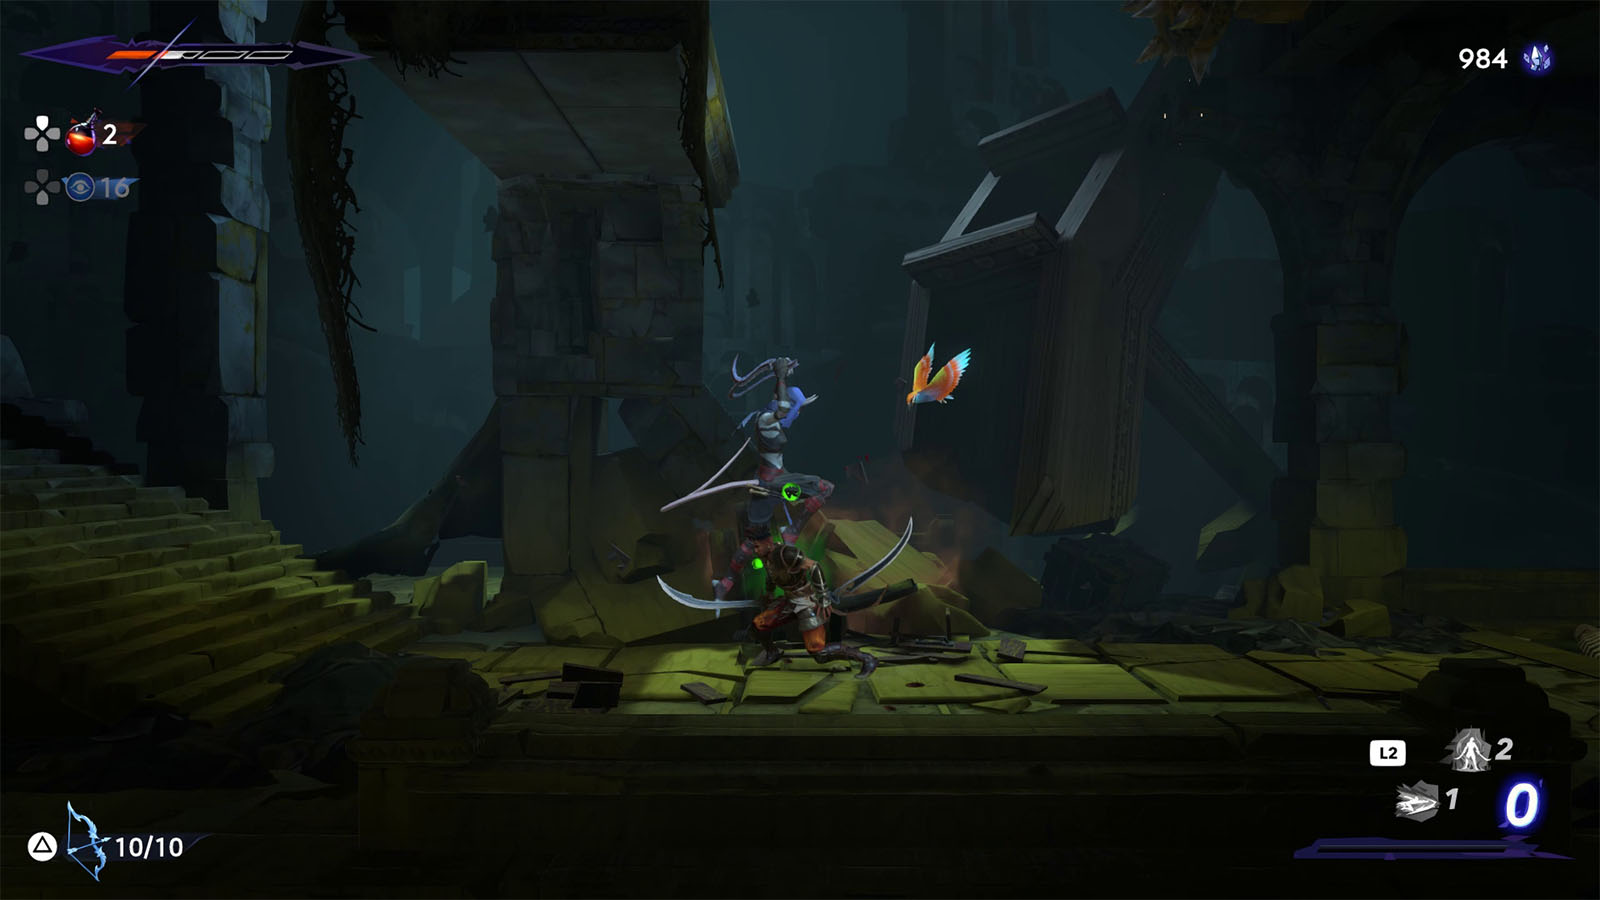
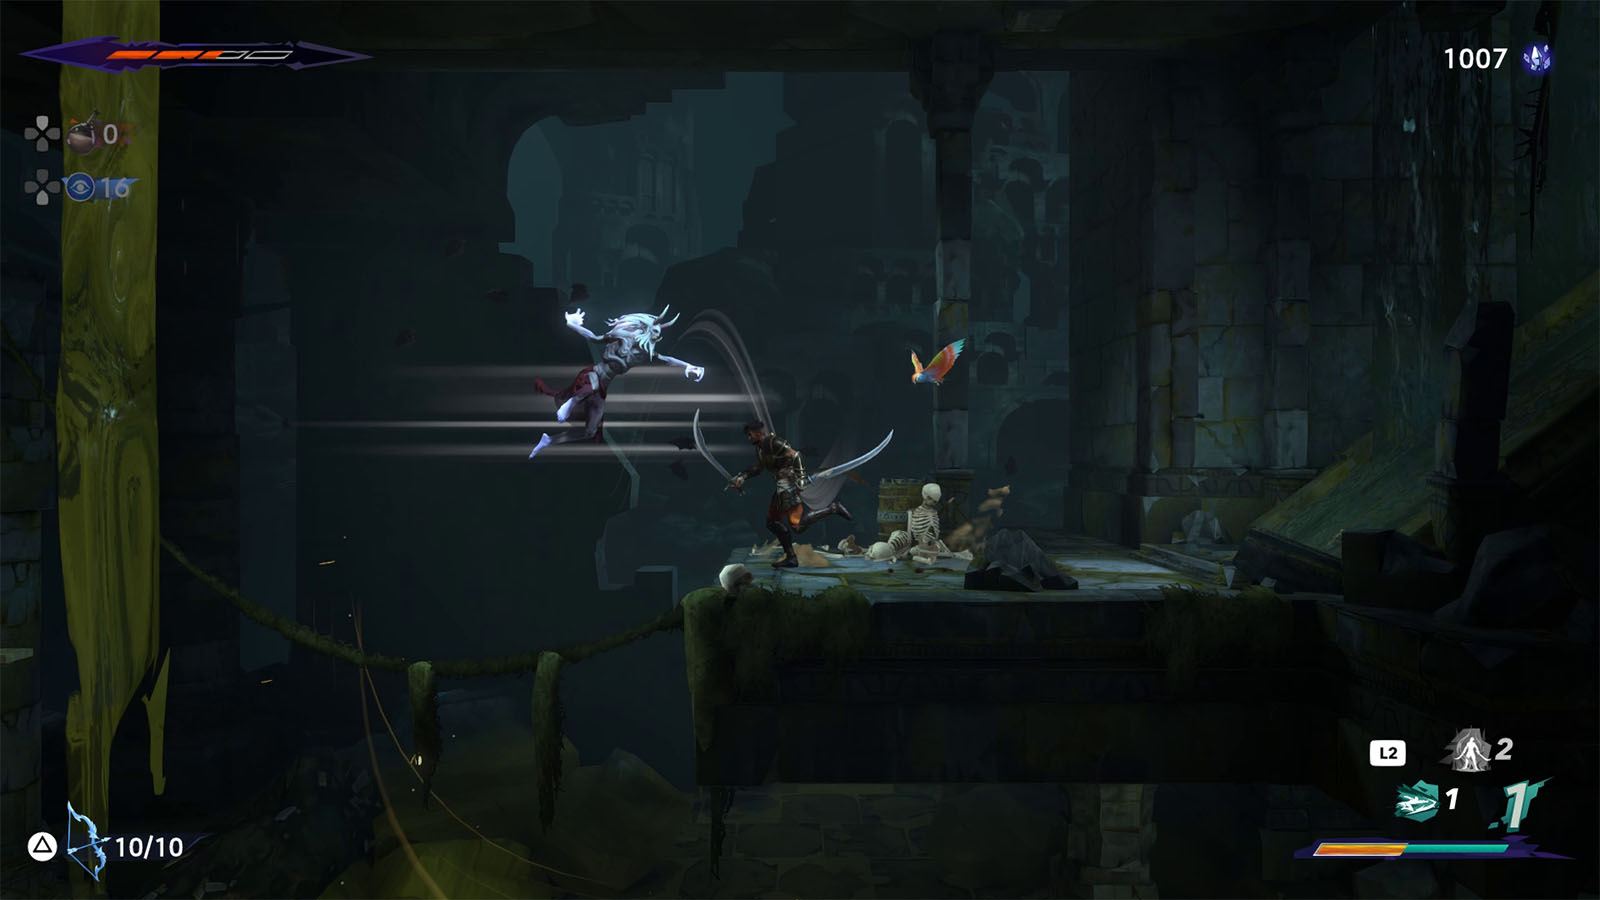
In this next room, you will find another Alternate Sargon who demands to get your Simurgh powers and engages with you to a fight.
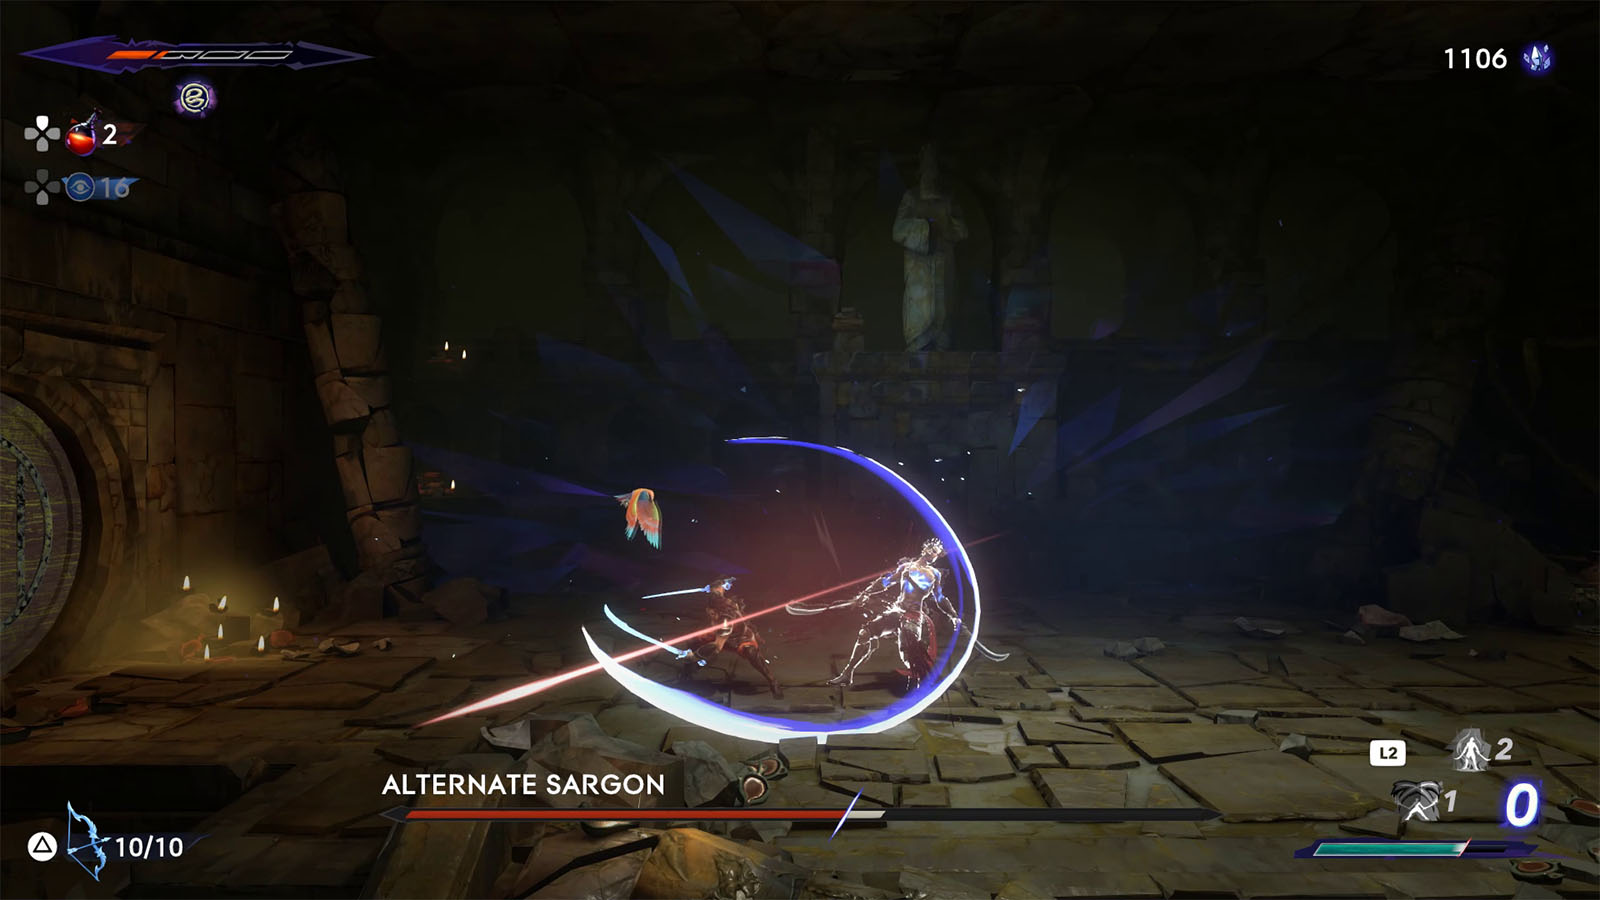
How to defeat Alternate Sargon #2
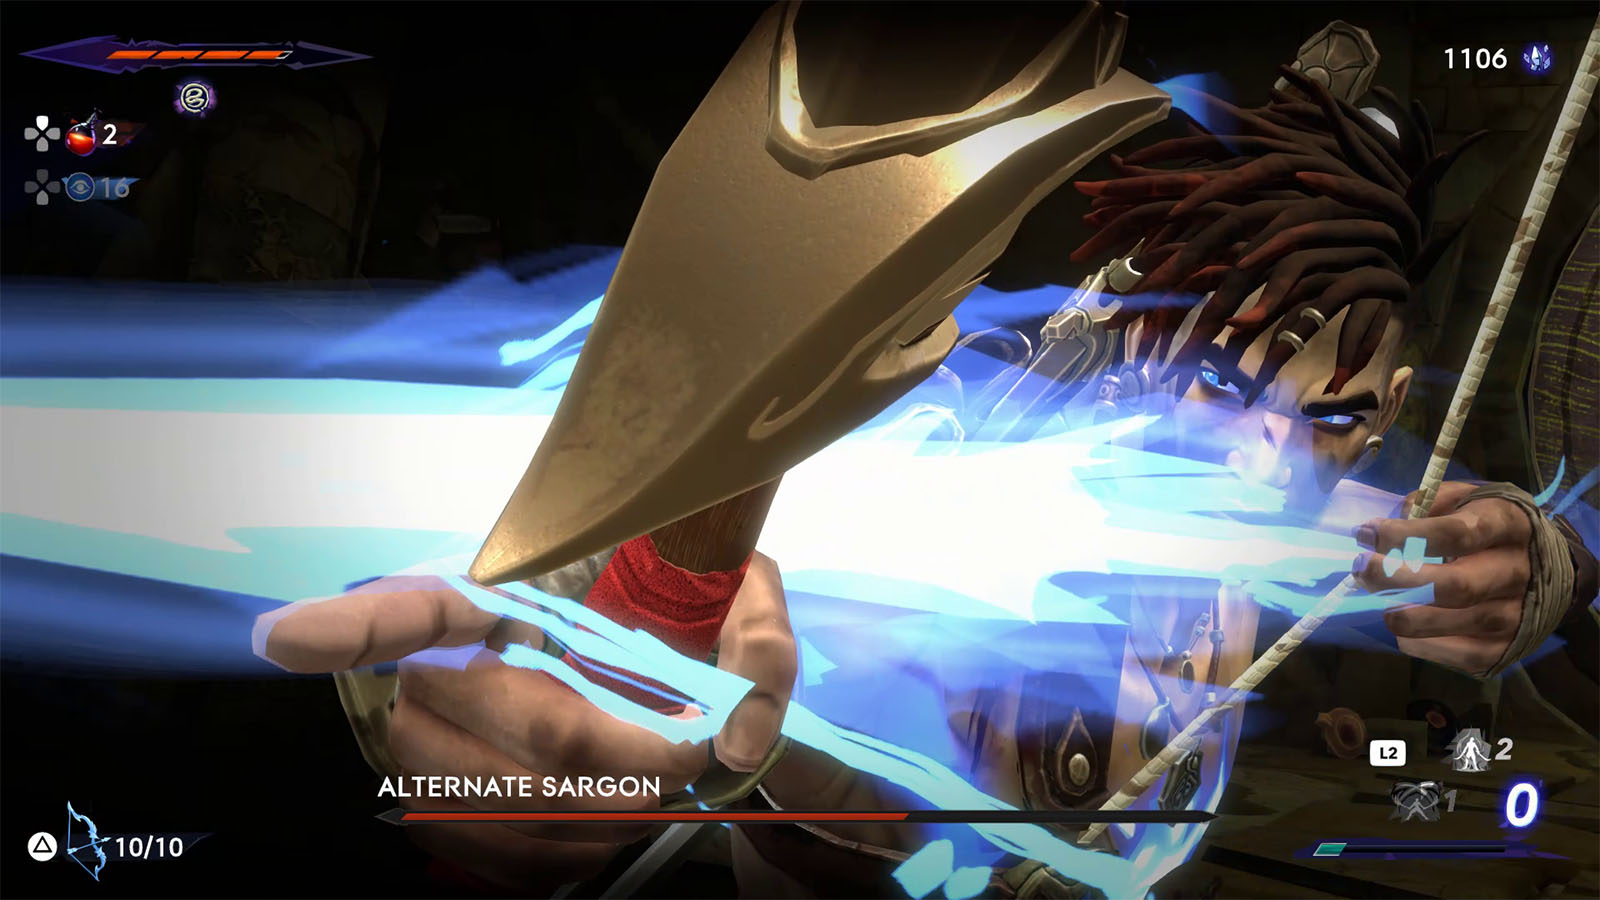
Just like the previous Alternate Sargon, this version of you has a special ability, although it does not possess the one that you received from the former. Focus on parrying its attacks to get openings, then back off once it regains its stance. Its special ability is the Arash’s Ray which allows it to shoot supercharged arrow at you. It is quite challenging to evade such a huge attack, so try to have enough health for it just in case.
Once the Alternate Sargon has been defeated, you will be rewarded with 160 crystals and you can absorb the Arash’s Ray Athra Surge.
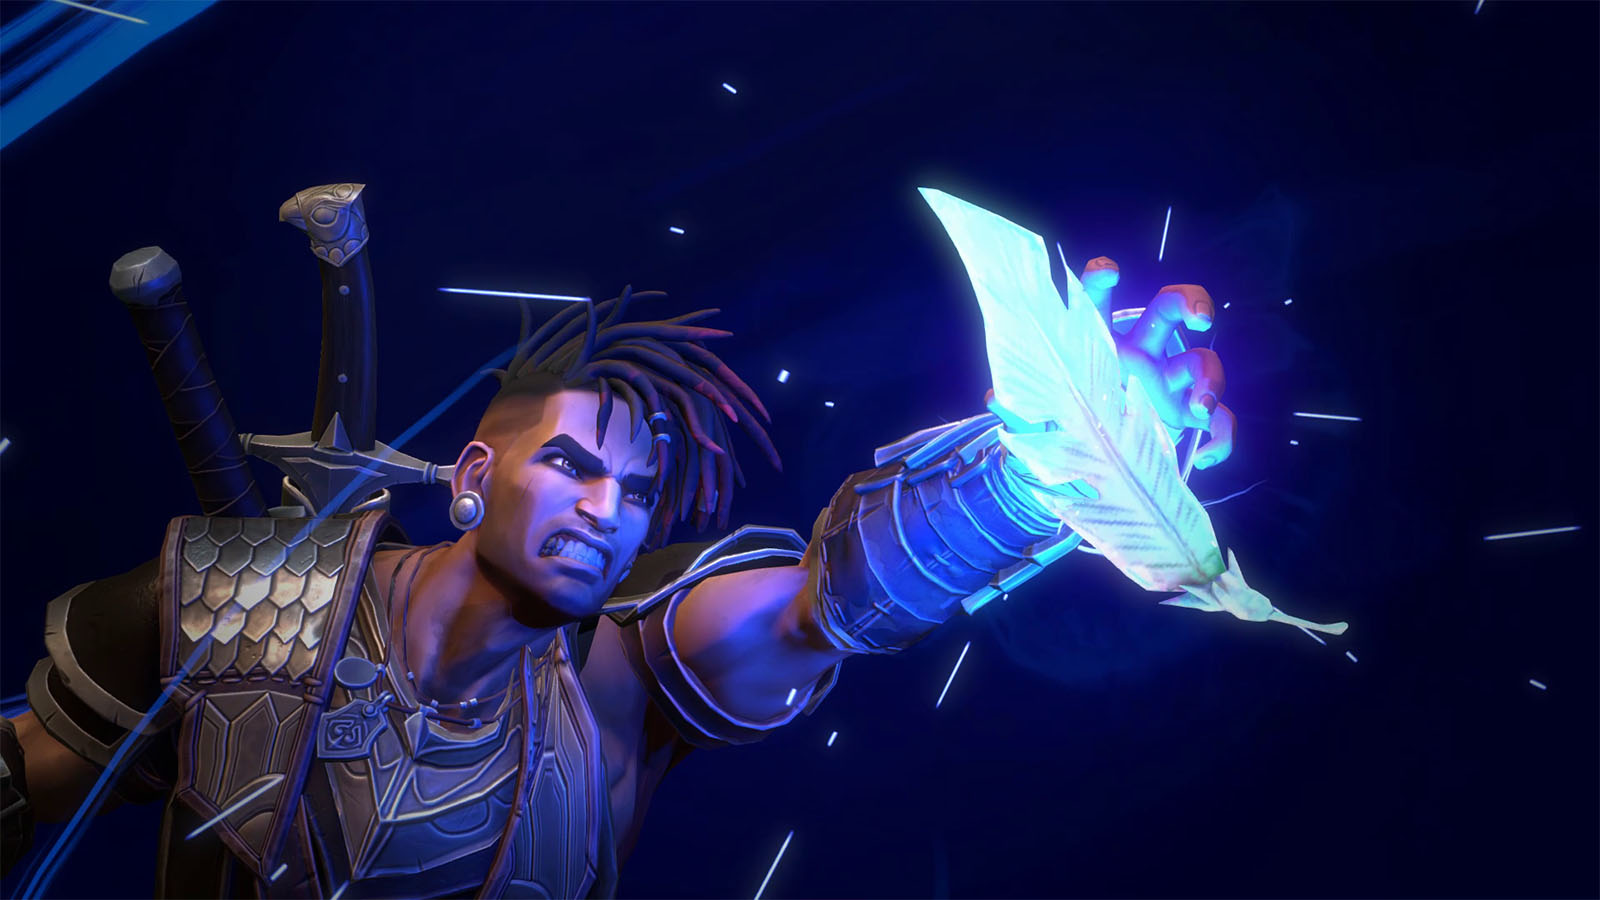
After the fight, proceed to the room to the right to receive another Simurgh Power, the Shadow of the Simurgh. This ability allows you to create a still clone of yourself to which you can use to revert back to in a pinch. It can also be used to copy an action as it is being performed, allowing you to do a charged slash back to back.
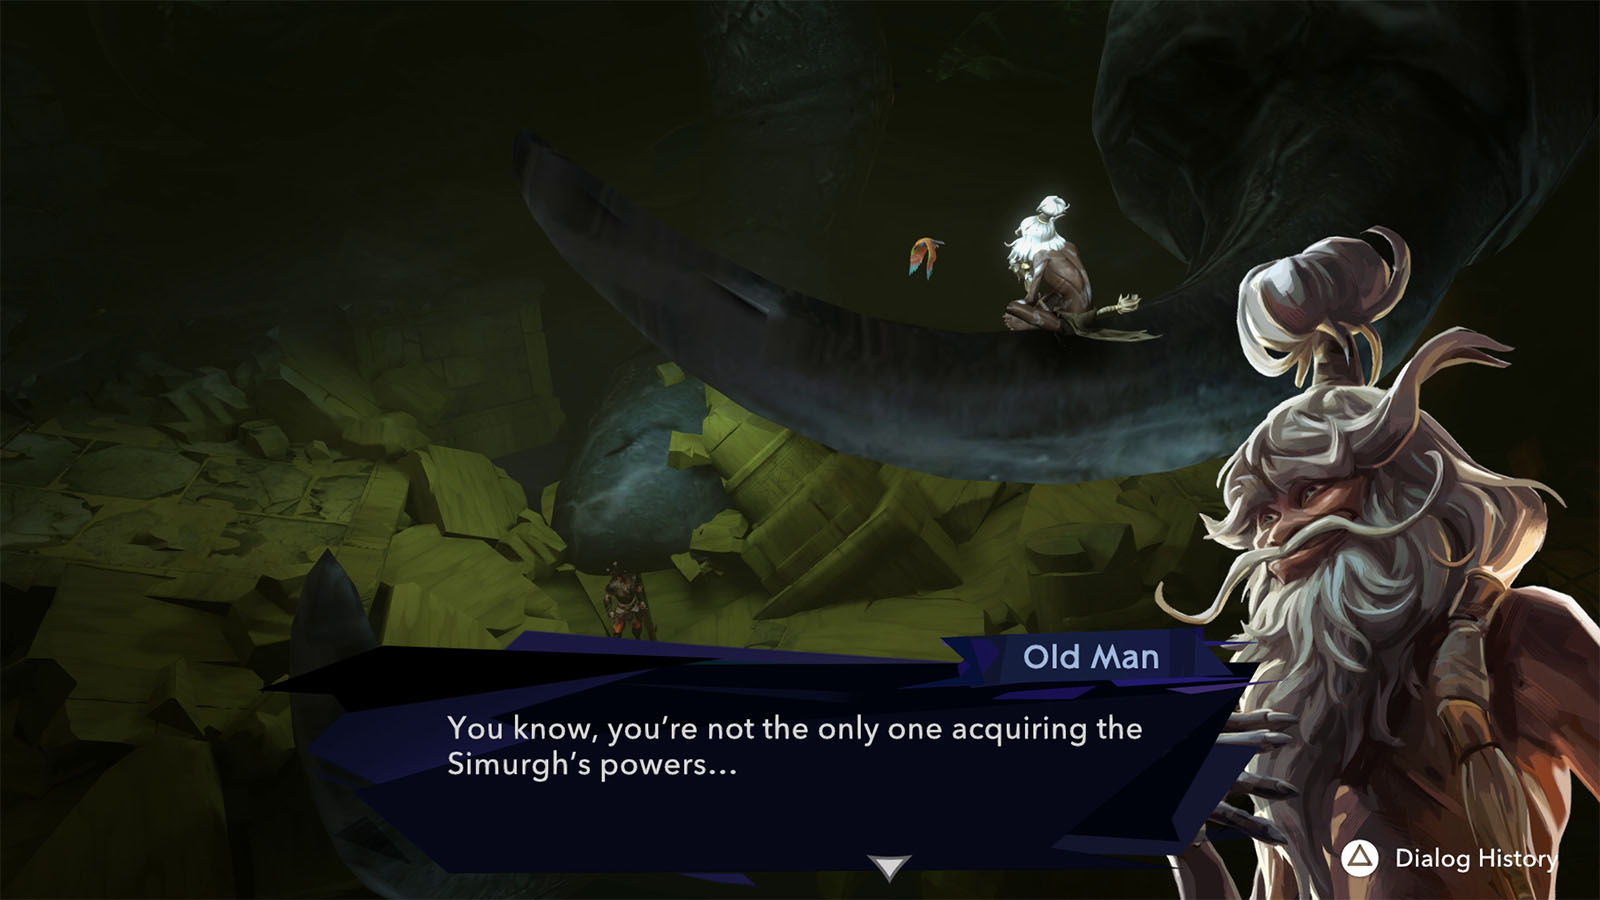
Head back to the previous path where you will meet the Old Man, revealing his name as Alkara, once more who tells you that you have to acquire more of the Simurgh’s powers to be able to save a friend. He then points you to the Pit of the Eternal Sands to confront a creature of the darkness. He also reveals that you had the Eye of the Wanderer all along, allowing you to use the map once more.
The chapter then ends with your objectives leading you to head back up to the surface.
See next: Chapter 4 – The Path to Sand Prison


