
The Symphony of Death Destiny 2 Exotic Quest is one of several quests you get access to after completing the Shadowkeep campaign. At the end of the quest awaits the Deathbringer Exotic Rocket Launcher – a unique heavy weapon capable of launching multiple void orbs that track targets.
This guide will tell you everything you need to know about getting completing the Symphony of Death Destiny 2 quest in 2023. But before we go any further, it should be noted that to have access to the Exotic Quest, you must first possess the Shadowkeep DLC.
How to Start the Symphony of Death Quest
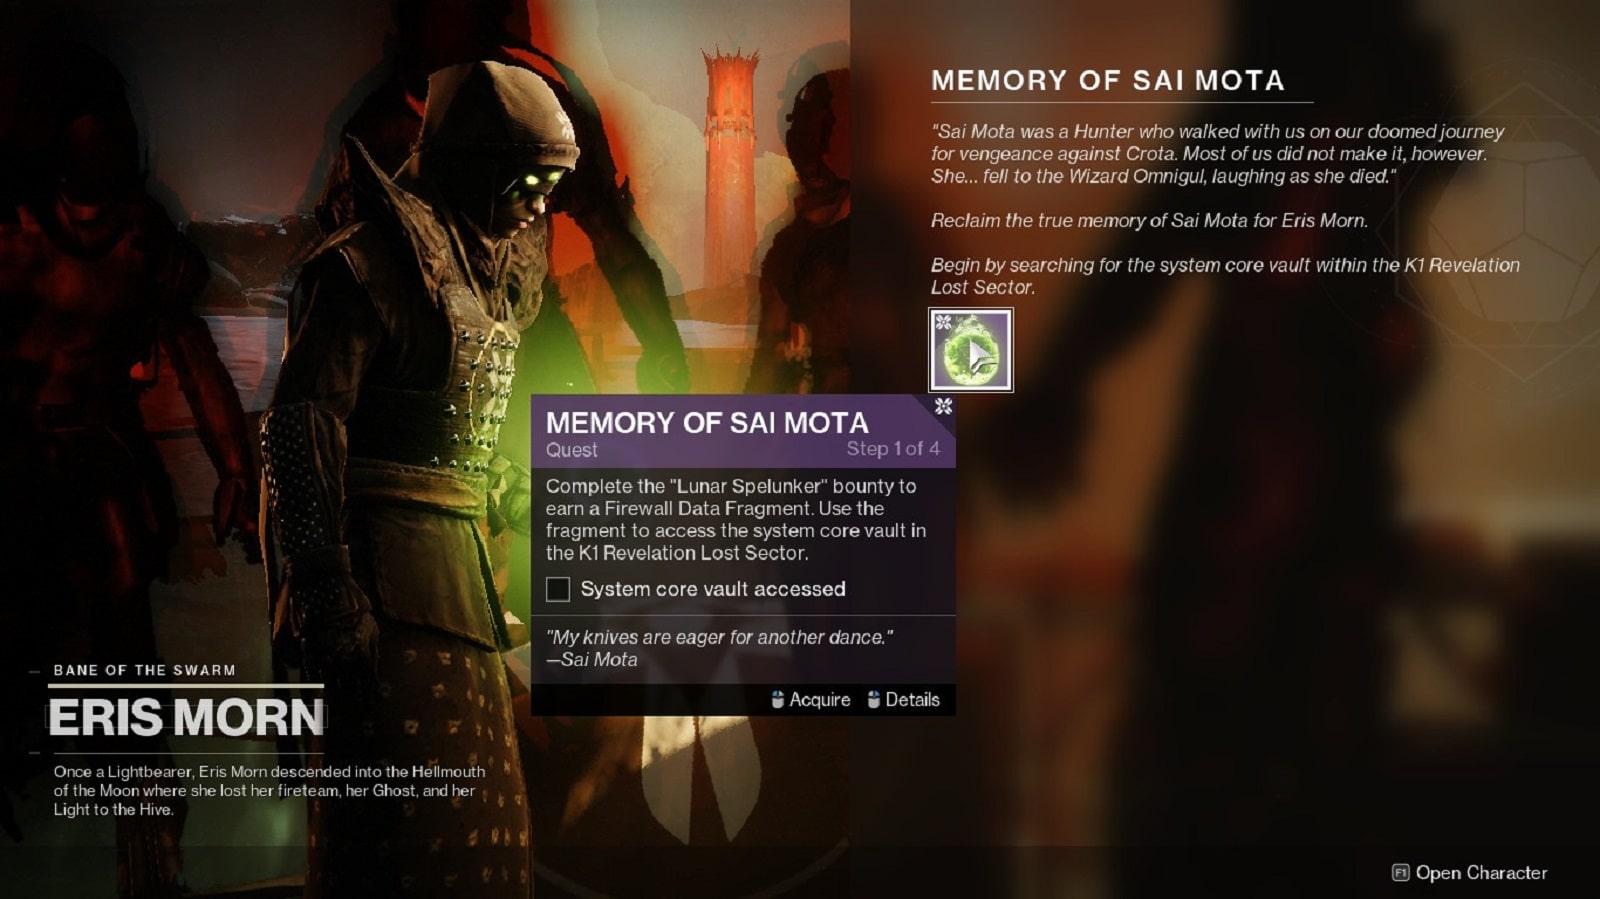
Step 1 – Start the Memory of Sai Mota Quest
After completing the Shadowkeep campaign, you will be asked to return to Eris Morn to start the Memory of Sai Mota multi-step quest. The first step of that quest is accepting the “Lunar Spelunker” bounty to earn a Firewall Data Fragment.
Step 2 – Complete Lost Sectors all around the Moon
Now that you have accepted the bounty, you are now tasked to complete the following Lost Sectors in any order:
- K1 Communion
- K1 Crew Quarters
- K1 Logistics
Once you’re done with the Lost Sectors, go back and talk to Eris to receive your Firewall Data Fragment reward.
Step 3 – Open the door in K1 Revelation
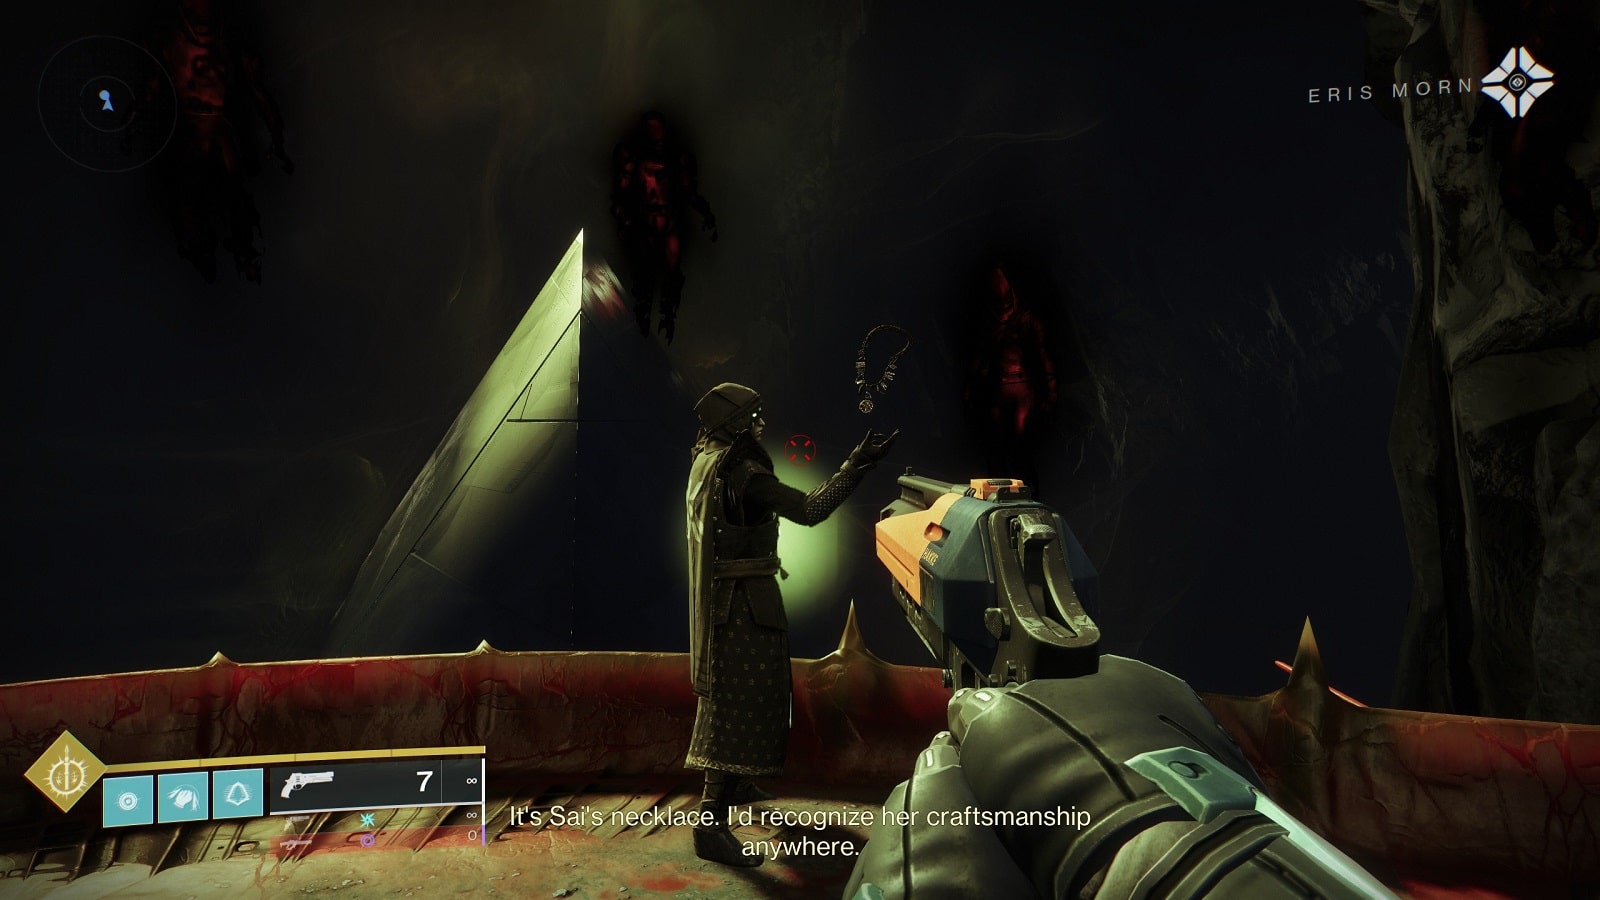
The third step requires you to unlock a door at the end of the K1 Revelation Lost Sector. The door is located at the end of an orange tube tunnel after completing the Lost Sector. Using the data fragment, you need to obtain Sai Mota’s Broken Necklace.
Step 4 – Find Necklace Scraps
You now have the Sai Mota’s necklace. But it is broken. You’ll need to gather Necklace Scraps from enemies in Sorrow’s Harbor to repair it. For this step, you’ll need to deal the final blow using Arc abilities and collect 20 Necklace Scraps. You can get enemies’ health low and finish them with Arc abilities.
Step 5 – Return to Eris
The final quest step is to report back to Eris. When you get back to Sanctuary, you’ll find her missing and a portal is open where she once stood. Take the portal and it’ll teleport you to the Scarlet Keep.
Present the necklace to Eris Morn and a chest containing the Symphony of Death quest will appear. Congratulations, you are worthy of starting the Exotic quest.
Symphony of Death Destiny 2 Quest Steps
Step 1 – Explore the Circle of Bones
The first step is going to be exploring the Circle of Bones as per Eris Morn’s request. A new quest called, “Faculties of the Skull” will be available to you. Complete it to move on to the next step.
Steps 2 & 3 – Complete the Marrow’s Elegy Quest step
You take the Silent Skull you’ve earned after completing the mission and present it to Eris to add to the weapon. She will then task you to gather bones by completing the following objectives:
- Complete a Public Event in the Hellmouth (Festering Bone)
- Clear K1 Revelation Lost Sector (Ritualistic Bone)
- Defeat a Wandering Bone Collector somewhere in the Anchor of Light area. (Bone Collector’s Marrow)
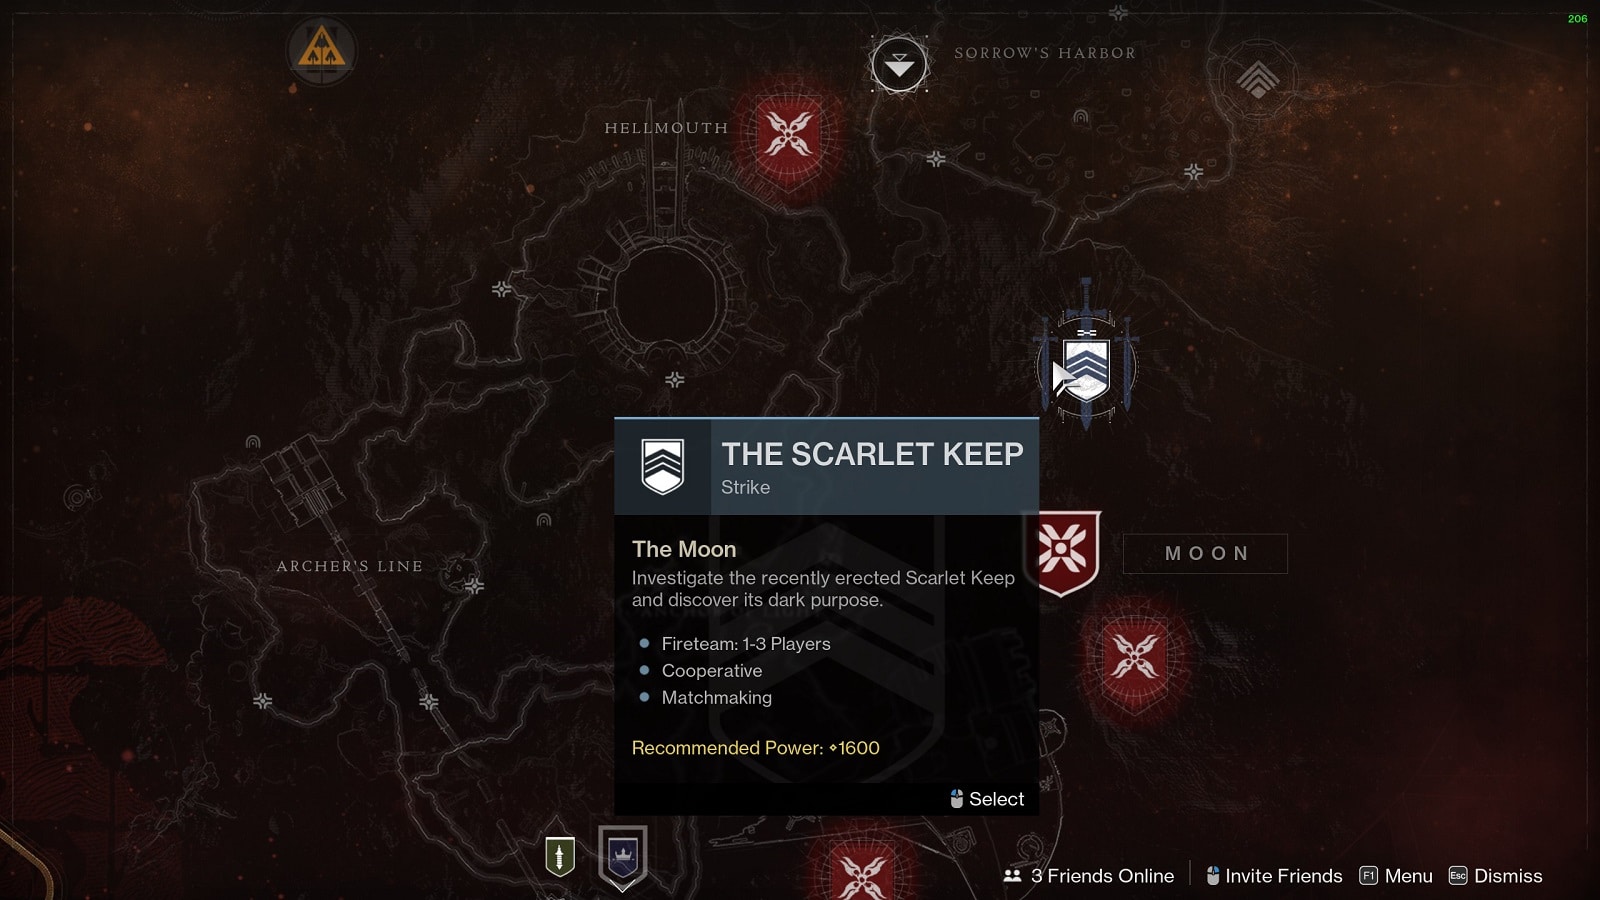
Step 4 – Enter the Scarlet Keep Strike and slay the High Conductor, Sulmakta, within.
Sulmakta is located on the Second Floor of the keep. You can’t miss the Hive Wizard during the ascent on your way to the encounter with Hashladun. But be sure to damage Sulmakta or else it won’t count toward your quest progress.
Step 5 – Record your enemies’ screams
This is a long step but you can progress the quest while doing other things. It requires you to take down a certain number of combatants under three categories:
- Red bar enemies
- Yellow bar enemies or mini-bosses
- Bosses or other Guardians
“Defeat base combatants to record discomfort. Defeat elites and minibosses to record pain. Defeat bosses and other Guardians to record anguish.”
You can do other stuff like Nightfalls and Crucible matches to pass the time. Heck, even runs of Dares of Eternity can help you get what you need for the quest. Bosses will probably take you the longest to complete. We recommend doing roughly 10 or so runs of short Lost Sectors and killing their bosses for the screams.
Step 6 – Fight your way into the depths of the Circle of Bones
This is the finale we’ve all been waiting for. Your final task is to return to the Circle of Bones and defeat Ir Airam the Deathsinger. The quest “Choir of the Damned” will appear. It’s a mission that takes you deep under the moon to fight the Deathsong’s Aria and ultimately confront Ir Airam.
Step 7 – Present Ir Airam’s Skull to Eris Morn
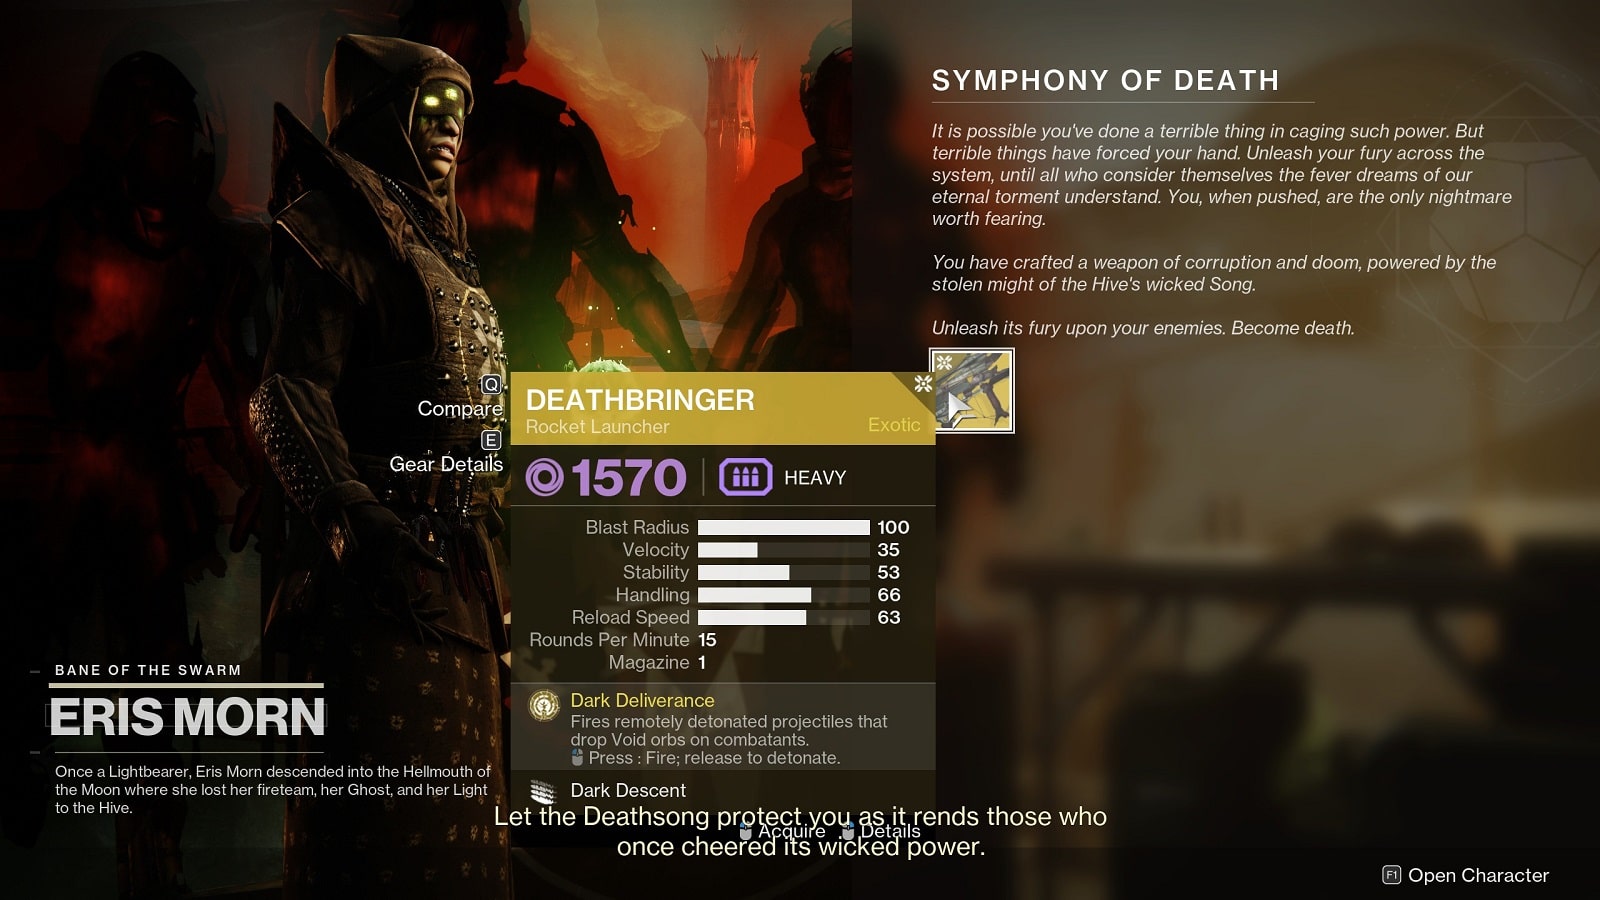
Once you’re done, simply return back to Eris and inform her that the Deathsinger is no more. And in exchange for the last piece of bone, you will receive the Deathbringer Exotic Rocket Launcher.
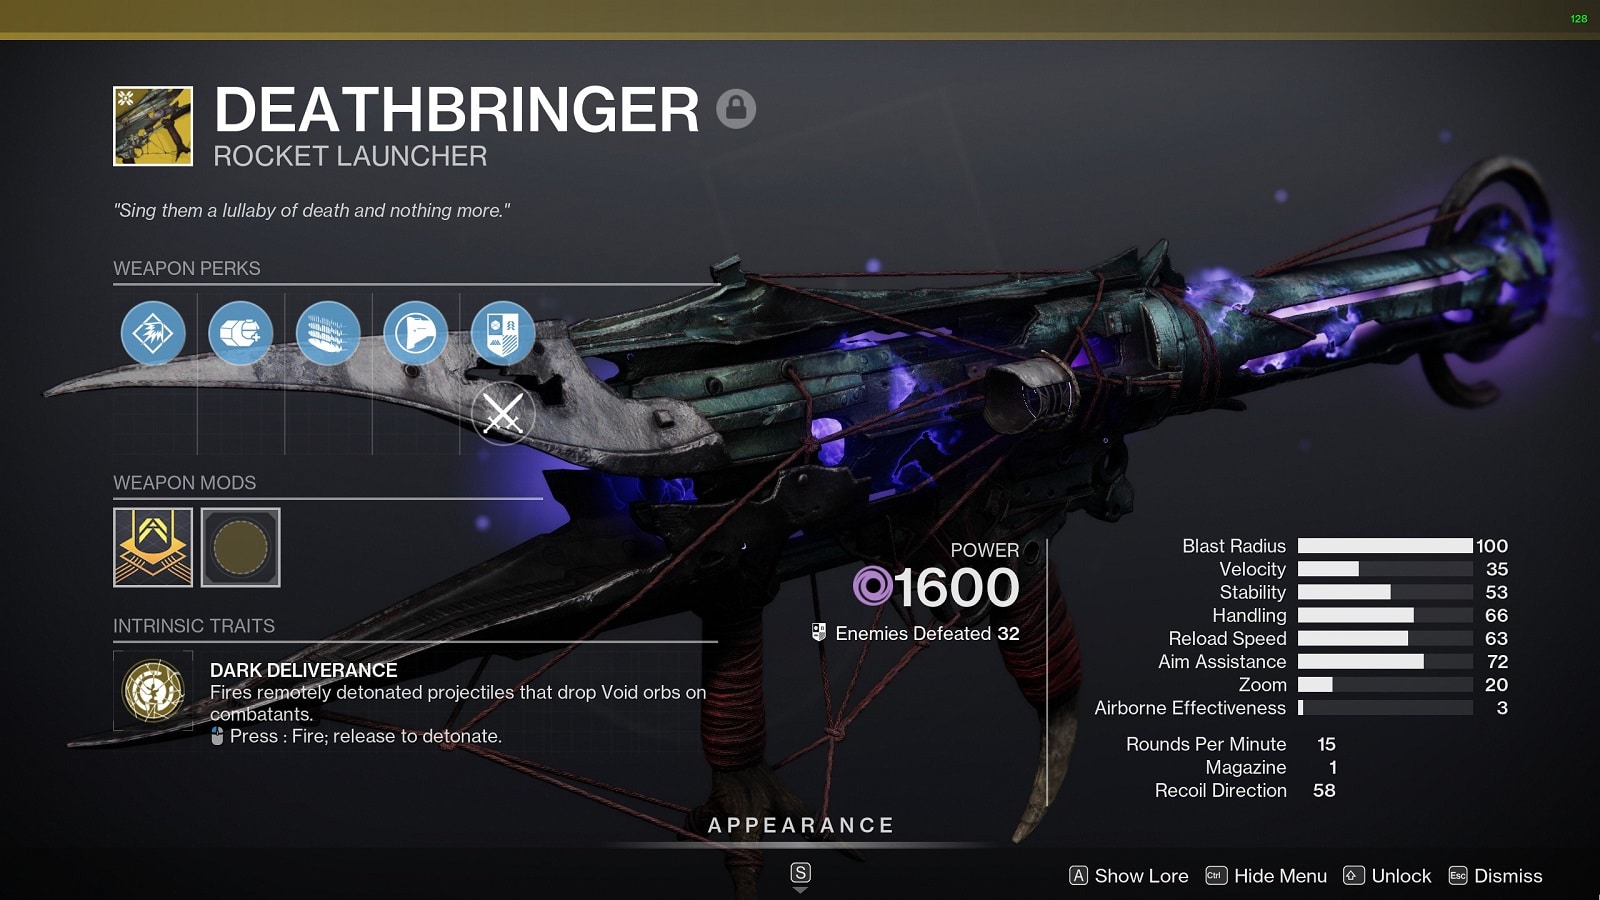
So, how is the Deathbringer in Destiny 2?
Well, holding down the [fire button] launches a large orb of Void energy. Releasing the button causes the orb to fragment into smaller orbs that track nearby enemies. This is particularly useful in 6 vs 6 game modes in the Crucible.
It can also be a useful Crowd Control weapon for PvE content. The only thing that holds it back is its inability to deal focused damage to enemy bosses. But not all Exotic weapons are created equally and the Deathbringer does fulfill its intended role quite effectively.

And that’s everything we’ve got for this Symphony of Death Destiny 2 Exotic quest in Destiny 2. We hope that you have found this guide informative in more ways than one. Good luck and have fun out there, Guardians.
Check out this in-depth walkthrough video from YouTuber Mloentje where he shows us the quest steps for Symphony of Death.


