
The Lament Destiny 2 Exotic Sword is one of the best PvE weapons for raids and other end-game content. And though it’s no longer as meta as it once was, it nevertheless is a fun weapon to wield once you get it going.
This guide will tell you how you can get the Lament Destiny 2 Exotic Sword in 2023. But before we start going through the steps, let’s make one thing clear. To get access to the Lament Exotic Quest, you must first own the Beyond Light DLC. It’s definitely not a bad ask considering you get access to the Stasis sub-class as well.
How to Start the Lost Lament Quest in Destiny 2
Like other DLC quests, the Lost Lament Quest doesn’t start until you finish the Beyond Light campaign. After you’ve watched the cutscene foreshadowing a previously hidden section of Braytech labs and the giant Clovis Bray Exo head, head to the Tower and talk to Banshee-44. He’ll tell you that he’s had visions on Europa and ask the Guardian to investigate them.
This is the start of a relatively lengthy yet reasonable The Lament Exotic quest.
The Lament Destiny 2 Quest Steps – Lost Lament Exotic Quest
There are 11 steps in total for this one. Many of which require you to prove your skill to the big Exo head. This is quite different from all the cryptic puzzle steps we are used to. Follow these steps to get the Lament Exotic Sword in Destiny 2:
Step 1: Locate and scan 3 dead Exos on Europa
- The first one is located on Cadmus Ridge. Buried in the snow in the Southern ridge.
- The second one is located at the exit of the Perdition Lost Sector.
- The third exo is located at the end of the Concealed Void Lost Sector behind the chest.
There are actually 9 Exos that you can scan on Europa. Many are located next to structures out in the sandbox. Some are located in the Braytech labs. And some are even located in Lost Sectors. The hardest part is that they’re not marked and you’ll have to rely on a process of elimination to track most of them down.
Use this video from YouTuber Esoterickk to help you narrow down your search.
Step 2: Locate the Giant Exo head hidden away in the depths of Bray Exoscience Labs
This next step requires you to go back to the Braytech Labs to look for the Giant Exo head. To get to the newly opened Creation section, take the door to the right of the Lab Floor and then follow the corridor to the cavernous chamber.
This part is actually prone to sequence breaking. There is a chance that if you don’t follow the waypoints to the Giant Exo head correctly, the whole thing refuses to progress. Even if you are in the right chamber, if you didn’t go through the vents as intended, the next part will not start. So play it safe and follow the waypoints as the game wants you to.
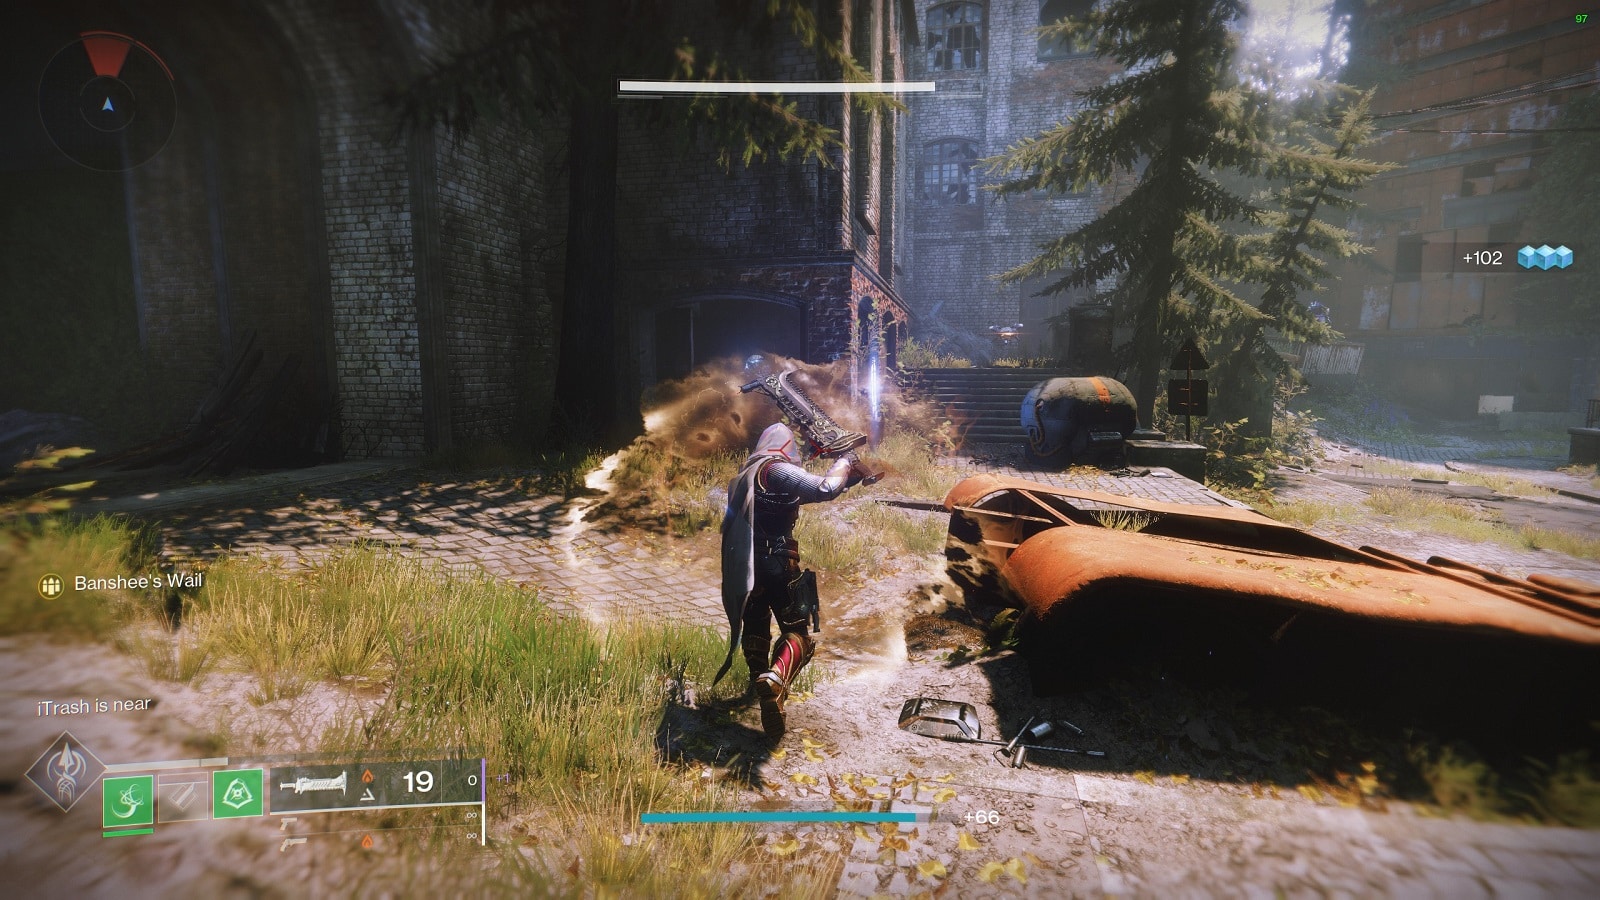
Step 3: Use Swords against the Vex across Europa
Seems simple enough, use any sword, and look for a place that has Vex in it until Clovis finds your work satisfactory. Interestingly enough, you don’t need ammo while striking Vex. The kills count as long as you have a sword equipped.
Step 4: Acquire and complete quests to prove yourself to the Clovis AI
This part requires the player to complete 3 Beyond Light side quests. These can be acquired from Commander Zavala or Variks. You can actually have these completed before even starting the Exotic Quest.
- The Dark Priestess
- Empire’s Fall
- Reclaiming Europa
Step 5: Complete an Exo Challenge
If you’ve never taken part in any challenges, a new quest marker will pop up, leading you to a new quest called “Old Secrets, New Challenges”. This is what you need to do in order to progress. Otherwise, you will need to access the mission through the directory or quest banners on Charon station.

You are not to take the weekly rotating Exo Challenge if you have it unlocked. They do not count towards quest completion. Doing this can result in your quest bugging out. When that happens, delete the quest and pick it up again from the Quest kiosk back in the Tower. If that doesn't fix it, you have no choice but to use another Guardian to continue the quest from where your last Guardian left off.
There are several Exo challenges that you can take from Clovis. He can assign you a platforming challenge or a defense challenge where you need to defend three platforms against waves of Vex Wyverns and Goblins. Strand here will definitely be useful.
Step 6: Defeat Vex with finishers. Defeating powerful Vex grants the most efficient progress.
Specifically, you need to defeat roughly 60 Vex through finishers to progress to the next step.
Step 7: Access the strike “The Glassway” and complete it.
This step requires you to gather pieces of the broken blade. But you will not be asked to look for any random enemies during the Strike. Simply finish the Strike and you will get the parts as you receive your rewards.
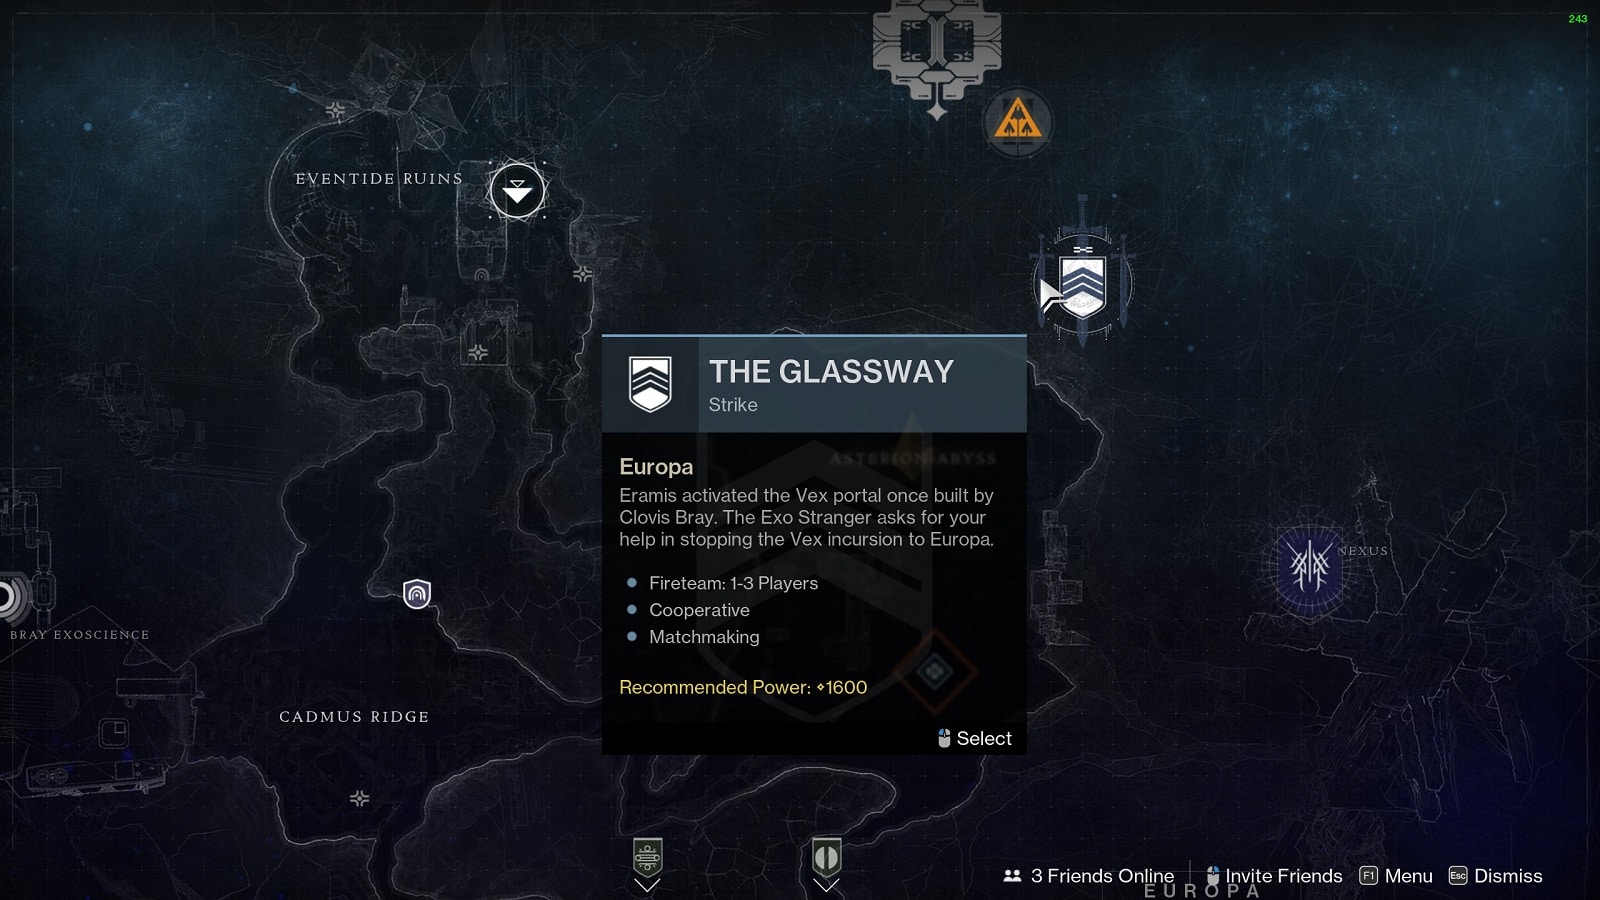
Also, you don’t need to enter random Vanguard missions until the Glassway pops up. You can initiate an instance from the Map Directory. And hopefully, other Guardians are around to help you out.
Step 8: Head back to the Tower and speak to Banshee-44 about the broken blade.
Step 9: Complete the Bunker E15 Lost Sector.
After speaking with Banshee-44 about the remnants of the Lament, he will ask you to clear and open the chest at the end of the Bunker E15 Lost Sector on Europa. You can find it in the caverns underneath the Eventide Ruins.

Step 10: Save the Clovis AI from being destroyed.
Once you complete the Lost Sector, a new mission called “Reforging the Past” will appear. It requires you to take part in a fun mission to save Clovis’ hide from Vex intruders. It is in this mission where you can forge the Lament. (Wait for the mission clear message to pop up or the mission will bug out.)
(Looking back now in 2023, it does seem strange that this would be the first of many times that we’ll be saving that robotic head since doing Season of the Seraph seasonal activities.)
Step 11: Head back to the Tower and report to Banshee-44.
The Lament in hand, your final task requires you to report back to Banshee-44. Looking at the blade brings back some of Banshee’s memories. We won’t spoil that here but you will look at our gunsmith in a different light after the quest.

The Lament is an excellent weapon with inherent anti-barrier capabilities. Holding the [block] button revs up the blade, allowing you to unleash an ungodly amount of damage in a short amount of time. Furthermore, dealing damage restores parts of your health per strike. It won’t save you from a one-shot kill attack but it will keep you alive through everything else.
And that’s everything you need to know about getting the Lament Destiny 2 Exotic Sword in 2023. We hope this humble guide was of use to you in more ways than one. Happy hunting, Guardians.


