
We Were Here Forever is the fourth installment of the We Were Here series. It is a co-op puzzle game where two players have to help each other out in solving puzzles while navigating through mazes and obstacles within a castle.
This guide will cover the puzzles in the Final Chapter of We Were Here Forever where you and your partner have managed to get all three astrolabe pieces installed on the astrolabe. Check out our other We Were Here Forever guides for the previous challenges:
- We Were Here Forever Walkthrough Chapter 1 (Part 1)
- We Were Here Forever Walkthrough Chapter 1 (Part 2)
- We Were Here Forever Walkthrough Chapter 2
- We Were Here Forever Walkthrough Ruins of Rockbury
- We Were Here Forever Walkthrough The Nautilus (Part 1)
- We Were Here Forever Walkthrough The Nautilus (Part 2)
- We Were Here Forever Walkthrough Royal Cemetery
How to Solve We Were Here Forever Final Chapter Puzzle
We pick things up after you and your partner bring the third astrolabe piece back to the chapel and install it to the astrolabe. A new control mechanism will come up from the astrolabe platform and it requires you and your partner to crank its wheels from both sides.
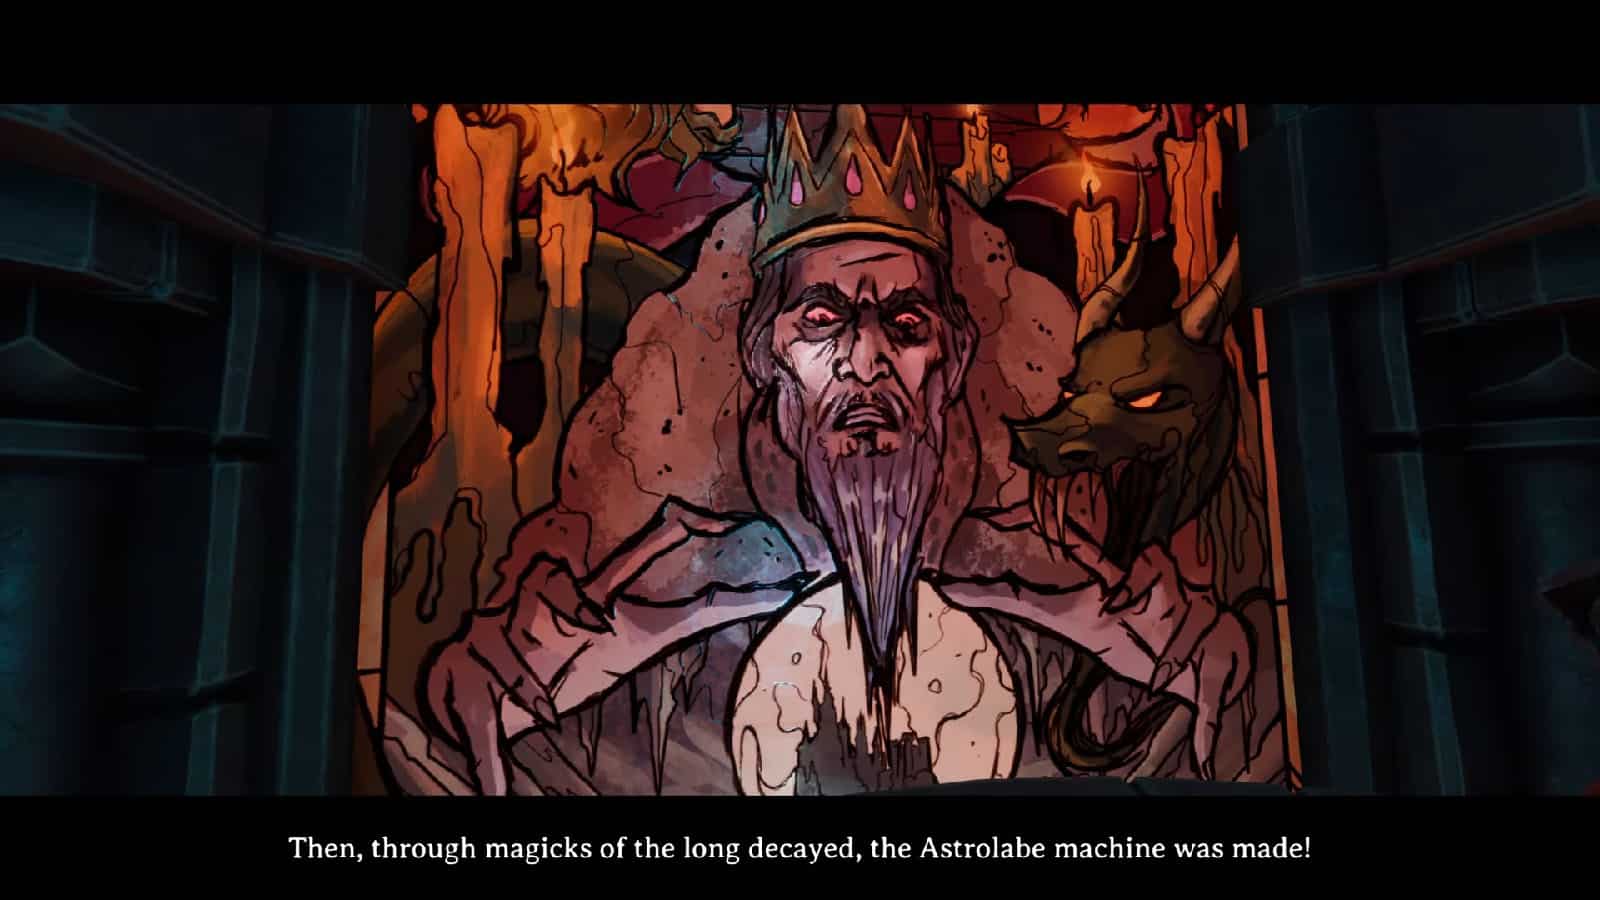
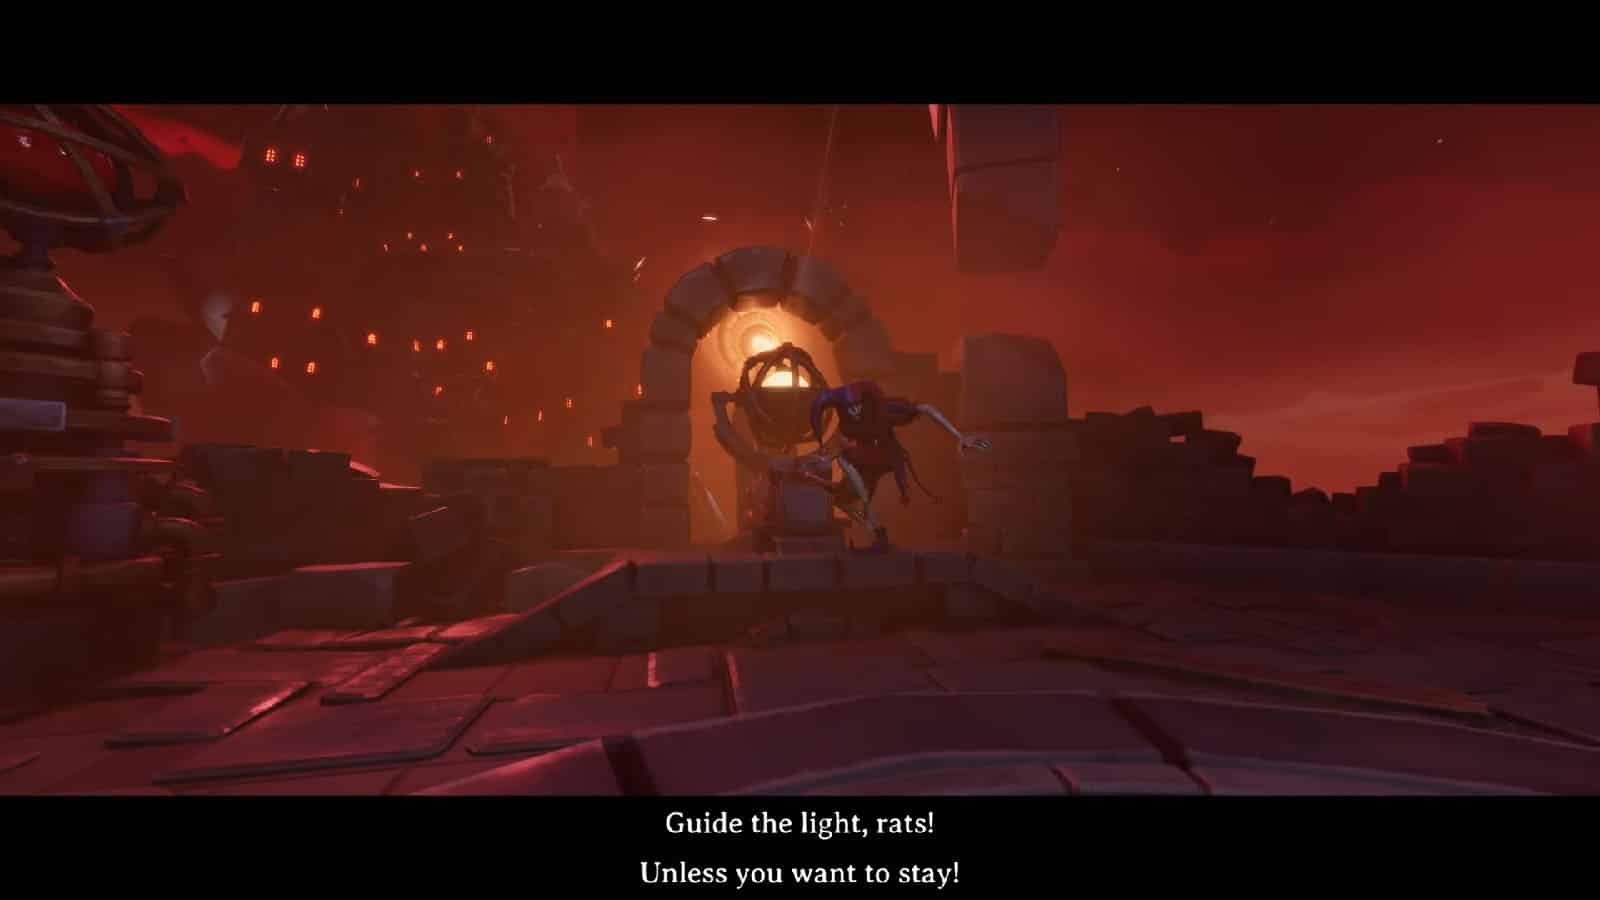
Cranking the wheels will raise the entire astrolabe platform up the bell tower as you get to learn the story from the narrator and the stained glass. You’ll then be met by the Jester at the very top as the king wrecks part of the tower to reveal the chaos outside. The Jester will then activate a crystal that captures the light of the moon.
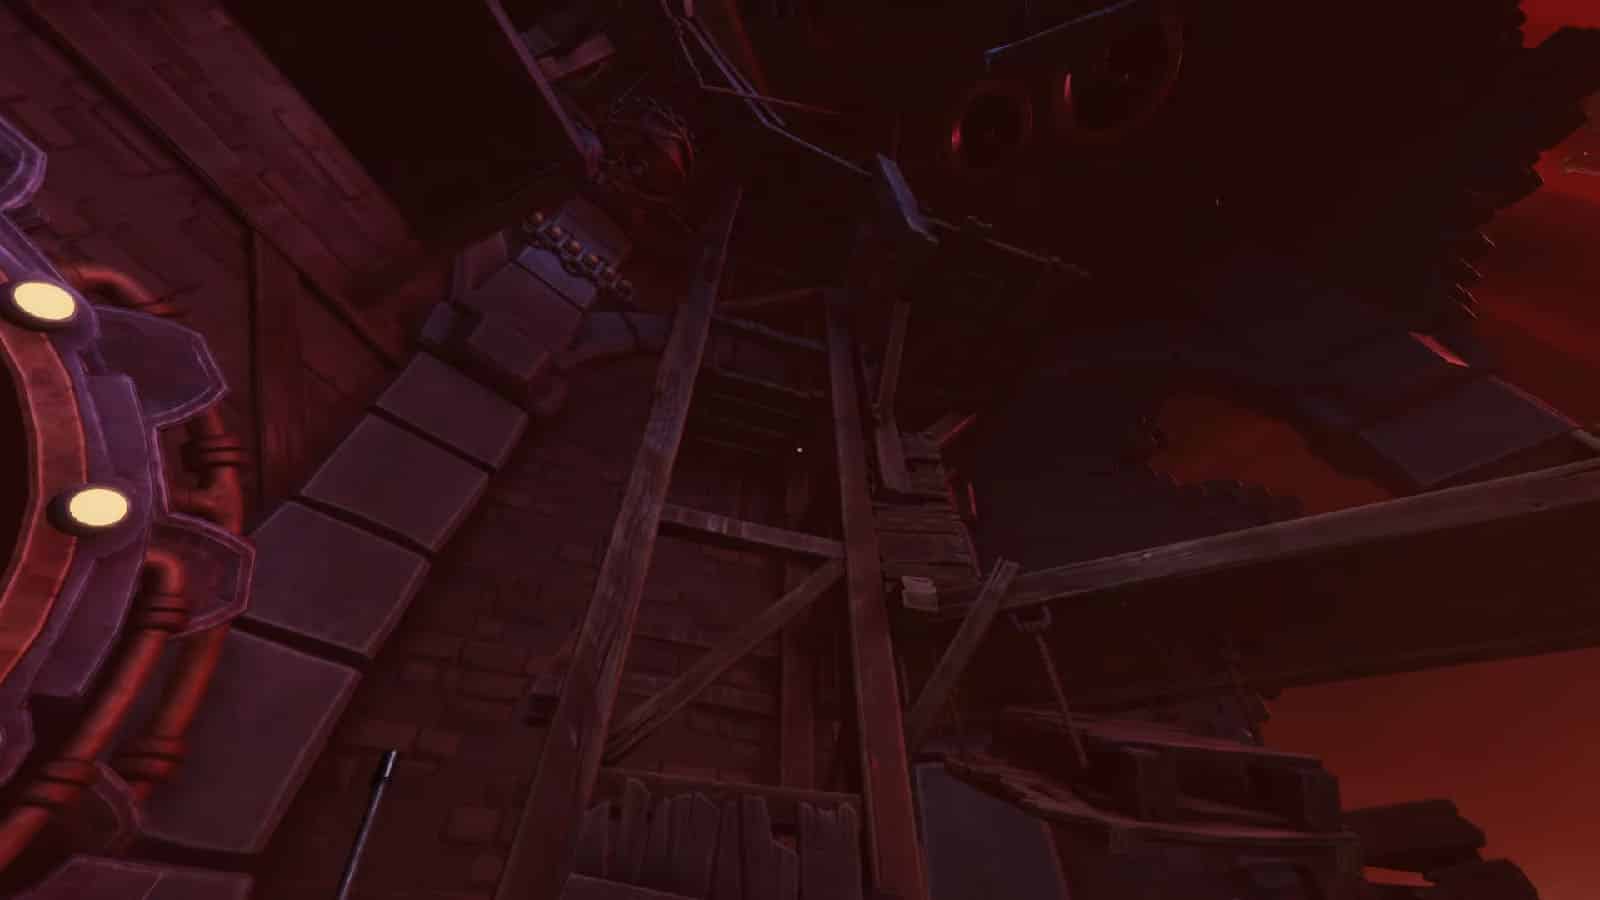
Moon Beam Reflection
This puzzle is similar to the reflection puzzle in the Rockbury Quarry, except it’s more vertical. Start by heading to the left side where one should climb the stairs to the side and one enters the lift. For the sake of this guide, you will be the one who enters the lift while your partner is the one who operates the lift.
Your partner will then raise the lift to the top level. Get out of the lift and interact with the lever to your left to charge the crystal with the moon beam and redirect the beam downwards.
Head back down and follow the beam. You and your partner will then have to remove the platform that has fallen on the crystal where the beam is directed to. This will then charge the crystal and redirect the beam upwards.
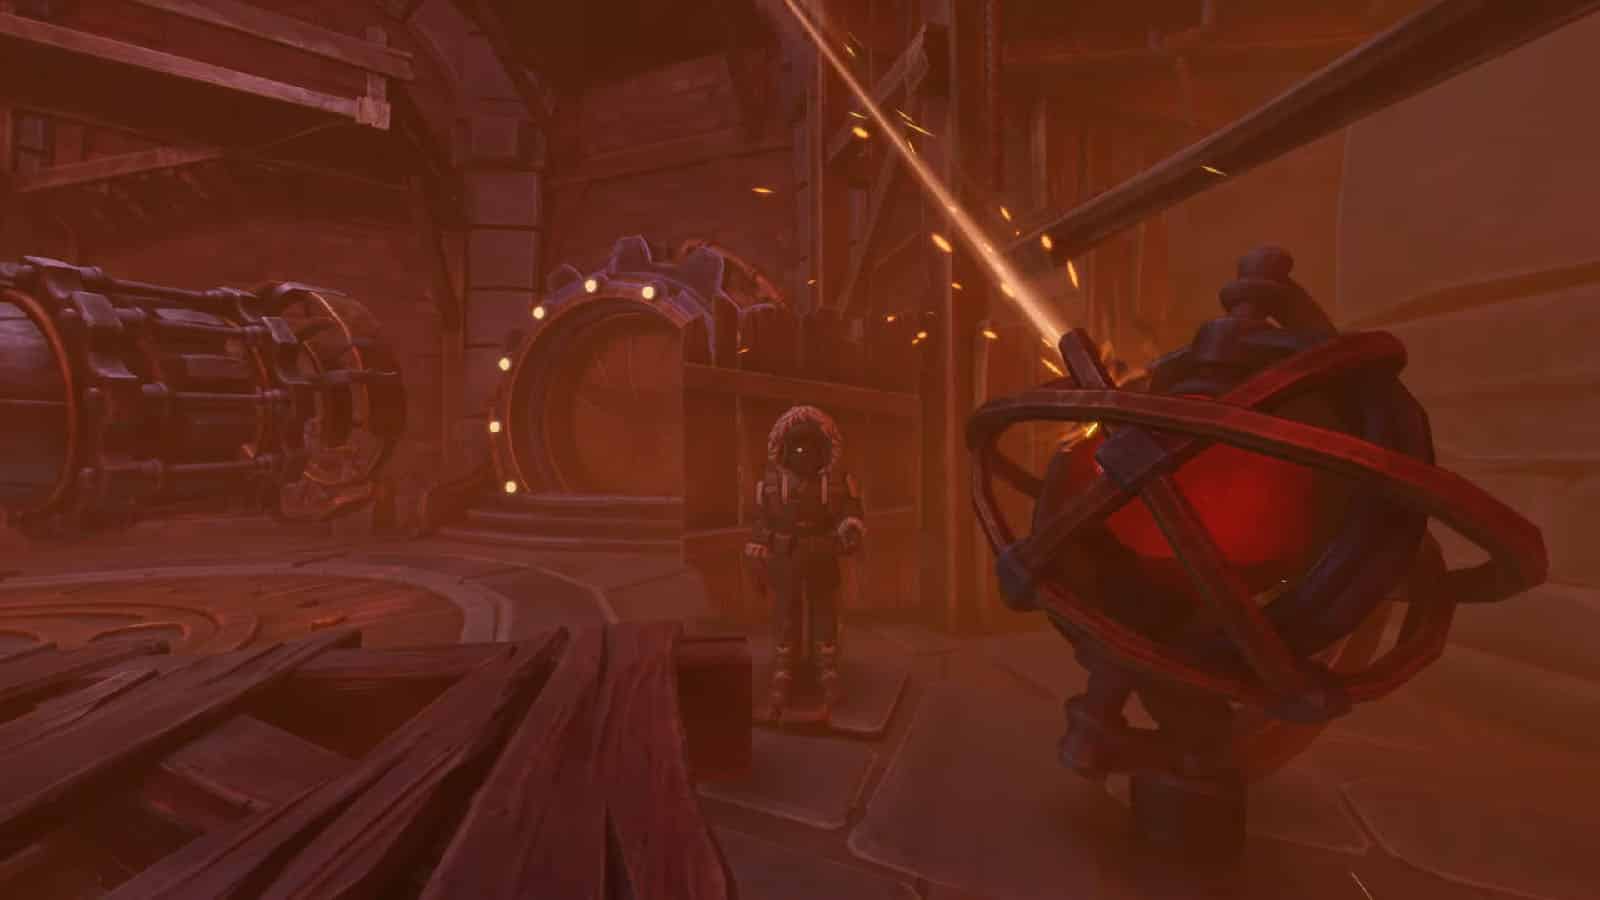
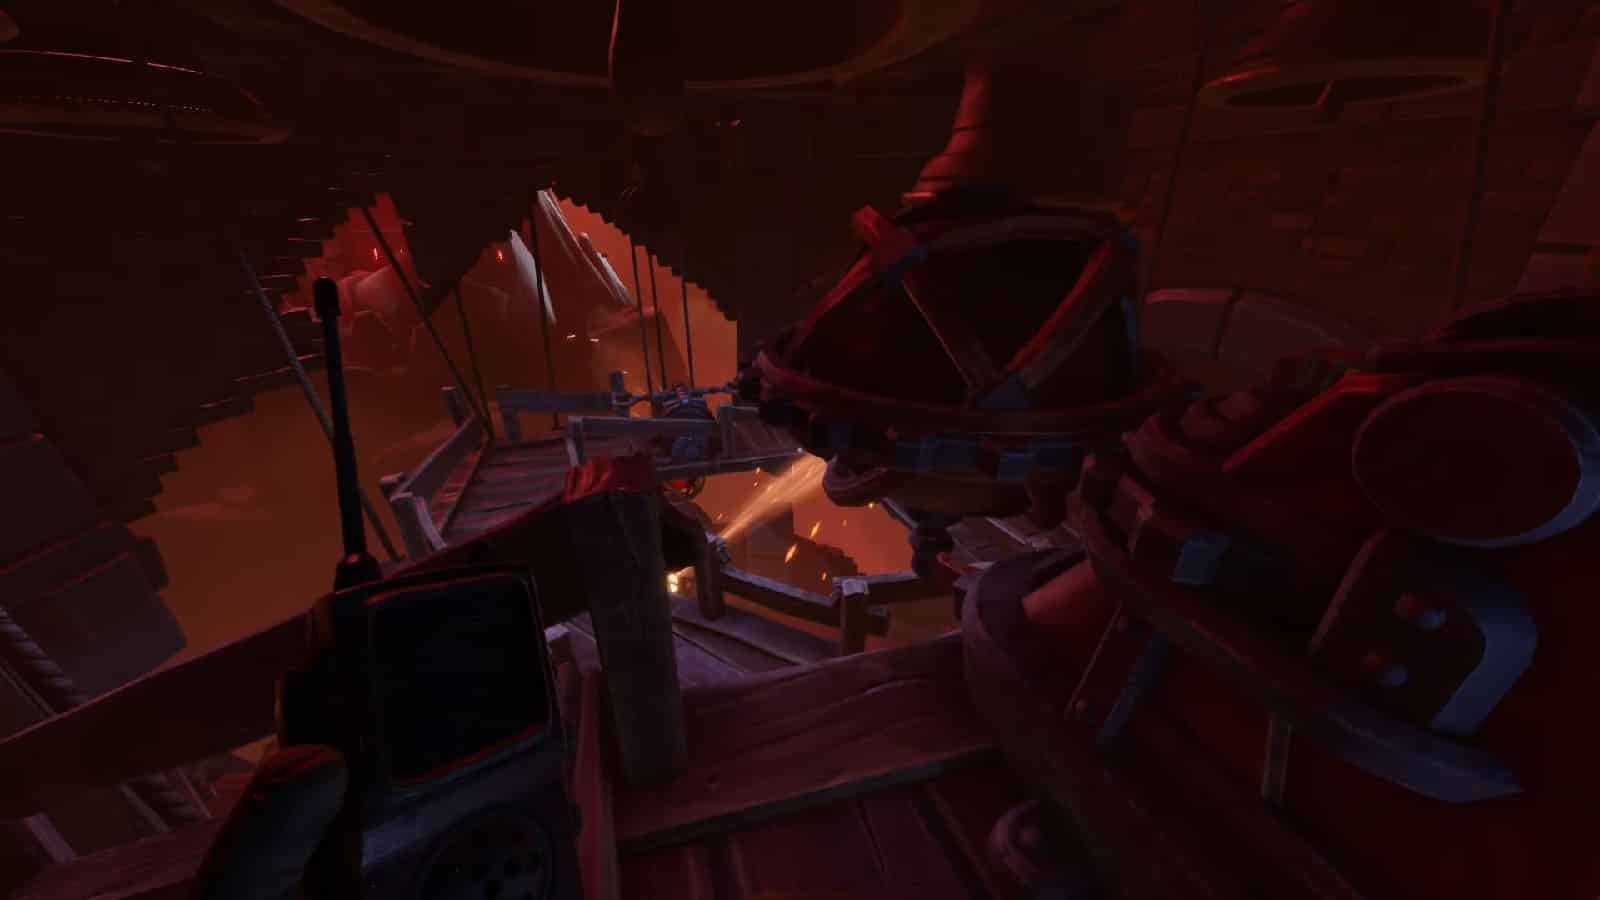
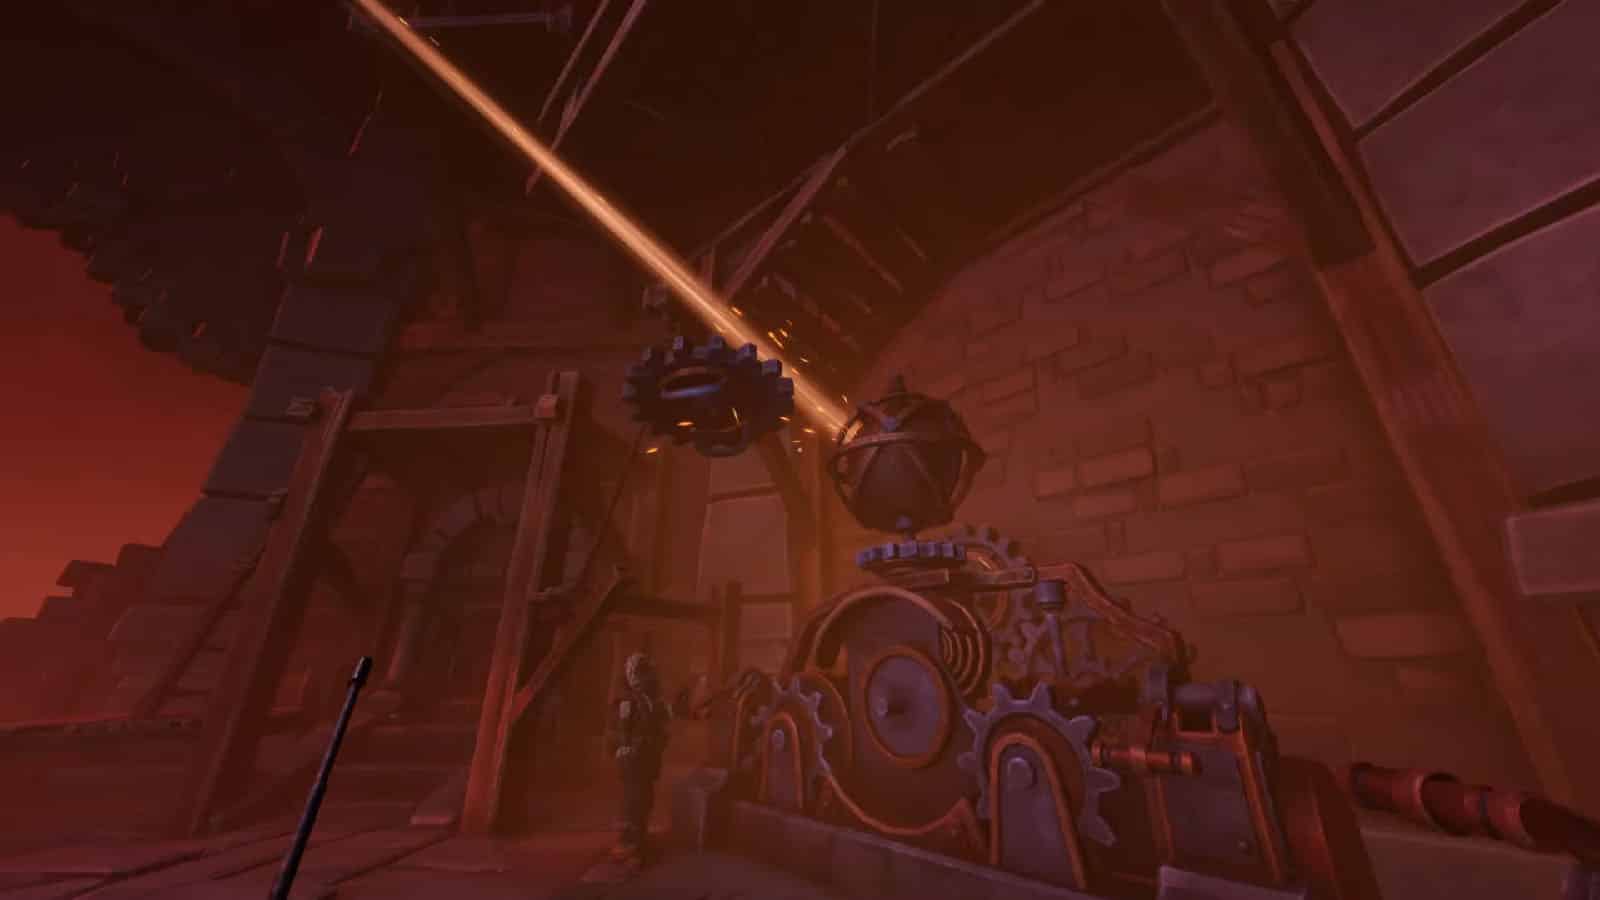
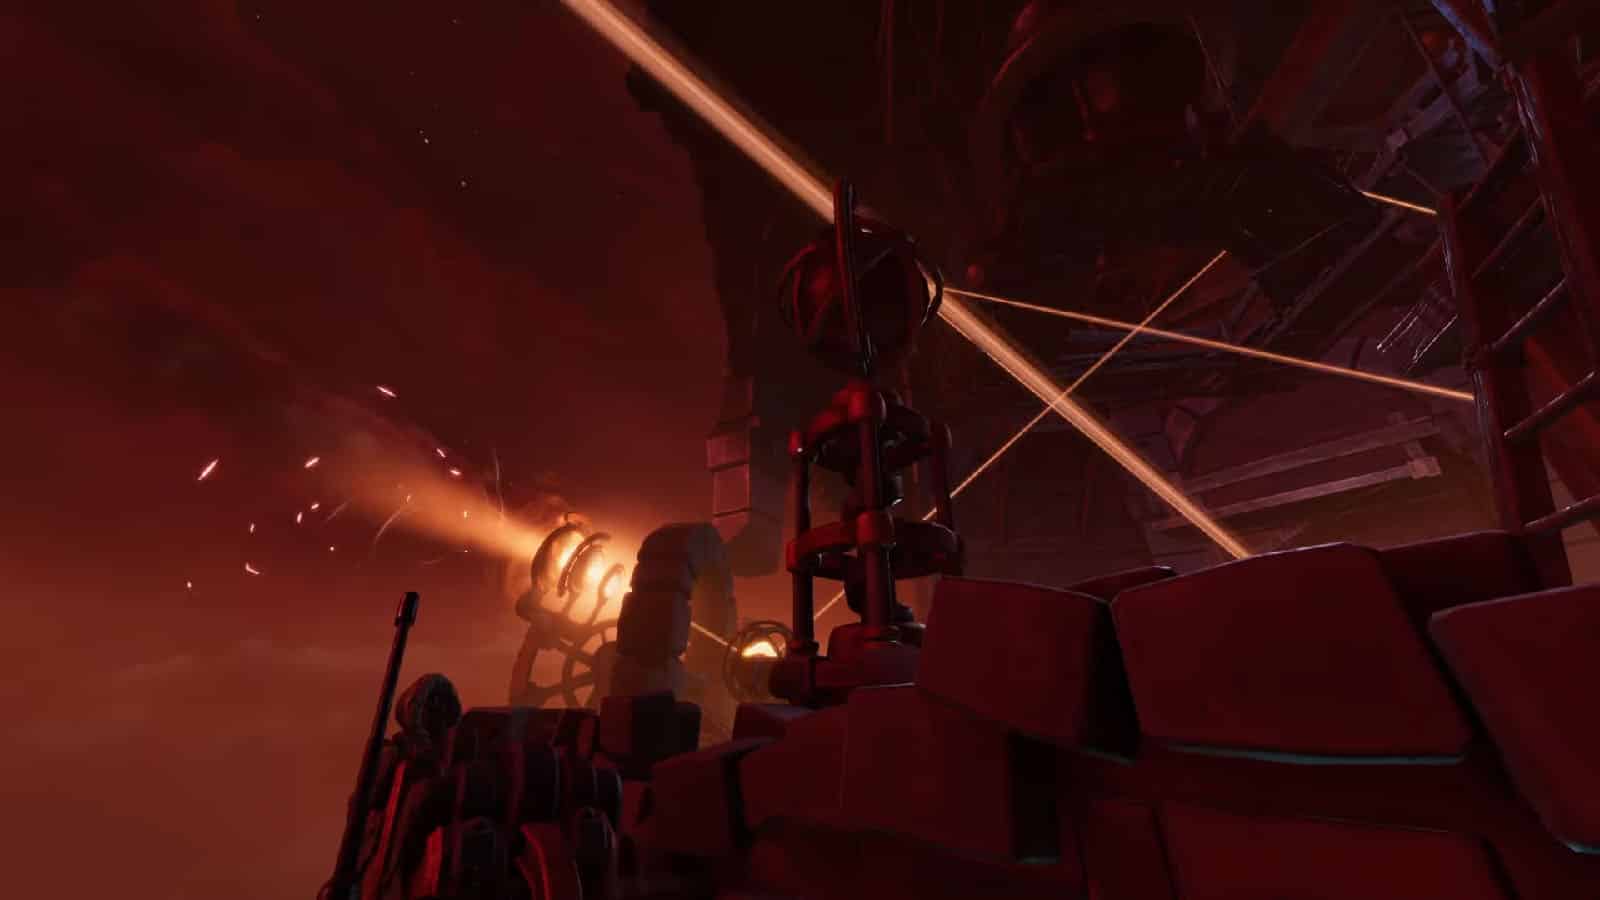
You and your partner will then have to move up using the stairs and platforms to the right side to reach the next point. You’ll both have to use the seesaw contraption and take turns pulling your side down as the next crystal get hoisted up into place. The crystal will charge up and shoot another beam down on another crystal on top of a gear contraption.
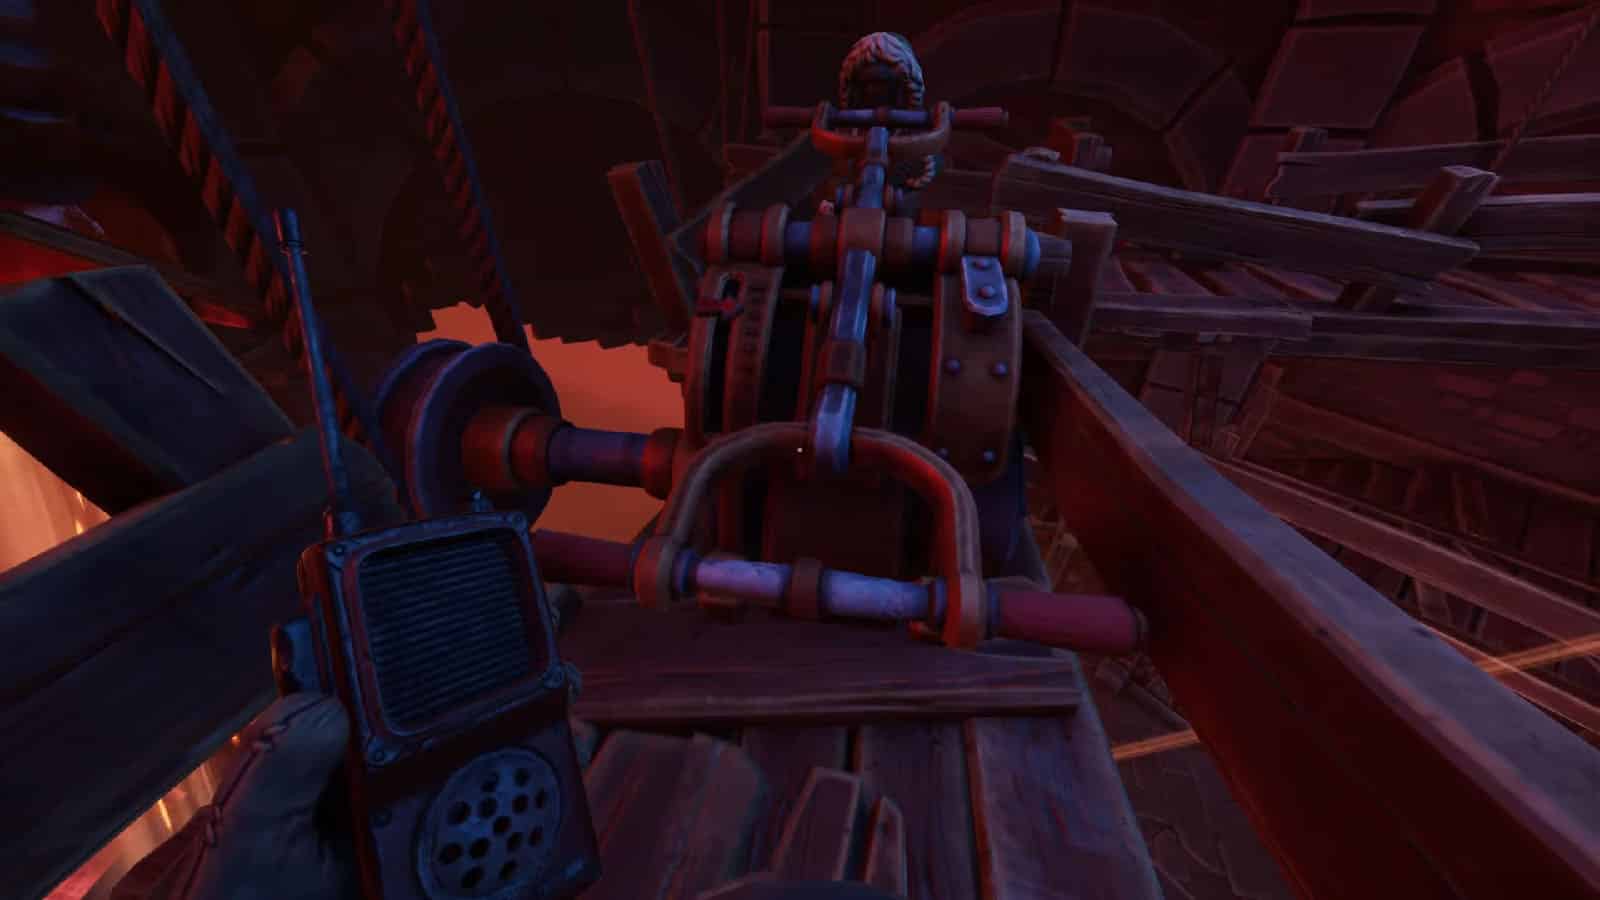
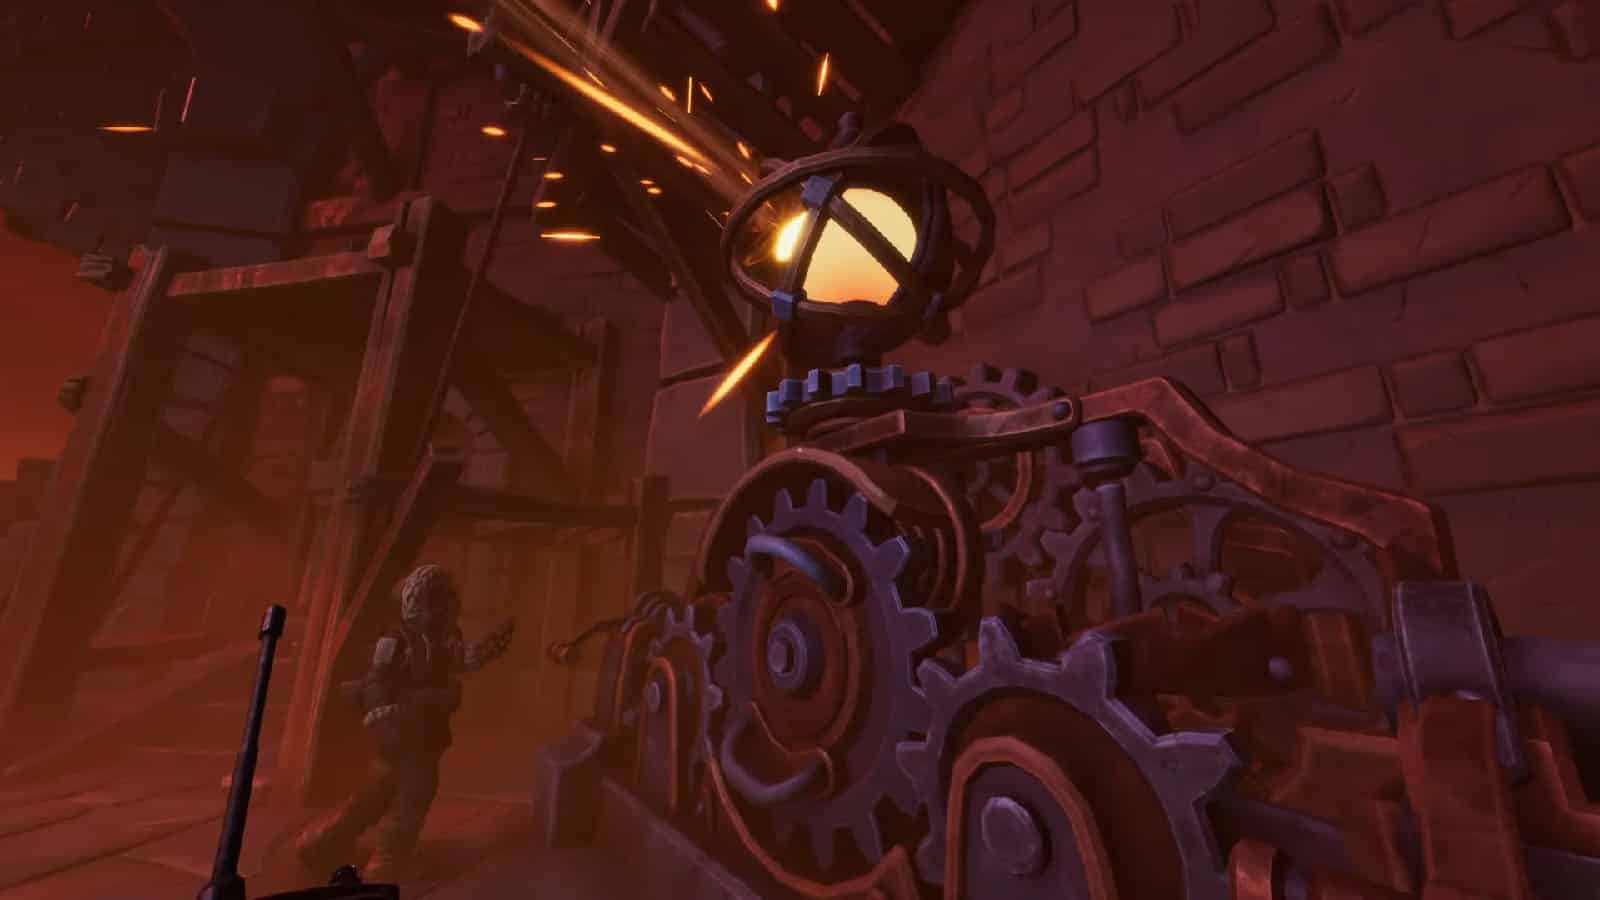
Head back down with your partner and use the levers on the contraption at the same time. The huge cog in the middle will fly off, but simply reinsert it back into place and then pull on the levers once more. This will rotate the crystal as it charges up and shoots another beam towards the castle.
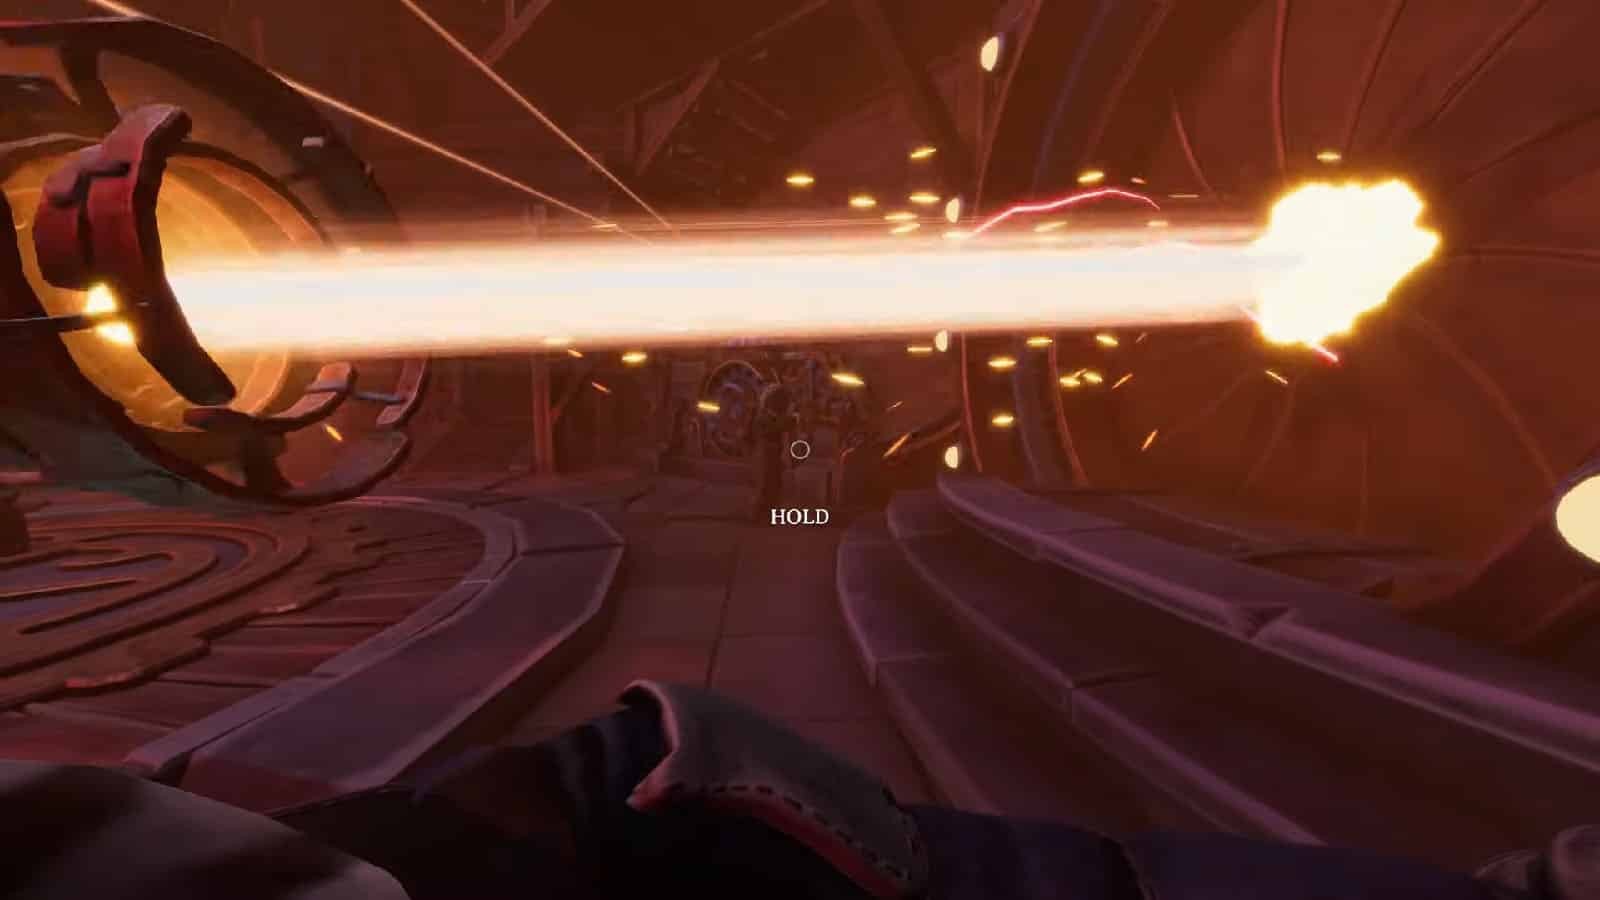
Head towards the crystal by the beam and go through the passageway to the platforms outside. Whoever goes in first will fall down the platform and the other player should pull them back up. Once done, you and your partner should pull on the levers to extend the crystal upward towards the beam. This will charge the crystal and shoot the beam to the next crystal high up.
You’ll have to get up using the lift again while your partner climbs the ladder on the other side to get to where the beam is at. You then have to go to the panel on the wall with levers corresponding to different symbols. These panels are connected to the same mechanism to the right that shows a sequence of symbols. There is also a timer to the left of the main panel and when the time goes up, the sequence of the symbols on the right changes to a new one.
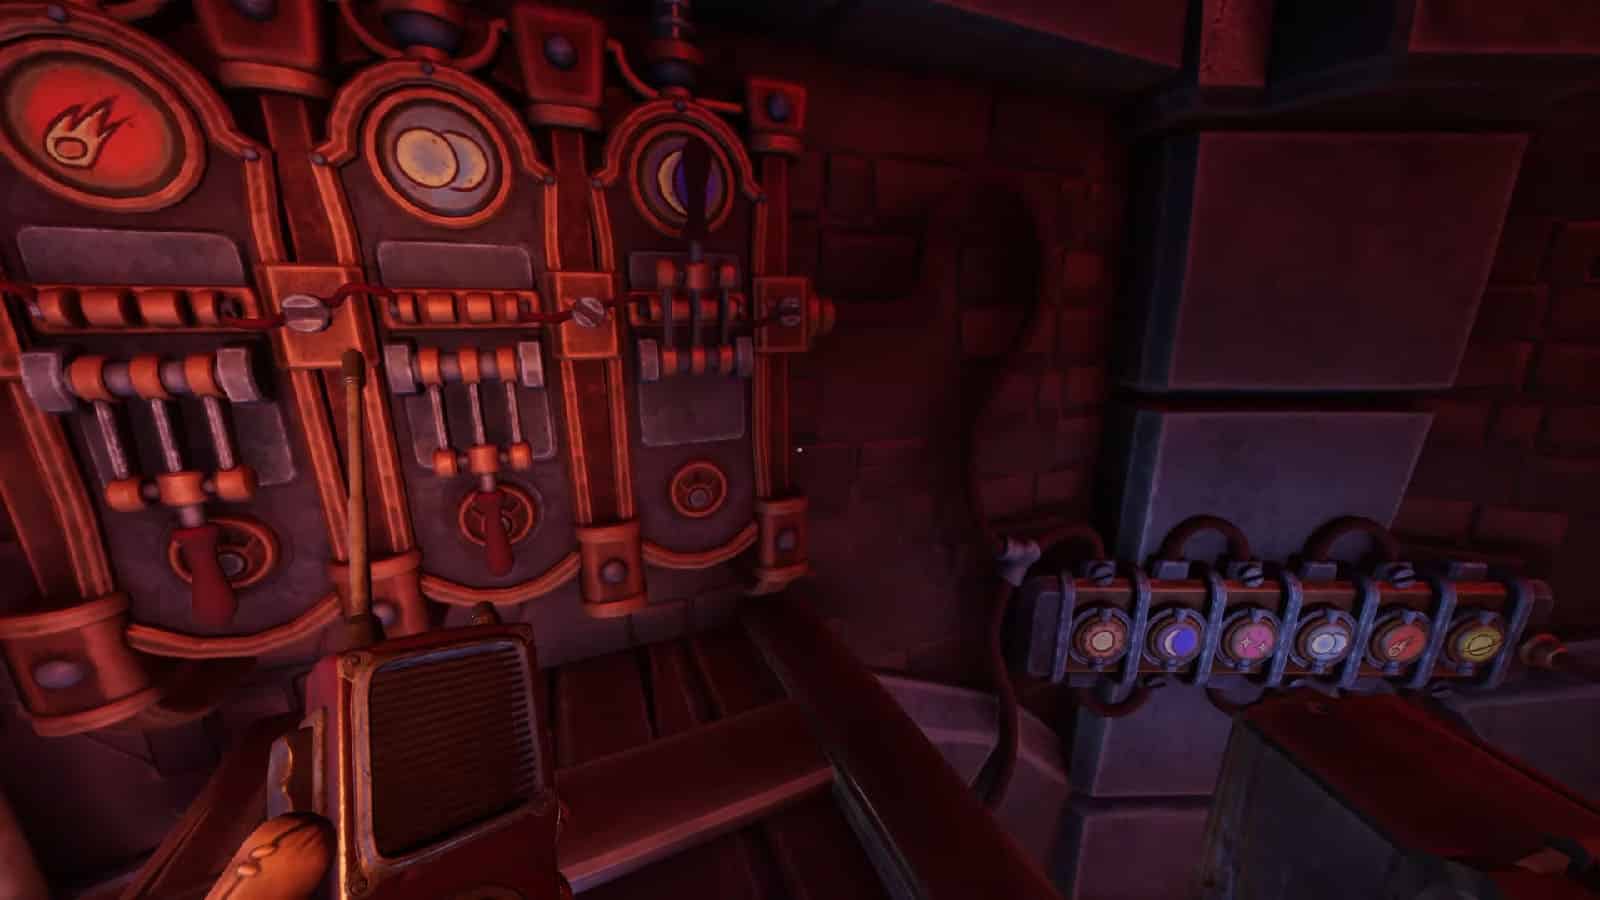
To solve this, simply pull down the lever that corresponds to the sequence from left to right. You will only have half of the symbols on your side and half on your partner’s side, so you will have to communicate the order of the symbols. Once all the levers are pulled down in the correct order before the time runs out, the crystal will then rotate, charge up, and shoot out the beam back to the astrolabe.
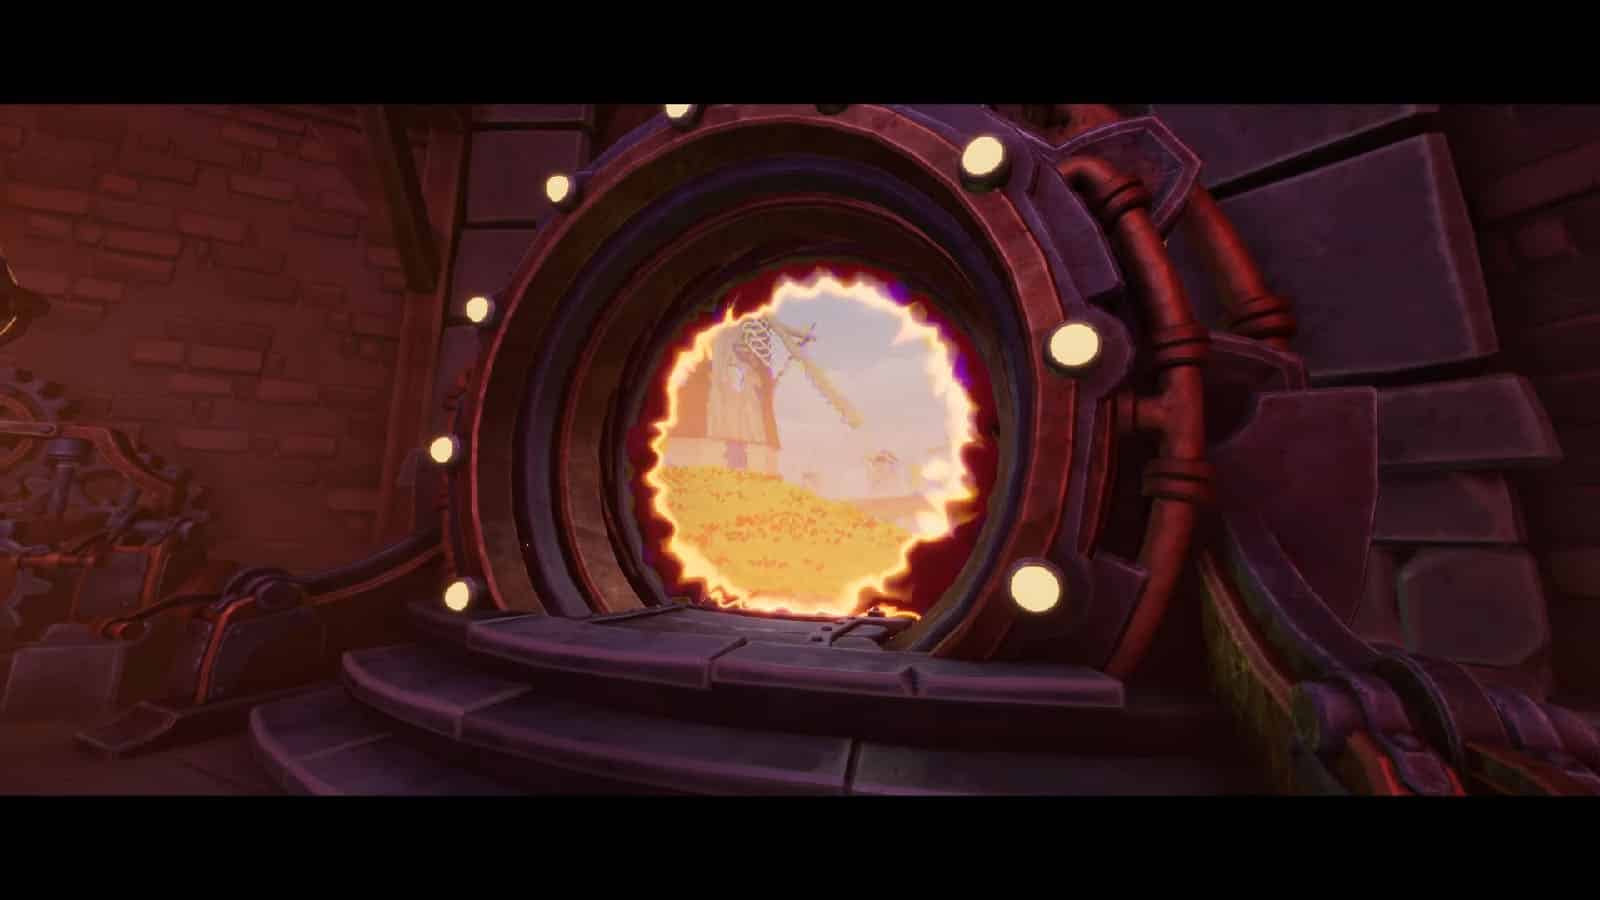
You and your partner will then have to pull down the levers on the side of the astrolabe to activate it, and then pull down the levers on the side of the huge portal to open it. A portal will then open up to a world showing fields with windmills in them, but the Jester shows up and – we’ll leave the rest of the ending for you to find out.
That ends our guide for We Were Here Forever. You can try replaying the game and switching the roles up, or you can choose a specific chapter that you want to try again once you complete the game to choose a different ending.
For easier navigation, check our complete We Were Here Forever Walkthrough – All Puzzle Solutions:
- Chapter 1
- Chapter 2
- Chapter 3 – Ruins of Rockbury
- Chapter 4
- Chapter 5 – Royal Cemetery
- Chapter 6 – Final Chapter
If you liked the game, make sure to give the devs at Total Mayham Games a shoutout through their socials.
If you like this Guide, be sure to check out our other We Were Here Forever articles:
Check out this video by fhdgw showing the entire gameplay of We Were Here Forever through a single perspective:
