
We Were Here Forever is the fourth installment of the We Were Here series. It is a co-op puzzle game where two players have to help each other out in solving puzzles while navigating through mazes and obstacles within a castle.
This guide will cover the puzzles in the Ruins of Rockbury, one of the three locations where you and your partner need to go to search for a missing part for the astrolabe in the chapel. Check out our other We Were Here Forever guides for the previous challenges:
- We Were Here Forever Walkthrough Chapter 1 (Part 1)
- We Were Here Forever Walkthrough Chapter 1 (Part 2)
- We Were Here Forever Walkthrough Chapter 2
How to Solve We Were Here Forever Ruins of Rockbury Puzzles
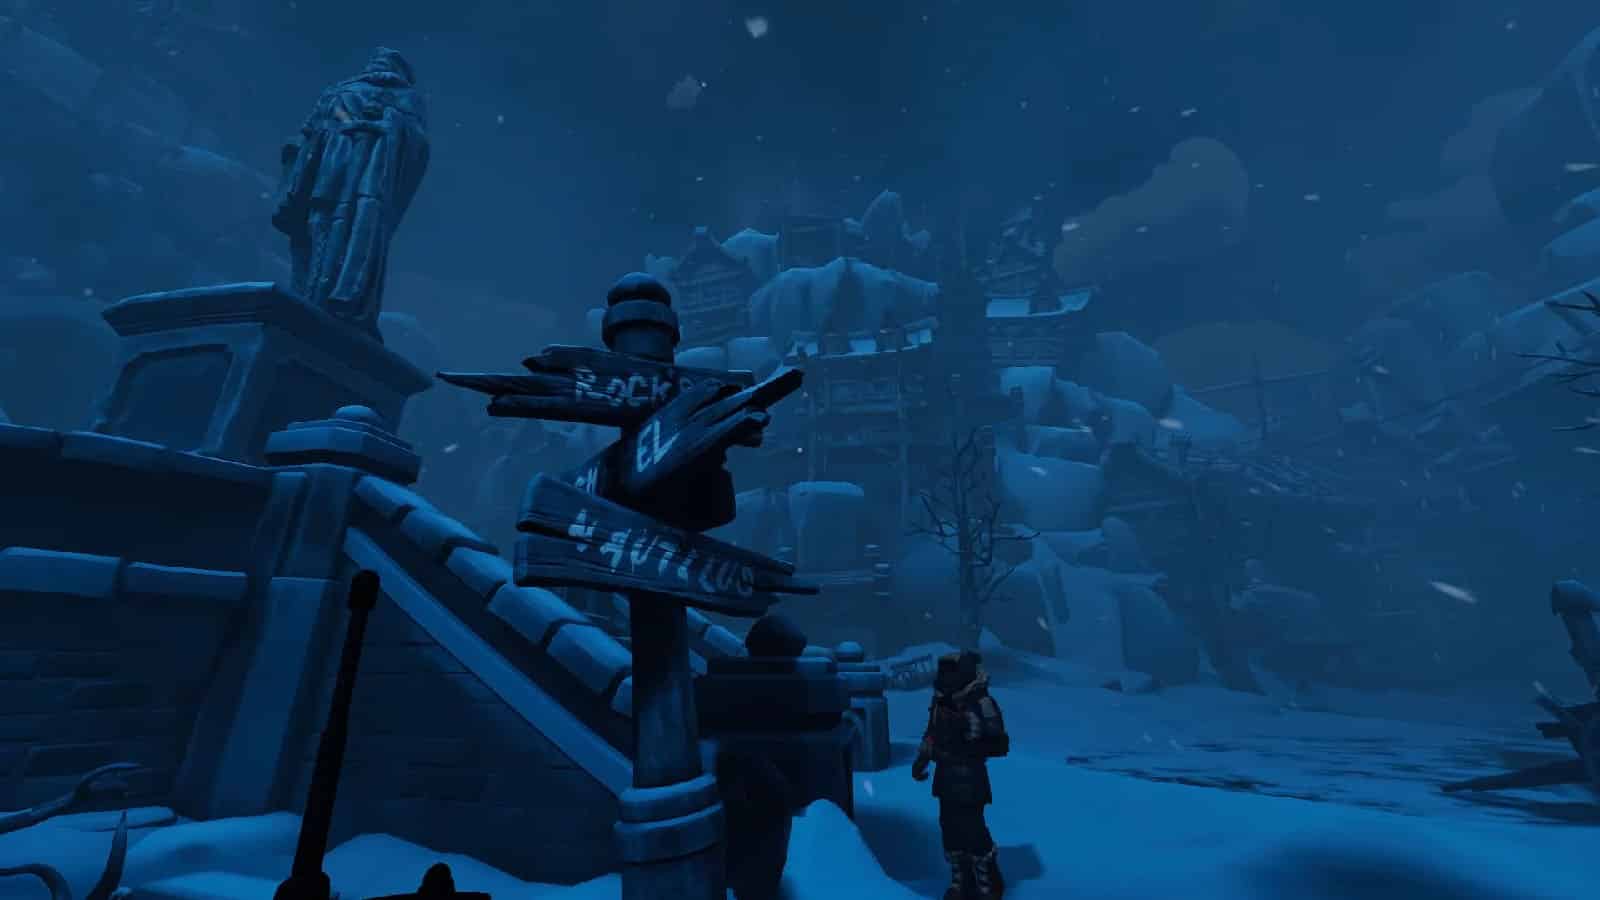
We pick things up right after your escape from the chapel. After riding the cart to go down from the chapel, you arrive at the abandoned village which will serve as the hub area. Heading to the left from the sign post will lead you to the Ruins of Rockbury. Activate the lift system and shove the frozen corpse off the chair so that you can ride the lift to the quarry.
Note: if you have decided to do a different location first, make sure to deposit the astrolabe piece into the astrolabe machine in the chapel to be able to proceed to the other locations.
Fix the Light
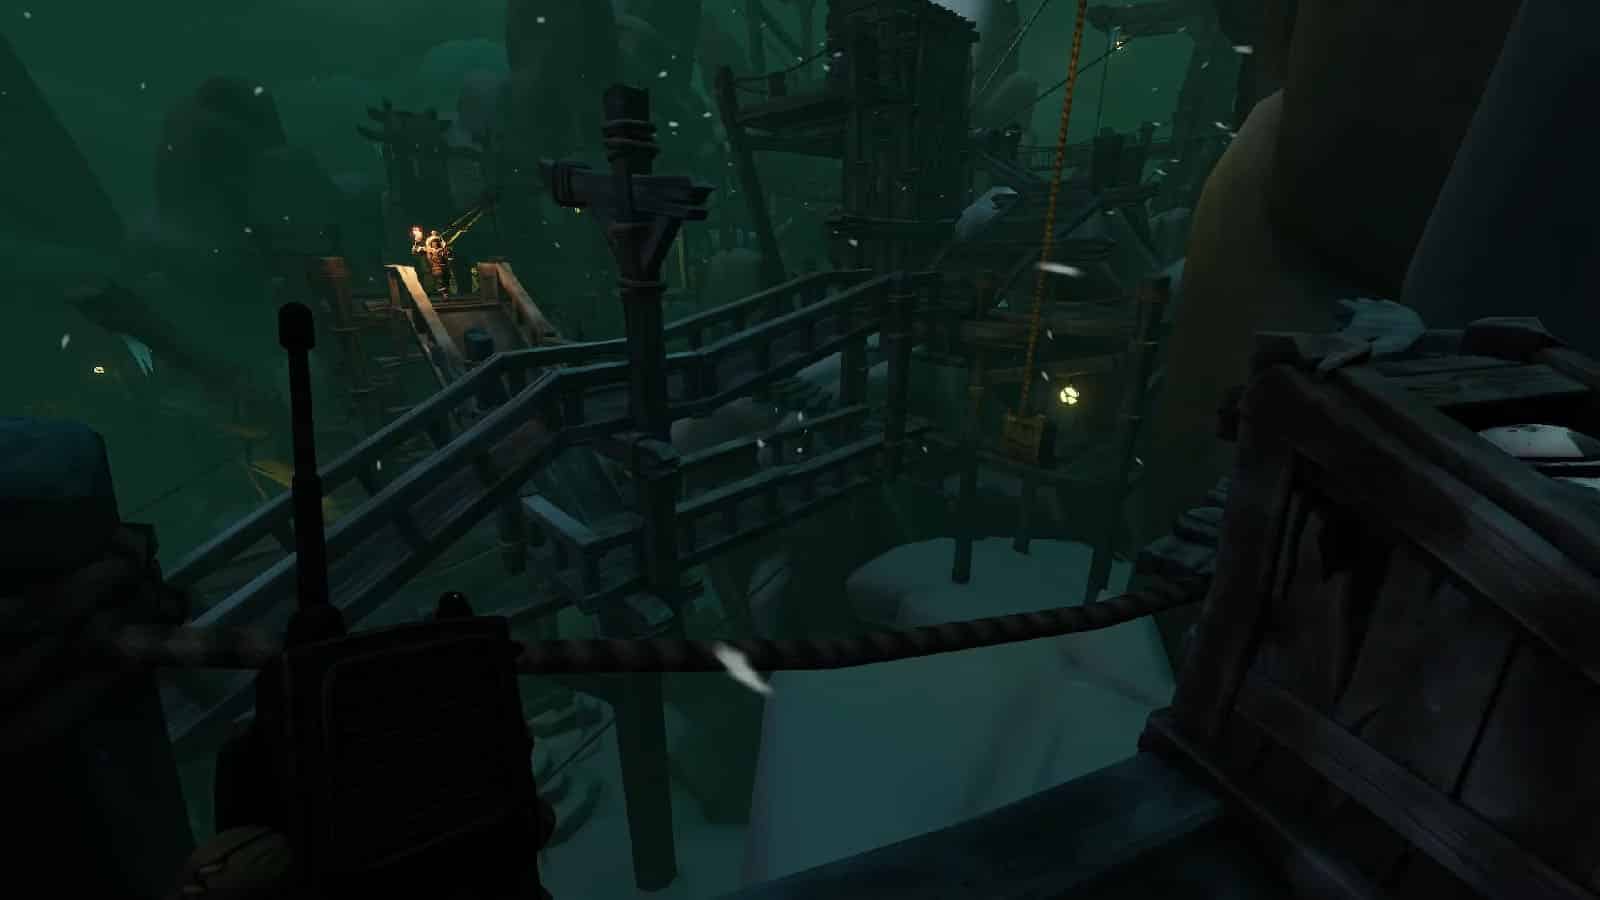
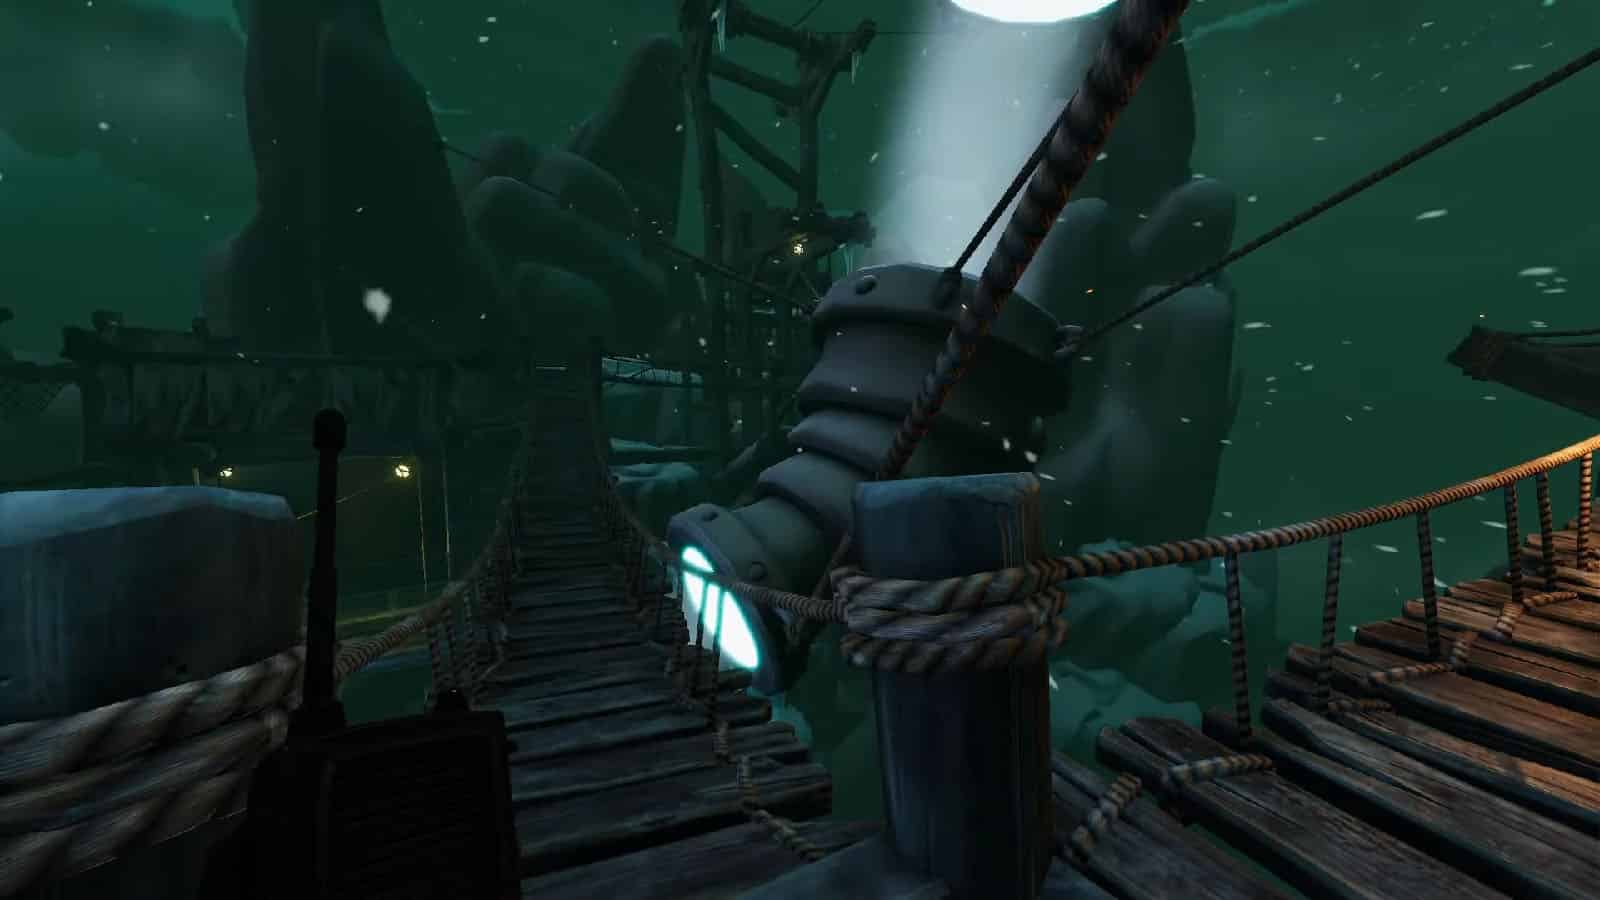
As you arrive at the quarry, you will see a huge suspended lamp shining a bright white beam of light. Make your way through the platforms and ramps and along the way, you will see a scroll that says “I’m confident it guards what I seek, the giant owl door. But how does it work?”. It sits on top of a lever. Pull the lever down to bring down a drawbridge.
Continue down the path until you reach the bent light scope. Nearby is a caged room that has a broken gate. Leave it be for now and proceed to go up the ramps to the left to reach a two-man elevator. Use the elevator by cranking the wheel until you and your partner reach the top. The catch is that the wheel is in between you and once you reach the top floor, you both will be separated from each other once more.
For the sake of this guide, the person who goes to the right of the wheel is P1, while the other person is P2.
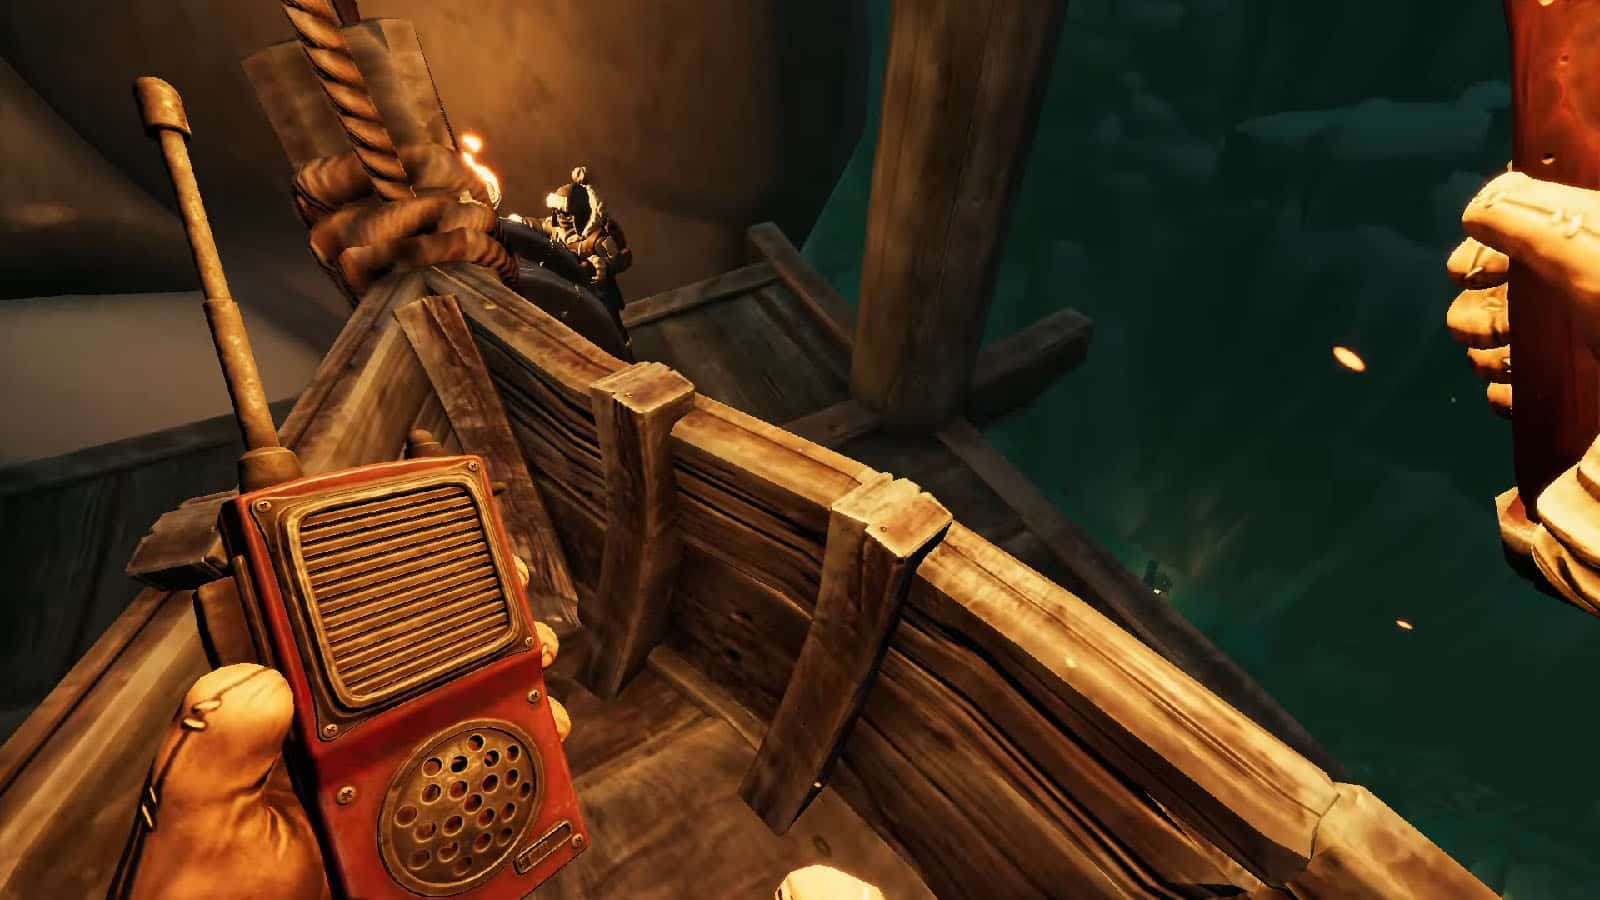
First off, P2 has to go to down the path and take the ramp to the right. At the top is a lever that will lift the bridge for P1 to be able to proceed. P2 can then go back down and take the left path to reach a chair zip line that can be taken to cross to the other side of the puzzle to where P1 is (bow of the ship).
After crossing to the other side, P2 will find another lever that controls another draw bridge. P2 should pull the bridge up to let P1 pass through, and then the bridge should be brought back down to let P1 climb up to get reunited with each other again.
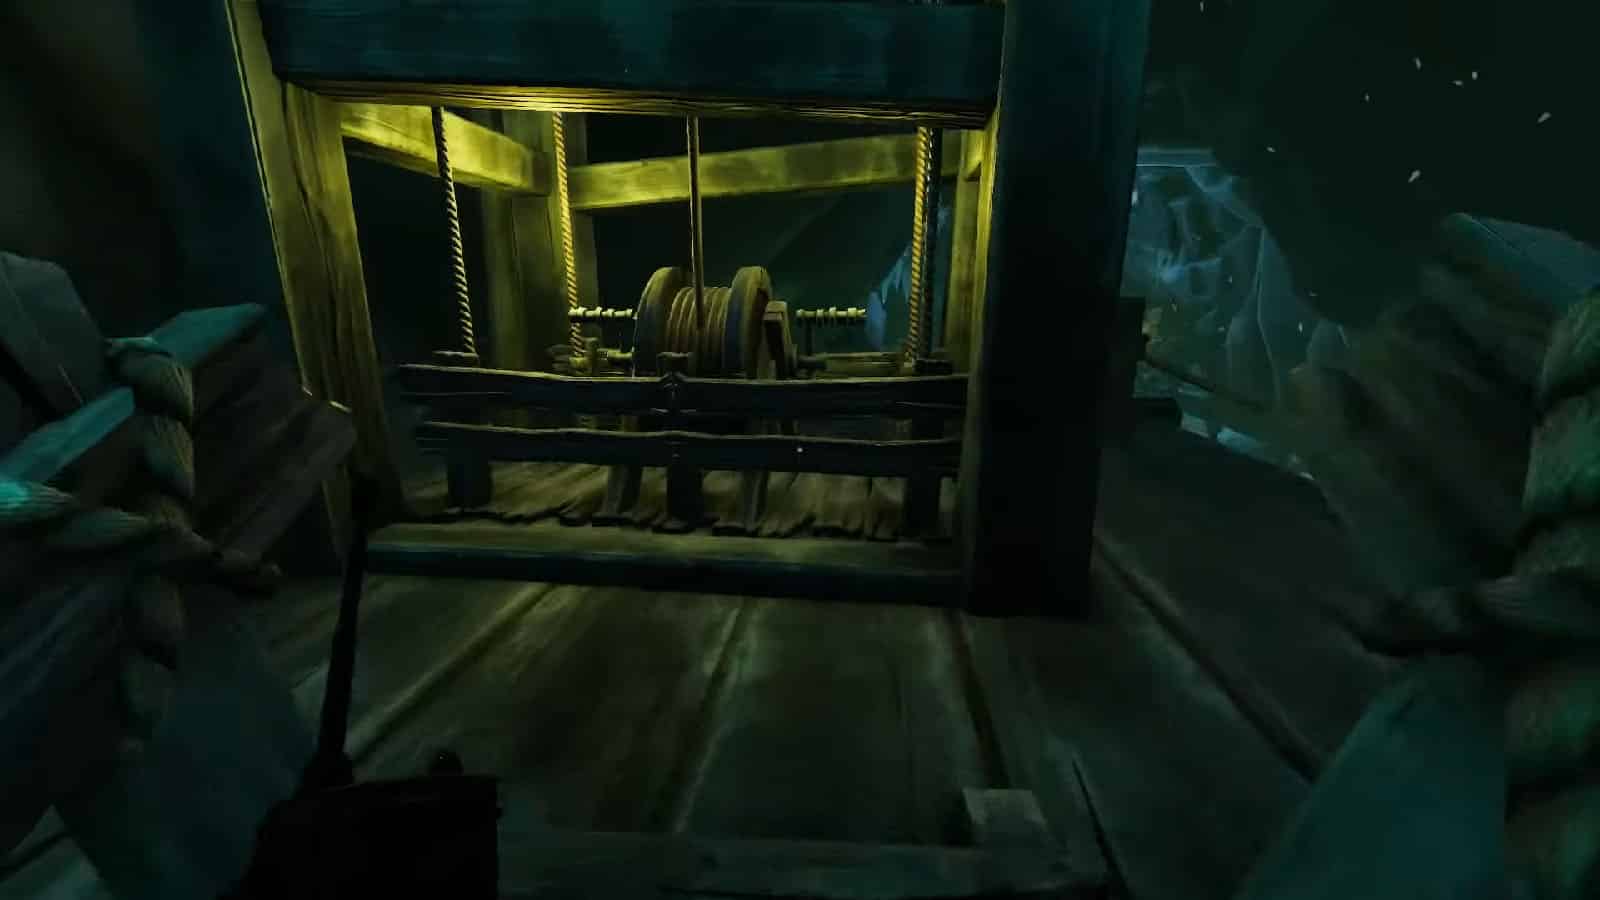
Both of you continue to go down the path until you reach a boat attached to a pulley. For this guide, P1 will be the one to ride the boat while P2 cranks the wheel to send the boat up.
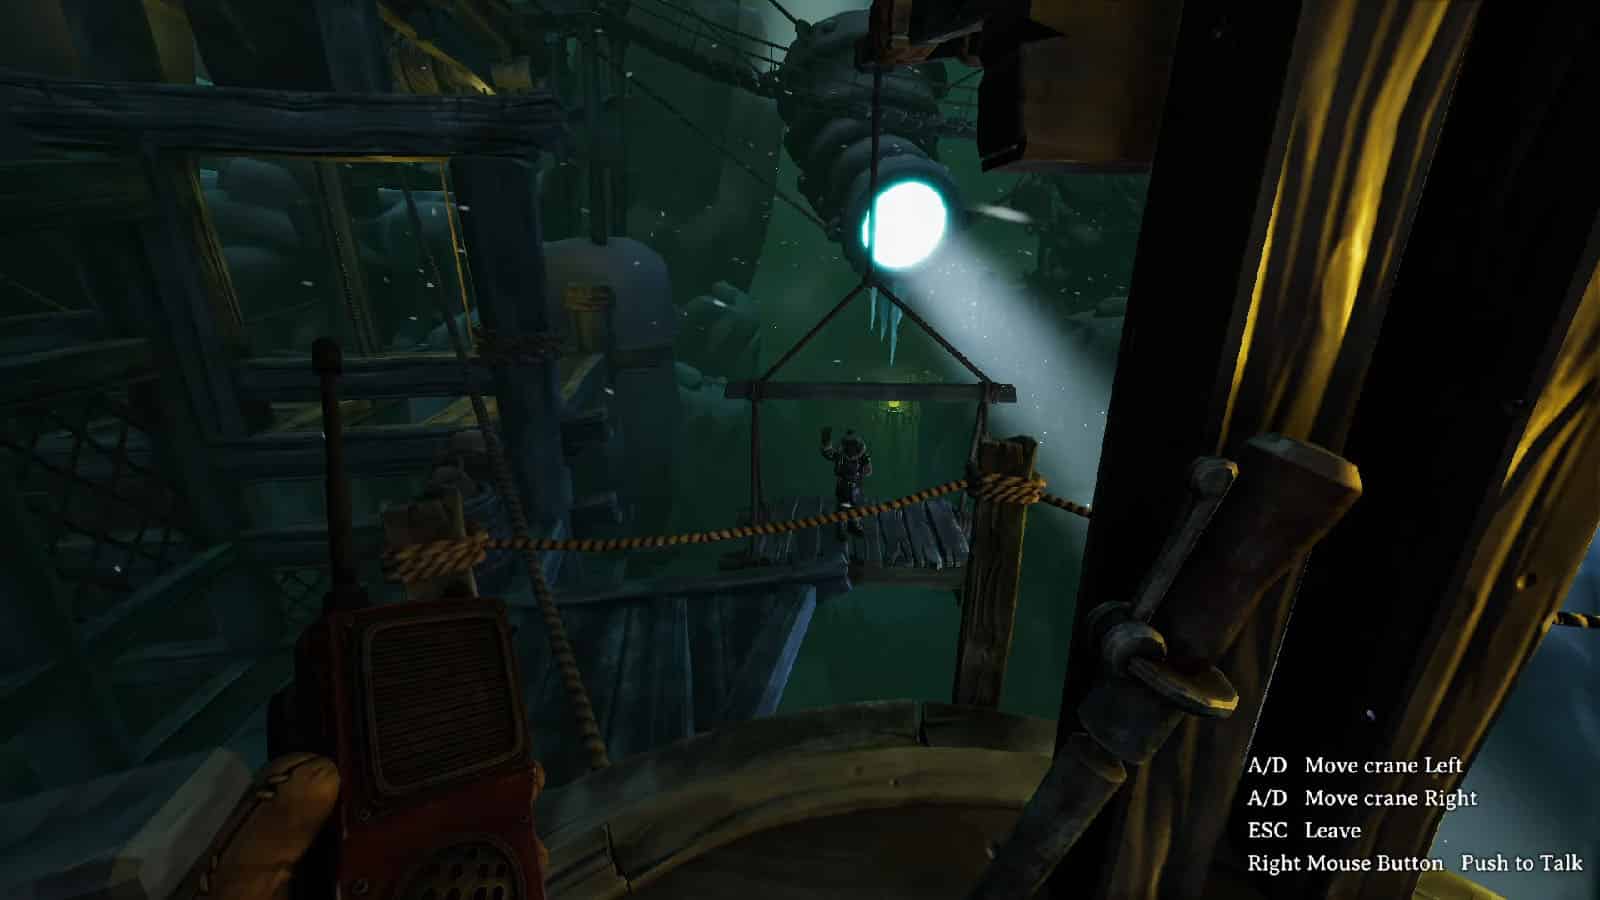
Once P1 is up, there will be a crane up top that can be operated to make the platform attached to it move from side to side. P1 should move the crane to the left and let P2 ride on it, and then P1 should move the crane to the right and let P2 get off it. P1 should then cross the bridge near the crane to get to the first main puzzle of the area.
Turntable Bridge
P2 will reach a button that will control a turntable bridge that is composed of two different bridges that go across each other and lead to different sides and levels of the area.
How this works: For this puzzle, we will assign the orientation of the bridge based on a clock and the top parts of the bridge as the arms, with 6 as the side where the button is, 9 at the side of the second button, 12 at the side where P1 will be first coming from, and 3 at the side where the lever is. P2 will be assigned to rotate the bridge while P1 will be the one crossing them for most of the time to pull the lever.
Here’s the solution:
- P2 rotates the bridge to the 12-3 position.
- P1 goes down the bridge and pulls the lever to open the gate to the second button.
- P2 rotates the bridge to the 6-9 position.
- P1 crosses the bridge to where P2 is.
- P2 crosses the bridge down to where the lever is, opens the gate to let P1 go to the first button, and goes back up to the second button.
- P1 goes down the bridge that is still in the 6-9 position and waits at the lower platform.
- P2 rotates the bridge to the 12-3 position.
- P1 cross the bridge to the other side above the lever.
- P2 rotates the bridge to the 6-9 position and crosses the bridge down to where the lever is.
At this point, P1 has access to the crank above while P2 can ride the elevator down below. P2 rides the elevator up as P1 cranks it to get reunited once more. You’ll then reach another junction by the bent light scope with two bridges leading to different parts of the quarry.
Each of you should take a bridge and follow the path until you both reach a boulder tied on a string. Interact with it at the same time to set the light source in a fixed position.
Then, both of you will have to follow another platform down and use a zipline to go all the way down to the starting area. The person who took the bridge heading straight up will arrive at the caged room which is now open, while the person who took the bridge to the left will arrive above the suspended platform.
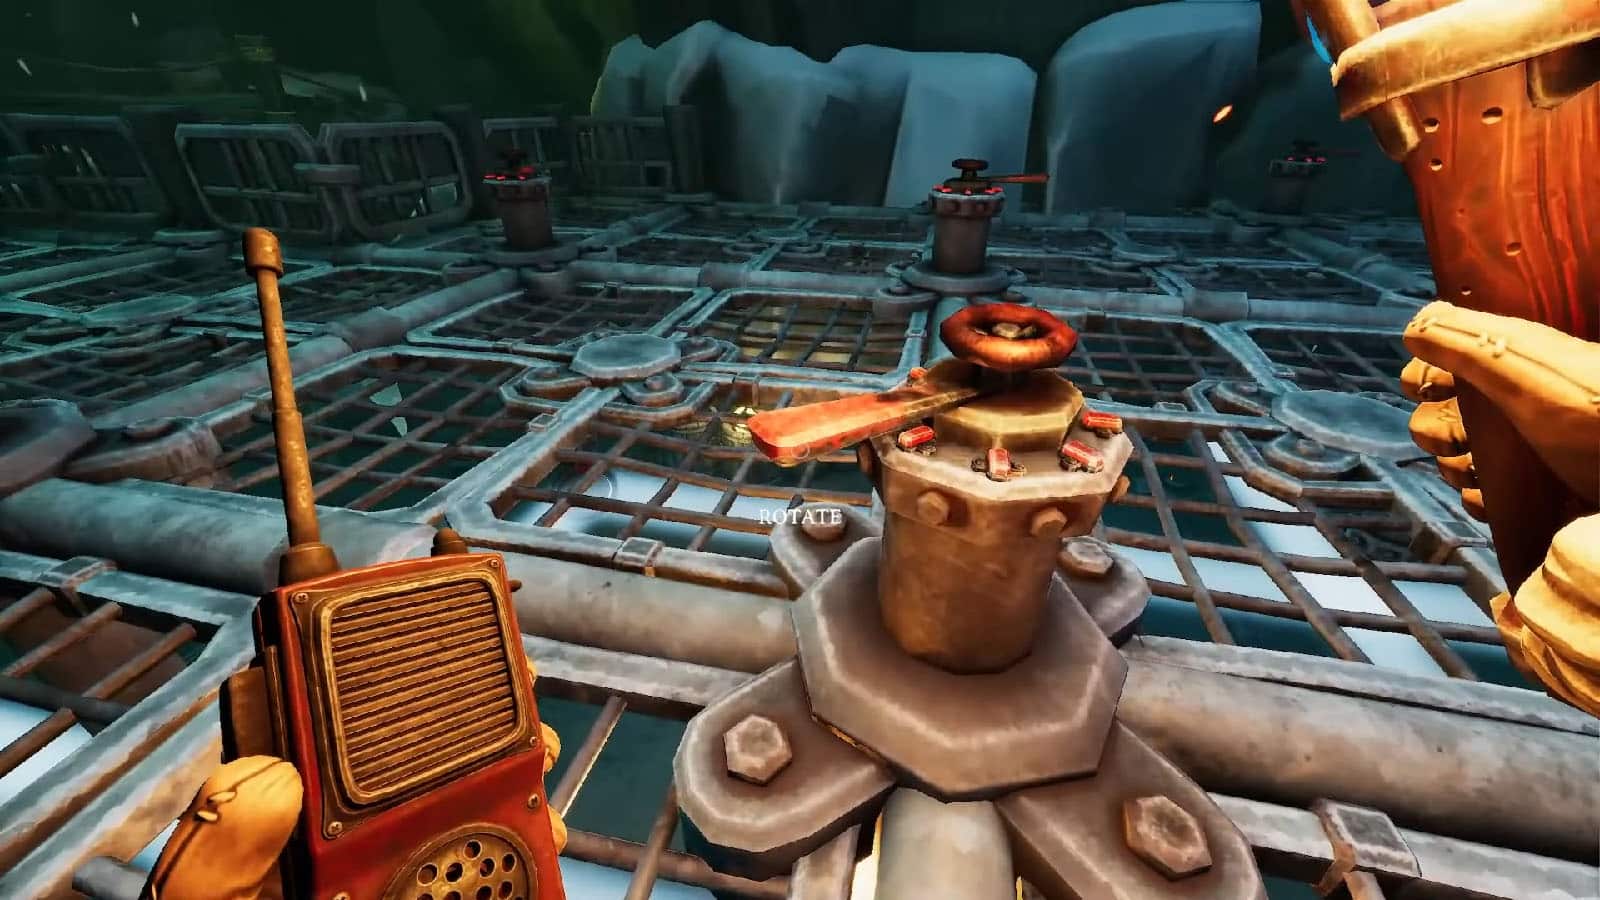
Through the Lenses
You and your partner will have to do another puzzle where you will have to reflect the light using special lenses to open the door at the end of the quarry.
How this works: For this guide, we will have P1 as the one assigned to arrange the special lenses below while P2 as the one to rotate the lenses to the right angles above. P1 has access to the caged room where there are reflective mirrors and several lenses that have images on them, while P2 has access to a platform where there is a scroll with a sketch of an owl holding a key.
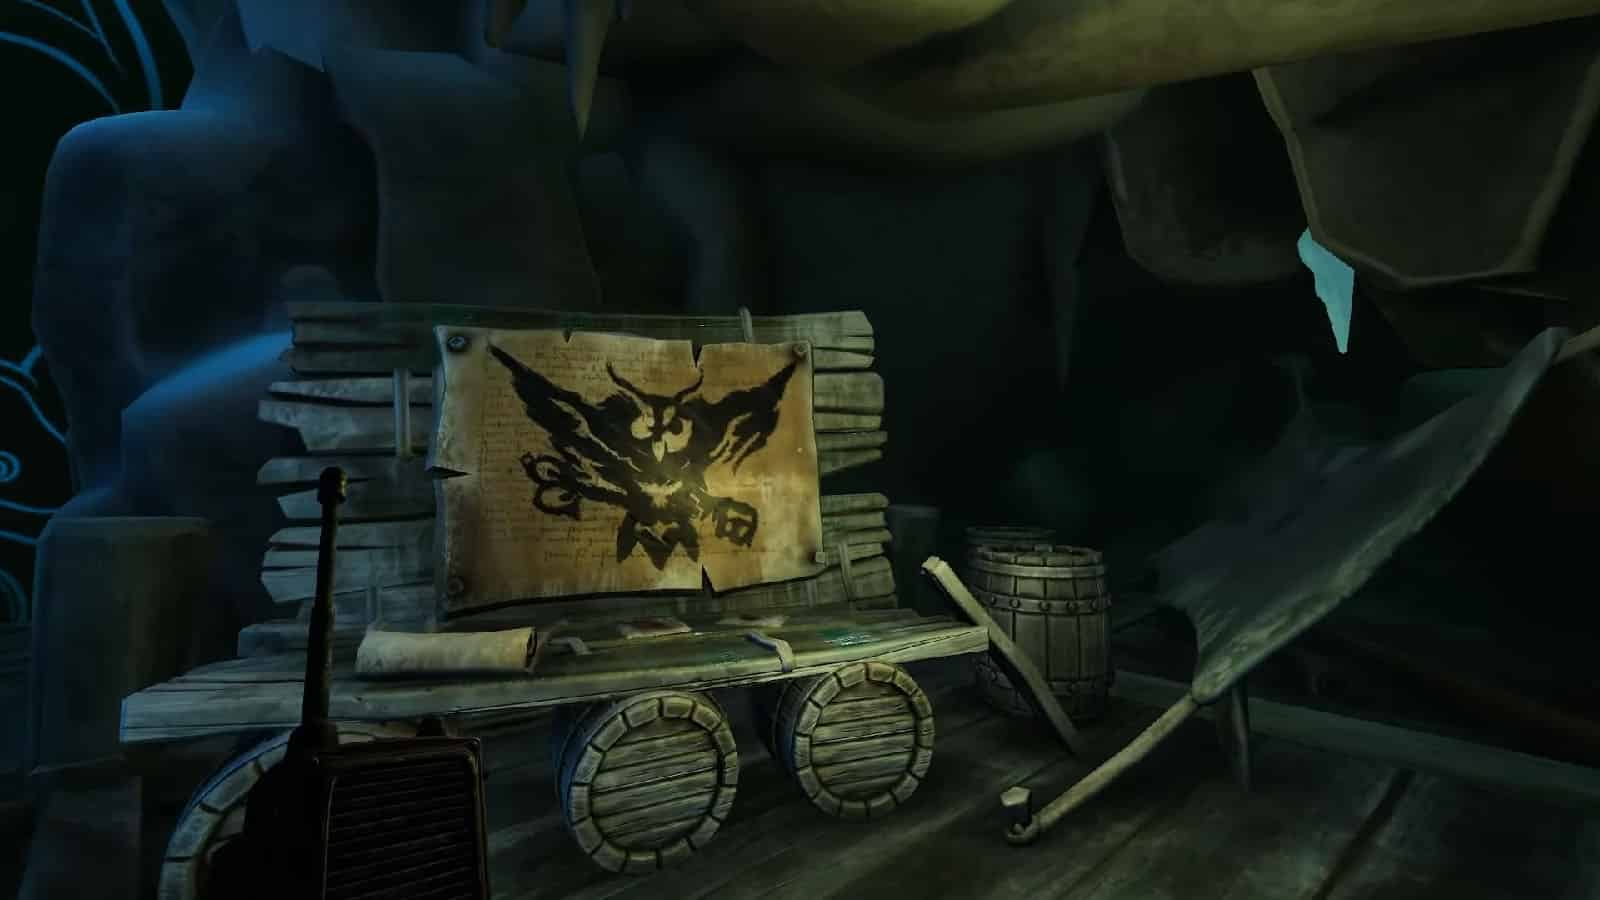
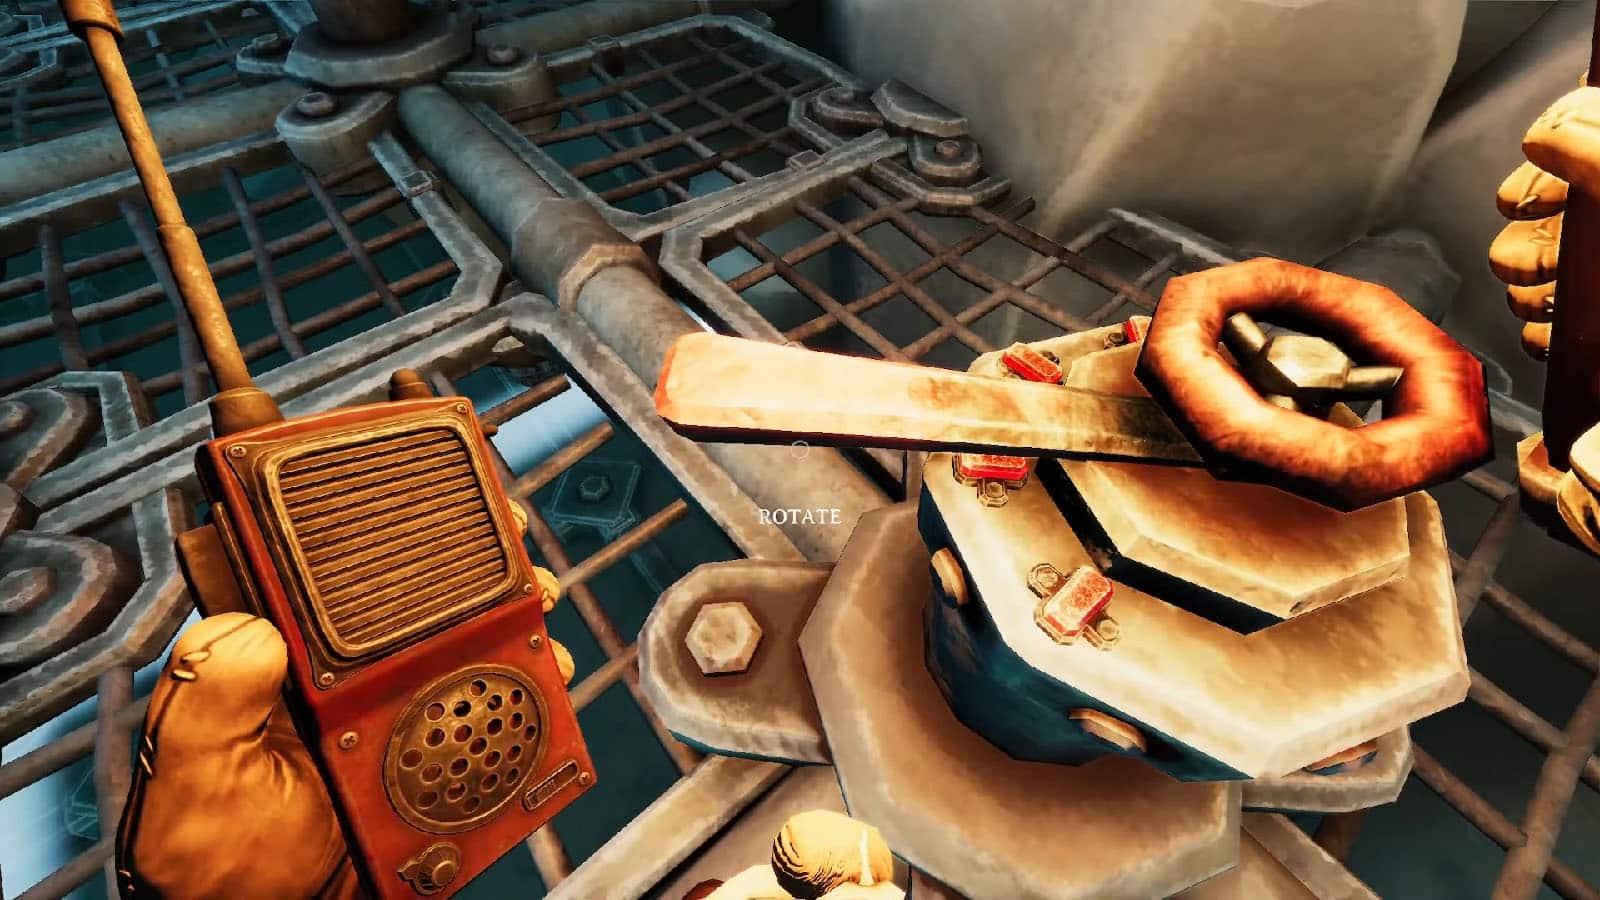
The lenses depict images resembling a story. They also have black solid markings on them that, when laid out on top of each other, will form the silhouette similar to the owl holding the key. These lenses will cast a shadow on the wall when light shines through them.
P1 can also use the six mirrors to reflect light into different angles to make sure that the beam goes through all the lenses. It’s also best to be aware that the mirrors are reflective on both sides, so one mirror will have to be reflected on twice to solve the puzzle. There is also one stationary mirror on the northwest corner which will serve as a clue to how the light beam should be arranged.
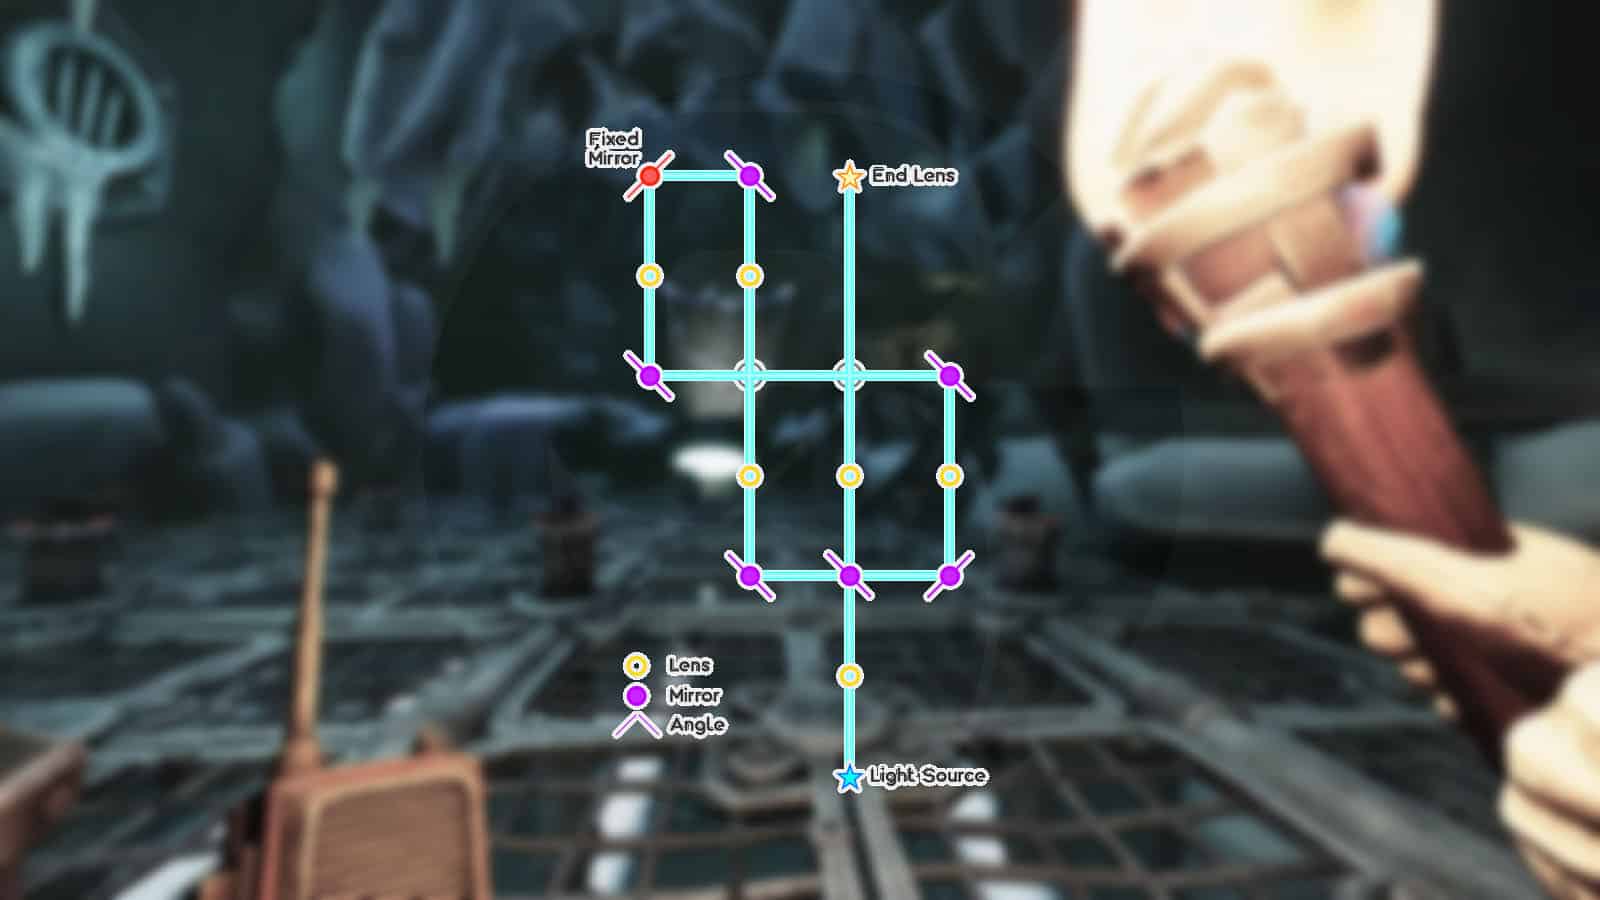
Here’s the solution:
The main clue to find here is at the levers up top. Some levers can be rotated around full circle while others can only be rotated at limited angles. The ones that can be rotated full circle need to have the lenses, while those that have a limited angles can only be mirrors.
There is no specific order that has to be followed for the placement of the lenses; they only have to be rotated so that the shadow gets casted correctly, otherwise the lens has to be flipped 180 degrees.
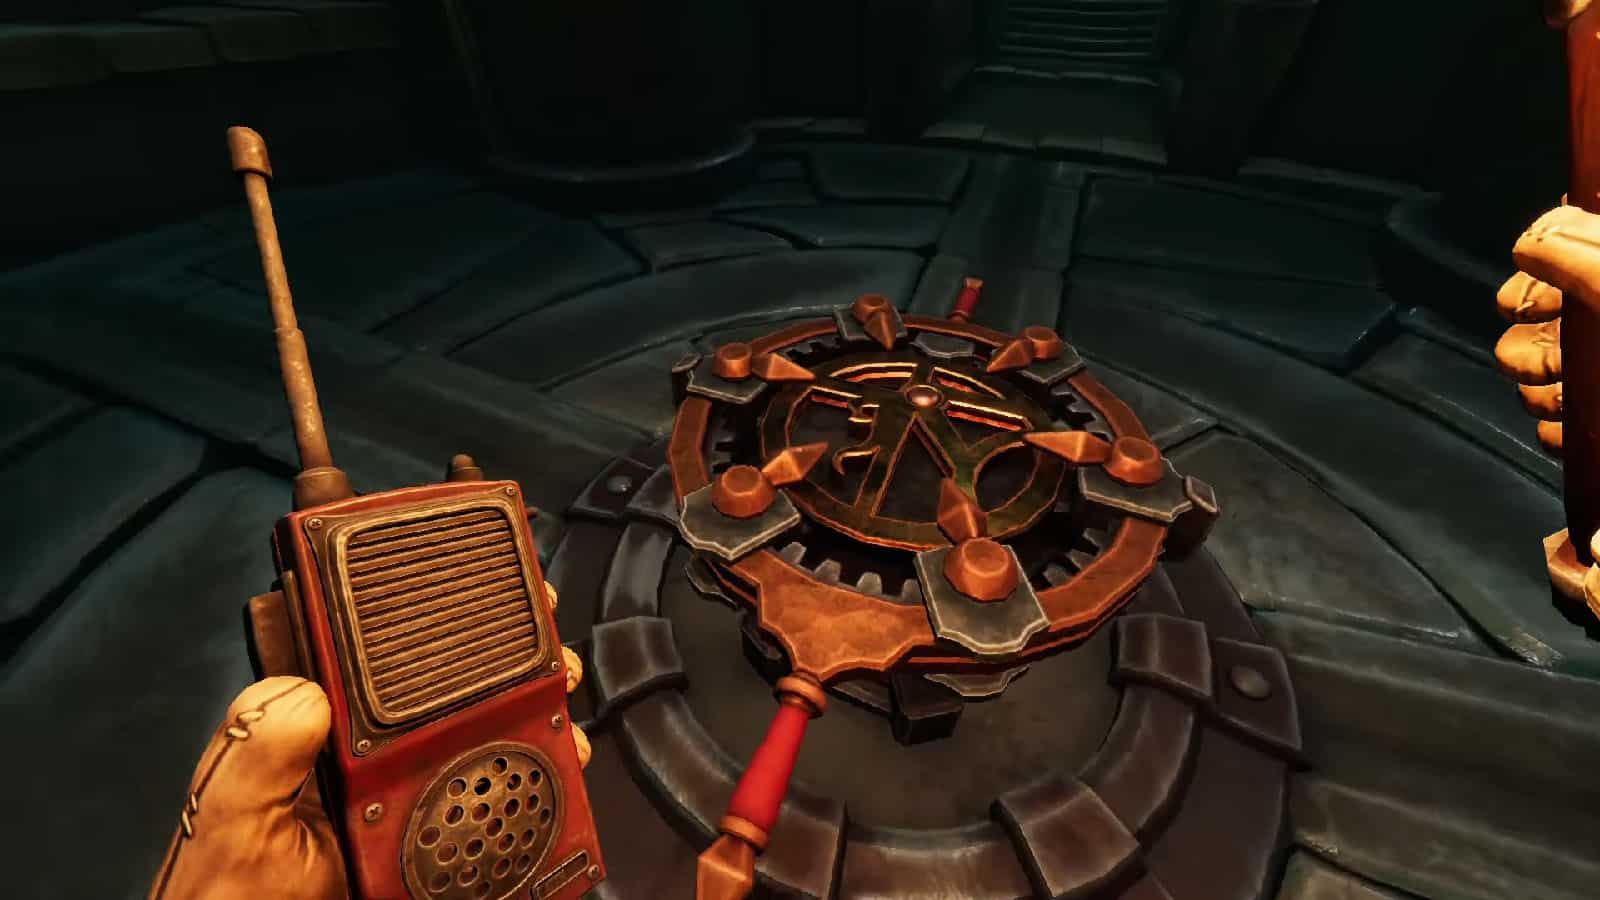
After solving the the puzzle, the door to the chamber will open and the piece of the astrolabe can be seen in the middle of the room. In order to get it, you and your partner should move the handle until all the small latches that are keeping the part in are out of the way.
Once done, the part can be picked up and brought into the ship at the back of the chamber where it can be fitted into a crevice. The ship will then start to move and transport you back into the village. Remember to install the part to the astrolabe in the chapel first in order to proceed to the other sections.
If you have completed all three astrolabe pieces and installed them on to the astrolabe, then you can check out our We Were Here Forever Walkthrough Final Chapter if you need help with the last puzzle of the game.
For easier navigation, check our complete We Were Here Forever Walkthrough – All Puzzle Solutions:
- Chapter 1
- Chapter 2
- Chapter 3 – Ruins of Rockbury
- Chapter 4
- Chapter 5 – Royal Cemetery
- Chapter 6 – Final Chapter
If you like this Guide, be sure to check out our other We Were Here Forever articles:
Check out this video by Orbital Potato with his friend Retromation as they go through the Ruins of Rockbury and solve its puzzles:
