")
We Were Here Forever is the fourth installment of the We Were Here series. It is a co-op puzzle game where two players have to help each other out in solving puzzles while navigating through mazes and obstacles within a castle.
This guide will cover the puzzles in the first half of The Nautilus, one of the three locations where you and your partner need to go to search for a missing part for the astrolabe machine in the chapel. Check out our other We Were Here Forever guides for the previous challenges:
- We Were Here Forever Walkthrough Chapter 1 (Part 1)
- We Were Here Forever Walkthrough Chapter 1 (Part 2)
- We Were Here Forever Walkthrough Chapter 2
How to Solve We Were Here Forever The Nautilus Puzzles
We pick things up right after your escape from the chapel. After riding the cart to go down from the chapel, you arrive at the abandoned village which will serve as the hub area. Heading to the right from the sign post will lead you to The Nautilus.
Note: if you have decided to do a different location first, make sure to deposit the astrolabe piece into the astrolabe machine in the chapel to be able to proceed to the other locations.

Sunken Mines
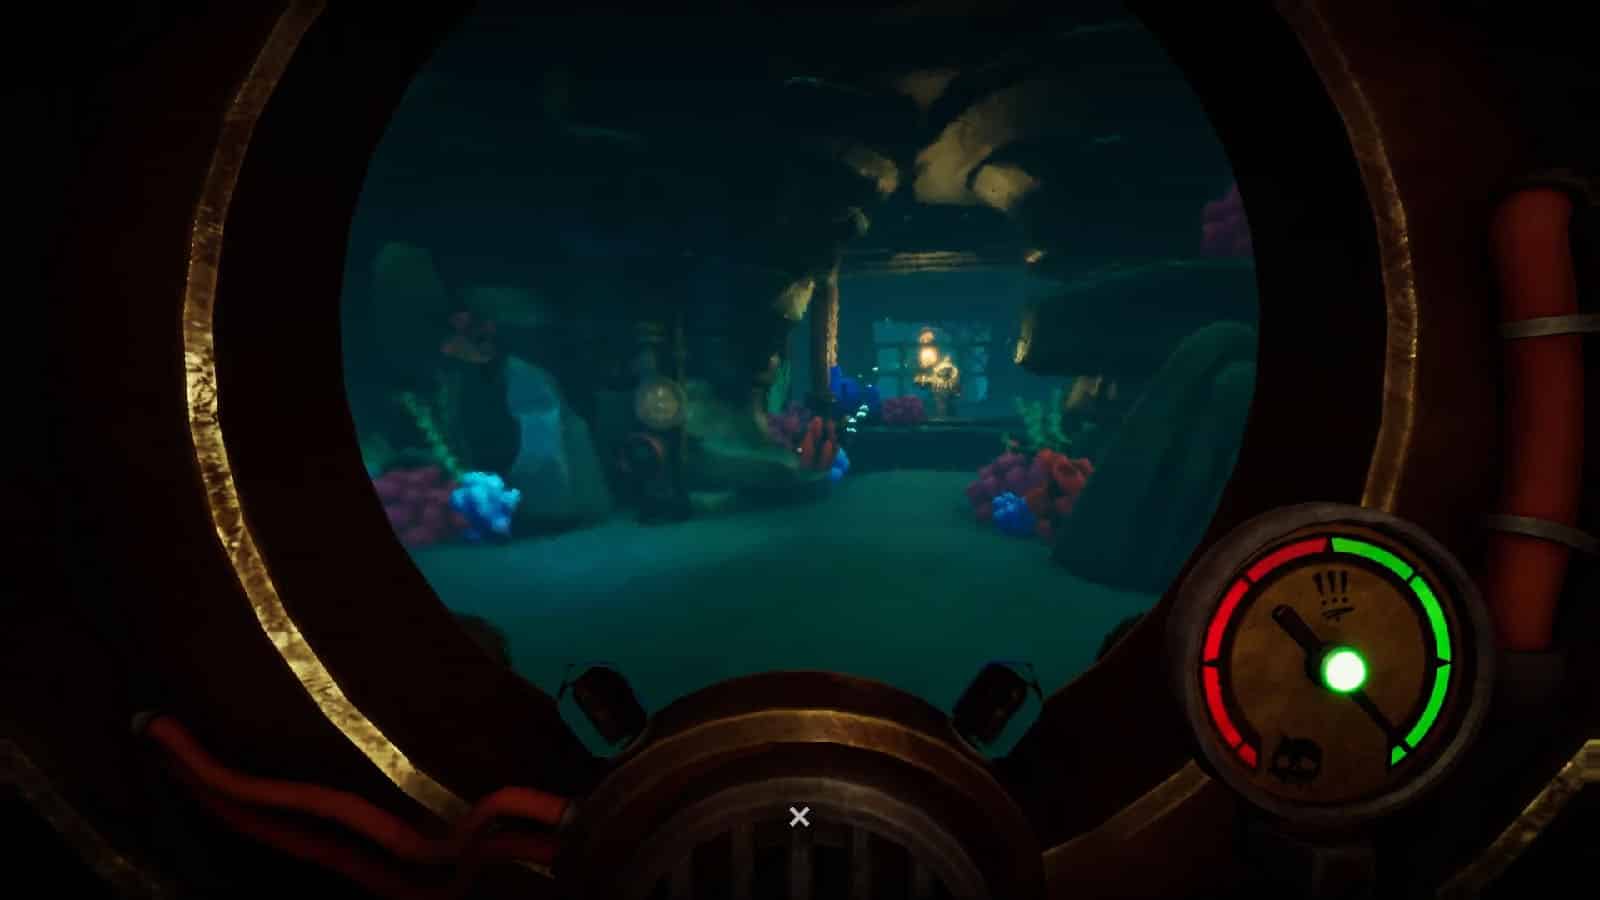
Ride the railcart as it goes up the ridge and into a cave. Make your way through the platforms and into a room where a corpse is sitting on the ground wearing a diving helmet. Decide with your partner on who should wear the helmet and dive down. Whoever wears it will have a limited view through the window of the helmet, and they will also be able to see an air gauge to the side. For the purposes of this guide, you will be the one wearing the helmet.
Then, make your way into the diving hole. The other player will be able to enter the room across the diving hole which allows them to see you from behind a thick panel of glass.
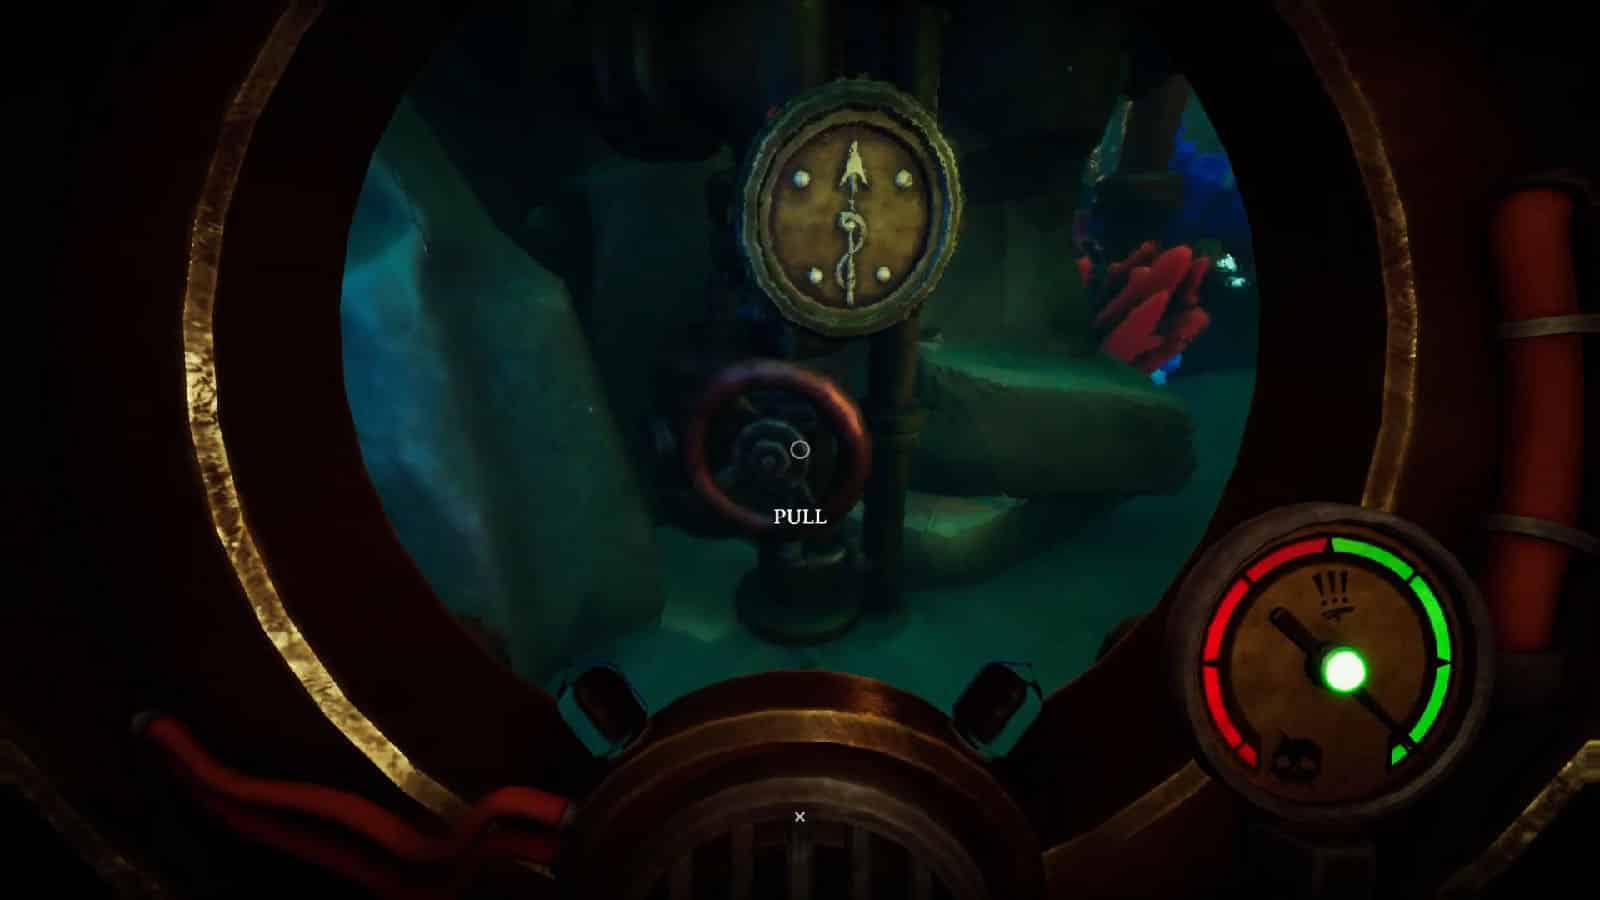
How this works: You and your partner will have to help each other as you make your way through the maze of underwater hallways and tunnels. As the one wearing the helmet, you will have to find valves that will open doors for your partner on the dry side. These valves have symbols near them which corresponds to the symbol on the door that your partner needs to open.
There will also be doors that require air to be pumped to it to open. Interacting with this door will take out a chunk of the air reserves, so make sure that you’re topped up on air before opening these doors.
On the other hand, your partner will be rotating pipes to route air into specific pipes underwater from where you can replenish your air from. In the dry side, there will also be maps that your partner can use to guide you through the maze, with icons indicating points of interest. The air pipes on the maps are marked with icons comprised of several shapes in a specific arrangement. It’s your partner’s job to rotate the pipes to lead air from the main pipe into these specific pipes.

For this guide, P1 will be underwater, P2 will do the pipes. We’ll refer to the ones corresponding to gates as “symbols” while the ones corresponding to the pipes as “icons”. Pipe orientations will be depicted as numbers on the clock if possible (i.e.: 6-12, 9-12, etc.). Here’s the solution:
- P1: The first valve that you will encounter has the harpoon symbol. Open this valve to open the gate to the right of your partner to the maps room and move to step 3.
- P2: Rotate the L-pipe on the ground to 6-9 to connect the air tank to the pipe going to the right (facing away from the viewing panel), follow the pipe and rotate the I-pipe to 6-12. This will open the pipe with the Lightning icon to the right of the llama/bird carving.
- P1: Go to the air door to your left and interact with it. You will arrive at a fork with a carving of a long neck bird with a llama head. The pipe to your right has the Lightning icon. The path to the left is a dead end. Take the right path. At the next fork, you will see the Treasure sign pointing to the left. Turn right first and you will be able to see the valve with the Anchor symbol. Open this valve. Paths on both sides from the Anchor symbol are dead ends.
- P2: Head to the back of the room where the Anchor gate was and rotate the L-pipe to 12-3 to direct air into the Claw icon.
- P1: Head back to the Treasure sign, go straight and follow the path. You will see another air pipe (Claw) and the llama-griffin-snail carving to your left. Approach the carving and turn right, walk forward, then turn left. You will see another air pipe (Square-Diamond, by the peacock-snail carving). To the left is a locked door, to the right is an air door. Open the air door to unlock a shortcut. Head back to the llama-griffin-snail carving or the Claw pip to get more air, and then head back down the path, but go straight this time. At the end of the path, turn right twice and you will see the Jellyfish symbol. Open this valve.
- P2: Rotate the first L-pipe again to 9-12, then the I-pipe to 3-9 next to the Square-Diamond icon, then rotate the L-pipe behind the Jellyfish gate to 12-3. Follow the pipe to the Anchor gate and rotate the L-pipe to 9-12. Rotate the T-pipe to 3-6-12 and this should route air to the Square-Diamond pipe and open the door next to it.
- P1: Go through the door to the right and jump into the pit. This leads to another section that is mapped out with the skull-griffin carving and the Lightning pipe.
- P2: Redirect air once more into the Lightning pipe by rotating the L-pipe behind the Jellyfish gate to 9-12.
- P1: From the Lightning pipe, go to the left and take the right path. Follow the path until you reach another pipe (Wrench). Continue going forward a bit and turn left from where the Double-Crown icon is. At the end of this path is the Captain’s Wheel symbol. Open this valve to let P2 access the higher platform where the Double-Crown icon is.
- P2: Go through the Captain’s Wheel gate and climb up to get to the upper platform. Rotate both I-pipes to line them up properly. Go back down, rotate the other I-pipe that is connected to the one that you rotated above to 6-12. Then, rotate the first L-pipe to 9-12 and the other L-pipe near the Wrench icon to 3-6. Have P1 refill first before turning the I-pipe below back to 3-9. At the back area, rotate the T-pipe to 3-9-12 and this should open the door connected to the Double-Crown pipe. Redirect the air again to the Claw pipe.
- P1: Head to the Double-Crown door, follow the path then turn right. Follow the path until you reach the llama-griffin carving and refill at the Claw pipe. Open the air door to the right and then retrace your steps a bit to see another pit. Jump down the pit to the next area. Refill at the pipe as you land, jump down the ledge, and take the path to the left. Turn right next to see a locked door.
- P2: Redirect the air to the Wrench icon pipe to open the door.
- P1: Go through the door and go straight through the corridor to the very end and turn left.
- P2: Redirect the air to the Square-Diamond icon pipe to open the next door.
- P1: Go through the door and take the path to the left until you reach the next door.
- P2: Redirect the air to the Lightning icon pipe to open the next door.
- P1: Go through the door and take off your helmet once the water is drained.
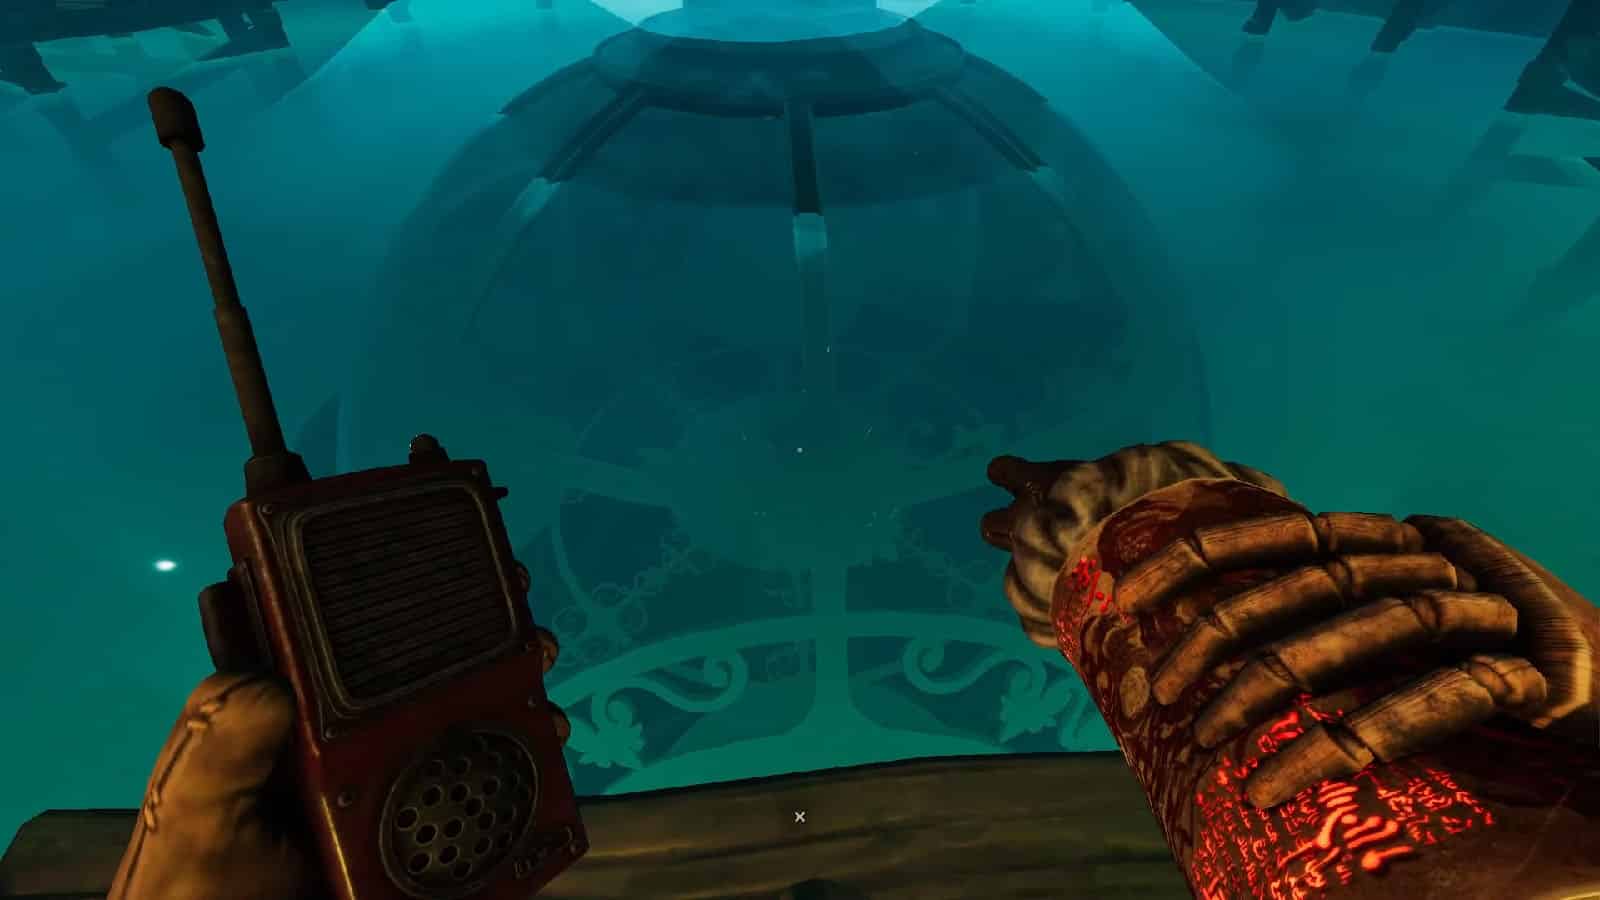
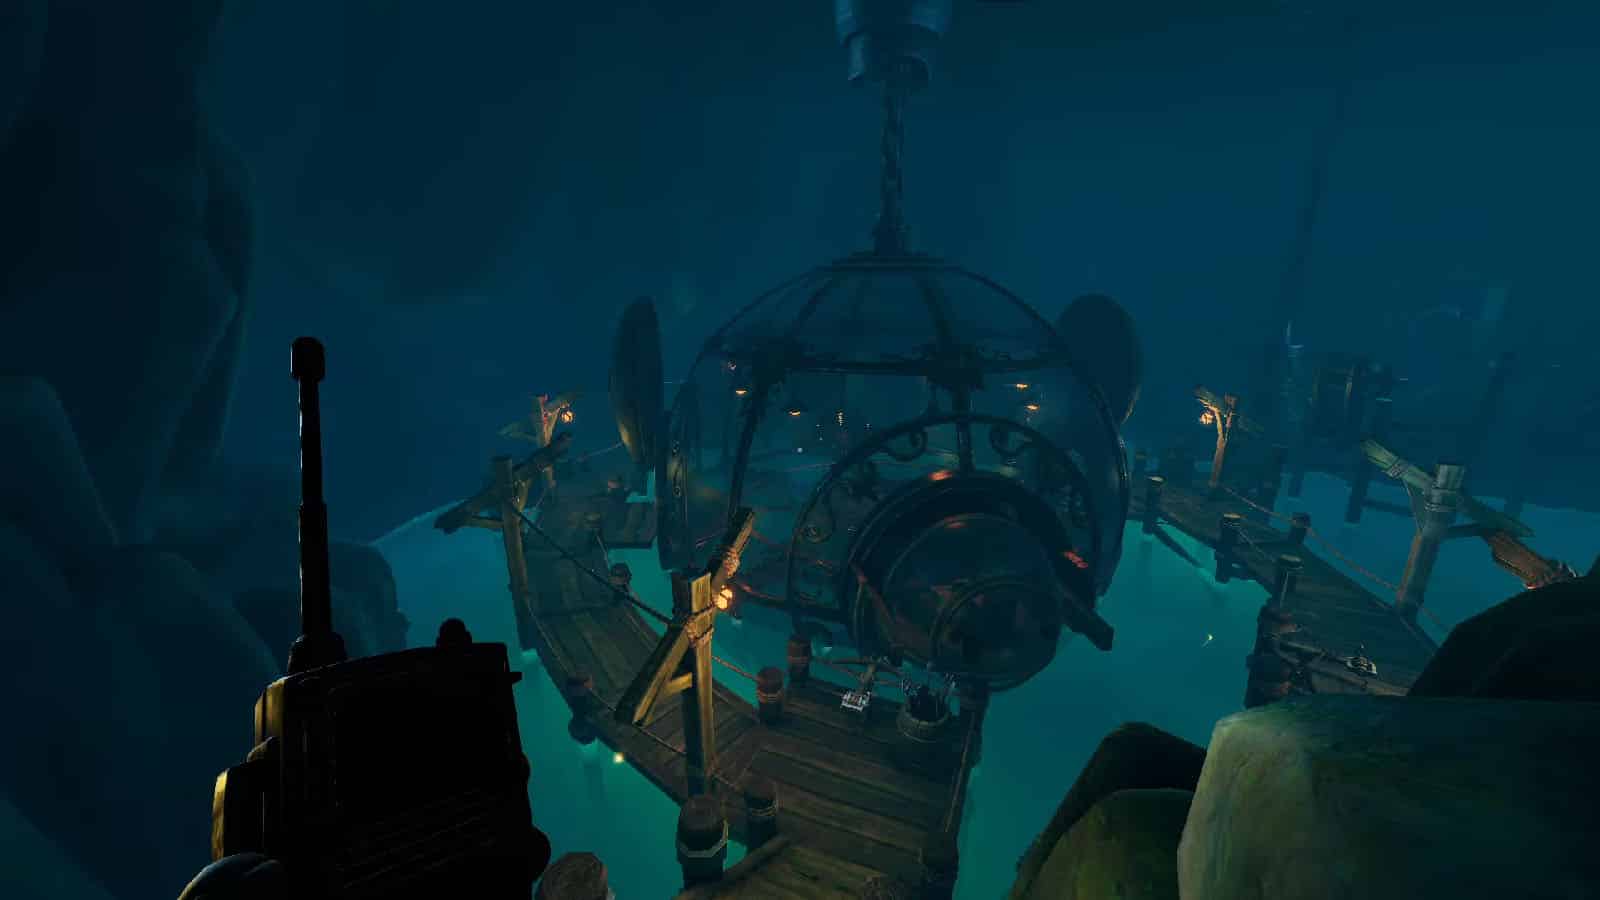
At this point, P1 goes to the middle of the Nautilus while P2 heads to the unlocked door at the back and follows the trail to reach the docks once more. P2 pulls the lever to raise the Nautilus from under the water. Both you and your partner will be able to go on the docks, but you will still be separated until you solve the next puzzle.
Grid Pipes
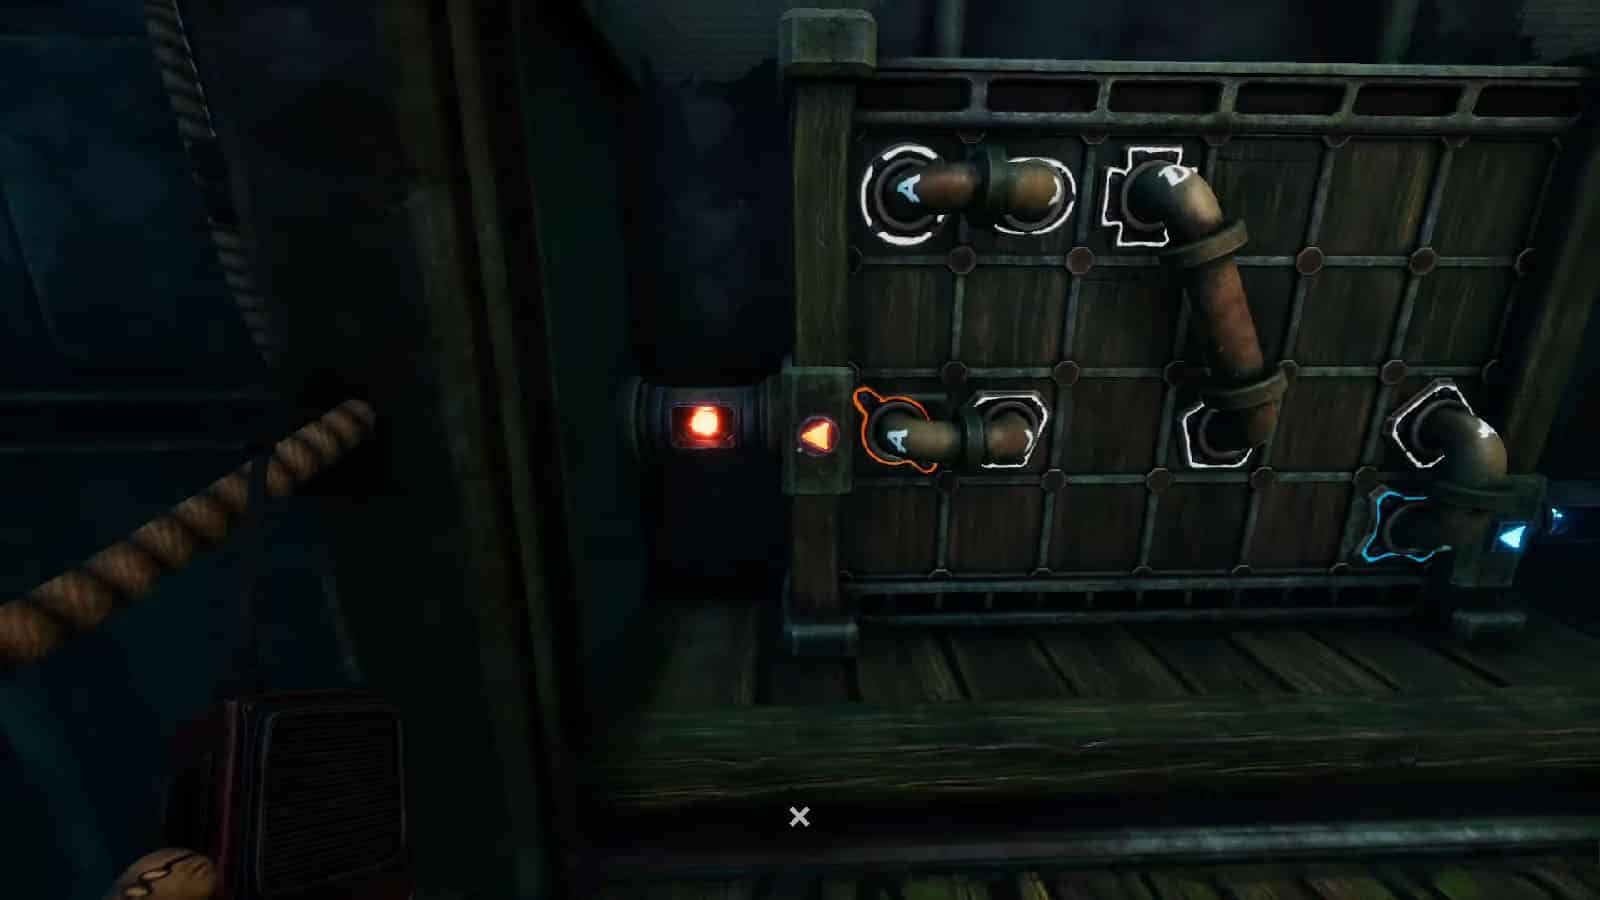
Both you and your partner will see two kinds of boards on each of your sides. One board is a 4×4 grid that has holes and are designated with different shapes, while the other board is a dispenser that dispenses pipes of different shapes and sizes.
On P1’s board, there is an output pipe (orange circle/slash) that has an orange blob in it and a blue input pipe (blue X), and it is reversed for P2.
How this works: The objective of this puzzle is for each of you to direct the blue and orange blobs to their respective input on each other’s grids. This is possible via the other holes on the board. Each hole corresponds to the hole on the other grid that has the matching shape. The catch is that the pipes cannot cross each other, so the pipes should be properly arranged on the grid.
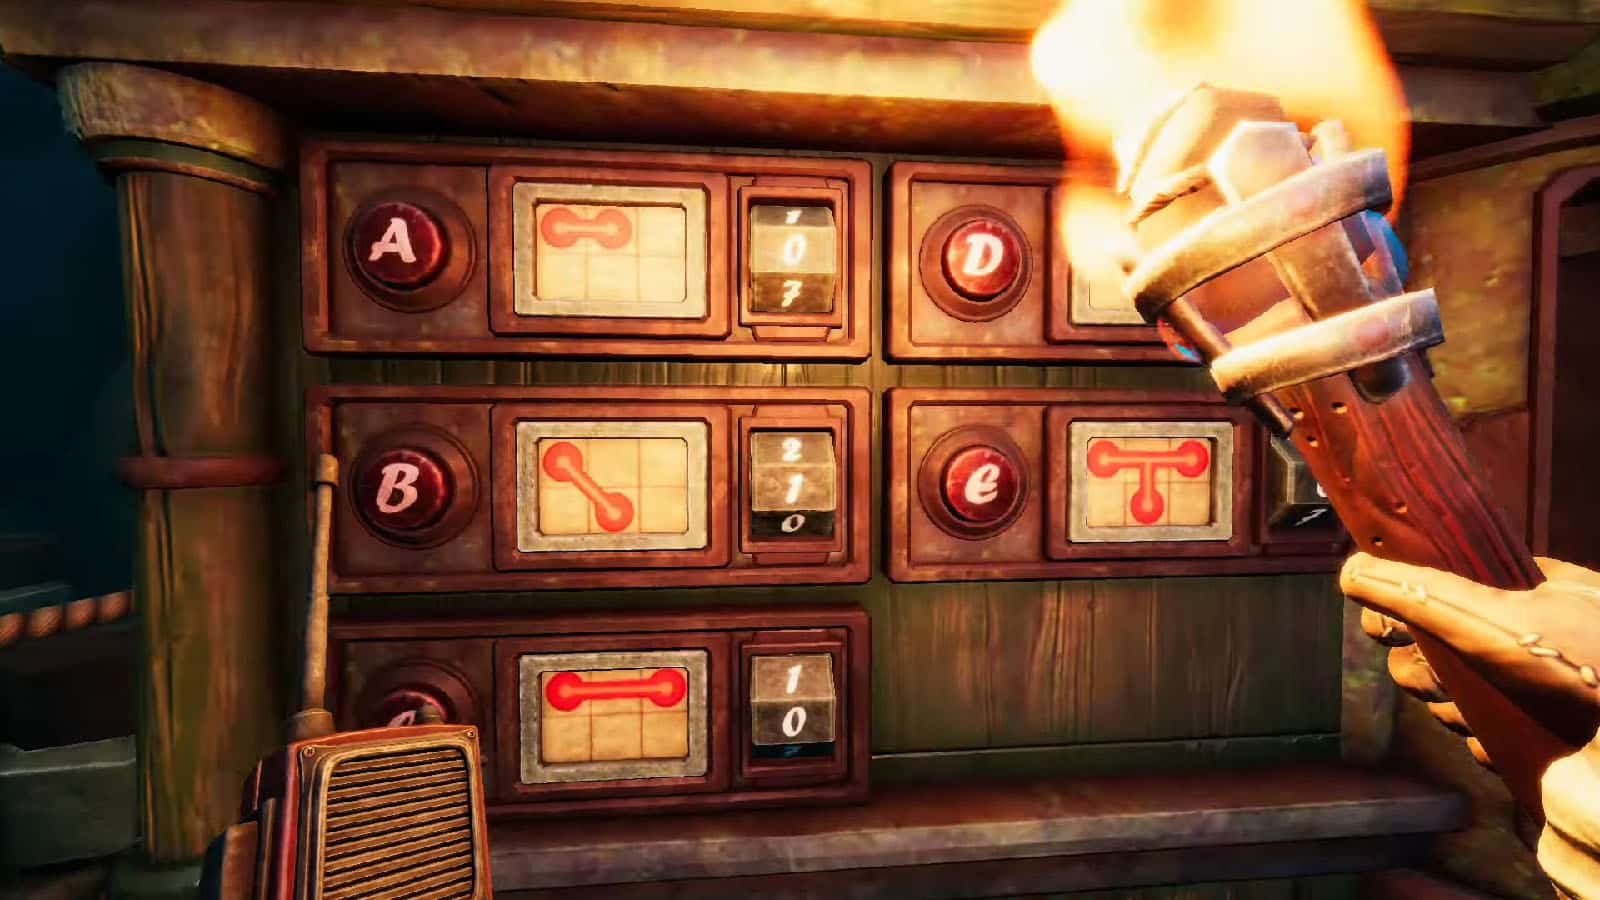
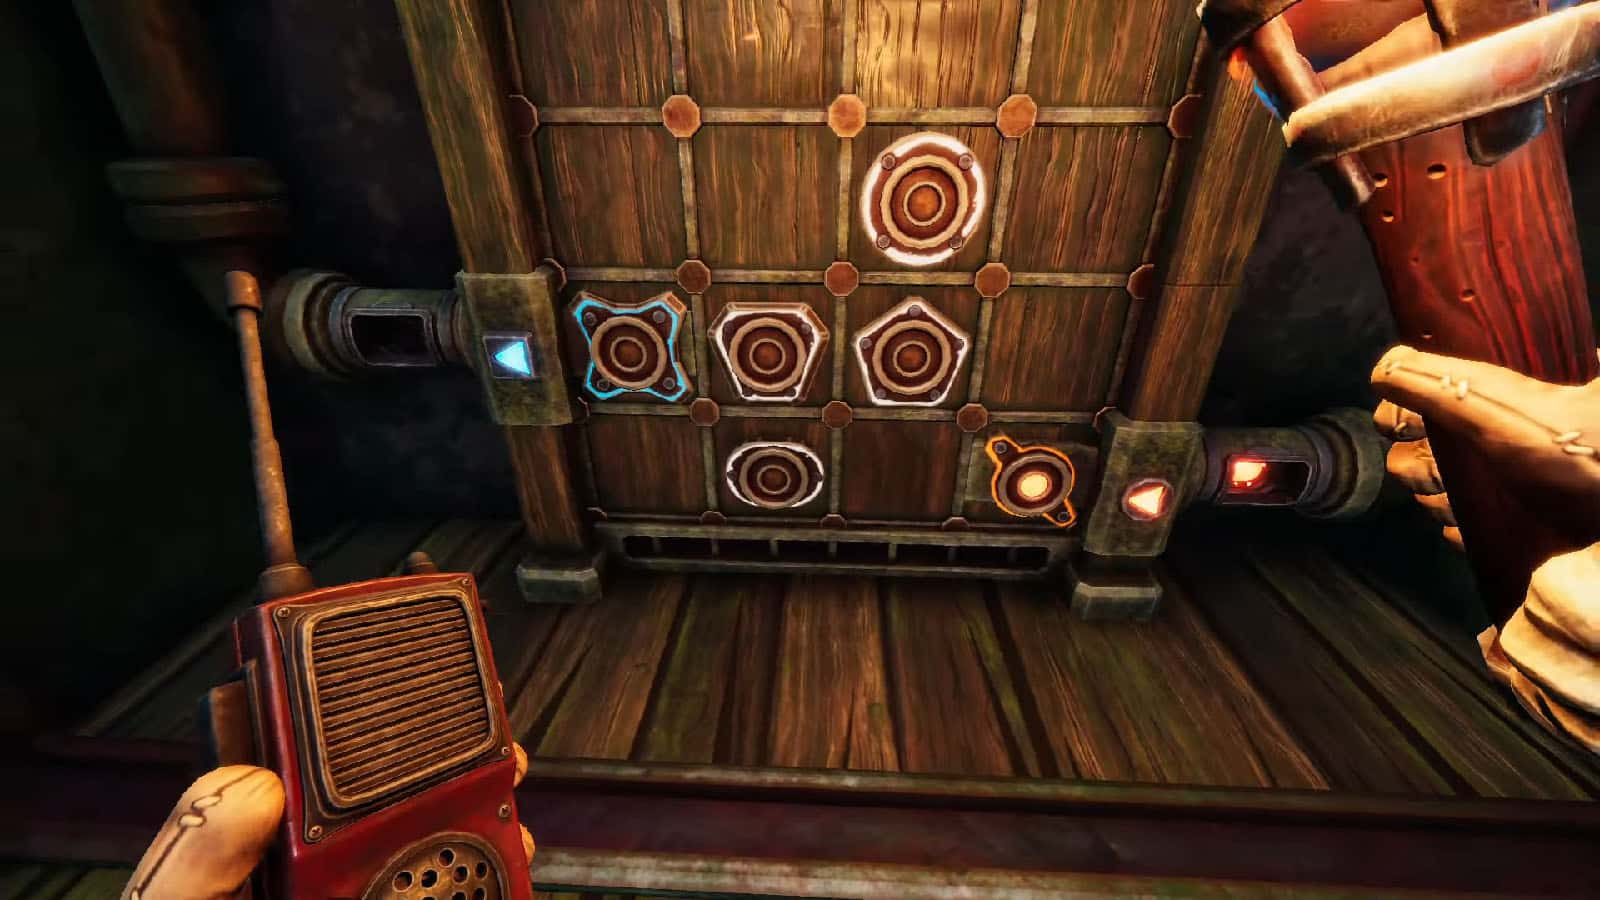
There are only a limited amount of pipes and it is shared by both of you. If you or your partner needs a pipe for your grids, you will have to send the pipe back through the dispenser to send it to the other side. Pay attention to the diagrams of the pipes on the dispenser as they have specific lengths that can only be used either adjacently or diagonally on the grid.
Here’s the solution for the 4×4 grid:
- P1 and P2: Use a B pipe to connect Blue to Oval; use a D pipe to connect Orange to Hexagon.
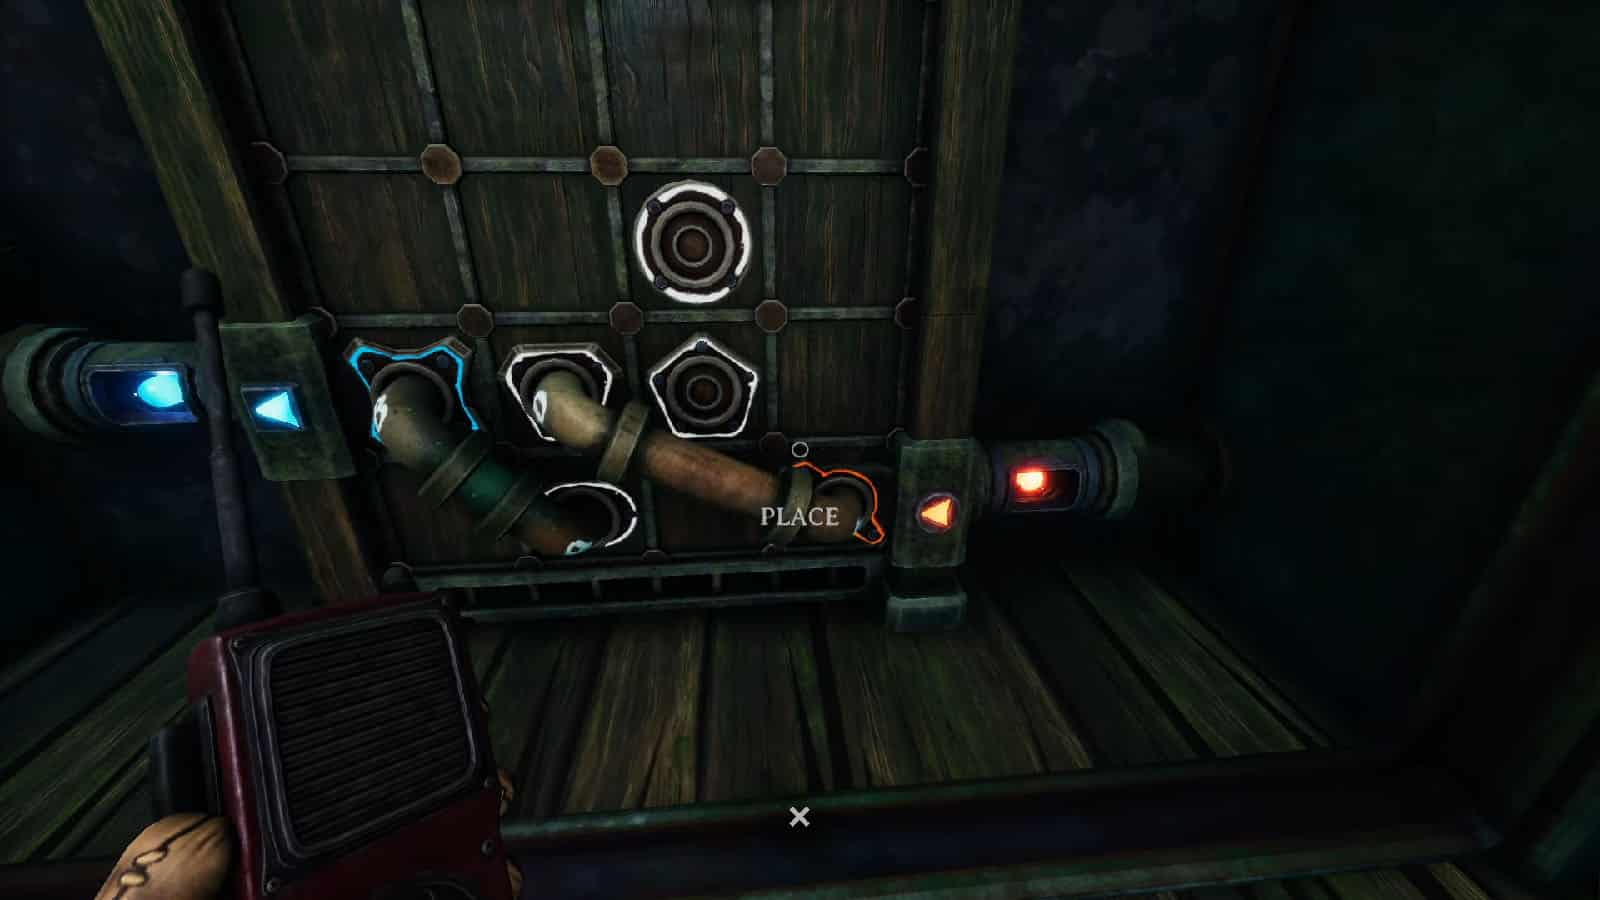
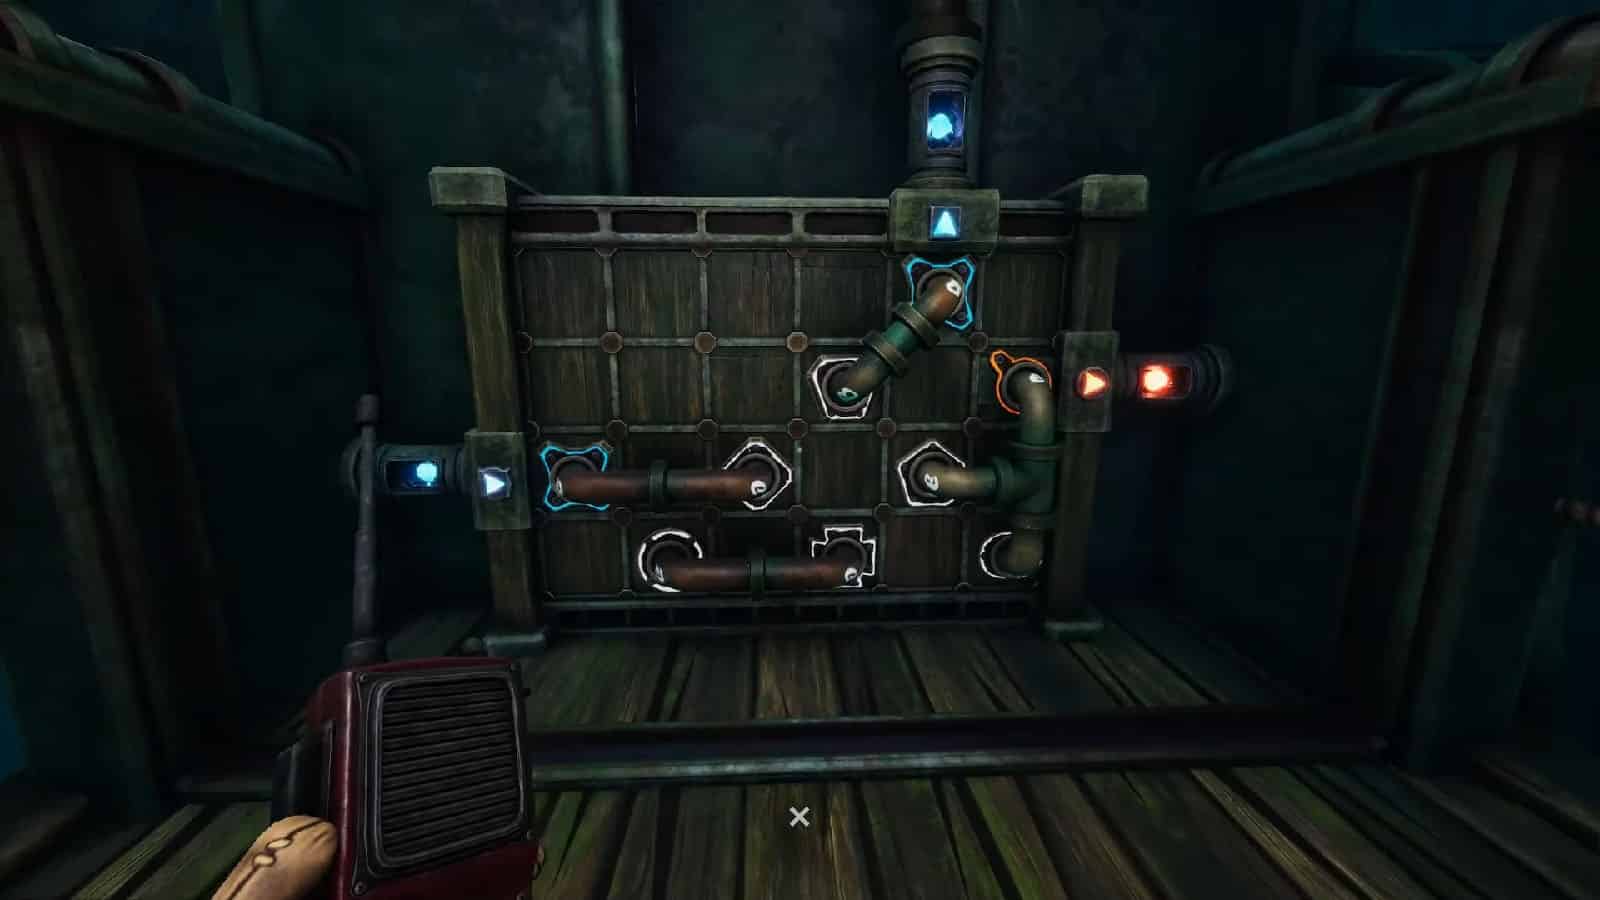
Once that is done, another larger grid will become accessible and more pipe pieces can be dispensed from the dispenser.
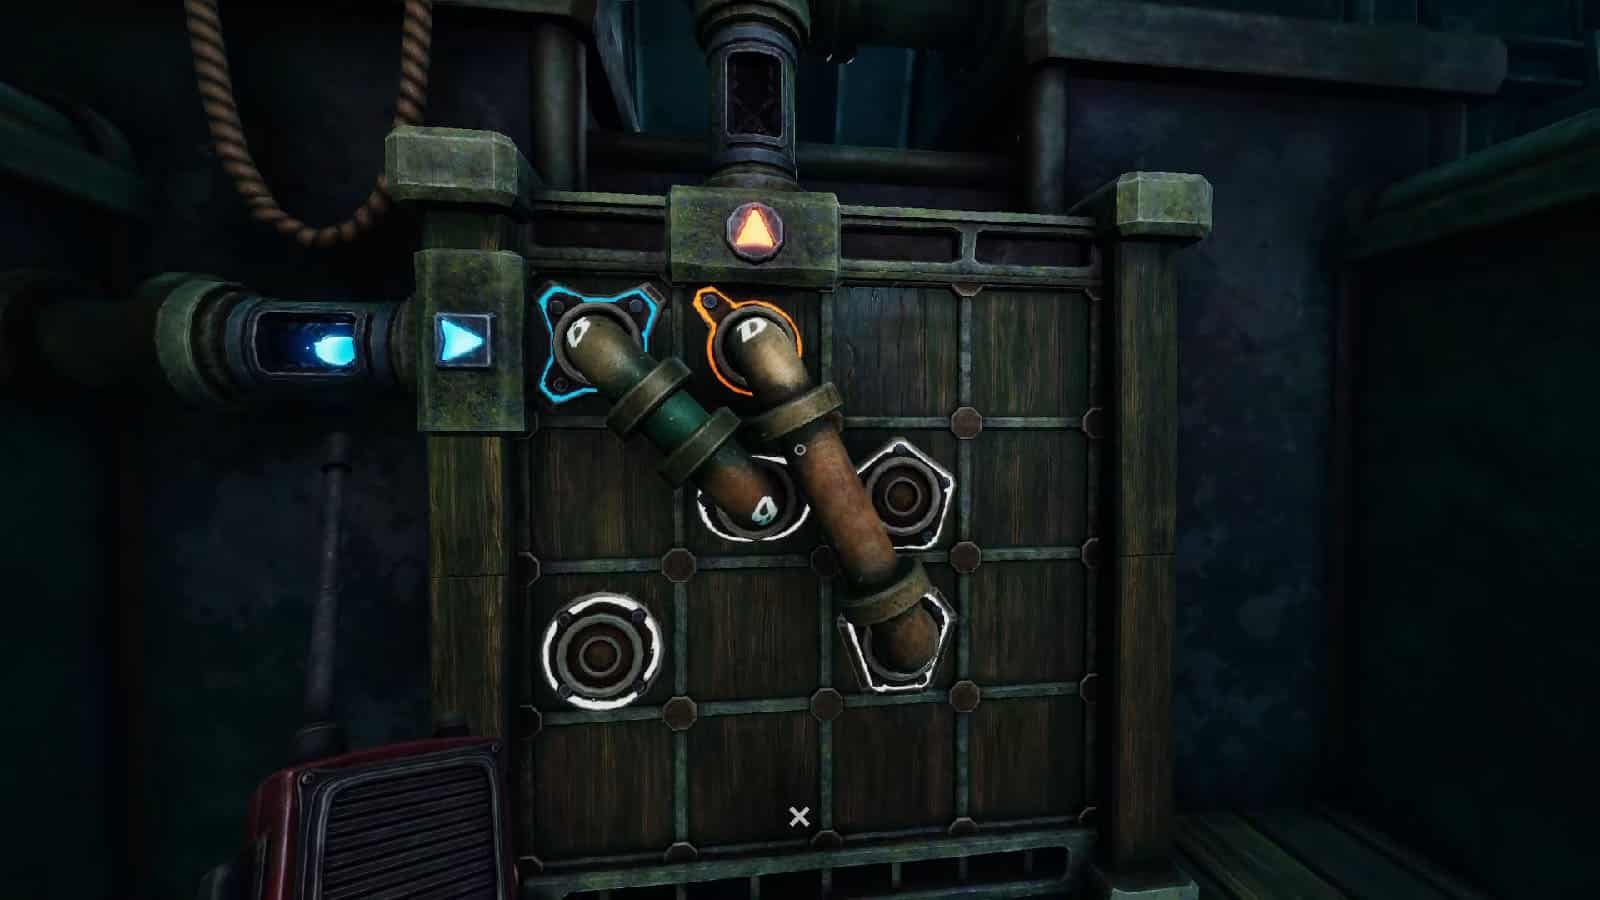
Here’s the solution for the 4×6 grid:
- P1: Use the A pipes to connect Orange to Hexagon, Circle to Oval, and Diamond to Blue; use the D pipe to connect Cross to Pentagon.
- P2: Use the A pipe to connect Hexagon to Oval; use the B pipes to connect Blue to Cross, and Pentagon to Diamond; use the D pipe to connect Circle to Orange.
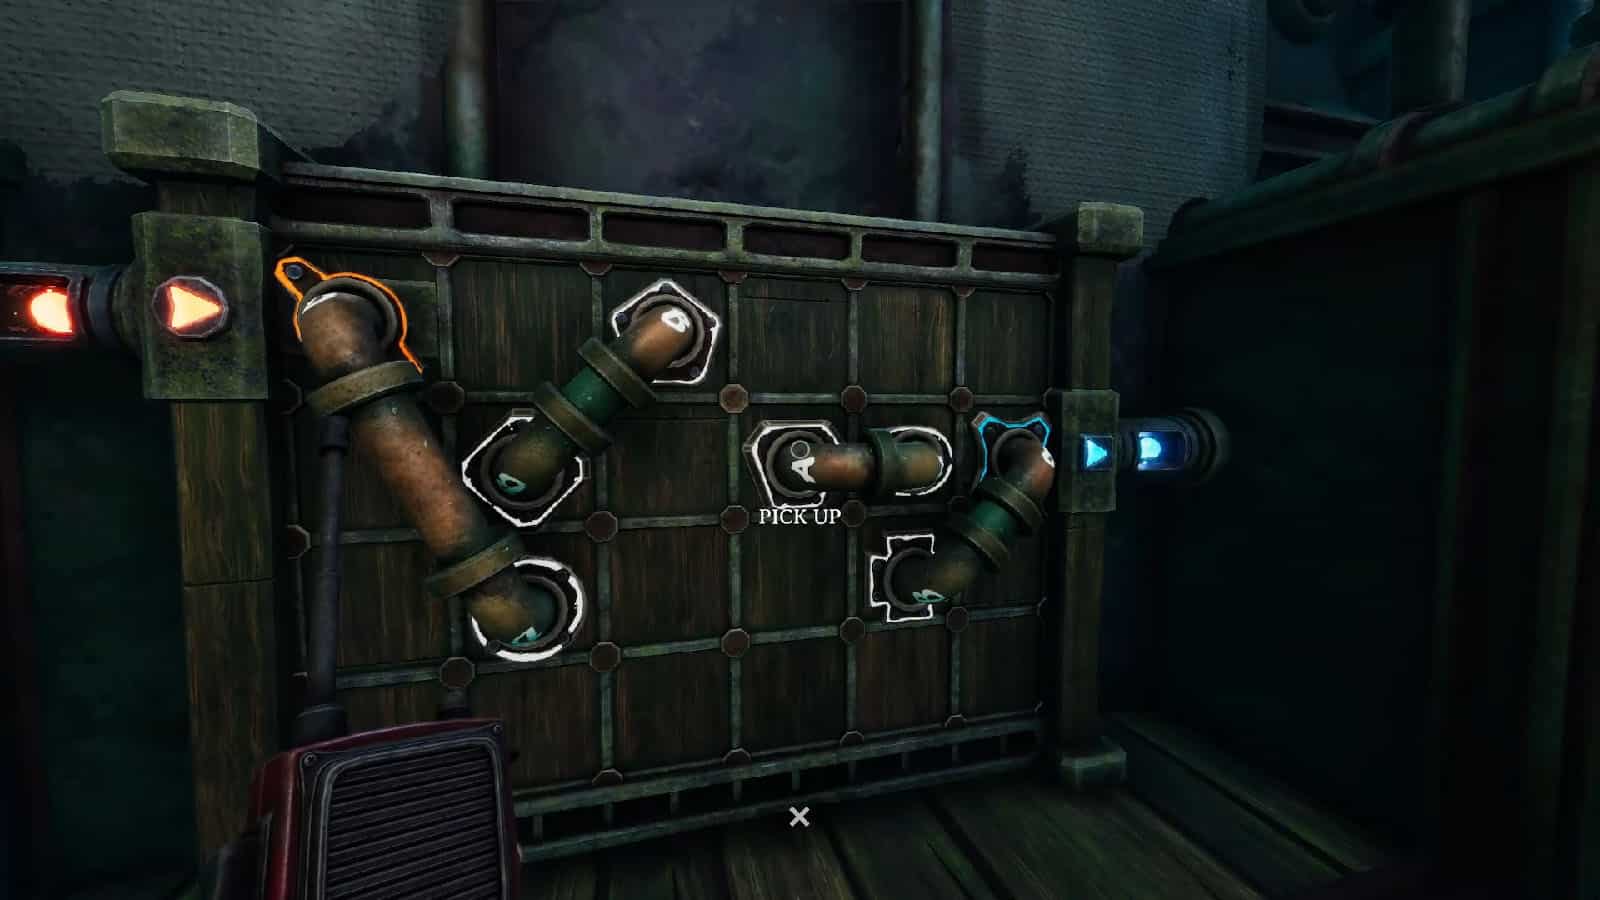
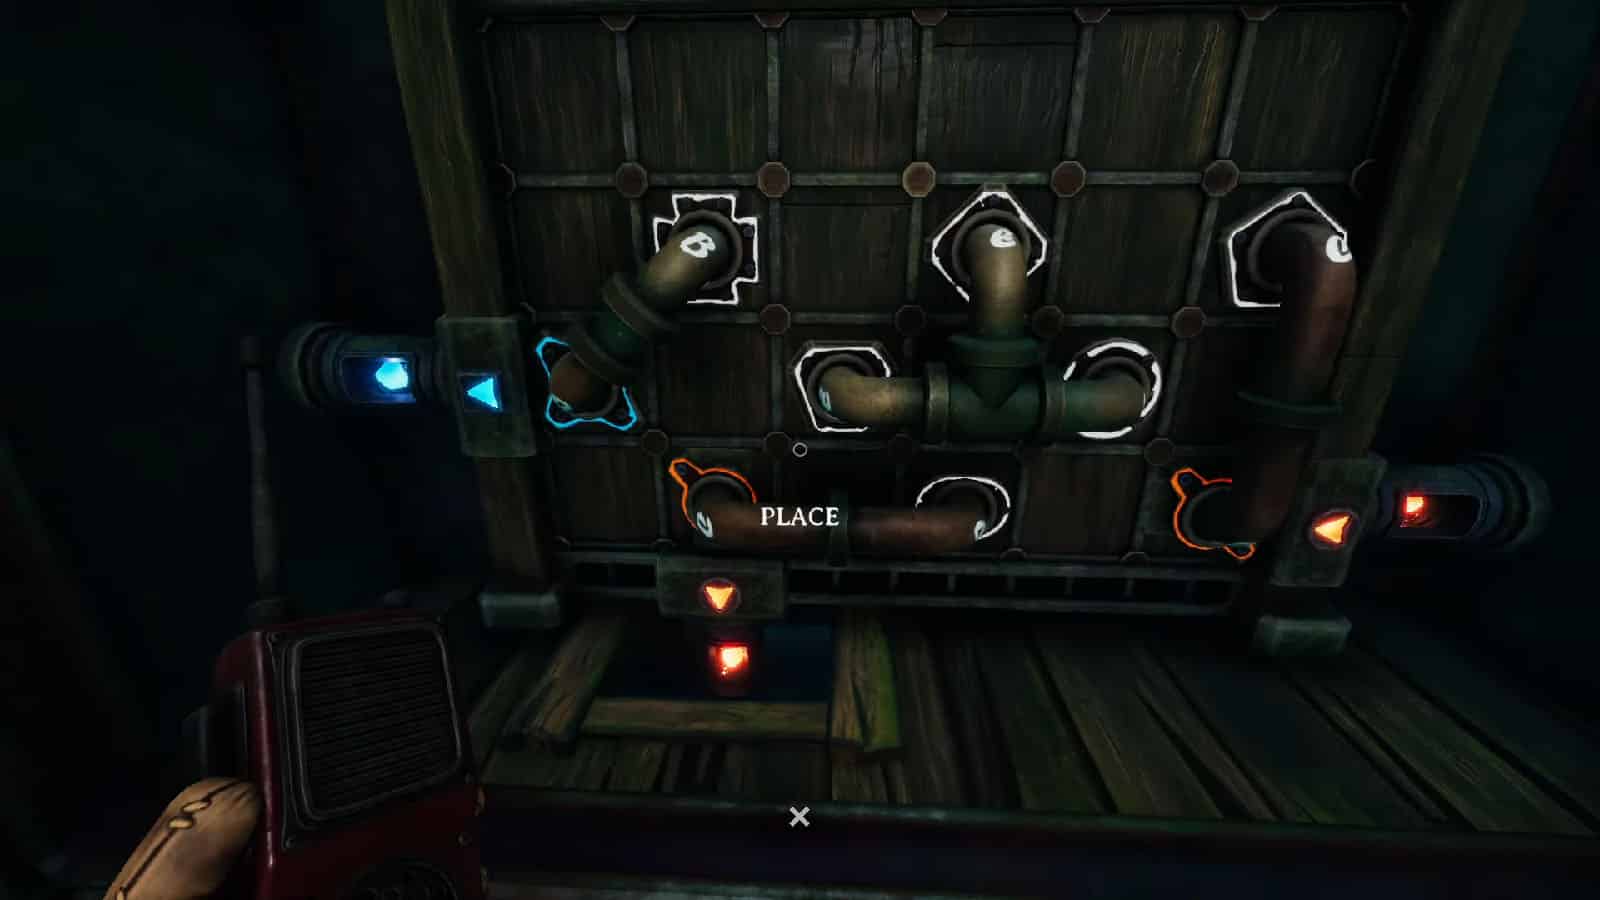
After solving the second grid, another 4×6 grid will become accessible and more pipe pieces can be dispensed from the dispenser. This next grid has two inputs on each sides, one each for blue and yellow, so the outputs will have to be split using the new E pipe somewhere on the grid.
Here’s the solution for the second 4×6 grid:
- P1: Use the B pipe to connect Blue to Cross; use the C pipes to connect Orange to Pentagon, and Oval to Orange; use the E pipe to connect Hexagon, Diamond, and Circle.
- P2: Use the B pipe to connect Blue to Hexagon; use the C pipes to connect Circle to Cross, and Diamond to Blue; use the E pipe to connect Orange, Pentagon and Oval.
One this grid is solved, the broken door to the Nautilus will open up and you and your partner can meet once again inside. Pull the levers on the panel together to make the Nautilus go back down into the depths once more.
Check out the part 2 of out The Nautilus guide here. For easier navigation, check our complete We Were Here Forever Walkthrough – All Puzzle Solutions:
- Chapter 1
- Chapter 2
- Chapter 3 – Ruins of Rockbury
- Chapter 4
- Chapter 5 – Royal Cemetery
- Chapter 6 – Final Chapter
If you like this Guide, be sure to check out our other We Were Here Forever articles:
Check out this video by Retromation with his friend Orbital Potato as they take on The Nautilus puzzles:
