
Cover of Night is the tenth chapter in Bayonetta 3 following the journey of Viola as she tries to catch up with Luka and help him from going berserk.
In this guide, we will go through Chapter 10: Cover of Night, listing along any collectibles as well as Bewitchments that can be acquired in the chapter.
See previous Bayonetta 3 Walkthrough Side Mission 3 - High Stakes
Chapter 10 – Cover of Night Objectives and Collectibles
- Thule: Frosted Peak
- Bewitchment #1
- Figure Box #1
- Verse #1 / Broken Moon Pearl #1
- Umbran Tears of Blood – Crow
- Echoes of Memory #1
- Card Pack #1
- Verse #2
- Broken Moon Pearl #2
- Broken Witch Heart #1
- Bewitchment #2
- Echoes of Memory #2
- Medallion Shard #4/4
- Figure Box #2
- Verse #3
- Ginnungagap, the Chaotic Rift
- Bewitchment #3
- Verse #4
- Card Pack #2
- Verse #5
- Paris: 16th Arrondissement
- Verse #6
- Umbran Tears of Blood – Cat
- Broken Witch Heart #2
- Figure Box #3
- Card Pack #3
- Verse #7 / Witch Heart
- Umbran Tears of Blood – Toad
- Bewitchment #4
- The Gates of Hell
- Echoes of Memory #3
- Verse #8
- Bewitchment #5
Thule: Frosted Peak
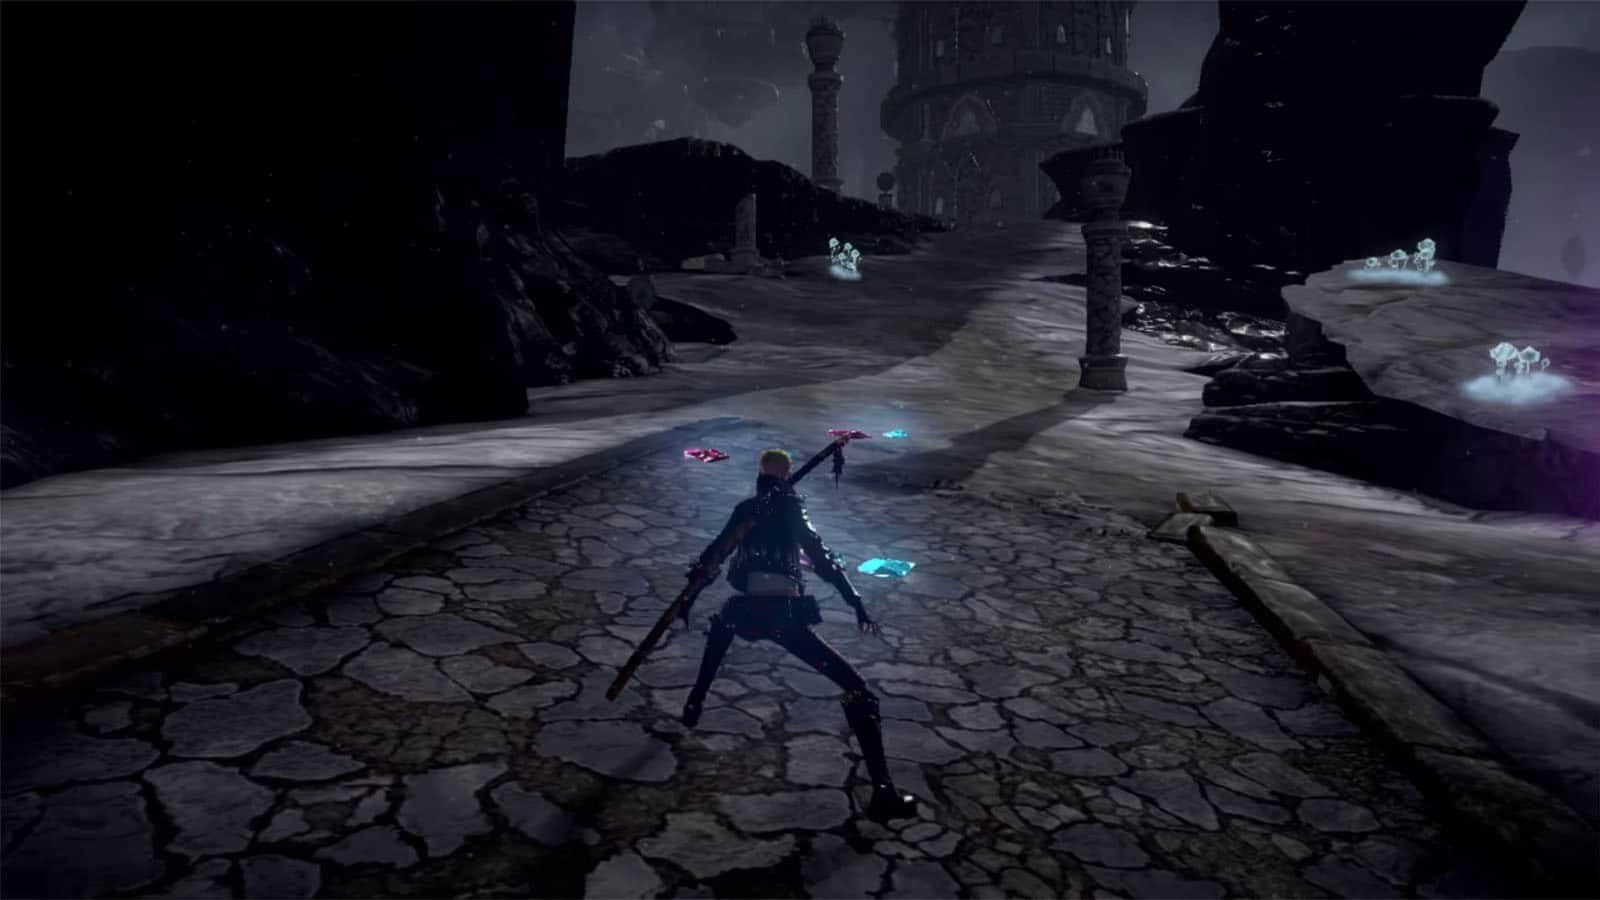
Viola makes her way back to Thule and finds more worlds being destroyed. She then hears Luka’s howl and decides to follow it.
Bewitchment #1
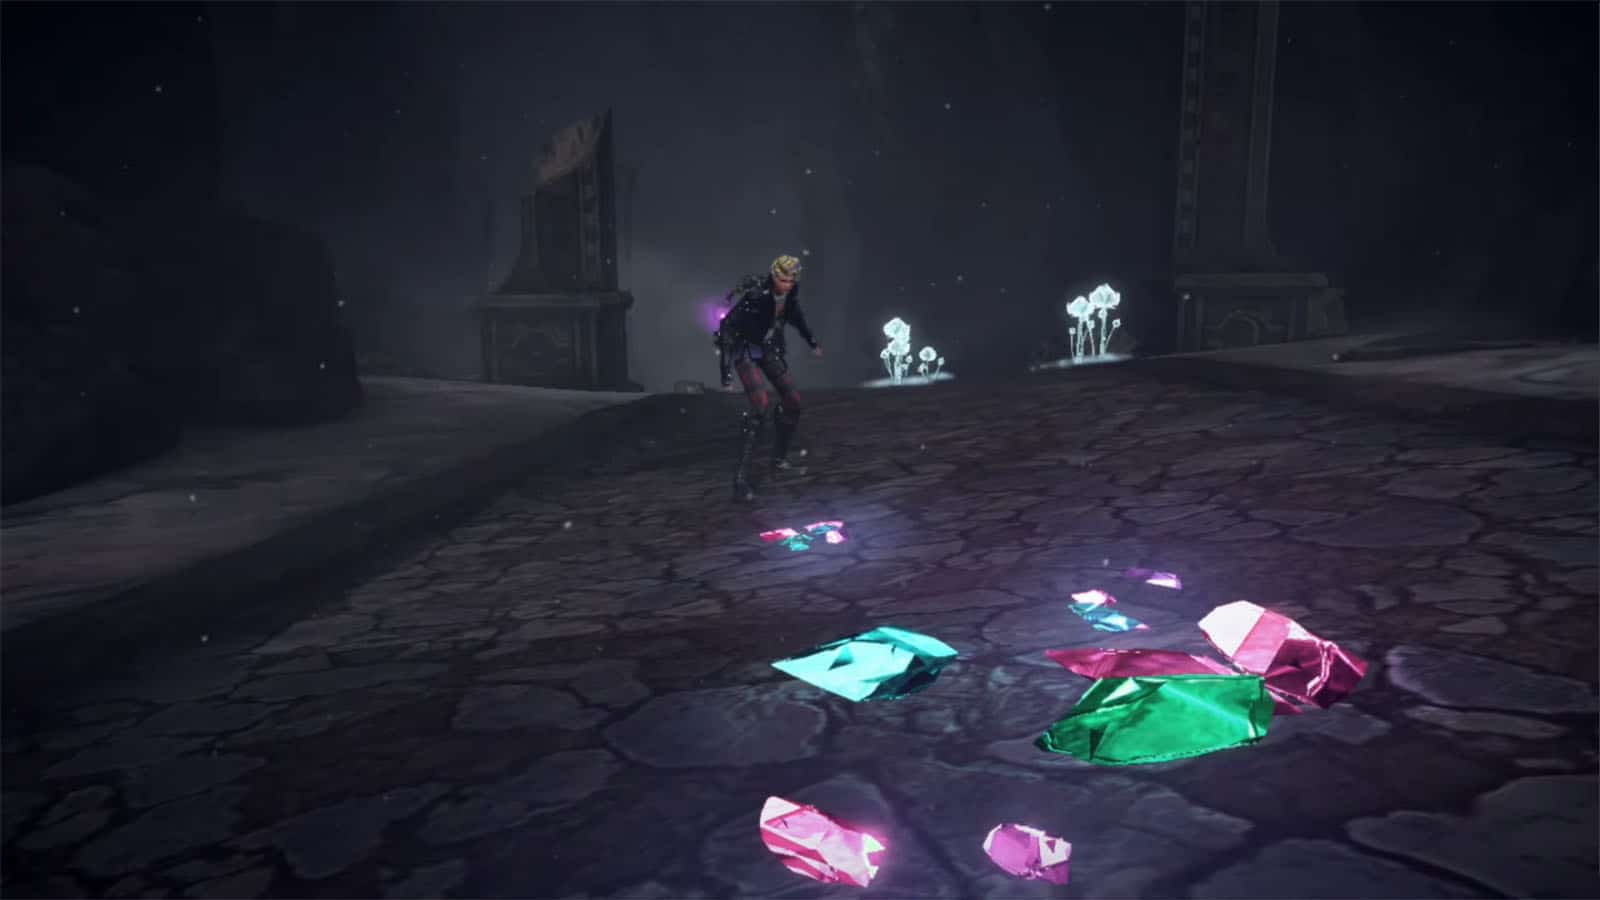
Along the way, you’ll find colorful crystals on the ground. Step on them to get the Step on 10 of the fallen stained glass shards on Thule Bewitchment.
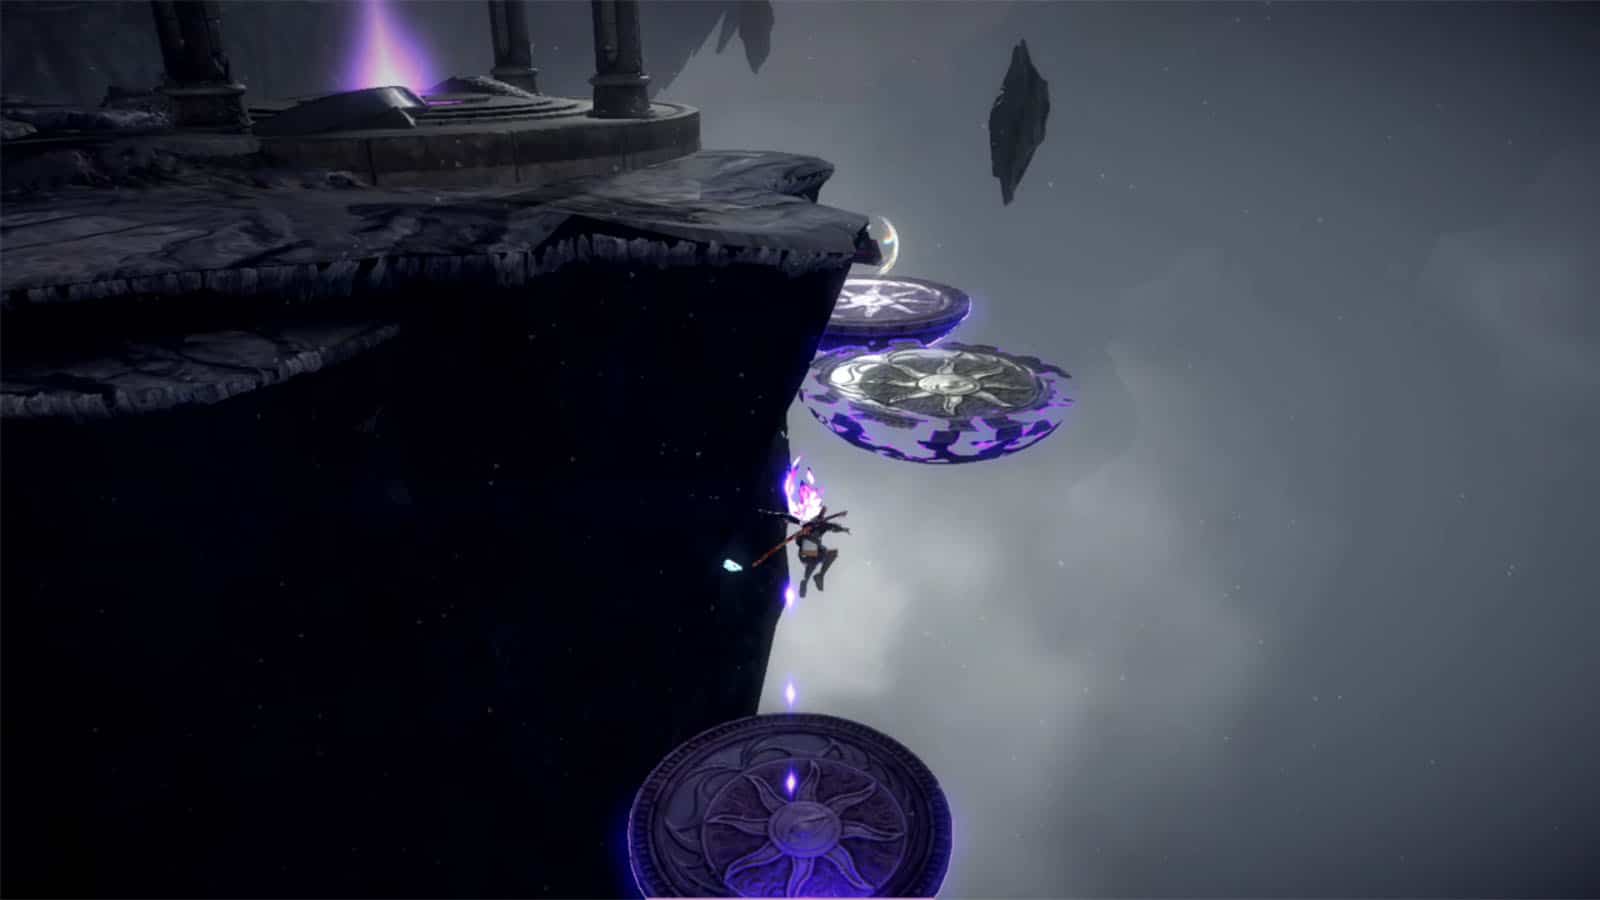
Figure Box #1
From the starting point, head towards the right and you’ll find a platform. Step on it to reveal more platforms. Continue jumping to the next platforms until you get the figure box.
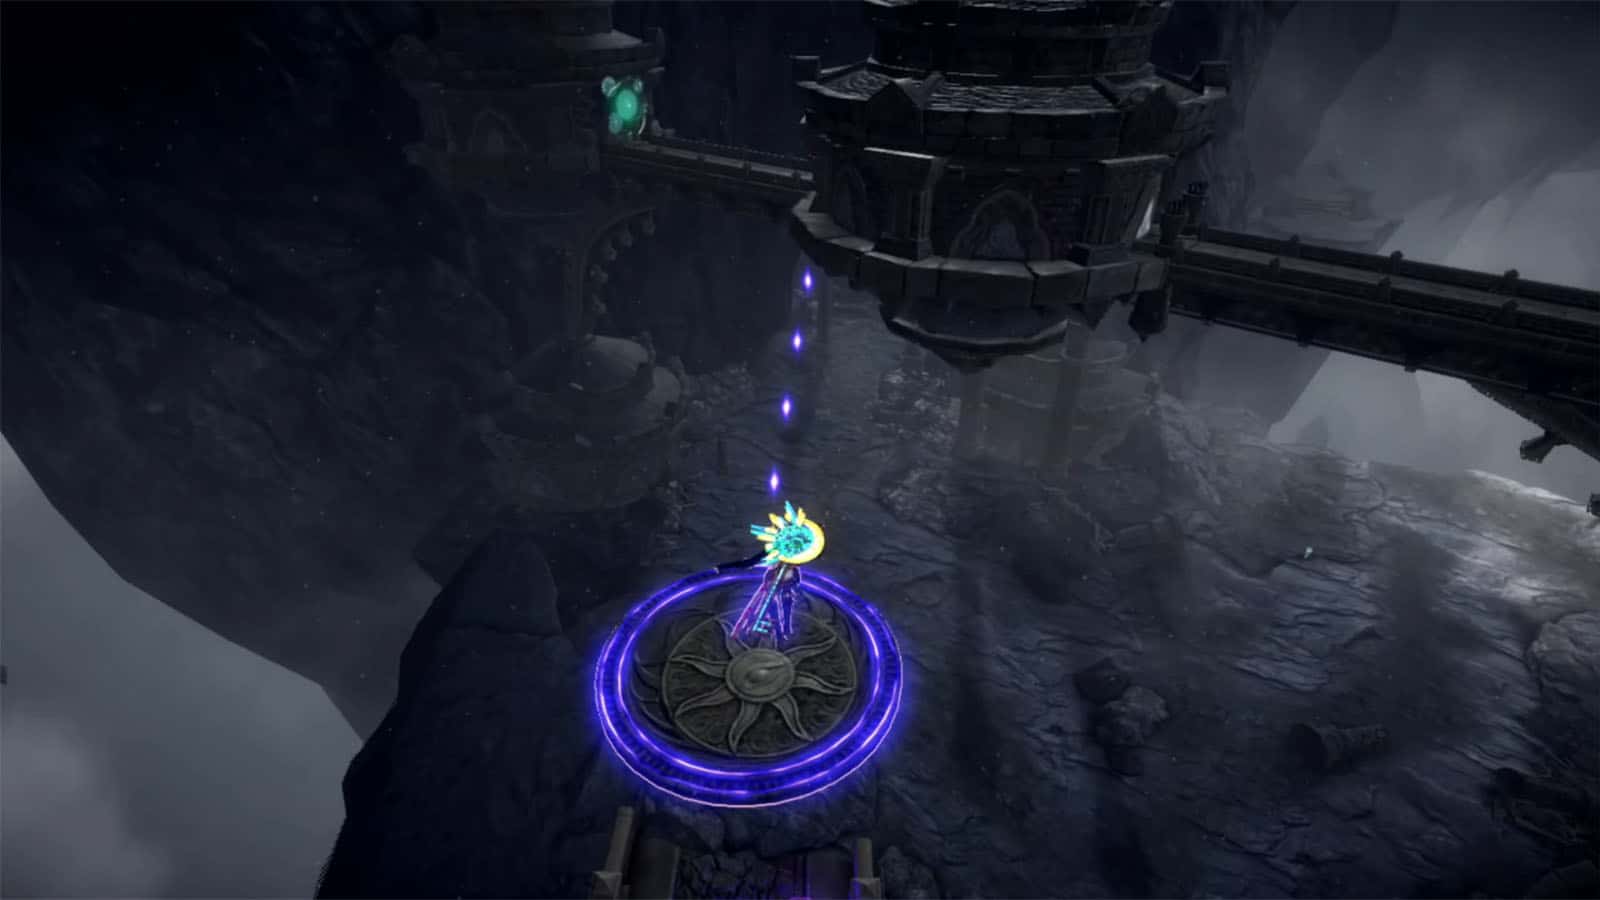
Verse #1 / Broken Moon Pearl #1
Continue up from the platform to get to the verse portal. In this challenge, you can only deal damage during Witch Time, so make sure to use Viola’s block to get in it, then use Cheshire to deal lots of damage. Once cleared, you’ll be rewarded with a Broken Moon Pearl.
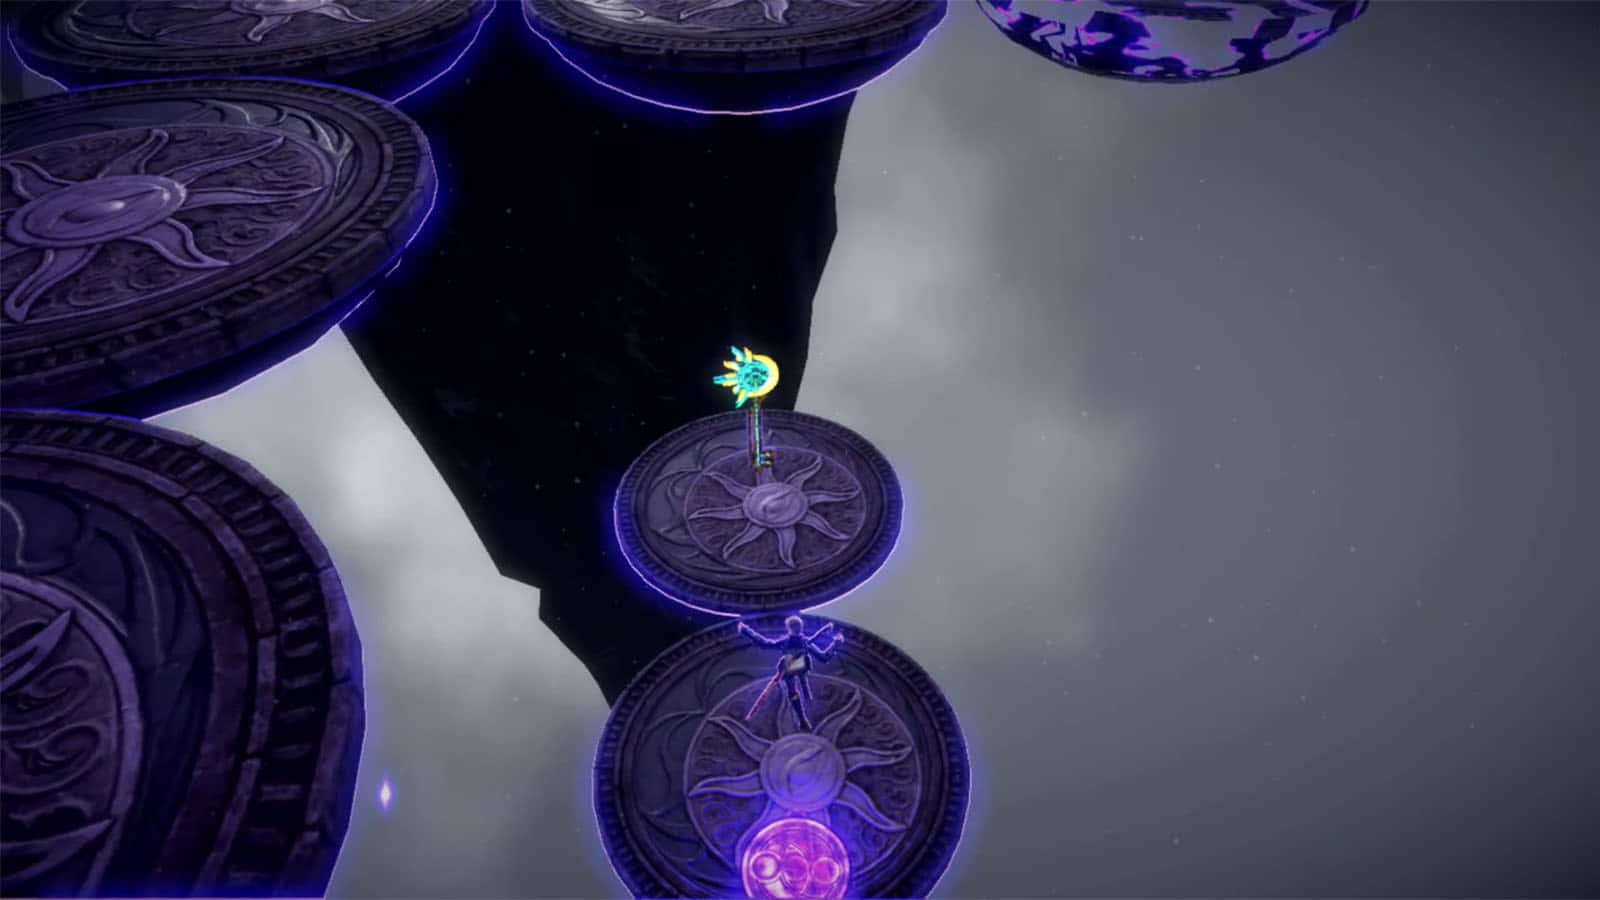
Head back down to the first platform after clearing the verse and follow the platform to the right to get the key.
Umbran Tears of Blood – Crow
Head back to the starting point and follow the path to the left. Climb up the cliffs to find the crow perched by the edge.

Echoes of Memory #1
Just a bit ahead from where the crow is perched is the Echoes of Memory: Key to Success.
Card Pack #1
Continue a bit more and you’ll find another card pack by the ledge.
Verse #2
Head to the area in the middle of the towers to trigger the fight. Clear the enemies to proceed.
Broken Moon Pearl #2
Make your way to the detached small tower to the right and activate the chest to start a time trial. Get all five pieces to be rewarded with a Broken Moon Pearl.
Broken Witch Heart #1
Make your way to the other small tower via the platform and insert the key. Inside is a chest that contains a Broken Witch Heart.
Bewitchment #2
While on the tower, make your way to the rooftop of any tower to get the Climb to the top of the stone tower on Thule Bewitchment.
Echoes of Memory #2
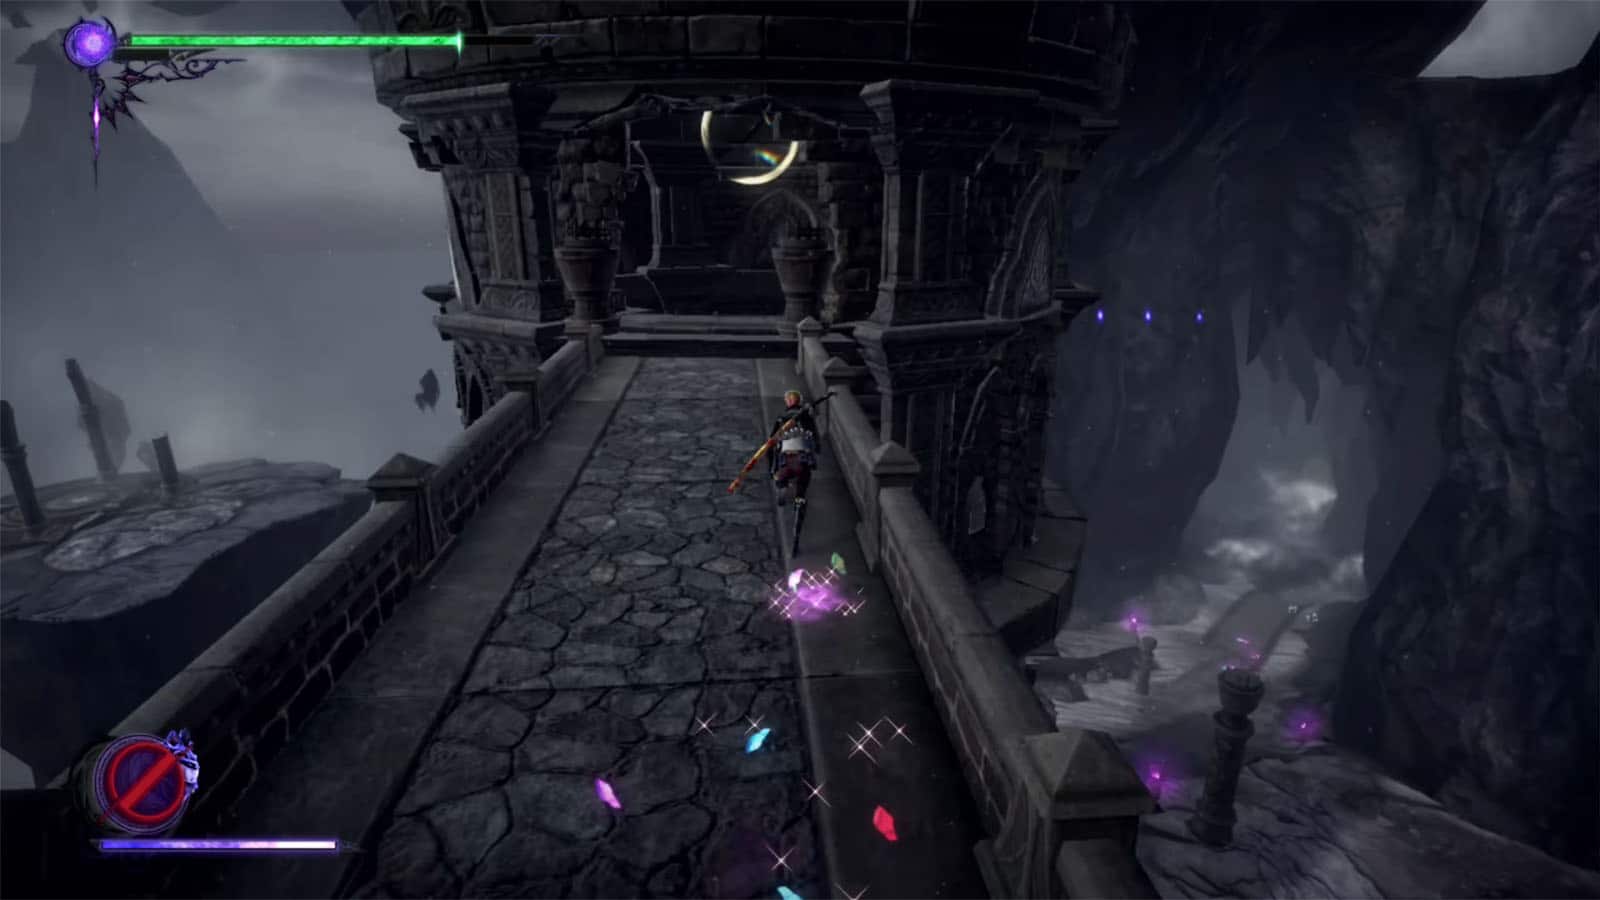
Make your way to the tower on the other side near the starting point to find the Echoes of Memory: The Sealed Golem. You can break the wall at the base of the tower and ride the platform inside, or you can cross the bridges on the upper levels.
Medallion Shard #4/4
At the base of the tower, inspect the ancient mechanoid to find the Medallion Shard.
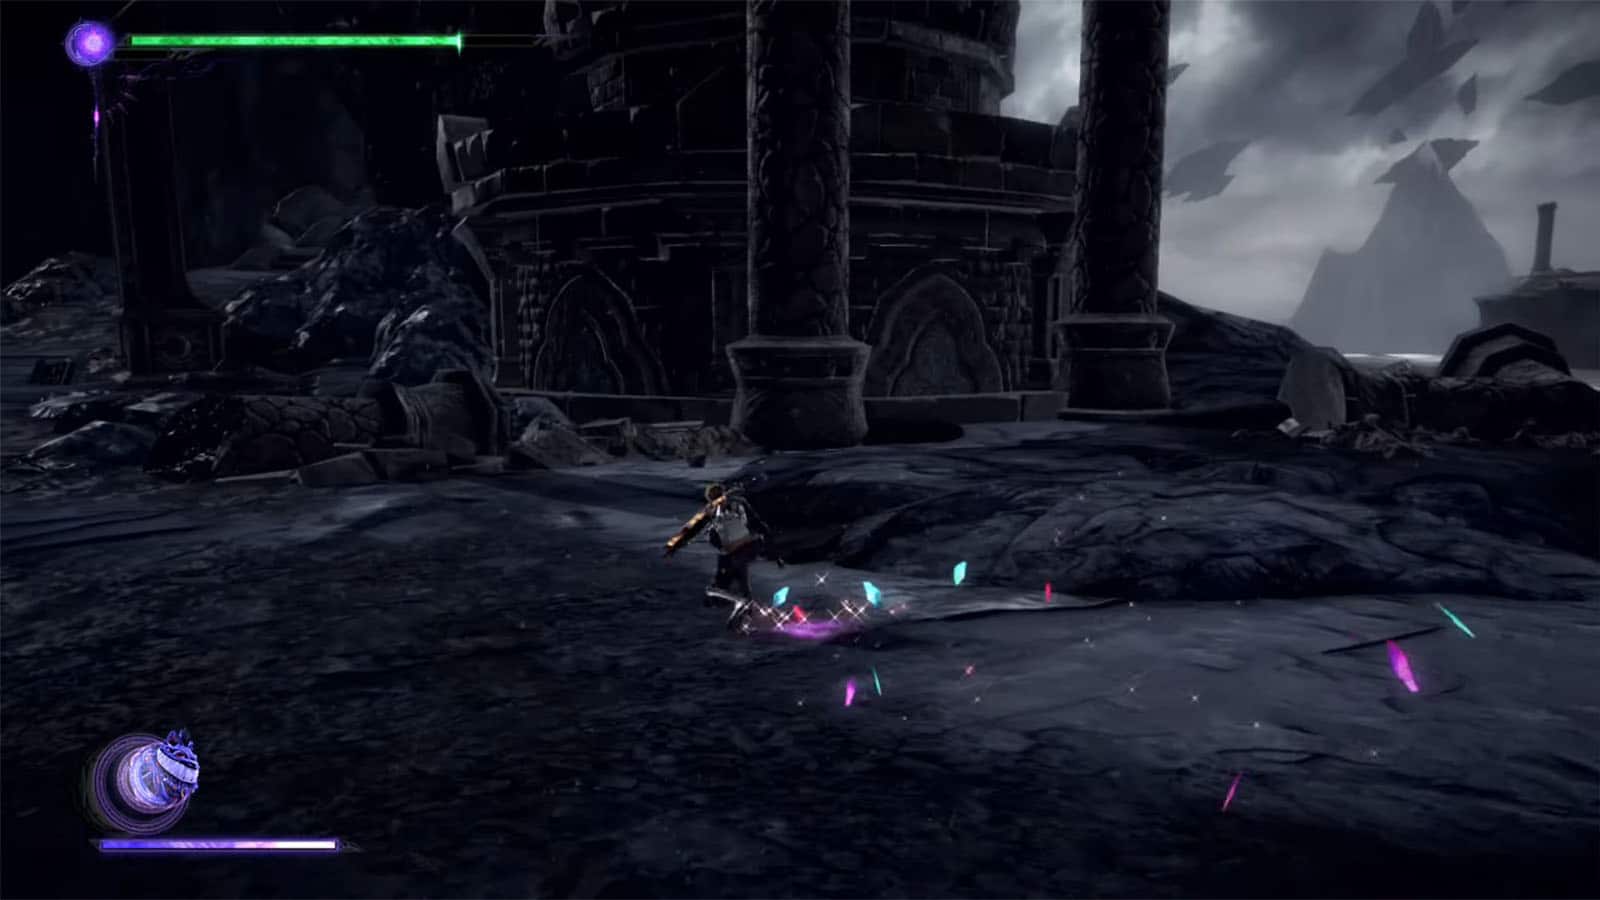
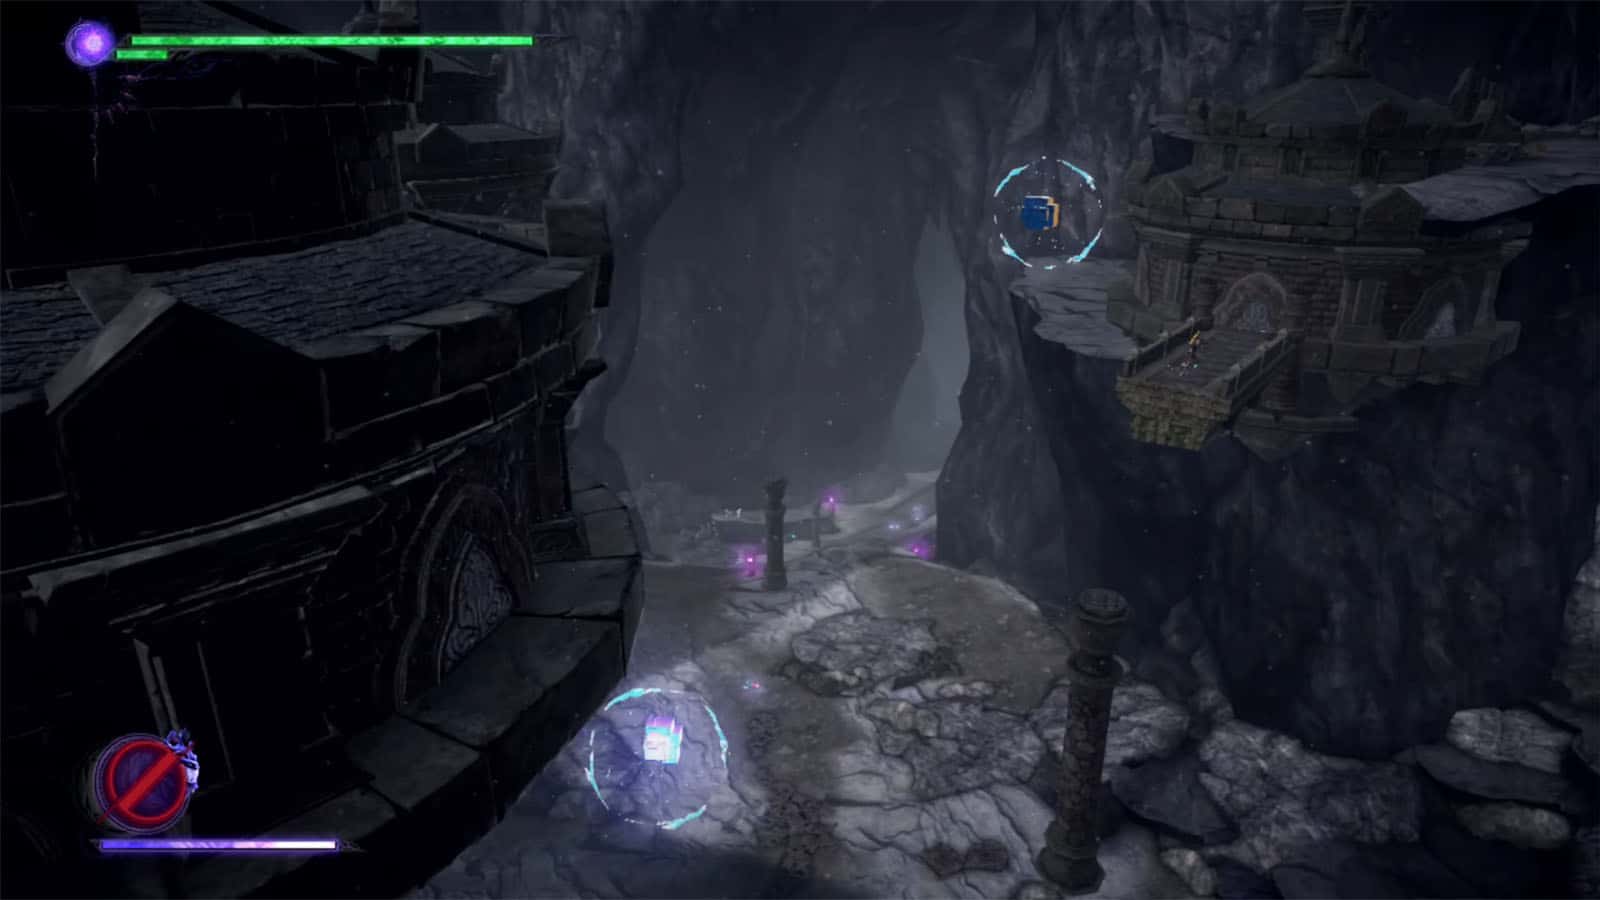
Figure Box #2
On the path approaching the orb, go to the building on the left and break its wall to find a figure box inside.
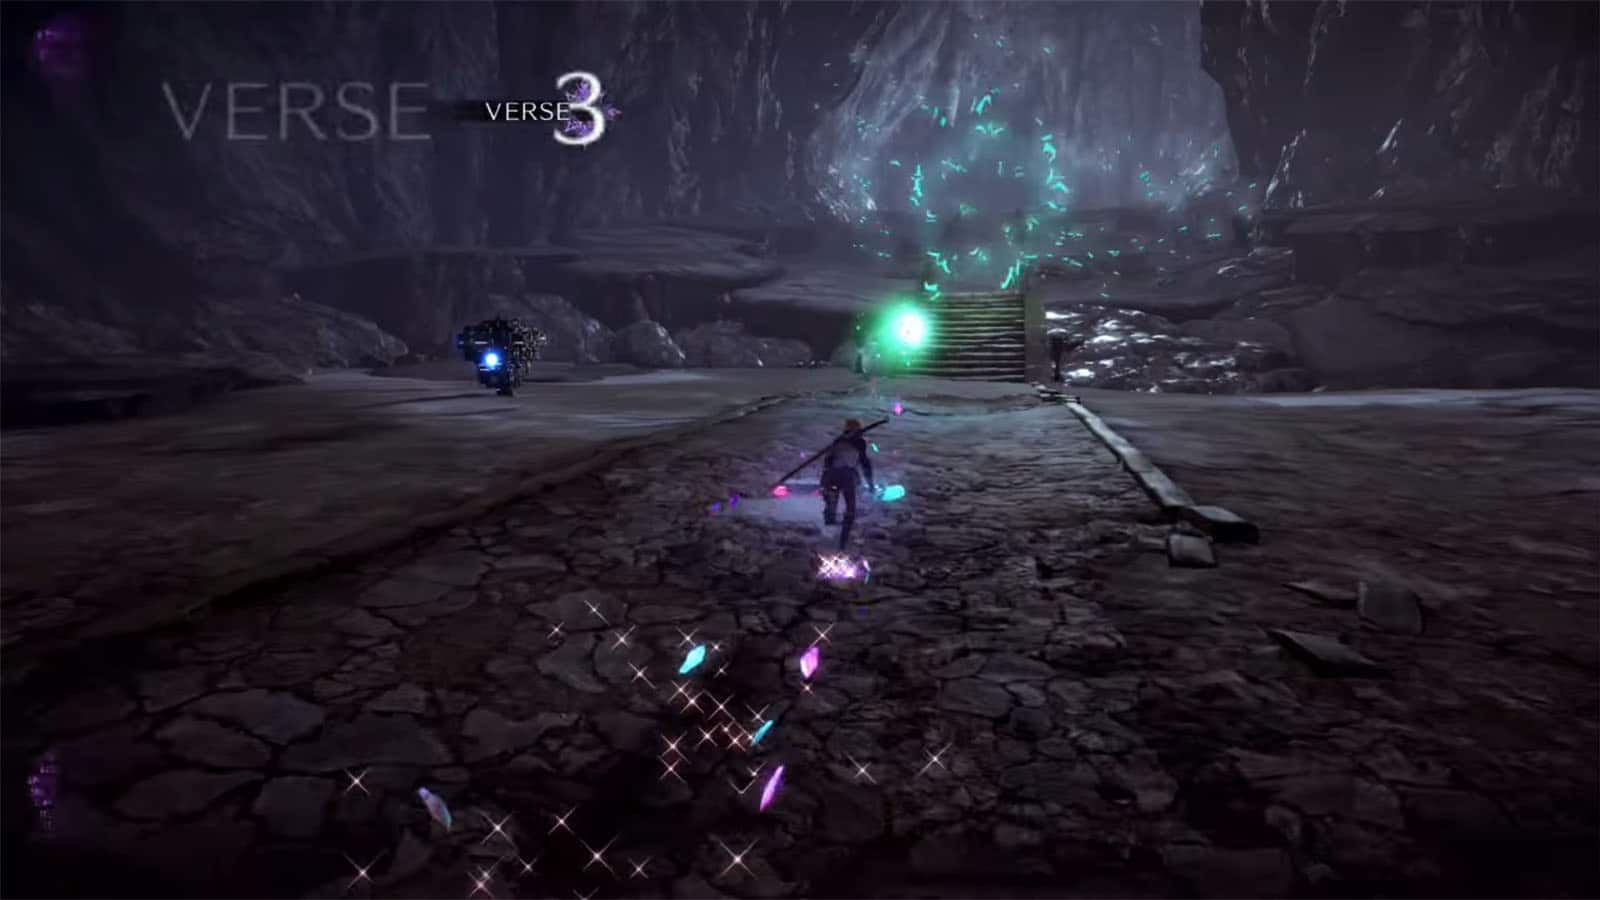
Verse #3
Follow the path up to the gate, then break the gate. Head inside and open the chest to reveal an umbran circle. The fight will then start. Use Cheshire to quickly clear the enemy.
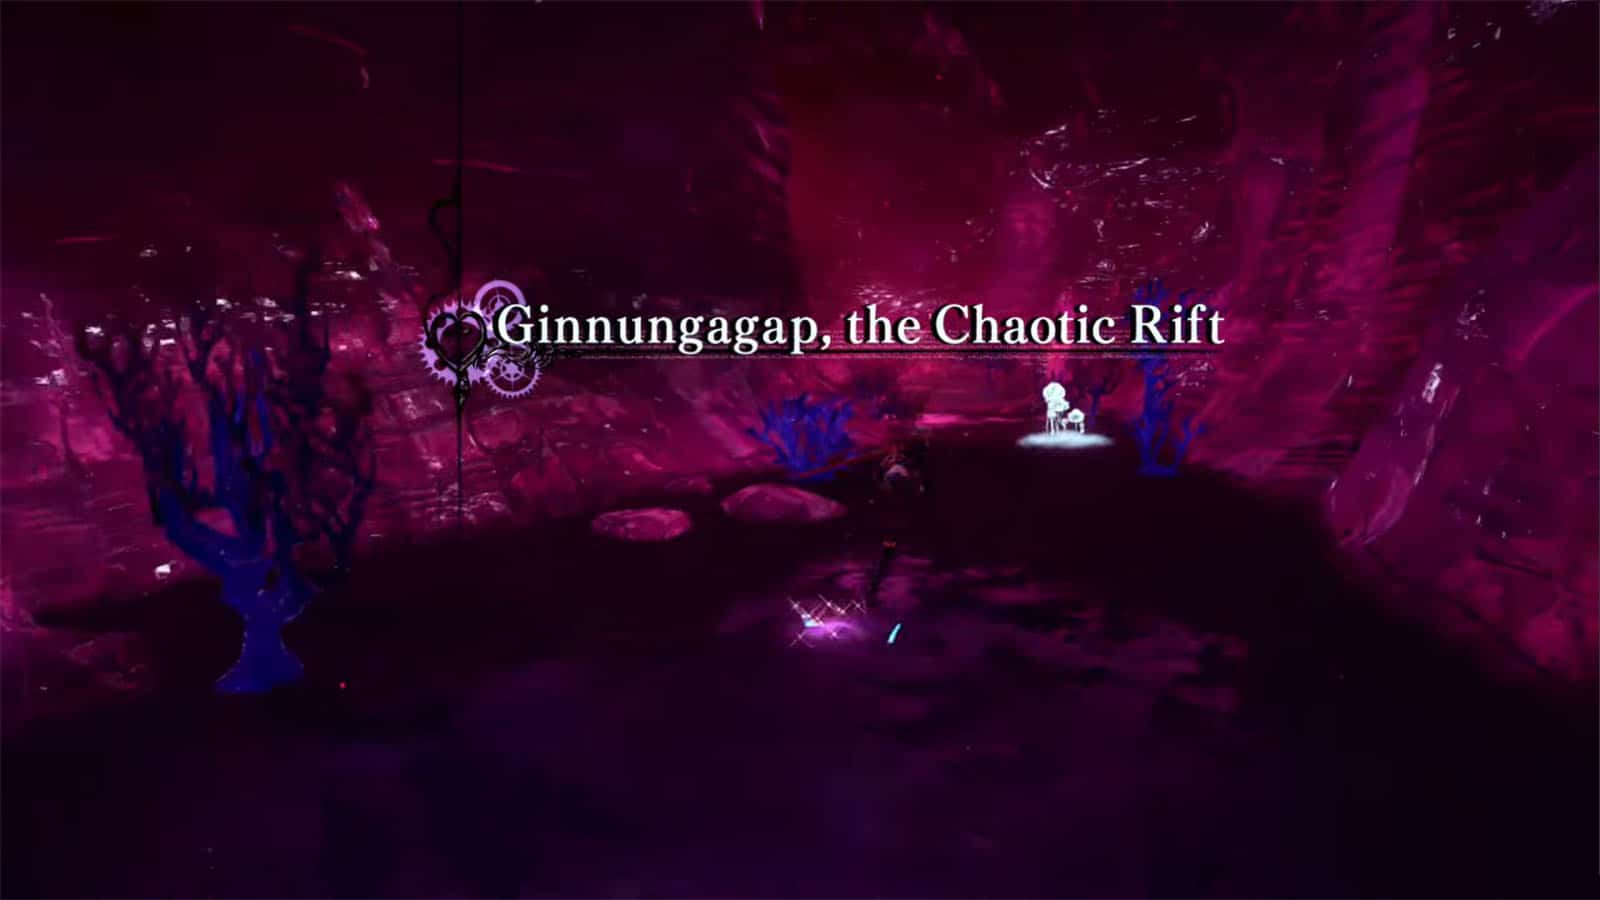
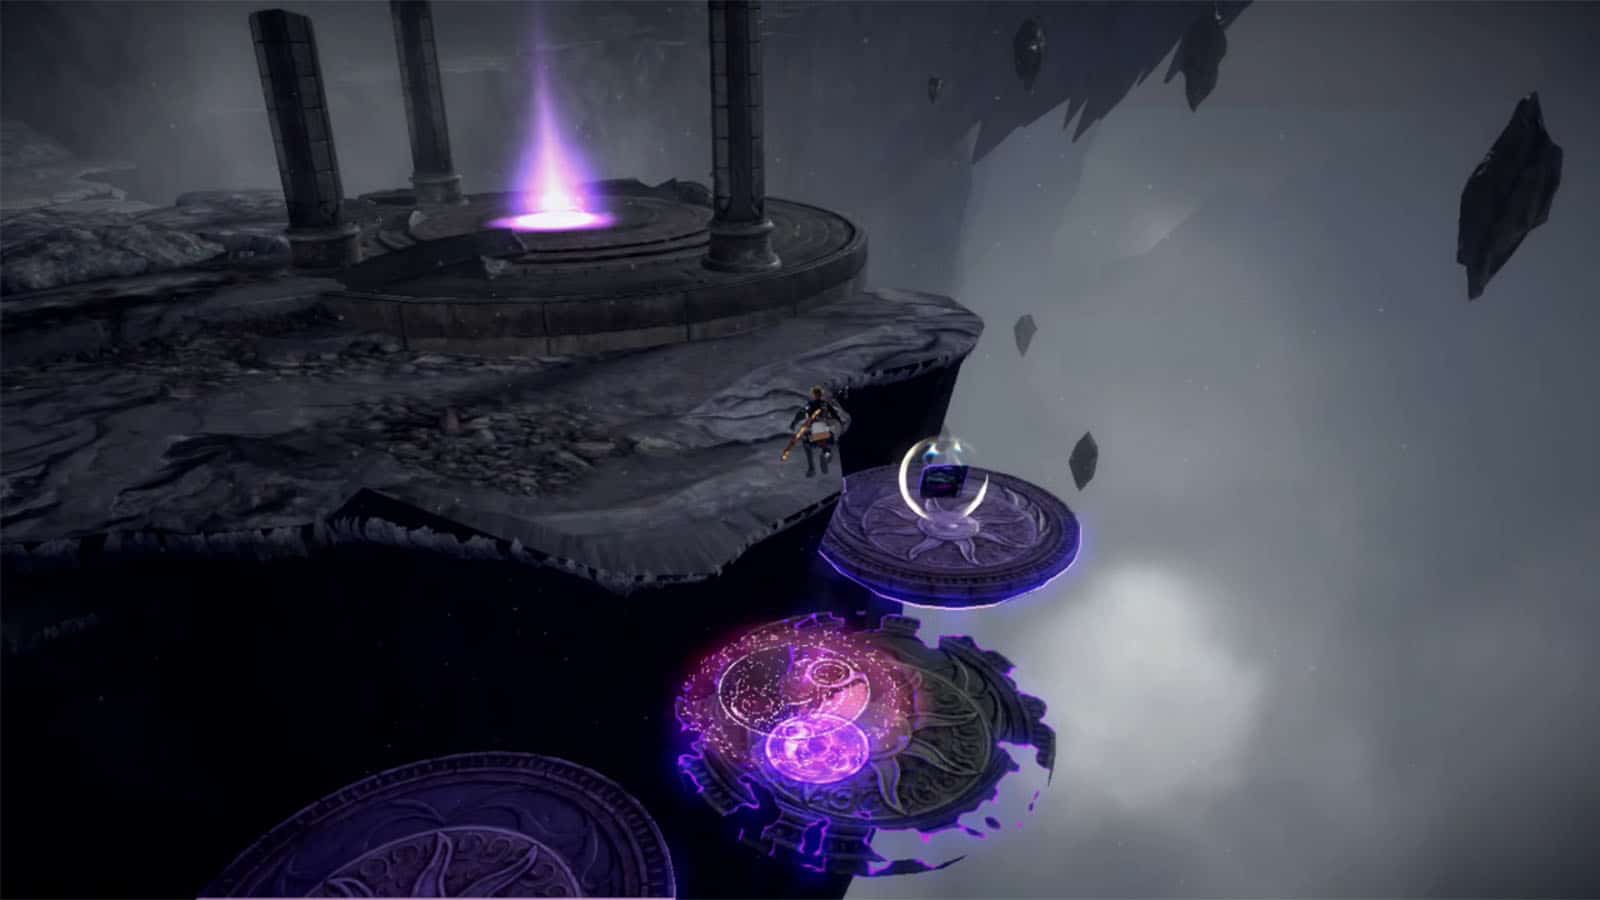
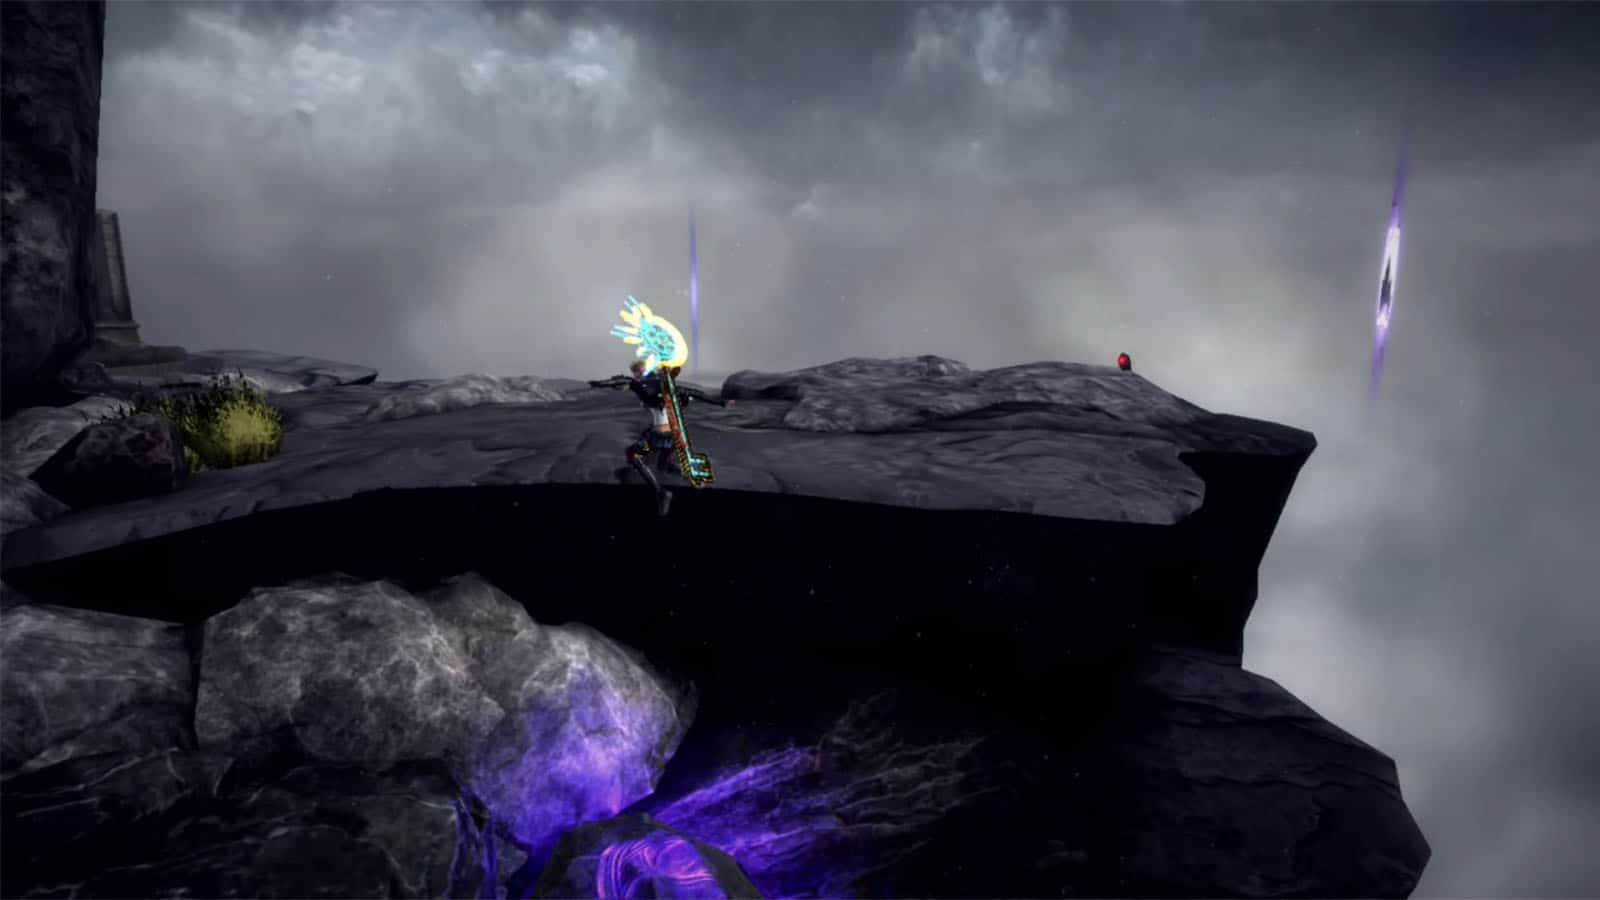
Ginnungagap, the Chaotic Rift
Head towards the stairs and on the rift portal to reach the next destination.
Bewitchment #3
While traversing through the rift, keep yourself from falling to get the Travel through Ginnungagap without falling Bewitchment.
Verse #4
Continue following the orb to reach the next fight. Clear the enemies to proceed.
Card Pack #2
After the fight, don’t follow the orb yet. Take the path to the left and quickly cross it to reach the card pack.
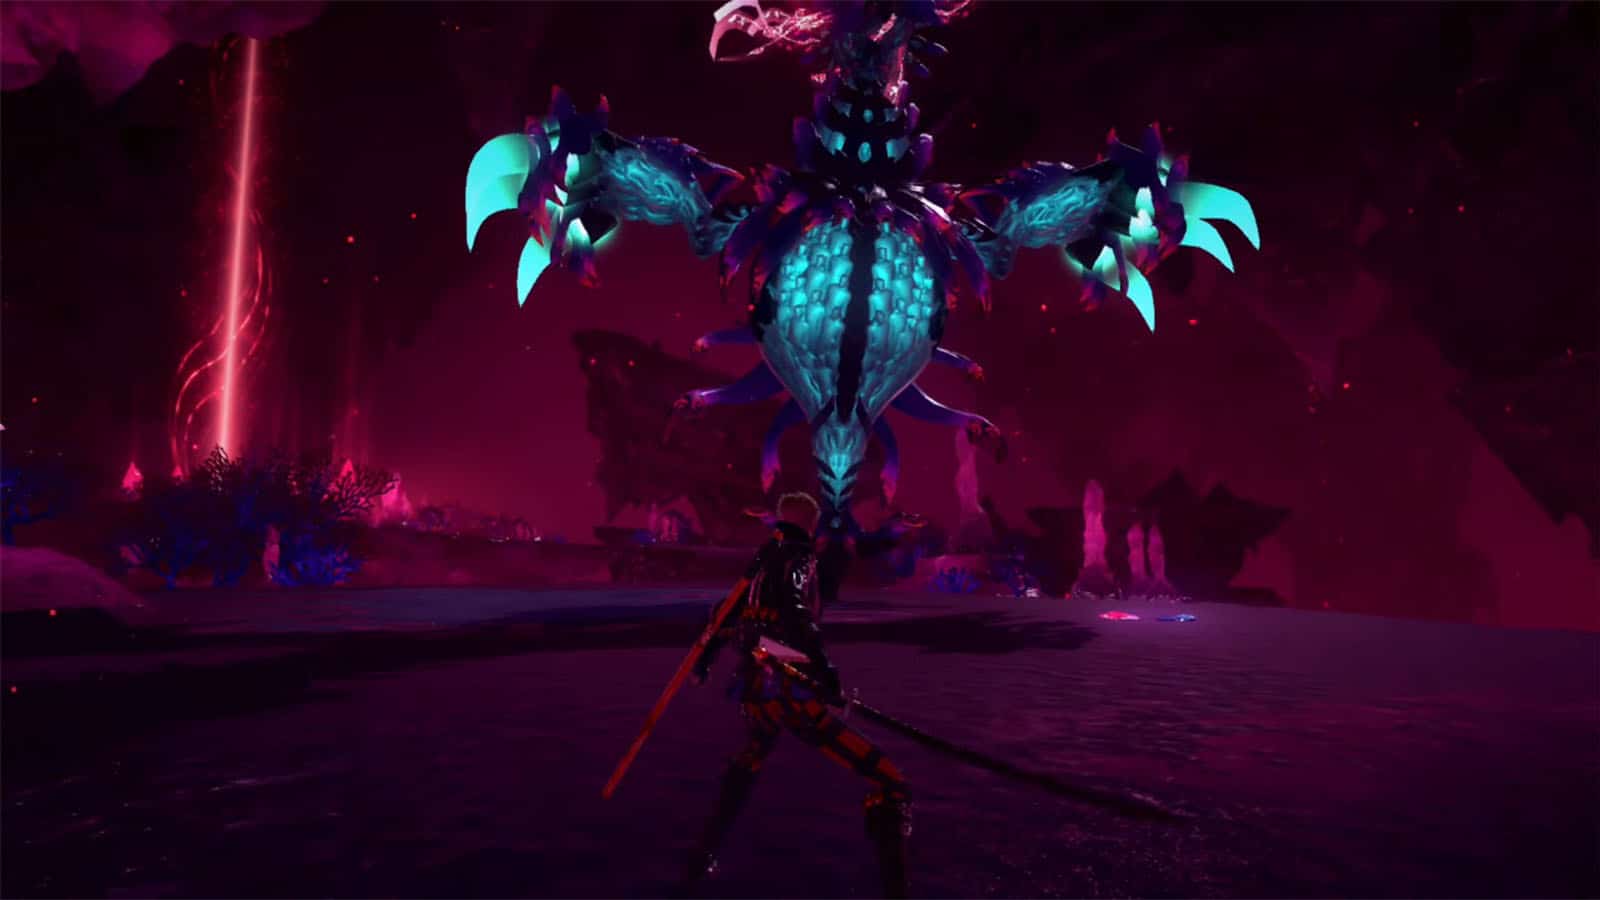
Verse #5
Continue following the orb until the next fight starts. The next enemy you’ll be fighting is an Opacus. Defeat the enemy to proceed. Afterwards, continue following the orb until you get to the exit.
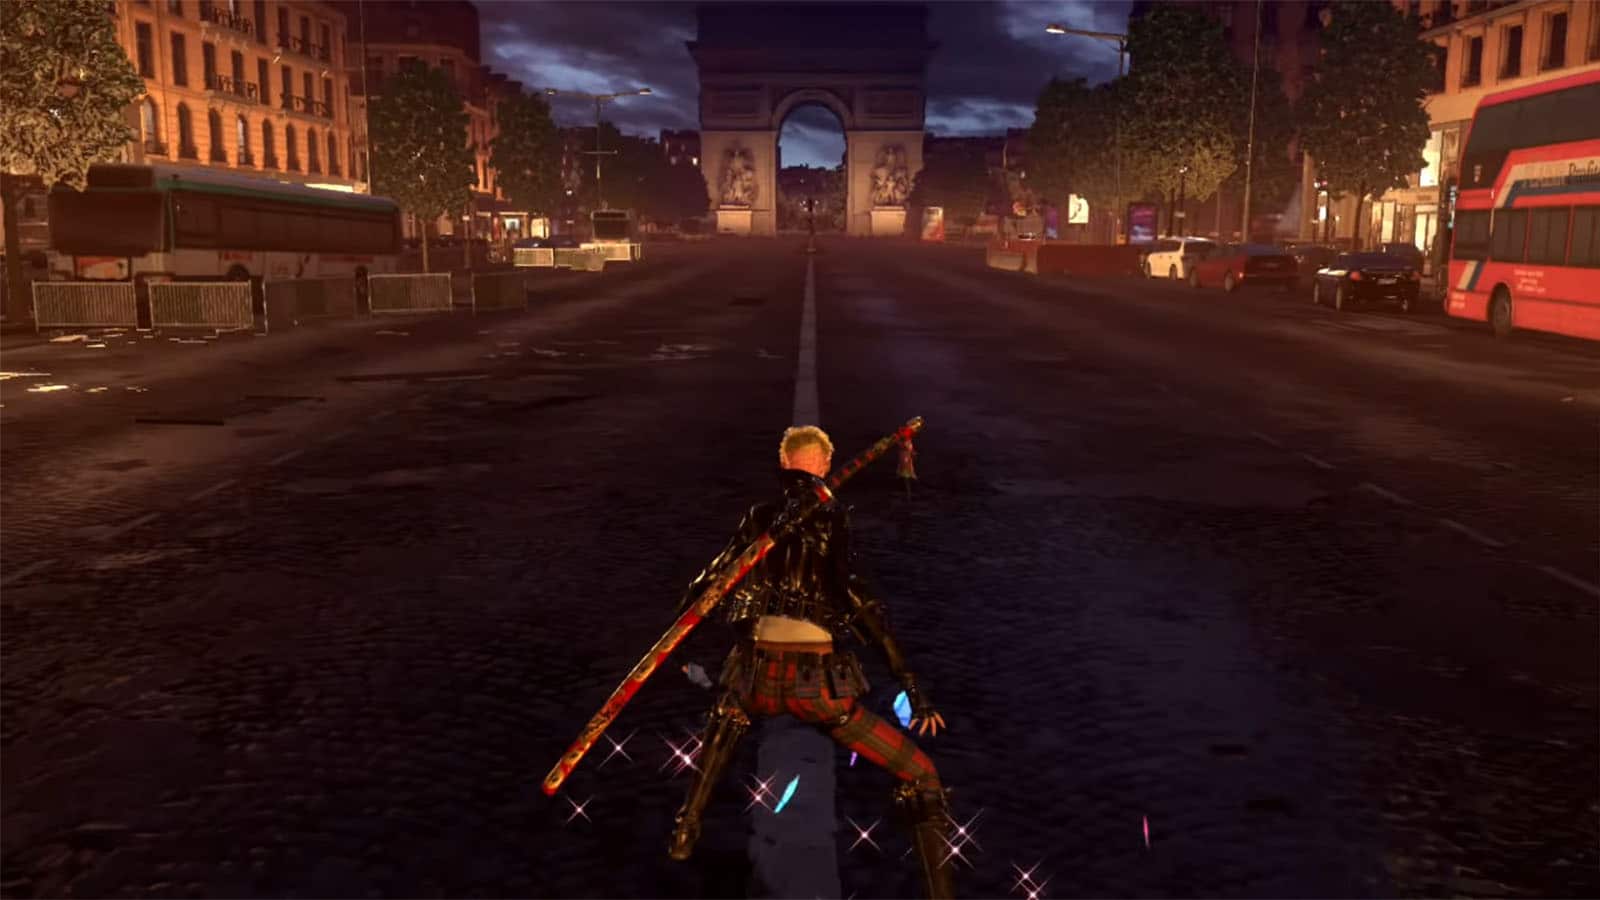
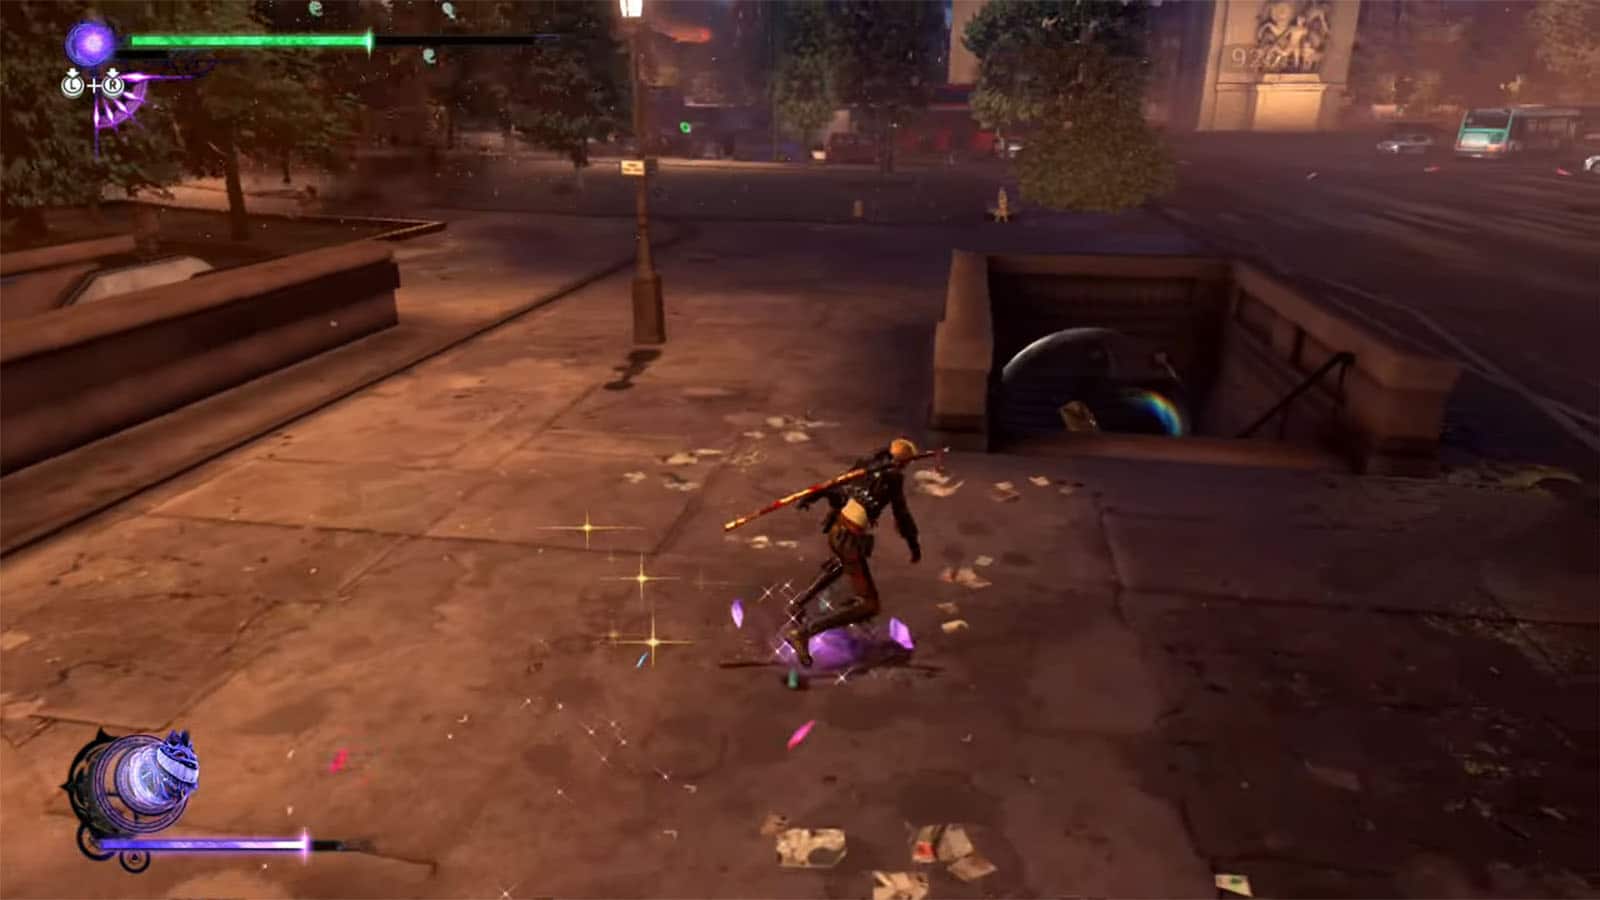
Paris: 16th Arrondissement
As you exit the portal, you’ll meet Lukaon, Luka’s alternate version. After the dialogue, you’ll find yourself transported to Paris.
Verse #6
Go to the right side of the street to find the portal for the next fight. Clear the enemies to proceed.

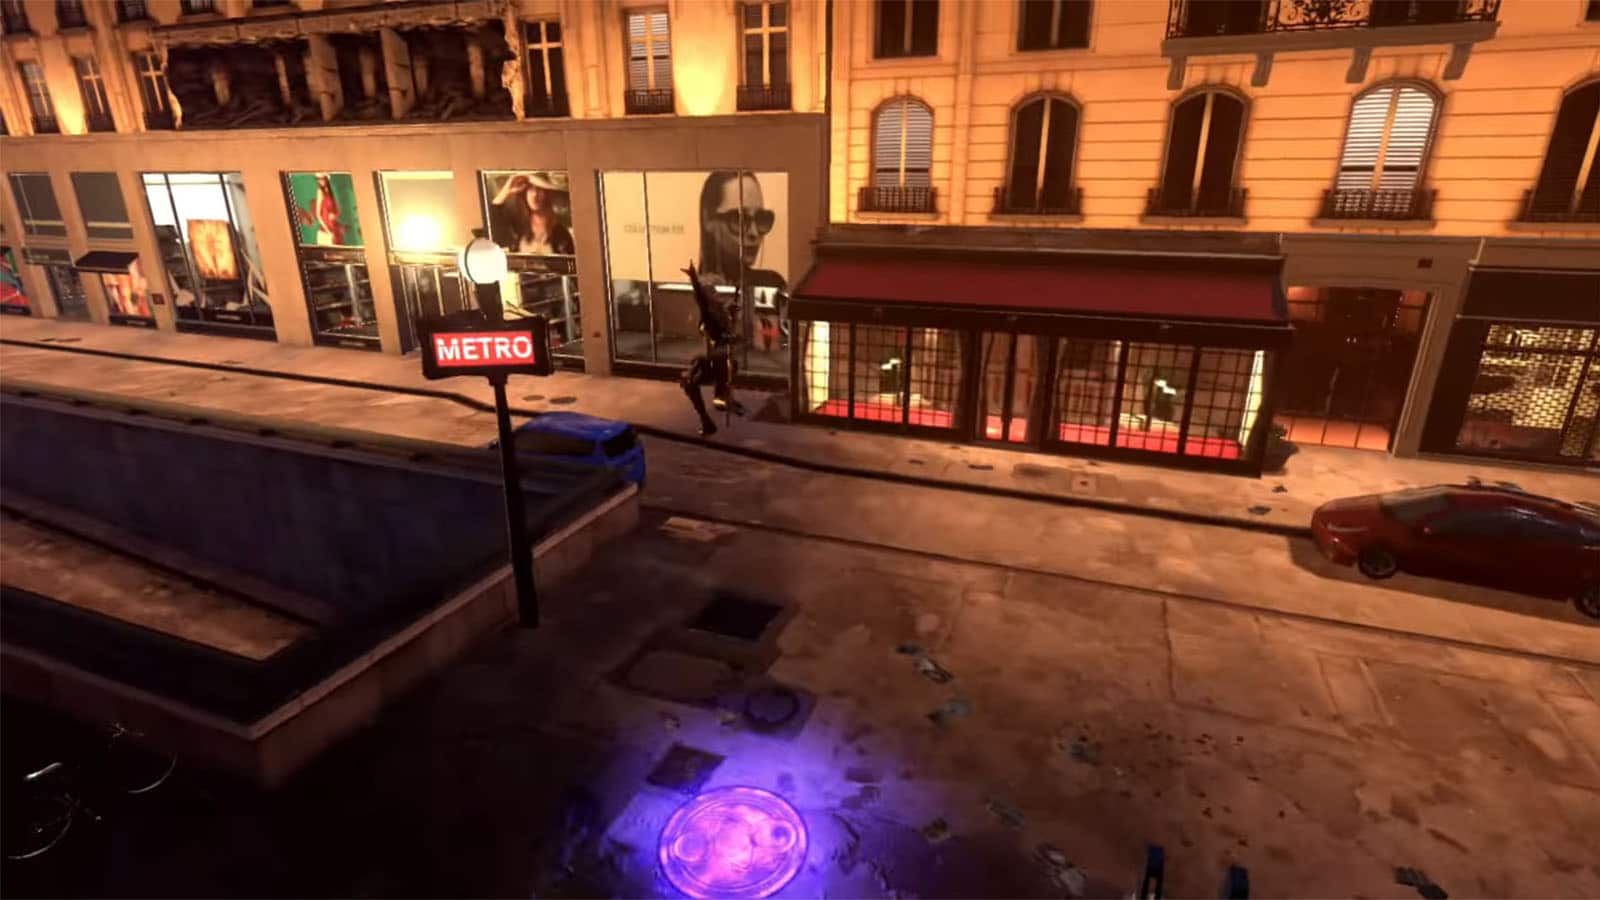
Umbran Tears of Blood – Cat
Check the passage leading to the subway on the right side of the street to find the cat. It will go under the subway once you approach it and you can’t follow it. Instead, head over to the left side of the street over by the ramp where it will come out.

Broken Witch Heart #2
Near the passageway, activate the cube to reveal a platform. Take the platform and cross the other platforms to reach another cube that wills tart a time trial. Get all the pieces to be rewarded with a Broken Witch Heart.
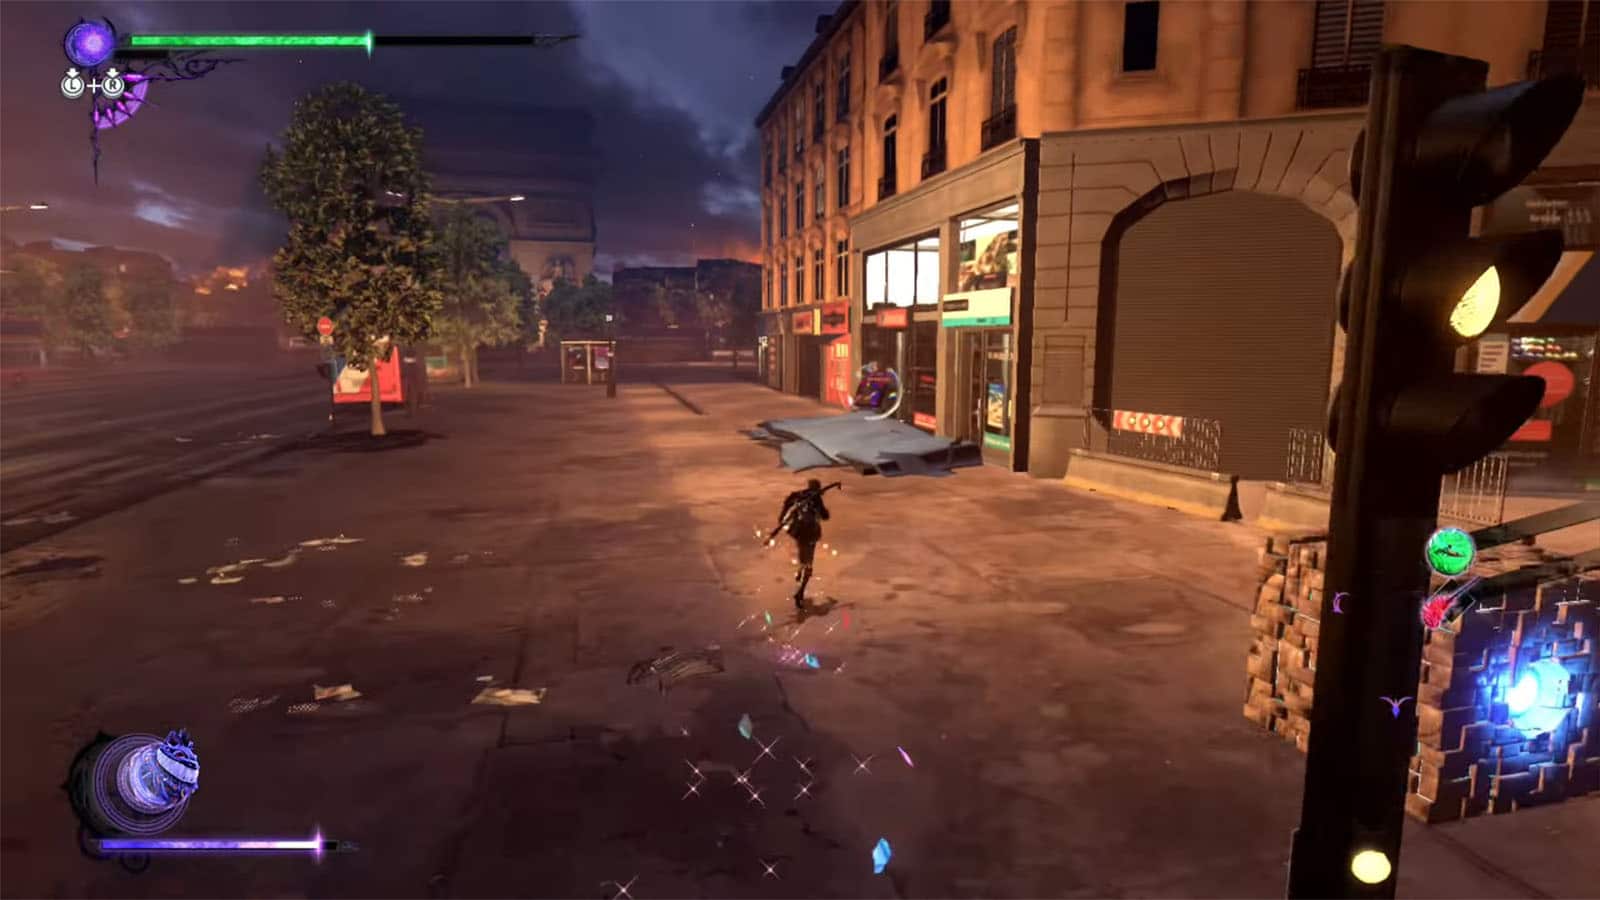
Figure Box #3
Just behind the cube for the platform is a blue storefront. Destroy it to reveal the figure box.
Card Pack #3
Over on the left side, near the ramp and beside the blue car, destroy the red awning of the store to find the card pack.
Verse #7 / Witch Heart
Take the alley by the left side of the street to find the portal to the next verse. In this challenge, you won’t be able to use Witch Time. Clear the challenge to be rewarded with a full Witch Heart.
Umbran Tears of Blood – Toad
Continue through the path behind the verse and turn left, and another left. You’ll find a broken garage door behind the tree. Break it to find the toad inside.
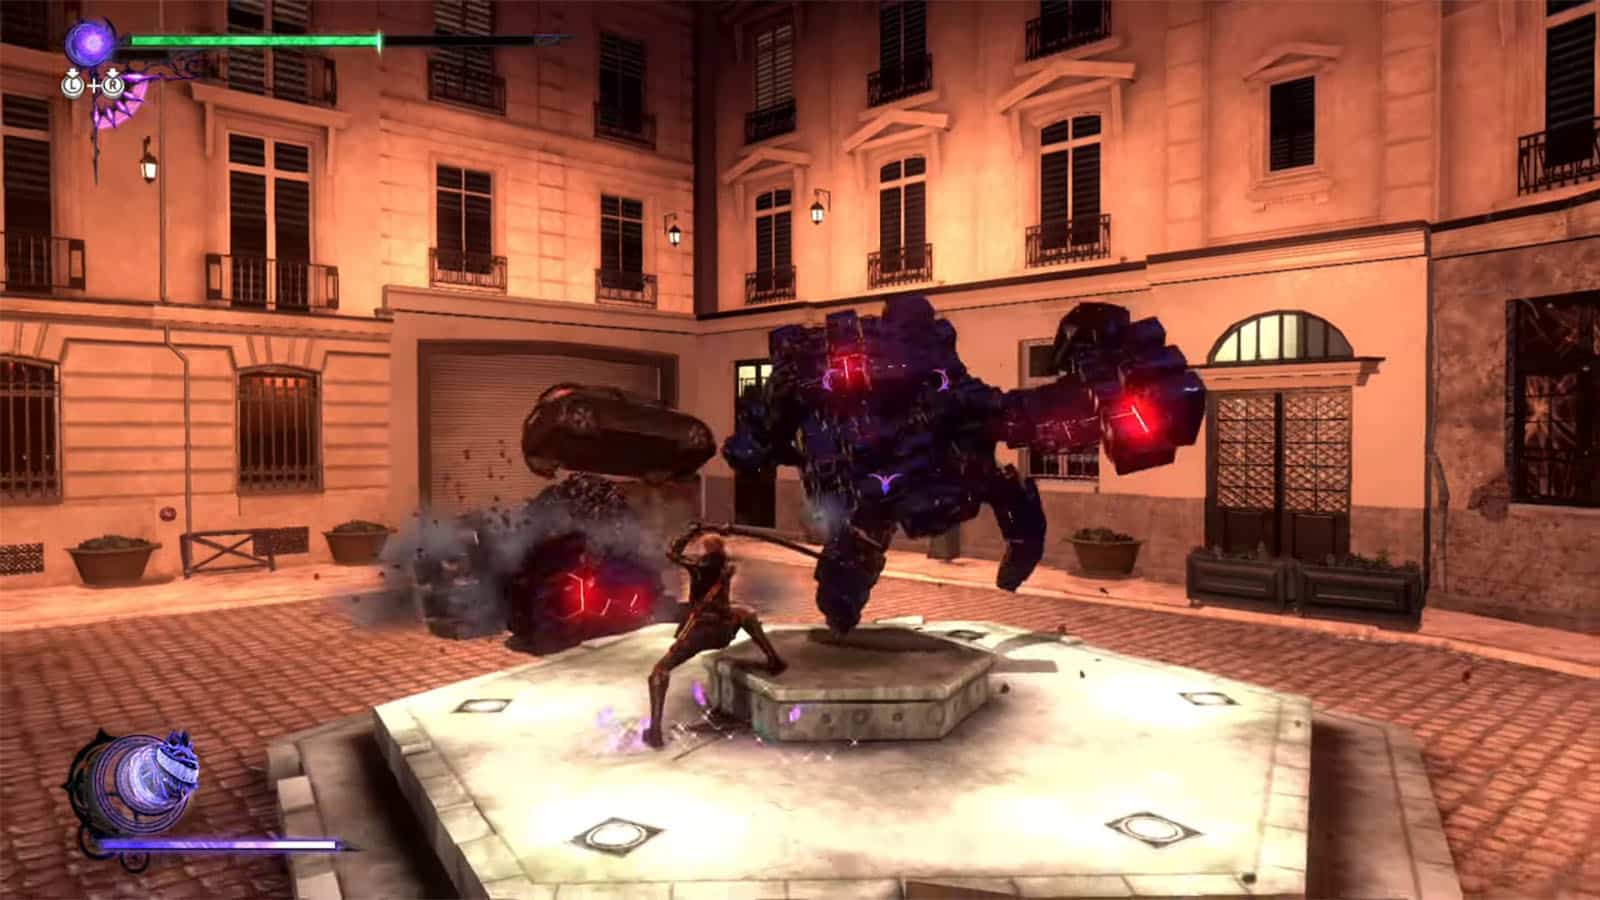
Bewitchment #4
Just across the toad is another cube that will transform into a golem. It will also spawn another two golems by its side. Defeat all golems to get the Defeat 3 small Golems Bewitchment.
The Gates of Hell
Head back to the main street and you’ll find the portal to Rodin’s Take the time to replenish your items or purchase accessories.
Echoes of Memory #3
On the left side of the street, just past Rodin’s portal, check the passage towards the subway to find the Echoes of Memory: The Wandering Soul.
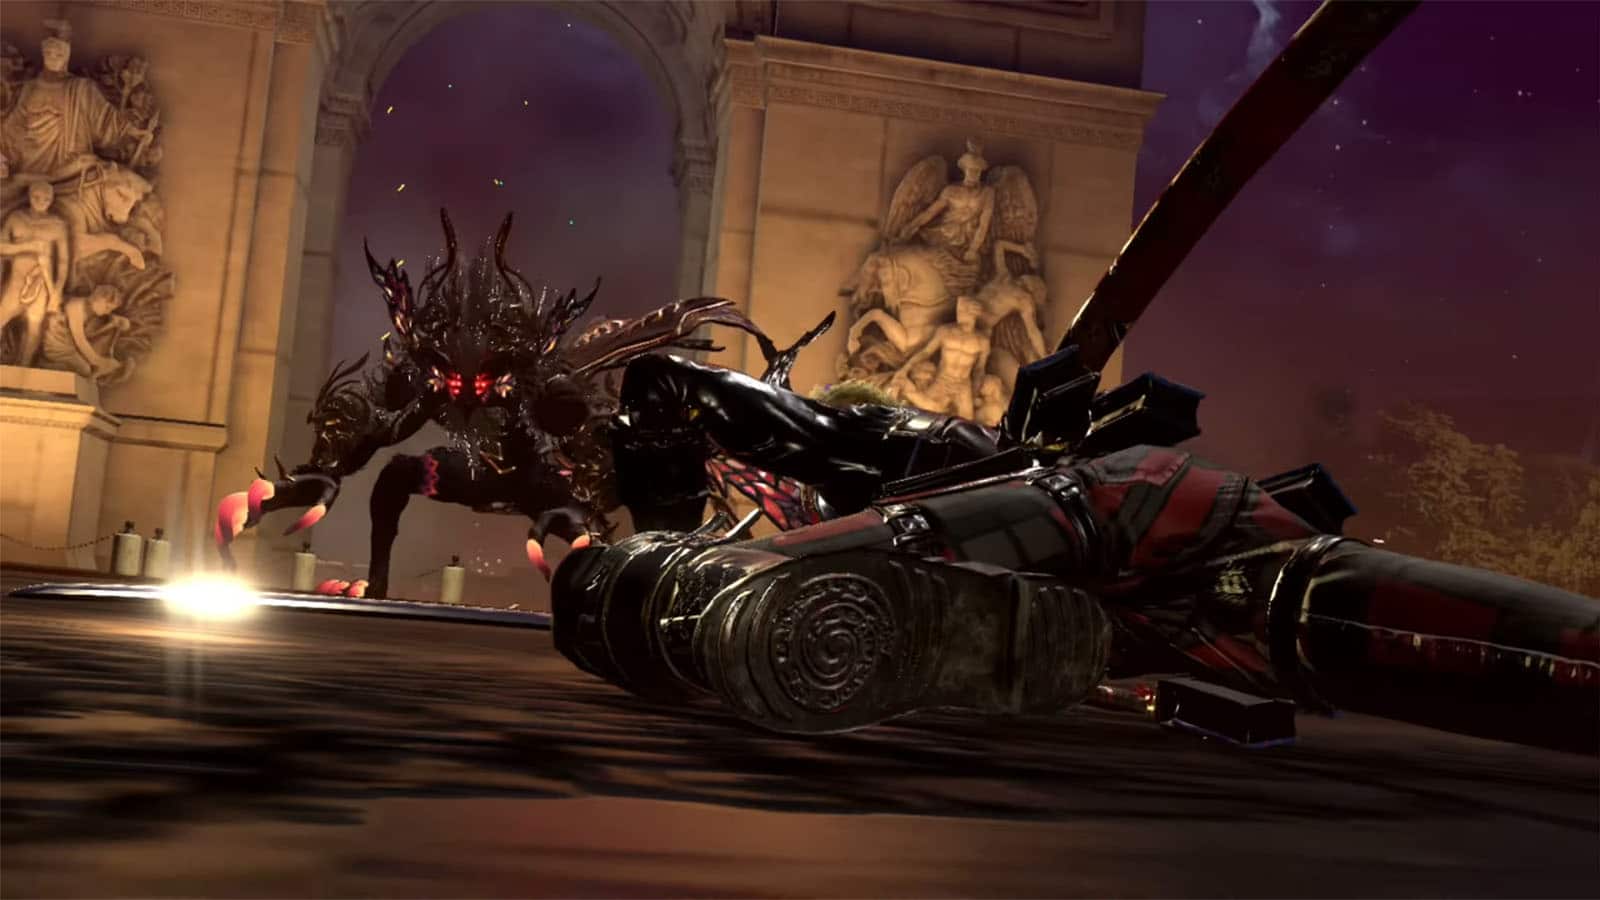
Verse #8
Head towards the Arc to start the fight against Luka. He has four health bars During this fight, it’s best to concentrate more on entering Witch Time by blocking his attacks, and then counter attacking only under Witch Time.
Bewitchment #5
During the fight, Luka will summon a special field where he can warp in and out of portals. It’s best to evade or block only during the field until you get the Avoid getting hit by Strider inside his special field Bewitchment.
See next Bayonetta 3 Walkthrough Chapter 11: A Familiar Dance
If you like this guide, be sure to check out our other Bayonetta 3 articles:
- Bayonetta 3 Chapter List – How Many Chapters
- Bayonetta 3 Ending Explained
- Bayonetta 3 Singularity (Explained)
- All Outfits in Bayonetta 3
- Bayonetta 3 Weapons and Abilities
- Bayonetta 3 Day One Update Patch Notes Revealed
- How Long to Beat Bayonetta 3 – Game Length
Check out this video by Timodus showing gameplay for Chapter 10:


