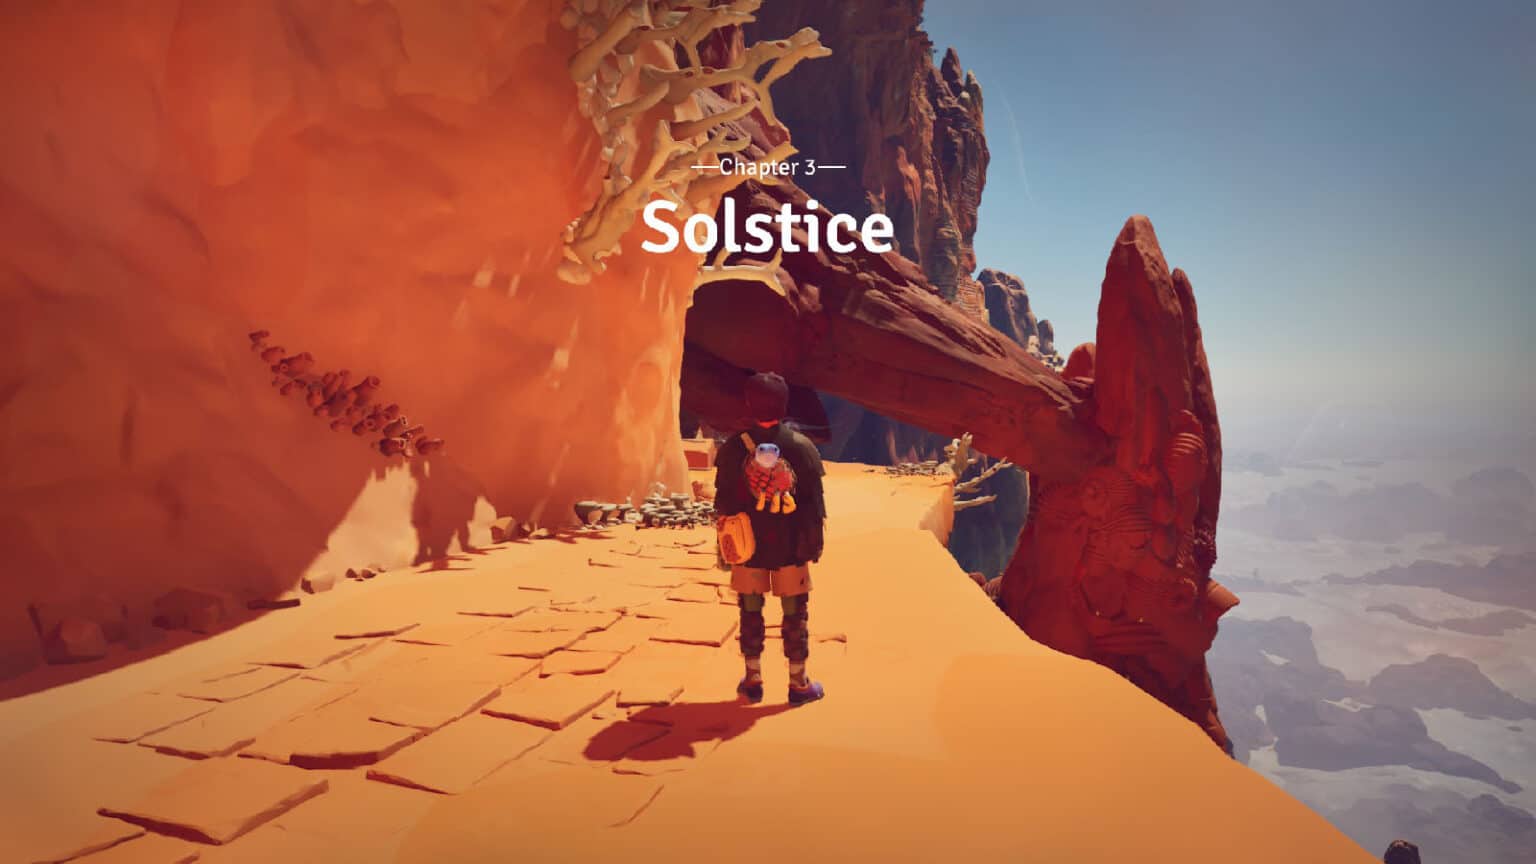
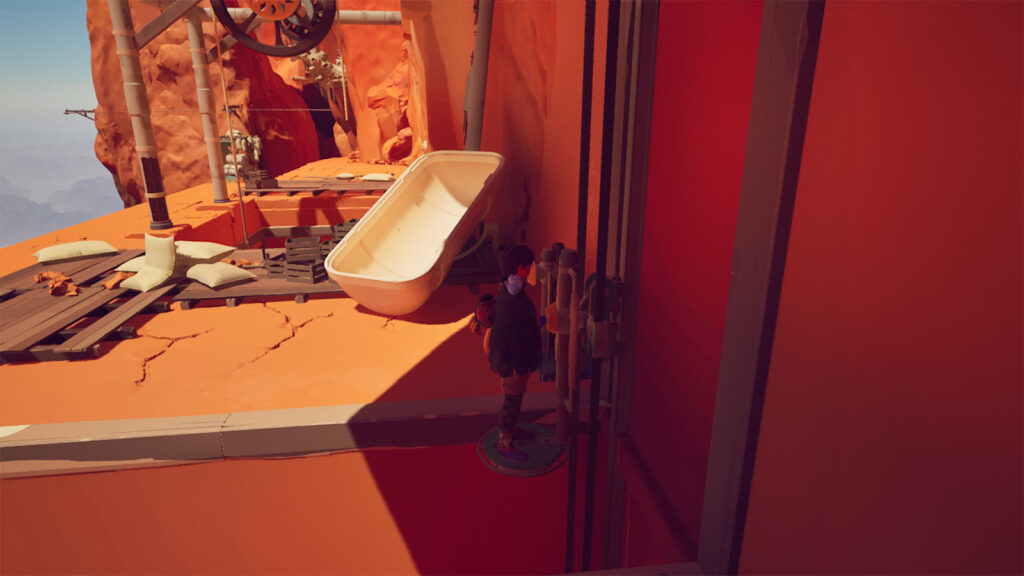
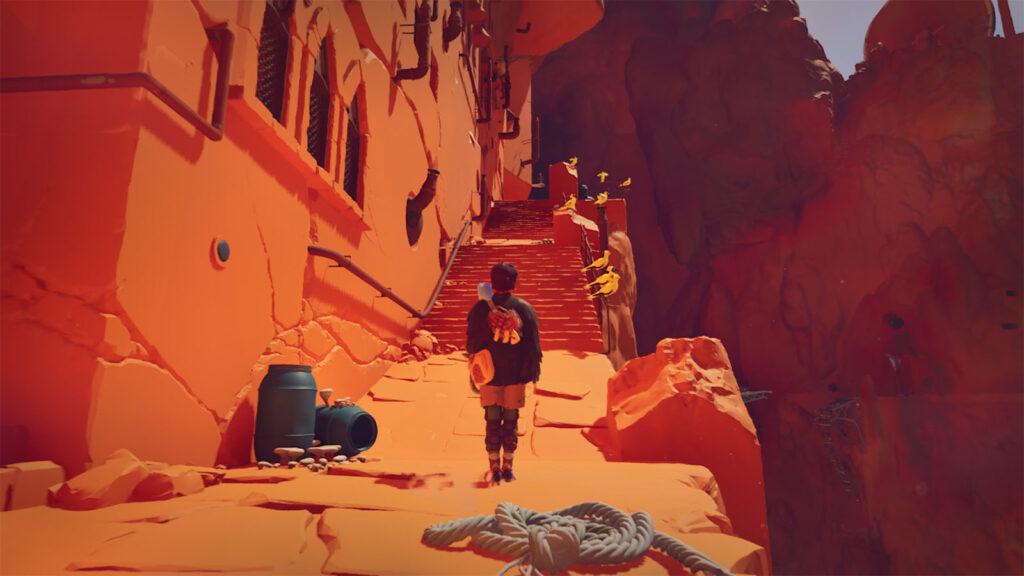
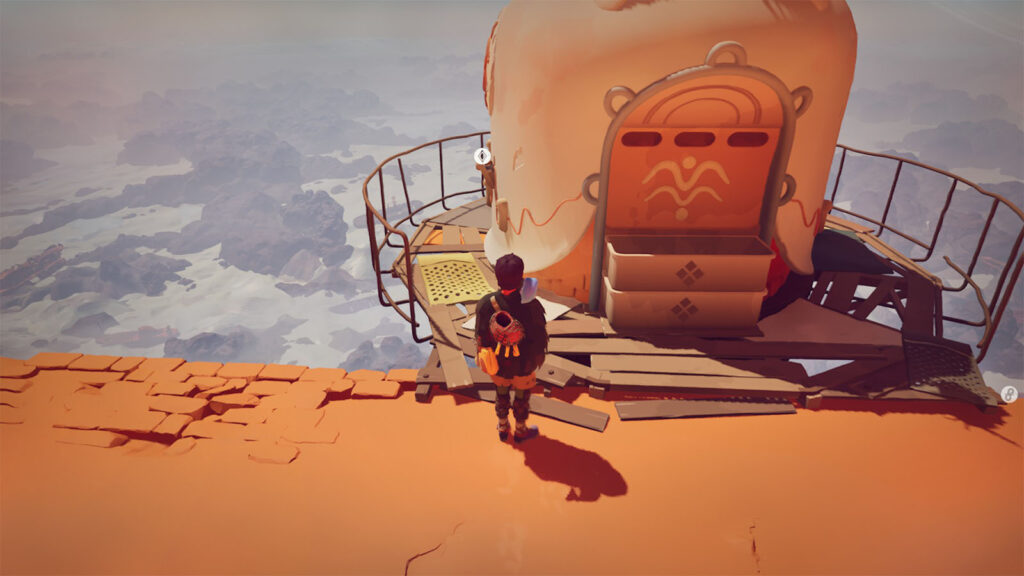
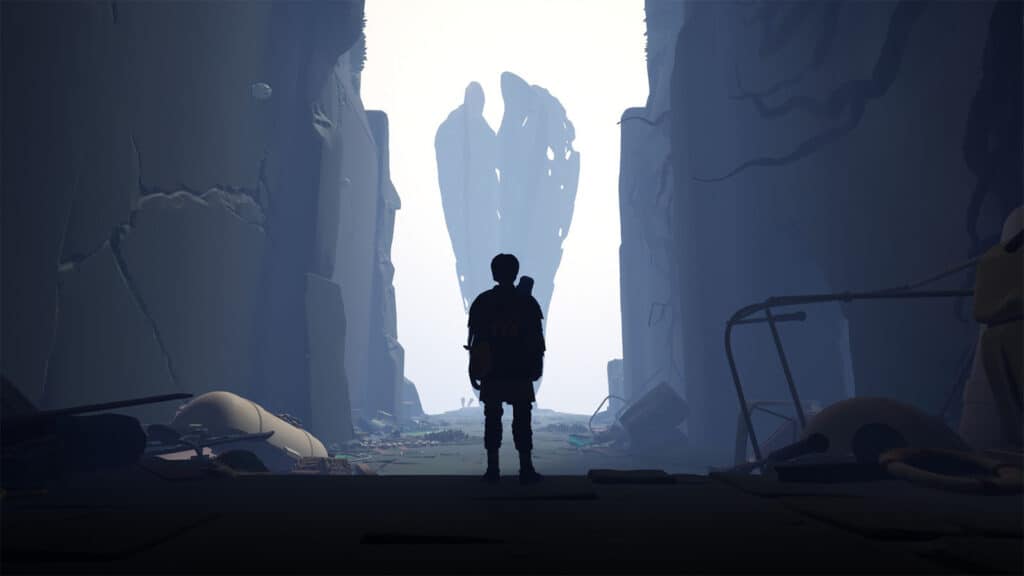
Solstice is the third chapter of Jusant. The kid now sets their eyes on scaling another structure, but as they go higher up, the scorching sun’s heat also becomes part of the challenge. Read ahead as we walk you through the events of Solstice in Jusant and share the locations of all the chapter’s collectibles to assist you in obtaining all the trophies in the game.
See previous: Migration Walkthrough
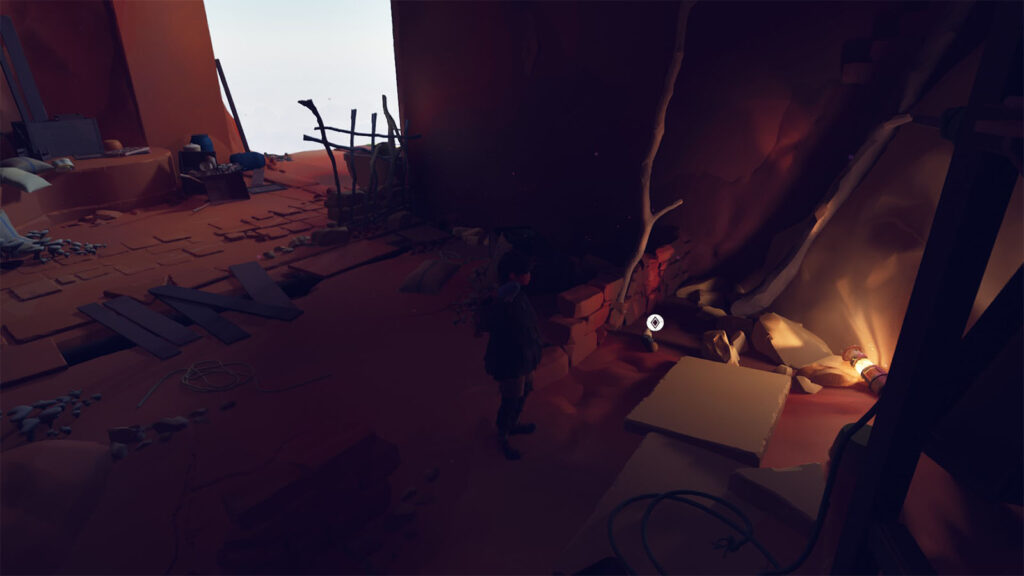
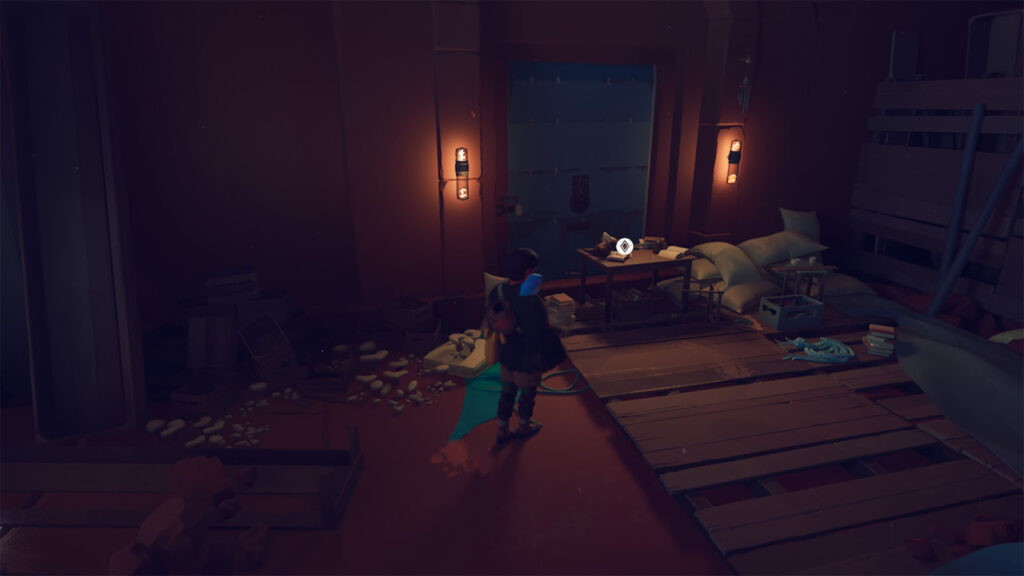
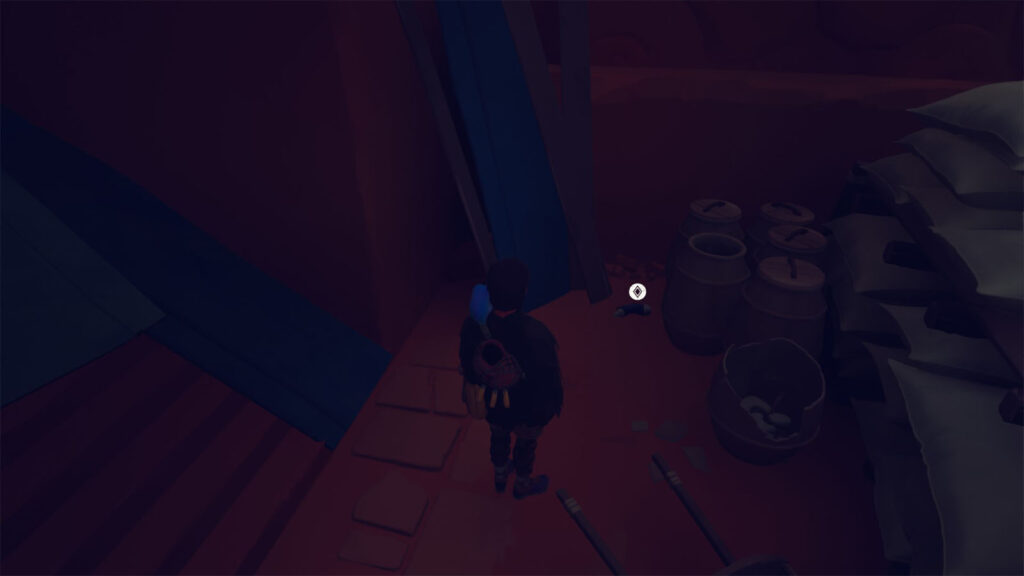
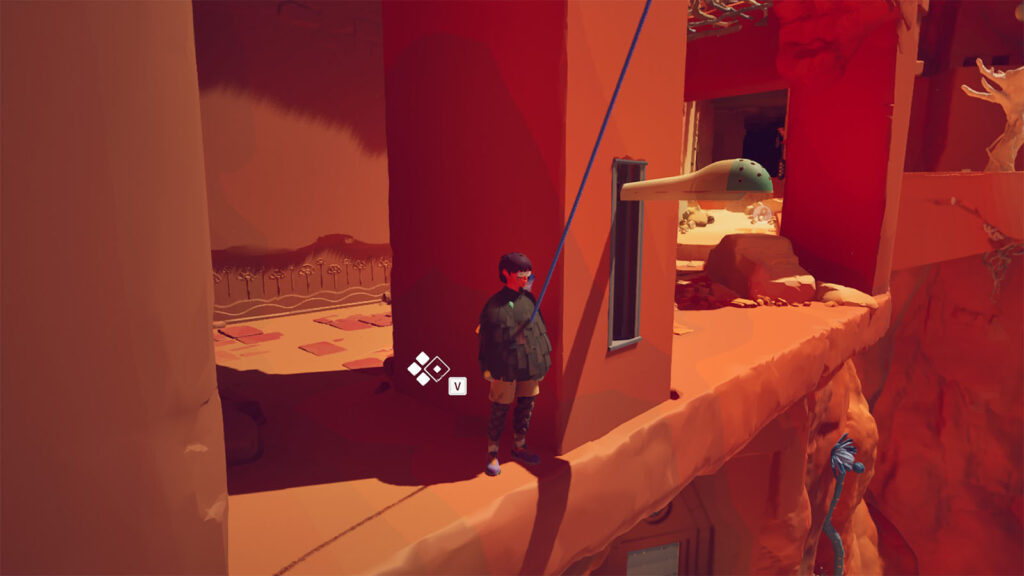
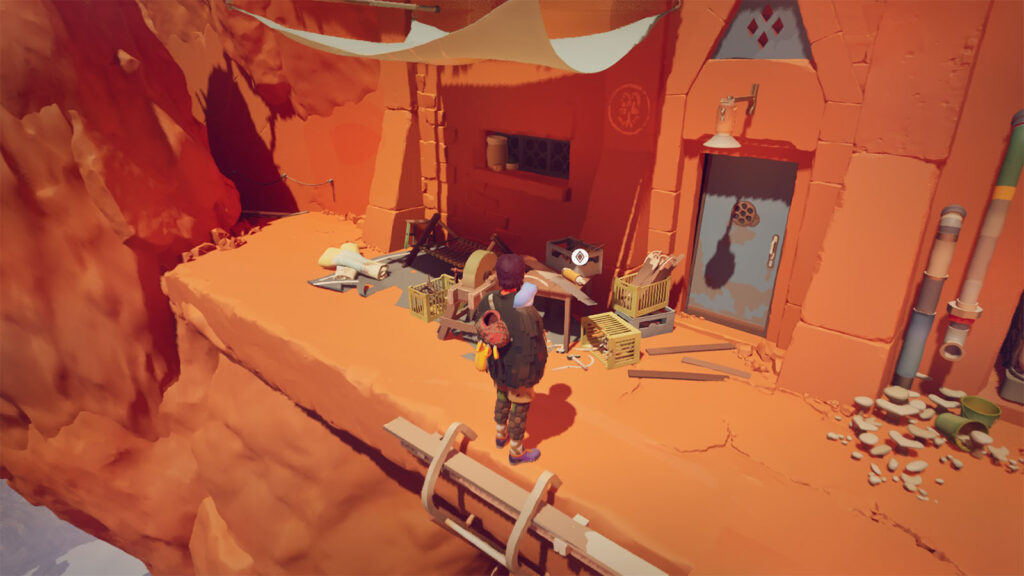
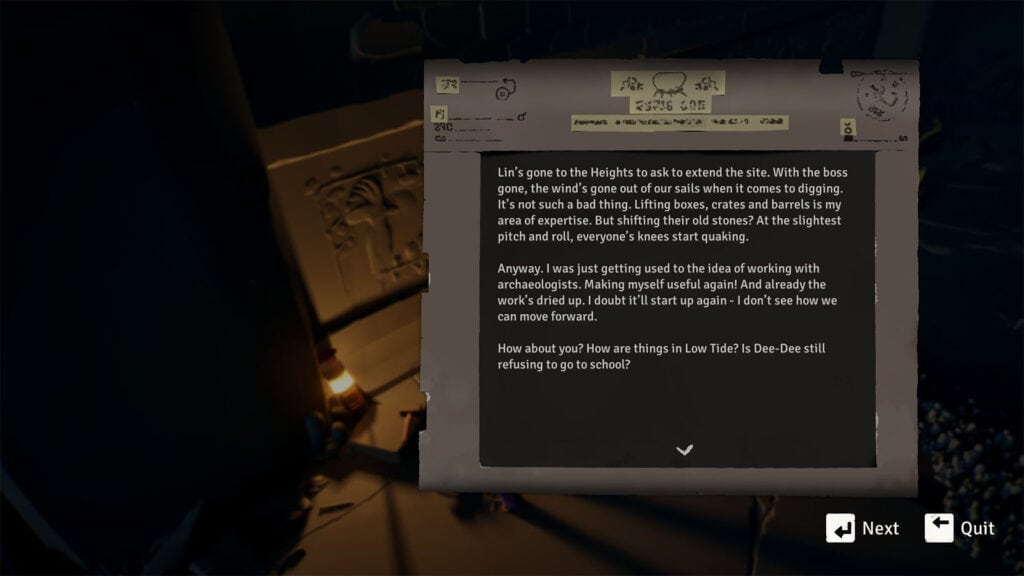
From the starting point, turn around and look behind the corner to find Bianca’s Journal #3.
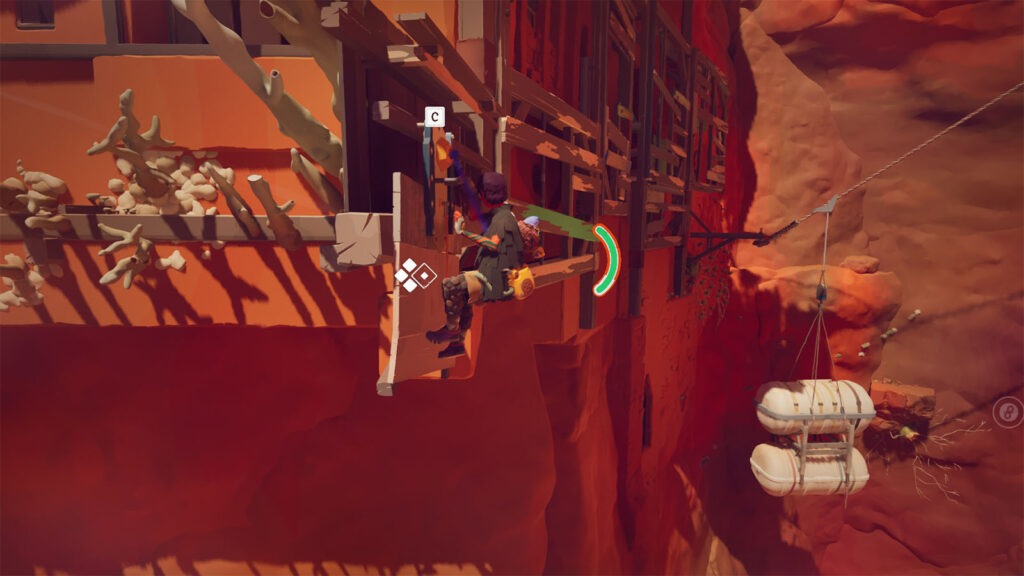
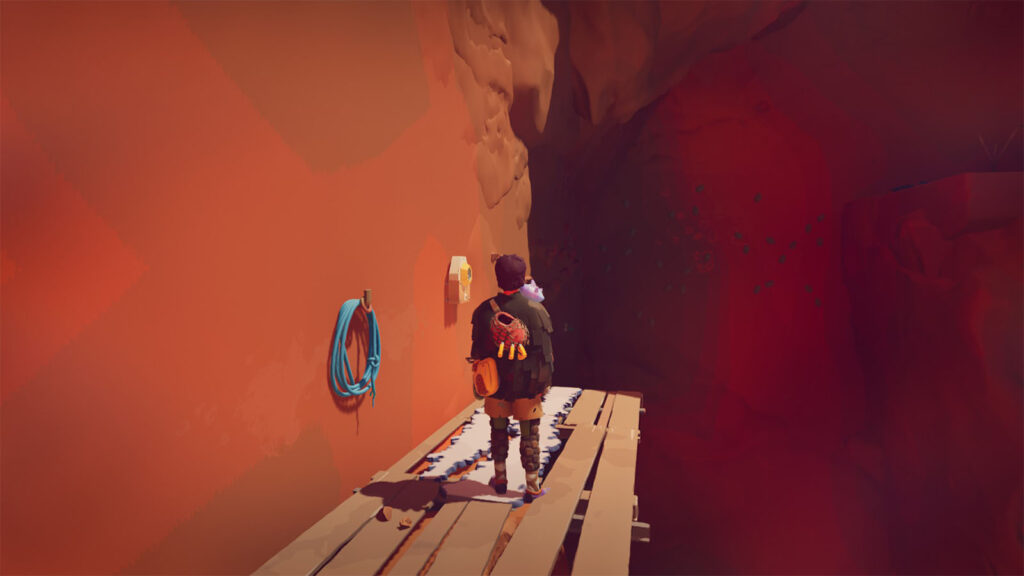
You’ll get a prompt about how your stamina gets affected by the heat in this level. Climbing under sunlight will use up your stamina faster.
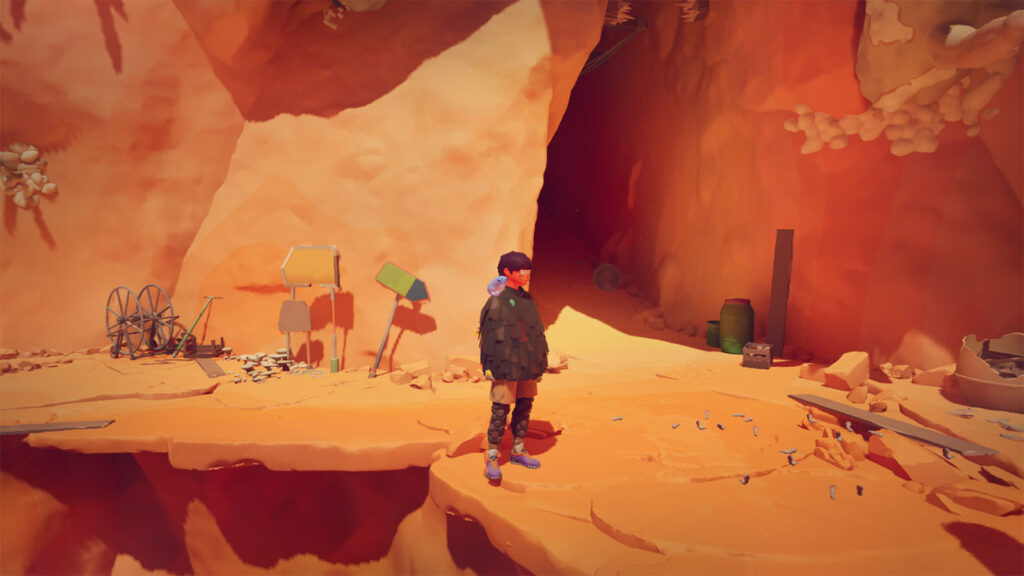
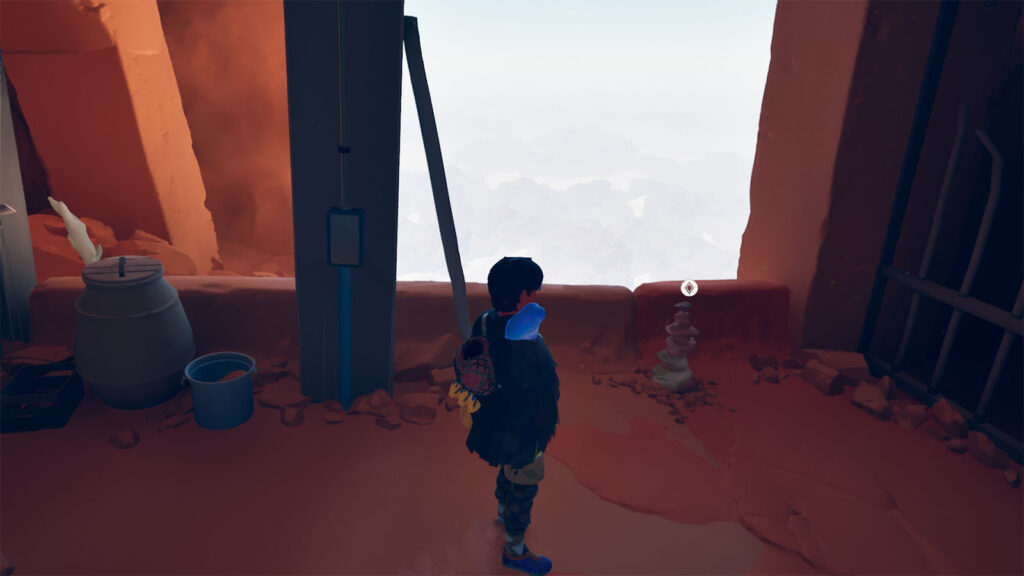
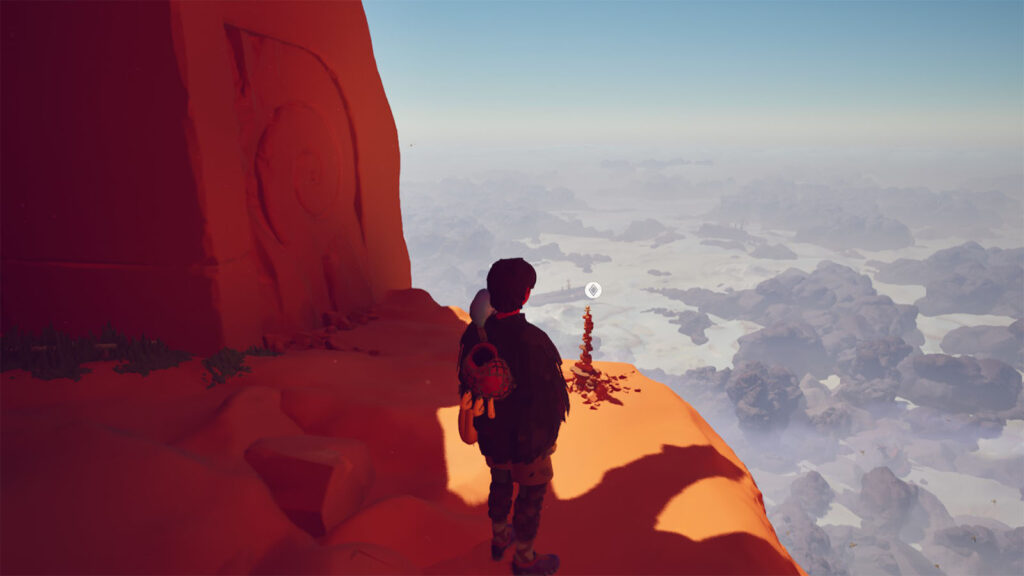
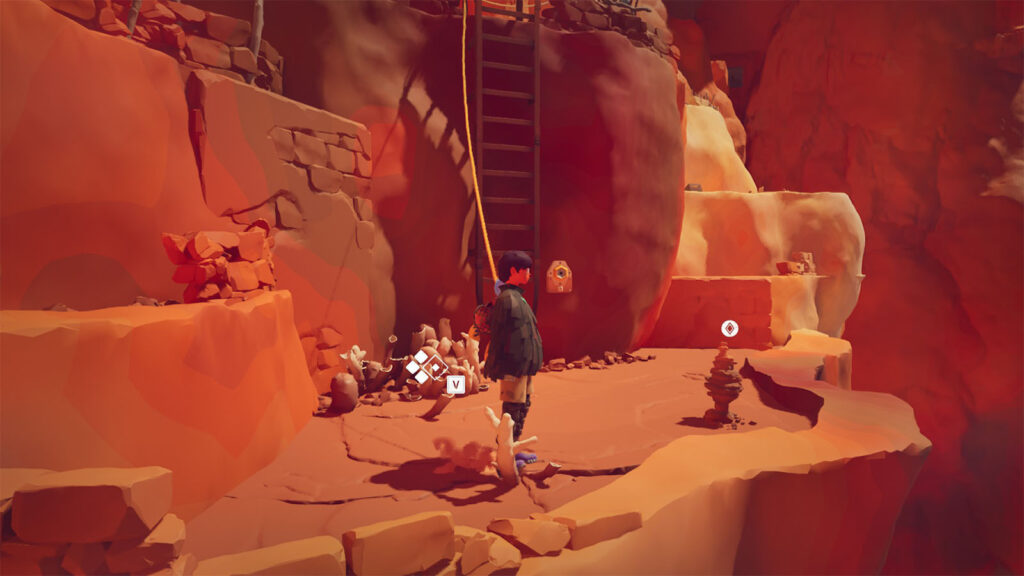
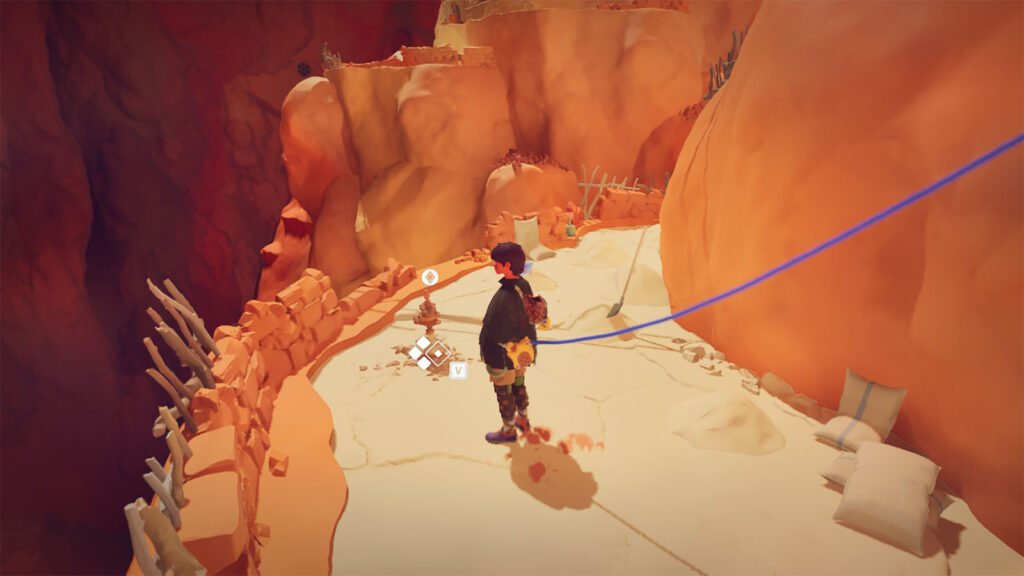
Continue moving up ahead and turn left into the small path into the rocks. At the very end is where you can find Cairn #7.
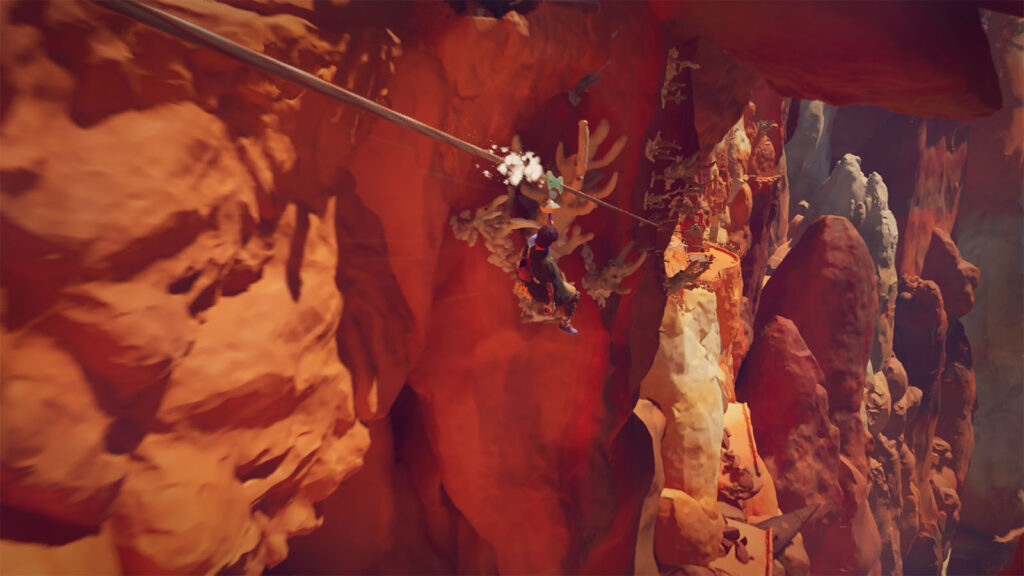
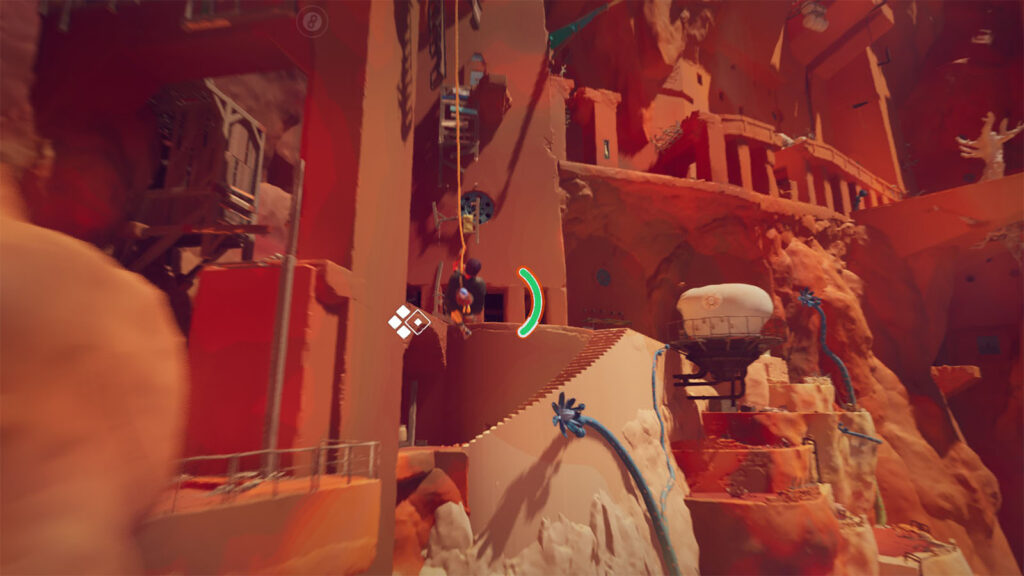
Ride the zipline down into the next area, then take the next climbing section until you reach the bulbs.
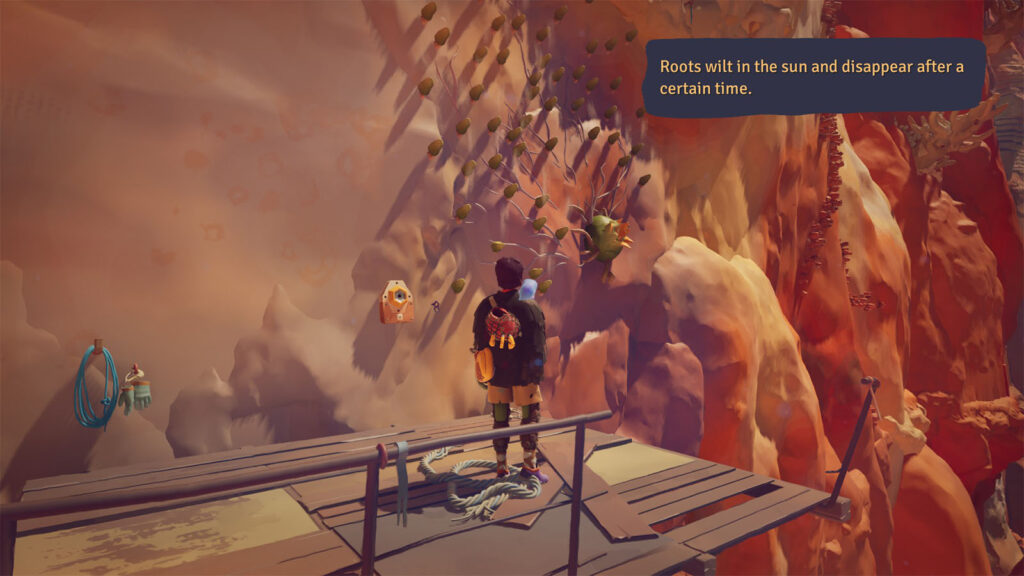
From this point, you’ll learn about another mechanic about the wall bulbs, wherein the roots that appear under the sun will slowly wilt and disappear. Roots that grow under the shade will remain. It’s best to set a piton once you get to the roots to save you from falling.
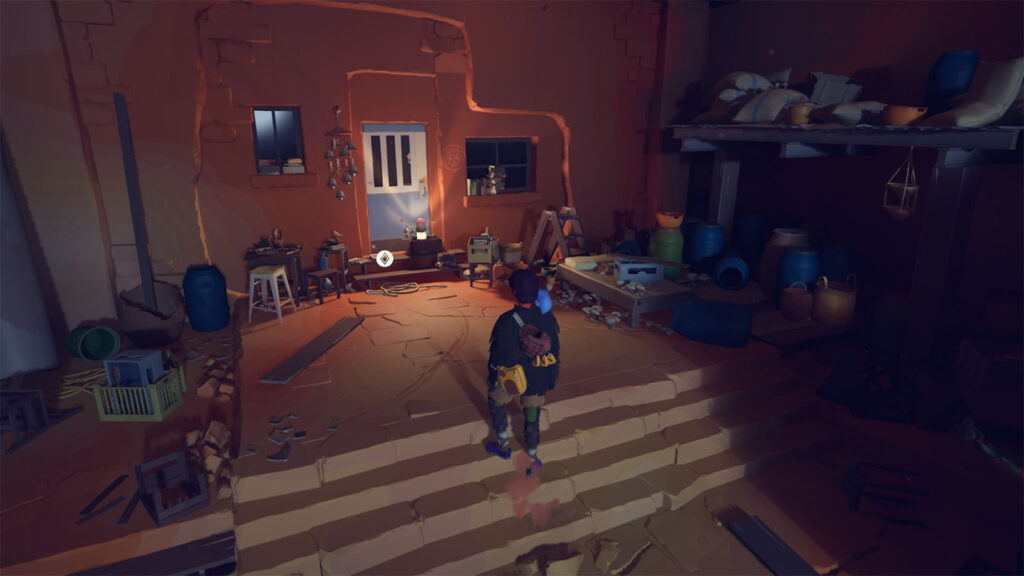
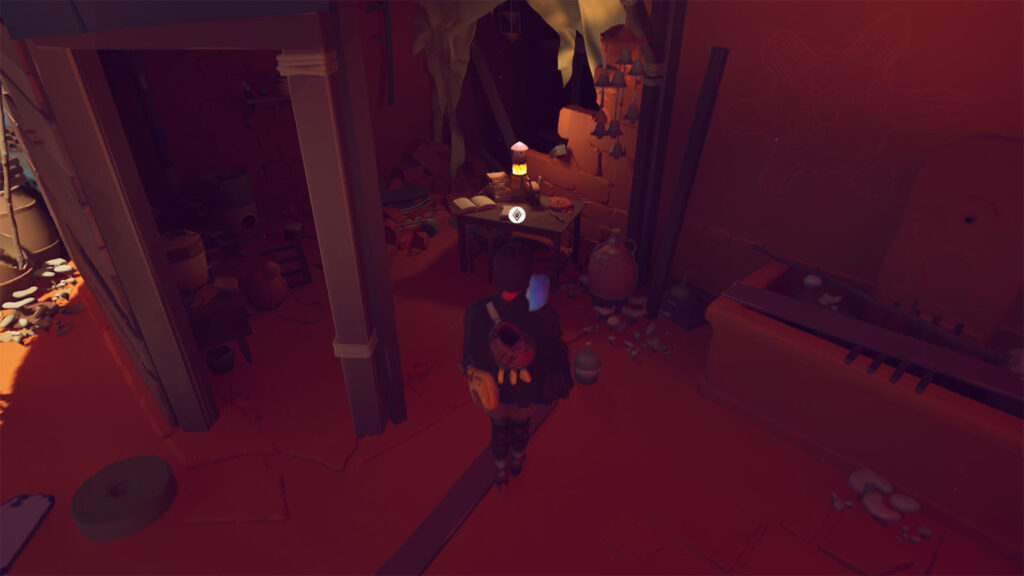
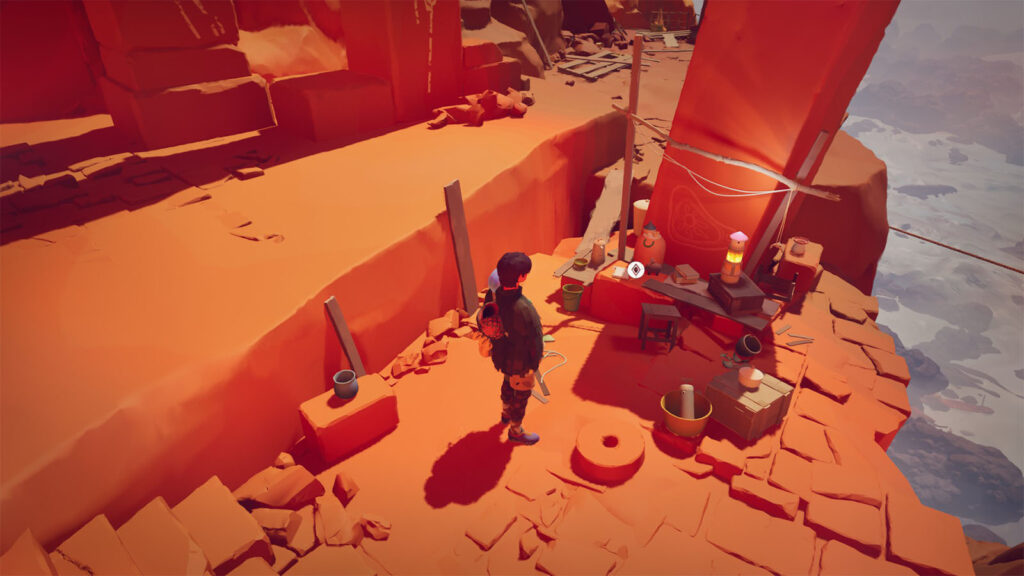
Continue climbing upwards until you reach another settlement. In here is where you’ll find Bianca’s Journal #4 by the table.
Turn around from the table and look behind the fence by the lamp to find Letter #15.
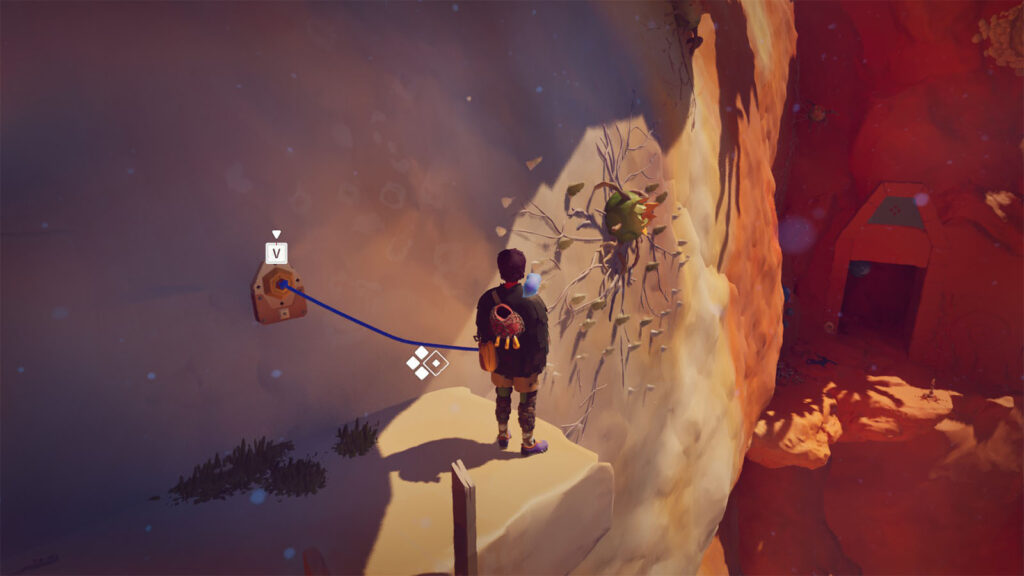
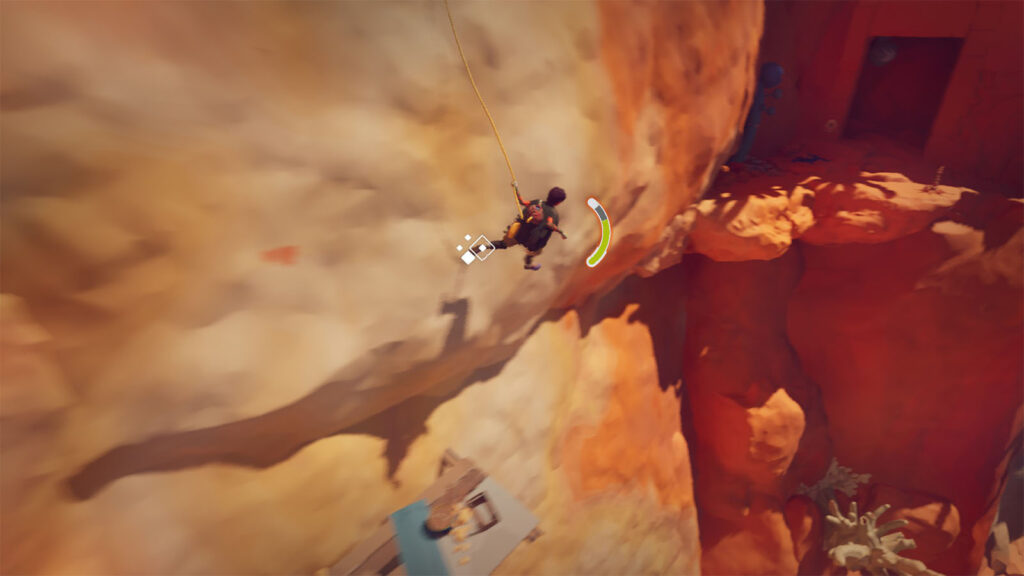
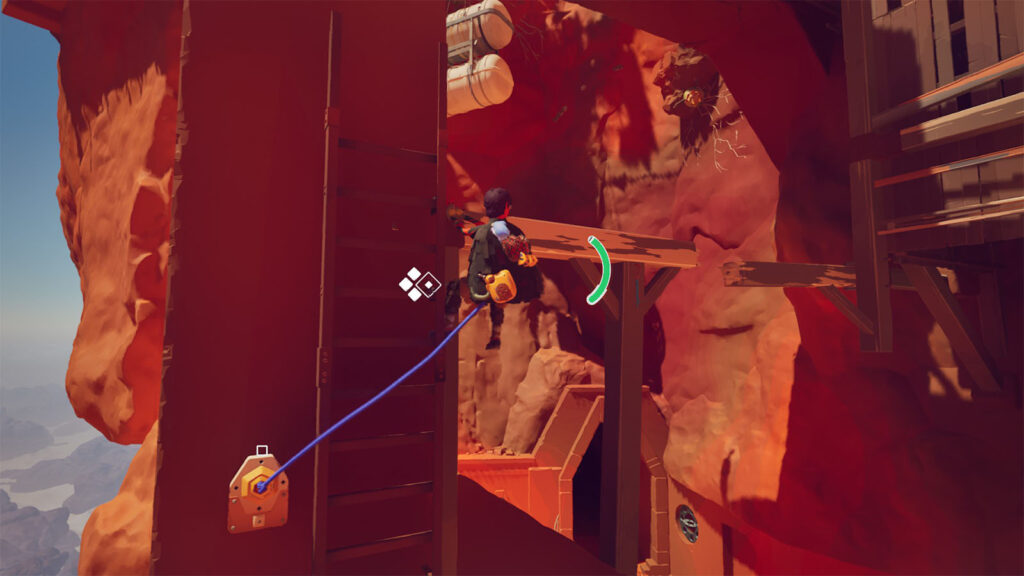
Next, go back out and go towards the wall bulbs. Climb to the very top of the second wall bulb and put down a piton. Then, hang down and swing towards the ledge on the right side.
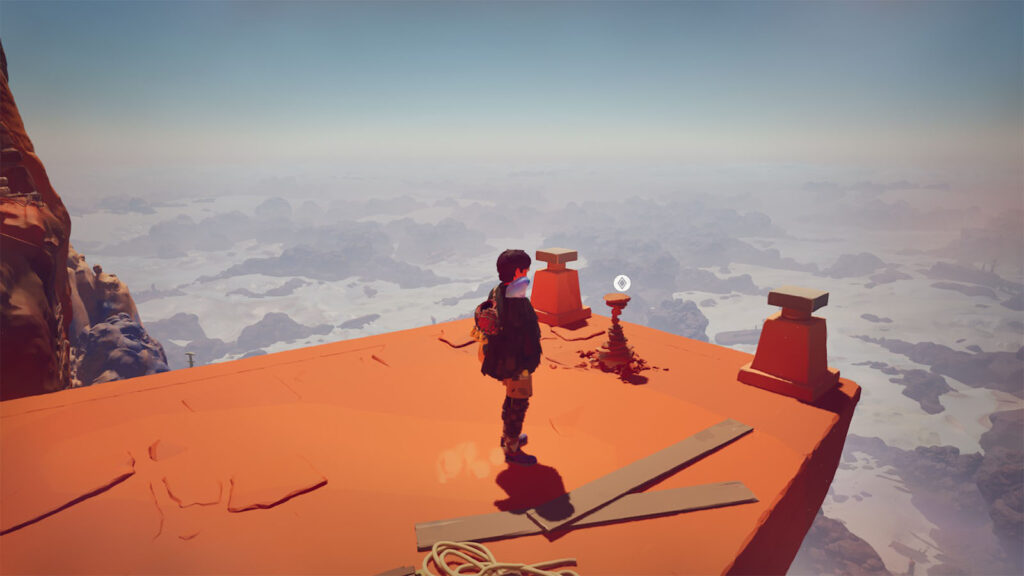
Just on the edge of the ledge is where Cairn #8 is.
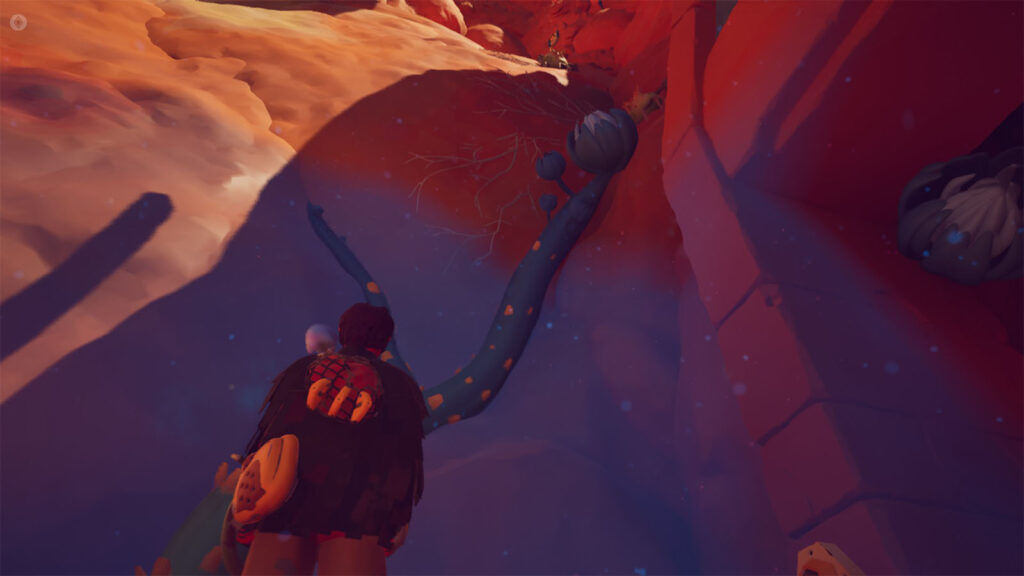
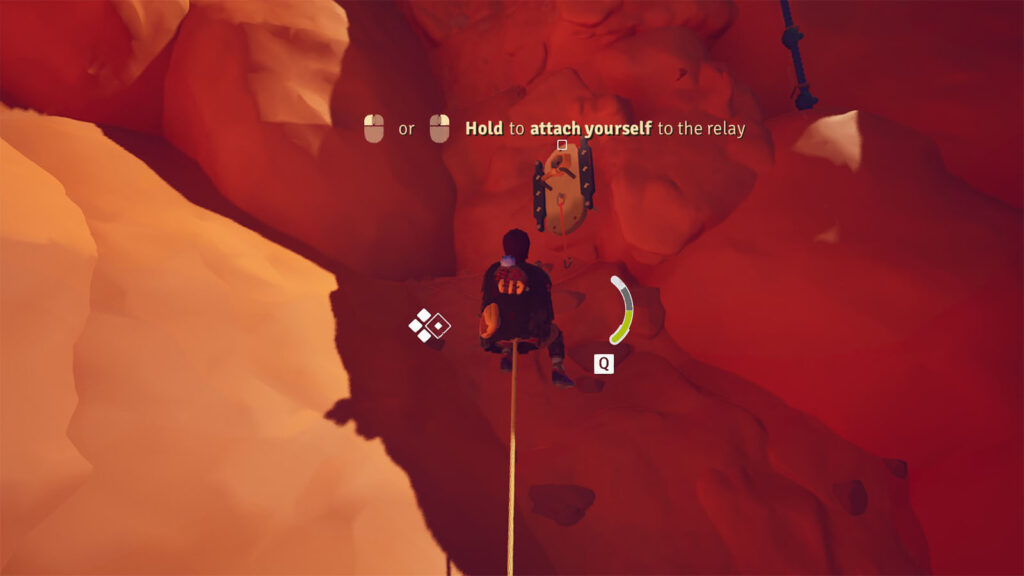
Grow the vine on the wall, then scale the roots up to the very top. You’ll then encounter a relay where you can reattach your rope. Once done, your stamina and max stamina will replenish, and your rope length will be reset.
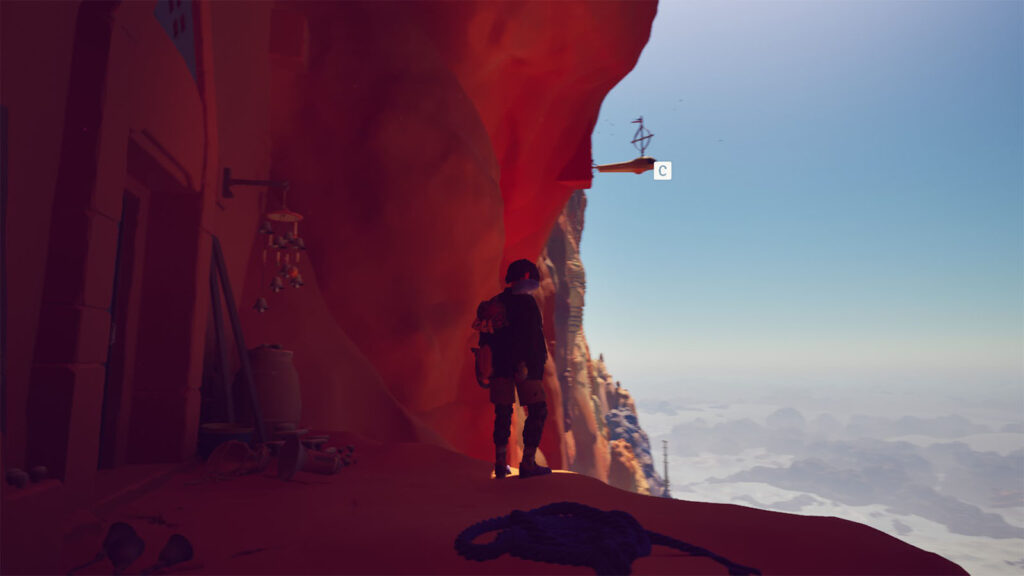
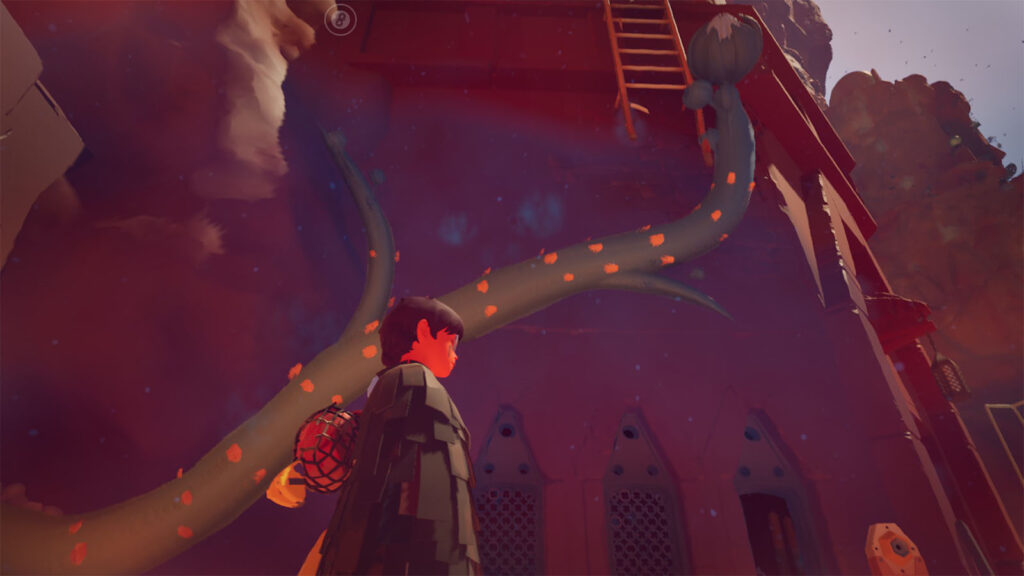
Once you reach the top, hang on to the hanging anchor, then swing a bit and lower yourself on to the next area. You can then grow the vine below to get a shortcut for the upper level.
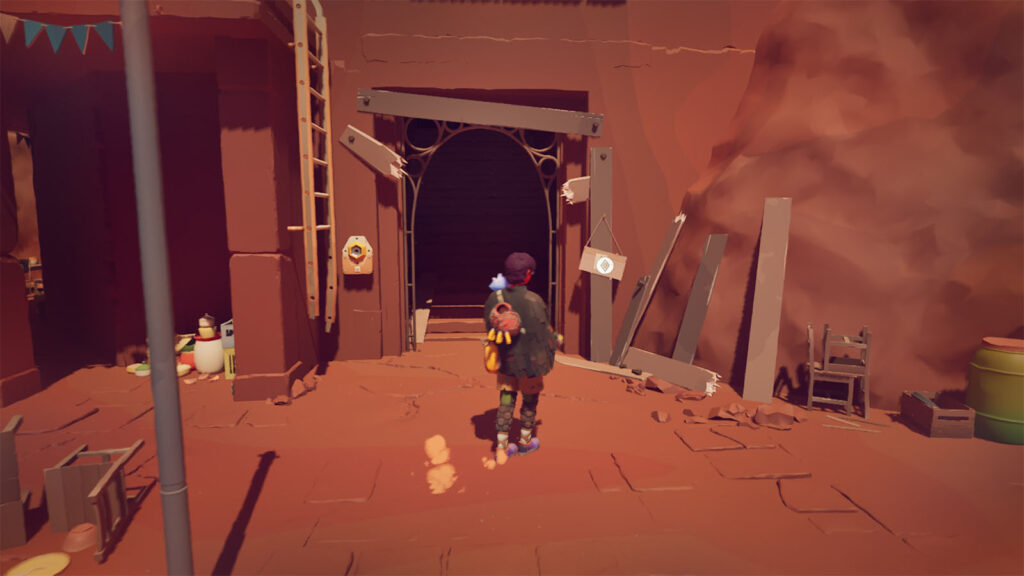
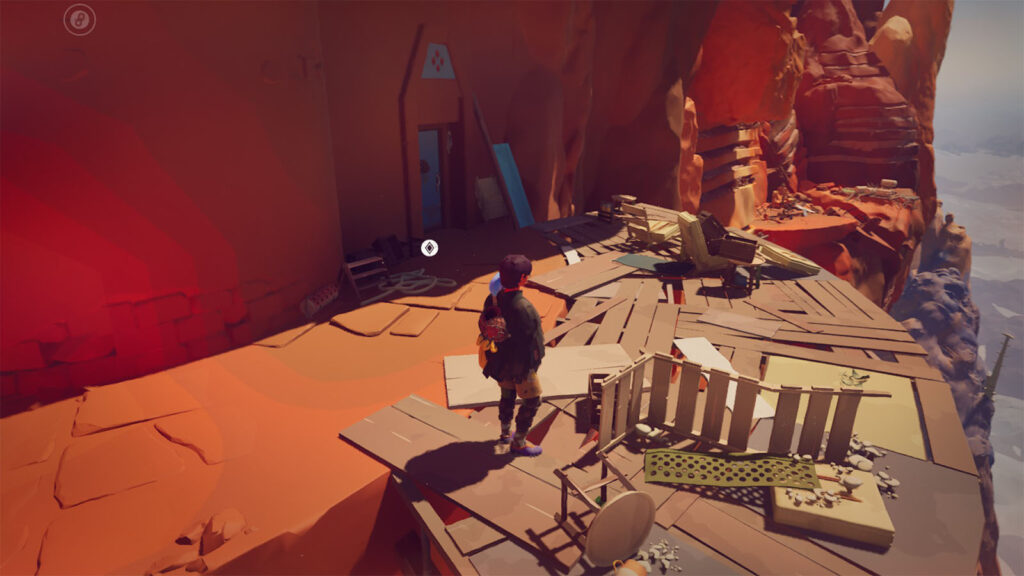
Continue descending down the lower floor and go to the right where you can find the entrance to a restaurant. On the side of the entrance is Letter #16.
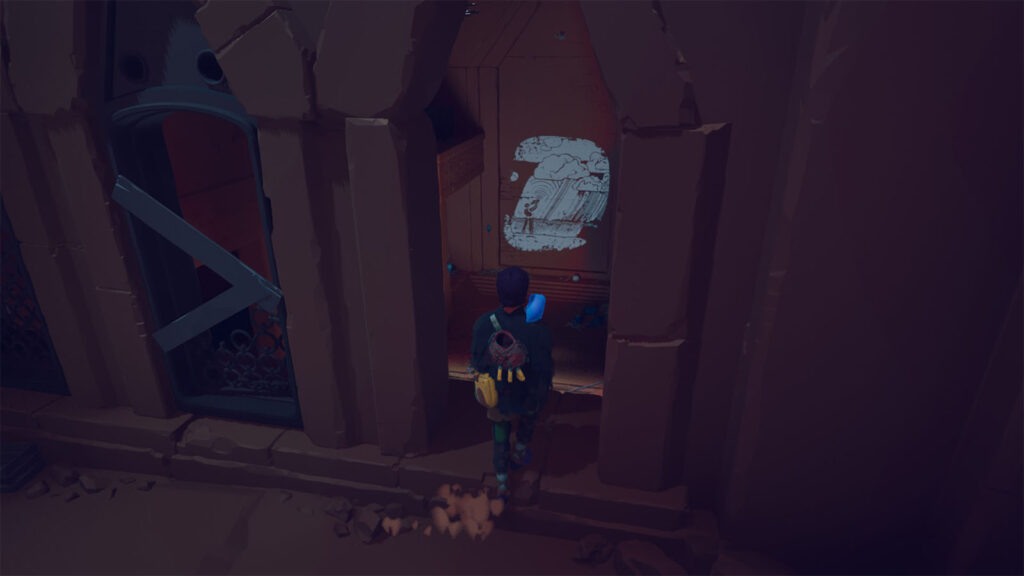
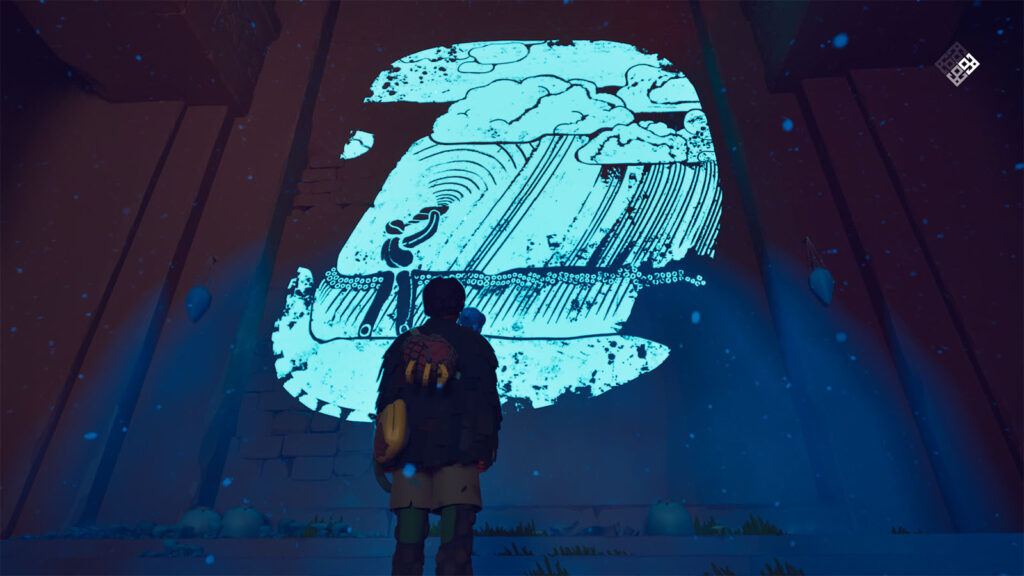
Go back up to the top floor and head into the building. Before climbing the stairs, go to the left side where the windows are and you will see Fresco #4. Light it up and then head back up to climb the stairs and ladders into the next area.
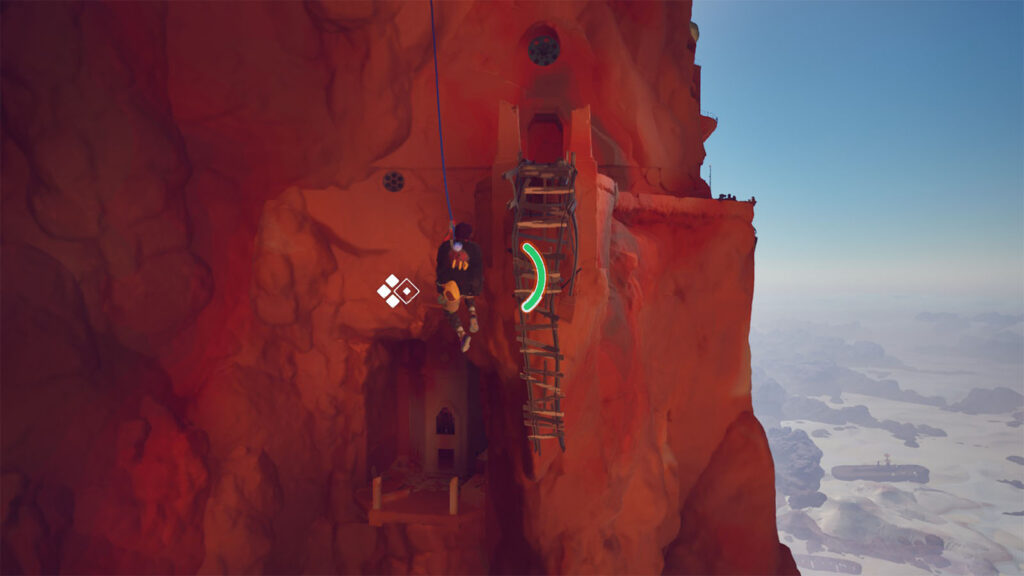
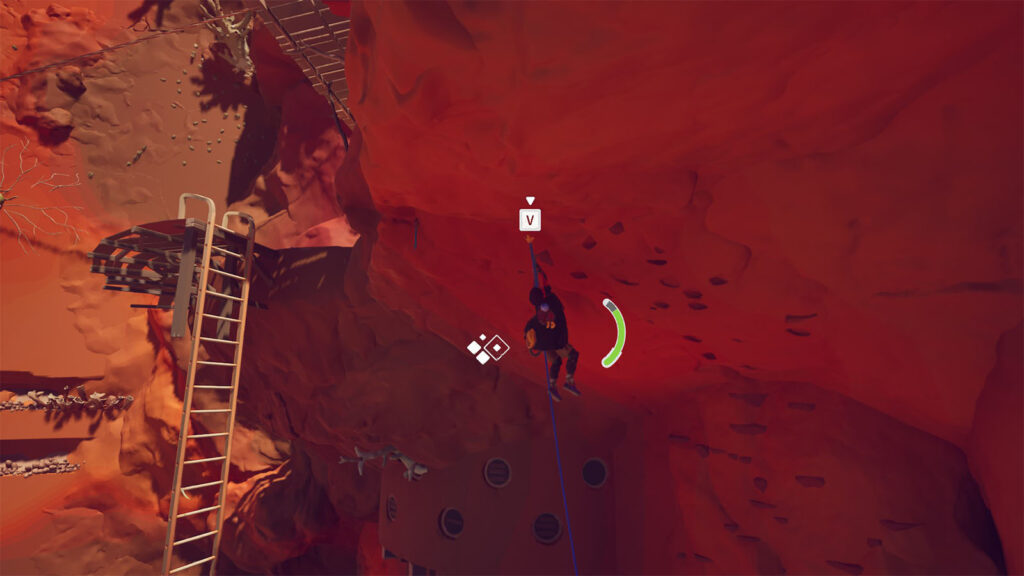
Once you’re outside, go towards the left side and anchor yourself to the wall. Then, rappel down into the alcove below where you will find Shell #4. Grow the vine nearby to get a path back up.
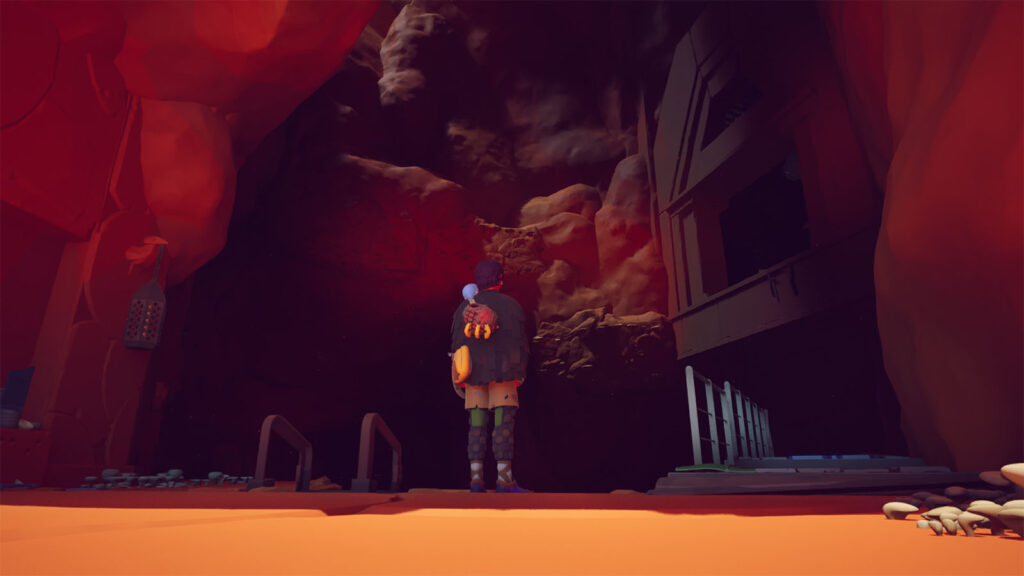
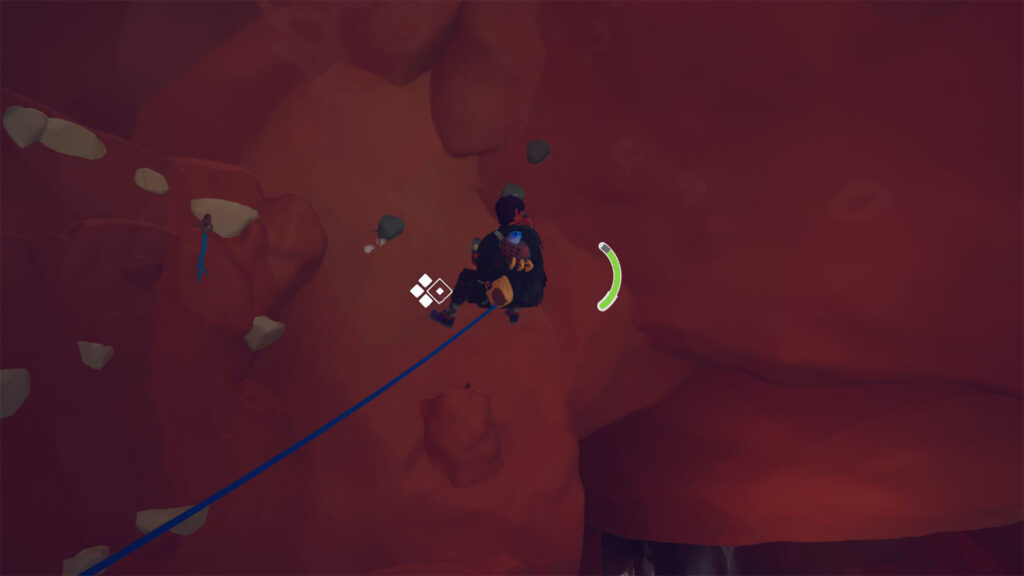
Head back inside the cave and scale the wall on your left until you reach the opening on the other side. Along the way, you’ll encounter crawling critters that you can grab on to. These critters will move along the rock wall, but they will eventually slow down the longer you grab on to them, and you’ll need to transfer over to another critter or let go. Once you get to the opening, you’ll see grow the vine on the opening for a shortcut.
Inside the next area is where Bianca’s Journal #5 can be found, on the table to the left.
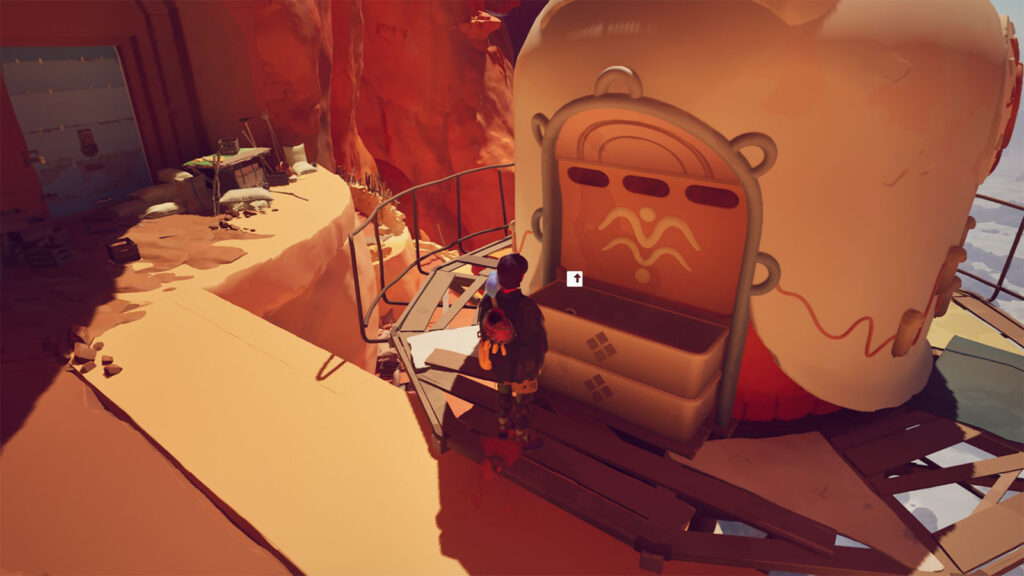
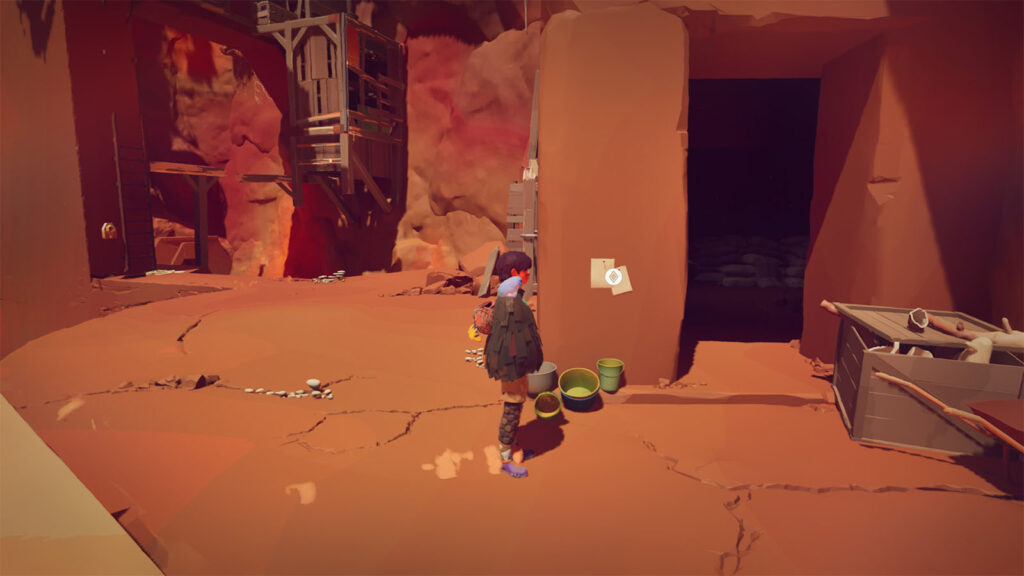
Go out into the next area and climb the stairs up. Head towards the pillars of the building up ahead and look towards the right pillar to find Letter #17. In the crate just across is Letter #18.
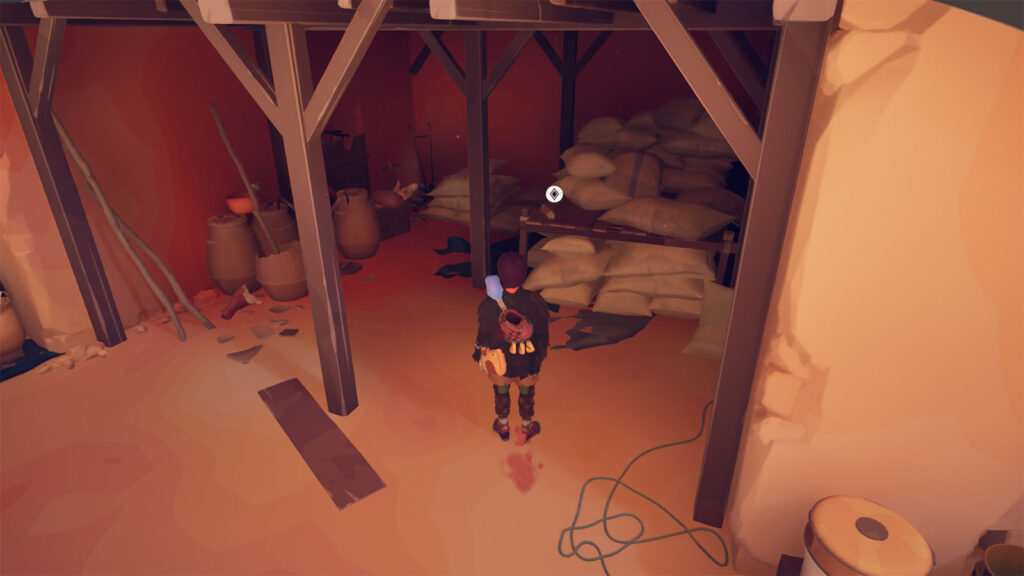
Head inside the building and go straight into the storage room to find Letter #19. You’ll see through an opening in this building that an Altar is nearby, but you won’t get to it yet until later.
Go back outside and make your way down the terraces, and on the very bottom is where you’ll find Cairn #9.
Head back up and climb the ladder on the side of the broken windmill, then move across the beams and planks to get to the top.
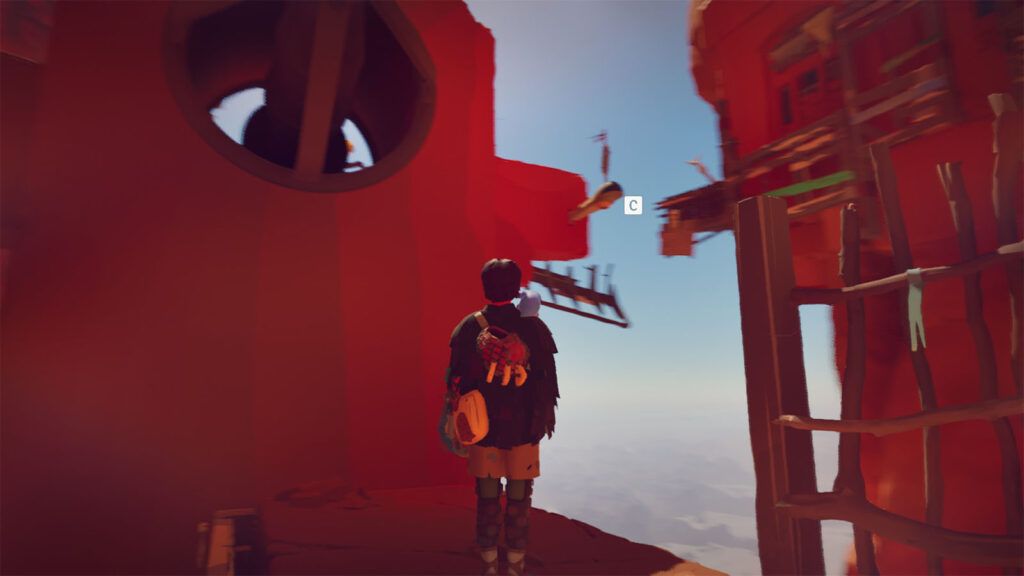
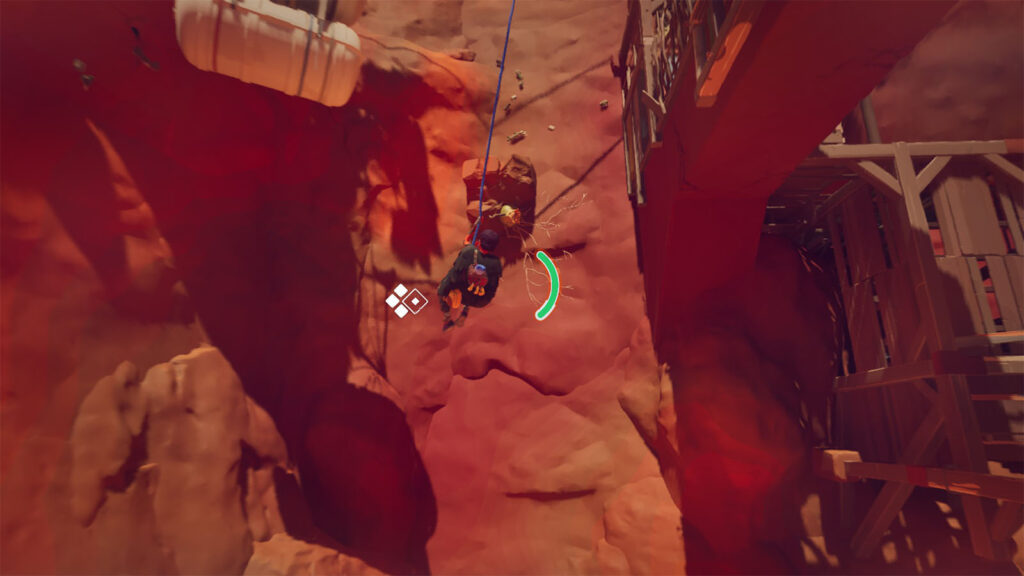
Latch on to the hanging anchor, then swing towards the wall bulb nearby and make it grow.
Next, get on top of the small ledge and ride the critters all the way until you get to the next wall bulb and wall of planks. It’s important that you don’t use any pitons during this point as you’ll need all the rope that you have to be loose in order to get to the end.
Once you get to the relay at the very end, attach to it and rappel down. Aim and swing towards the end of the windmill fin, then make your way over to the opposite fin where you can attach a piton. Hang down and swing over to the wall of planks to get to the next ledge. Alternatively, you can also just swing from the relay directly to the wall of planks.
Latch on to the hanging anchor, then swing downwards. You can also activate another anchor for a shortcut.
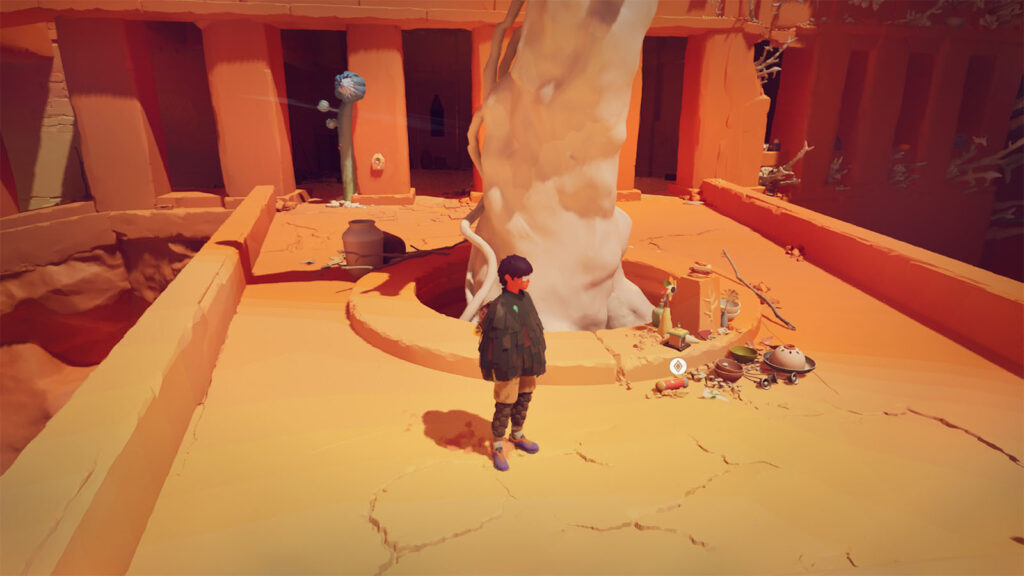
Make your way through the path until you see the tree on the right side. Go around it to find Letter #20.
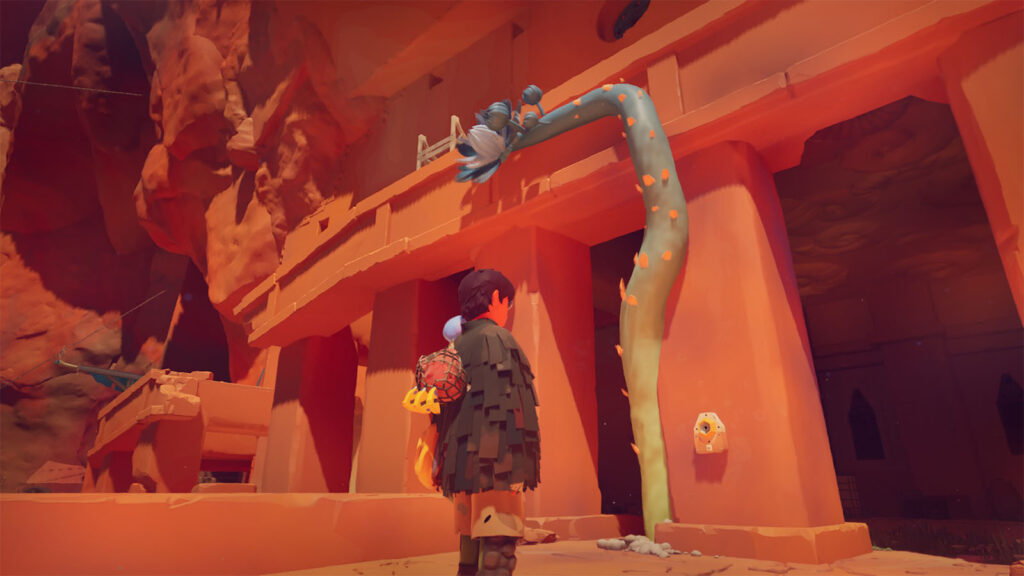
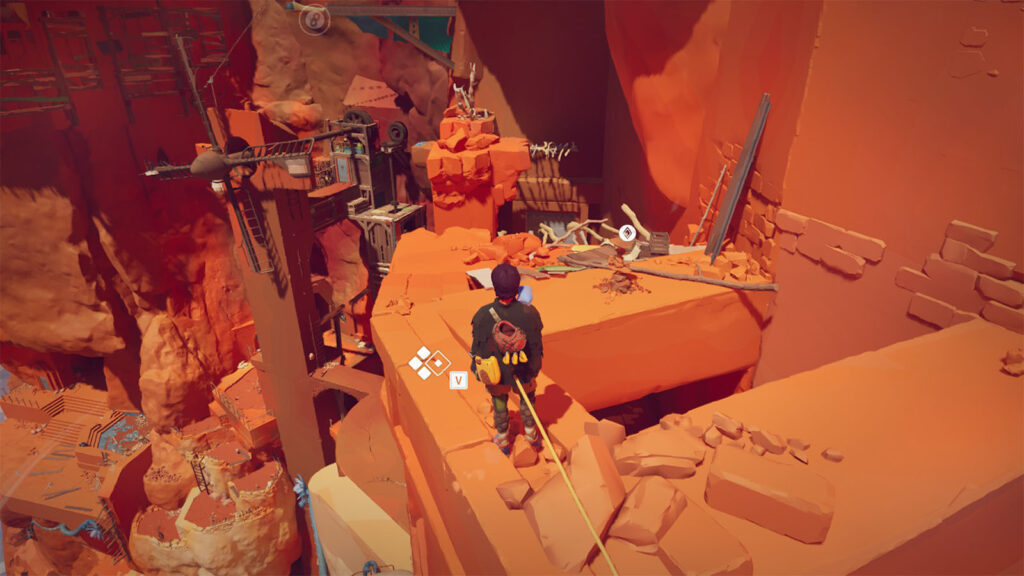
Grow the vine next to the pillar nearby and use it to climb on top. Then, jump across the pillars to the left back to the way you came from to find Cairn #10.
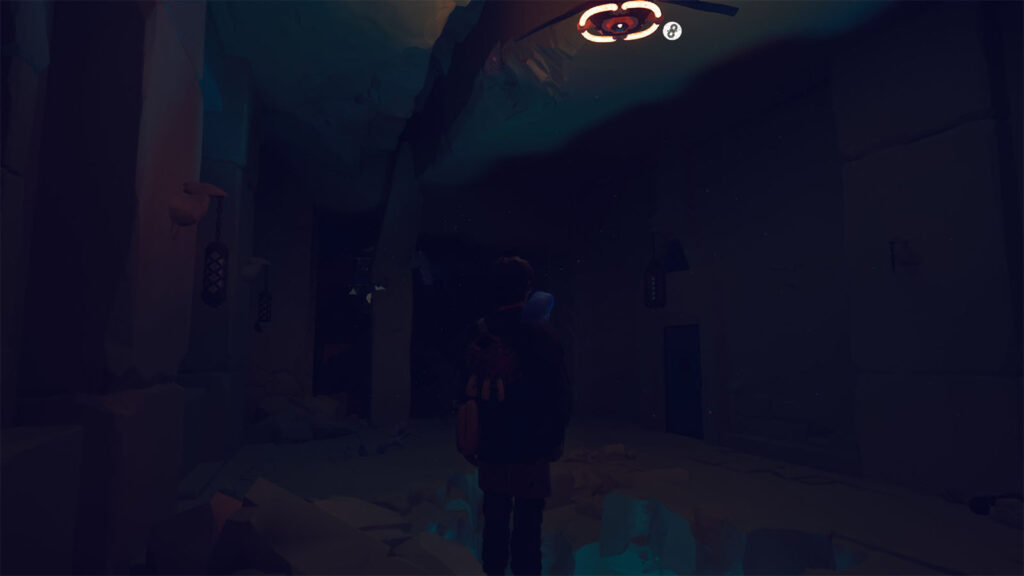
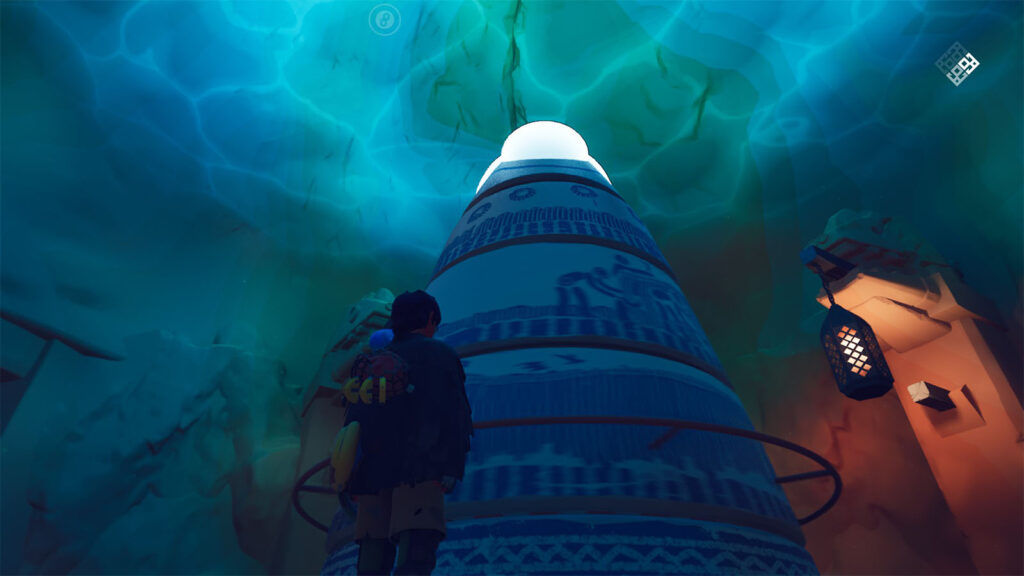
Go back to the area next to the tree and head into the building. At the end of the path is a room with a hole on the floor and an anchor on the ceiling. Lower yourself into the hole to reach Altar #2, the same one seen from the hole from earlier.
Go outside of the altar room and grow the vine to get back up. Climb the same vine near the tree and then take the elevator up.
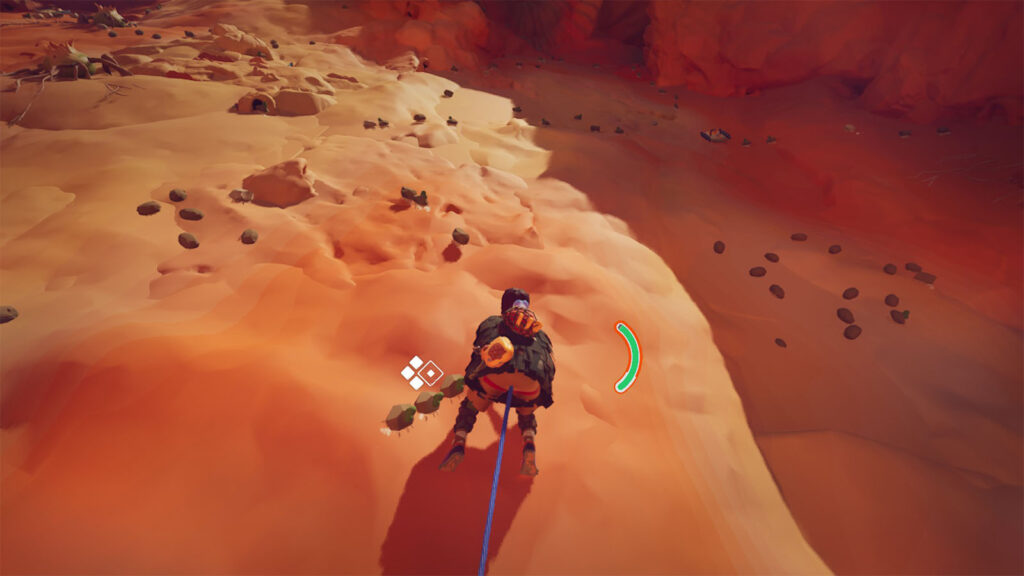
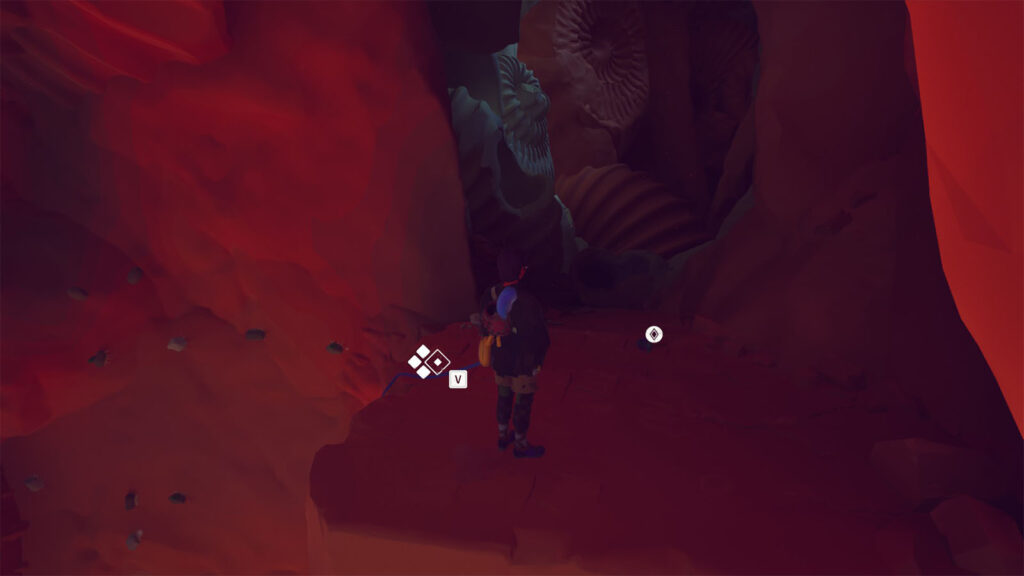
Go to the side where the critters are coming from and scale the rock wall. Try to climb towards the right side of the wall until you reach a relay. Then, climb up a bit more from the relay until you see the hidden platform leading to a cave. Inside this cave is where you can find Shell #5.
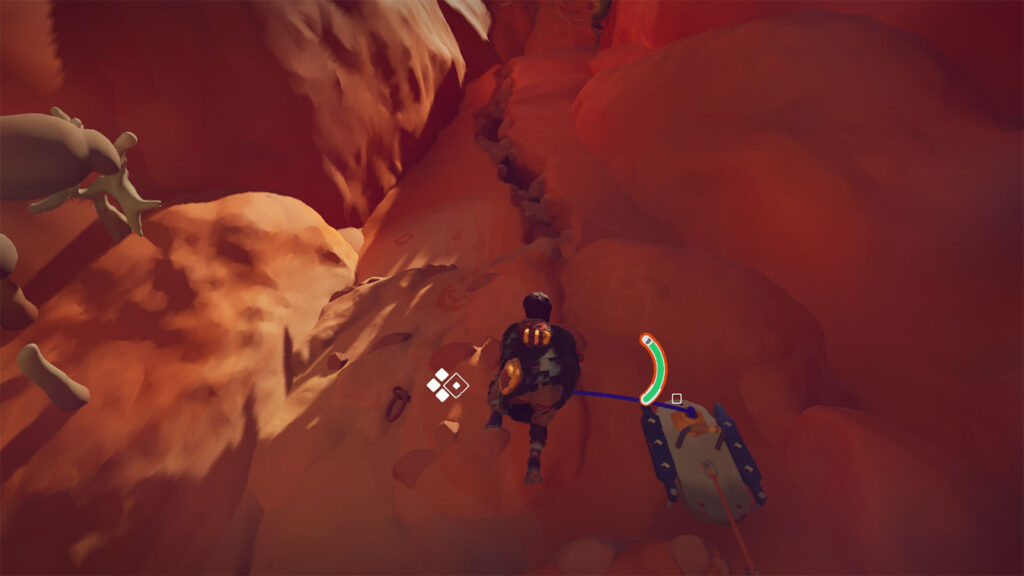
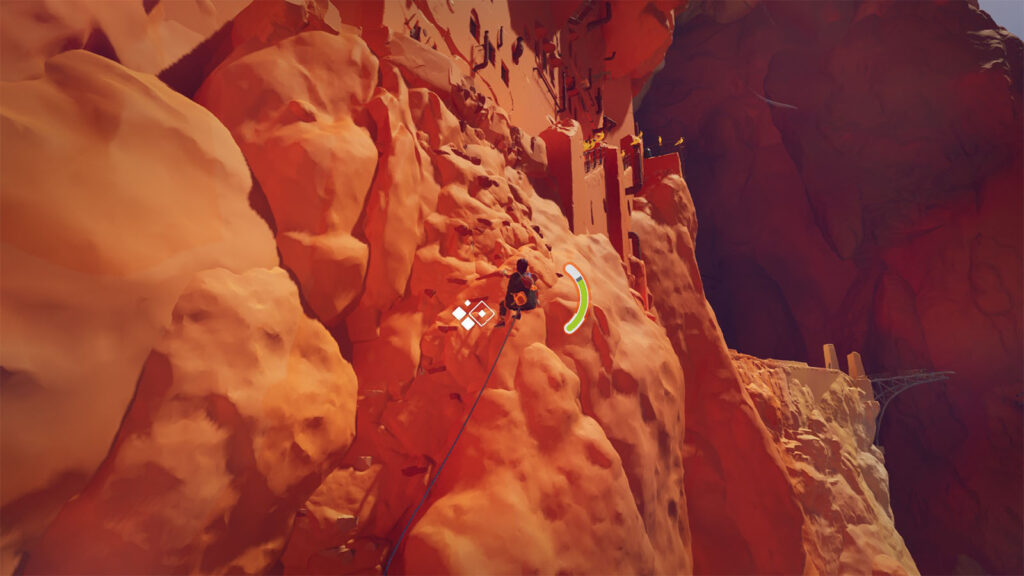
Continue your climb all the way to the very top where you’ll reach another settlement.
To the left side is Bianca’s Journal #6 near the lamp.
Climb up the long staircase and swing over to the other side.
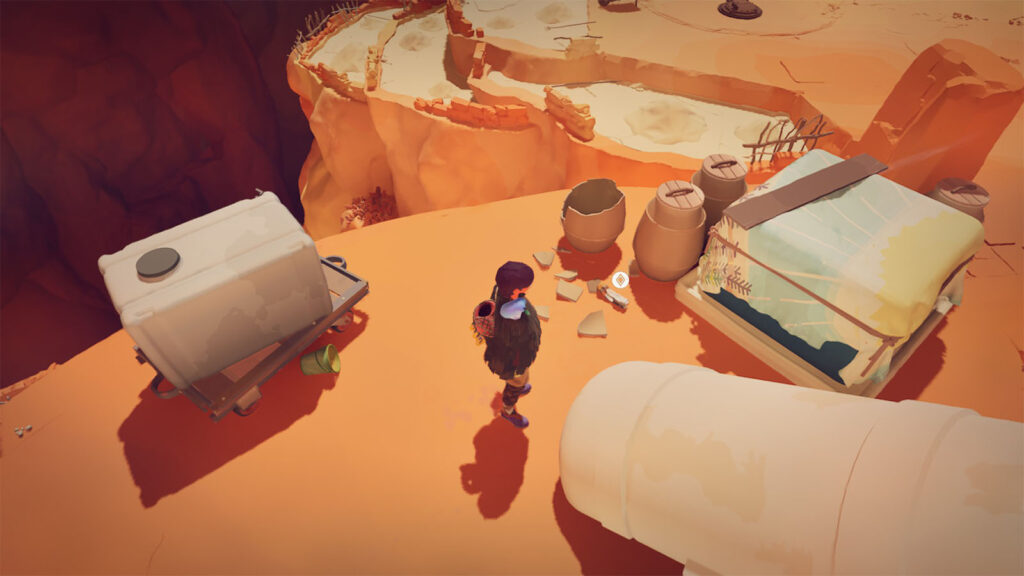
Go to the area where the small pillar is and you’ll find Letter #21 on the floor within the barrels and crates.
Next, head to the house on the far end and look inside the storage area to find Letter #22.
Go to the edge of the cliff and look for the side where you can descend into the lower floors. You’ll find Cairn #11 on the lowest level of the terraces.
Head to the broken bridge and place your anchor. Then, descend down just long enough for you to swing over to the other side of the bridge.
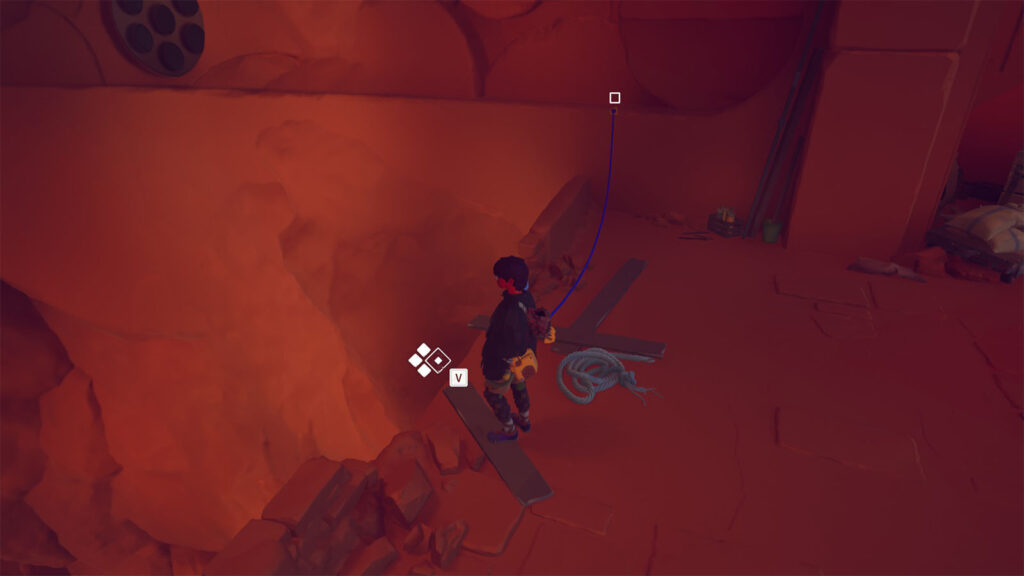
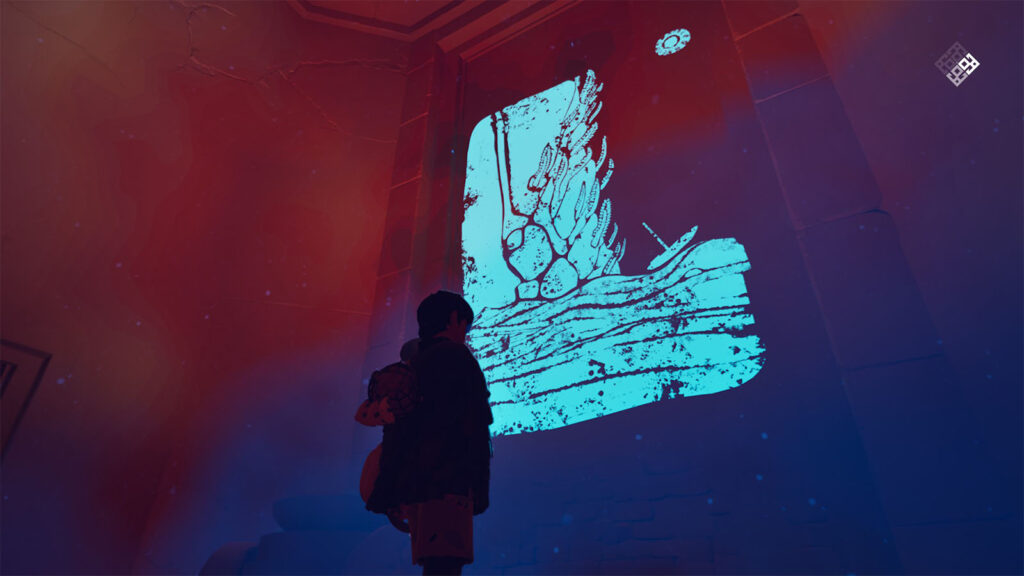
Once you are at the other side, look to the left edge and attach your anchor. Descend to the level below and enter the building where you can find Fresco #5. Go back out and climb back up to the bridge’s level to proceed.
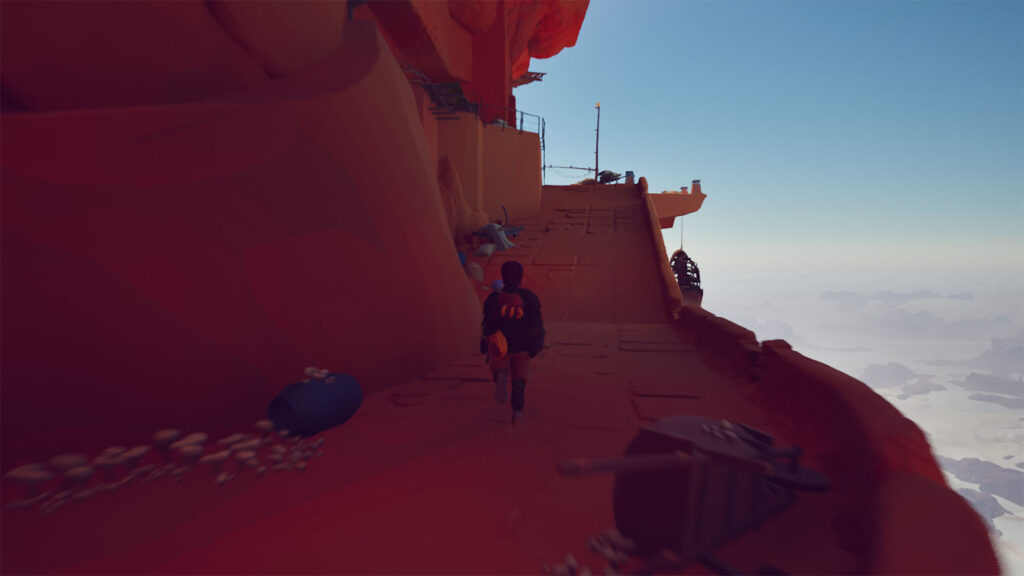
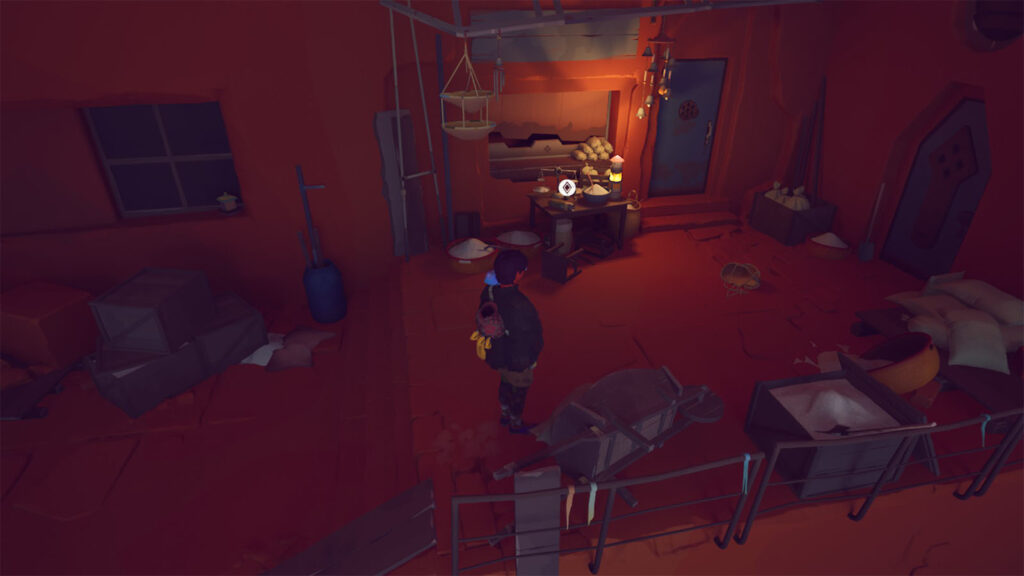
As you climb the first ramp, turn left and go to the table to find Letter #23.
Next, go back to the main path and go past the boat to find Cairn #12 by the edge of the cliff.
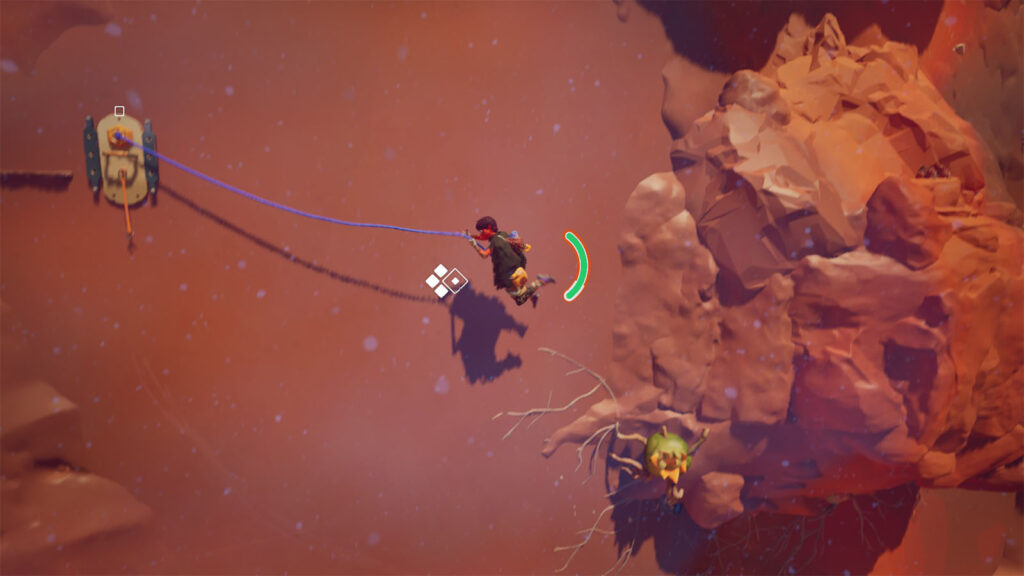
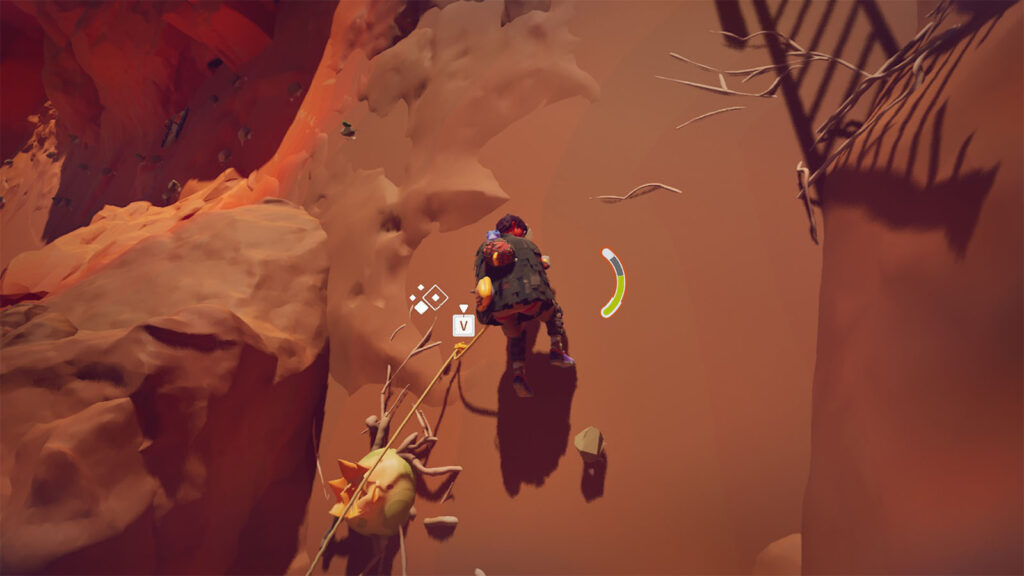
Continue on to the next climbing area until you reach a relay. From the relay, swing to the wall bulbs and continue towards the right. It’s best to place a piton on the third bulb as you will have to time your jump to grab on to the critters.
Make your way to the next relay to reset your rope, then continue climbing until you reach the top of the ladder.
Just across of the ladder is Letter #24.
The path to the right is the main path, but we’ll take a detour towards the left path for now. Make your way through the narrow ledge to the left until you reach the next area.
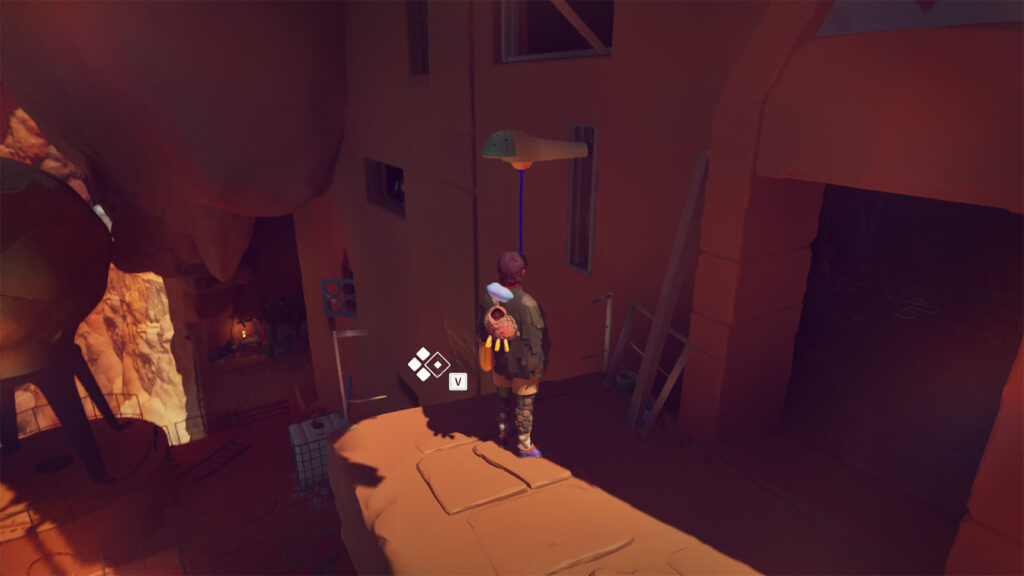
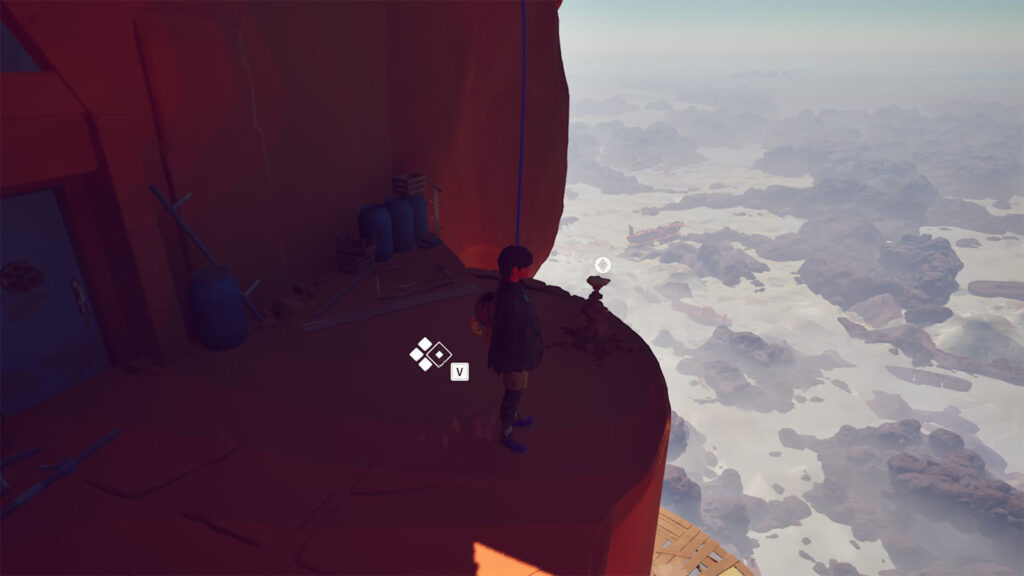
Latch on to the anchor on the side of the doorway and descend to the lower level to find Cairn #13.
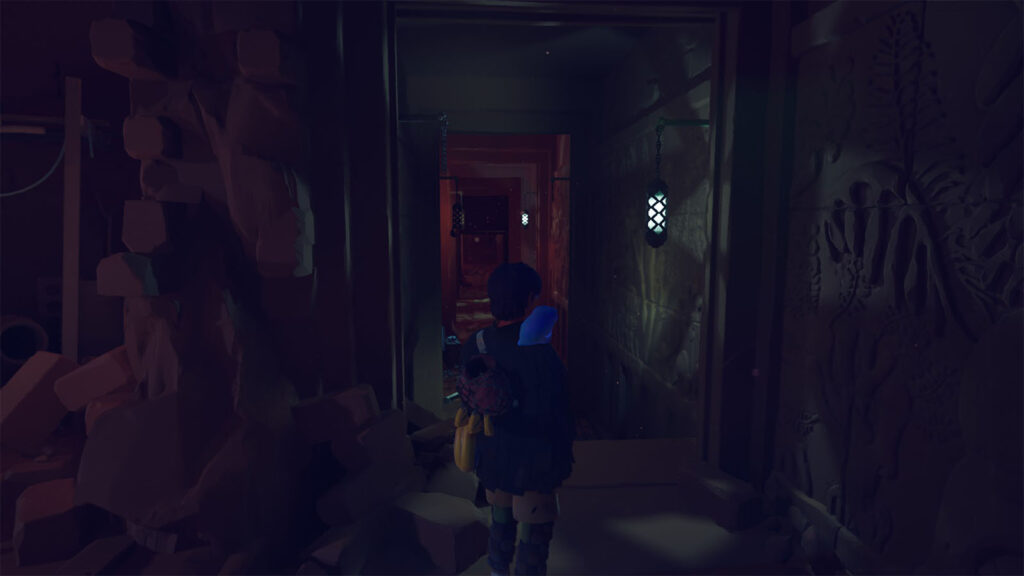
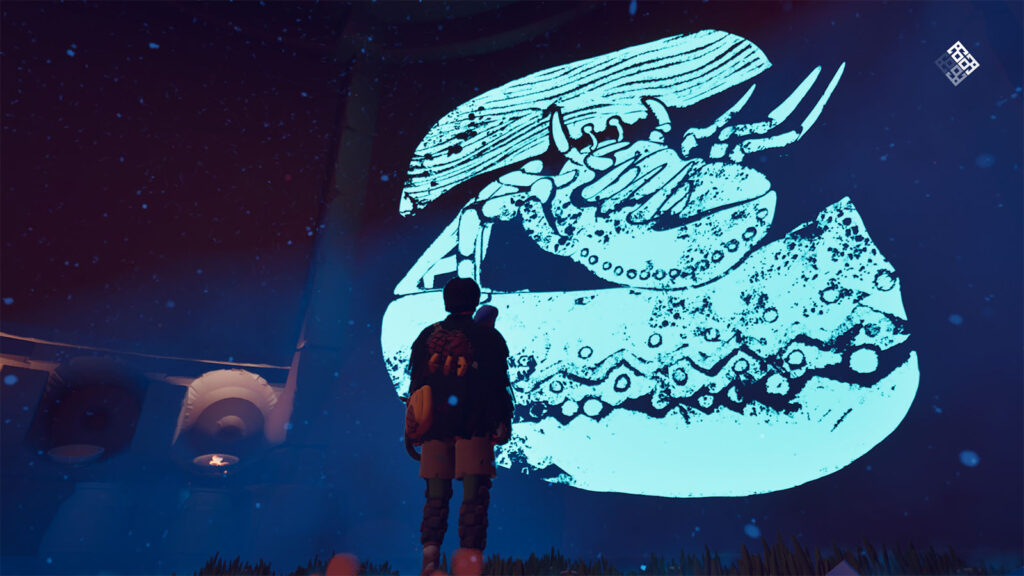
Head back up and go through the doorway. Follow the corridor and then turn right to find Fresco #6.
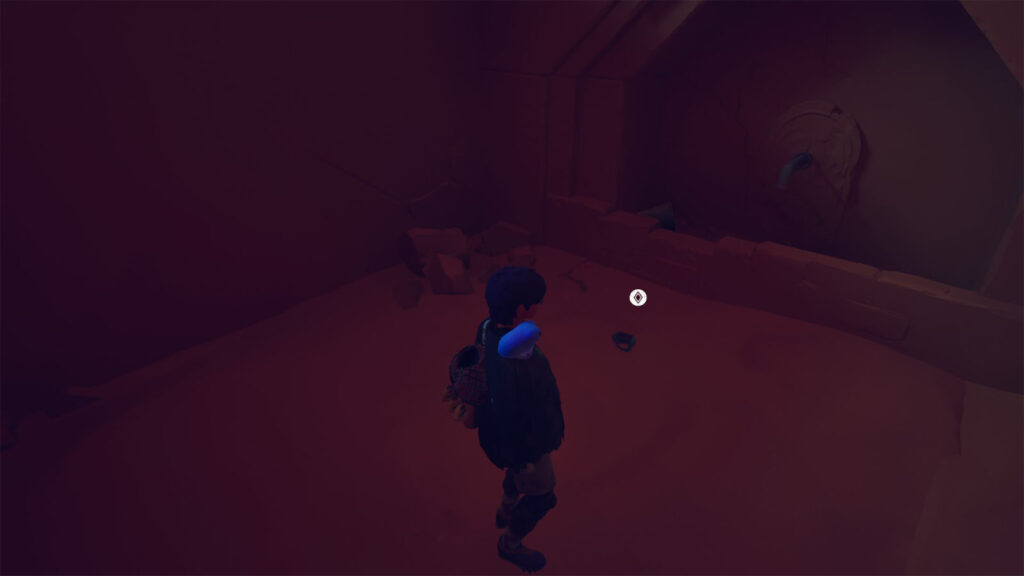
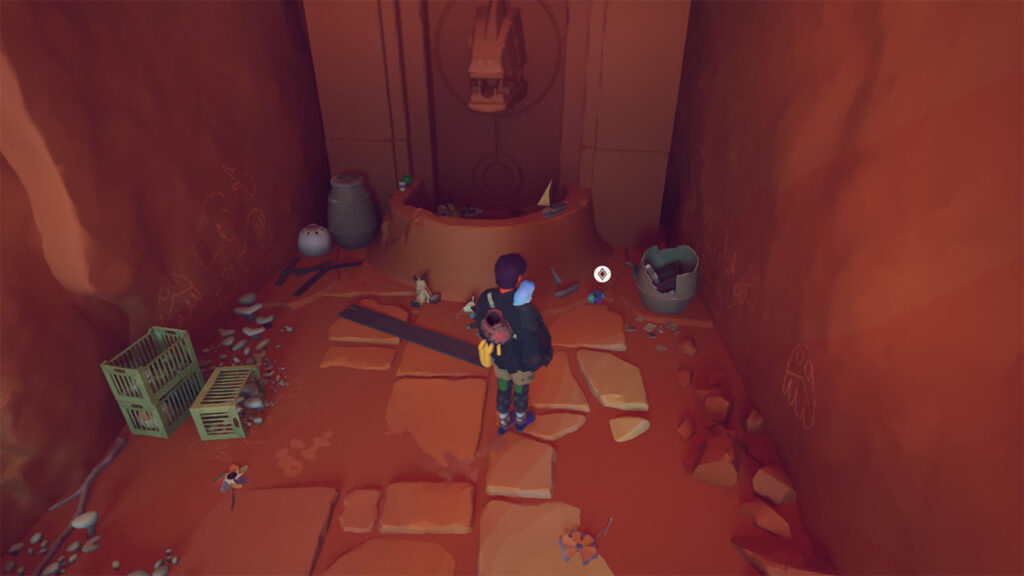
Go back into the corridor, then descend down into the pens. Go down to the lowest level and check the left pen up ahead to find Shell #6.
Find the ladder on the corner next to the big gate to get to the upper level. Then, head towards the mouth of the cave and go to the lamp to find Bianca’s Journal #7.
Take the stairs down and follow the path to the left where you will find Letter #25 by the door near the platforms.
Go back to the stairs and take the longer stairs going up to get back to the narrow ledge from earlier which leads back to the main path.
From here, you can take on the next climbing area and make your way all the way to the next settlement above.
Climb the ramp and head to the house on the cliffside to find Letter #26 beside it.
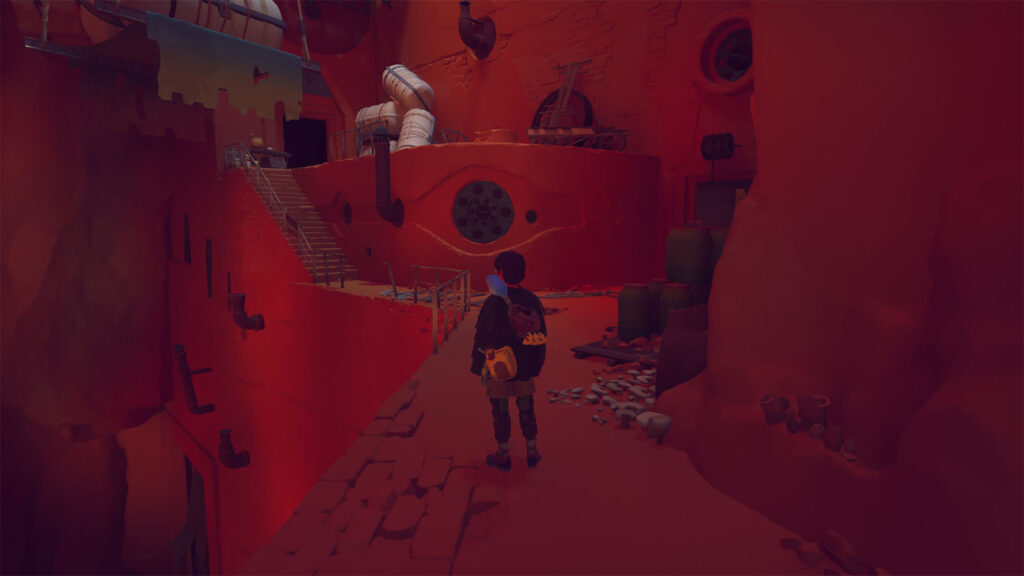
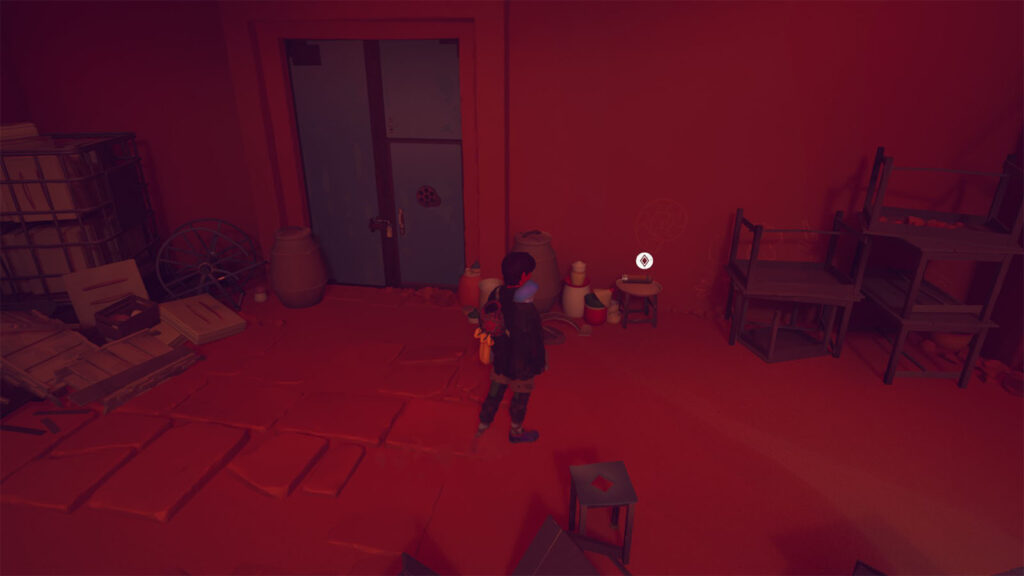
Next, head to the shadowed area, climb the stairs, and enter the room where there are two ladders going up. Once you reach the top, head outside and go to where the tables and chairs are to find Letter #27.
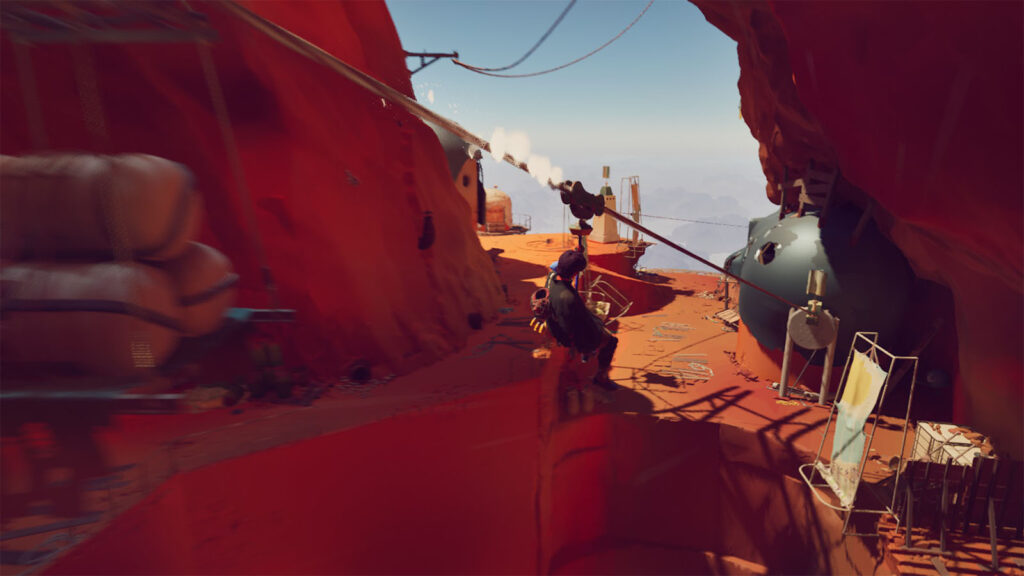
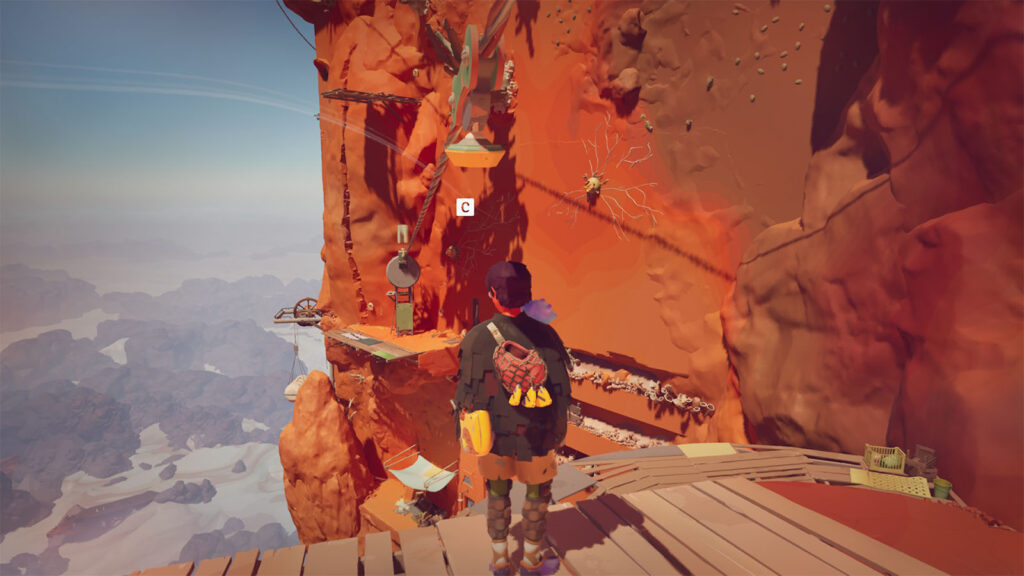
Take the zipline to go back down, then take the next zipline to get to the next climbing area.
From this point, scale the next climbing area all the way to the top where you will find a giant wheel. Before interacting with the wheel, go to the right side and get Bianca’s Journal #8 on the table.
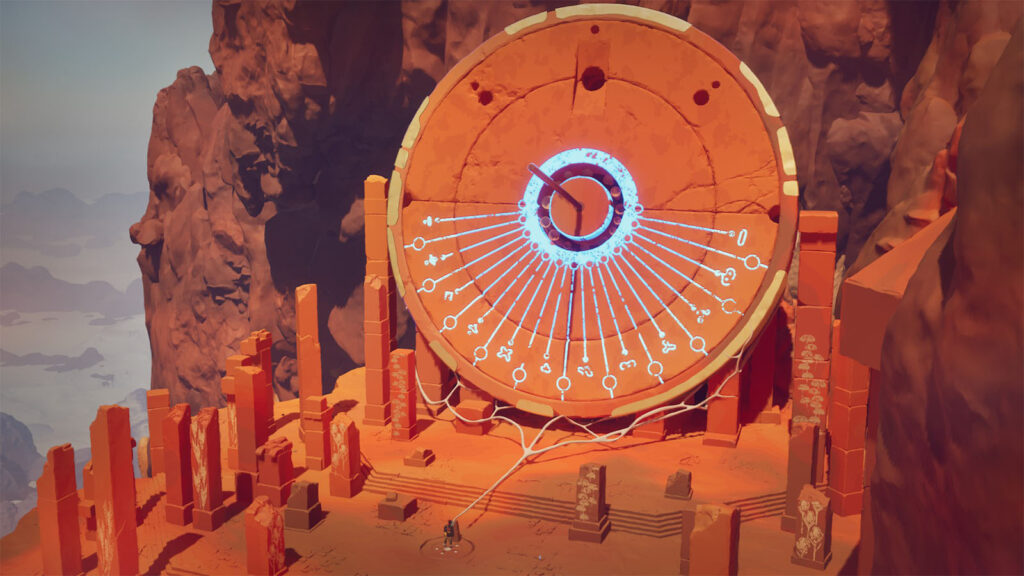
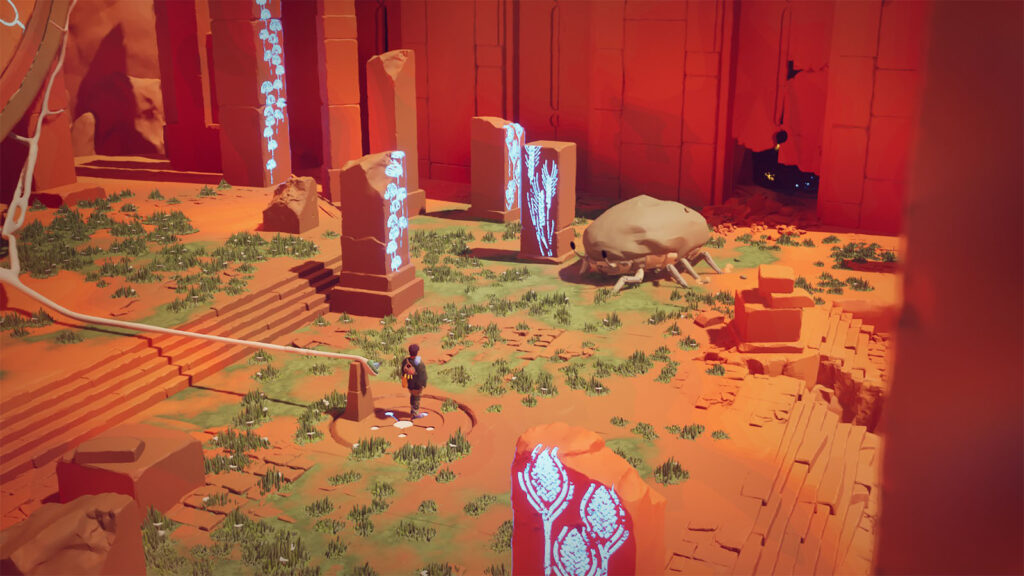
Finally, interact with the receptacle in the middle of the area to activate the wheel. A cutscene will then play where a giant bug will emerge from one of the doors, then you will be transported into the next area for the next chapter.
See next: Convergence Walkthrough
