
Coming across money is surprisingly hard in Hard West 2. This is why Gin and his posse go to town notice boards and take on take on bounties in exchange for some cash.
In this guide, we’ll talk about all the various jobs your posse can pick up and the ways you can resolve them.
List of Wanted Poster Jobs in Hard West 2
Pine Falls
- Wanted: Ernie Barguckle
- Wanted: Pilate
Pine Falls is the first on the list. It is a quiet town that’s far enough away from the carnage that befell Calla Calla but not far enough away to escape the freak blizzard’s wrath.
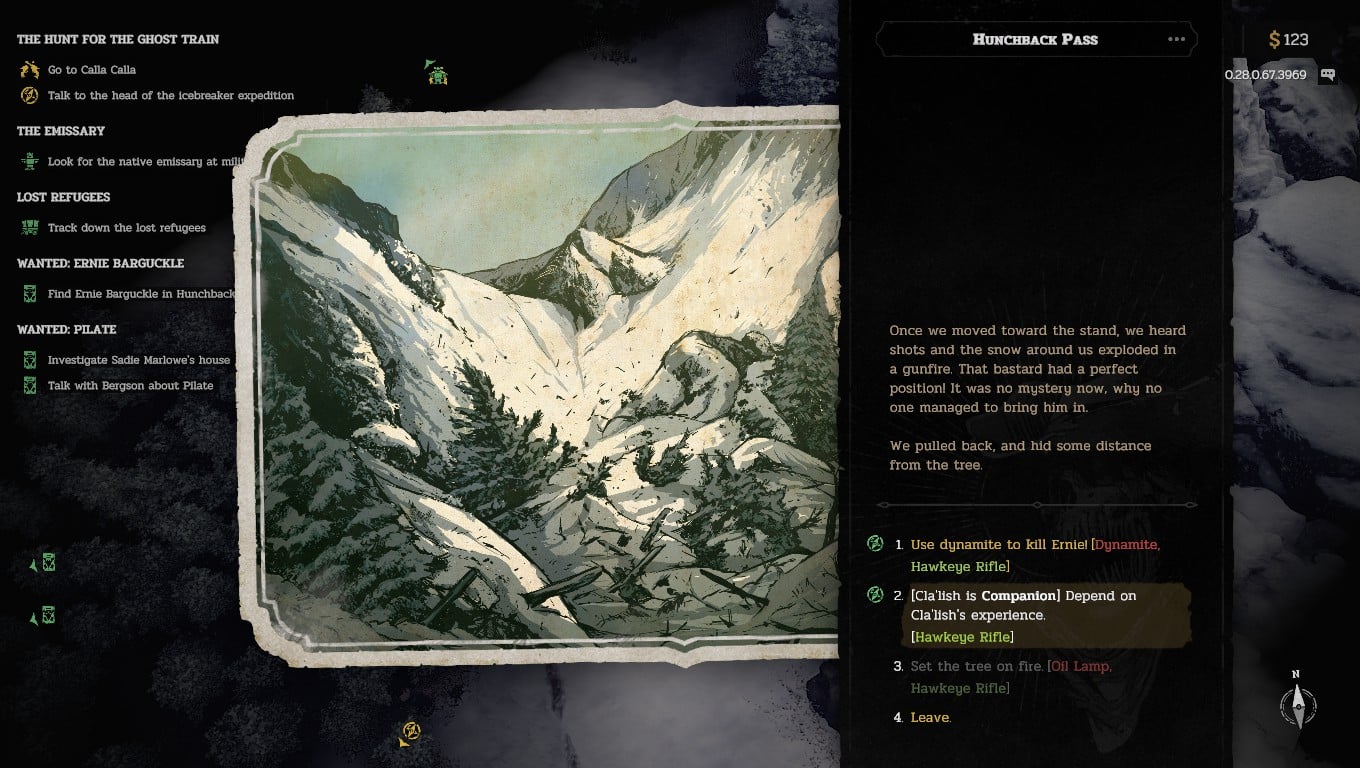
As seen above, you can find Barguckle in Hunchback Pass North of Pine Falls. You don’t even have to look for him or anything, the location is marked on your map. Upon arriving in the area, you are given the choice to use dynamite to kill Ernie, use an Oil Lamp to smoke him out, or if you have Cla’Lish as a companion, use her hunting skills to sneak up on him.
If you manage to bring him back alive, you’ll be rewarded the full $60.
Pilate is one twisted SOB. In his wake, lie the tortured corpses of no less than a handful of people. But it wasn’t without reason though. After first investigating the abandoned farm South of Zeke’s outpost, we followed a trail that led to two more skinned individuals. The fear was so fever-pitched at the thought of a serial killer coming that the local bartender, Sal, offered a reward to whoever killed the one responsible.
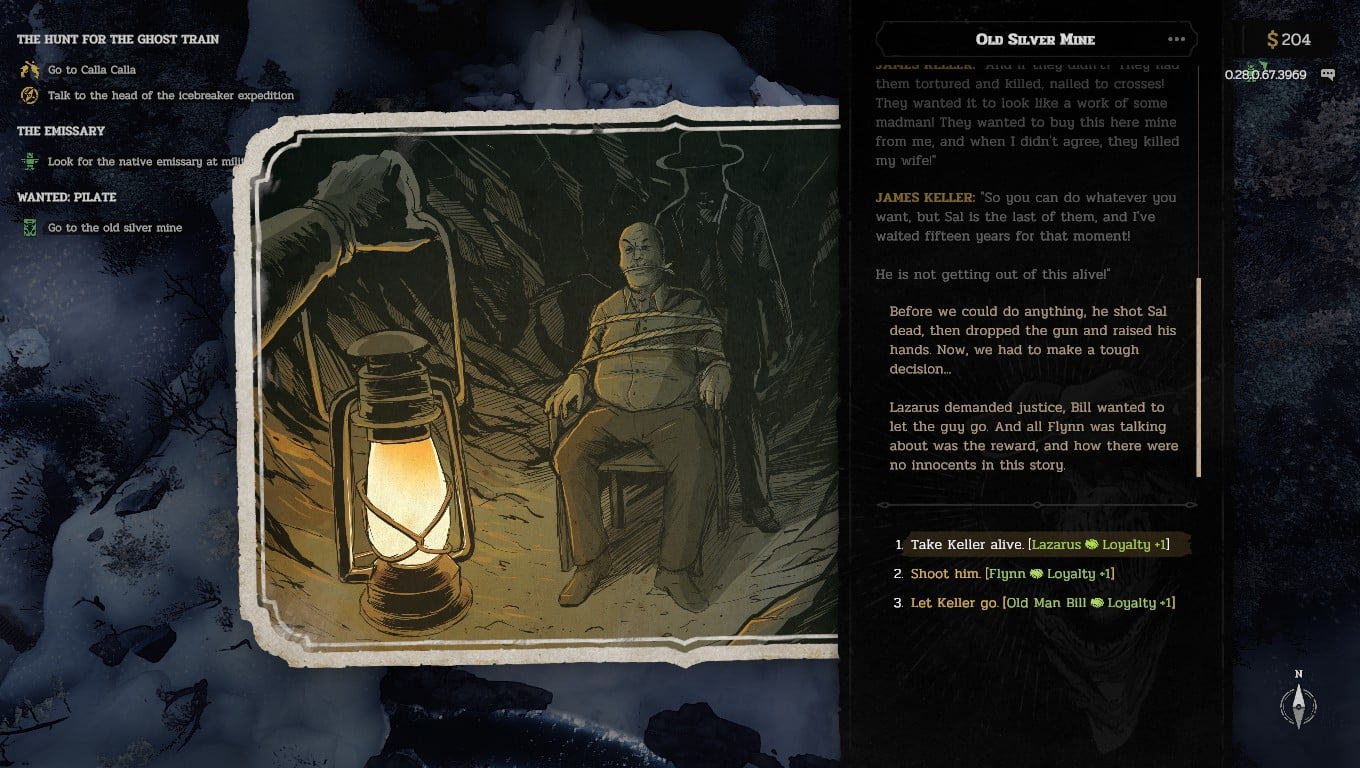
But as we learned later, James Keller (the killer’s real name) was a survivor of the original killers’ attack and has since sought revenge on the people responsible for his family’s deaths. Sal.
After you corner Keller in the Old Silver Mine, you are given the choice to leave him alone and let him pass judgment on Sal, take Keller alive, or shoot him. Killing Keller will make you eligible for Sal’s prize money. If you turn him in, you can get the base $90 reward.
Black Salt City
- Wanted: Copper Vulture Gang
- Wanted: Lady Shrike
- Wanted: Edward Cullings
There is no actual way to get the bounty for Biting Ben Donahugh. and the Copper Vulture Gang. For one thing, he’s Old Man Bill’s son. Crooked as he is now, there’s no way Bill will allow anything to happen to him before he manages to settle things with his boy. Laughing Deer even commented on it after completing the mission and sending Ben packing. It was a comedic moment of realization.
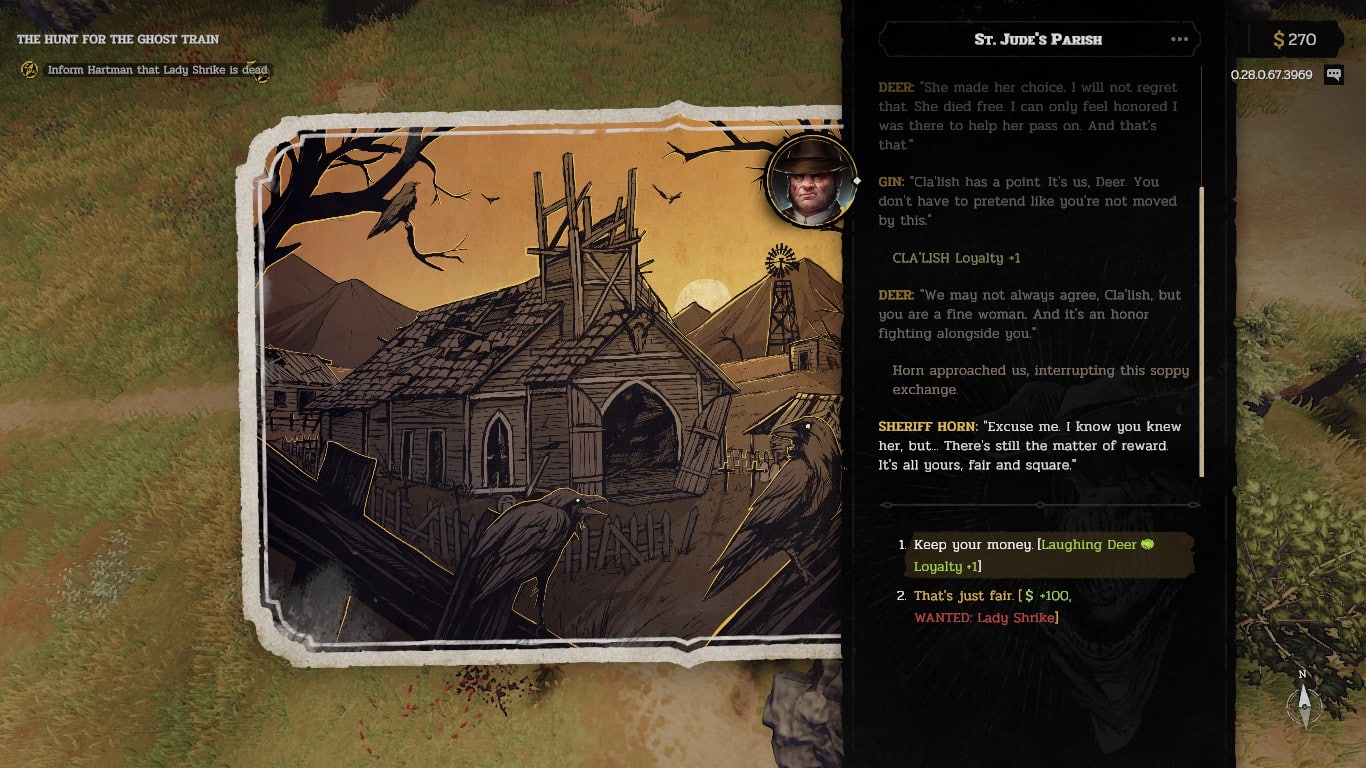
In the case of Lady Shrike. It’s a personal matter between her and Laughing Deer. They had a history together but things fell apart after Deer left the Shadow Dancers. We don’t see her until Hartman points us at her as one last job before honoring his end of the bargain.
After the mission, Sheriff Horn will approach the crew and offer the $100 reward for Lady Shrike. You can either accept the money or tell him to keep it. For Laughing Deer’s sake.
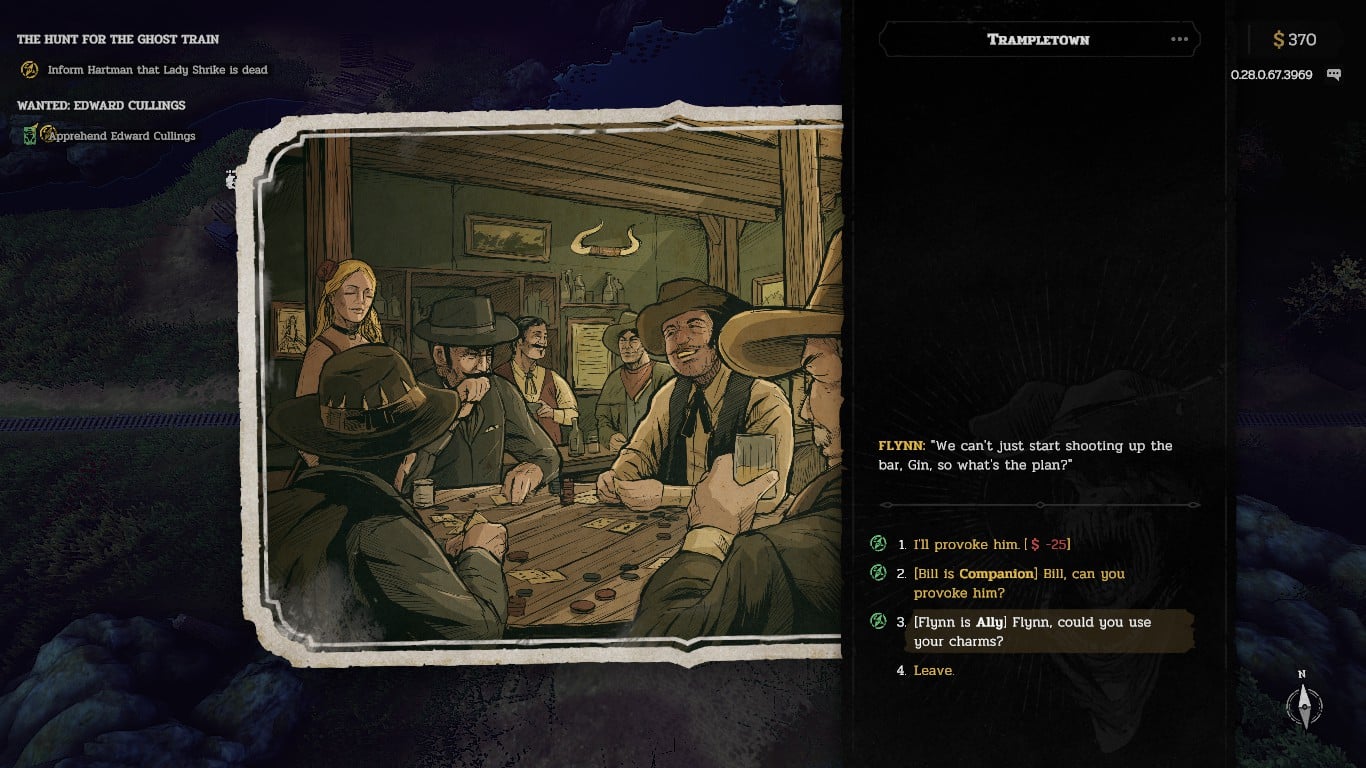
This Wanted Poster only becomes active dealing with both the Copper Vulture Gang and Lady Shrike. When you return to Black Salt City, you’ll find a new poster has been added, this time it’s for a scumbag named Edward Cullings.
You can find him at Trampletown Saloon. You can spend $25 dollars to draw him out (sorry barkeep). If you have Bill as a Companion, you can ask him to provoke. Having Flynn as an Ally opens up the door for a clean extraction without having to deal with the messy aftermath.
Penance
- Wanted: William McCarthy
You can find William McCarthy at the Old Farm North of Hartman Ranch. It’s a pretty straightforward encounter. William will attempt to challenge your posse in a series of one vs one duels. What William does know is that the posse has faced supernatural threats and is very much unimpressed with his bravado.
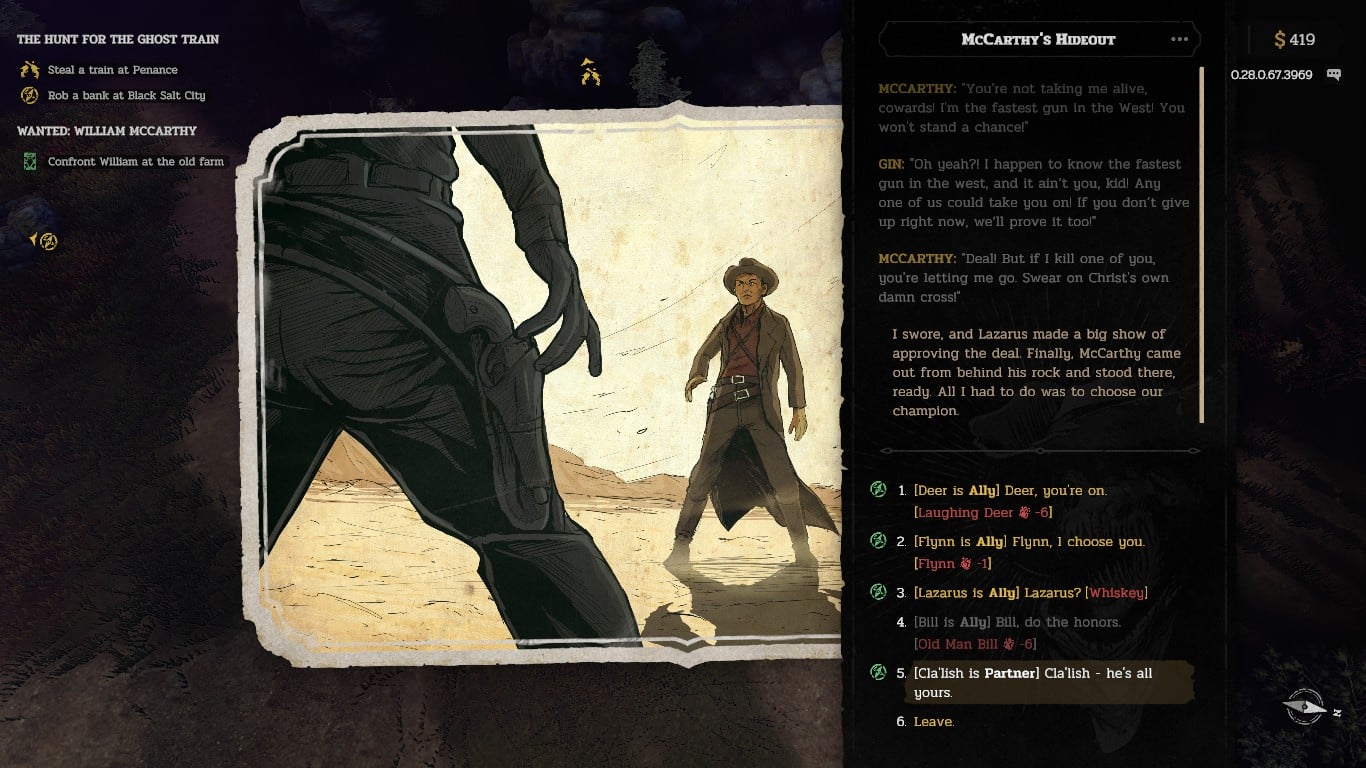
As seen from the picture above, you can from any one person from your crew. Almost all of them have a cost to them fighting the arrogant… except for Cla’Lish. But that requires reaching the second highest relationship status.
Take him down and return to the Sheriff’s office to claim your $80 reward.
San Argent
- Wanted: Abraham Burns
Abraham Burns is the only bounty that can be acquired from San Argent. You can find the killer at Devil’s Den South of town. When the posse first encounters him, he showed clear signs of being possessed. The crew assumes it is due to the influence of Mammon. Regardless though, he needs to be dealt with.
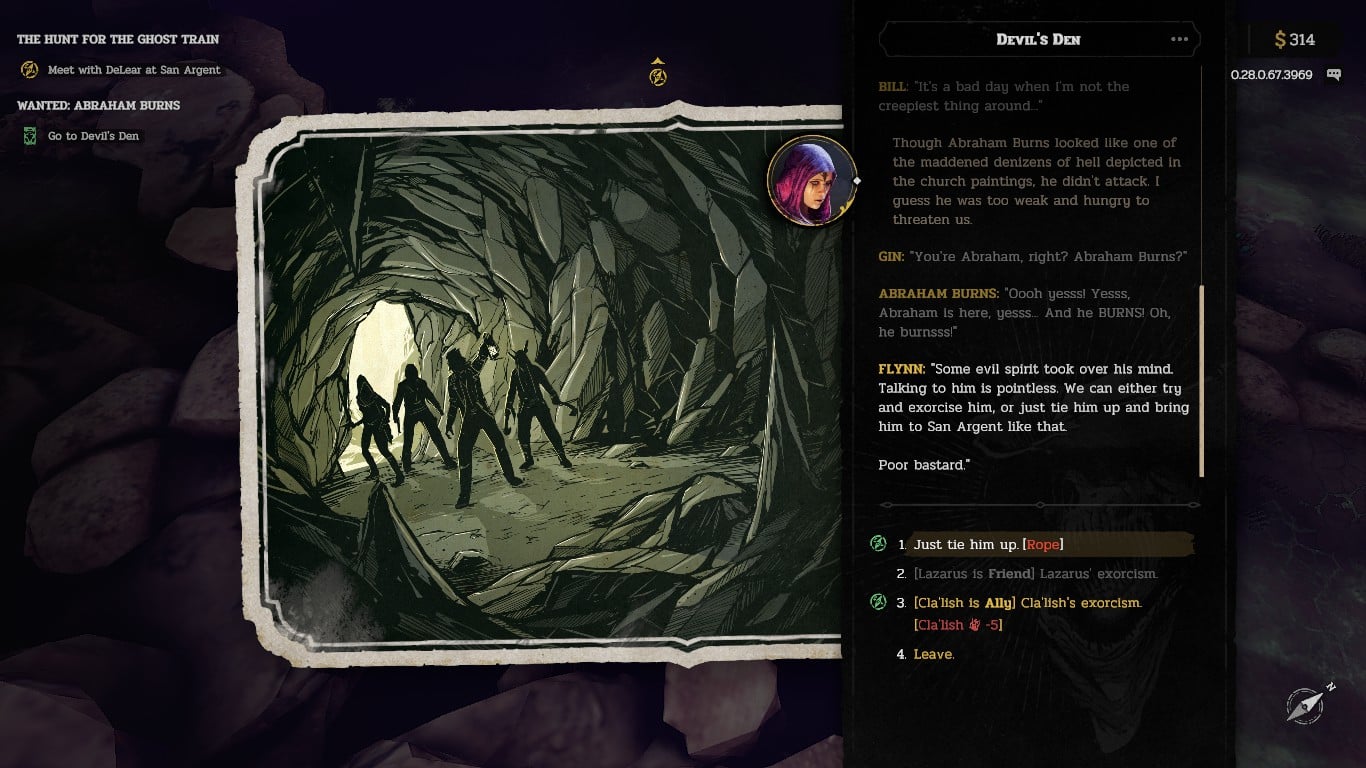
If you have Cla’Lish as an Ally, you can attempt an exorcism at the cost of 5 health. You can do the same thing if Lazarus is your Friend. In that case, he wouldn’t be injured.
The simplest solution seems to be to tie him up with rope and allow Wild West justice to run its course. It might seem cruel but the man has killed and you can use the $90 that comes with bringing him in.
And that’s about it for all the Wanted Poster jobs in Hard West 2.
Also check out our other Hard West 2 content:
- All Wanted Poster Jobs in Hard West 2
- All Trinkets in Hard West 2
- How to Get Nine of Hearts in Hard West 2
- All Poker Card Locations in Hard West 2
- All Hard West 2 side quests – how to complete objectives
- Tips and Tricks to Make Your Time in Hard West 2 a Little Easier
For a Hard West 2 Full Game Walkthrough, check out this awesome video by AJBRUN:


