
The Central Bunker is the starting area in Amnesia: The Bunker. After waking up from a coma, Henri finds himself miraculously alive, but seemingly alone inside the infirmary of the bunker. He will have to find out what happened, how he survived, and if there are anyone left in the bunker with him. Read ahead as we go through the Central Bunker in Amnesia: The Bunker, share some tips and the locations of the key items in the area.
See previous: Amnesia: The Bunker The Trenches Walkthrough
Heads up: Some aspects of this game are randomized in every instance or save file, such as the kinds of traps, consumable items and ammo, the codes needed to open the locks in areas, and even the locations of the holes where the Beast can come out of. Other items such as key items, dog tags, and collectibles, as well as the bunker’s layout, are exempted to this and they can be found in the same locations in every instance.
Amnesia: The Bunker Central Bunker Walkthrough
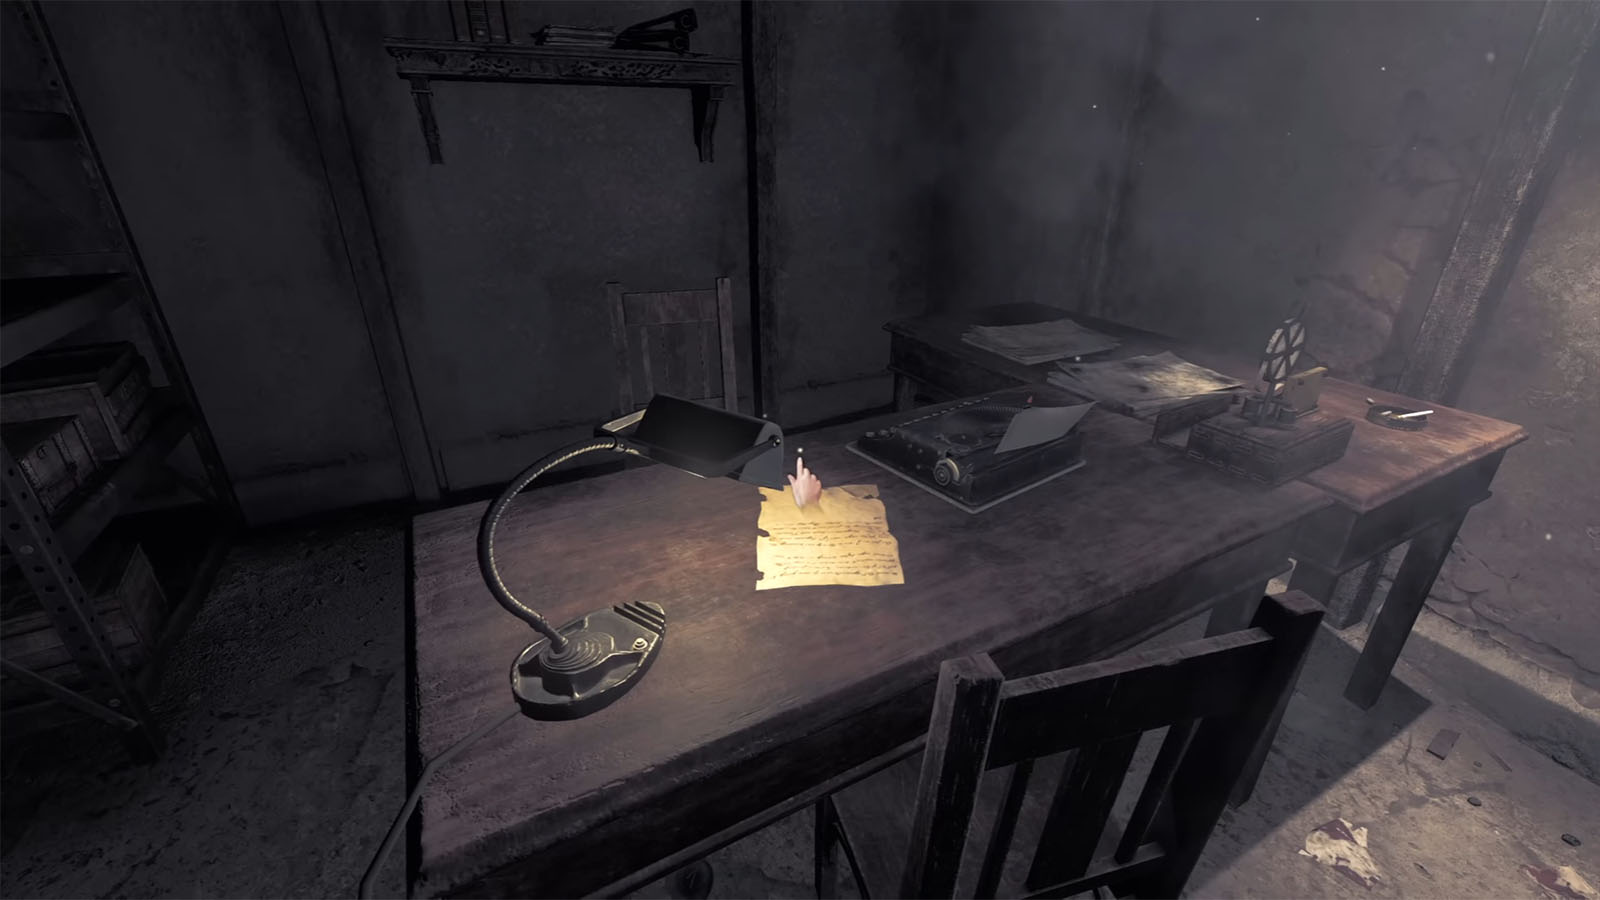
You start off at the Sickroom which is at the northern section of the Central Bunker. Head to the next room where you will find the Note – Amnesia Cause on the table. You can then continue on towards the hallway. The next room to your right will be the Medical Storage where you will find the Flashlight and the Note – Clement’s Journal – Agony inside the cabinet.
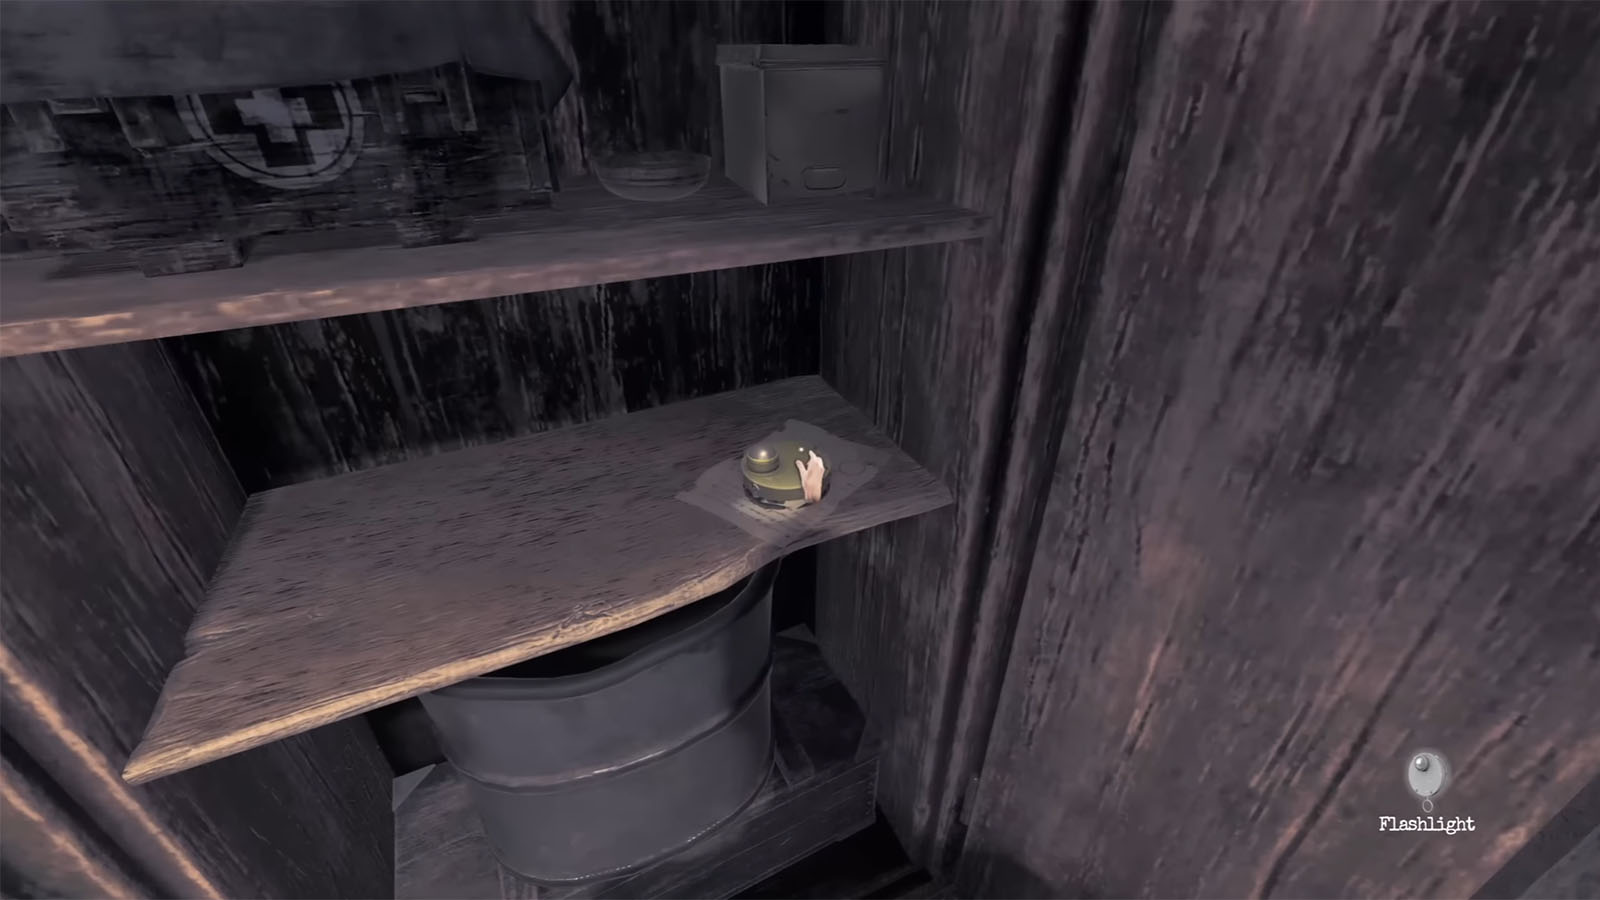
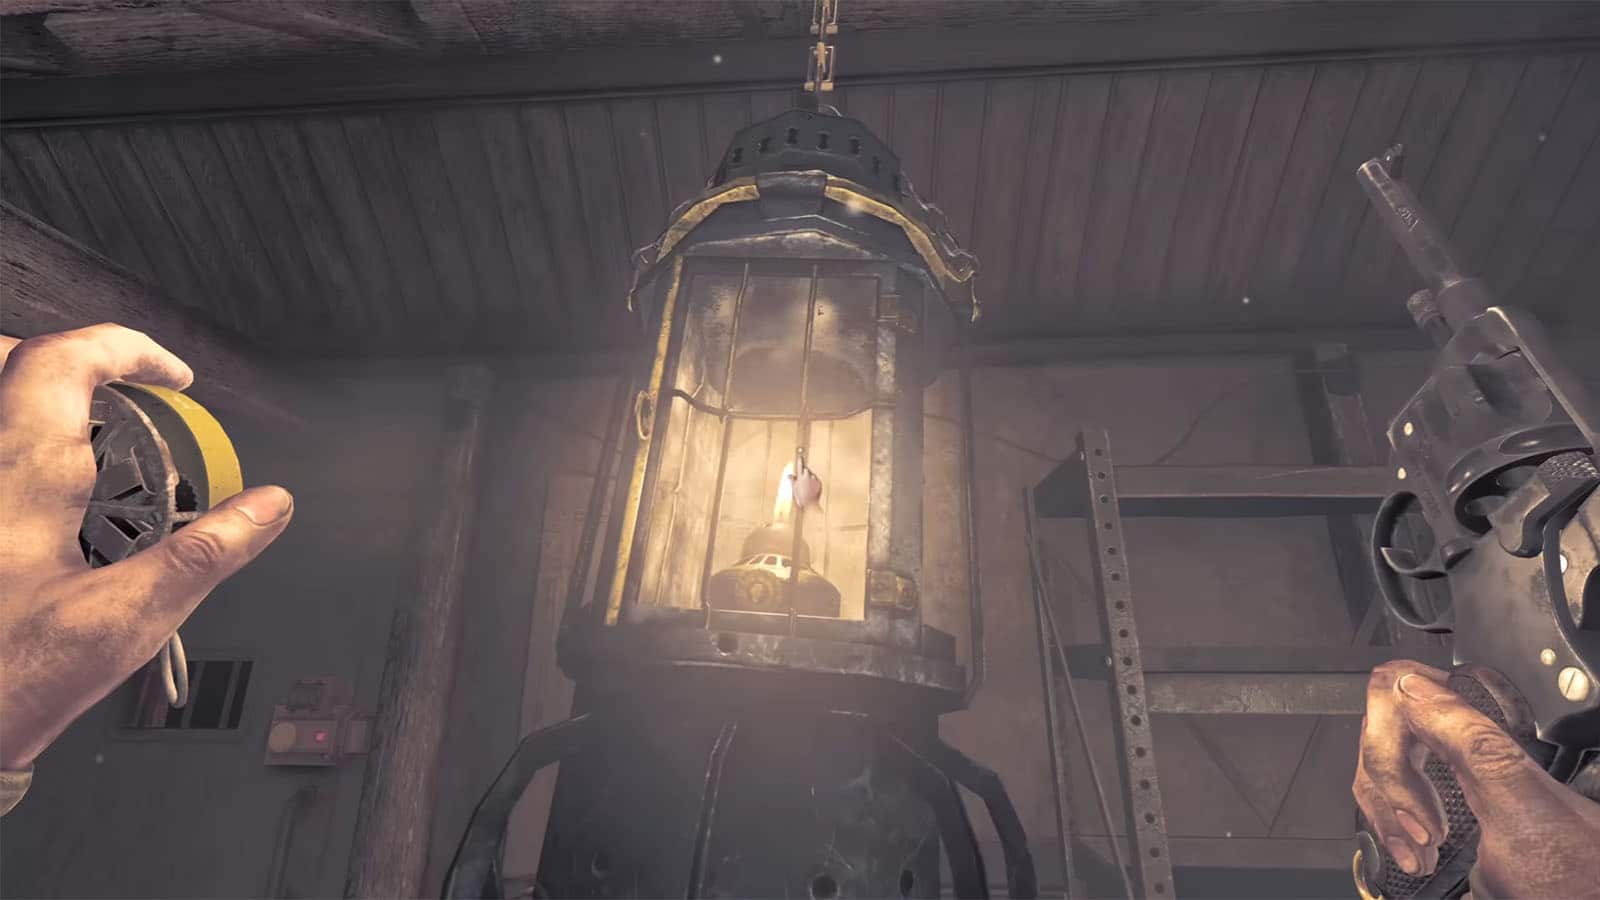
How to use the Flashlight

The flashlight is one of your main tools and it has two uses. The first use is to see through the darkness. It can be cranked using its string to charge up and provide some light that stays on just for a few seconds. Its second use is also its downside: whenever you charge it up, it makes noise loud enough to alert the Beast to your location if it is nearby. Despite this, the flashlight can still be used to purposefully draw the Beast's attention in some situations.
In the adjacent room, you will find Central Bunker Photo #1 on the wall and Note – Autopsy of Reynard inside the drawer of the table. In the next connecting room are burned bodies and a can of Fuel that you can use for later. You may also find a dog tag in this room in different instances of the game.
Out of the room an further down into the hallway, you will see a locked door to the right; take note of this for now. Proceed further to the left path, and take a right to arrive at the Officer’s Mess Hall.

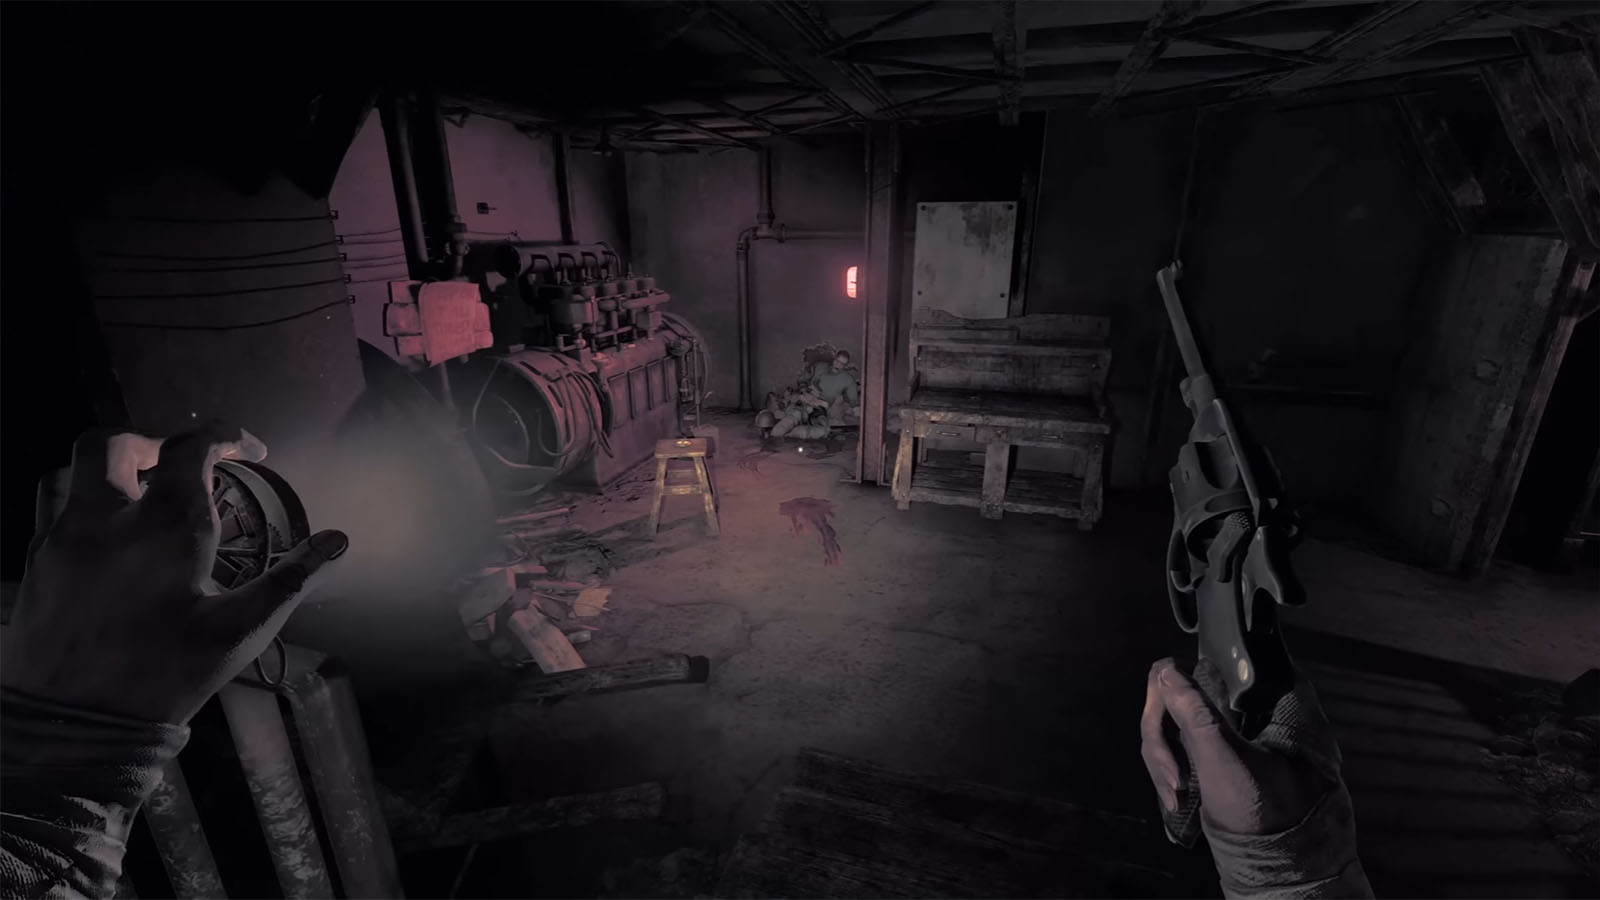
In the Mess Hall, you may see your first sighting of a hole in the wall. These holes are where the Beast can come out of or go into to travel through different parts of the bunker. Be aware of these holes whenever you see them. They cannot be blocked by other items, but placing a light or a fire near the hole can help prevent the Beast from coming out of it.
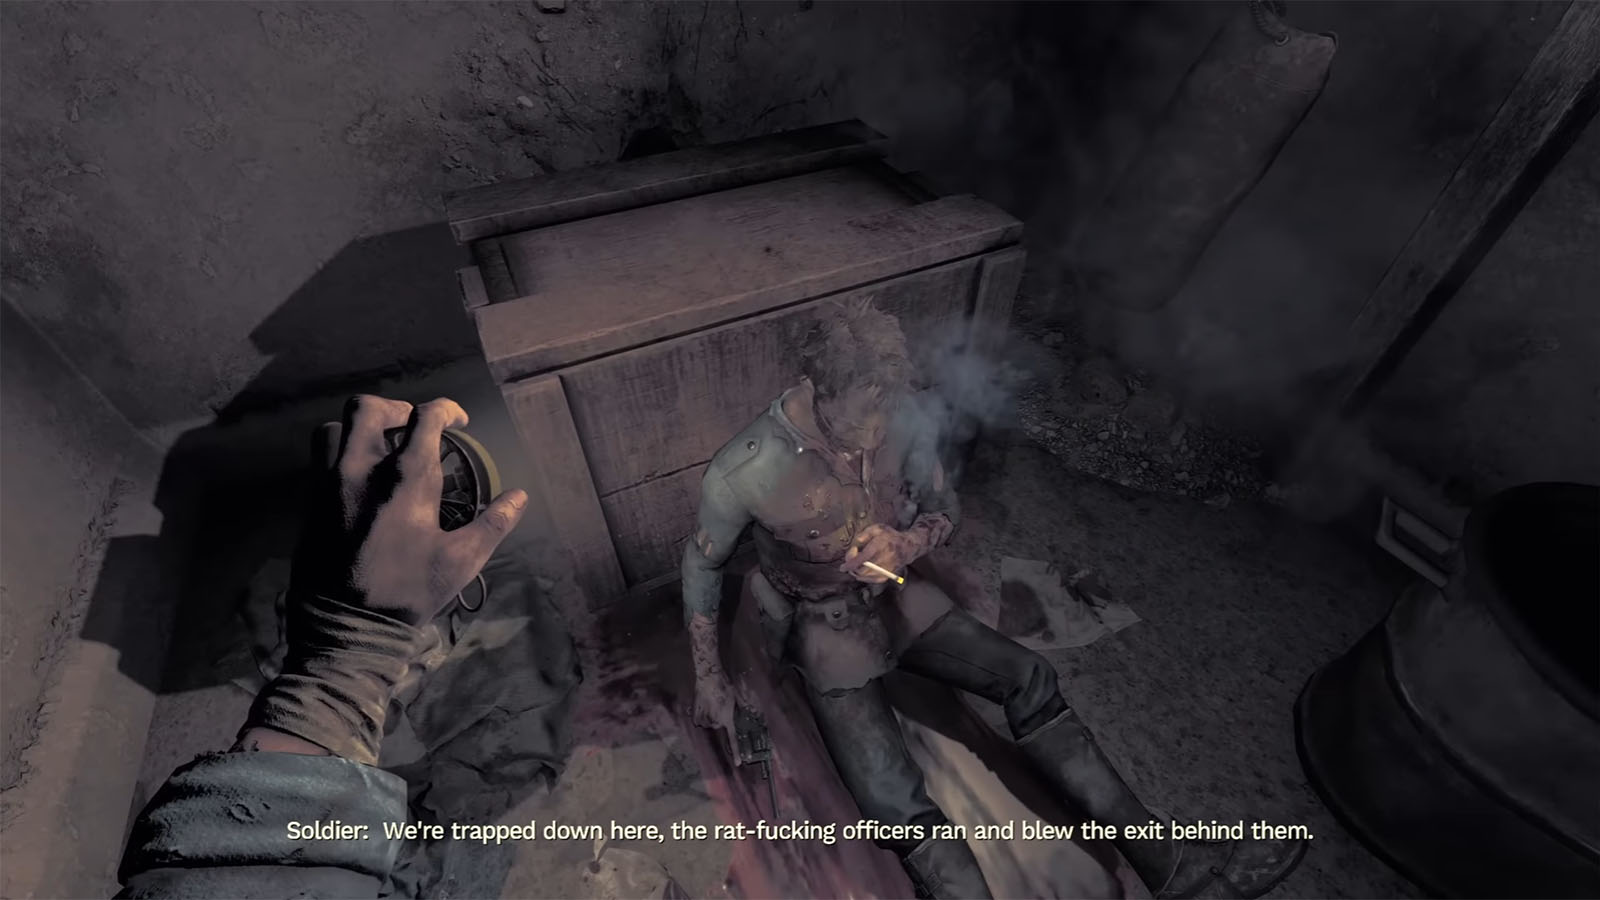
Continue moving down to the Kitchen, then to the small connecting room where you will find a survivor. He will hand you a revolver and asks you to end him with it before the Beast gets to him. He then directs you to the other room just across where you can find some ammo for the gun. As you head back to the soldier, he will be taken away by the Beast and there’s not much you can do to stop it.
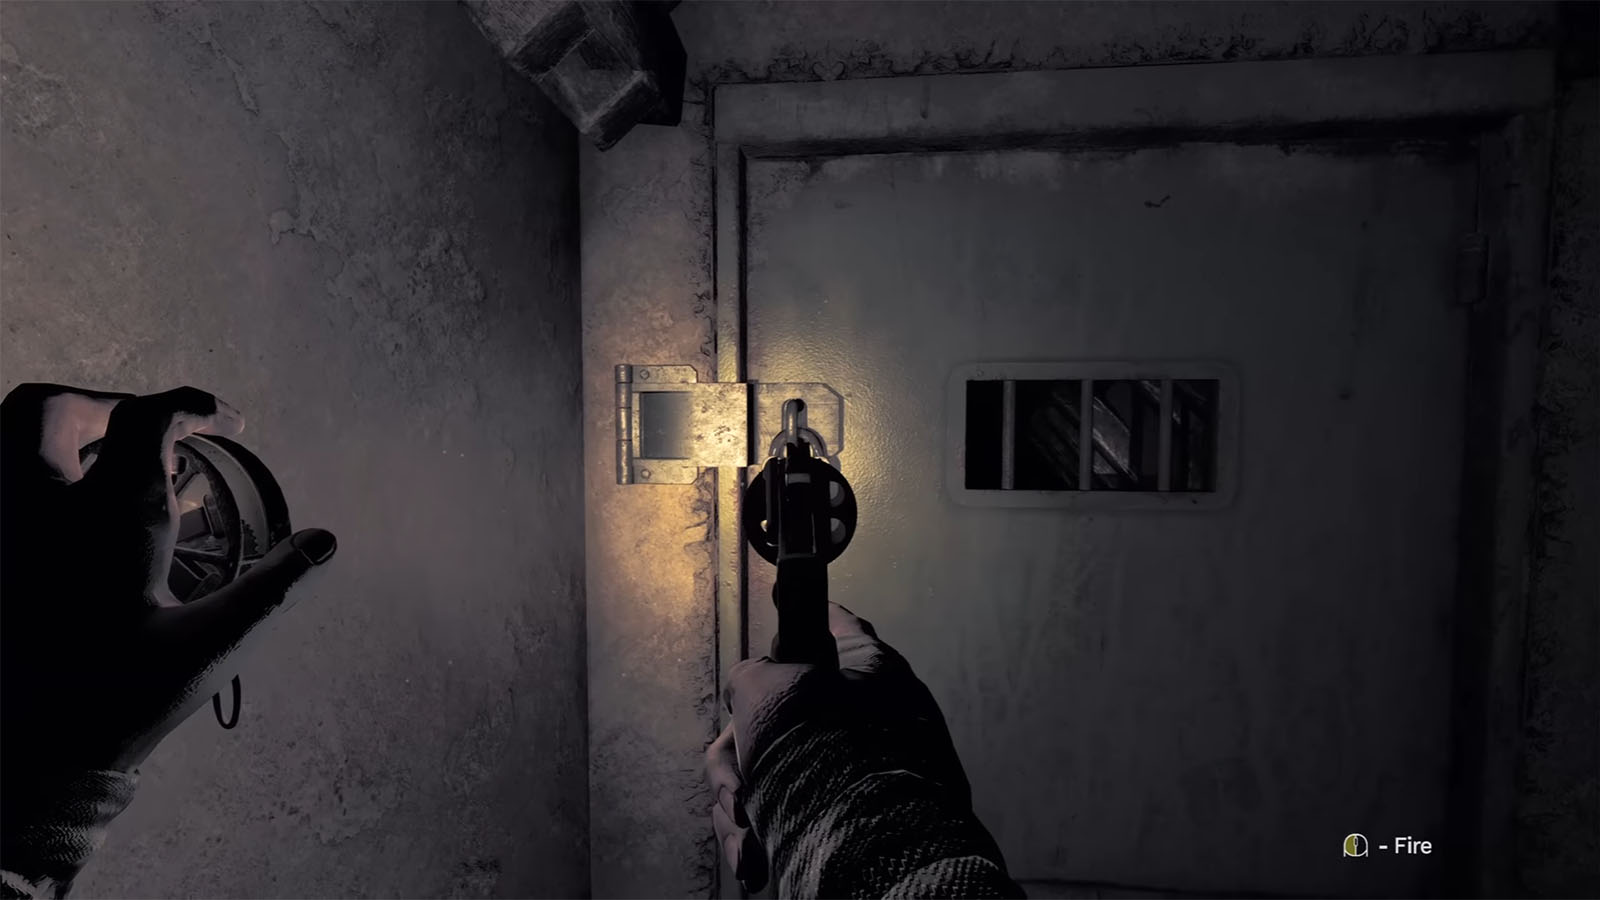
Head back to the locked door from earlier and shoot the lock to open it. Down the path is the door to the Administration Room.
The Administration Room is a room that you can stay in that is relatively safer than just being in the other parts of the bunker. However, you will have to be vigilant as the Beast can still create a hole inside this room in the latter parts of the playthrough, not to mention that it can go inside via an open door.
Inside this room is a map that shows only a small part of the bunker, but will still quite helpful in navigating the area. There’s also a lamp by the table where you can save your progress, and a chest under the map where you can store your items. By the table, you will find a dog tag and the Note – Note from Head Clerk re Dog Tags.
On the table by the staircase is the Note – Rats and Burnt Corpses. From this note, you will learn that aside from the Beast, another danger that you will have to deal with are the rats. They are hostile and attack once they detect you. To make it worse, if you have an injury and are bleeding, you will leave a trail of blood that the rats can follow. Always bandage up whenever you can, especially if there’s a swarm of rats nearby.
Go down the stairs to get to the Generator Room. In here, you will find a Pocket watch which will help you see how much time you have left before the generator shuts down. You can then interact with the generator by filling it up with the fuel you got from earlier, then pulling the lever to start it up and power up the lights.
Pick up the dog tag by the corpse nearby and flip it to see a code. The code will be written in your notes along with the name of the owner’s dog tag; this will be useful later on when you need to open lockers that belonged to the owner. Check the desk’s drawer nearby to find the Note – Keep the light on! and the Note – Fuel and Fire in the other side of the room.
Head back up to the Administration Room and open the lock on the door using the code at the back of the dog tag. You will then arrive at the long hallway. To the right of you is a dead end which actually leads to the exit, however, it is currently blocked by a cave in. This is where you will find the Note – How to Get the Hell Out of Here where you will learn that you will need a dynamite (found in the Arsenal) and a detonator (found in the Roman tunnels) to blow the debris away from the exit.
Do a quick detour from the objective first by going the opposite way, past the door where you came from and another hallway to the right, until you find the path the goes to the left which leads to the Officer Quarters. This will save you a trip back and forth between the Officer Quarters and Mission Storage.
Officer Quarters – Delisle’s Dog Tag
The Officer Quarters have some rooms that you can explore for more notes, dog tags, and items. The first room to your left (Joubert) contains Central Bunker Photo #2, Note – Joubert’s Journal – Strange Sounds, and Note – Joubert’s Final Journal.
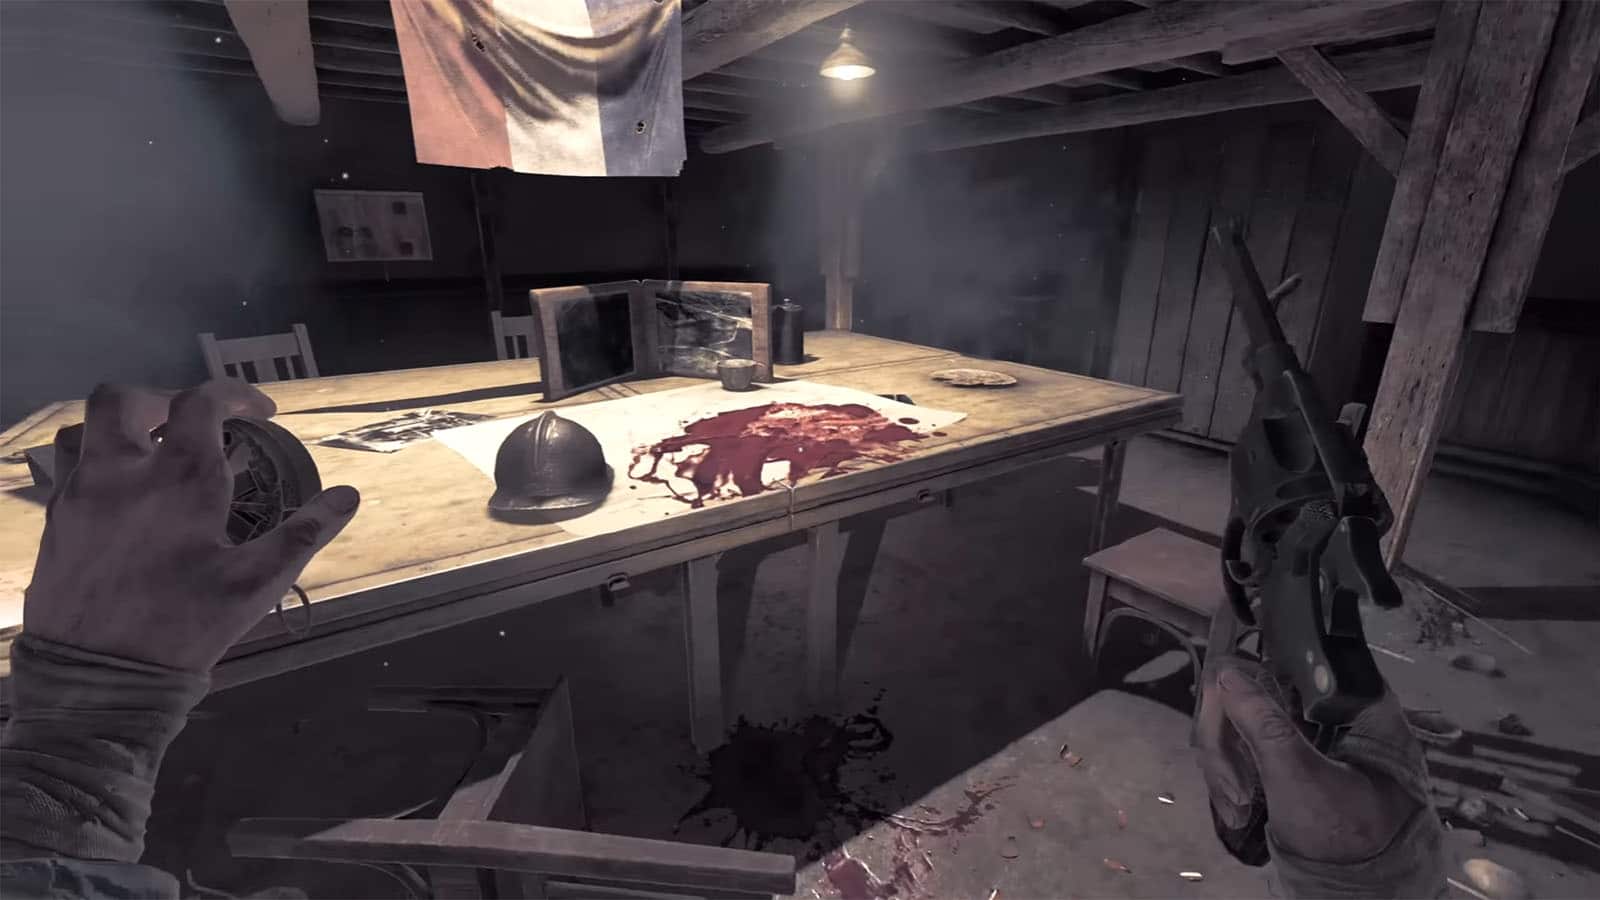
The next room on the opposite side is the Strategic Operations where you can find the Note – Prisoner in Custody, Note – Roman Tunnel Update, and Central Bunker Photo #3. The next room back on the opposite side (Blanchet) can and should be skipped to avoid triggering the trap inside.
Before checking the next room which is the Lounge, check the other rooms down the hallway across. The first room (Fournier) has Central Bunker Photo #4 inside a cabinet, Note – Shooting the Beast, and Note – Increased Security on Arsenal inside a drawer. The next room (Reynard) has Note – In Charge of Security and Note – Assumptions About Motive.

You can then head to the Lounge room. Inside, to the right wall, are some barrels that you can move to reveal a vent that you can crawl into to enter the next room (Delisle). Find the bag hanging by the door and take it to increase your inventory slots by 2. Check for J Delisle’s dog tag nearby and the desk drawer for the Note – LaRue’s Report, then unlock the door to get back out.
Head towards the path on the left first as this one goes back to the Central Bunker. Unlock the door up ahead, then turn around to take the path to the left. Down the stairs is another dog tag, and to the left will take you to the Wine Cellar where you can find the Note – Where’s our Wine.
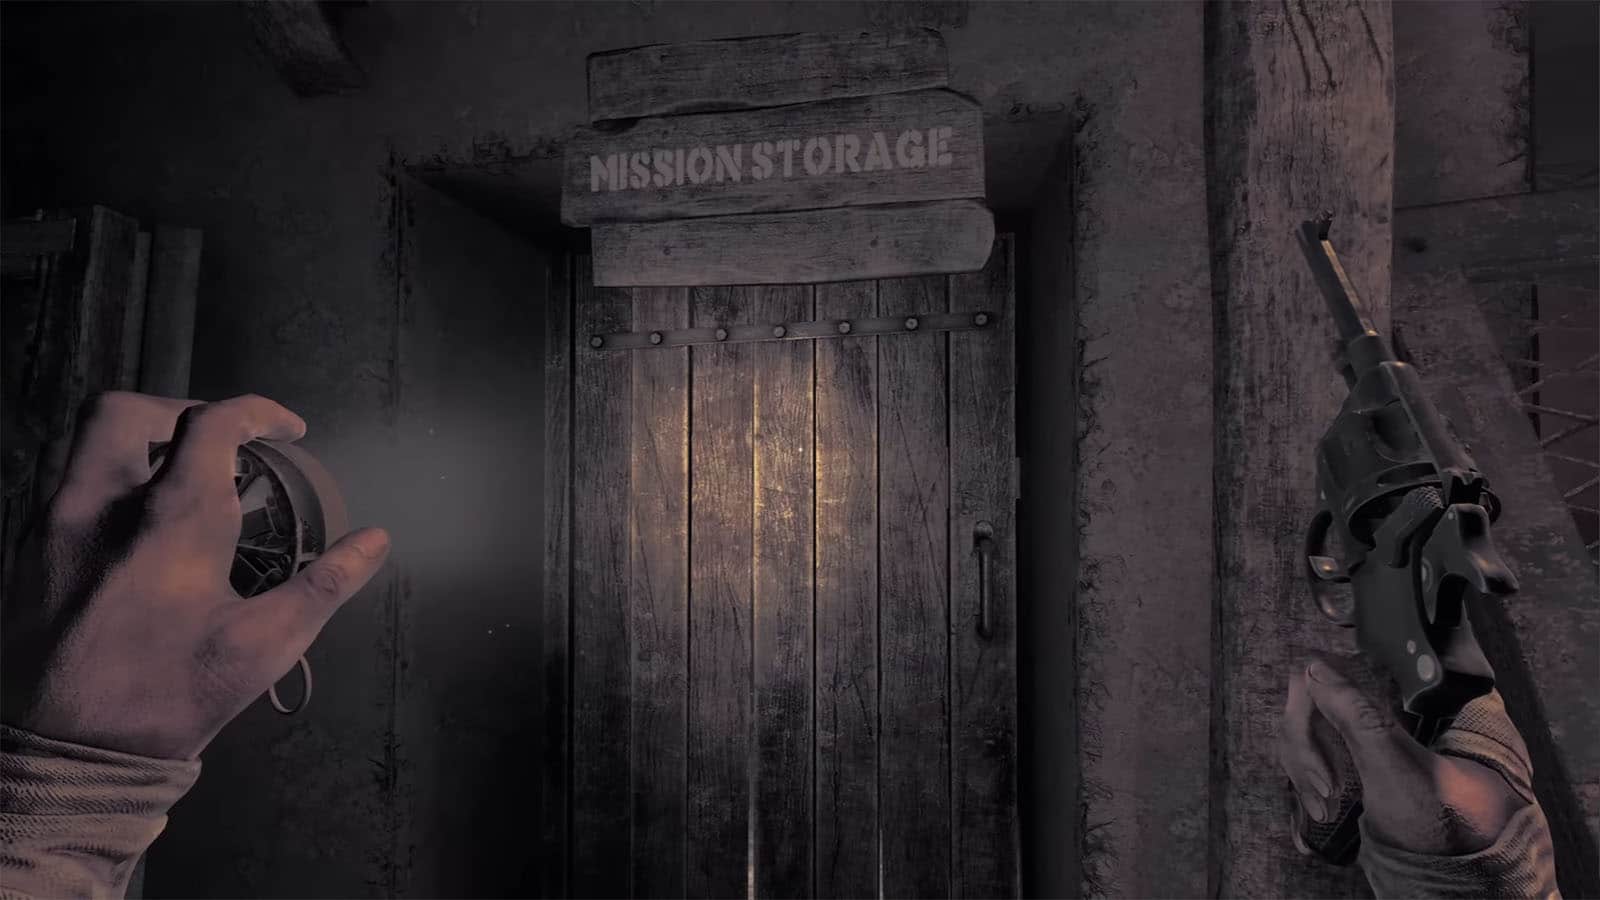
Mission Storage – Emergency Lockdown
Once you’re done exploring the Officer Quarters, head back to the path that you skipped earlier in the long hallway to reach Mission Storage. If you try using the wheel to turn off the Emergency Lockdown by the hall, it will break and the replacement wheel can be found inside the room. Either blow the door up using an explosive barrel or find the vent nearby to enter the room.
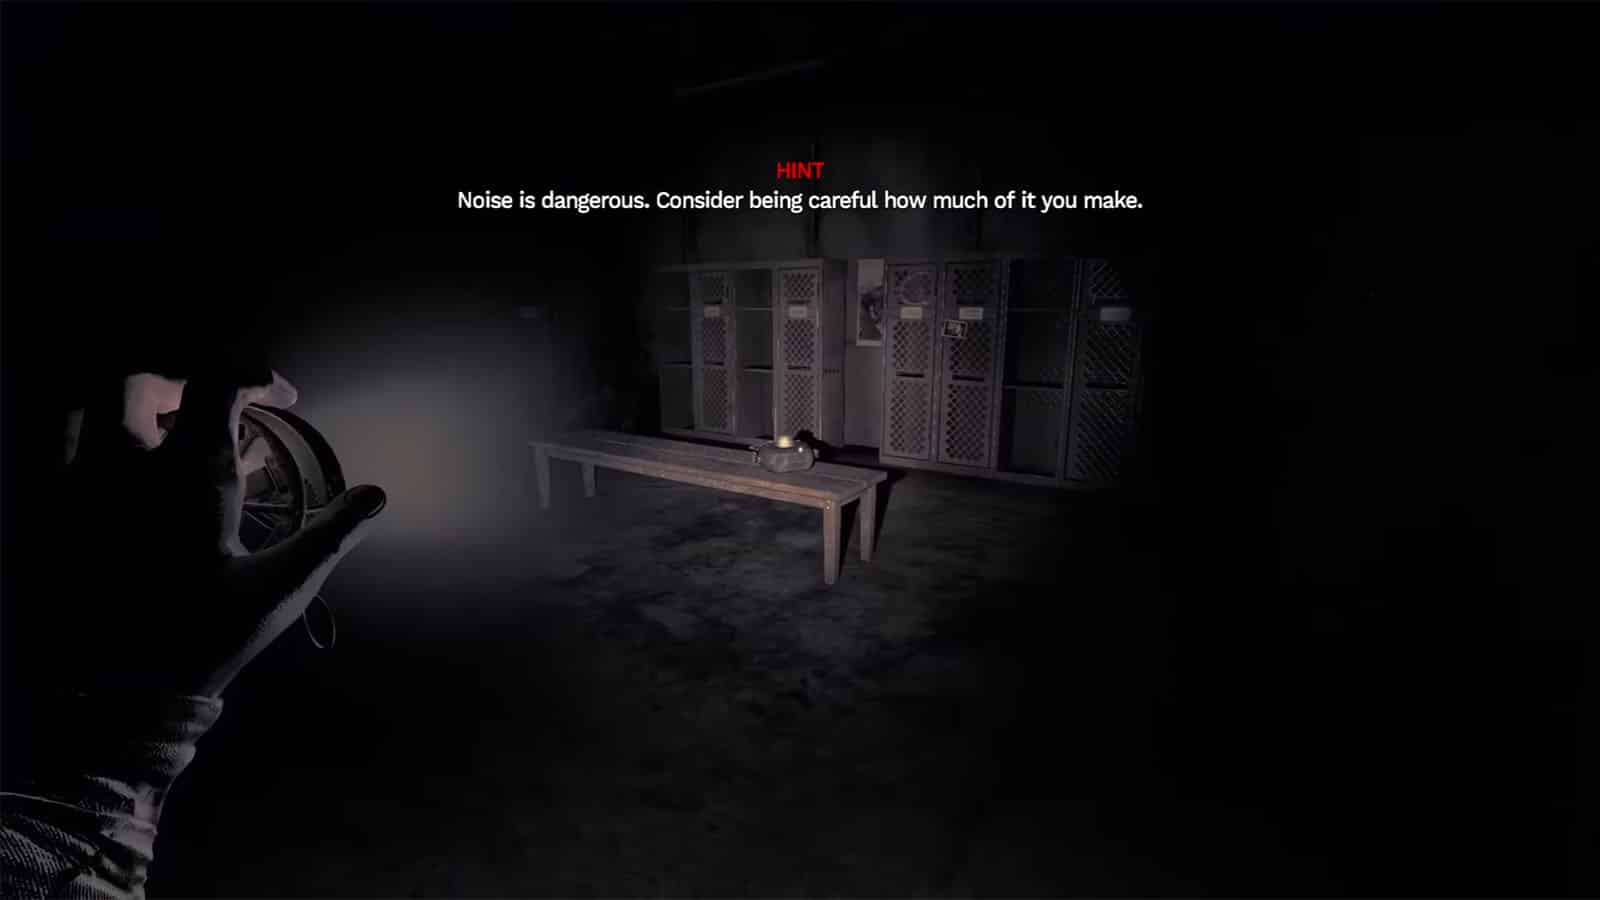
Inside the room are some shelves and cabinets with some items that you can take. There are also lockers used by the soldiers that are locked; they can be opened once you find the dog tags that have the corresponding codes for the locks. You can also find Note – Clement’s Journal – No Word on the ground. There is also another locker that contains another bag expansion.
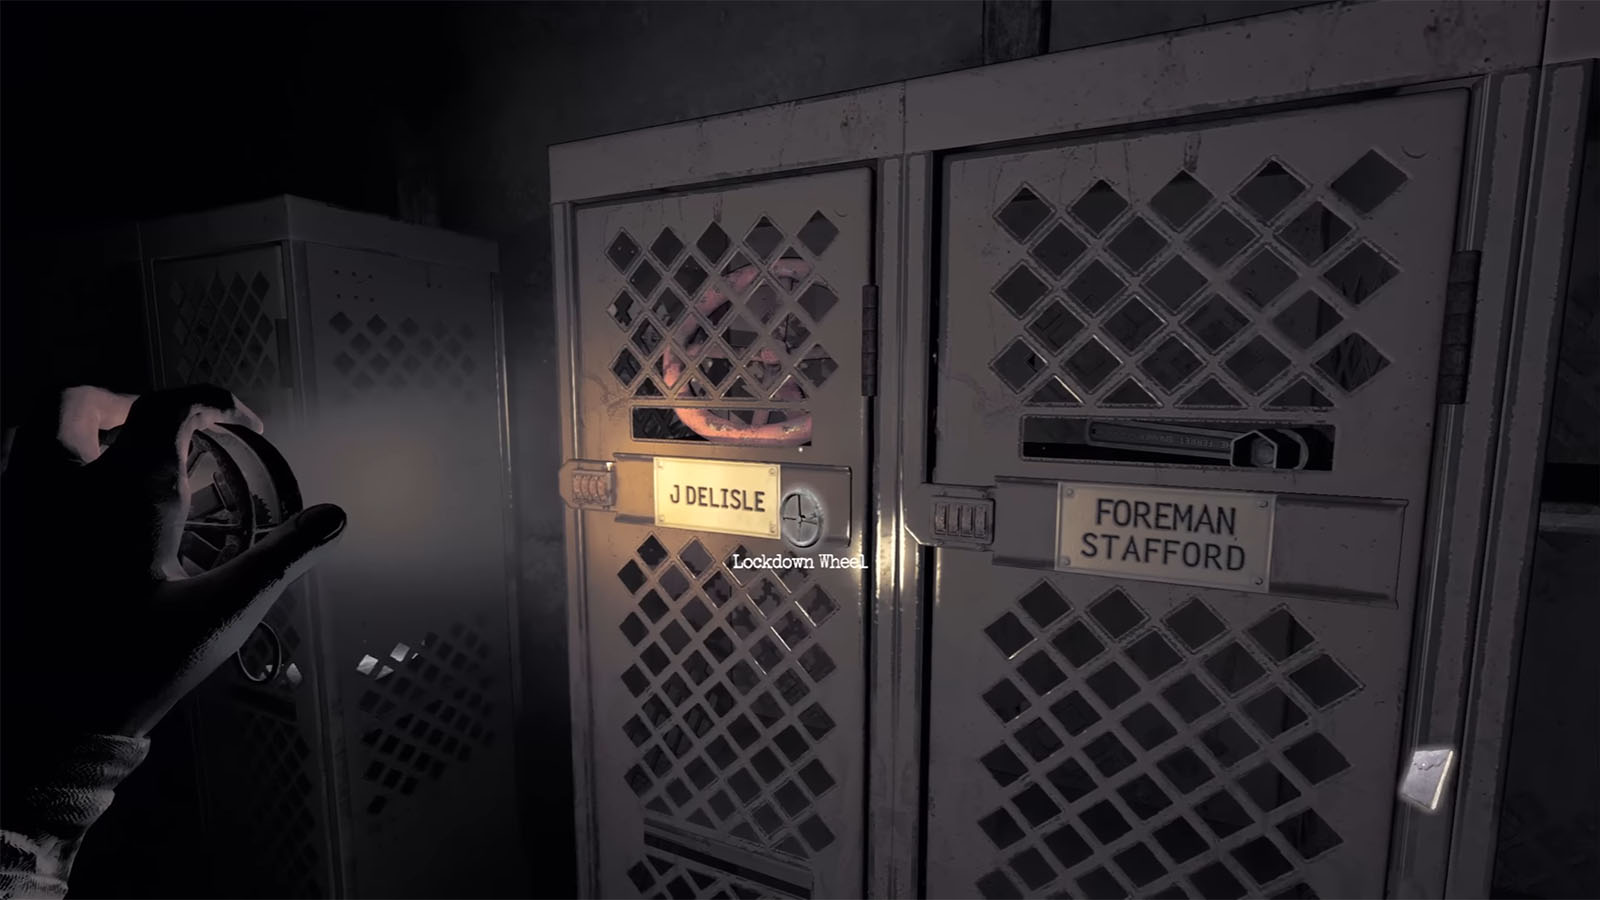
Look for the dog tag by the corpse and find the matching locker for it. Then, use the code from the dog tag to open the locker to get some items. Afterwards, look for the locker that belongs to J Delisle where you can find the replacement wheel. Use the code from the dog tag you saw in the Officer Quarters to open it, then use the wheel on the Emergency Lockdown to open up the other areas of the bunker. This also means that the Beast will now be free to hunt you, too.
At this point, you have two objectives that you can go for: the detonator handle or the explosives. The detonator handle will have you go to the Maintenance area, while the explosives will have you go to the Soldier Quarters area.
")

