
A Glass, Darkly is a quest in Atomic Heart where Major P-3 has to get inside the basement of the facility to fix the jammed mirror mechanism and get inside the exhibition.
Read ahead as we go through the steps on how to complete the A Glass, Darkly quest in Atomic Heart.
A Glass, Darkly Objectives
- Enter the Facility
- Repair mirror mechanism
- Magnet room #1
- Laser puzzle #1
- Magnet room #2
- Laser puzzle #2
- Magnet room #2 cont.
- Magnet room #3
- Laser puzzle #3
- Magnet room #4
- Laser puzzle #4
- Return to the surface
- Enter the exhibition

Enter the Facility
At the entrance of the facility, interact with the Plutonium sculpture to pull it back and open the hatch nearby. Go through the hatch and to the corridor before the hatch closes.
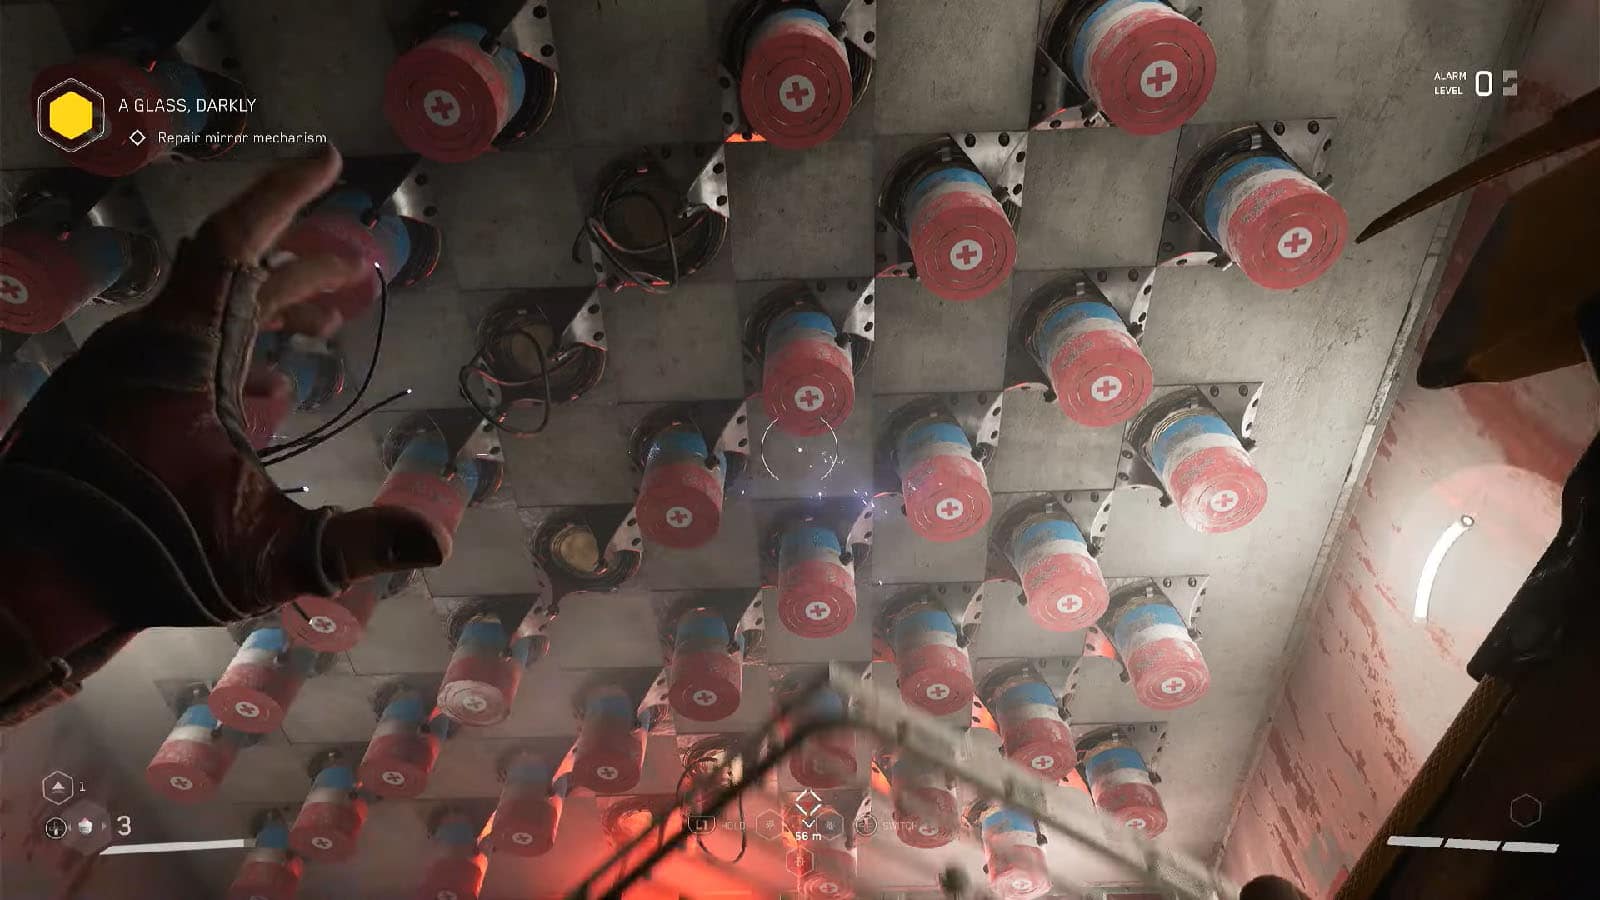
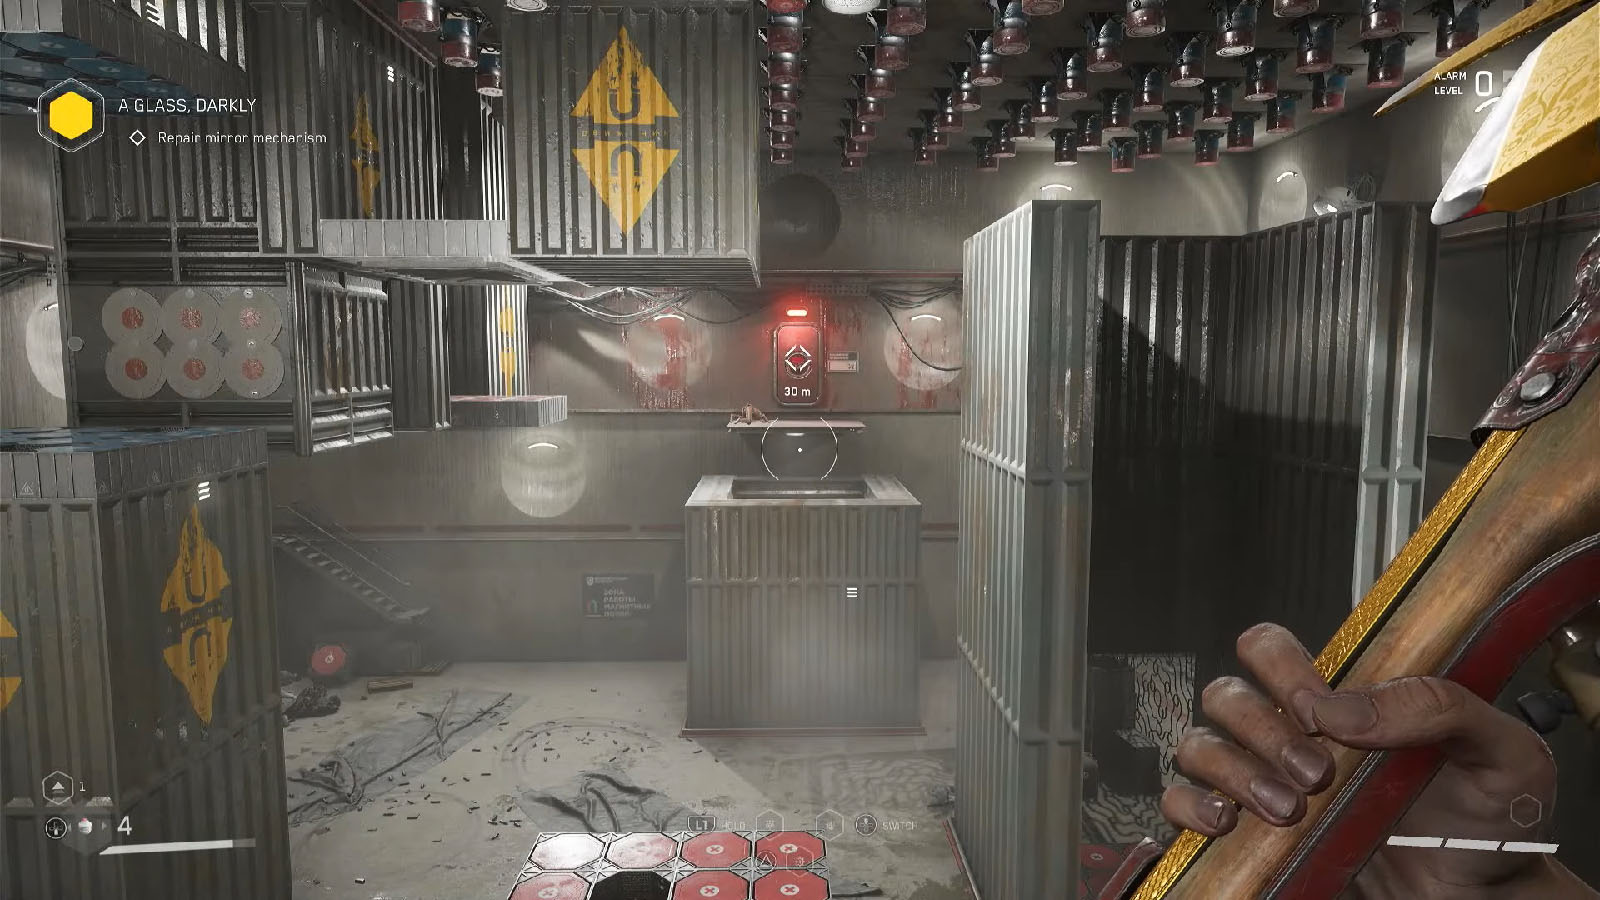
Repair mirror mechanism
Make your way through the next room and reverse the polarity of the magnets on the ceiling to make something to climb on and reach the next door.
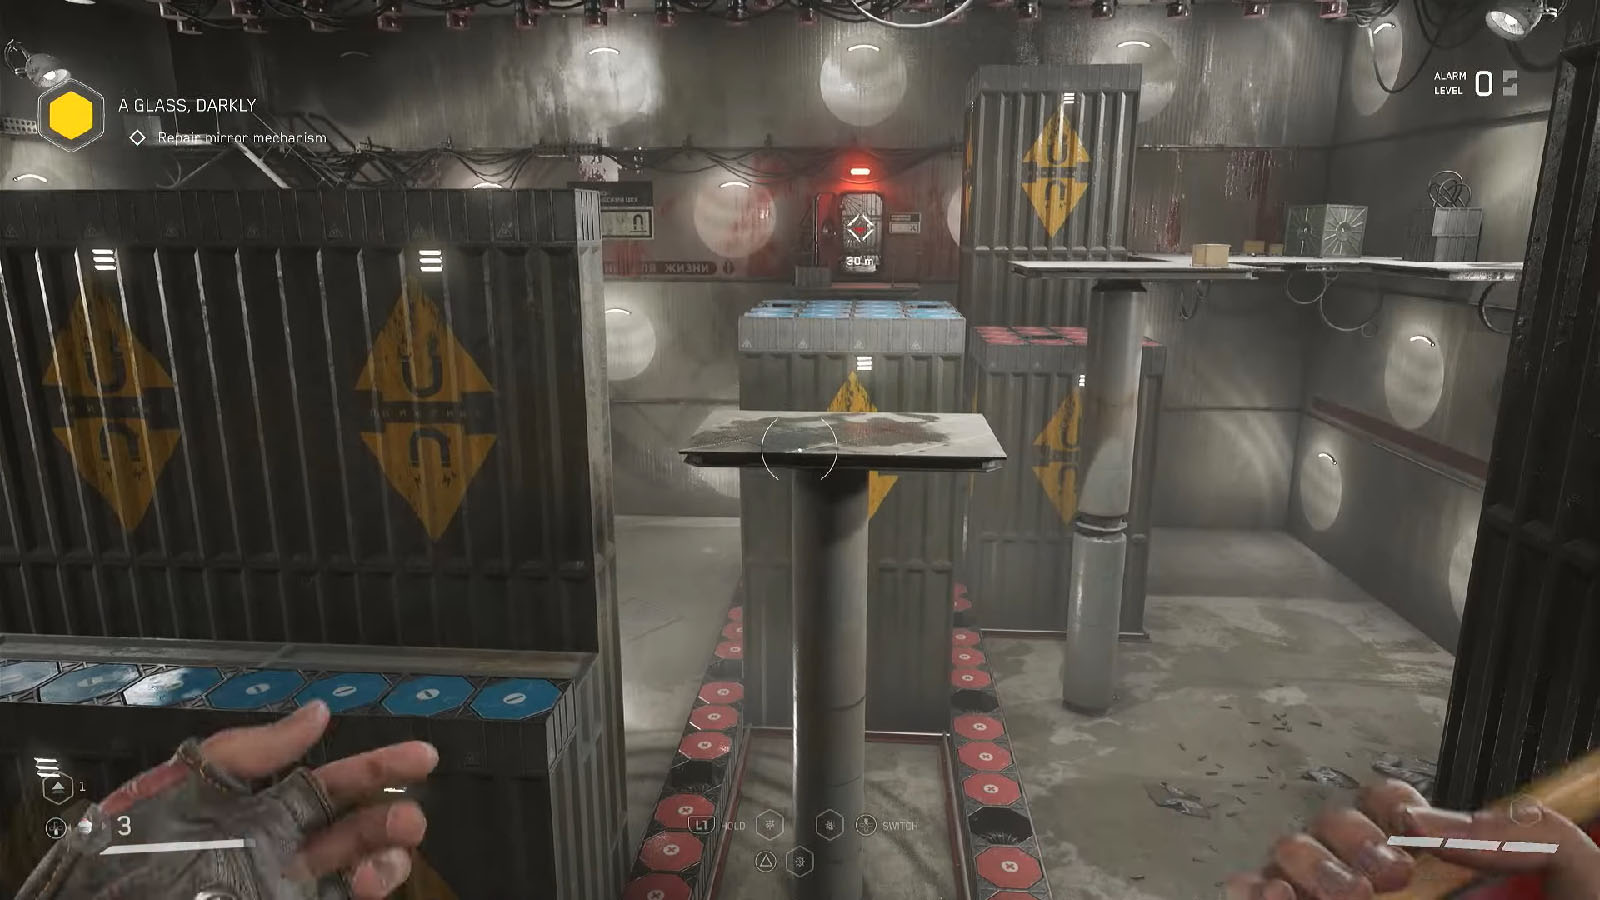
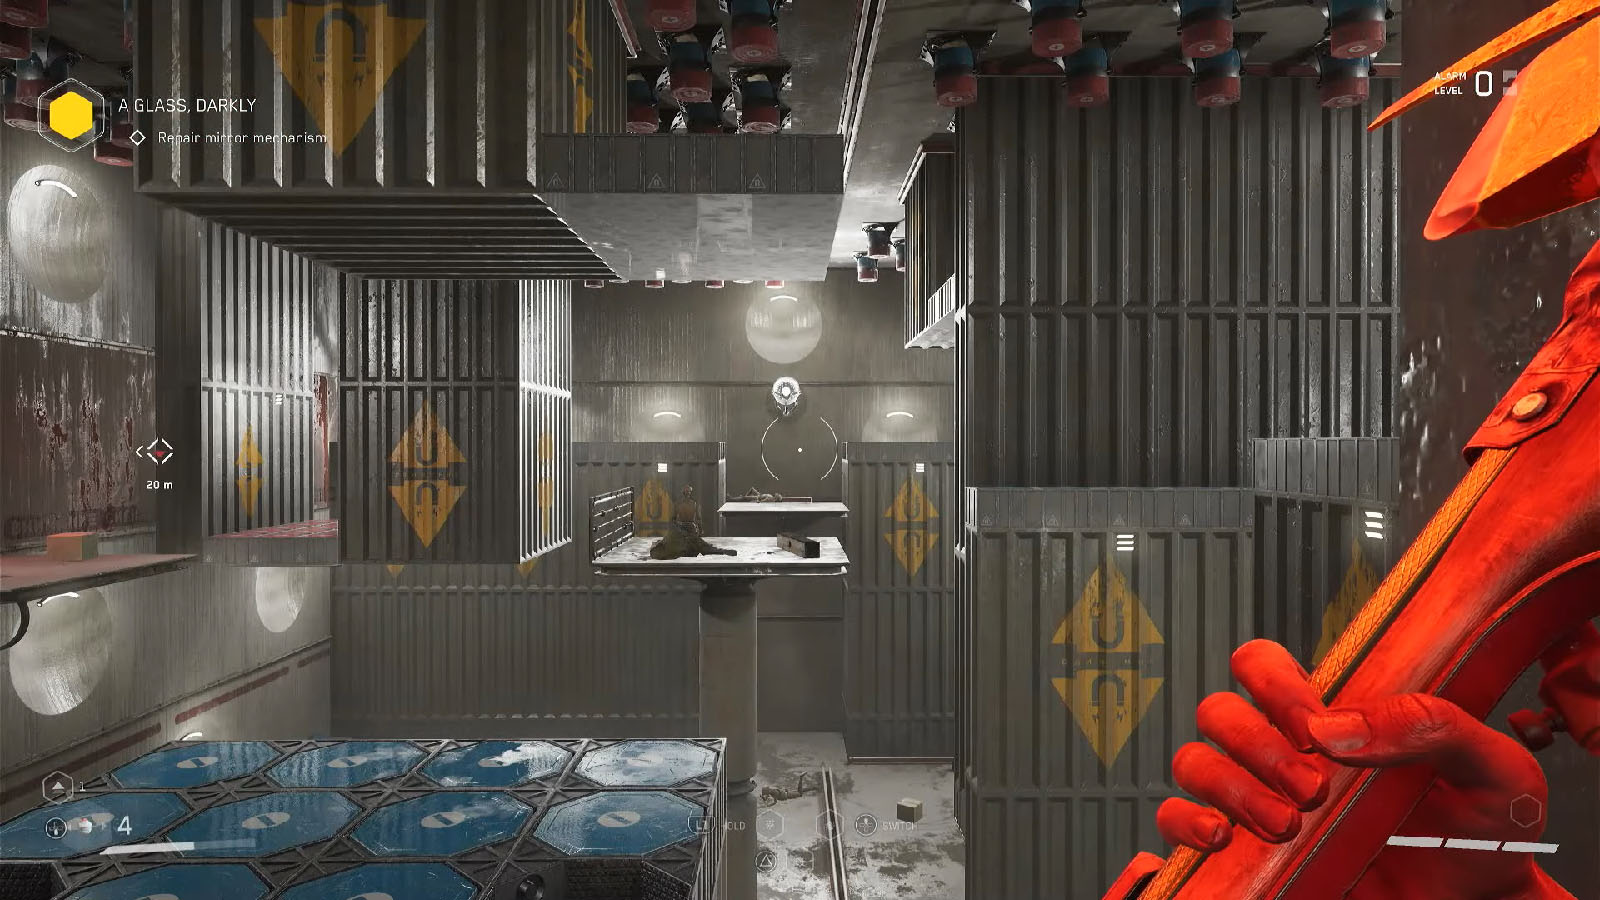
Magnet room #1 puzzle solution
In the next room, go on top of the red magnet platform, then reverse the polarity to raise the walls and lift you up. Jump on top of the platforms and make your way to the next door to proceed.
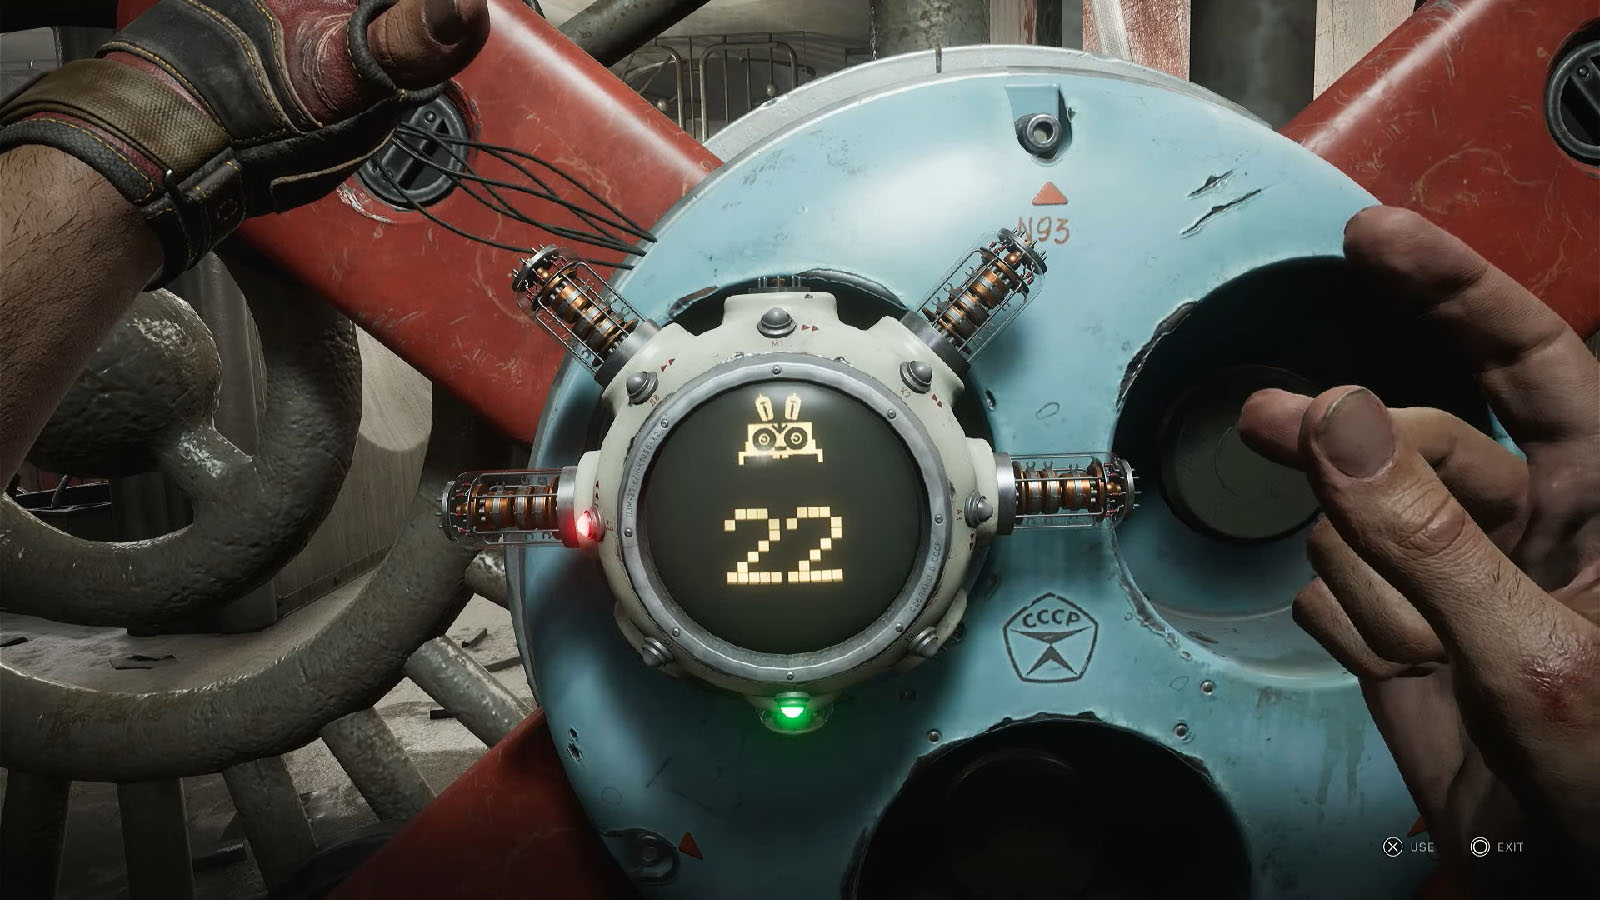
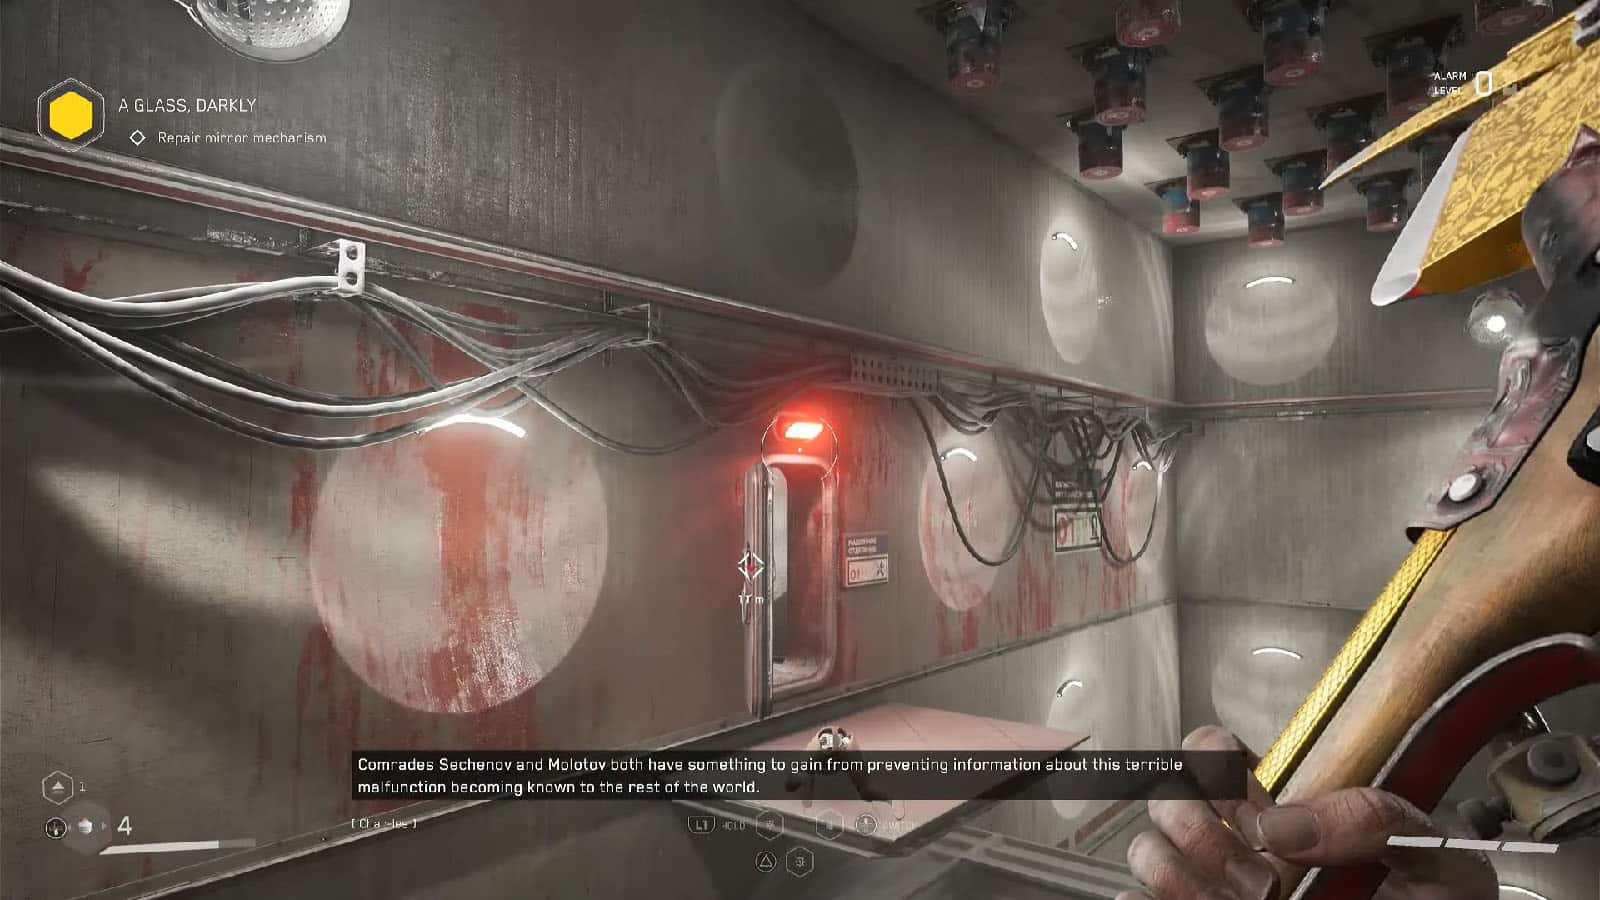
Move through the short corridor into another room that has a locked gate. The lock on this gate will have you time the insertion of the plugs into the lock. Once it’s unlocked, you’ll be in a hallway with nodes on the floor.
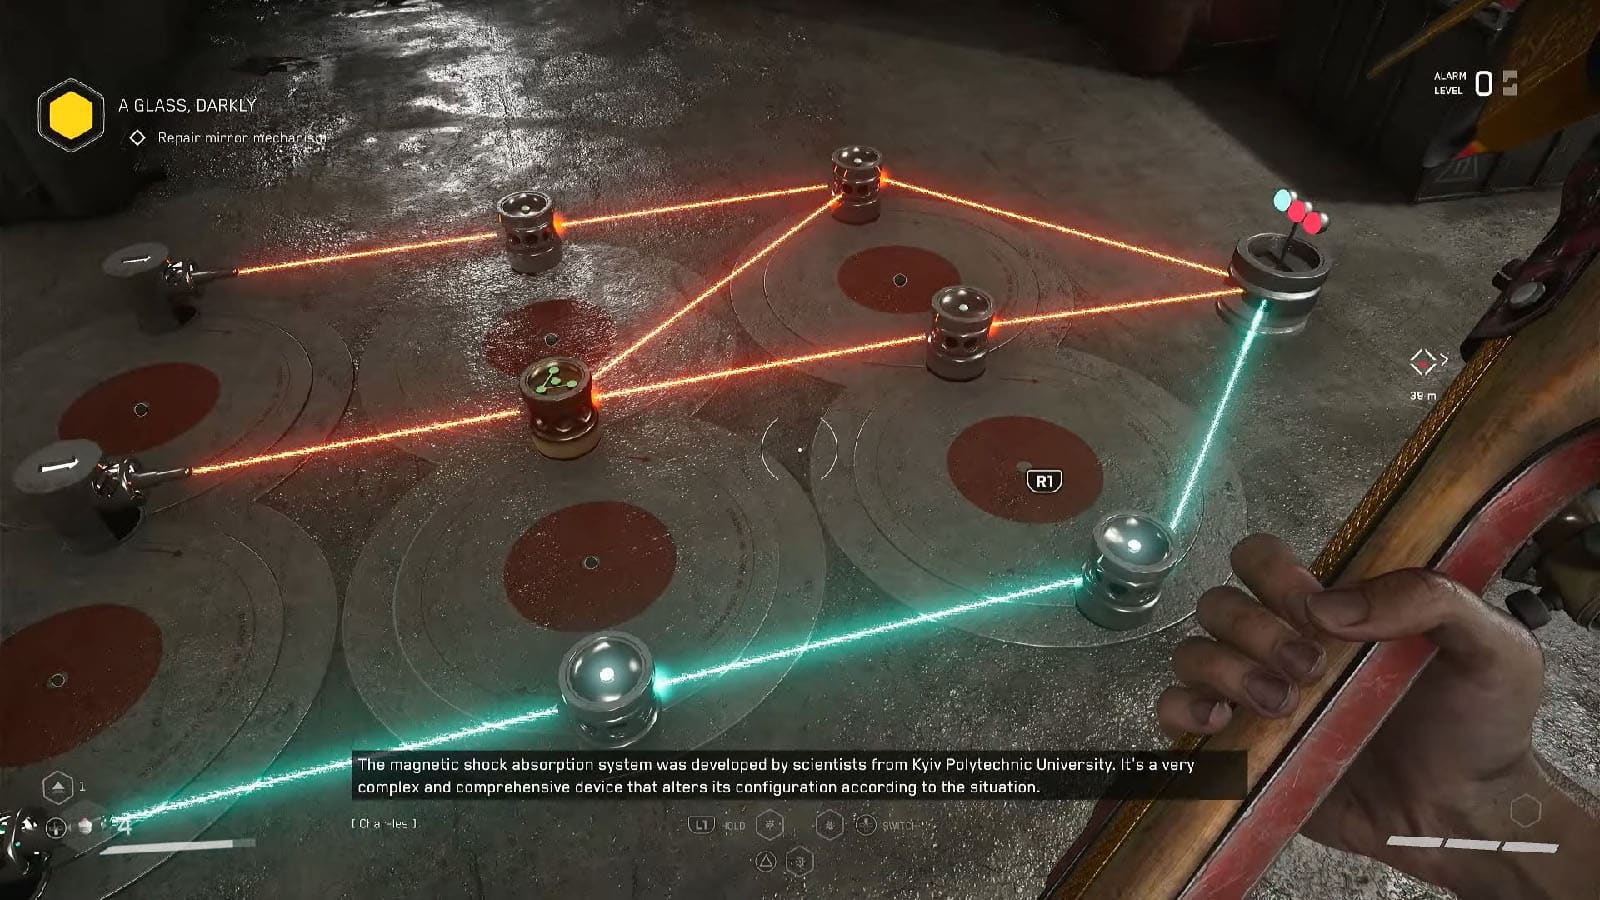
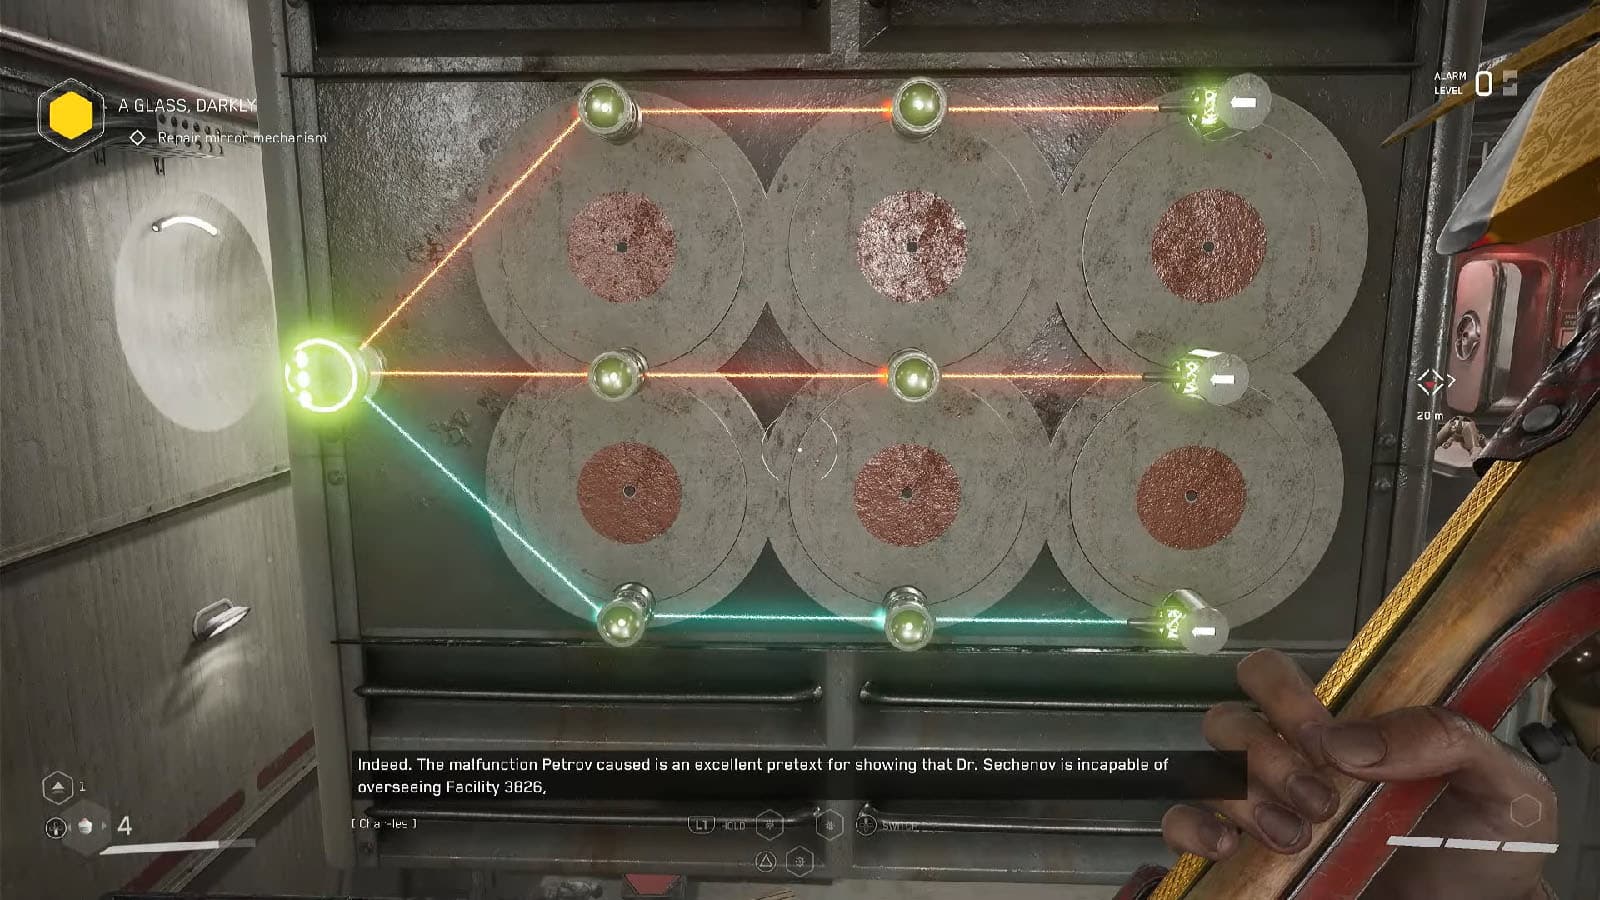
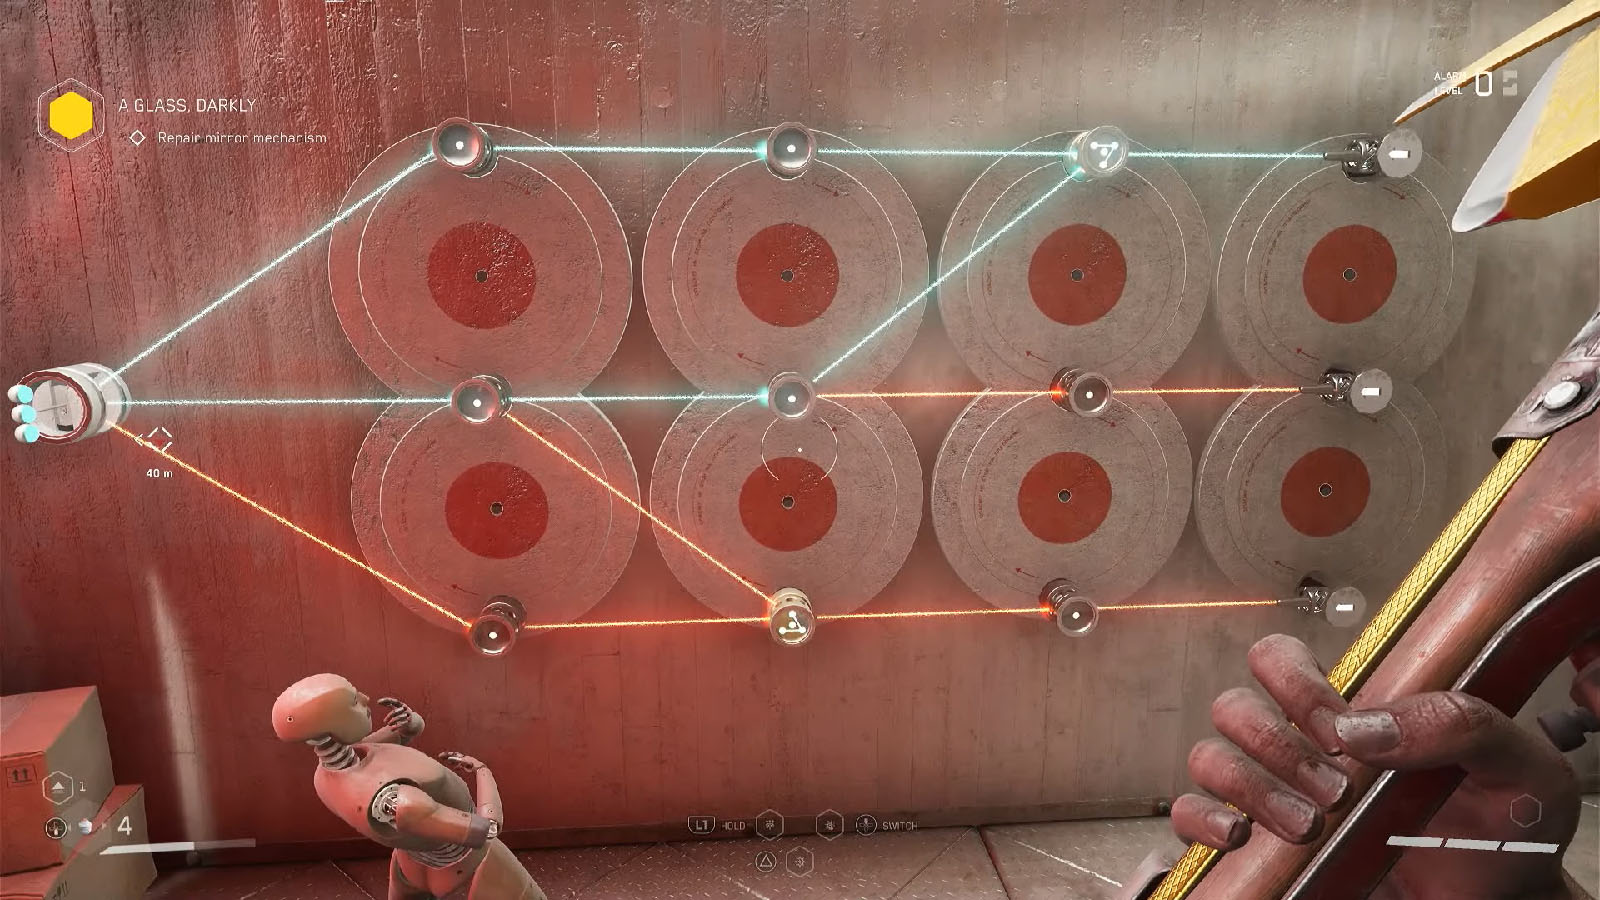
Laser puzzle #1 solution
Interact with the nodes to raise them up and activate the lasers. To solve this puzzle, you need to match the color of the lasers that gets sent to the receiver at the end. All you need to do is to rotate the right circle first, then rotate the left circle and the lasers should all line up. Proceed to the next room once the door is open.
Magnet room #2 puzzle solution
This room is another magnet puzzle room. Start by jumping down and climbing the red magnet platform on the left, then reverse the polarity. Go on the next blue magnet platform and reverse the polarity again to reveal another laser puzzle on the wall.
Laser puzzle #2 solution
To solve this laser, rotate the top right circle, then the bottom right circle. This should open the next door out of this room.
Magnet room #2 puzzle continuation
Jump on the red magnet platform on the right, reverse the polarity, jump on the blue magnet platform on the left, reverse again, jump on the red magnet platform, then finally reverse again to make the jump towards the door.
Magnet room #3 puzzle solution
On to the third magnet room, simply reverse the polarity of the magnets that are directly above the platforms that you need to jump on. Pay attention to the division on the ceiling to know if it’s the magnets that you need to switch polarities.
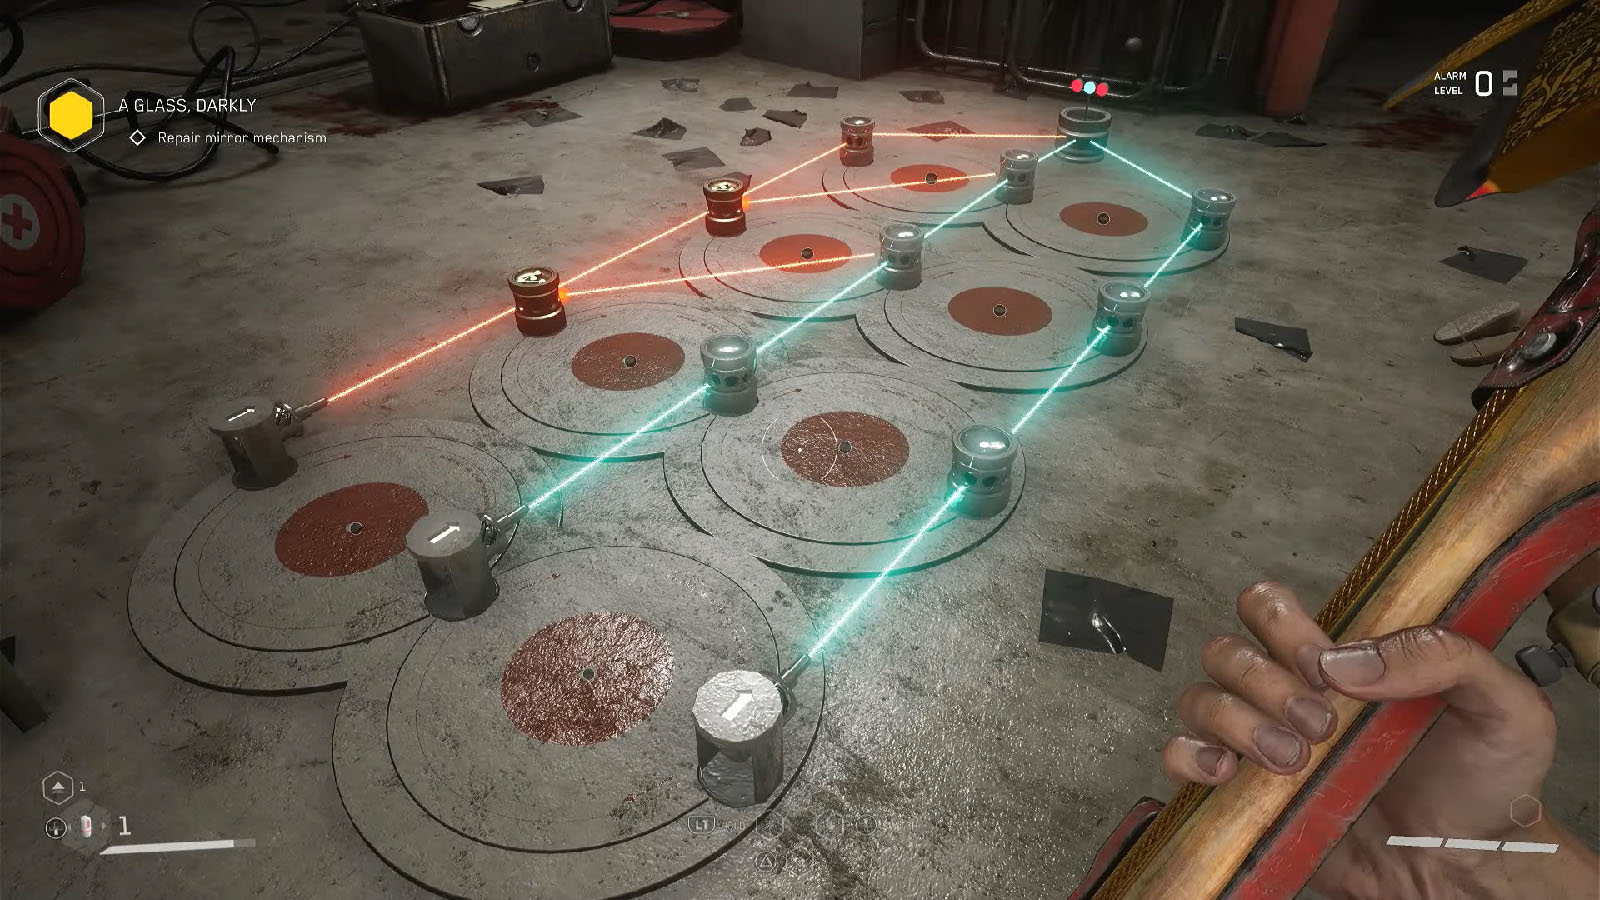
Laser puzzle #3 solution
On the next room, continue through the corridor and you’ll see another laser puzzle on the wall. To solve this, move the blue laser to the middle row, then move the first splitter from the right to the middle row, too. Move the next splitter to the middle and it should solve the puzzle.
Magnet room #4 puzzle solution
On the fourth magnet room, use your dash when jumping towards the platforms to make sure that you clear the gap. The next room will have another laser puzzle.
Laser puzzle #4 solution
To solve the laser puzzle, simply move the splitter that is closest to the receiver to the middle and it should put all the lasers in place.
Return to the surface
Enter the next door and jump down to trigger the mirror mechanism to bring you back up to the surface again.
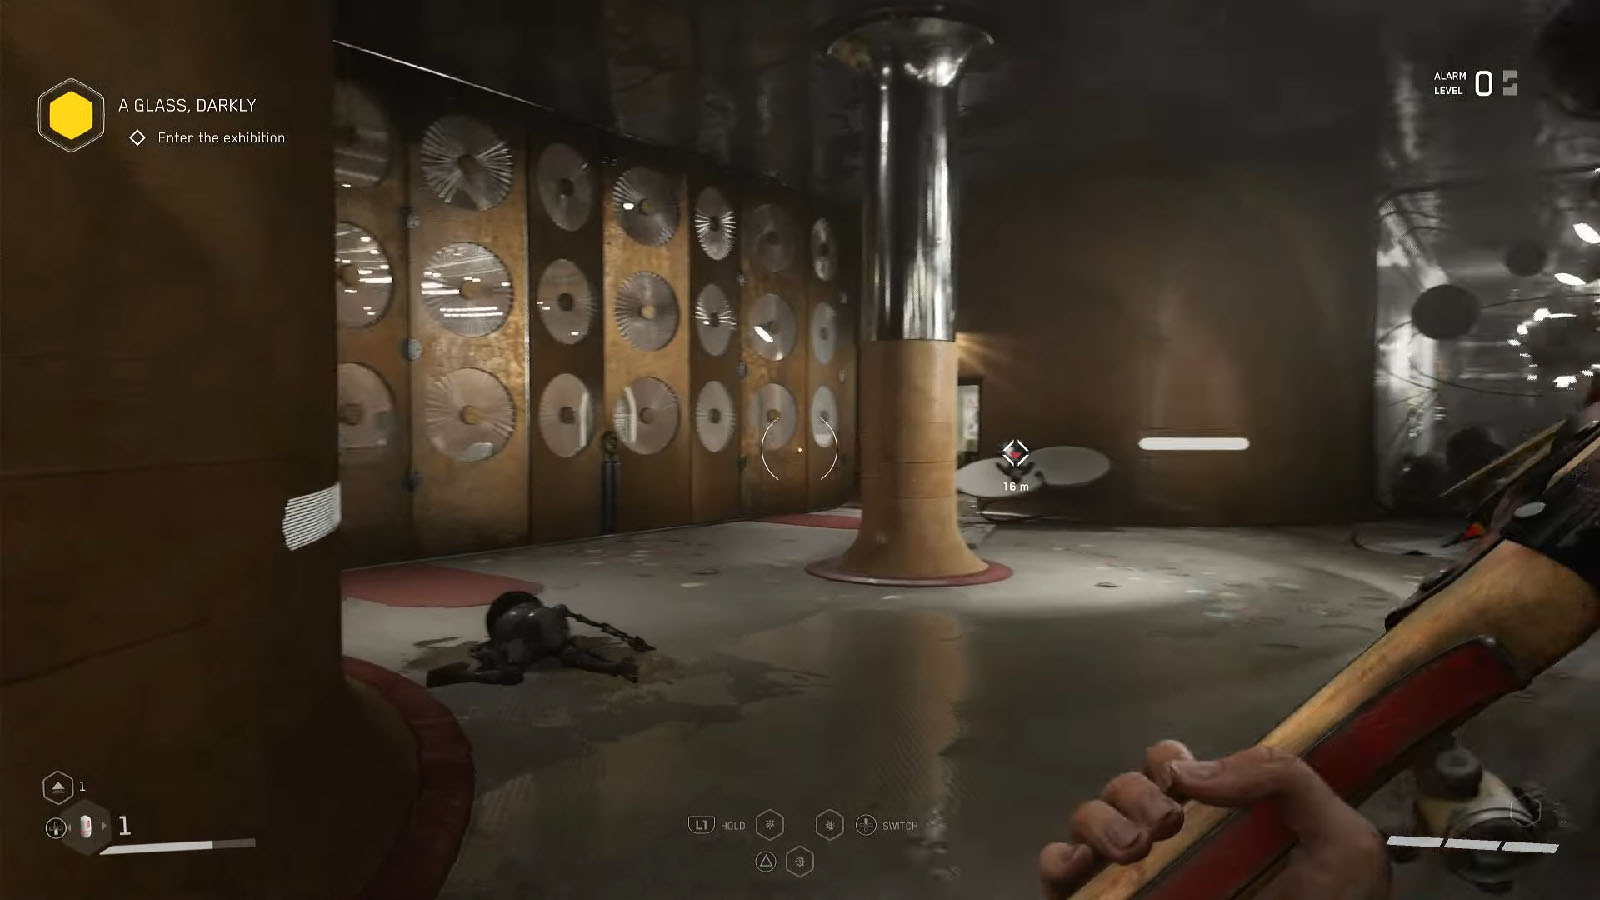
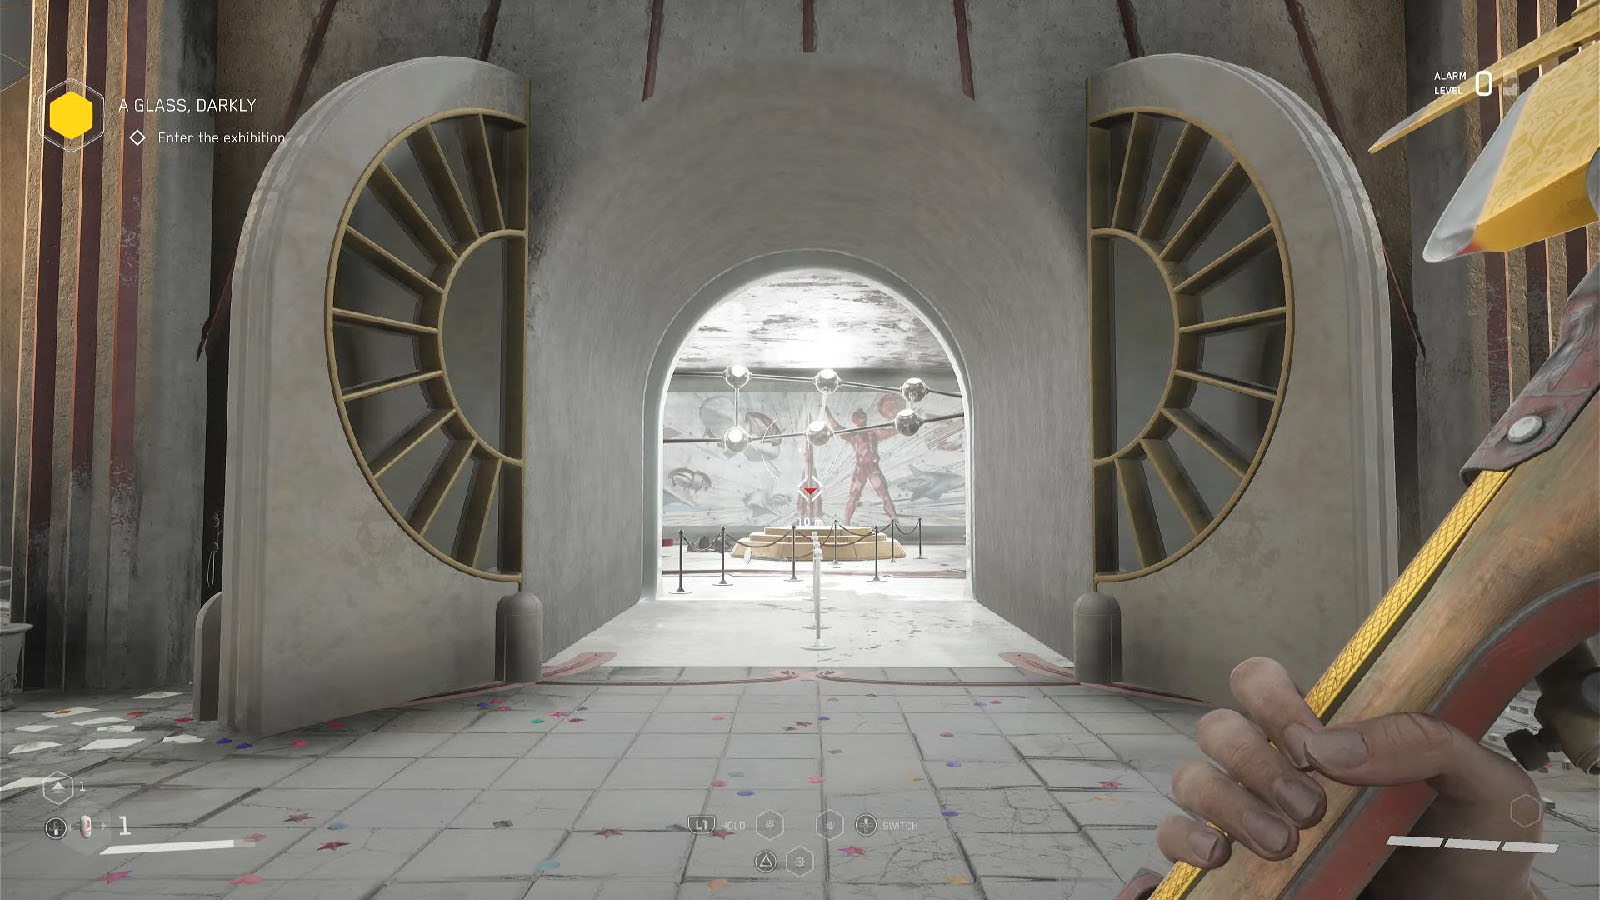
Enter the exhibition
Go inside the facility and make your way to the main door towards the exhibition to complete the quest.
Check out this video by DibuckTV showing how to complete the A Glass, Darkly quest in Atomic Heart:


