
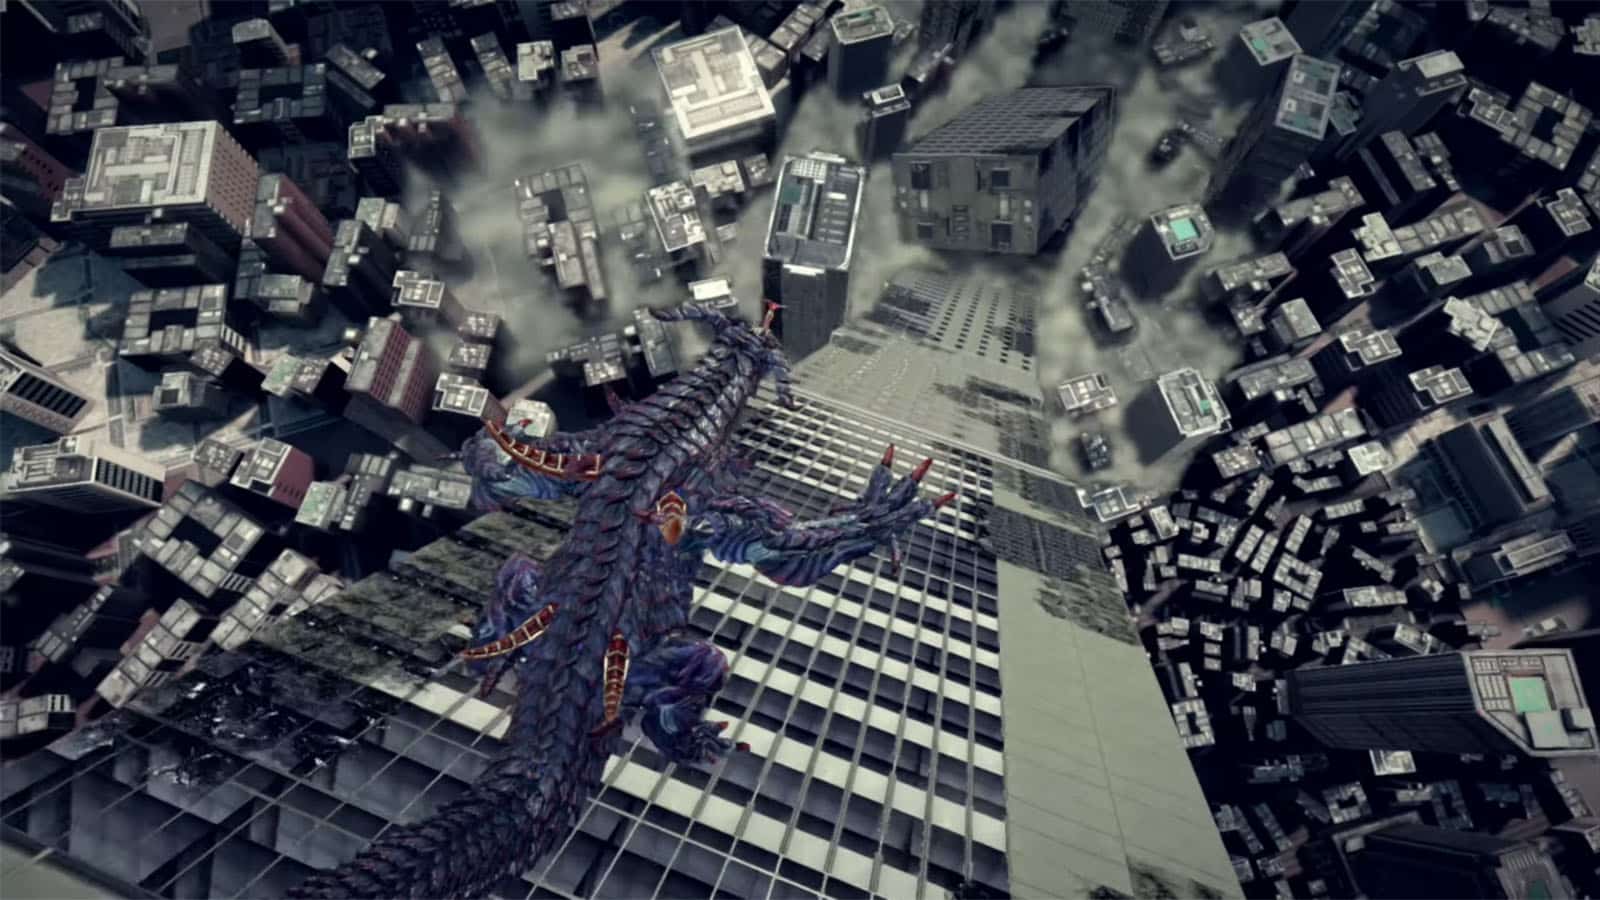
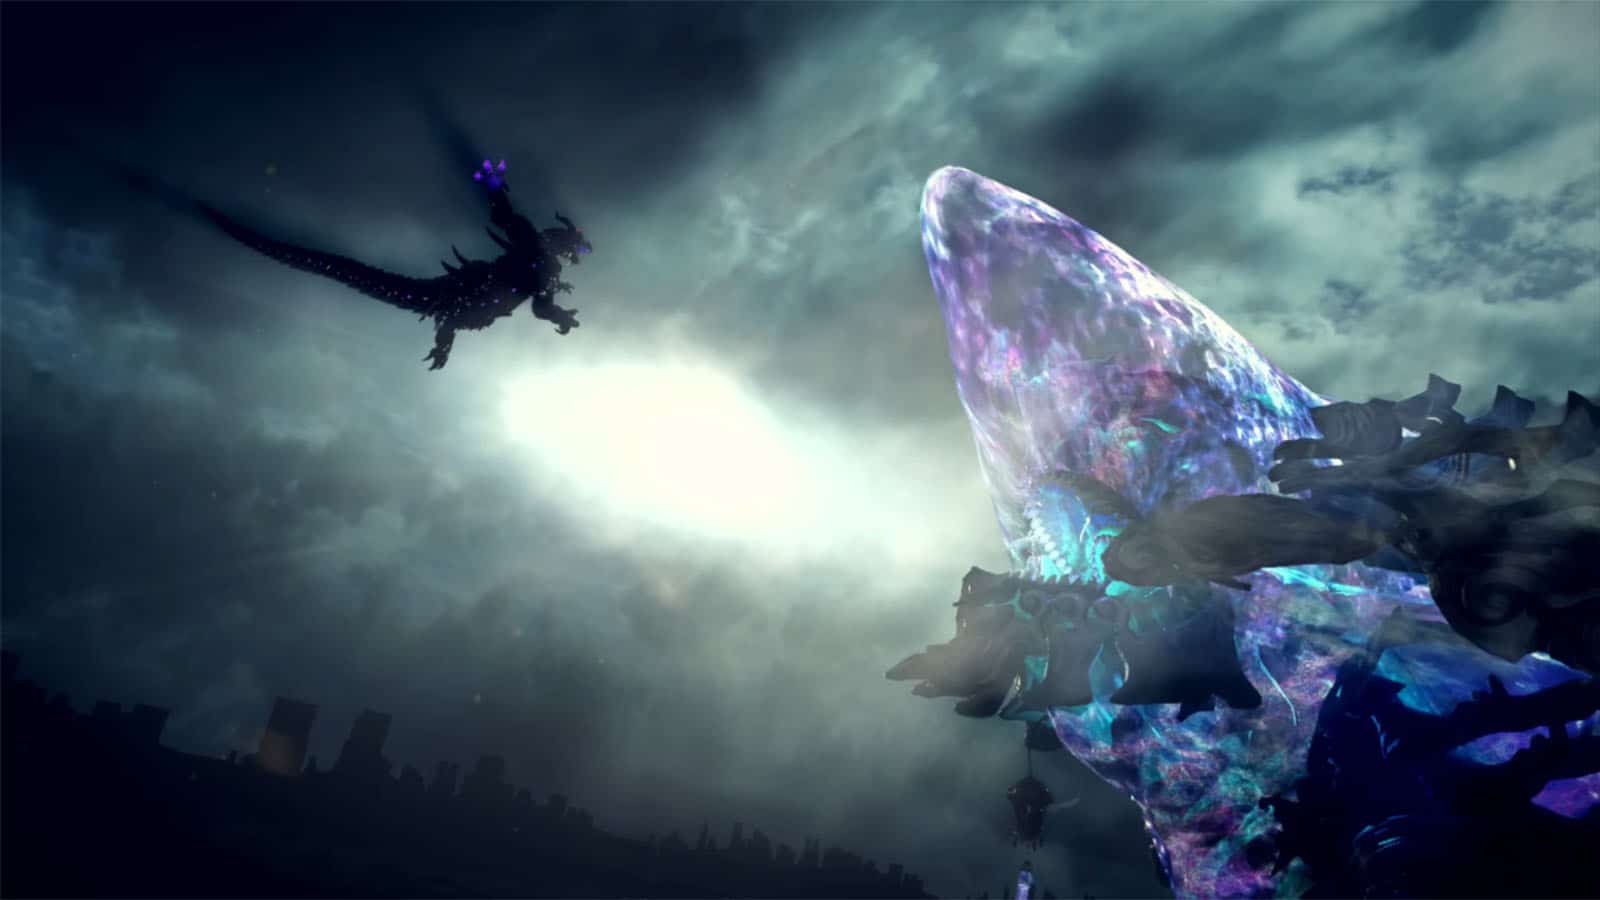
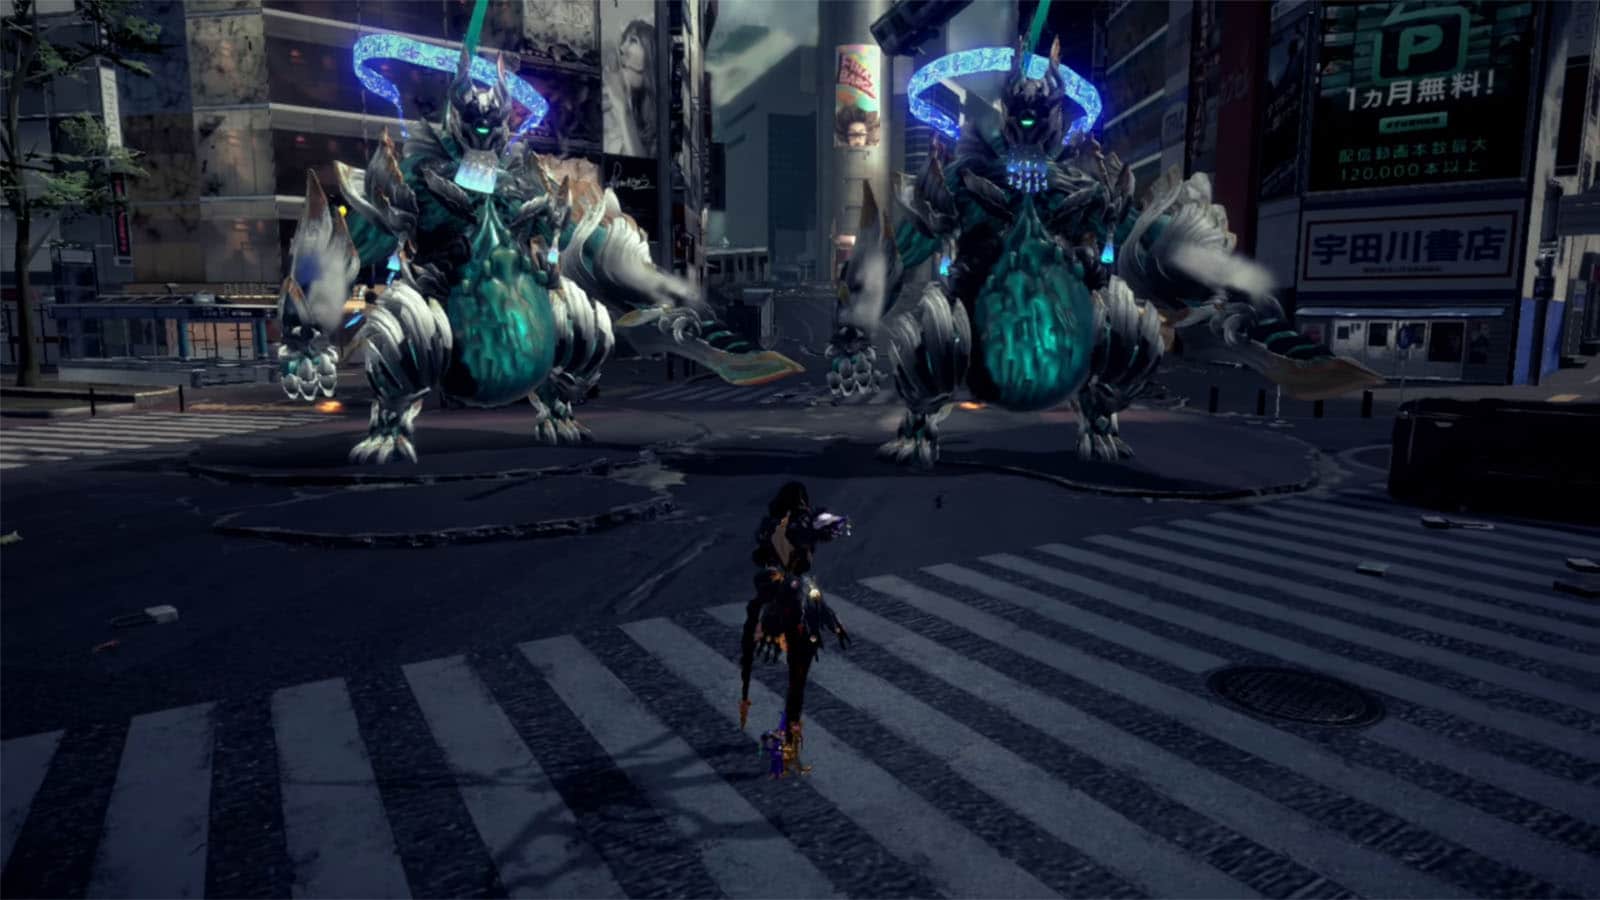
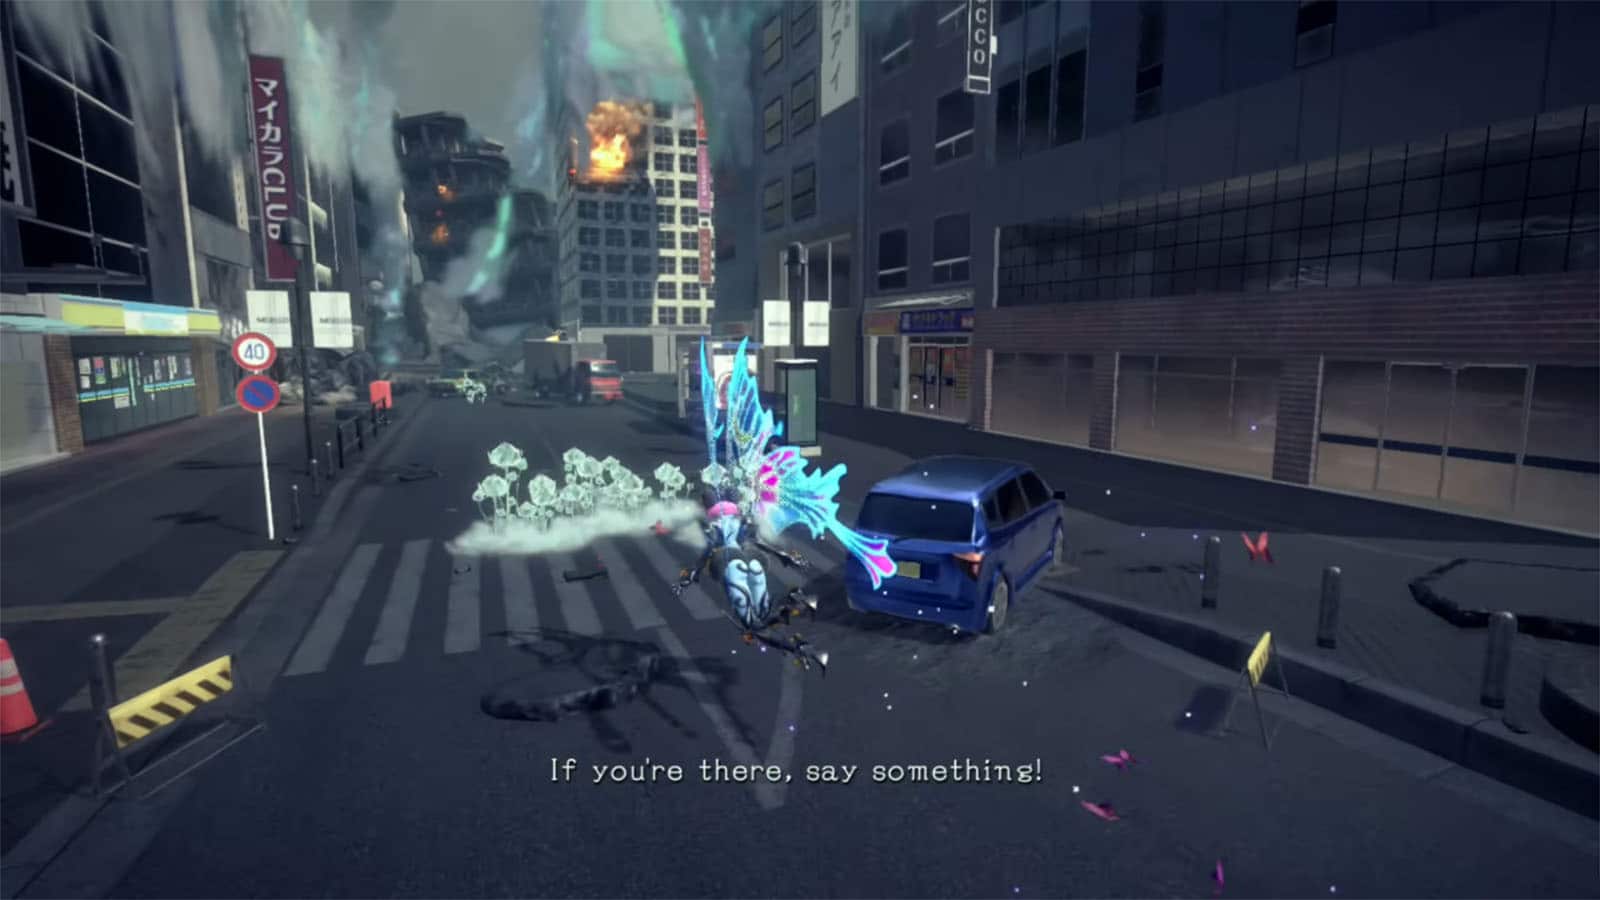
Scrambling for Answers is the first chapter in Bayonetta 3. The chapter picks up from the prologue where New York City gets invaded by beings that Bayonetta haven’t encountered before known as the Homunculi. They also meet Viola who came from a different universe asking for help in order to prevent the world form suffering the same fate that her world did.
In this guide, we will go through Chapter 1: Scrambling for Answers, listing along any collectibles as well as Bewitchments that can be acquired in the chapter.
Chapter 1 – Scrambling for Answers Objectives and Collectibles:
- Verse #1
- Figure Box #1
- Medallion Shard #1
- Thule: Passage of Mysteries
- Time Trial #1
- Echoes of Memory #1
- Card Pack #1
- Verse #2
- Card Pack #2
- Verse #3
- Broken Witch Heart #2
- Ginnungagap, the Chaotic Rift
- Verse #4
- Verse #5 / Bewitchment #1 & #2
- Tokyo: Shibuya
- Verse #6
- Umbran Tears of Blood – Cat
- Verse #7
- Echoes of Memory #2
- Figure Box #2
- Verse #8
- Card Pack #3
- Bewitchment #3
- Time Trial #2
- Figure Box #3
- Card Pack #4
- Verse #9
- Umbran Tears of Blood – Toad
- The Gates of Hell
- Verse #10 / Bewitchment #4
- Card Pack #5
- Verse #11
- Umbran Tears of Blood – Crow
- Figure Box #4
- Verse #12
- Echoes of memory: A Mysterious Flyer
- Witch Heart
- Verse #13 / Bewitchment #5
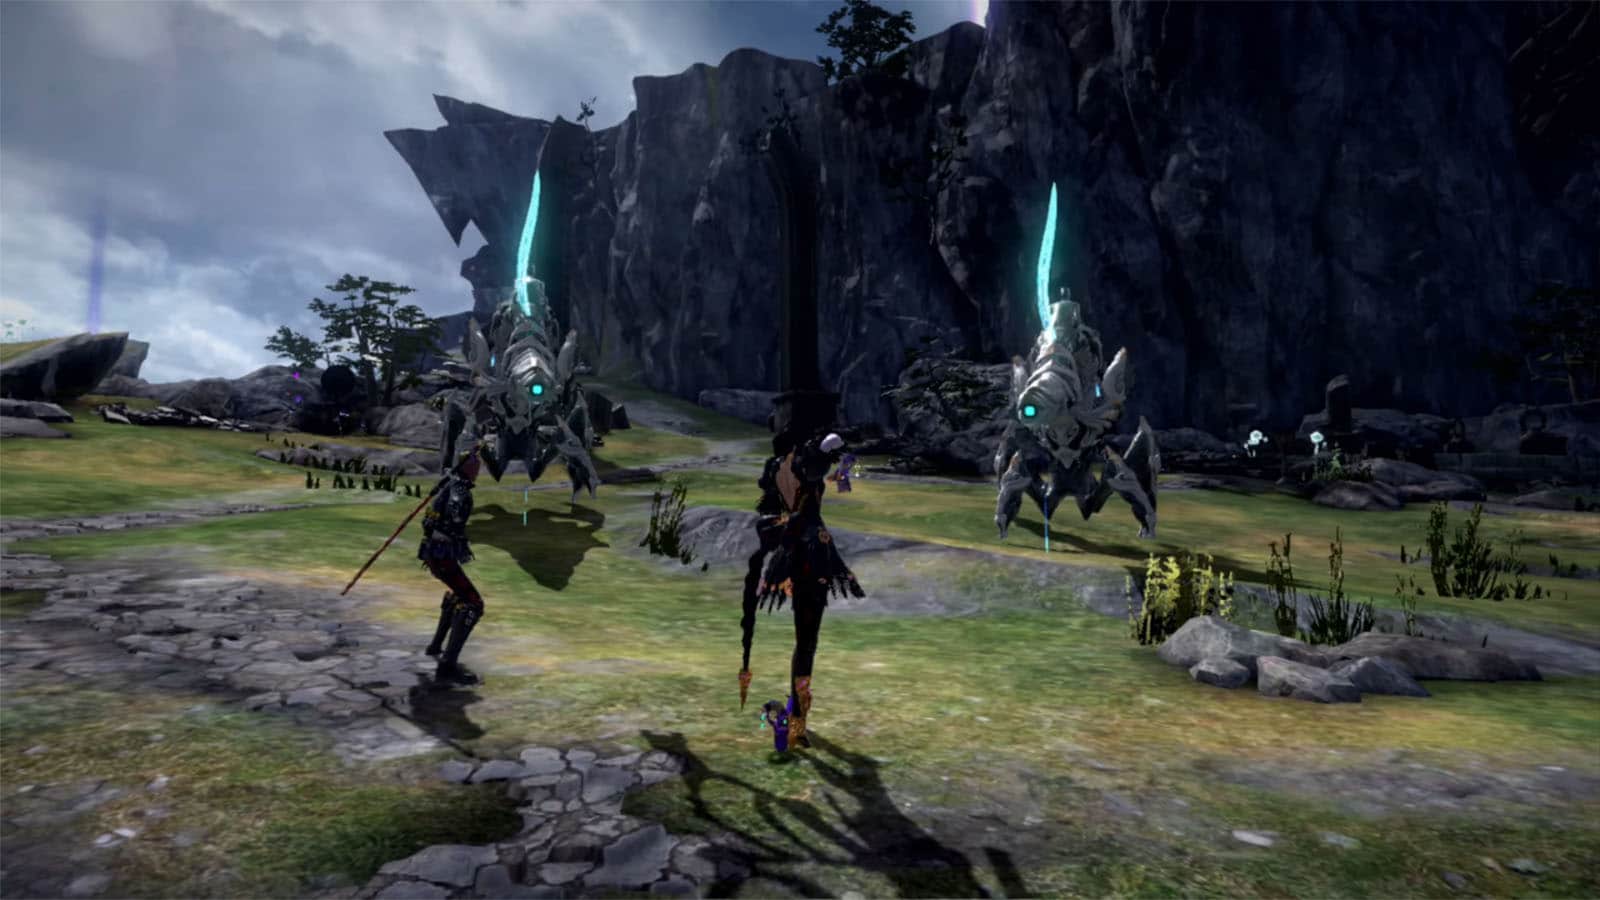
Verse #1
The fight starts as soon as Bayonetta and Viola arrives in Thule. This encounter will have you fighting a couple of Cavum and Stratus. After the fight, do not pass through the archway yet to find a couple of collectibles.
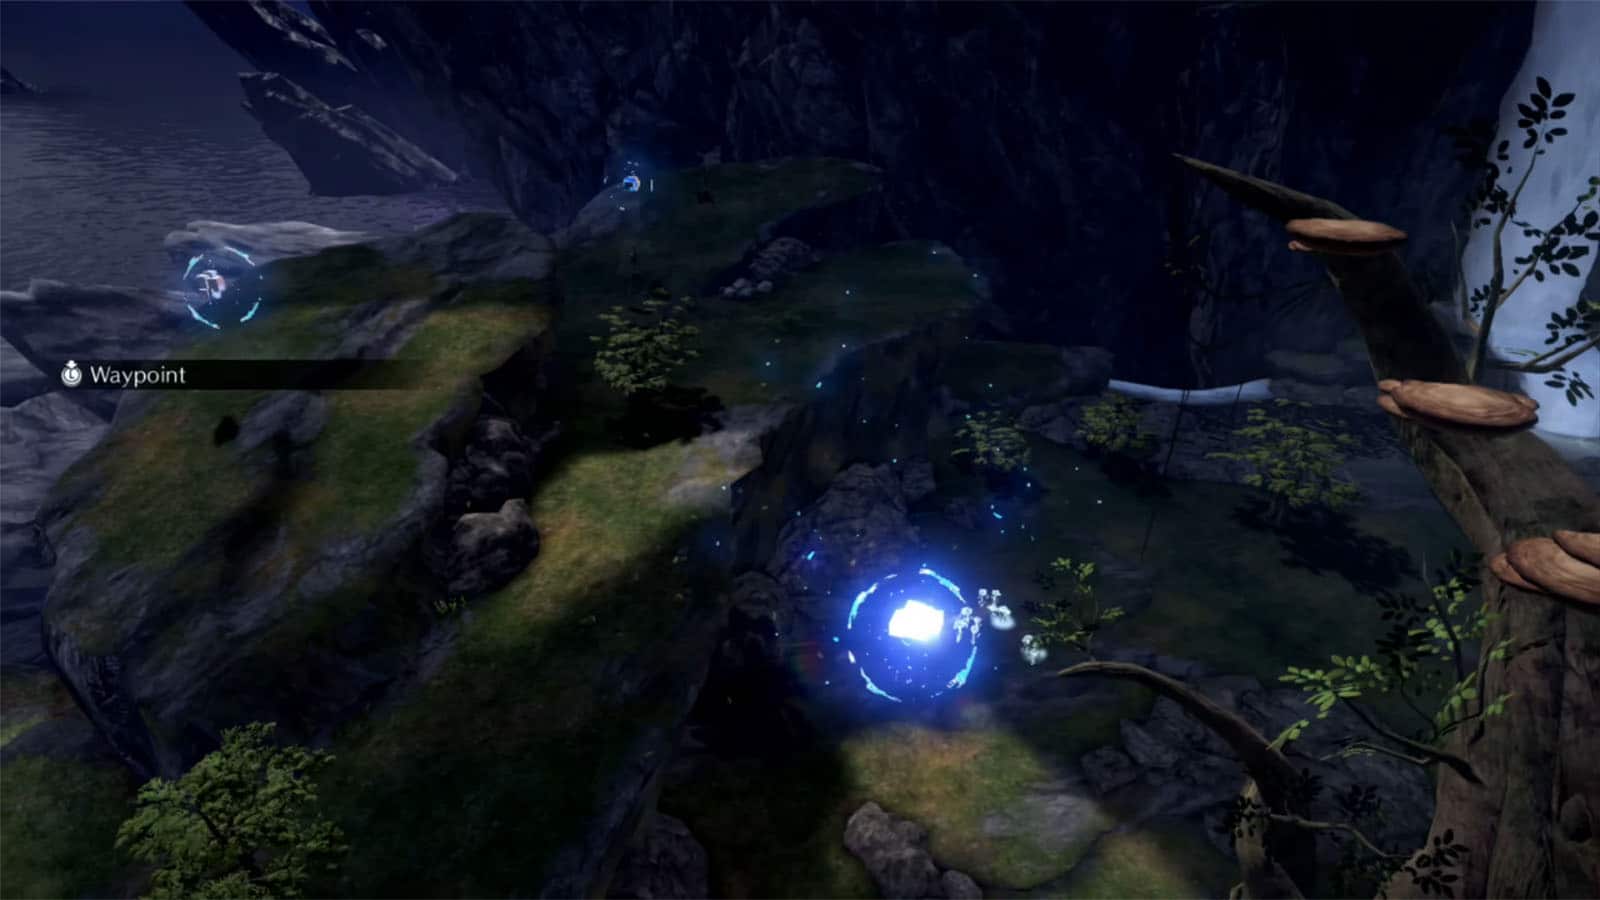
Figure Box #1
From the purple marker, head towards the left and look below the cliffs and climb down to get the figure box.
Medallion Shard #1
Go back up the arena and go to the other side. Follow the broken stairs down to the structure, then attack the structure to receive the Medallion Shard #1.

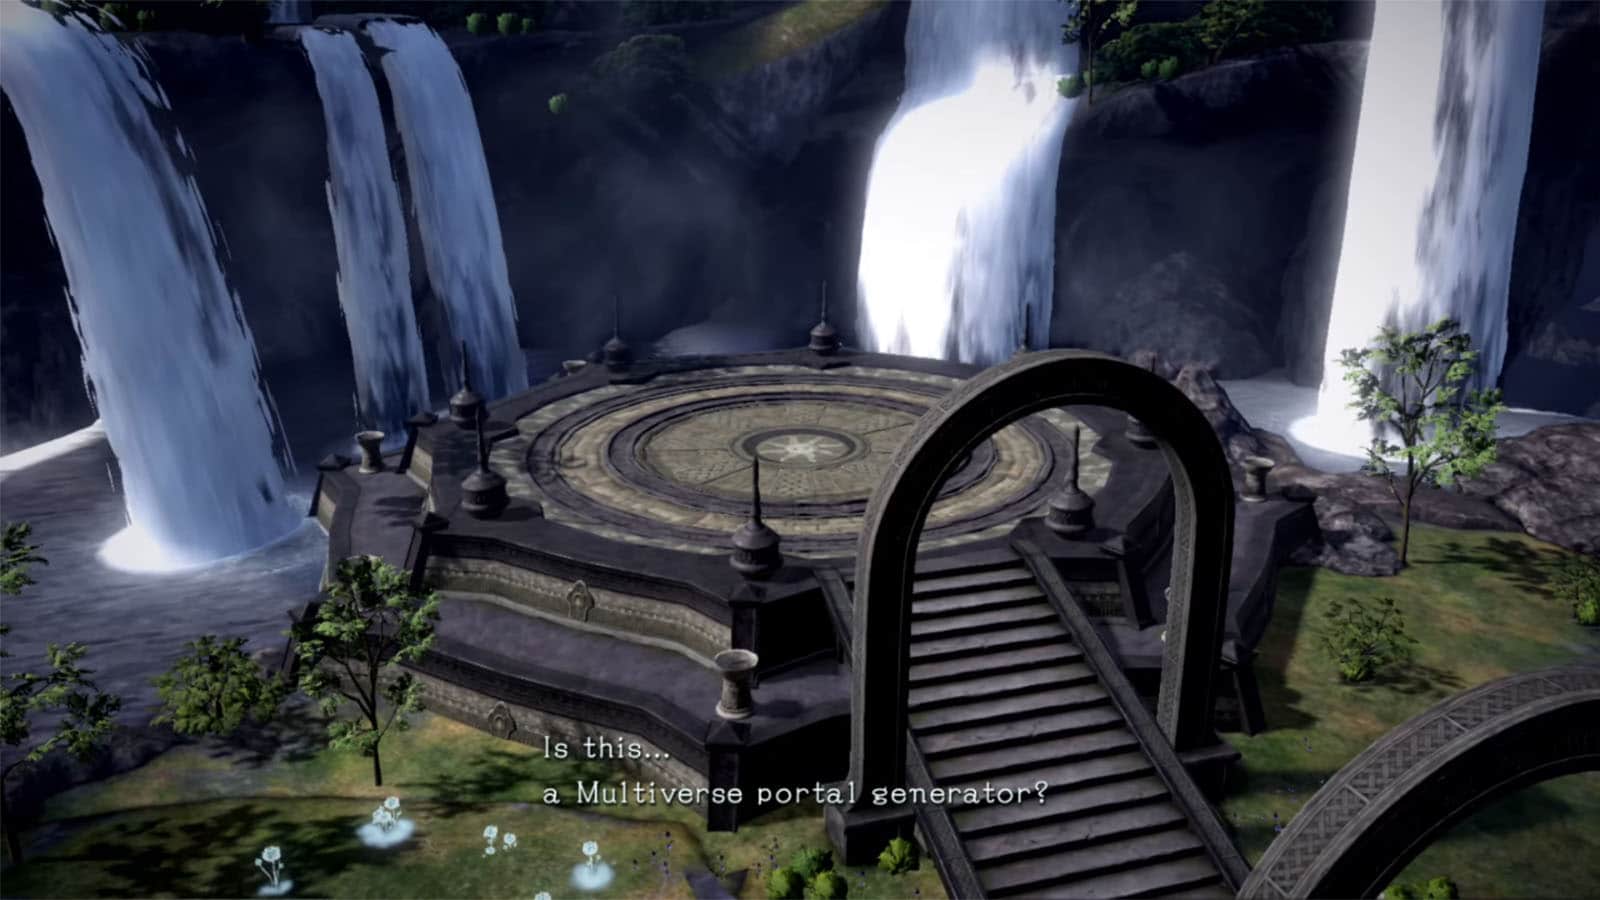
Thule: Passage of Mysteries
Head through the archway and a cutscene will play showing mirrors of the other worlds. From here on, you’ll find clumps of cubes that give out items that replenish health or energy when attacked.
Time Trial #1
From the archway, make your way on the top of the ridge to find cubes. Attacking this will start a time trial which requires you to reach 5 checkpoints before time runs out. If successful, you’ll be rewarded with Halos.
Echoes of Memory #1
Head towards the stone structure to the right and look for cracks on one of its sides. Attack that side to find the Echoes of Memory: The Isle Between.
Card Pack #1
Go behind the stone structure and you’ll find a card pack by a branch off a cliff.
Verse #2
Head towards the structure with the purple light to start this fight. In order to complete this verse, you need to summon Gomorrah and do three (3) Gripping Bites. You’ll be rewarded with a Broken Witch Heart #1 for completing this the first time.
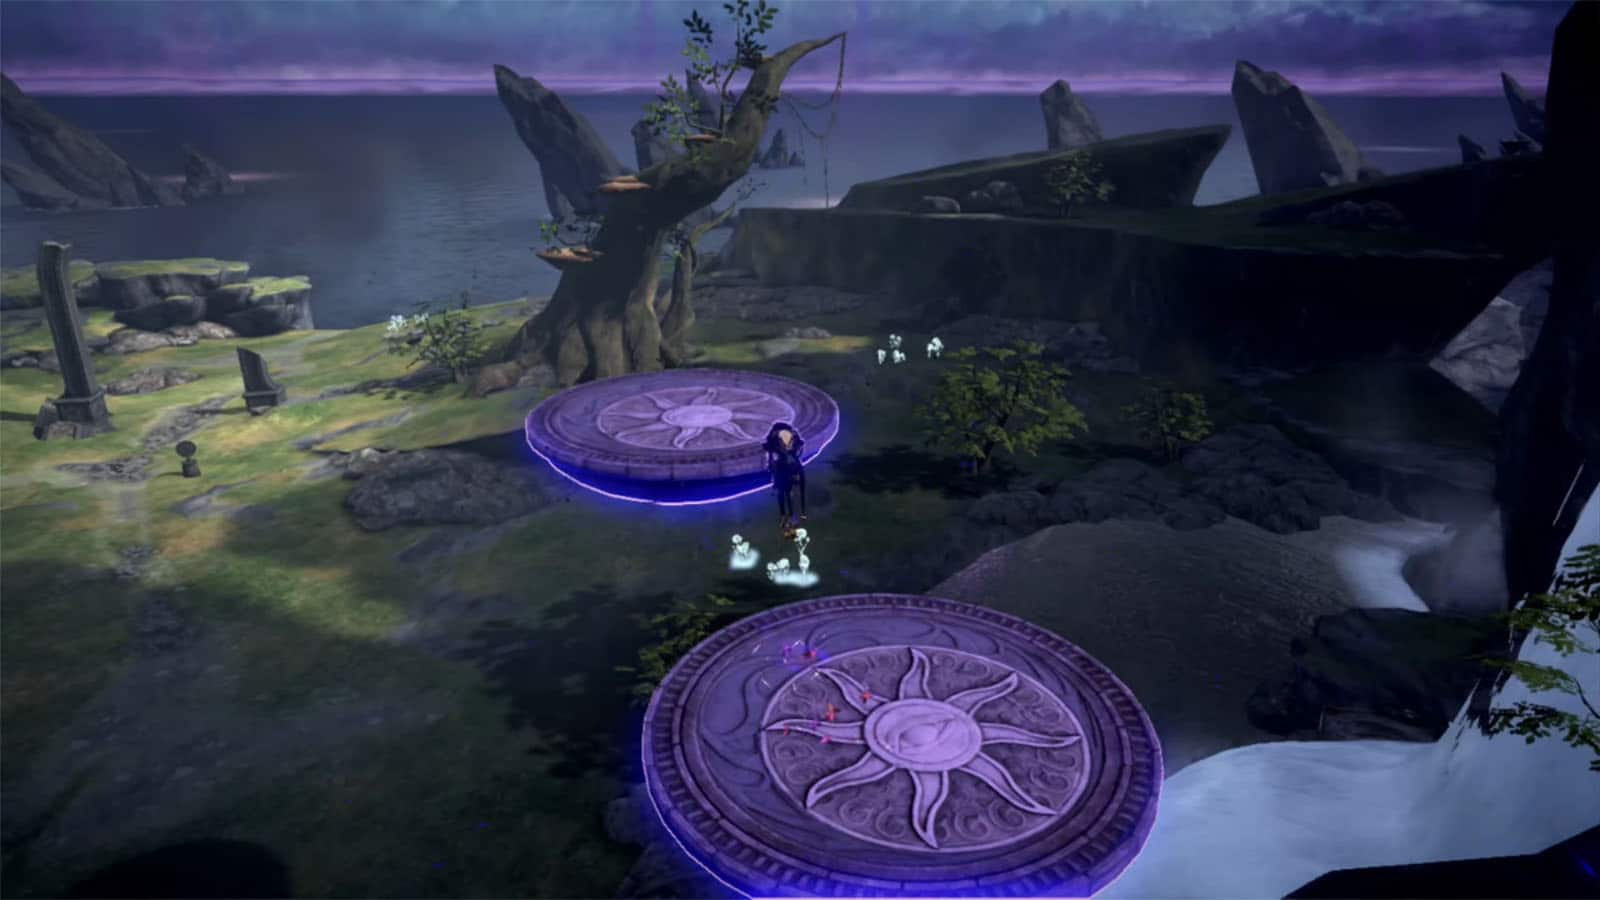
Card Pack #2
To reach this card pack, go to the right of the waterfall and jump on the floating platform. Follow the platforms that appear until the end where it will bring you up the ridge where the card pack is.
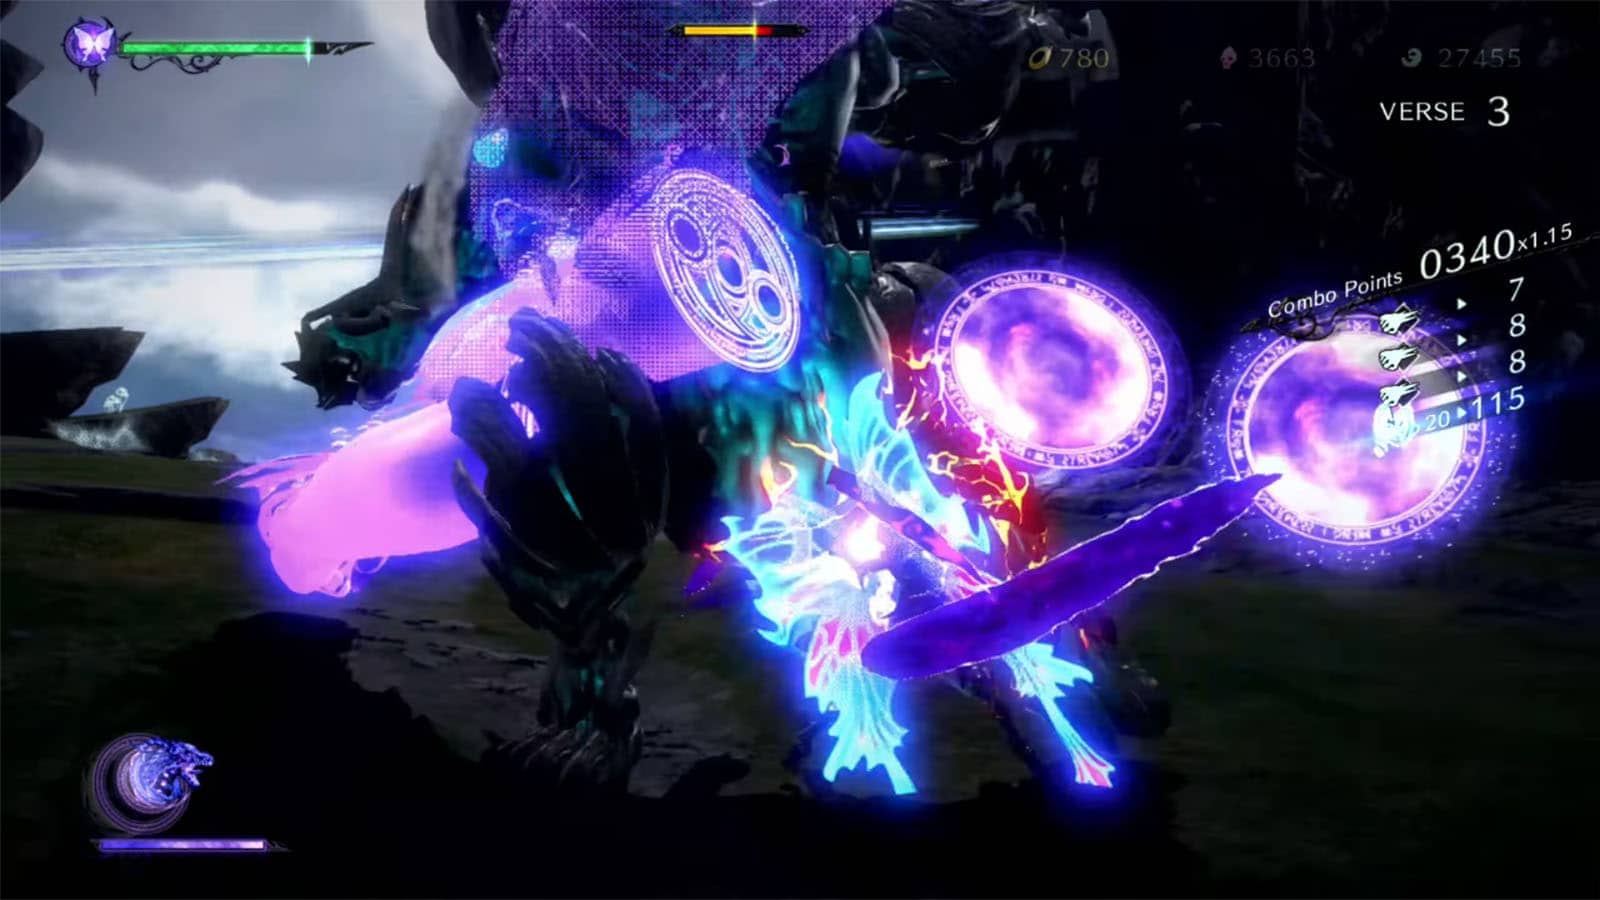
Verse #3
Go back to the path to the right and just past the treasure cubes will be the third verse. Defeat the homunculi to proceed.
Broken Witch Heart #2
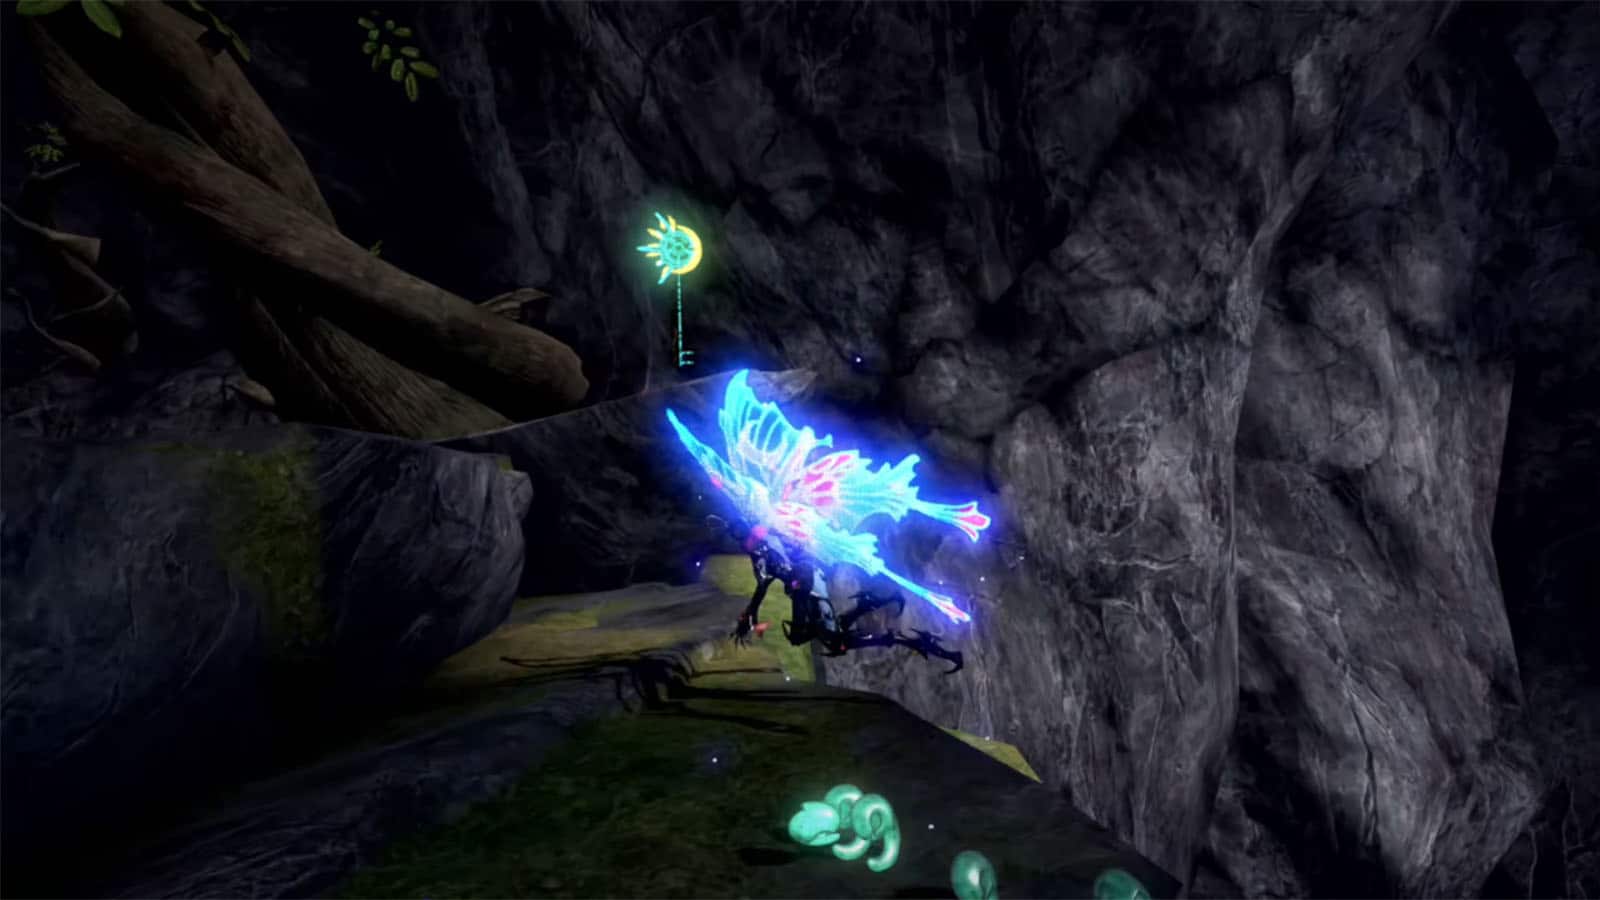
After completing Verse #3, go around the tree to the left and pick up the huge key. Head back to the waterfall and use the key to get through the barrier, then open the cubes to get the Broken Witch Heart.
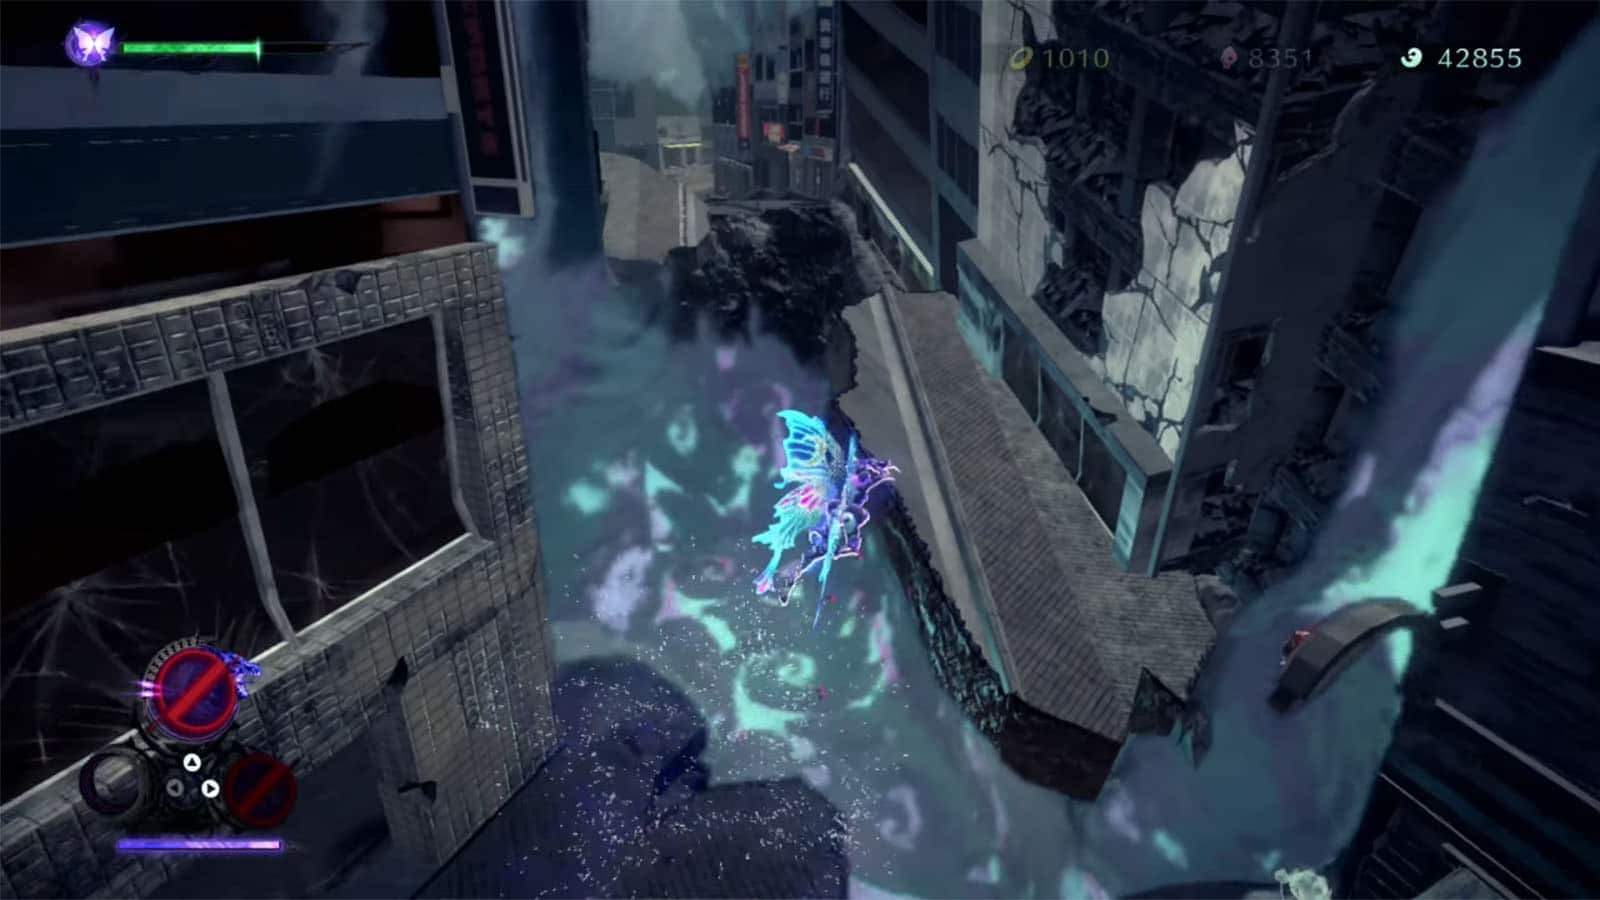
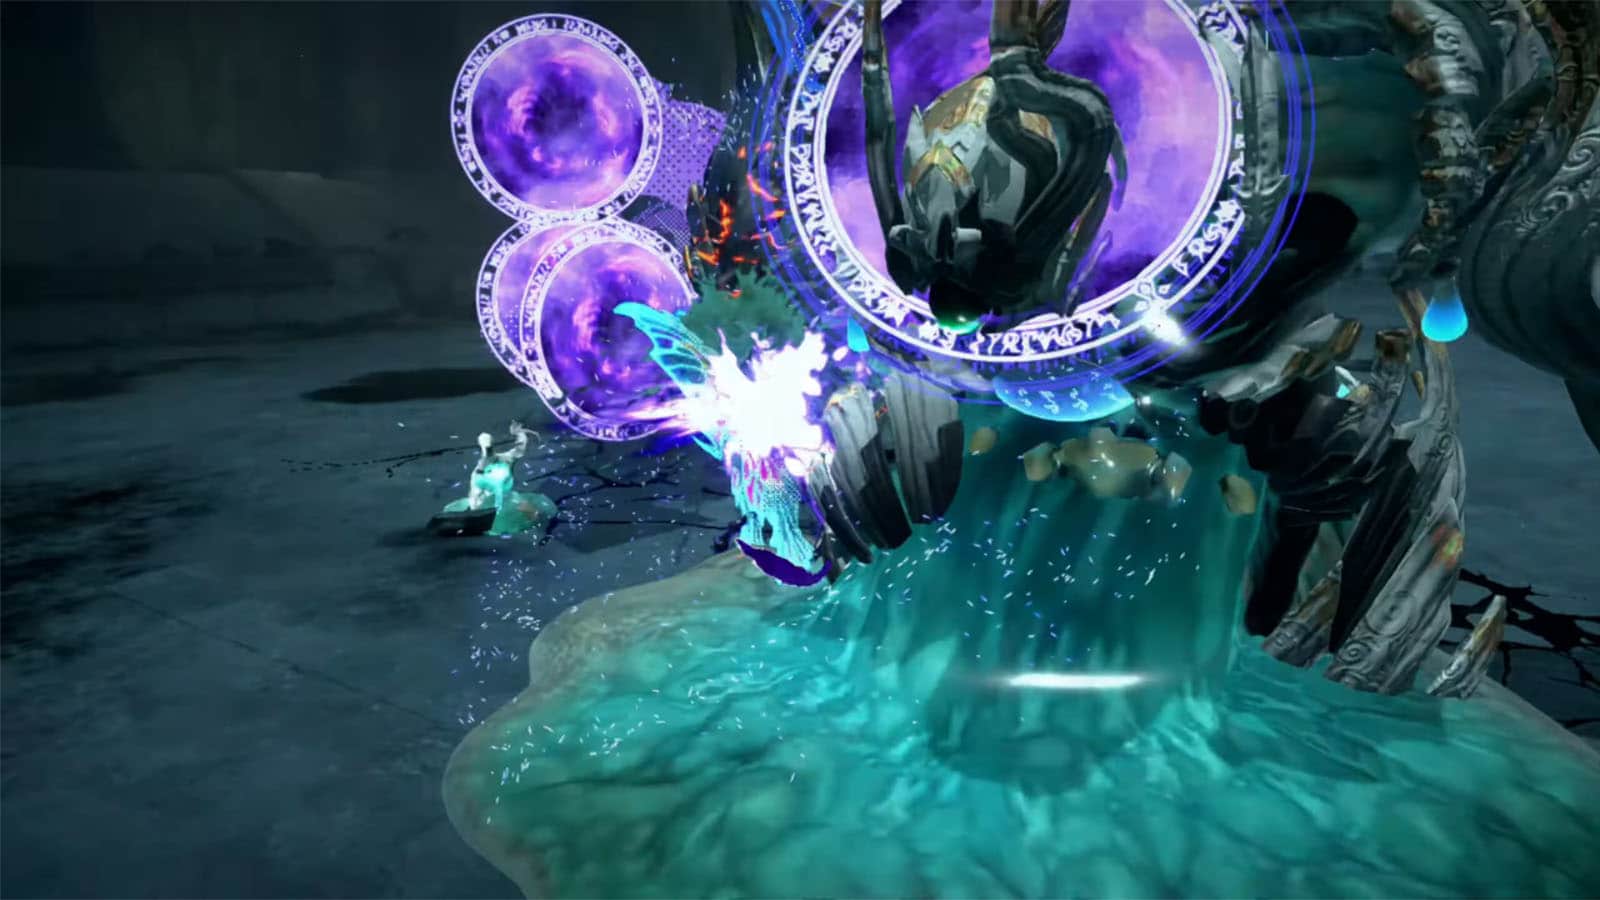
Ginnungagap, the Chaotic Rift
Continue to the path past Verse #3 to get a short cutscene showing a portal. Head towards the portal to get transported to Ginnungagap. While in here, you’ll unlock the ability to summon Madama Butterfly in combat.
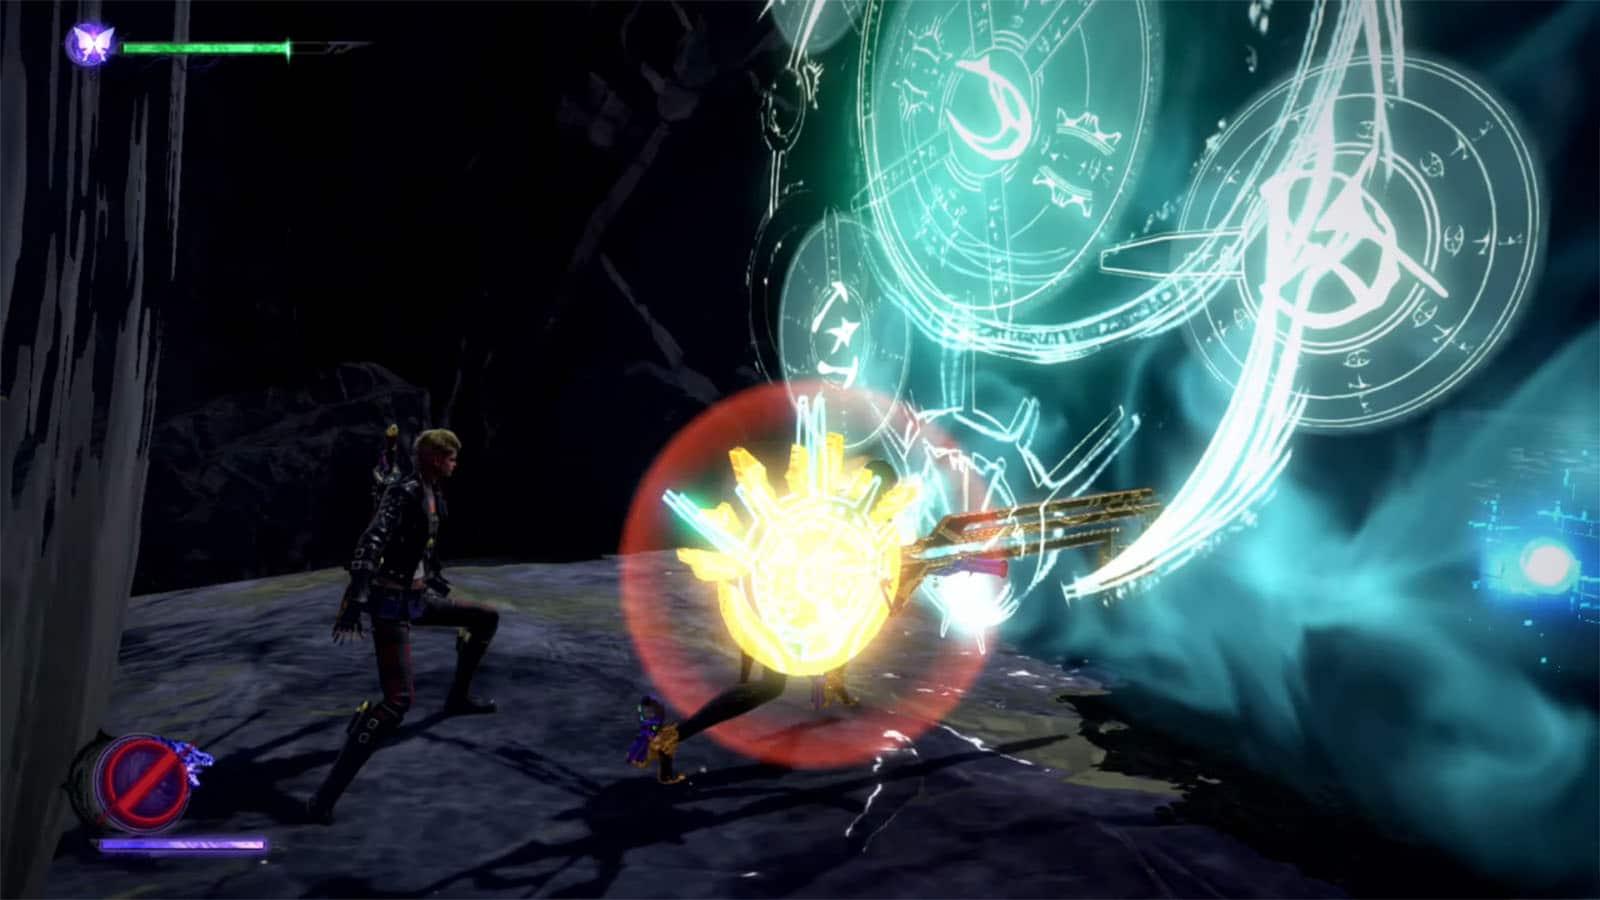
Verse #4
Continue following the path and you’ll get Verse #4. You can put Madama Butterfly to the test during this combat.
After defeating the homunculus, continue following the path to the end to get transported to Shinagawa.
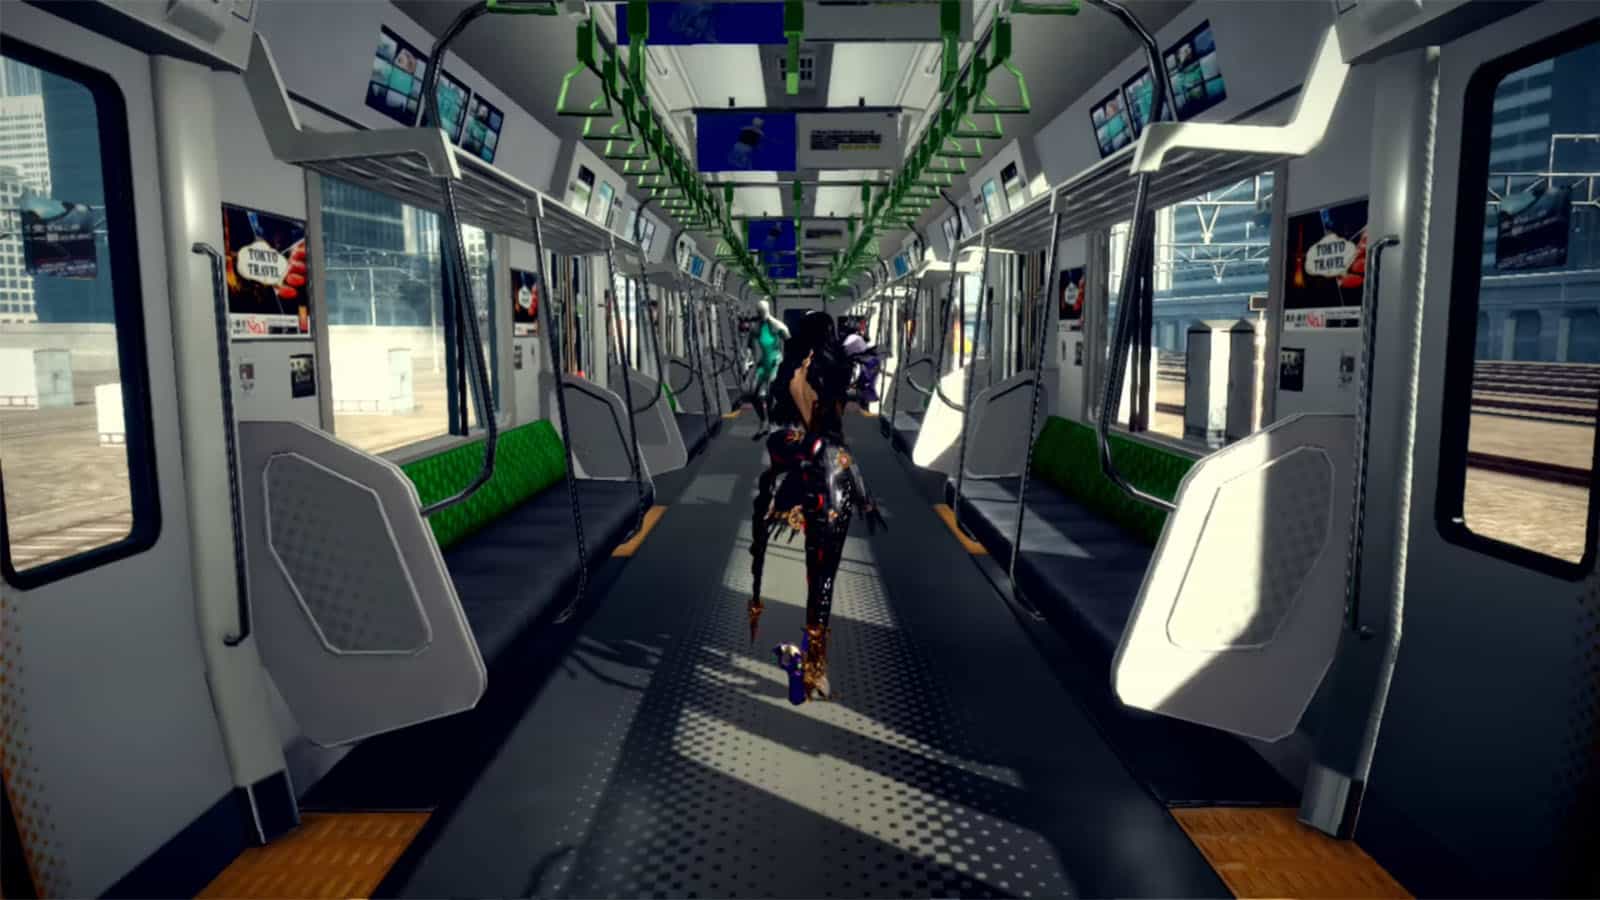
Verse #5 / Bewitchment #1 & #2
As you arrive inside the train, more homunculi will arrive. You’ll have to defeat as many Stratuses as you can until you reach the next section. Defeating at least 5 of them before the train stops will gain you the Defeat 5 Stratuses Inside The Train Car Bewitchment.
Once you get the cutscene, you’ll then have to ride Gomorrah down the fallen buildings. You can use fireballs or tail whips to destroy obstacles; destroying at least three will earn you the Destroy 3 Obstacles While Sliding On Gomorrah Bewitcment.
The final leg for this verse is a fight against another homunculus with Gomorrah and another chase scene with the giant homunculus.
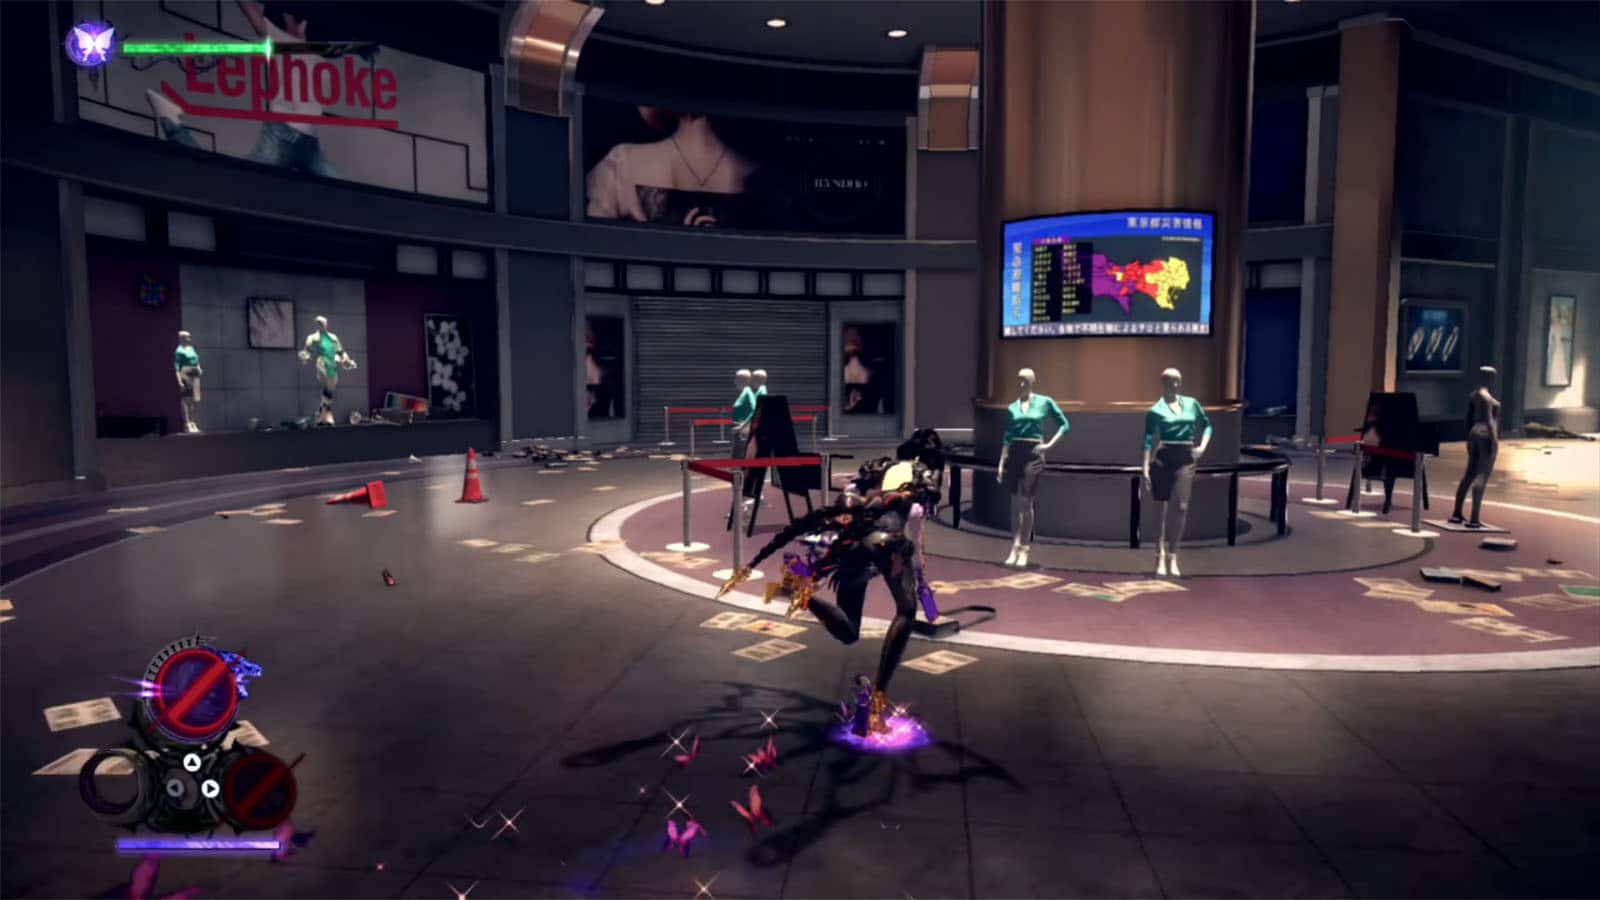
Tokyo: Shibuya
Once you arrive in Shibuya, you can spend some time exploring the crossing. You can attack the mascot and the destroyed cars to get some currency.
Verse #6
This can be found to the east section, behind one of the fallen train carts. Similar to the previous challenge, you only need to blow three (3) Flutter Kisses towards the homunculi to complete it. You will also be rewarded with the Moon Pearl Fragment.
Umbran Tears of Blood – Cat
While still in the crossing, look for the closed off street and you will find a red glowing orb which will transform into a cat familiar. You’ll then need to chase this cat around to obtain the Umbran Tears of Blood.
Verse #7
Head towards the 101 Building to get another cutscene and a fight against two homunculi. Clear them out to complete the encounter.
Echoes of Memory #2
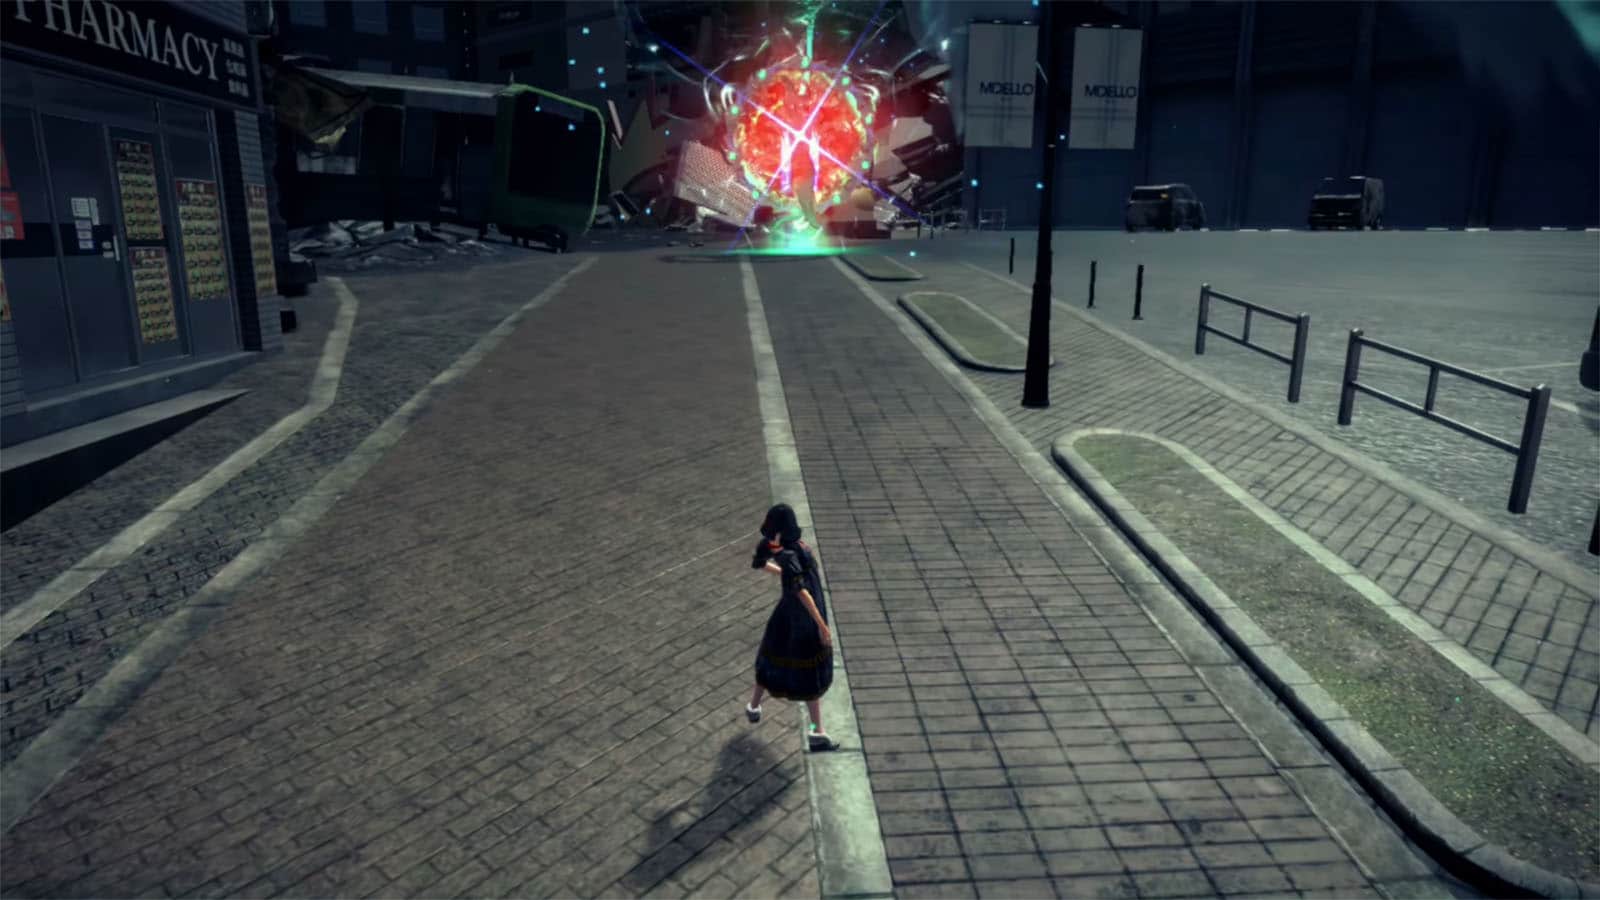
Take the path to the right of where the previous verse happened to find a Congestus which will reverse time and turn Bayonetta into a younger girl. Simply approach it and avoid the mines that it throws. Once it’s tipped down, use its powers to reverse time and reconstruct the broken down building.
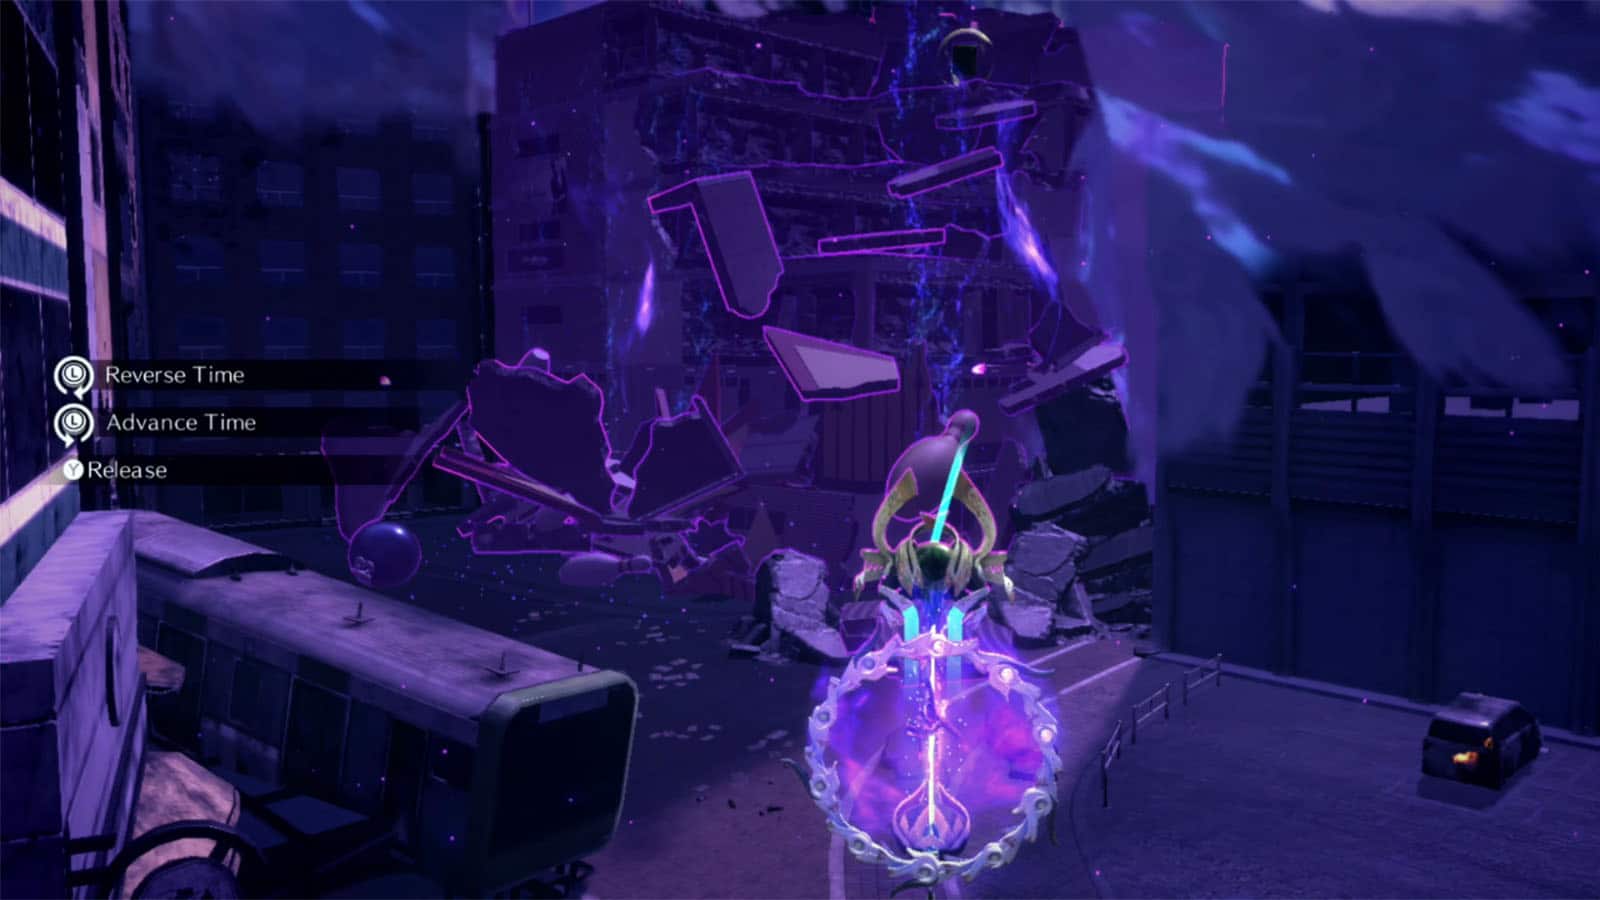
Don’t roll back time all the way through; you want to revert time so that the building debris create a staircase towards the top where you’ll find the Echoes of Memory: Bowl Off. Check to the left of the Congestus and you’ll find a hamburger that will earn you the Pick Up A Hamburger Bewitchment.
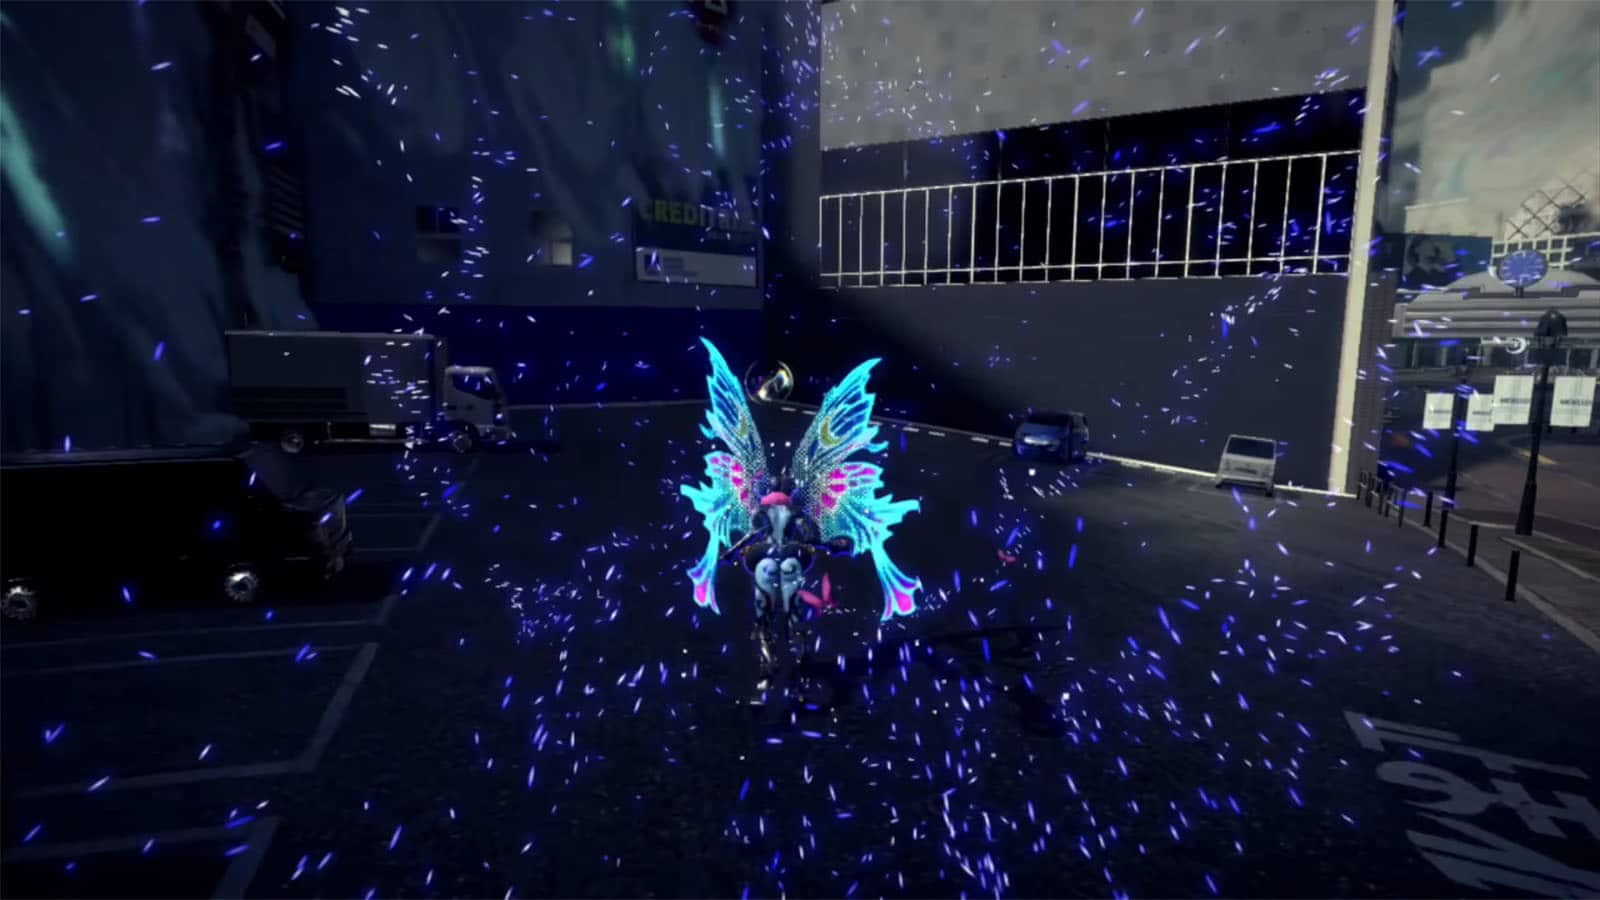
Figure Box #2
Just across the ruined building, in the parking lot, you will find the figure box.
Verse #8
You can use the Congestus again to reconstruct the building, and from the top, make your way to the golden glow on the other rooftop. You’ll then have to defeat a bunch of angels to clear this verse.
Card Pack #3
Just near the previous verse, go to the large billboard to find the card pack.
Bewitchment #3
Still on the rooftop, look towards where the 1010 Building is to see a train stuck in the wind wall. Jump and glide towards it, then once you touch it, jump again to do a wall jump to get on top of it. Then, jump high again and glide towards the 101 Building to get the Stand atop an iconic Shibuya landmark Bewitchment.
Time Trial #2
On the rooftops, you’ll find another treasure cube which leads to another time trial that you can complete for a prize.
Figure Box #3
Head back down to the streets and you’ll find a train cabin to the right. Enter it to find the figure box.
Card Pack #4
Head to the 101 Building, but don’t enter through the main entrance yet. Go to the side and to the corridor under the stairs to find a card pack.
Verse #9
Go inside the 101 Building for the next encounter. Then, exit trough the other door to get to the ruined streets.
Umbran Tears of Blood – Toad
As you hop over to the first ledge on the right, you’ll hear a croaking frog. Look at the circular sign nearby to get the toad familiar.
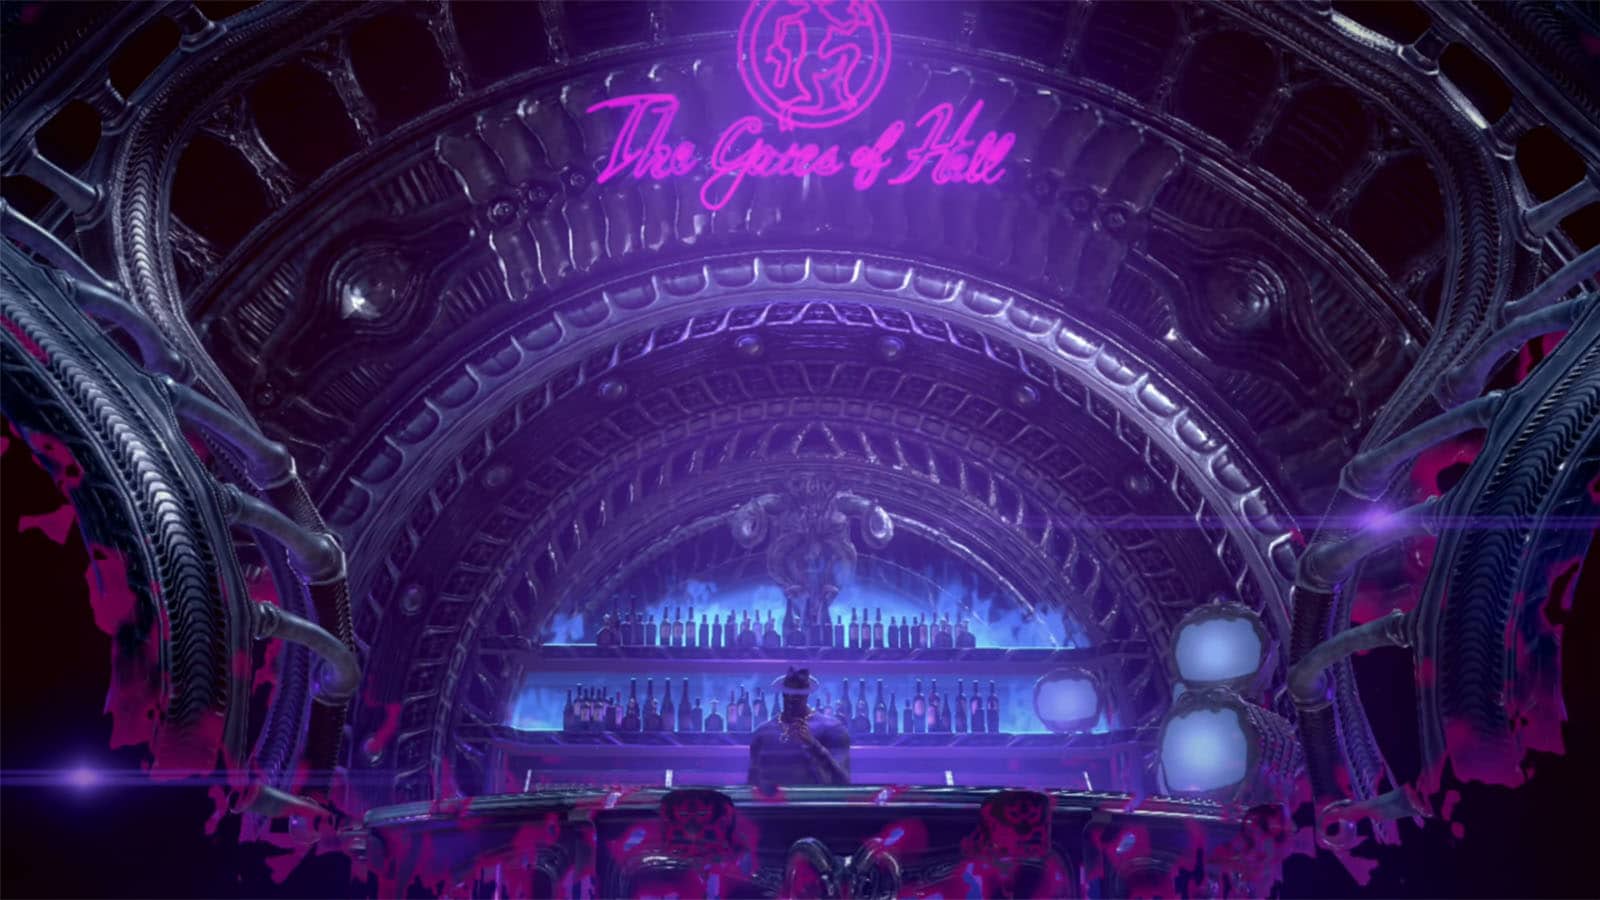
The Gates of Hell
After going through the cutscene, you can interact with the gramophone to access The Gates of Hell where you can purchase stuff from Rodin.
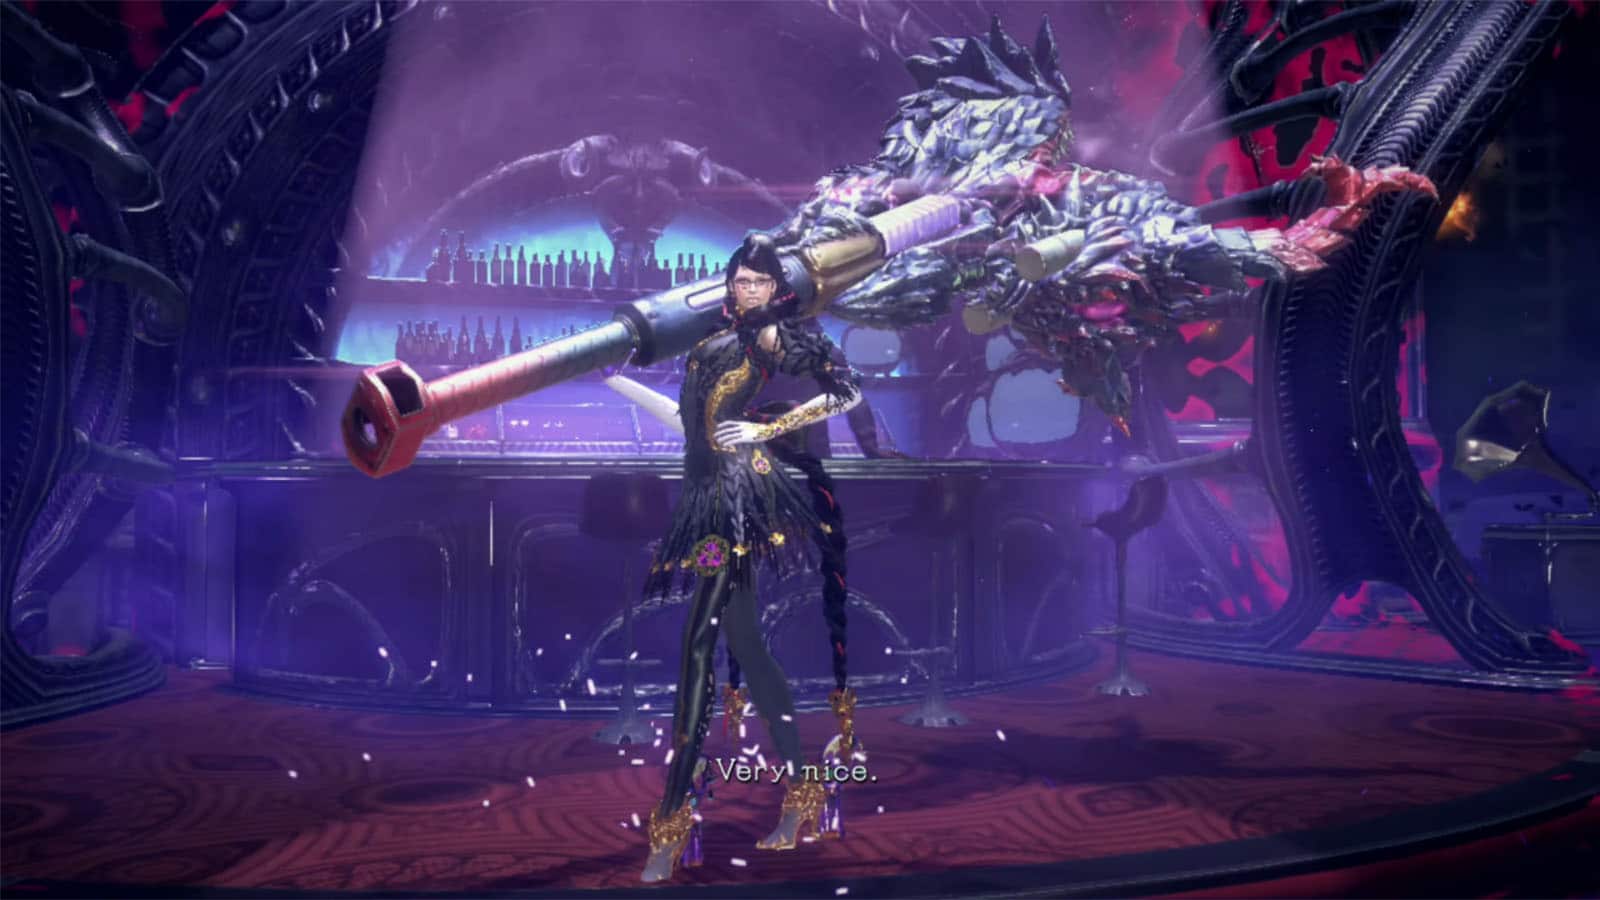
He will also give you the G-Pillar which is a slow, but powerful weapon. You’ll also learn how to use the Demon Pulse that can give you more maneuverability.
Verse #10 / Bewitchment #4
Turn to the right side opposite of the hole for now to reach the next verse. In this encounter, you will need to clear out all the enemies before time runs out. Doing so will reward you with a Broken Witch Heart. Look for the Larger Burger signboard nearby which will also drop a burger for the Pick Up A Hamburger Bewitchment.
Now head to the collapsed street and attack the debris to open the entrance.
Card Pack #5
Go through the tunnels and then take a right, then another right to find the card pack.
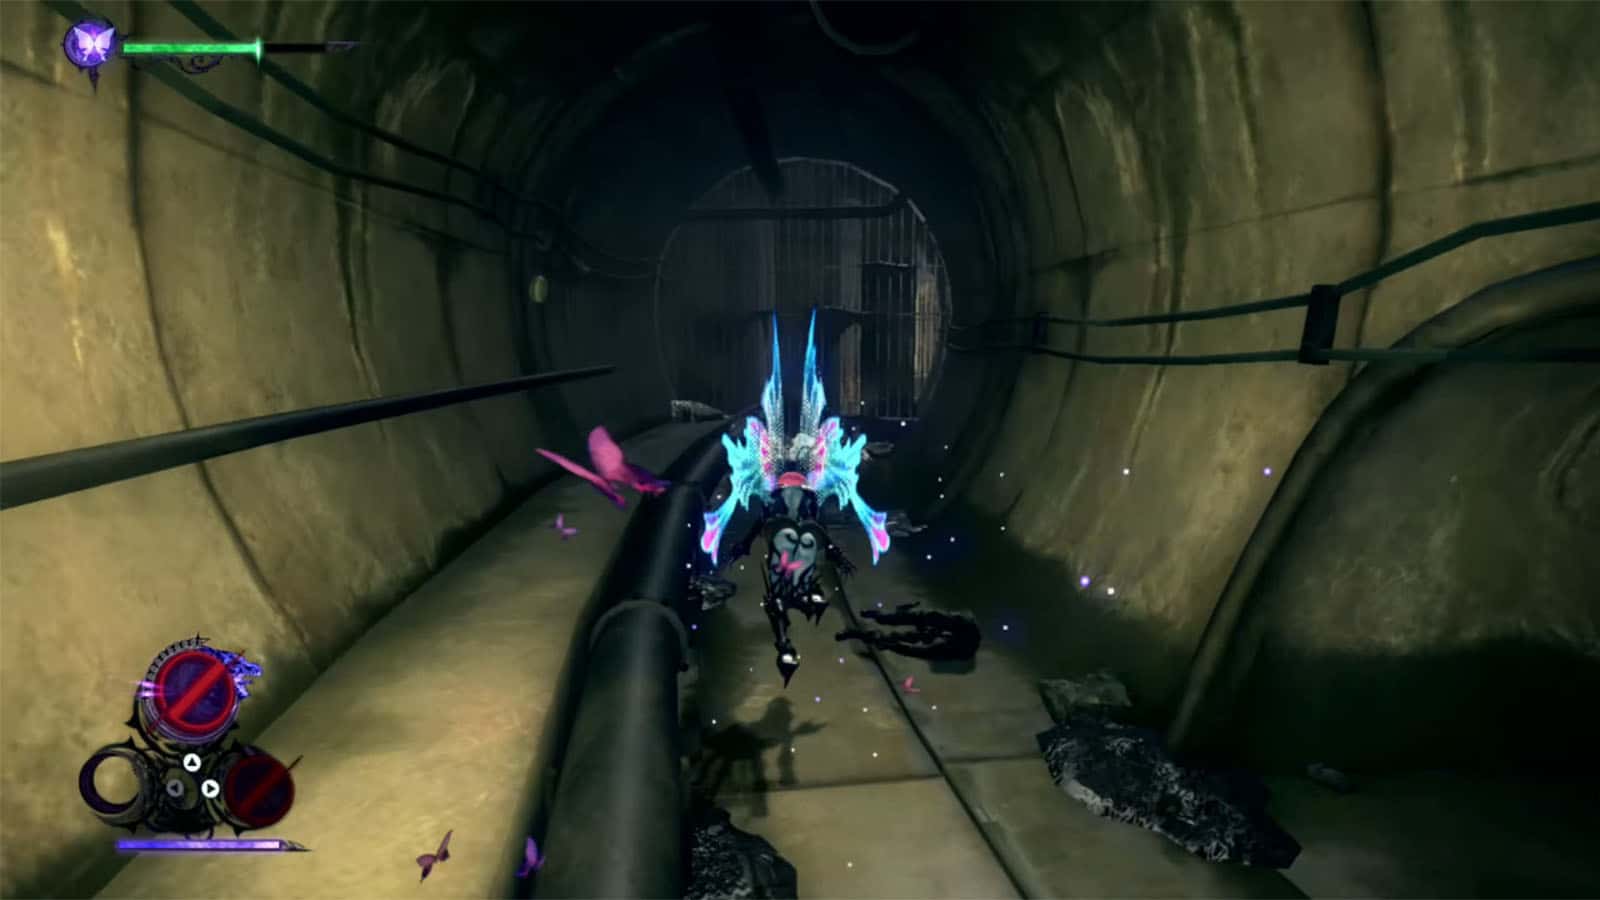
Verse #11
Continue through the tunnels and you’ll eventually get ambushed by enemies. Clear them out to proceed.

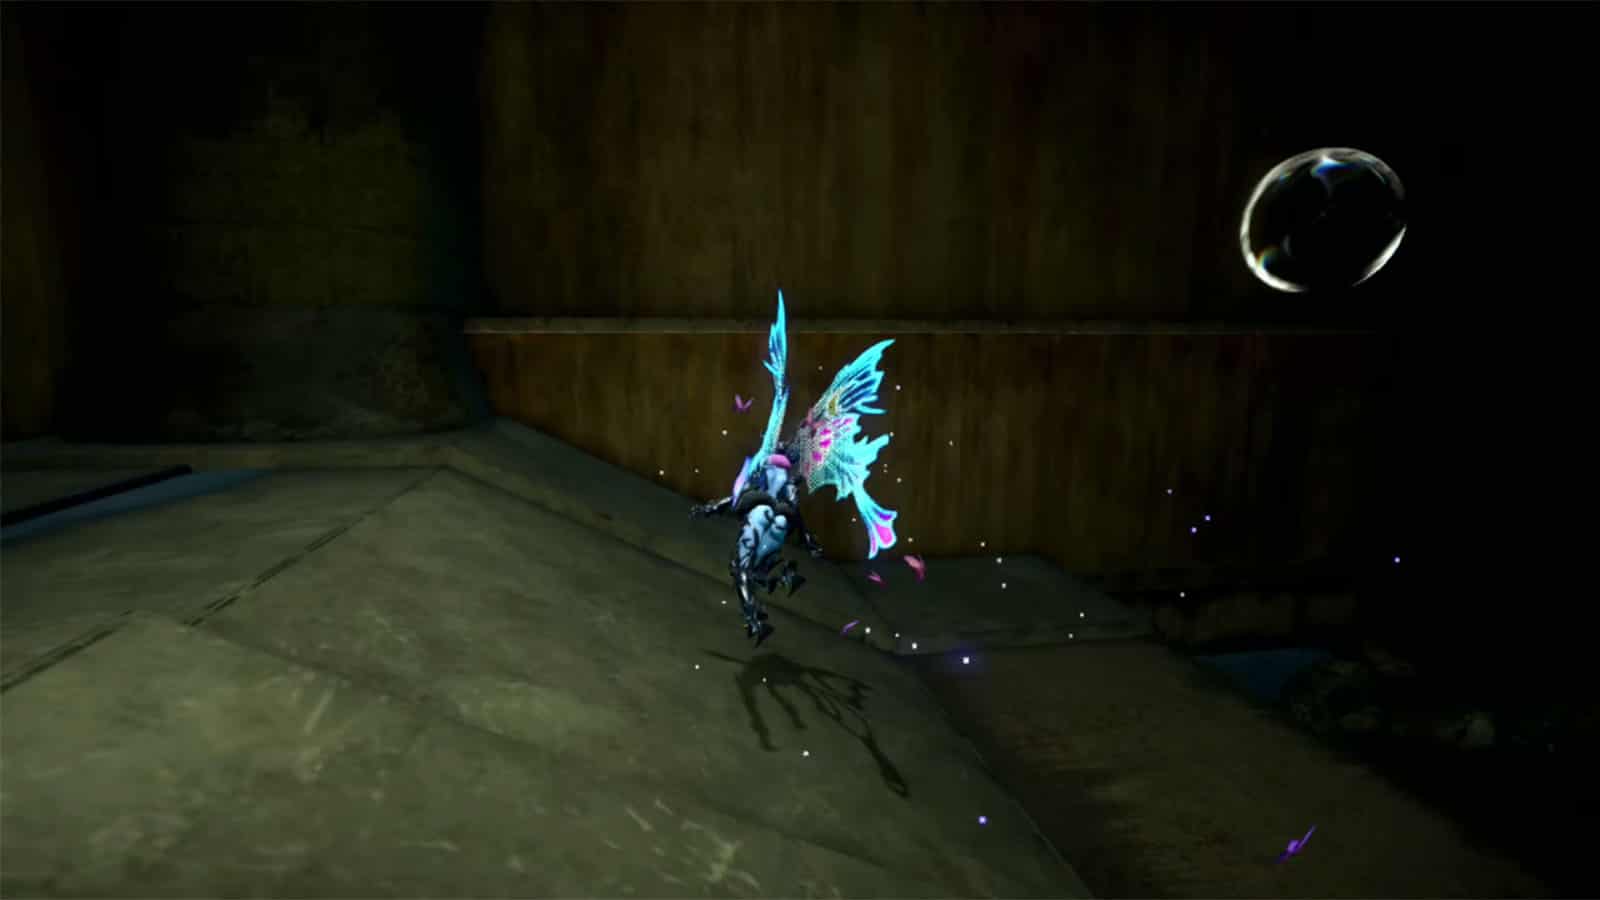
Umbran Tears of Blood – Crow
Once you arrive at a circular chamber, you’ll see the the crow glowing red on the opposite side perched on the railing. To catch the crow, you can approach it from the right to trigger it to fly, then turn around and intercept it towards the left.
There’s also a pipe below the platform that you can reach by gliding towards it. Inside it, you can find a chest.
Figure Box #4
Run down the staircase and you will get the figure box along the way.
Verse #12
You’ll arrive at the flood chamber where you’ll fight a couple of homunculi. Clear them out to proceed.
Echoes of Memory #3
Explore the left side of the chamber near the corner to find the Echoes of Memory: A Mysterious Flyer.
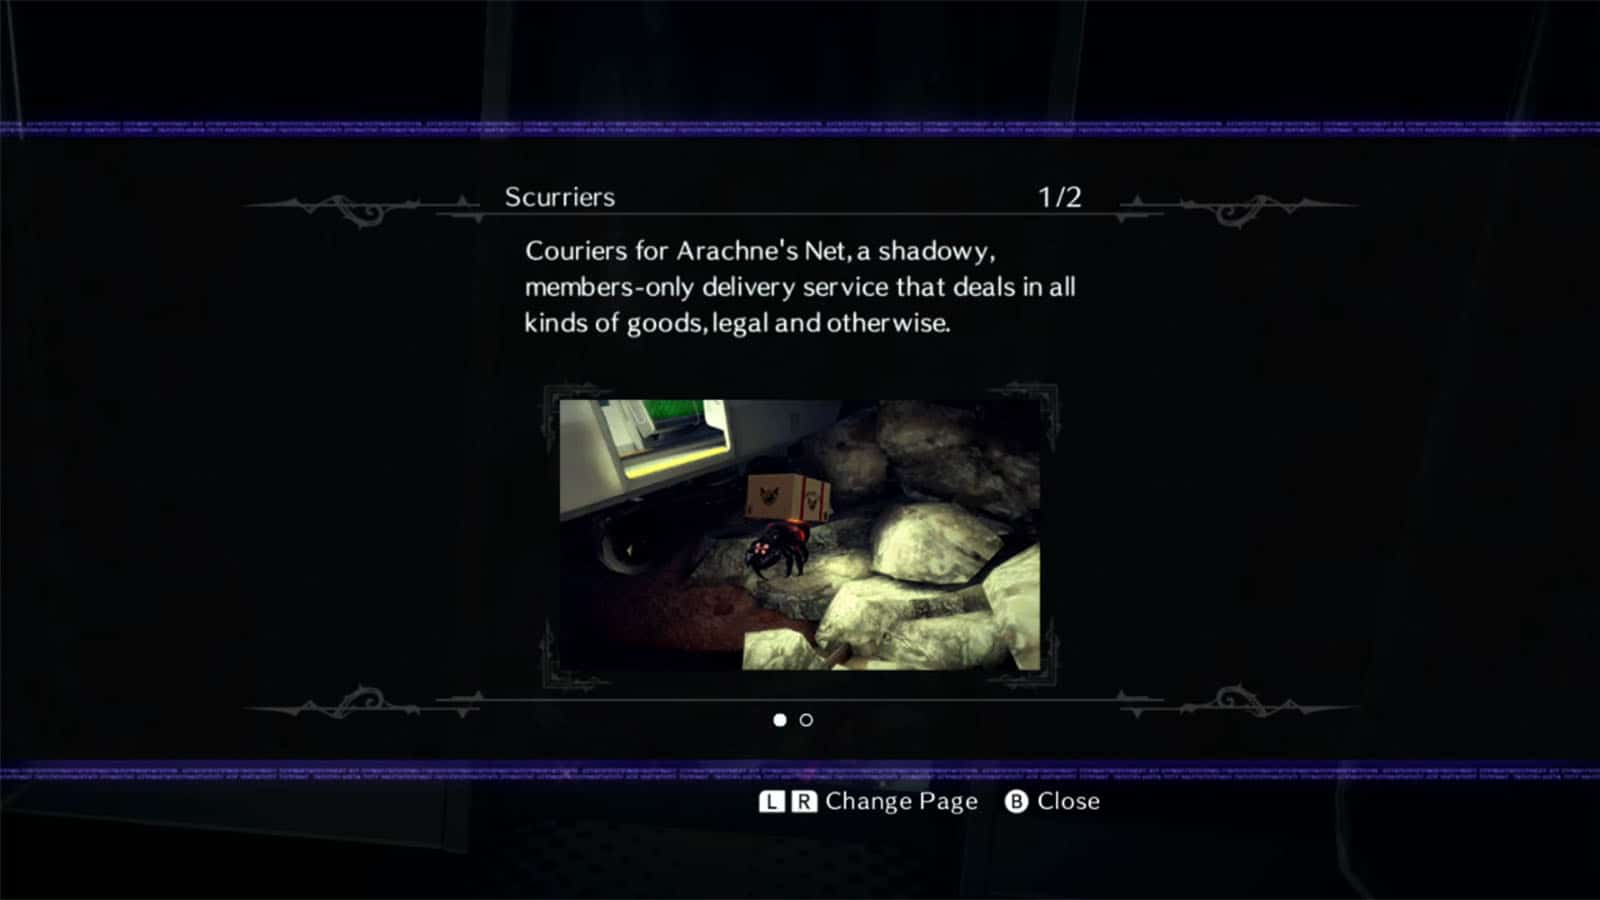
Scurrier #1
Proceed through the subway train and once you exit to the other side, you’ll find the tip for Scurriers. Catch the nearby scurrier to get a With Heart. You will also gain access to the skill tree.
Verse #13 / Bewitchment #5
You’ll encounter two Pannus that split into two when it is hit by a summon’s attack. To prevent that from happening, you will have to defeat it using only your own attacks. Completing that challenge will earn you the Defeat a Pannus without causing it to split Bewitchment.
After defeating the enemies, a cutscene will play showing a projection of what seems to be the events from another universe.
See next Bayonetta 3 Walkthrough Chapter 2 - City on Fire
If you like this guide, be sure to check out our other Bayonetta 3 articles:
- Bayonetta 3 Chapter List – How Many Chapters
- Bayonetta 3 Ending Explained
- Bayonetta 3 Singularity (Explained)
- All Outfits in Bayonetta 3
- Bayonetta 3 Weapons and Abilities
- Bayonetta 3 Day One Update Patch Notes Revealed
- How Long to Beat Bayonetta 3 – Game Length
Check out this video by omegaevolution showing gameplay for Chapter 1:


