
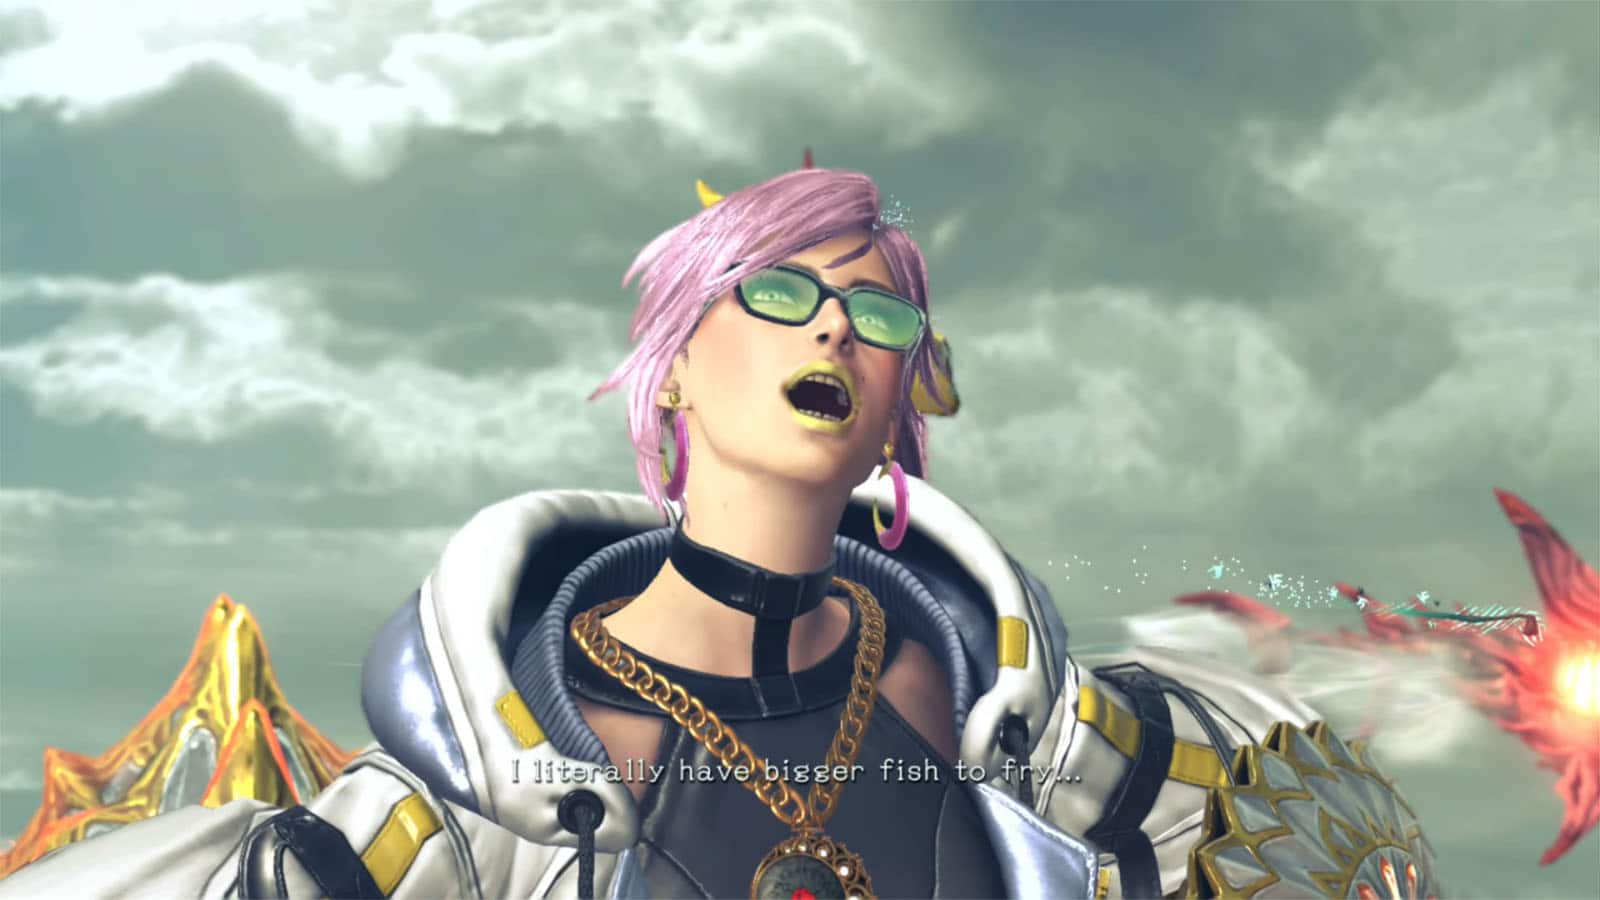
A Sinking Feeling is the third chapter in Bayonetta 3 where Bayonetta is still within the ruined city of Tokyo, following the trail of the Iridescent to find answers. She will eventually meet an old acquaintance and a version of herself from a different reallity.
In this guide, we will go through Chapter 3: A Sinking Feeling, listing along any collectibles as well as Bewitchments that can be acquired in the chapter.
See previous Bayonetta 3 Walkthrough Chapter 2: City on Fire
Chapter 3 – A Sinking Feeling Objectives and Collectibles:
- Starting Area
- Figure Box #1
- Moon Pearl Fragment #1
- Umbran Tears of Blood – Crow
- Verse #1
- Figure Box #2
- Umbran Tears of Blood – Toad
- Tokyo: Taito
- Bewitchment #1
- Echoes of Memory #1
- Verse #2
- Verse #3
- Card Pack #1
- Record #1
- Umbran Tears of Blood – Cat
- Scurrier #1
- Broken Witch Heart #2
- Verse #4 / Broken Witch Heart #3
- Verse #5
- Echoes of Memory #2
- Figure Box #3
- Broken Witch Heart #4
- Card Pack #2
- Verse #6
- Bewitchment #2
- Bewitchment #3
- Figure Box #4
- Verse #7
- Verse #8
Starting Area
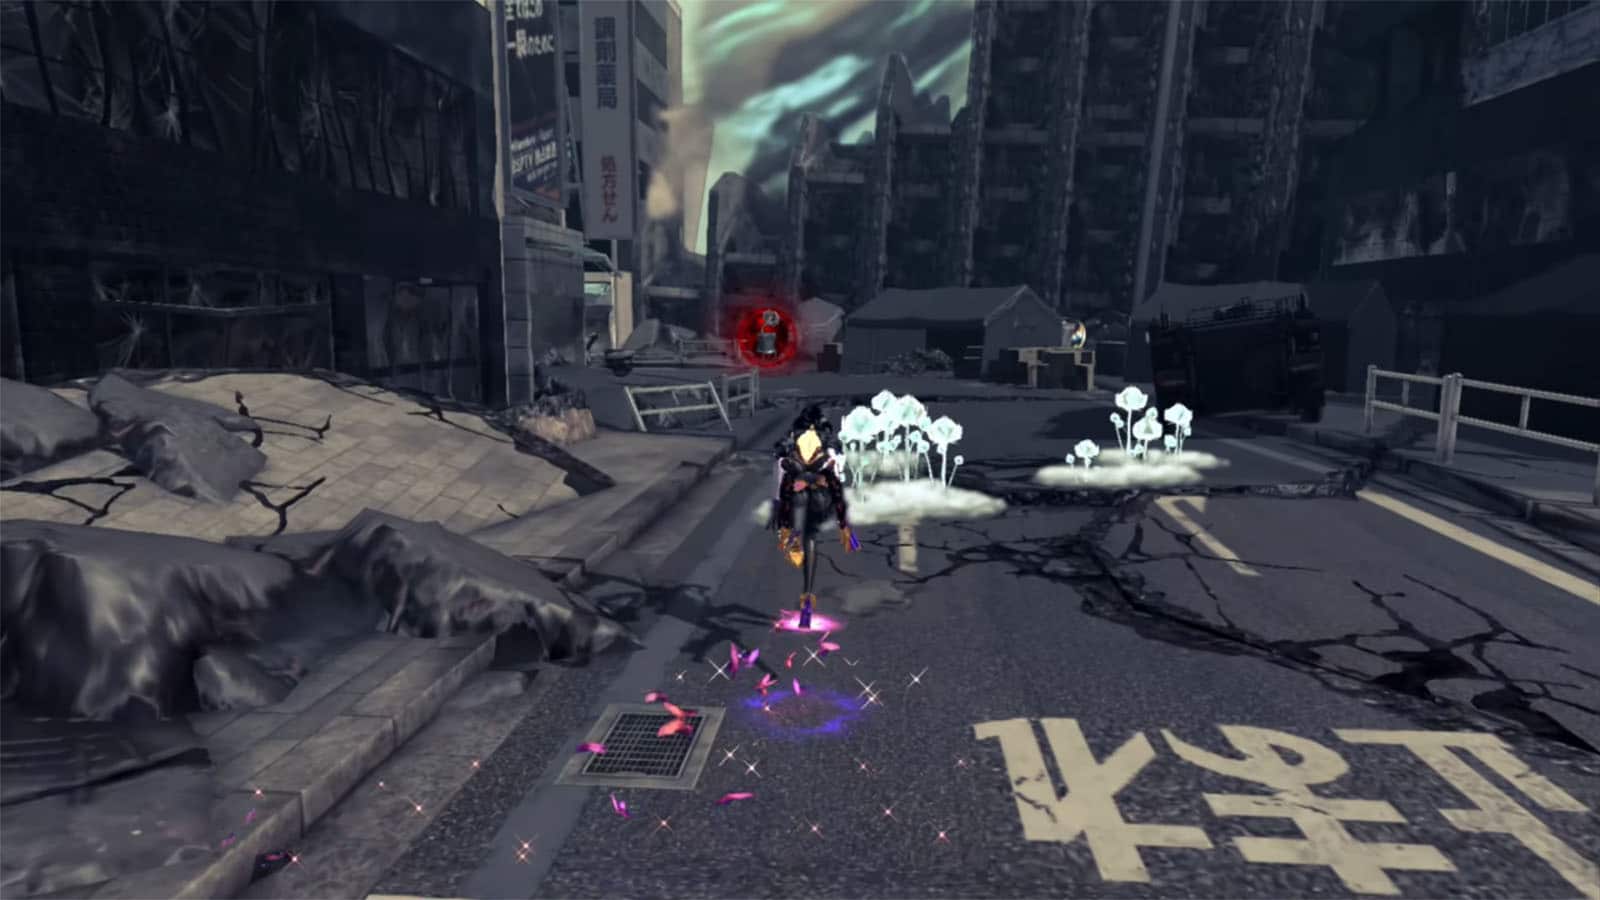
Chapter 3 starts off in another ruined part of Tokyo, within Taito. The area should be explored first as there are plenty of collectibles to be found.
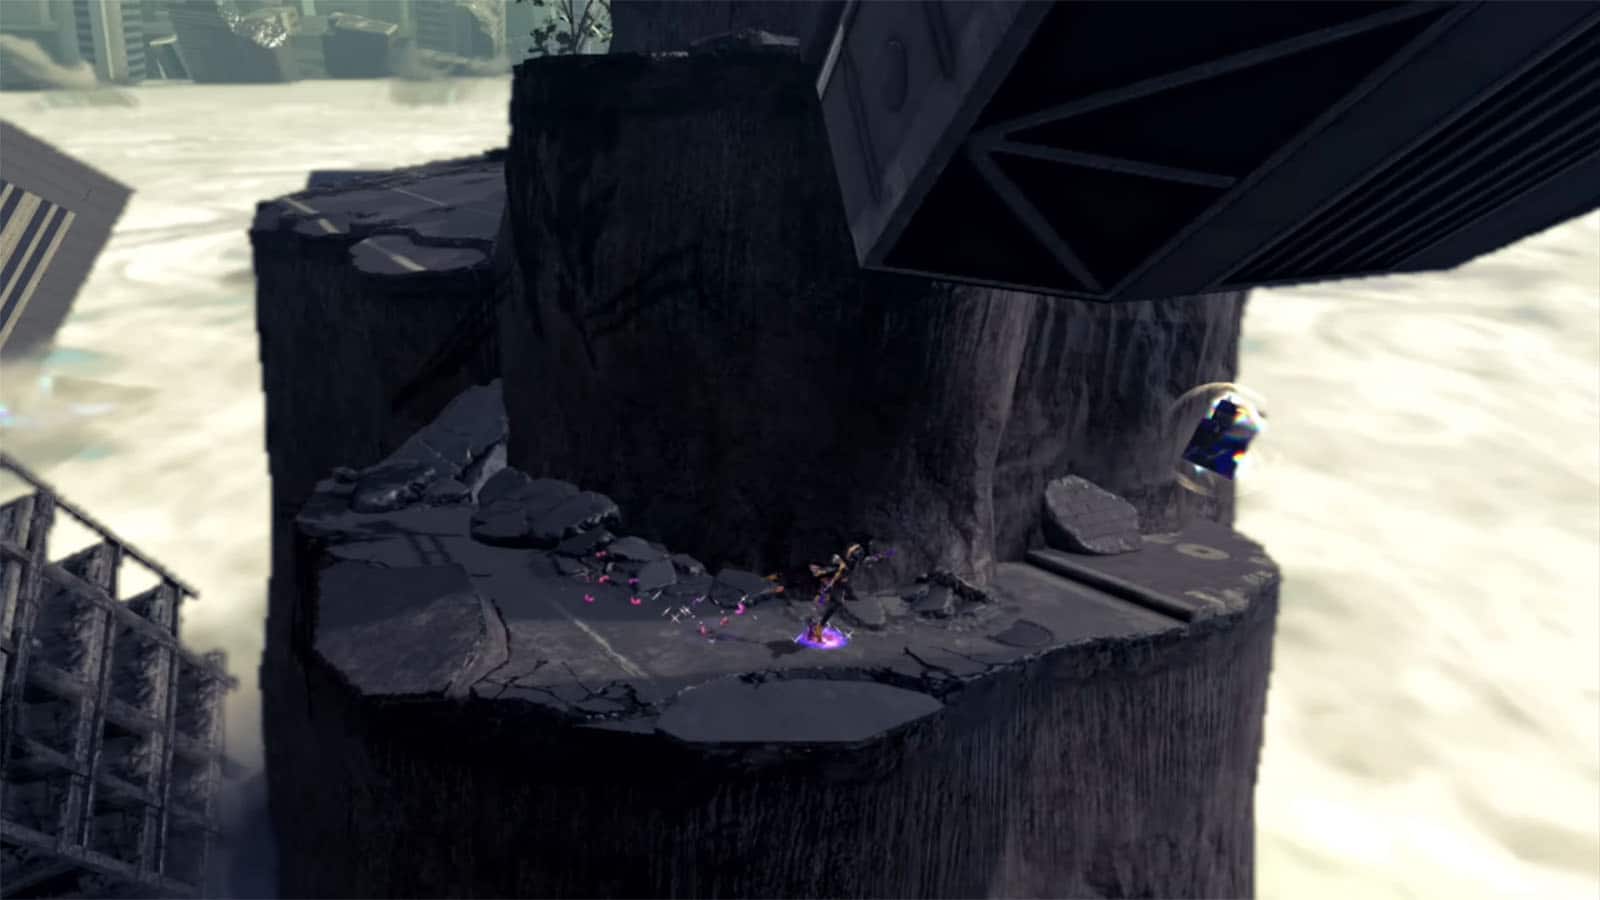
Figure Box #1
From where you start, go down on the platform below and turn left. Take the lower path to the right that wraps around to the left to find the figure box. Best to get this first as the platform where it is connected to will collapse as you pass on it.
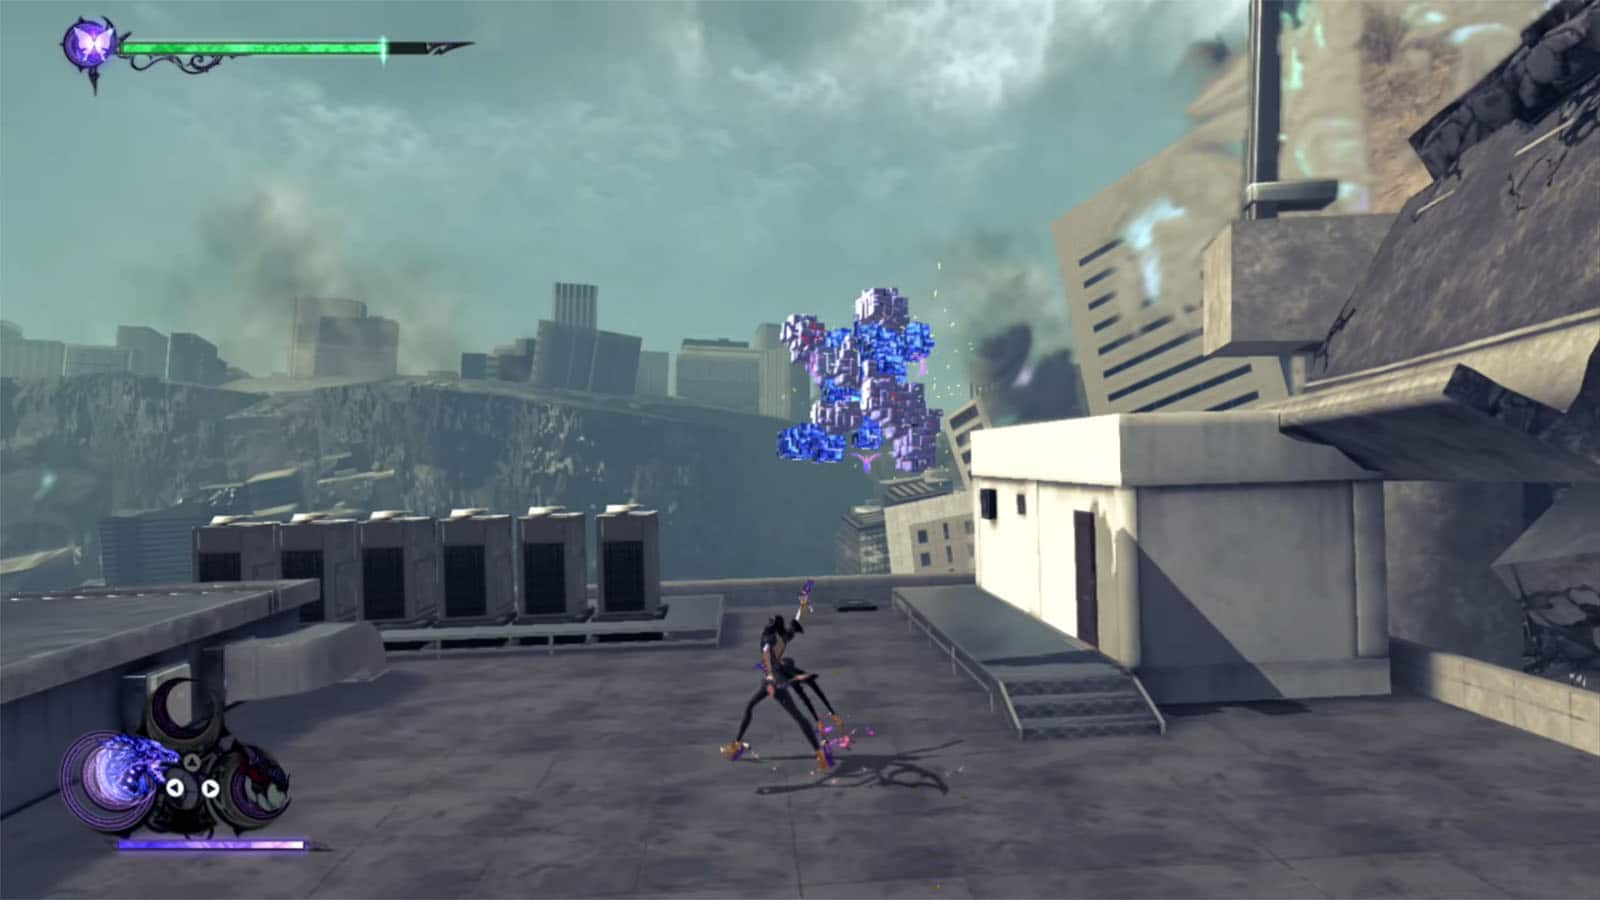
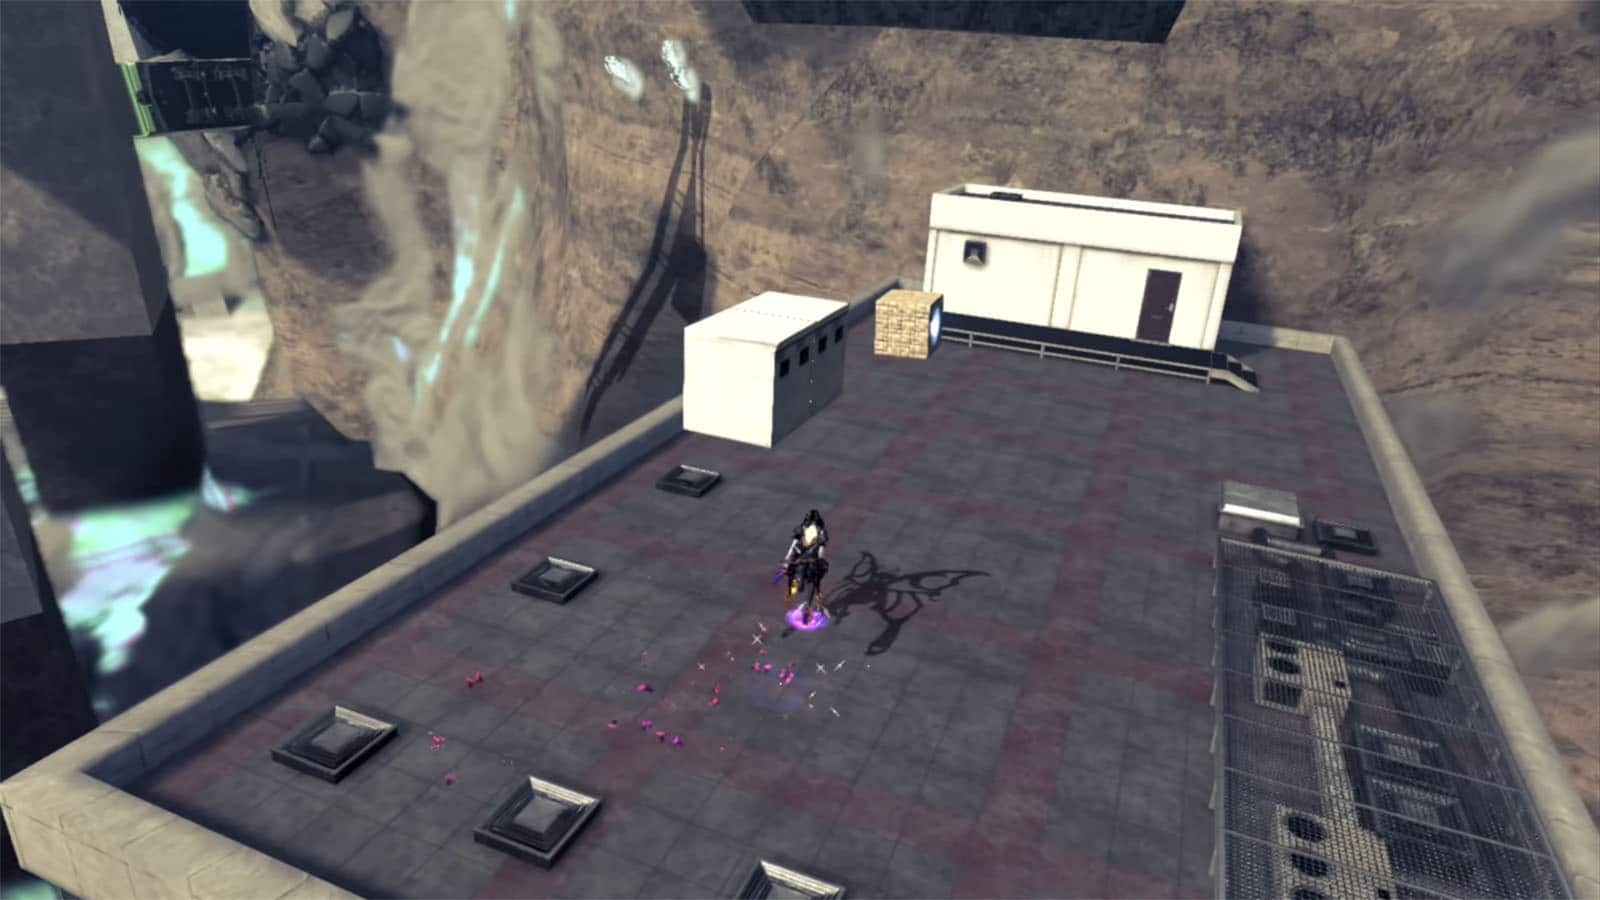
Moon Pearl Fragment #1
Continue moving up the highway and turn left to see a treasure cube. Opening it will give you a Moon Pearl fragment. This cube moves away from the building it’s on, so try to open it as it is above the rooftop.
Umbran Tears of Blood – Crow
Back at the end of the highway, head to the path on the right this time and make your way to the top towards the right. You’ll then spot the crow perched on top of the building. Its flight path will be heading towards the sign at the end of the highway, so as soon as you startle it, head towards the right to intercept it.
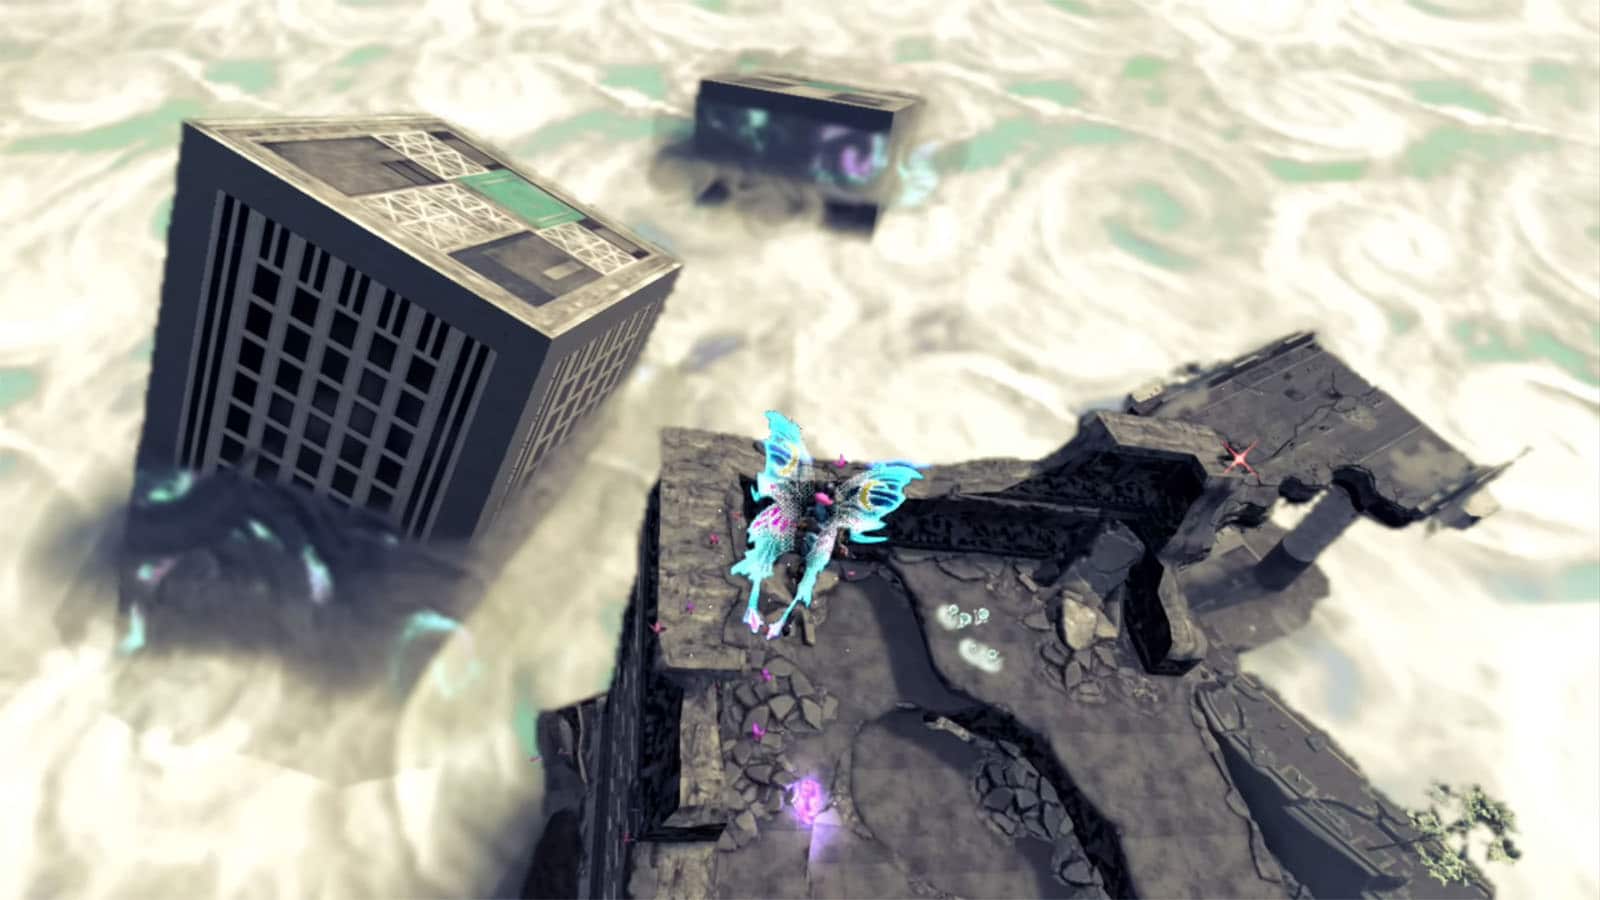
Verse #1
Back near the end of the highway, look to the right and you’ll see a golden cube sitting on a rooftop below. Hitting it will make platforms appear. Follow the platforms until you reach a subway train, then follow the train inside to get your first encounter. Clear the enemies to proceed.
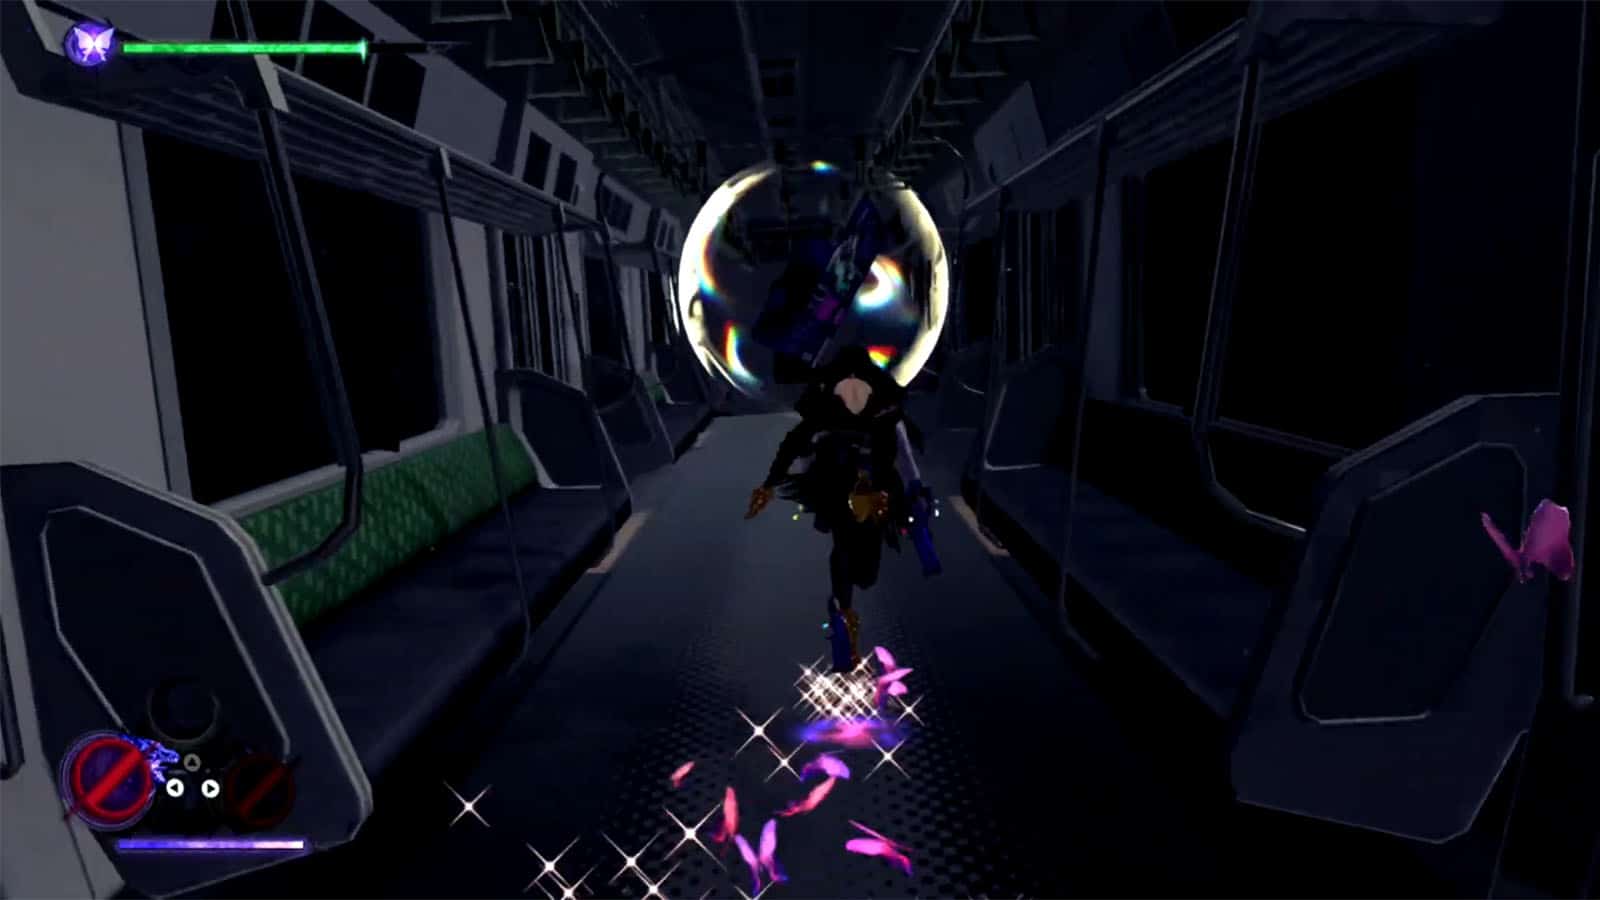
Figure Box #2
After clearing the encounter, head inside the train carriage to find the figure box.
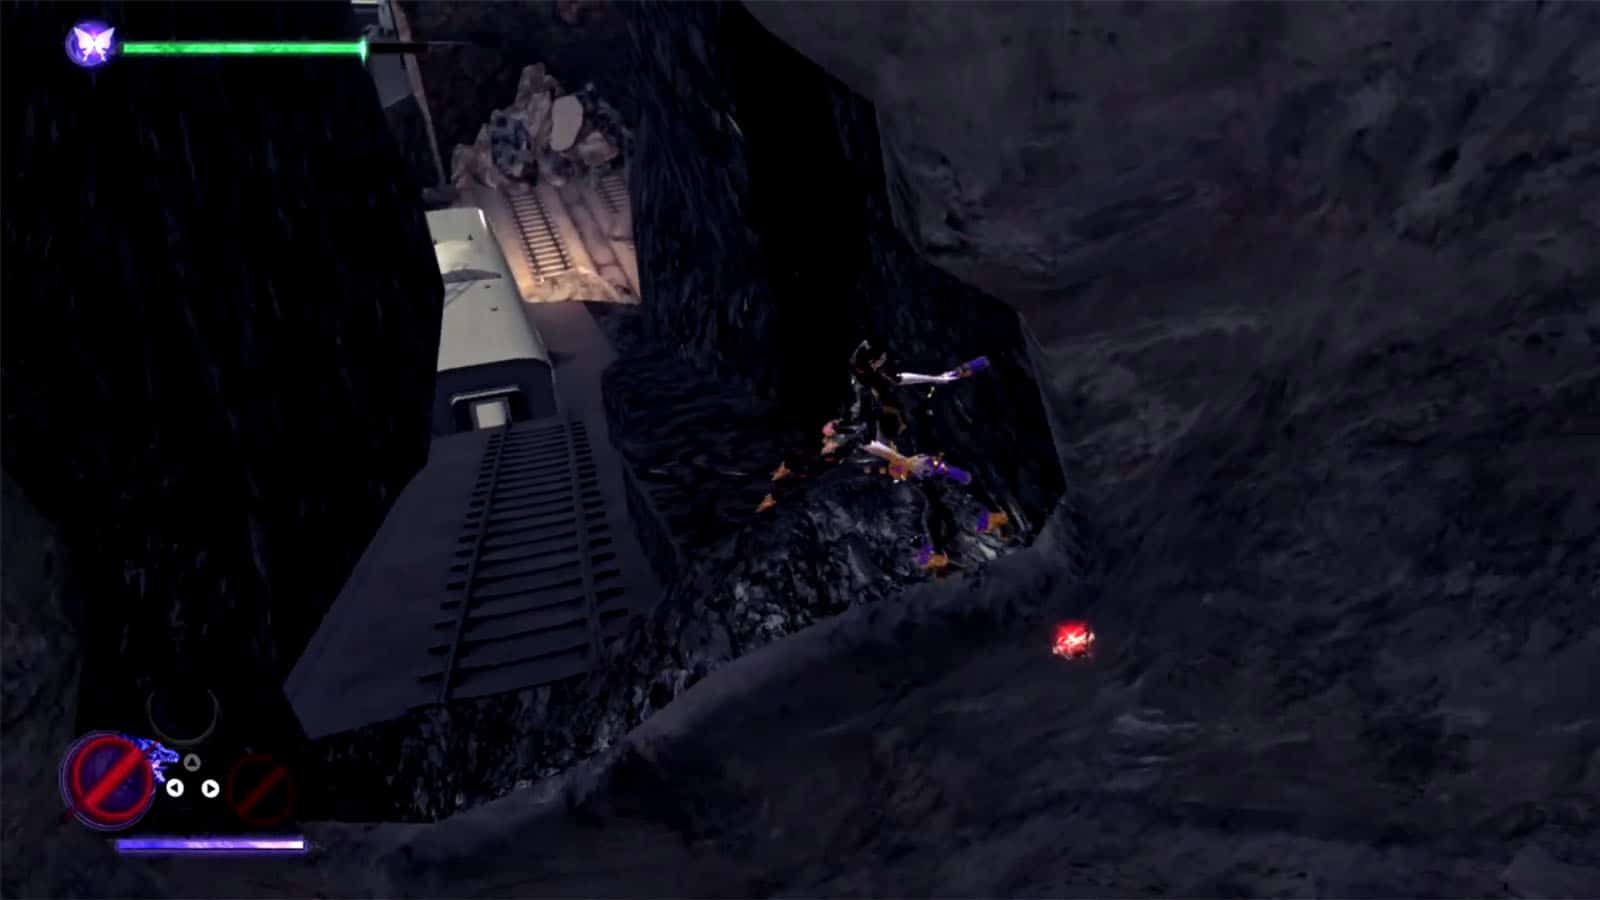
Umbran Tears of Blood – Toad
Exit the train carriage and climb up on it towards the hole in the wall. You’ll then see the toad on the right side.
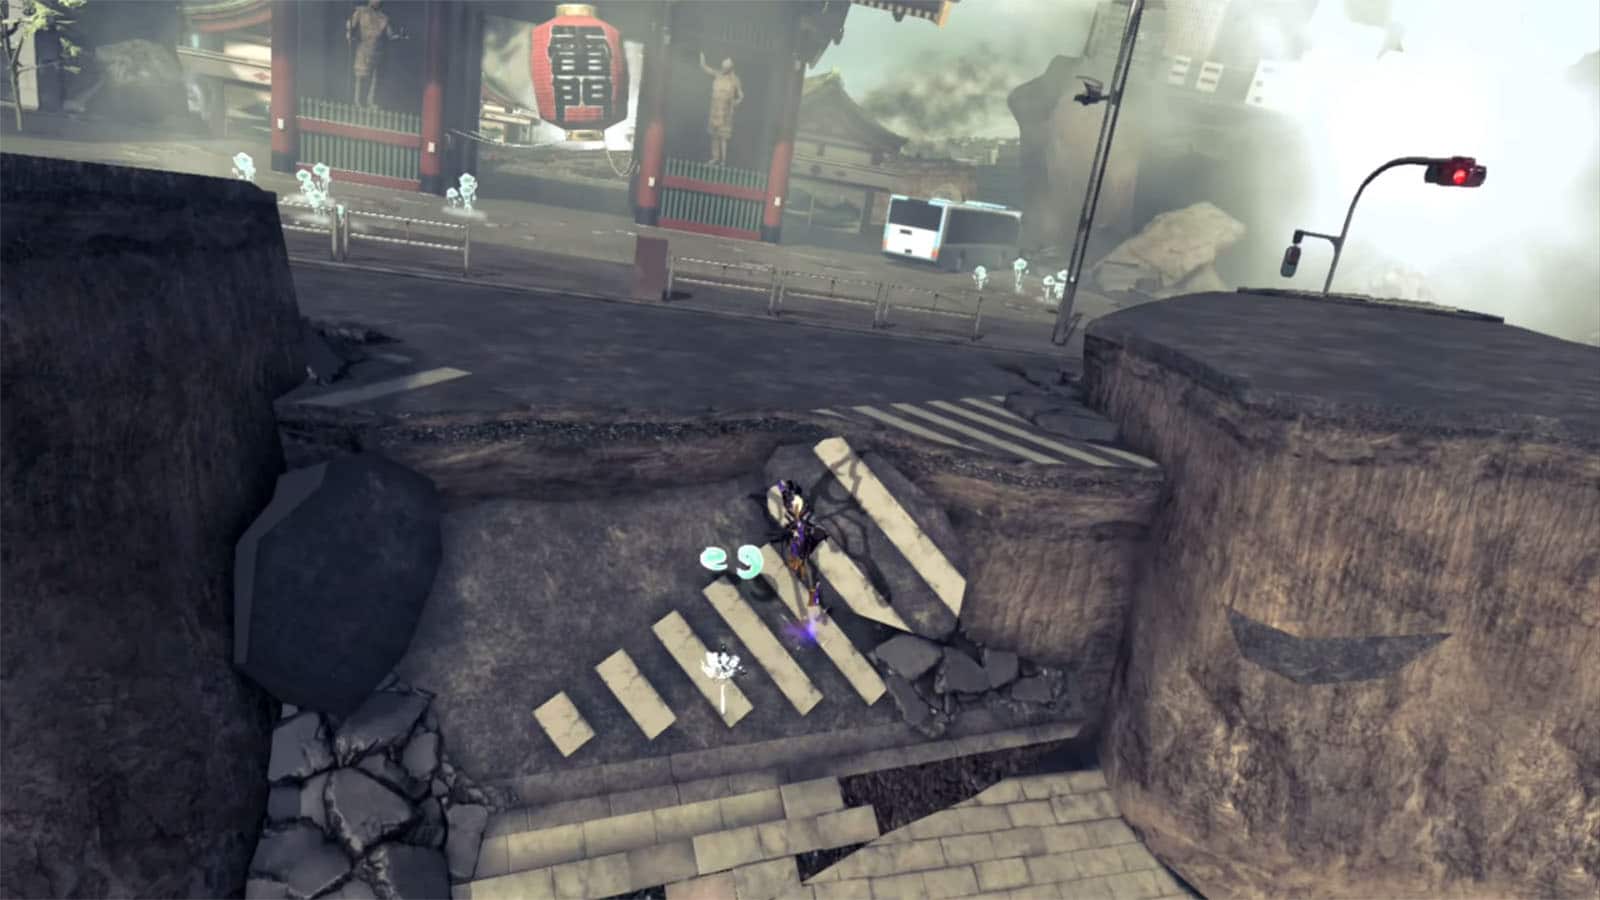
Tokyo: Taito
Head back to the point where you climbed to get the crow, but turn to the left to reach the shrine arch.
Bewitchment #1
Head towards the big lantern under the arch and attack it to get the hidden halos and unlock the Collect the Halos hidden in the giant lantern Bewitchment.
Echoes of Memory #1
From the shrine arch, go to the path on the left and continue to the end until you reach the Echoes of Memory: A Classic Tune.

Verse #2
Heading back to the shrine arch, make your way to the rooftop of the building to the left of the arch. This challenge requires you to rack up 5,000 combo points before the time limit. Putting a point on the Bats Within skill that helps maintain combo after getting hit once, making it easier to keep a high combo multiplier. After clearing the challenge, you’ll be rewarded with a Moon Pearl fragment.
Verse #3
After the short cutscene with Luka, you’ll have to fight a Fractus. You will also gain the abilities Wink Slave and Assault Slave which allows you to add a summon’s attack or block at the end of your combo. Clear out the enemies to proceed.
Card Pack #1
After the fight, head to the back side of the store rows on the right to find the card packs.
Record #1
Head to the store rows on the left and look for an alley in the middle of them where you’ll find the record.

Umbran Tears of Blood – Cat
Go to up the next section and then check at the back side of the store rows on the left where you’ll see the cat. It will run through the gaps between the stores, so try to catch up to it while it’s going towards the next gap. Use the Demon Pulse to be able to dash to it.
Scurrier #1
Still on the left side, check the roof top of the shrine further ahead and you’ll see a scurrier carrying the Broken Witch Heart #1.
Broken Witch Heart #2
Near the shrine where you were at, head down and you’ll find some treasure cube. Hitting it will transform it into a monster. Keep attacking it to transform it back to a chest. Open it to get the Broken Witch Heart #2.

Verse #4 / Broken Witch Heart #3
Head to the opposite side and behind the two buildings to find the challenge portal. For this challenge, all you need to do is to survive until the timer ends. The arena itself has an environmental hazard in the form of strong gusts of wind that pushes you towards the edge of the arena. The enemies will have laser attacks that you can dodge at the las minute. They can also aim up high for a lobbed attack that deals damage on a small area. After surviving until the time is up, you will be rewarded with the Broken Witch Heart #3.
Verse #5
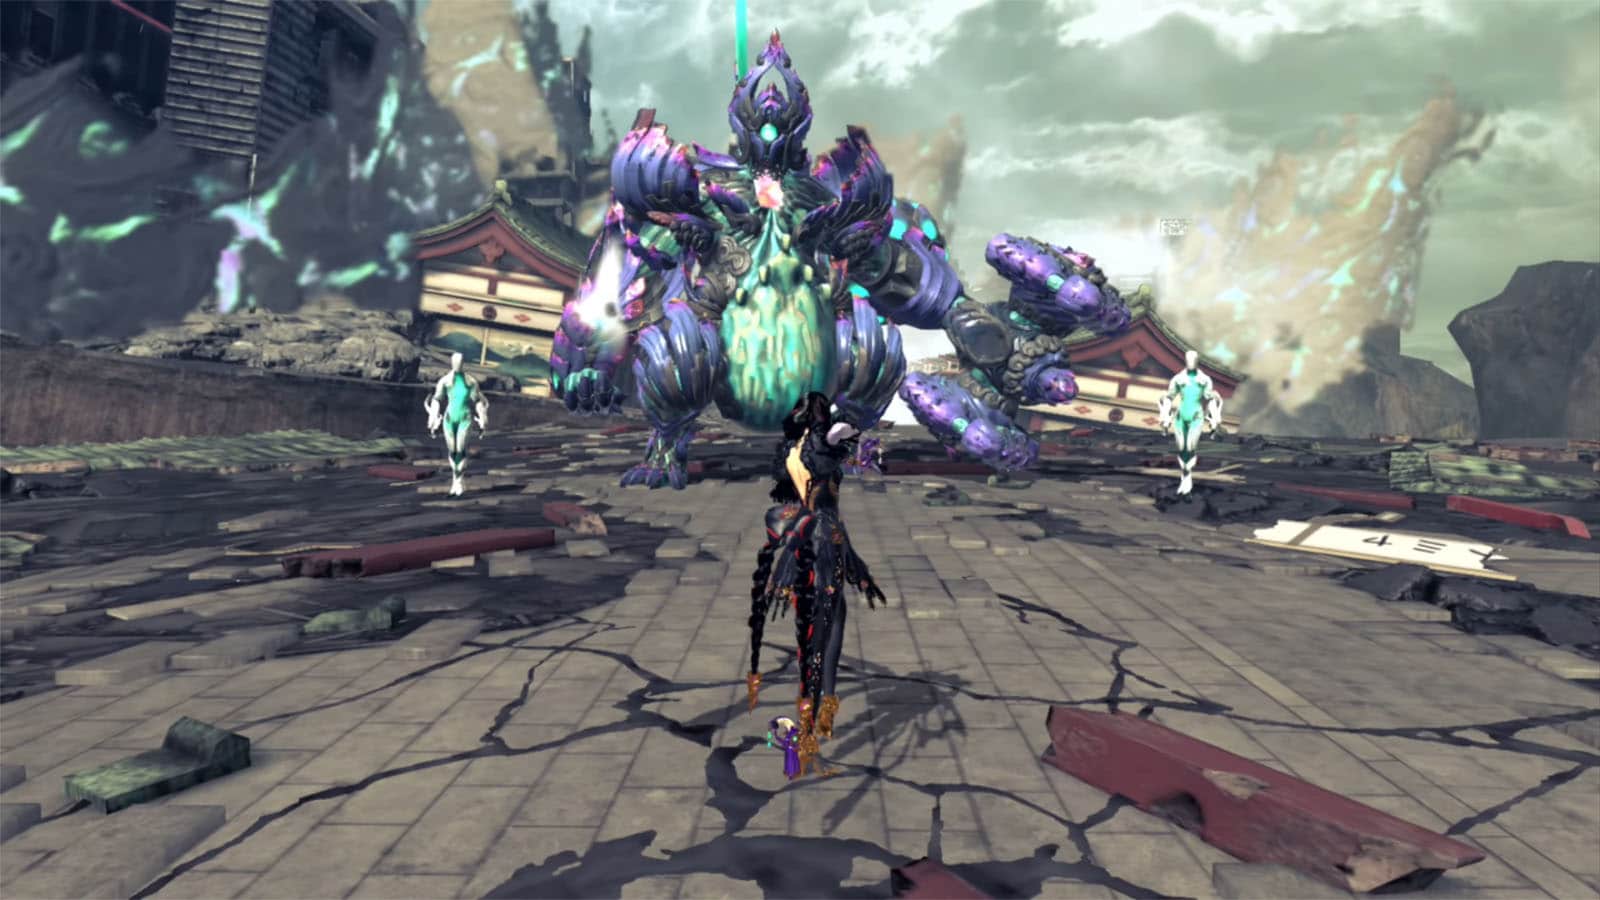
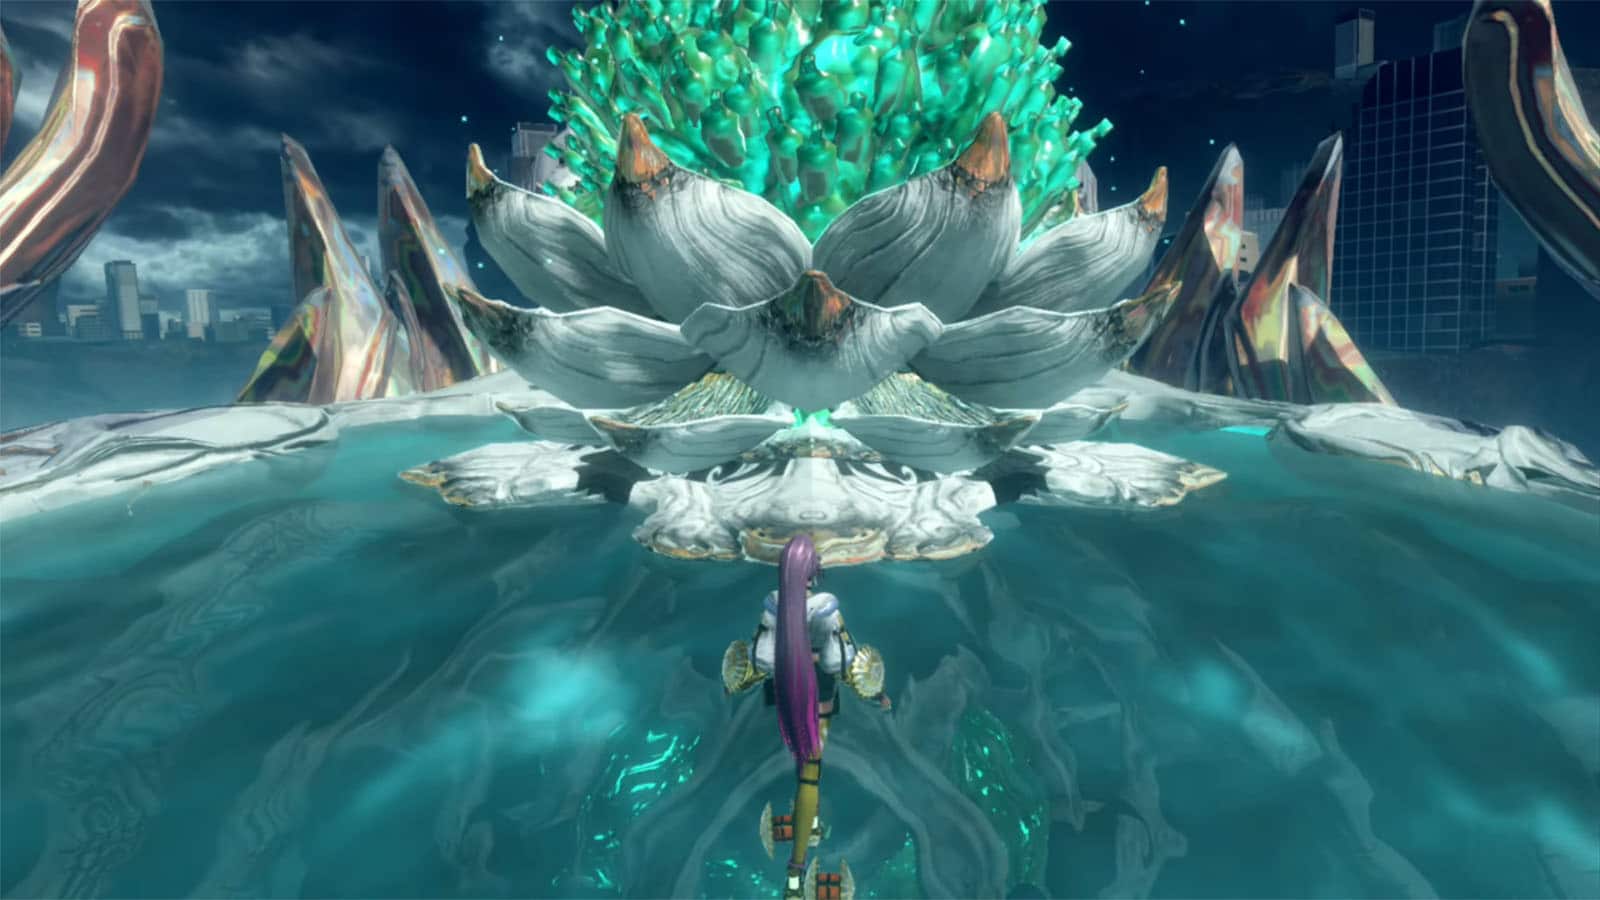
Head through the large arch to get to the next encounter. You’ll be fighting another giant homunculus. Send out your summons to quickly defeat the enemy and clear the verse.
Echoes of Memory #2
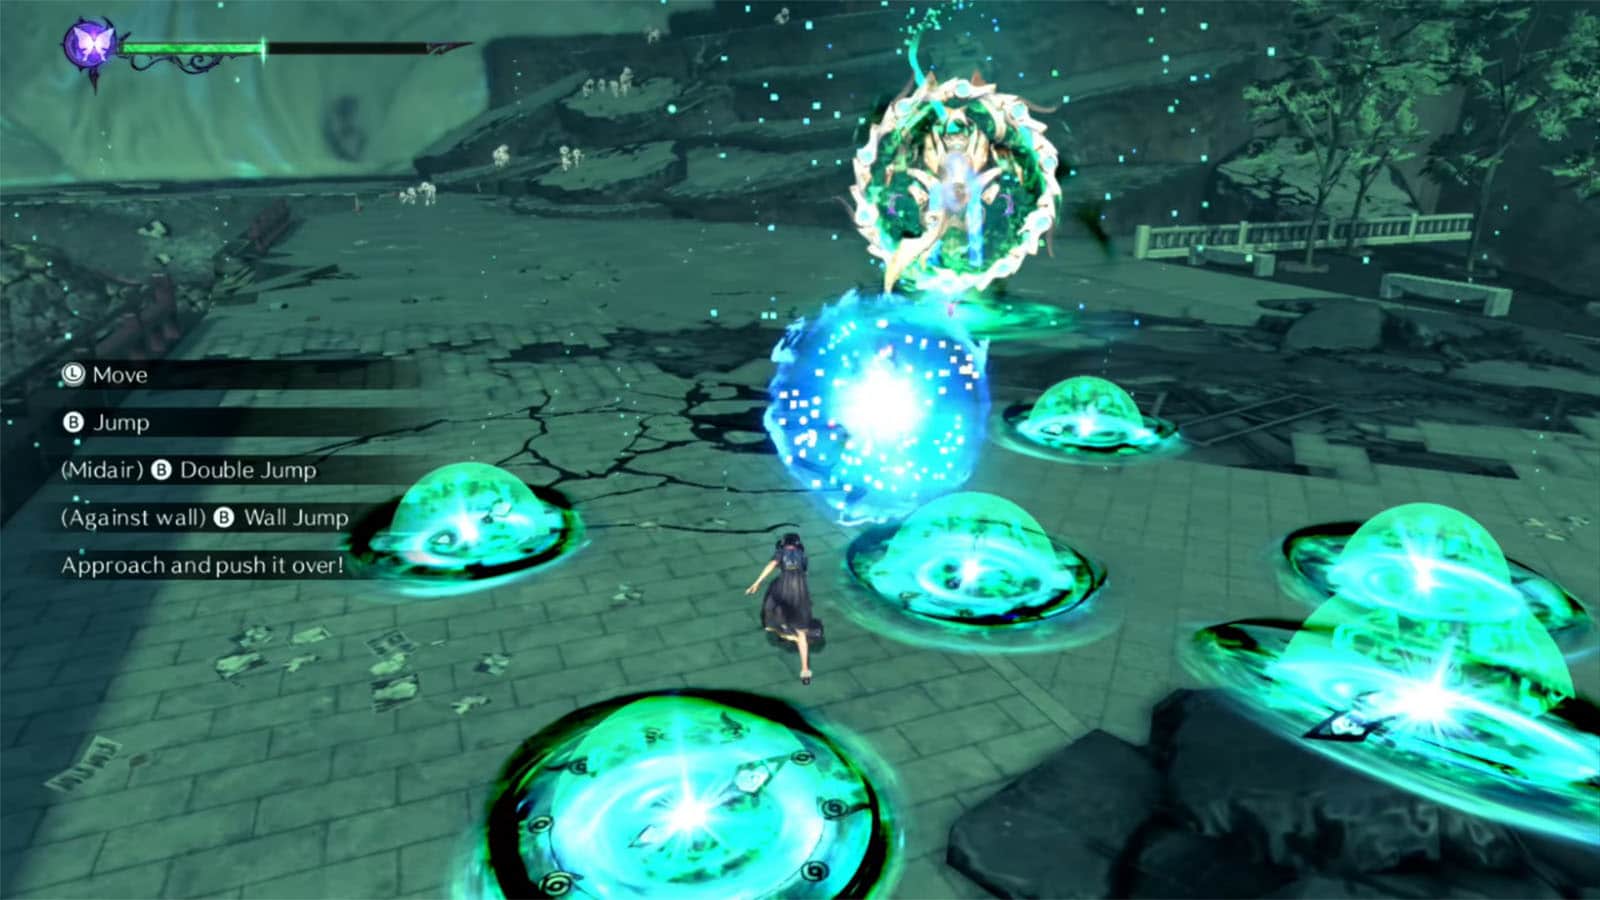
Go to the right side of the arena to find a Congestus. Avoid its mines as you approach it and then topple it down. Once it’s down, use it to revert time and reconstruct a bridge in the middle of the arena. Similar to the previous Congestus puzzle, you only need to build the bridge half way until you create a staircase with the debris.
Once done, jump down into the water and go straight to the Echoes of Memory and then get out quickly before the timer expires. You will get the Echoes of Memory: Remnants of Memory.
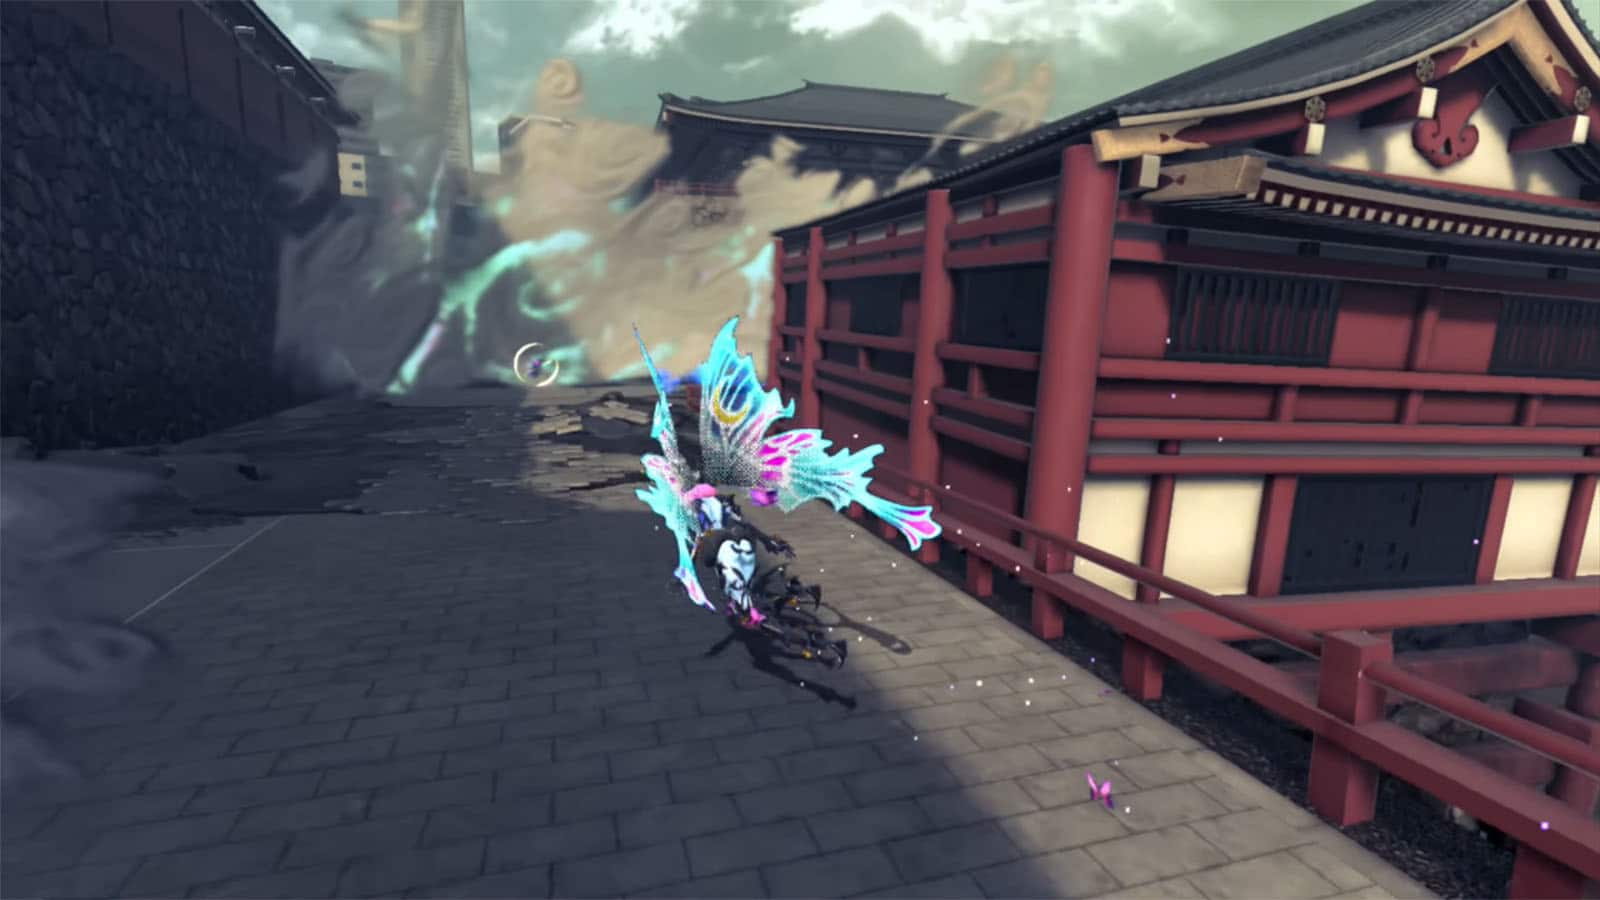
Figure Box #3
From the arena, go to the far left corner to find the Figure Box.
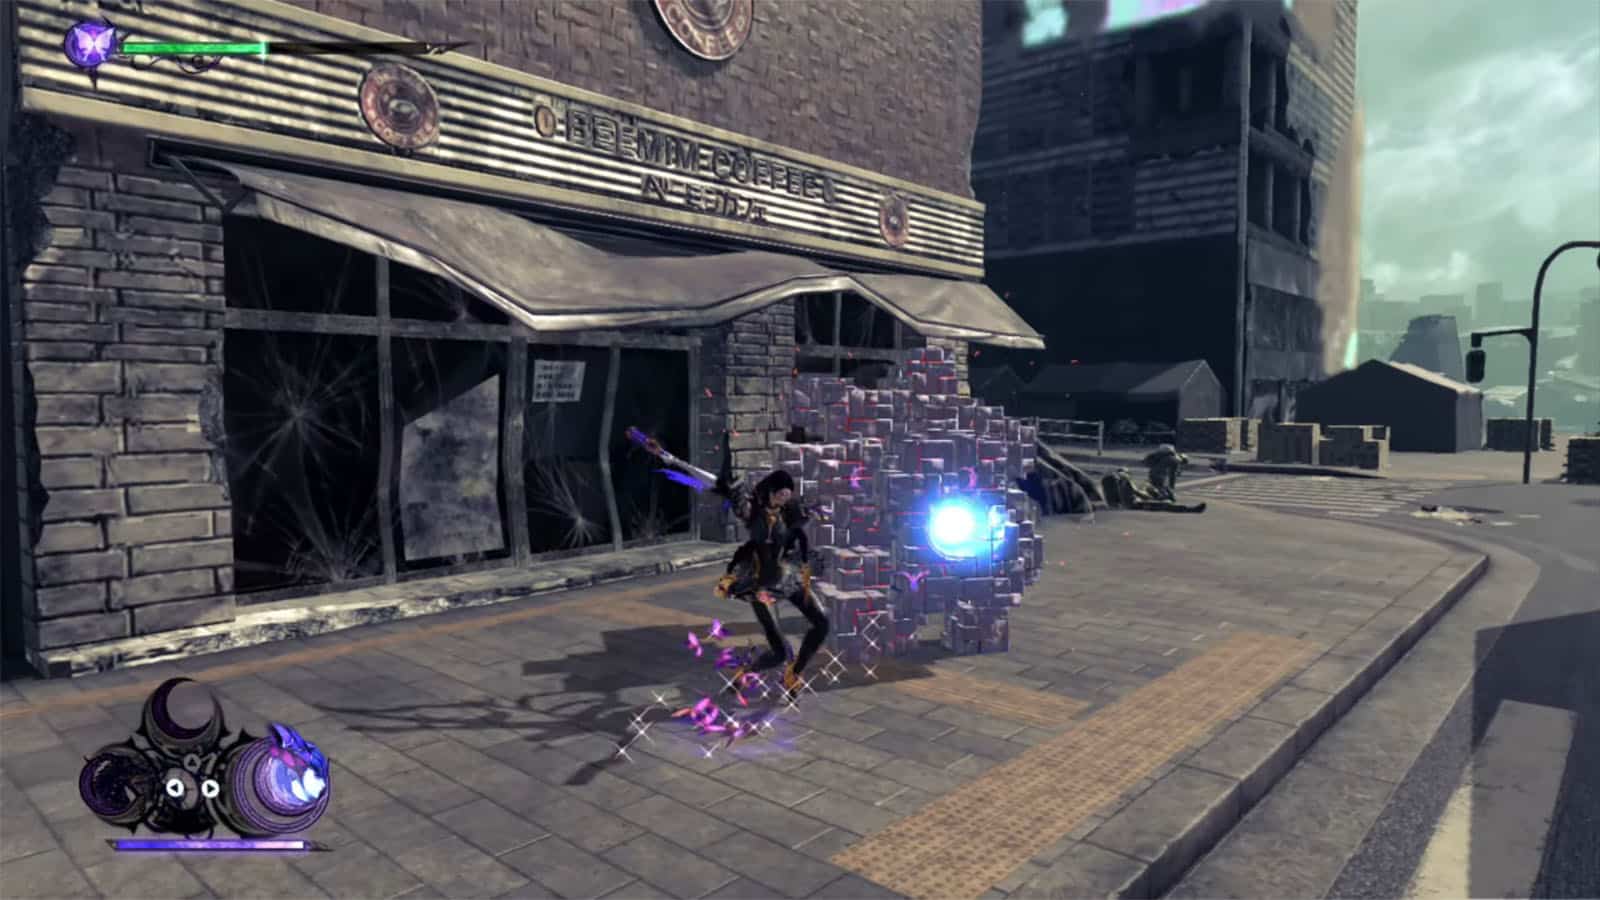
Broken Witch Heart #4
Proceed to the next area away from the arena and look for the treasure cube in front of the coffee house to get the Broken Witch Heart #4.
Card Pack #2
Go further ahead and you’ll find the Card Pack behind the tents near Rodin’s portal.
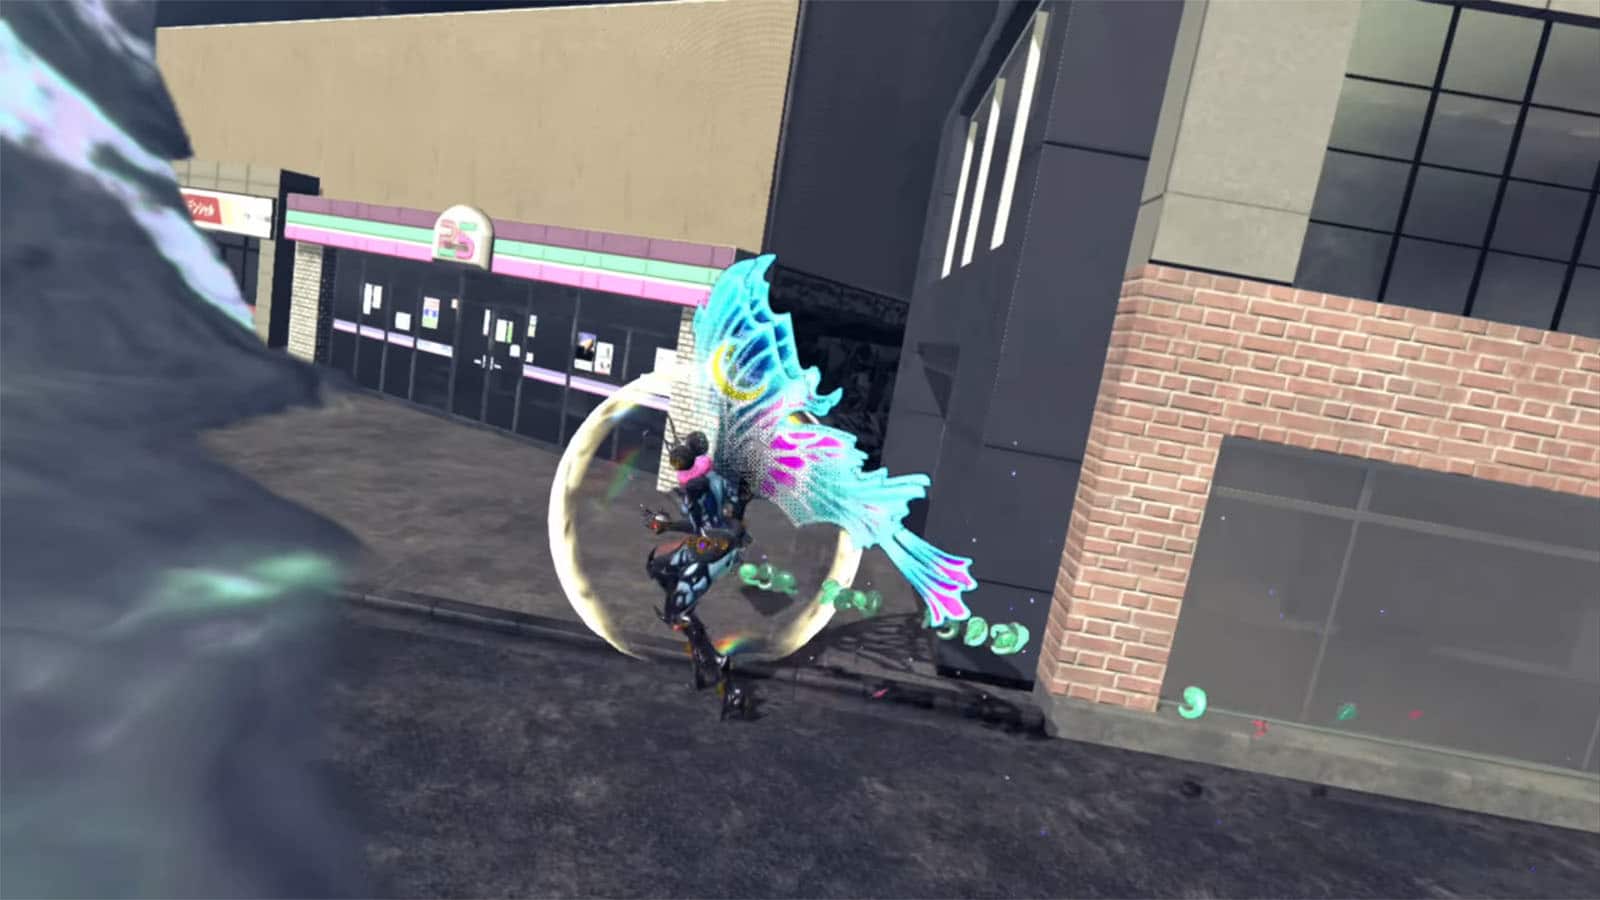
Verse #6
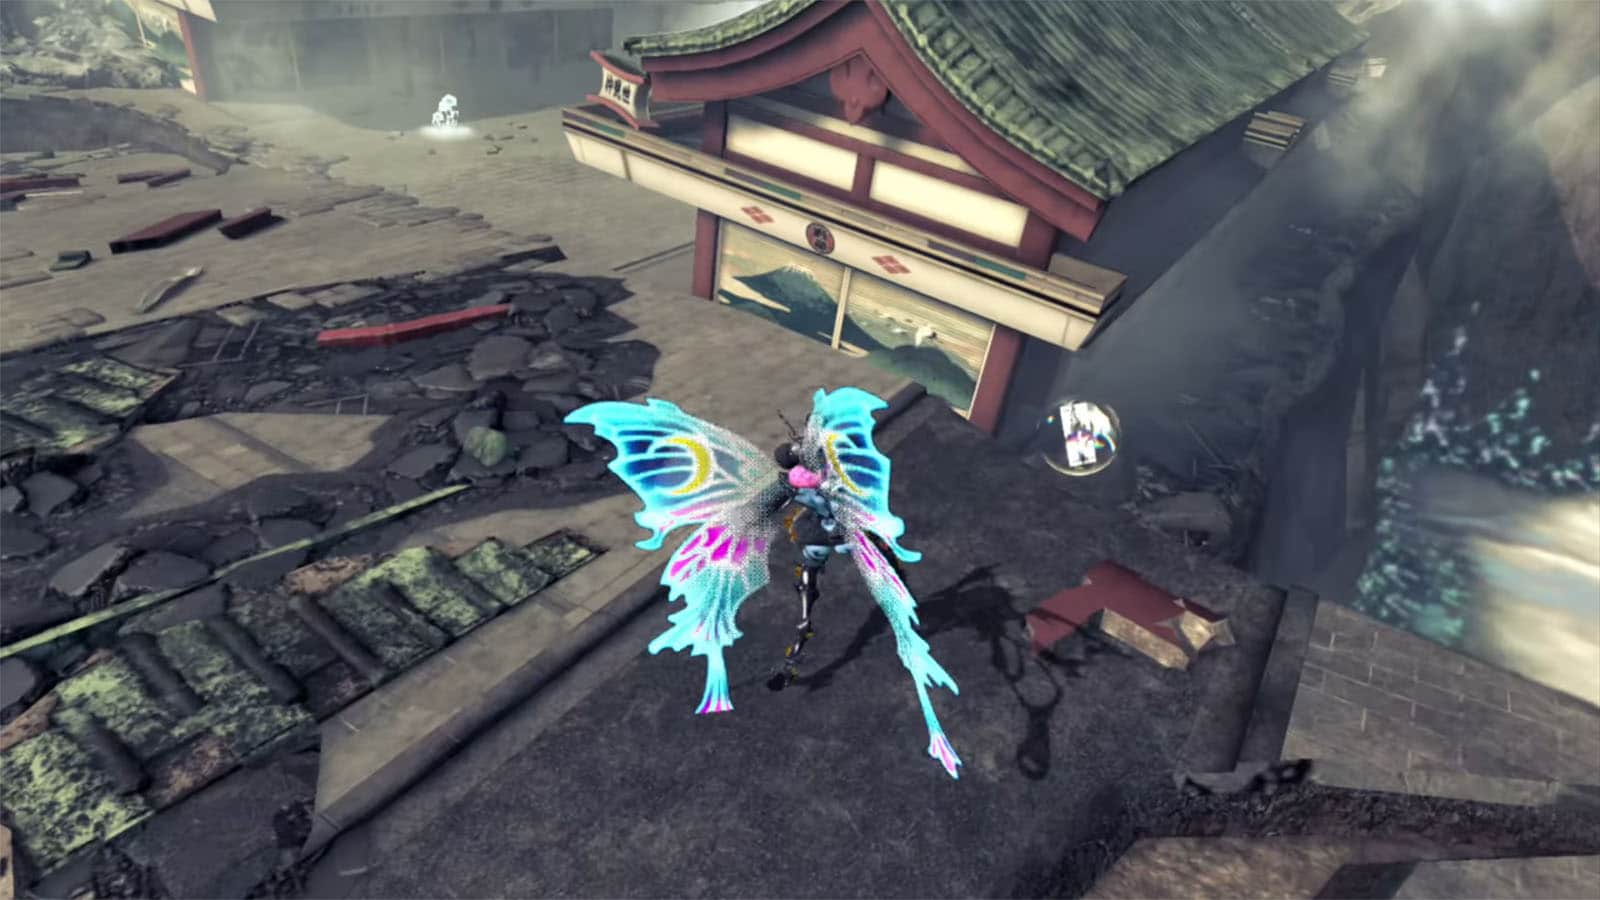
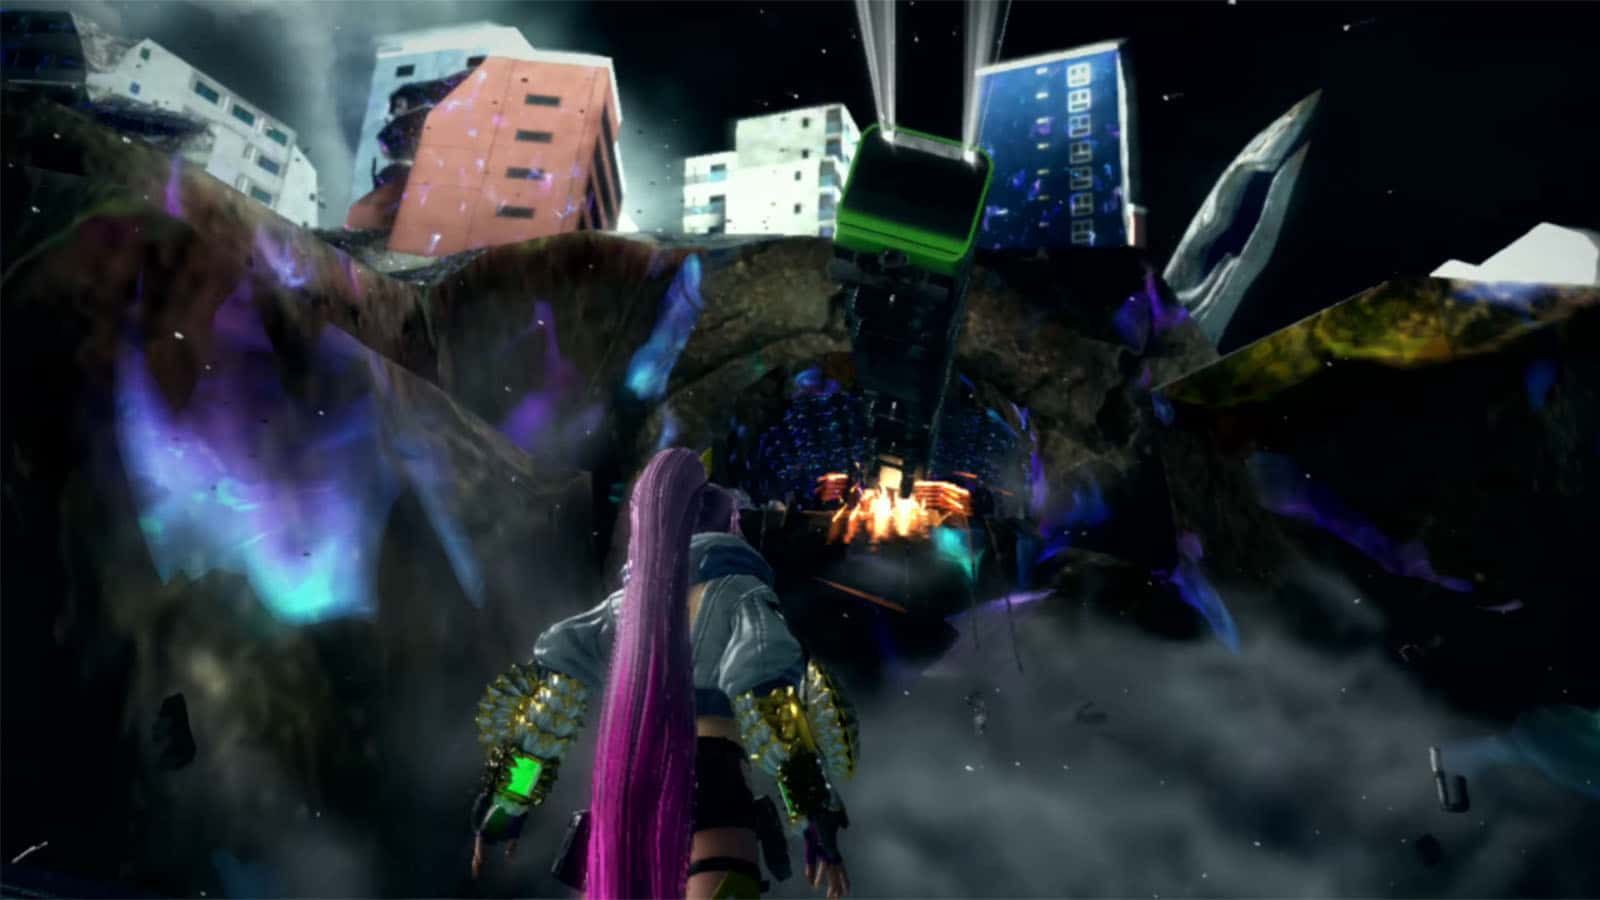
You’ll see alt Bayonetta that our Bayonetta briefly saw in a vision. You’ll then get to control her as she swings from rooftop to rooftop and going through subways while avoiding trains.
Bewitchment #2
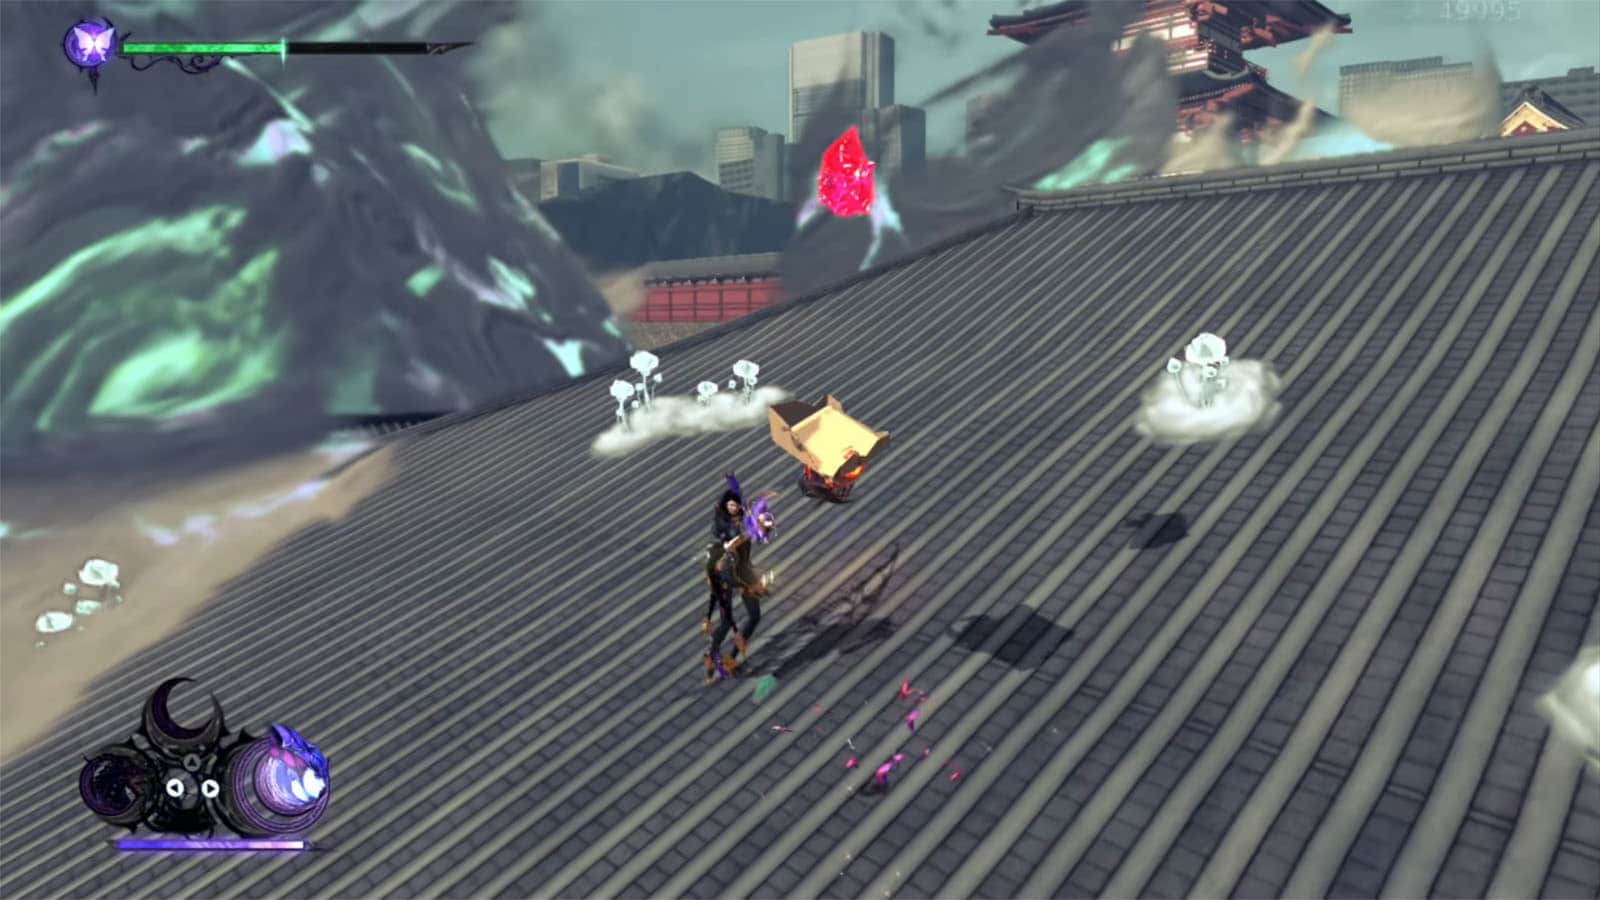
As you’re going through the rooftops and buildings, you have the opportunity to defeat homunculi. Defeat at least three to unlock the Defeat 3 Homunculi while chasing Iridescent Bewitchment.
Bewitchment #3
While going through the subway, dodge all of the incoming trains to get the Dodge all the oncoming train cars Bewitchment.
Figure Box #4
Pay attention as you see the stone torii gates with a gold statue on the upper right corner and you’ll see the figure box on top of the long roof to the right.
Verse #7
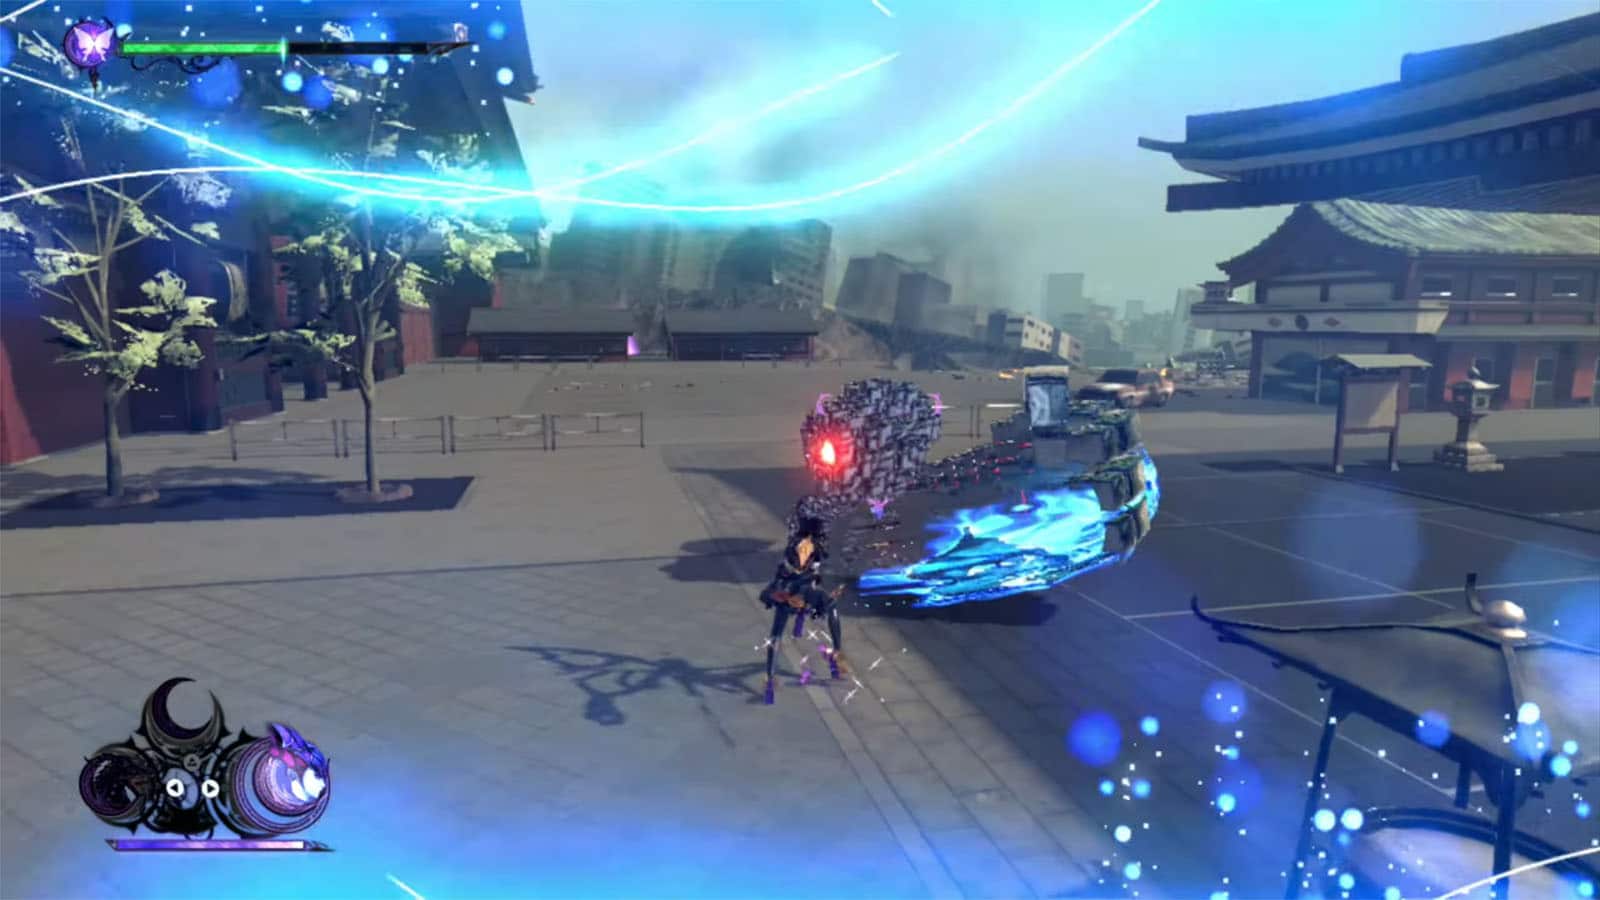
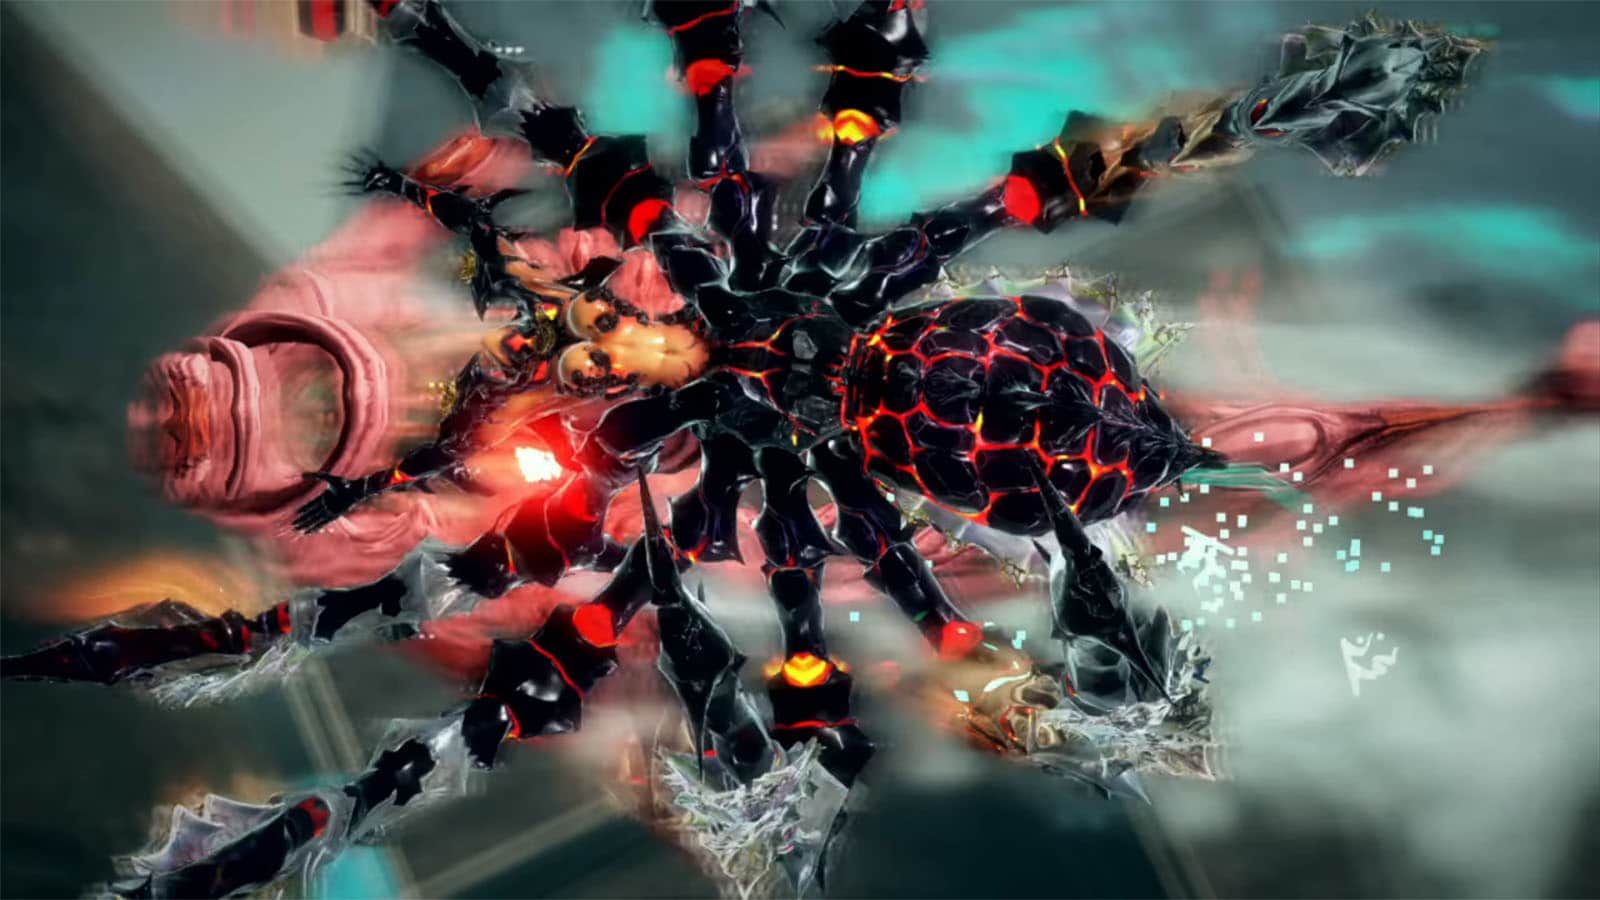
For the first phase, you’ll be fighting against the brain of the Iridescent, but it will be guarded by a lot of smaller homunculi. Try attacking the brain while avoiding the red enemies that home in on your position; using Witch Time just before they hit is effective.
Eventually, you’ll have to deal with the snake heads that are in the three corners of the arena before you can continue attacking the brain. Pay attention to its spike attacks as it goes following you around.
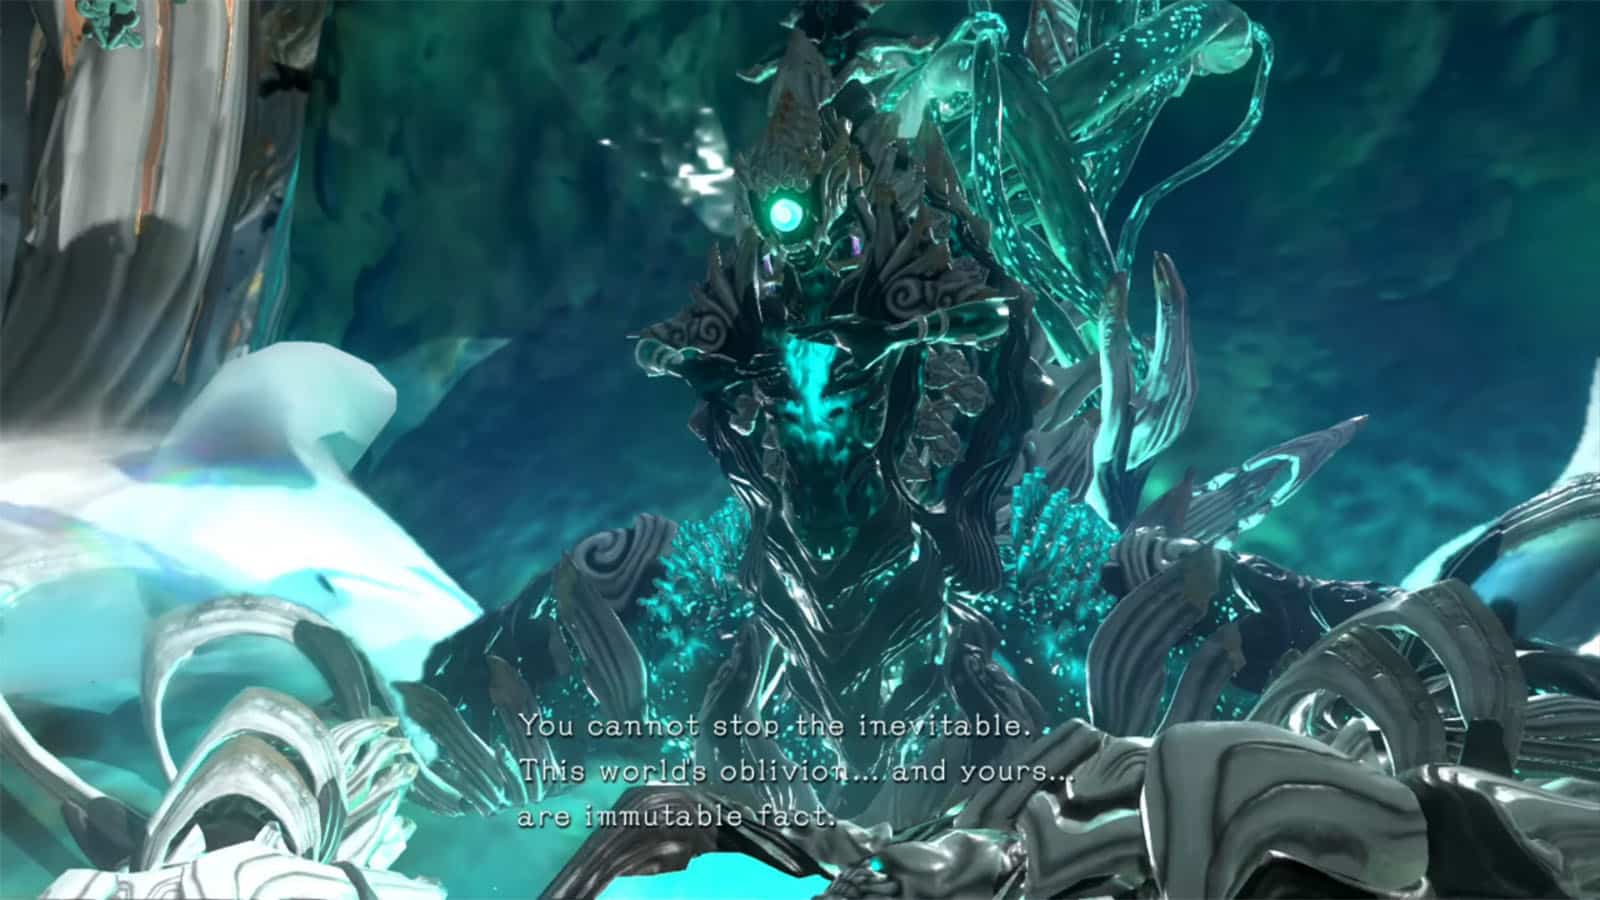
For the second phase, you’ll re-enter the insides of the Iridescent to fight its core. It has many attacks that includes a slime that covers almost the entire arena. You’ll also have the ability to do a Demon Masquerade attack that can deal a ton of damage. It has another attack where it tries to spit you out. Go back to your masquerade form and stay on the surface to avoid getting blown out. Once you manage to break Iridescent, you will also get the Break Iridescent core once Bewitchment.
After performing a gigaton finisher, a short cutscene will play showing alt Bayonetta getting captured and killed, but not before she throws her weapon, the Ignis Araneae Yo-Yo, which our Bayonetta catches.
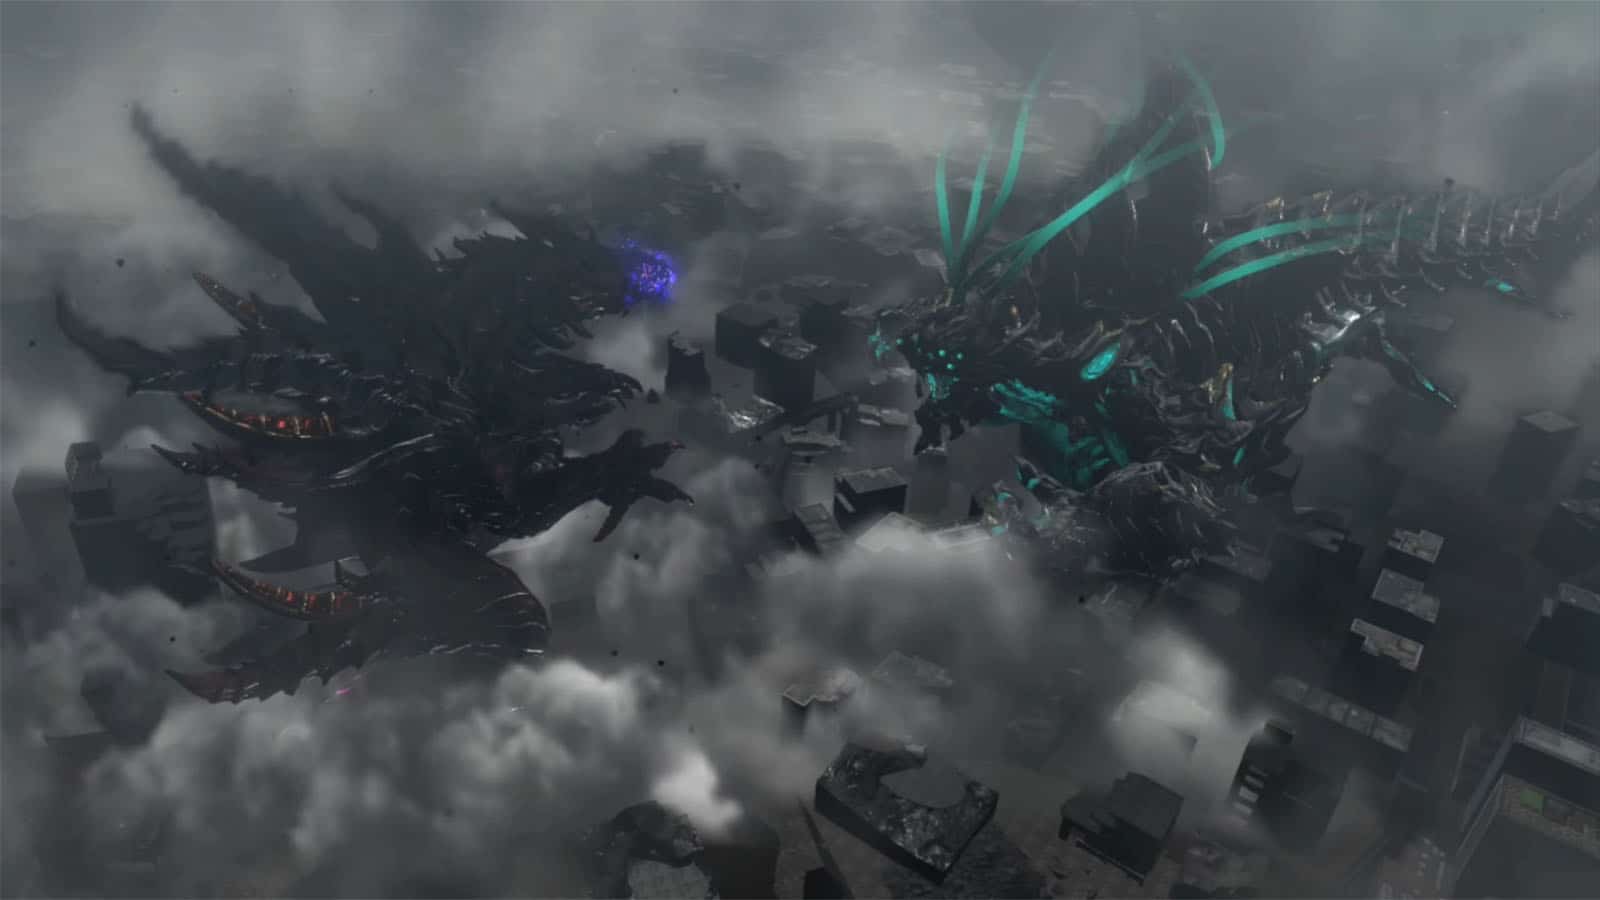
Verse #8
The next fight will be between Sin Gomorrah and Arch-Iridescent. It’s more of a methodical game of rock, paper, scissors so it’s important to find out the tells of the opponent’s action to counter it properly.
Basically, Slam beats Bite, Bite beats Block, and Block beats Slam. Their tells are:
- Slam – either it faces to the left (towards the camera) for a tail whip, or it winds up its right arm (unseen from the camera).
- Block – it puts its arms in front of its face.
- Bite – it goes into a pose like it’s about to lunge at you.
Sin Gomorrah also has a fireball attack that it can use. Shoot the enemy at least three times to unlock the Hit Arch-Iridescent with Sin Gomorrah’s flame 3 times Bewitchment.

Once Arch-Iridescent’s health is almost gone, you can then do a gigaton finisher to finish it. The chapter then concludes showing Bayonetta returning to the portal while Luka looking over her.
See next Bayonetta 3 Walkthrough Side Mission 1 - The Crimson Shadow
If you like this guide, be sure to check out our other Bayonetta 3 articles:
- Bayonetta 3 Chapter List – How Many Chapters
- Bayonetta 3 Ending Explained
- Bayonetta 3 Singularity (Explained)
- All Outfits in Bayonetta 3
- Bayonetta 3 Weapons and Abilities
- Bayonetta 3 Day One Update Patch Notes Revealed
- How Long to Beat Bayonetta 3 – Game Length
Check out this video by omegaevolution showing gameplay for Chapter 3:


