
Worlds Apart is the fourth chapter in Bayonetta 3. Coming back from the onslaught in Tokyo, Bayonetta takes another portal that leads her to an alternate Qin Lan. As she arrives, the place is already overrun by the homunculi. Just like before, she sees another vision of her alternate self which appears to be more hot headed than her.
In this guide, we will go through Chapter 4: Worlds Apart, listing along any collectibles as well as Bewitchments that can be acquired in the chapter.
See previous Bayonetta 3 Walkthrough Side Mission 1 - The Crimson Shadow
Chapter 4 – Worlds Apart Objectives and Collectibles:
- Thule: Cliffs of Time
- Verse #1
- Broken Witch Heart #1
- Card Pack #1
- Figure Box #1
- Echoes of Memory #1
- Broken Witch Heart #2
- Card Pack #2
- Broken Witch Heart #3
- Broken Moon Pearl #1
- Medallion Shard #2/4
- Broken Witch Heart #4
- Figure Box #2
- Ginnungagap, the Chaotic Rift
- Bewitchment #1
- Qin Lan: Xi Chang An
- Bewitchment #2
- Figure Box #3
- Verse #2 / Bewitchment #3
- Broken Witch Heart #5
- Echoes of Memory #2
- Card Pack #3
- Umbran Tears of Blood – Crow
- Broken Moon Pearl #2
- Figure Box #4
- Figure Box #5
- Verse #3 / Broken Moon Pearl #3
- Wartrain Gouon
- Verse #4 / Bewitchment #4
- Umbran Tears of Blood – Cat
- Card Pack #4
- Broken Witch Heart #6
- Broken Moon Pearl #4
- Umbran Tears of Blood – Toad
- Figure Box #6
- Verse #5
- Echoes of Memory #3
- Verse #6
- Figure Box #7
- The Gates of Hell
- Verse #7 / Broken Witch Heart #7
- Locked Gate
- Echoes of Memory #4
- Bewitchment #5
- Broken Witch Heart #8
- Figure Box #8
- Verse #8
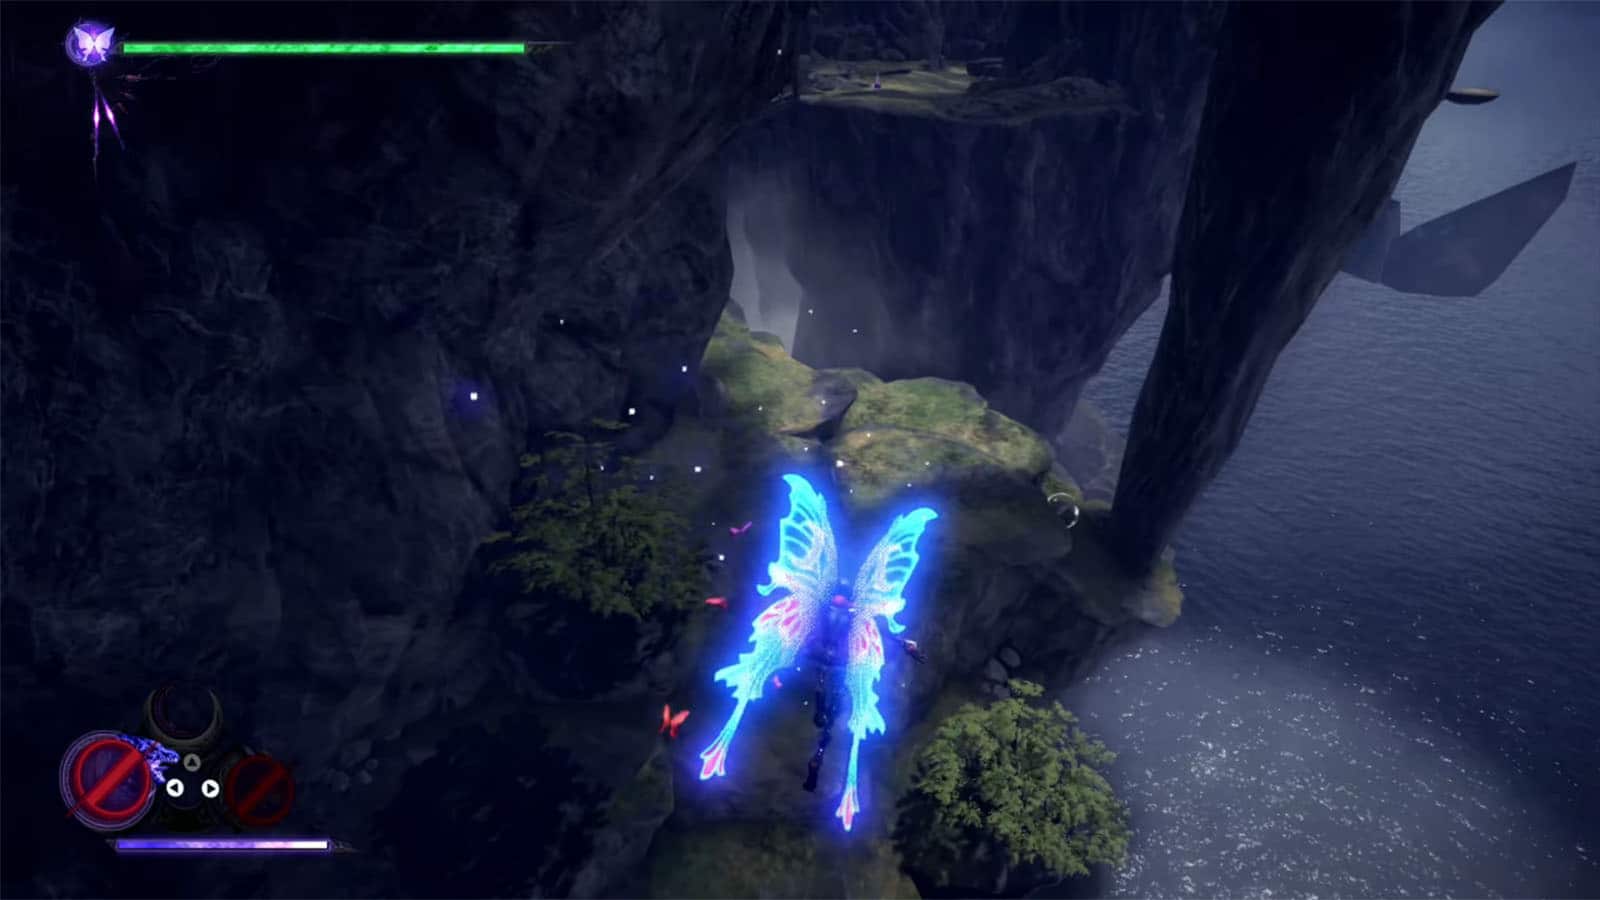
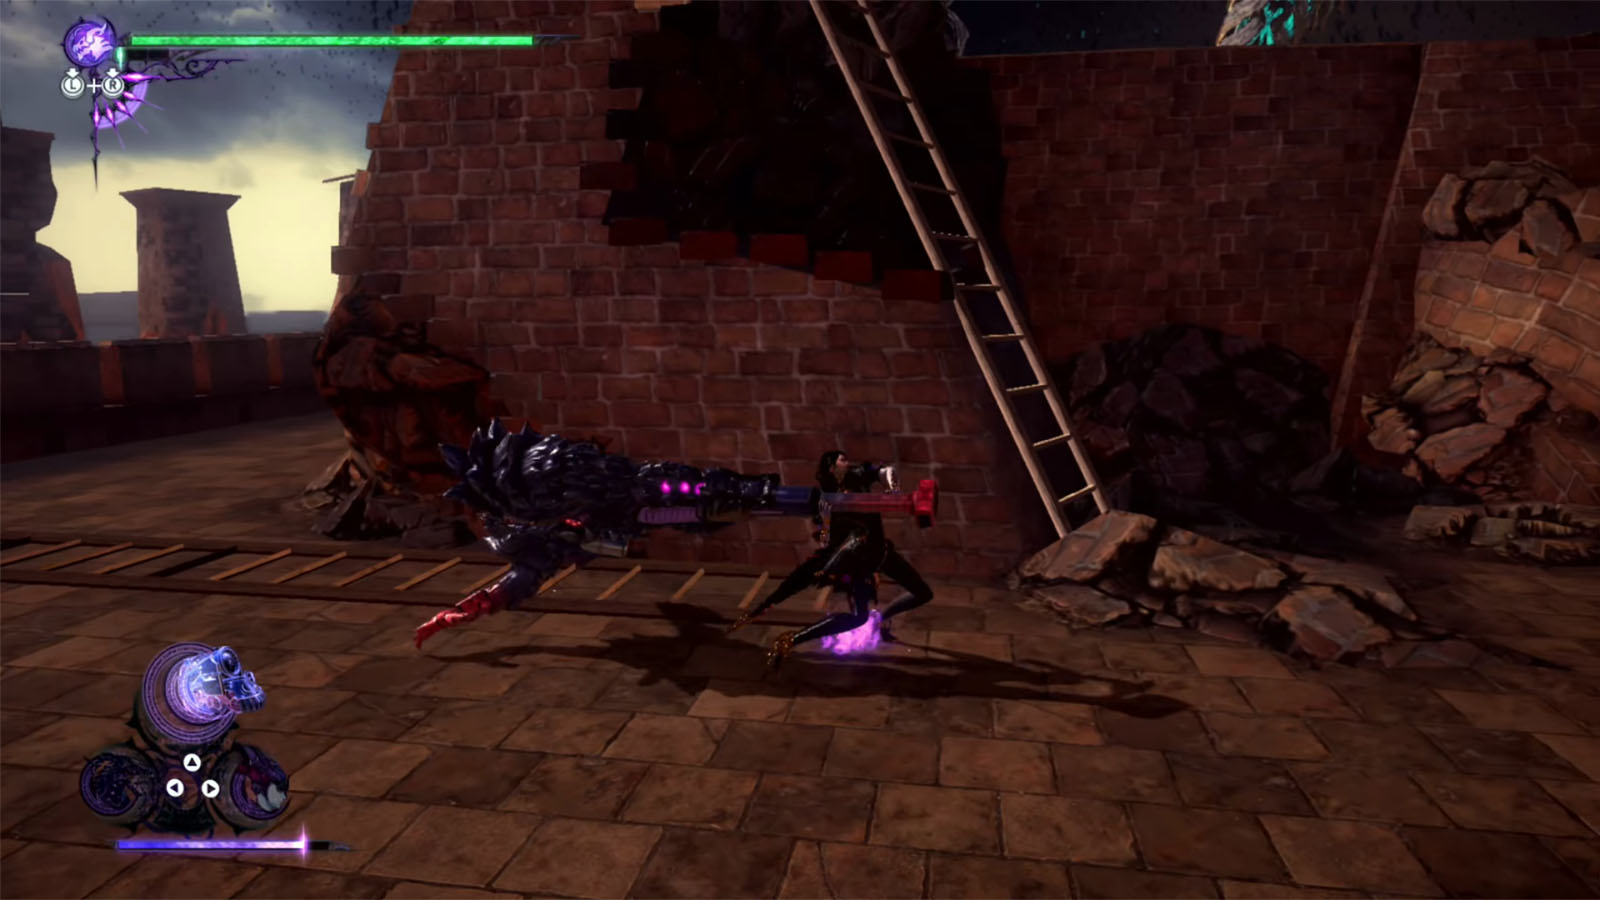
Thule: Cliffs of Time
You arrive back at Thule after coming from the previous world. After a short cutscene, follow the path ahead to the first verse.
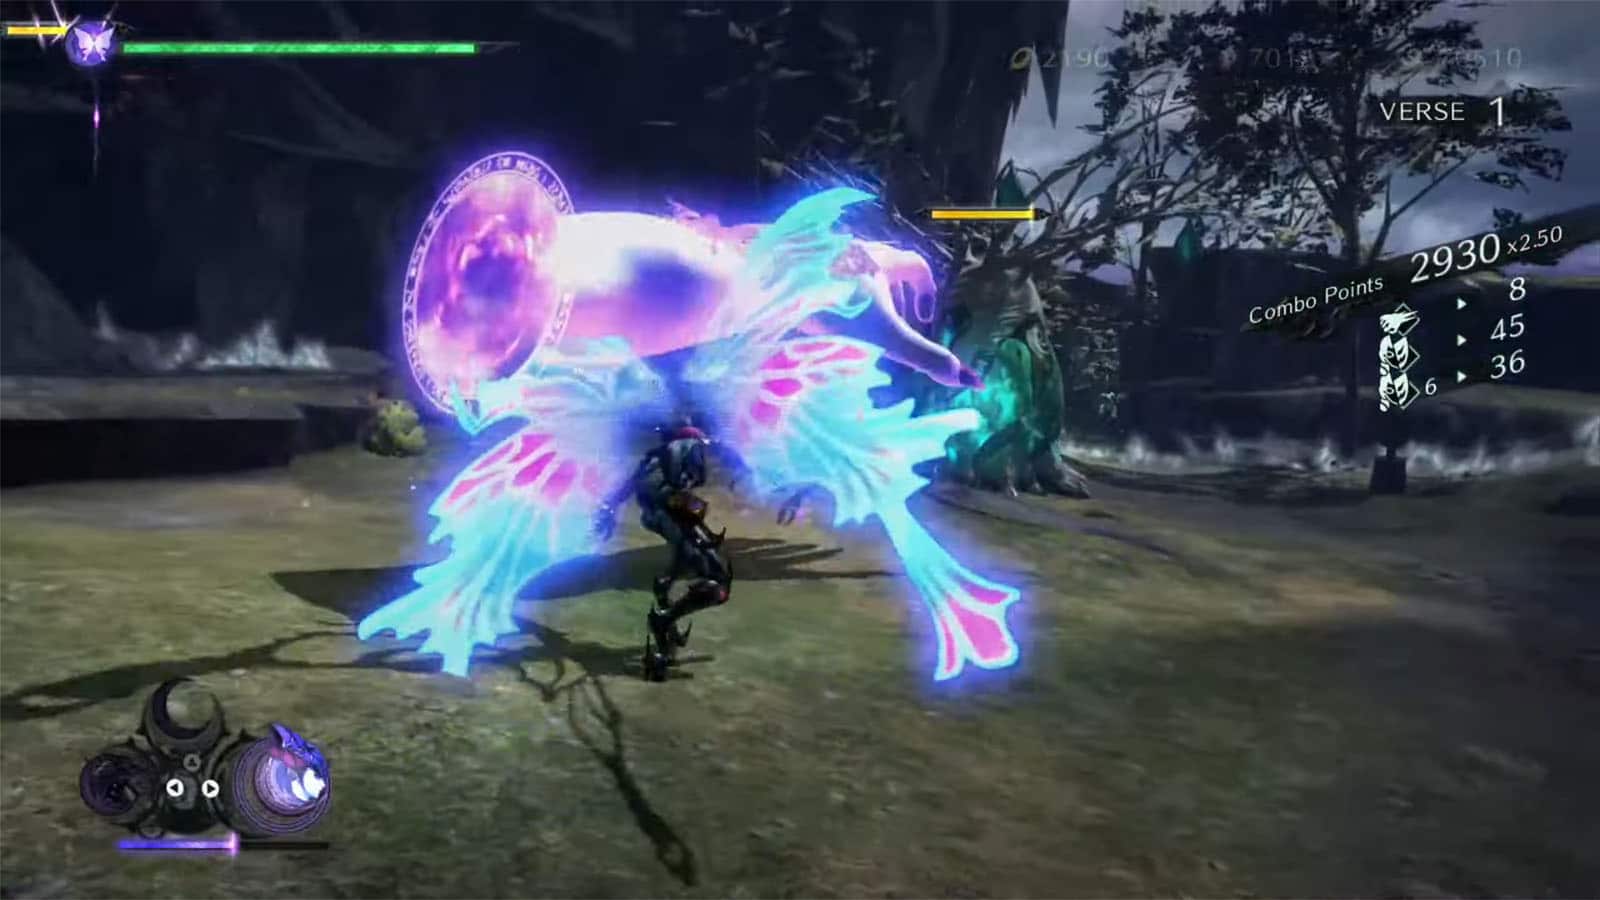
Verse #1
In this first encounter, you’ll have to focus on destroying the trees that appear. These trees bear and drop fruits that spawn more enemies, so it’s important to clear them right away.
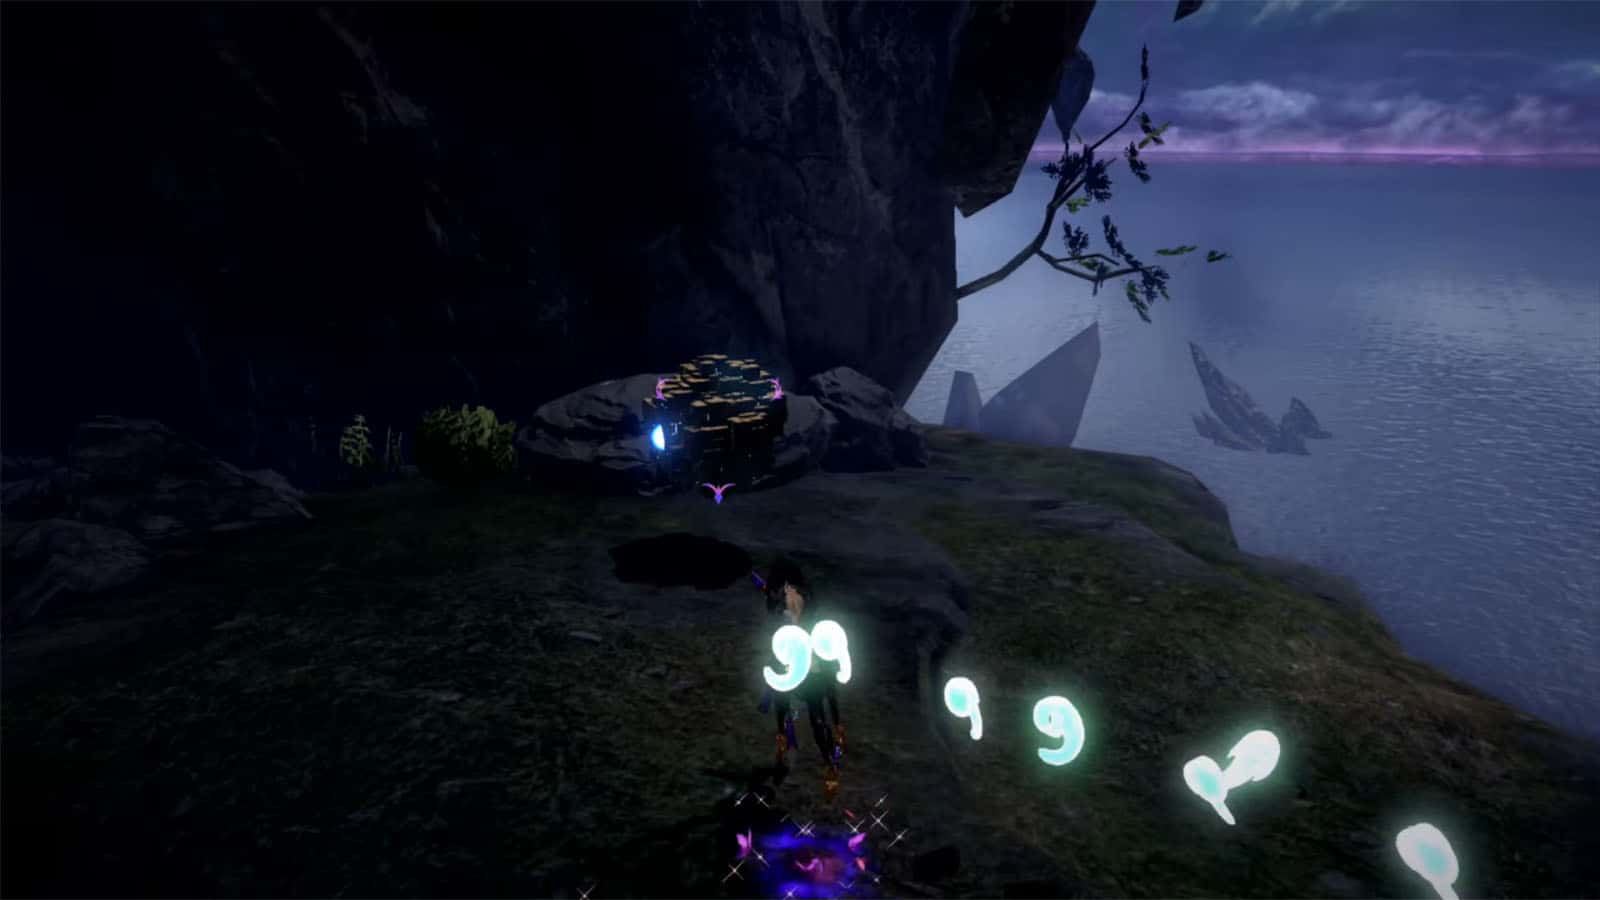
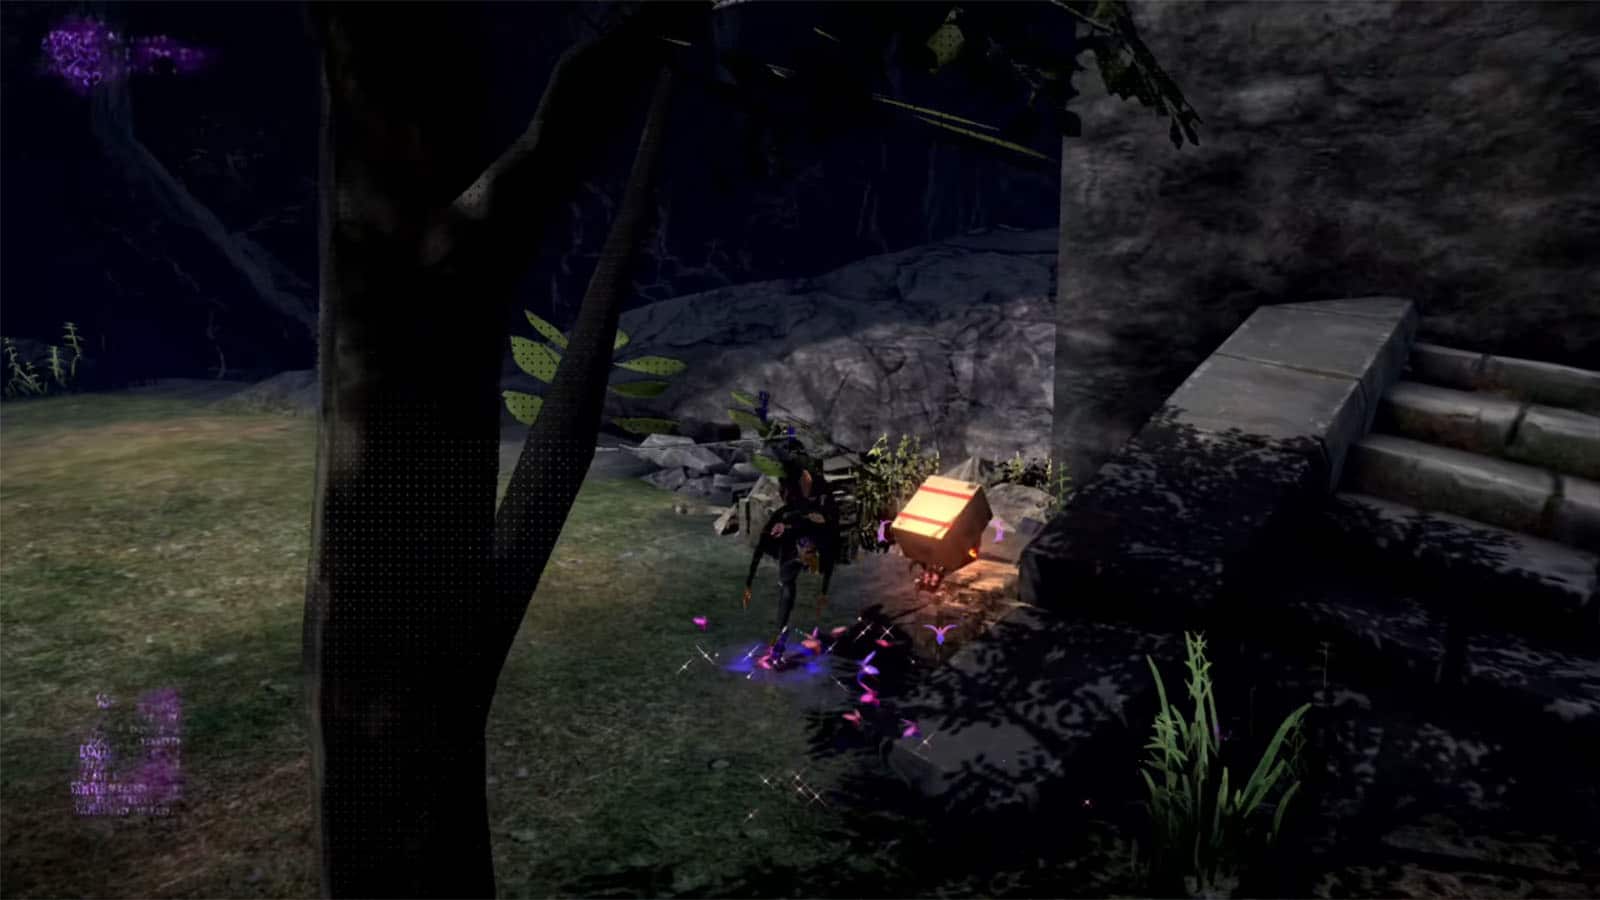
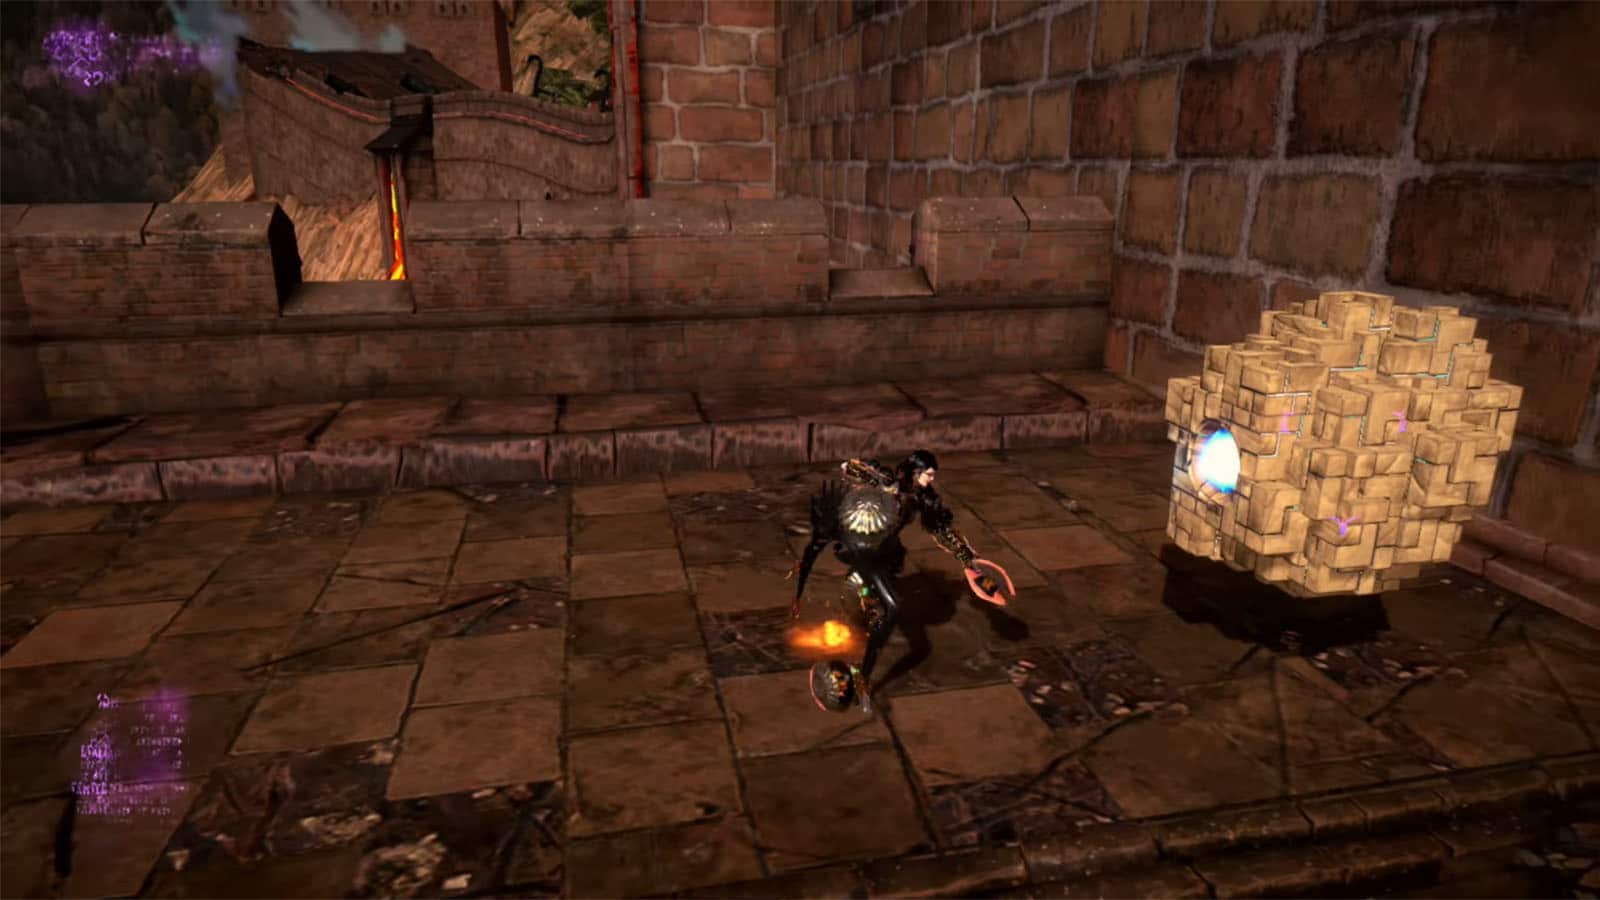
Broken Witch Heart #1
Go to the left towards the sea overview to find a treasure cube. Hit it to spawn more cube pieces for another time trial. Getting all the pieces in time will reward you with a Broken Witch Heart #1.
Card Pack #1
Towards the opposite side of where you got the fragment before, go up the ledges on the side of the rock wall and go through the gap in the rock to find the card pack.
Figure Box #1
Cross over the gap and head to the ruins. Attack the window to get inside and find the figure box.

Echoes of Memory #1
Climb up the branch growing from the ruins to find the Echoes of Memory: The Isle Between.
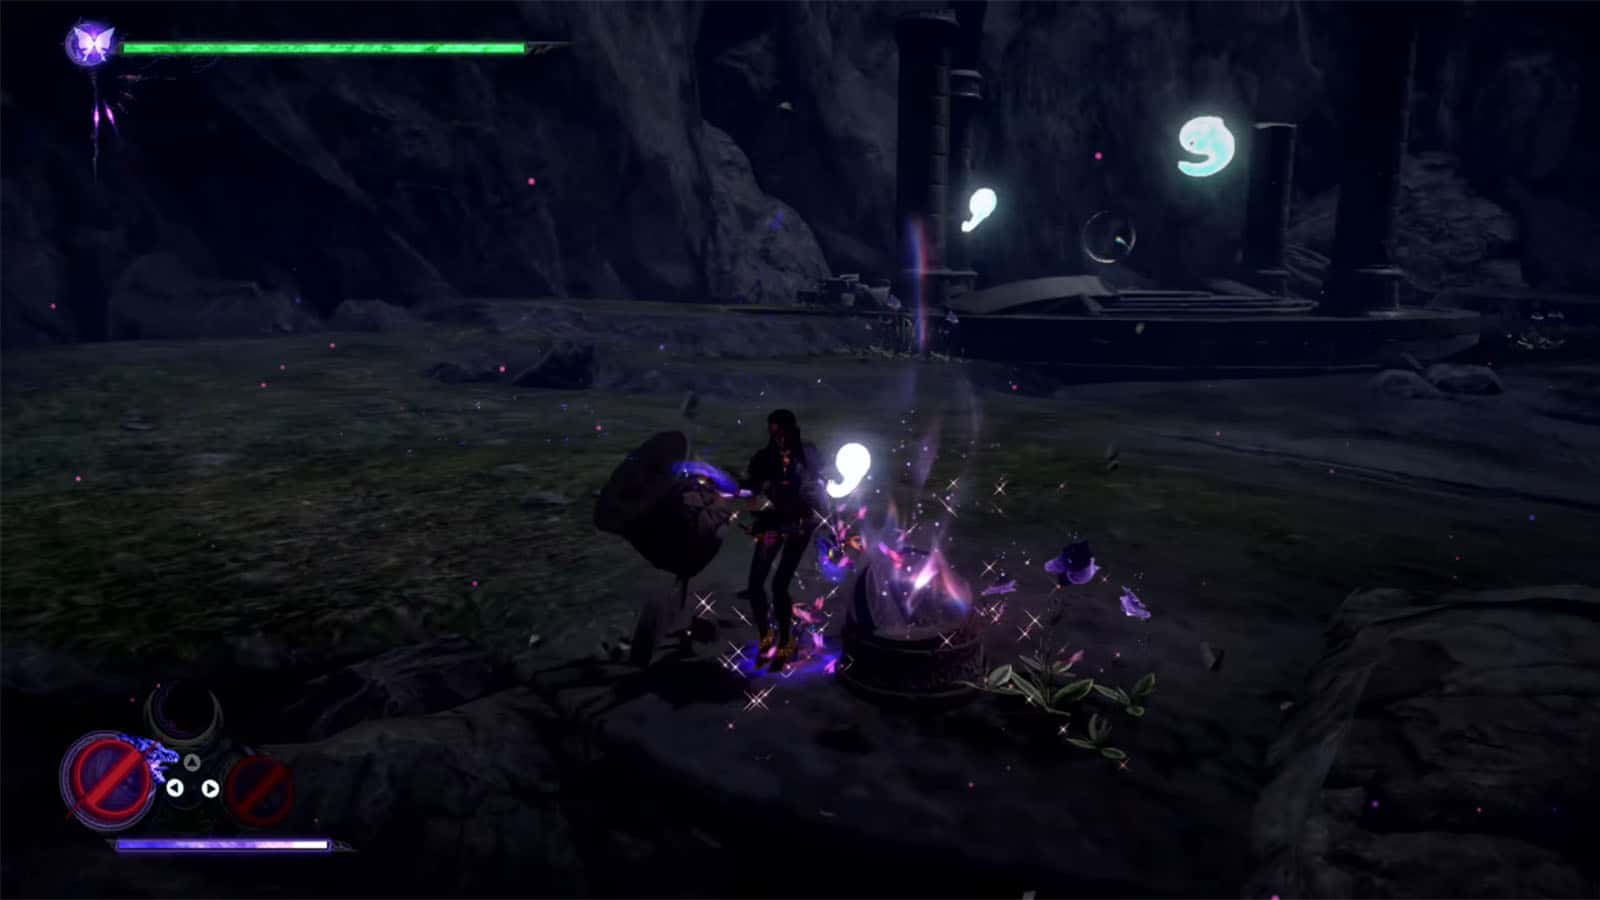
Broken Witch Heart #2
Move to the other side towards the sea overview again. You’ll find a moving treasure cube that gives out the Broken Witch Heart #2 when opened.
Card Pack #2
Just below the previous treasure cube, glide down towards the ground below to find a card pack.
Broken Witch Heart #3
Turn around from the previous card pack and jump even further down to find another treasure cube that turns into an enemy. Defeat the enemy to get the Broken Witch Heart #3.
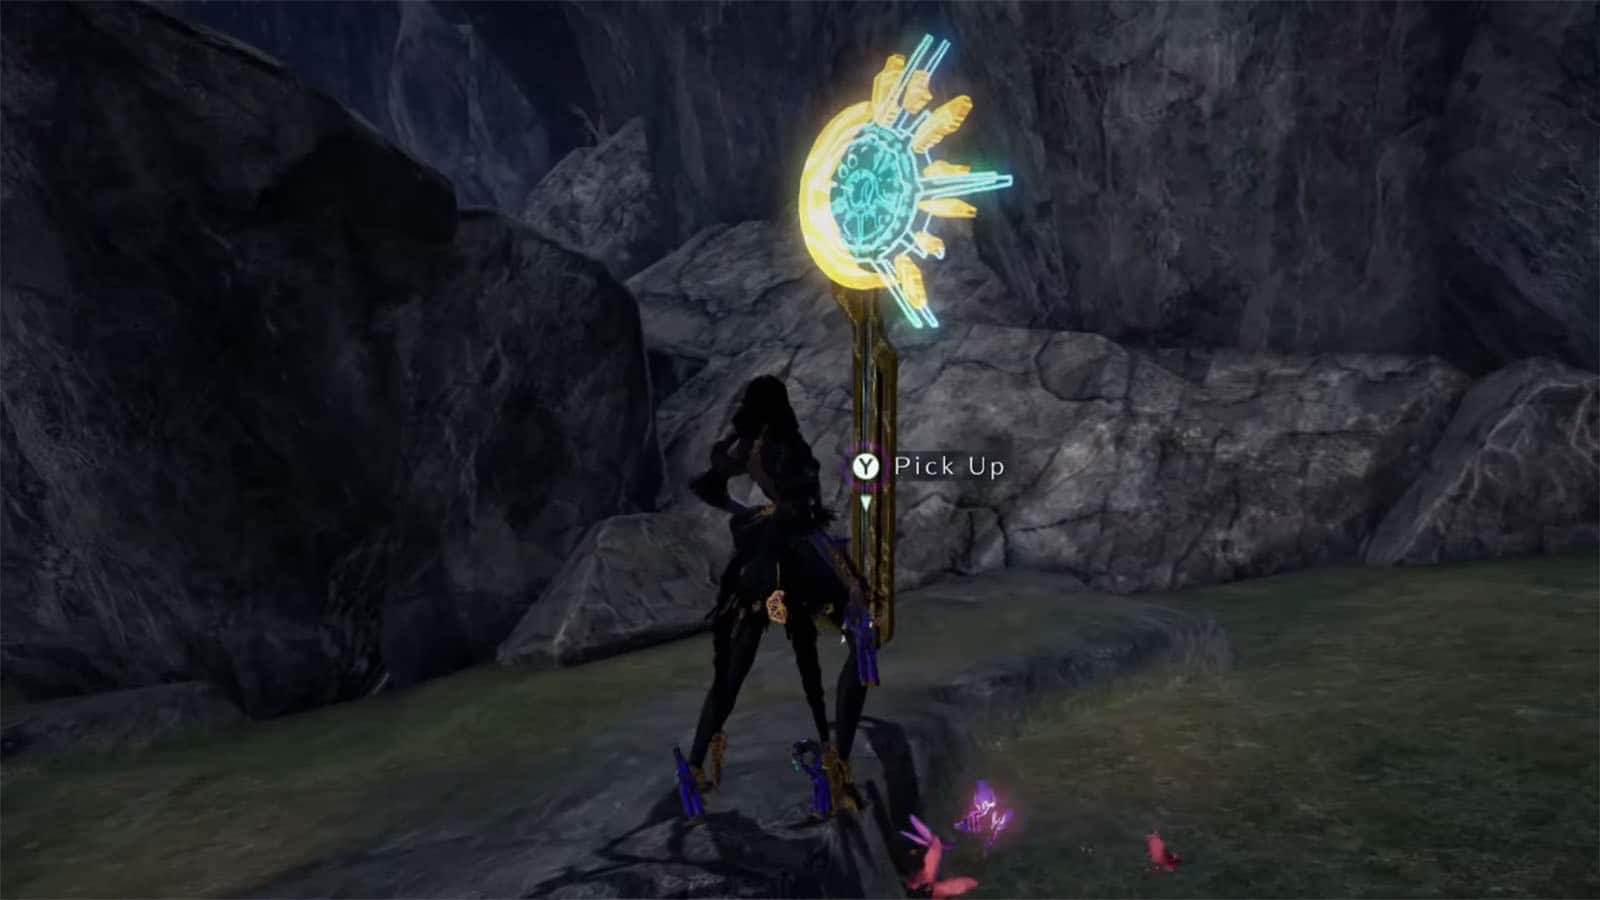
Broken Moon Pearl #1
From behind the ruins, follow the ridge down to the right where you’ll find a key. Then, jump down where the nearby waterfall is to find a barrier where the key can be used. Inside is a treasure cube that contains a Broken Moon Pearl.
Medallion Shard #2/4
Use the platform near the waterfall to climb back up to the surface. Then, make your way up to the left ledge to find a ruined mechanoid to find a Medallion Shard.
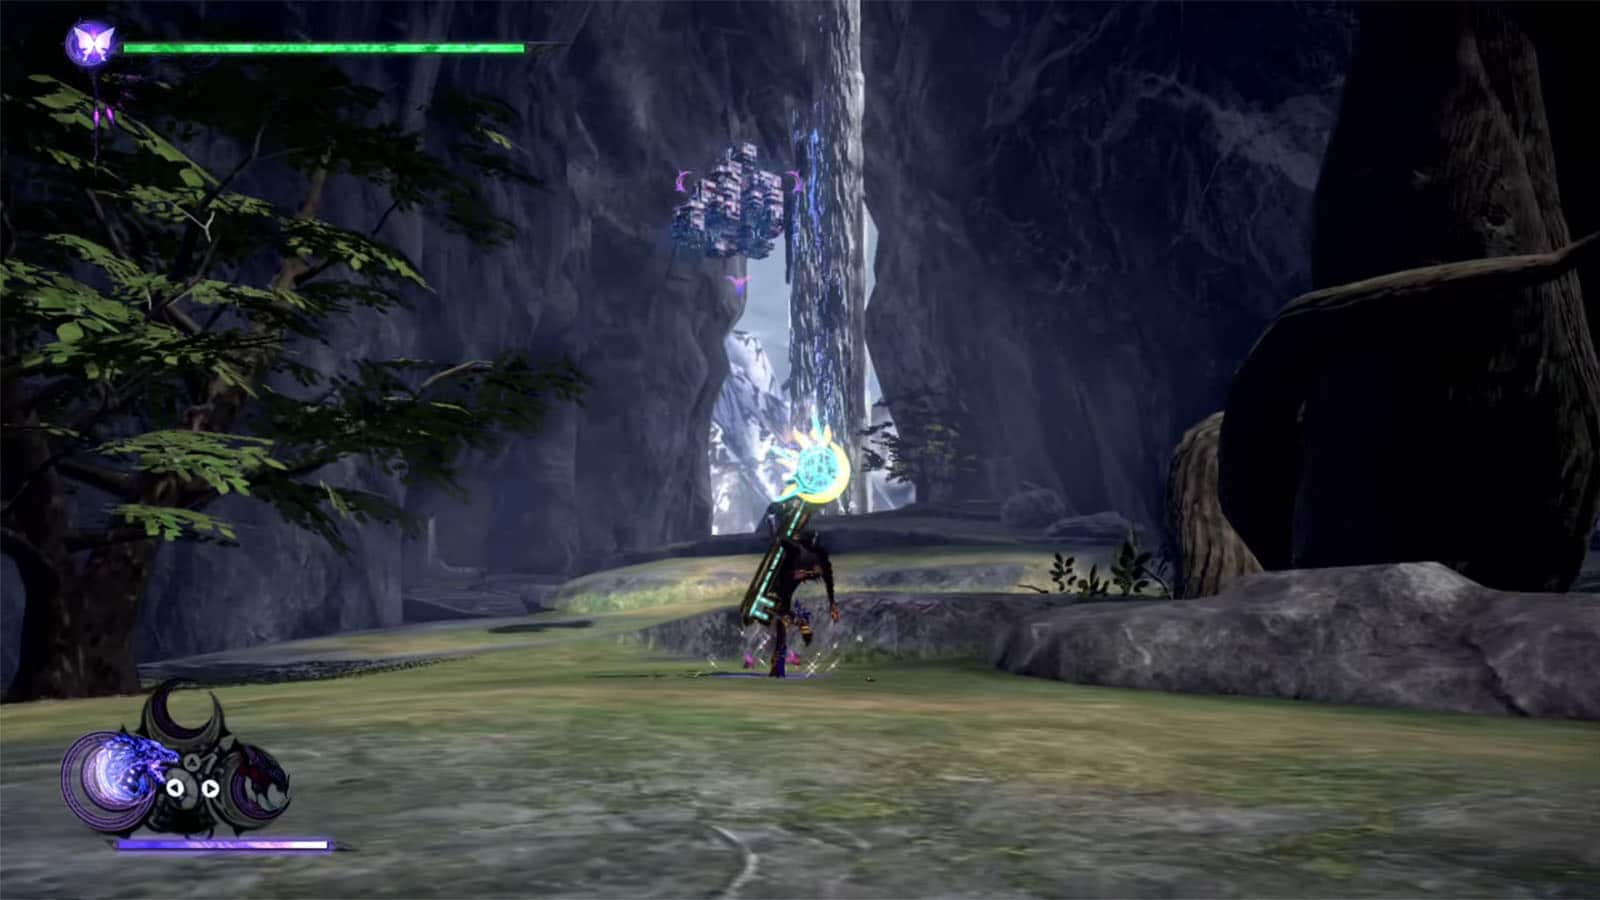
Broken Witch Heart #4
Break through the gate in the middle using a summon attack, then head toward the right to find a scurrier that is carrying the Broken Witch Heart #4.
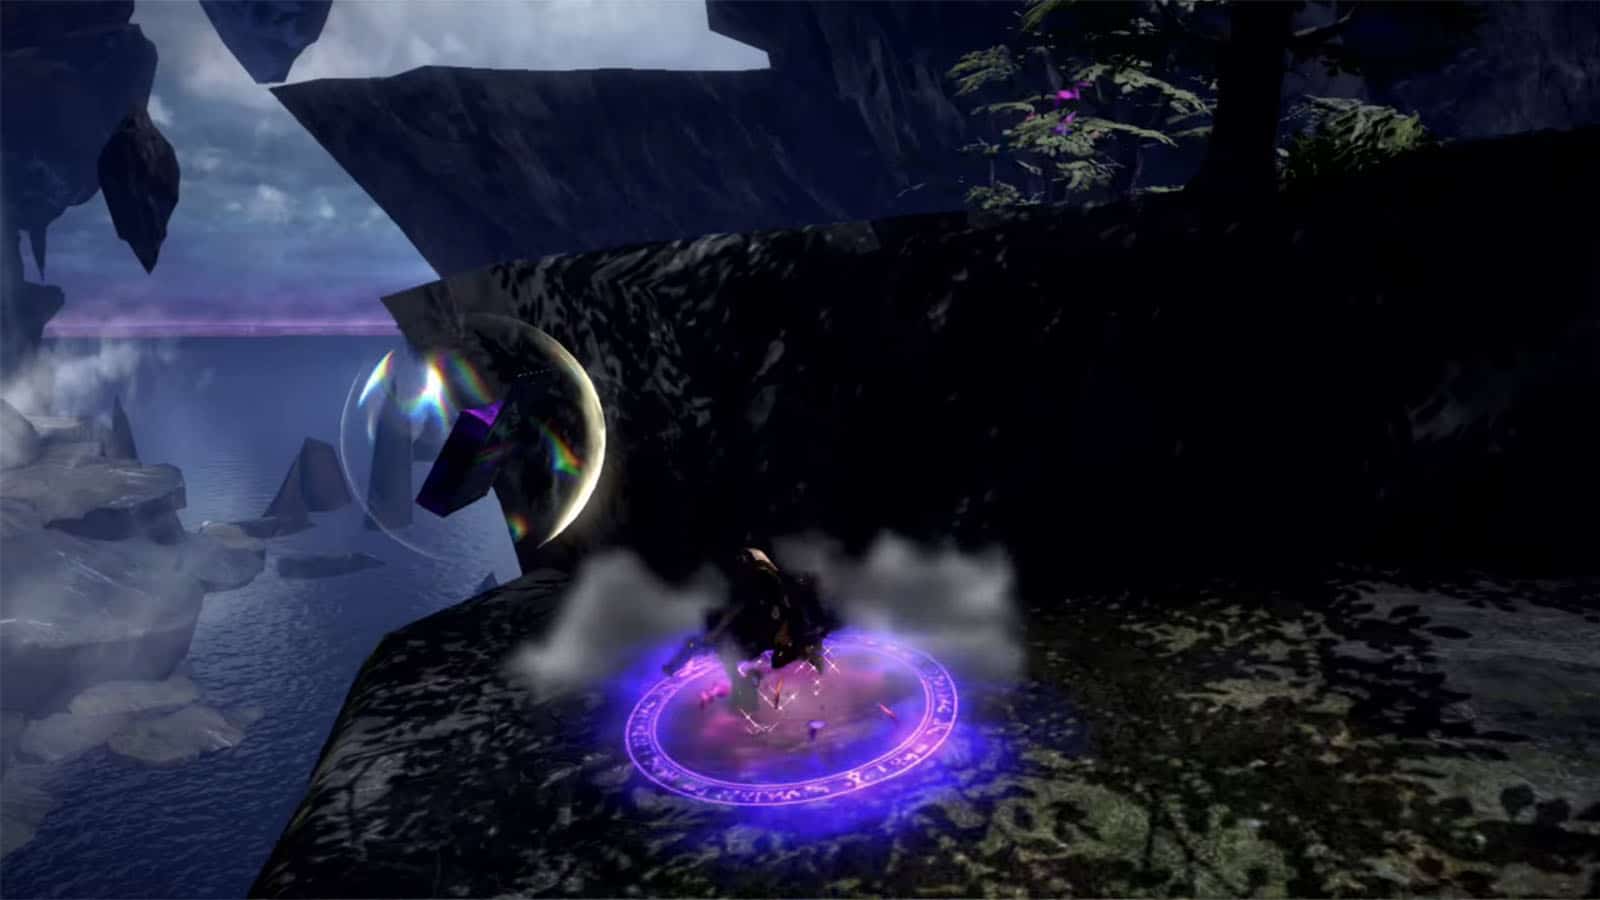
Figure Box #2
Turn around from the spot you got the scurrier from and you’ll find the figure box near the edge of the cliff.
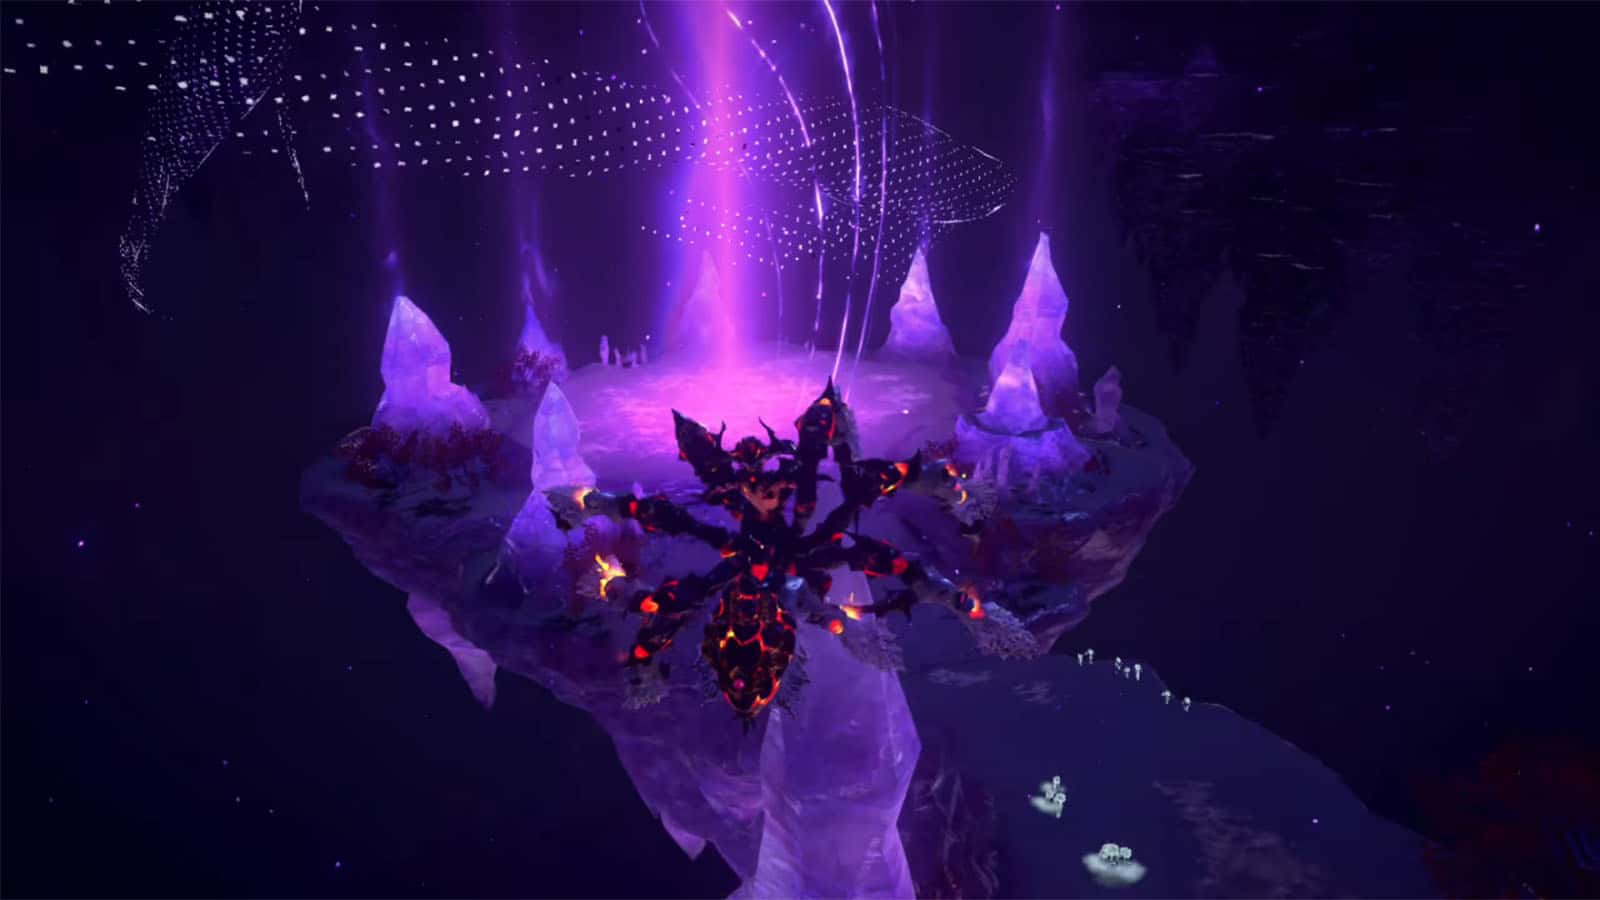
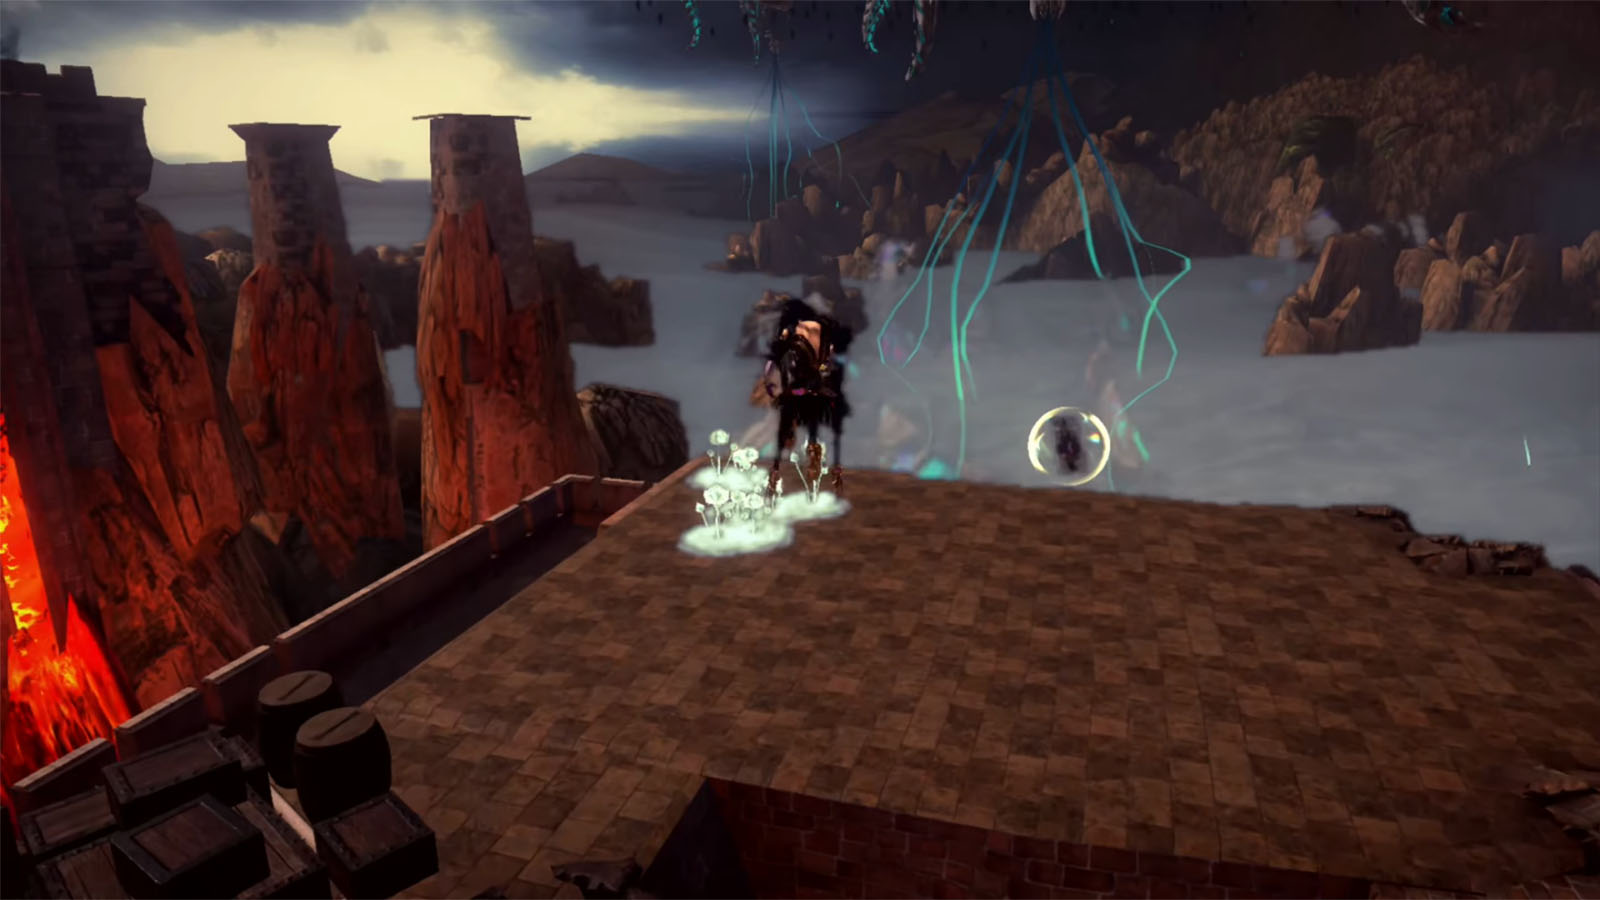
Ginnungagap, the Chaotic Rift
Once you’re done exploring Thule, you can proceed through the portal to go to the rift. There’s nothing to collect in here other than the seeds and a Bewitchment up the highest point. Simply follow the path until the end point to reach the next destination.
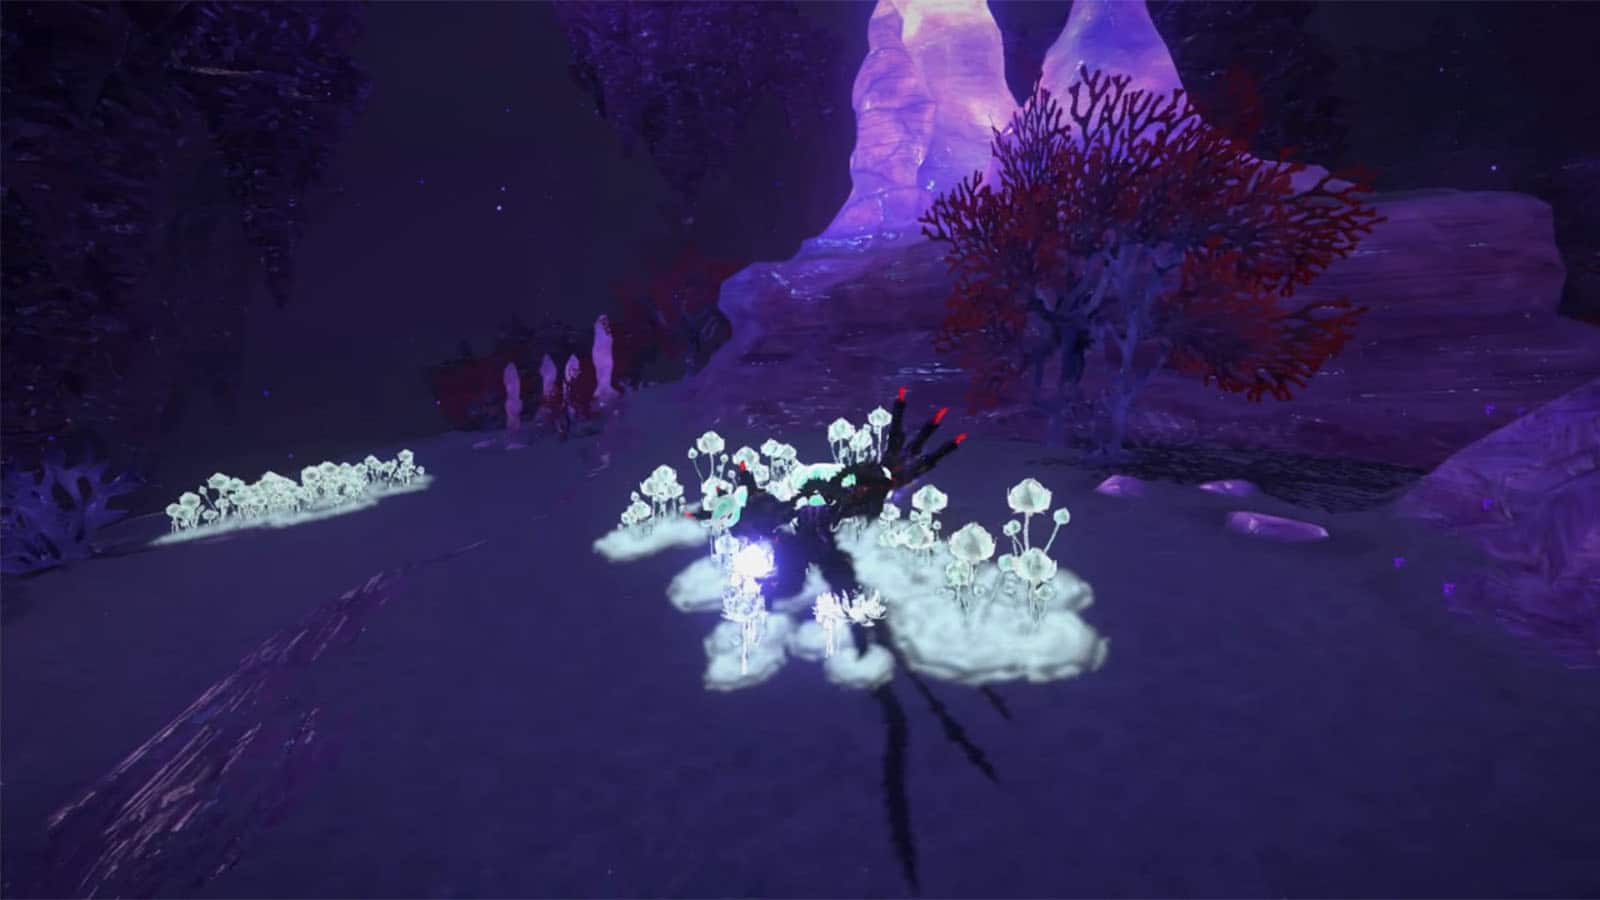
Bewitchment #1
Just before heading to the end portal, climb up on top of the tallest stalagmite and either do a Winder with the Yo-yo with a swing or do a 180 Demon Pulse towards the higher platform. Then, go to the lotus fields to get the Enter the lotus field in Ginnungagap Bewitchment.
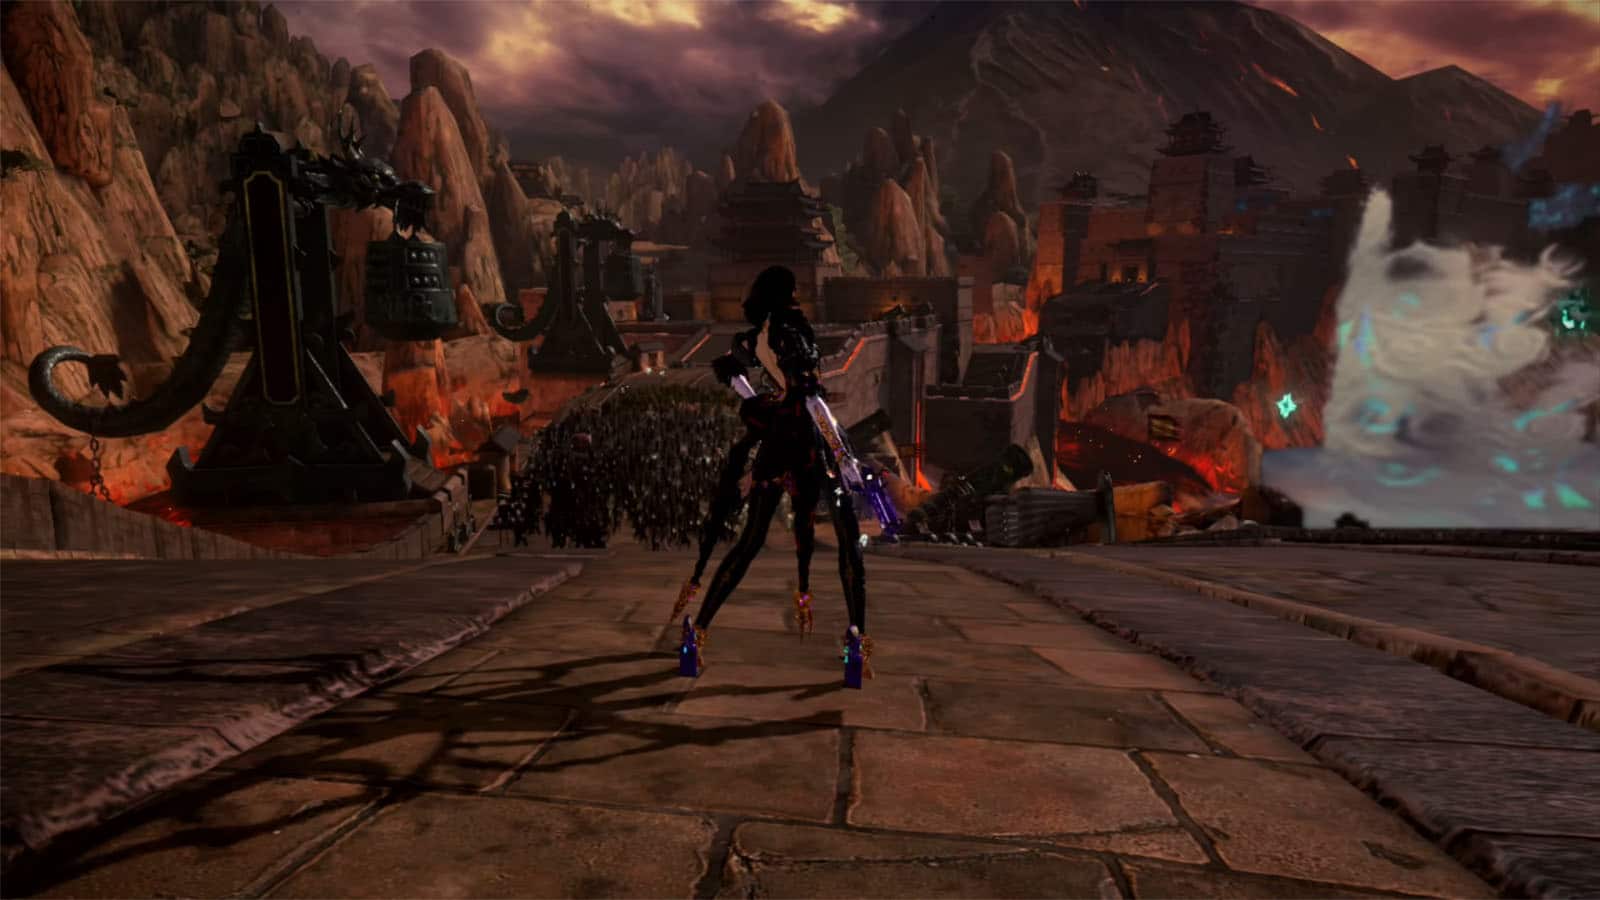
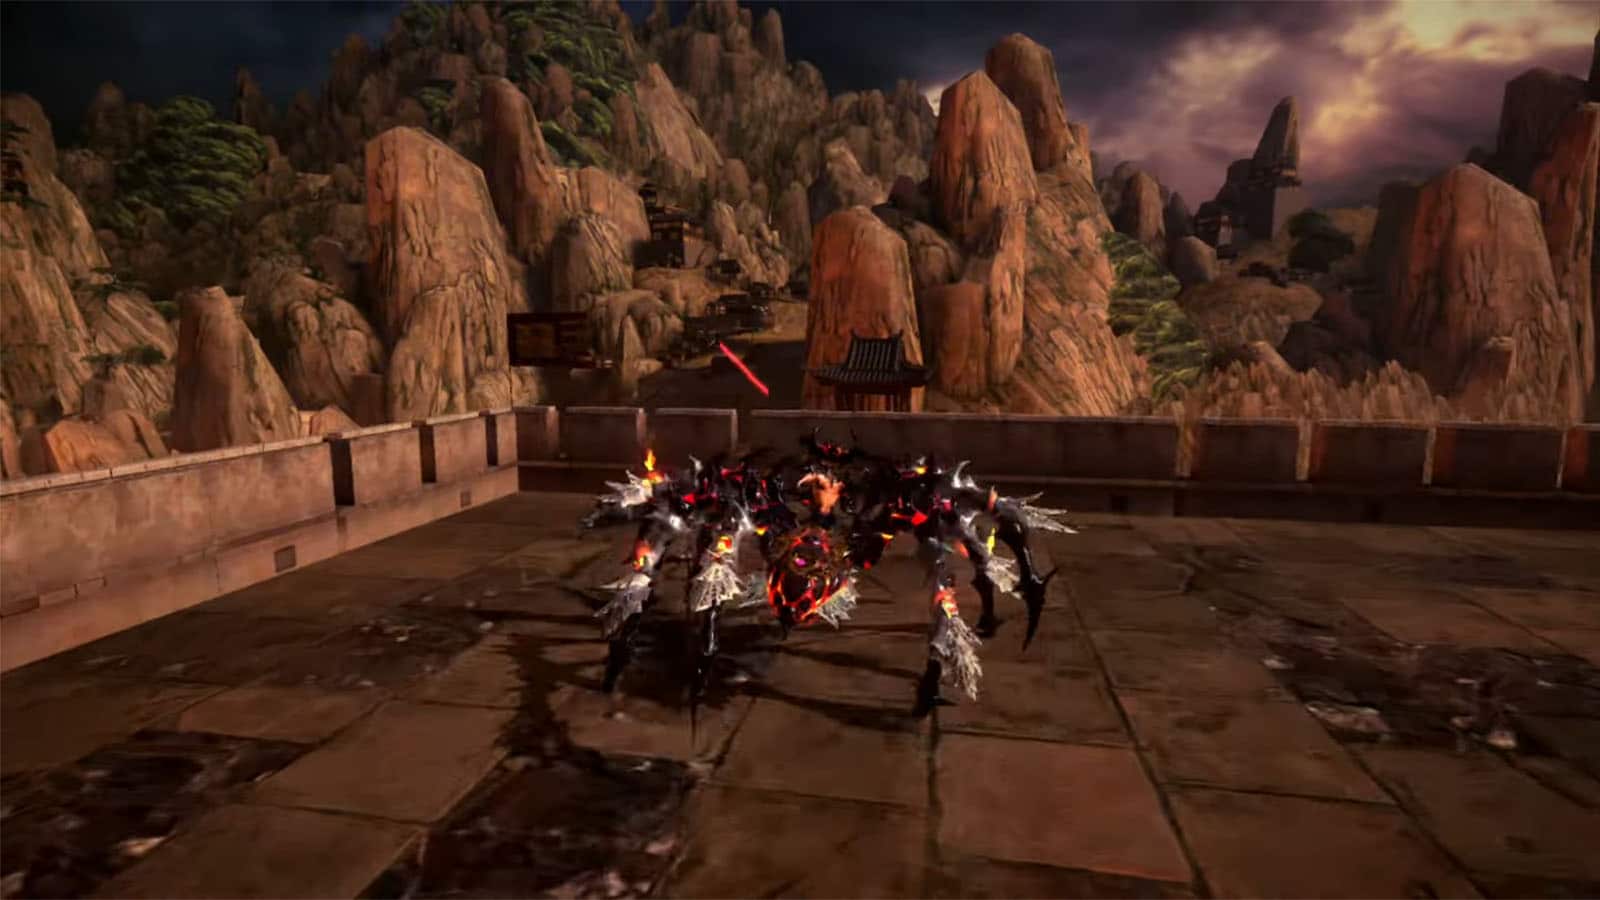
Qin Lan: Xi Chang An
Bayonetta arrives in another alternate universe, this time in what appears to be China during imperial times. Soldiers are already up in arms against the invading homunculi.
Bewitchment #2
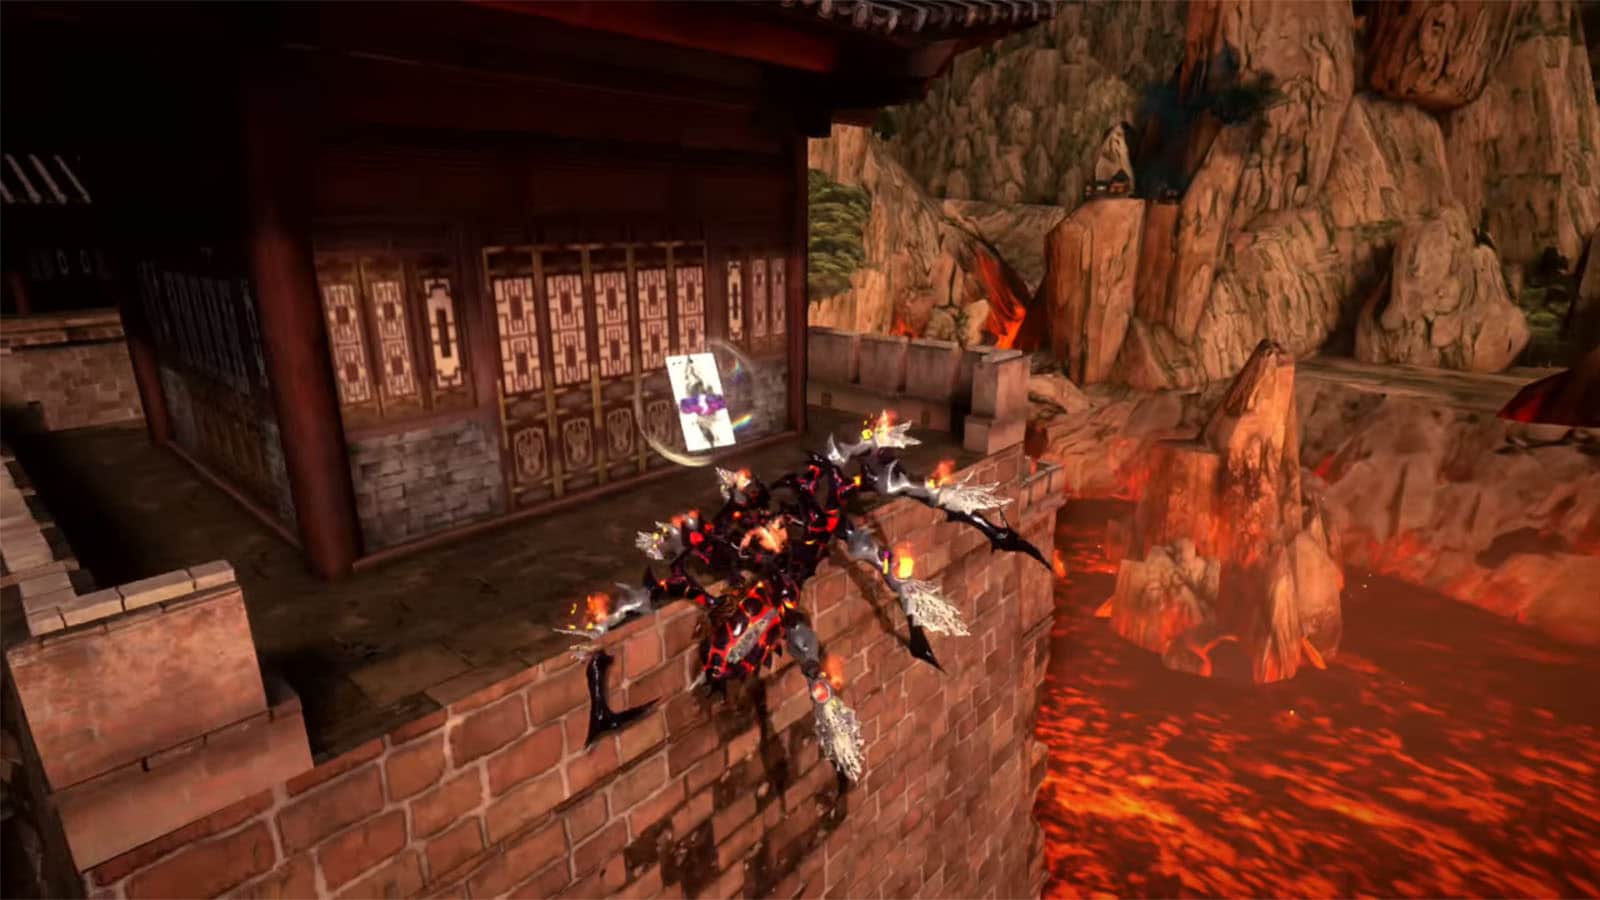
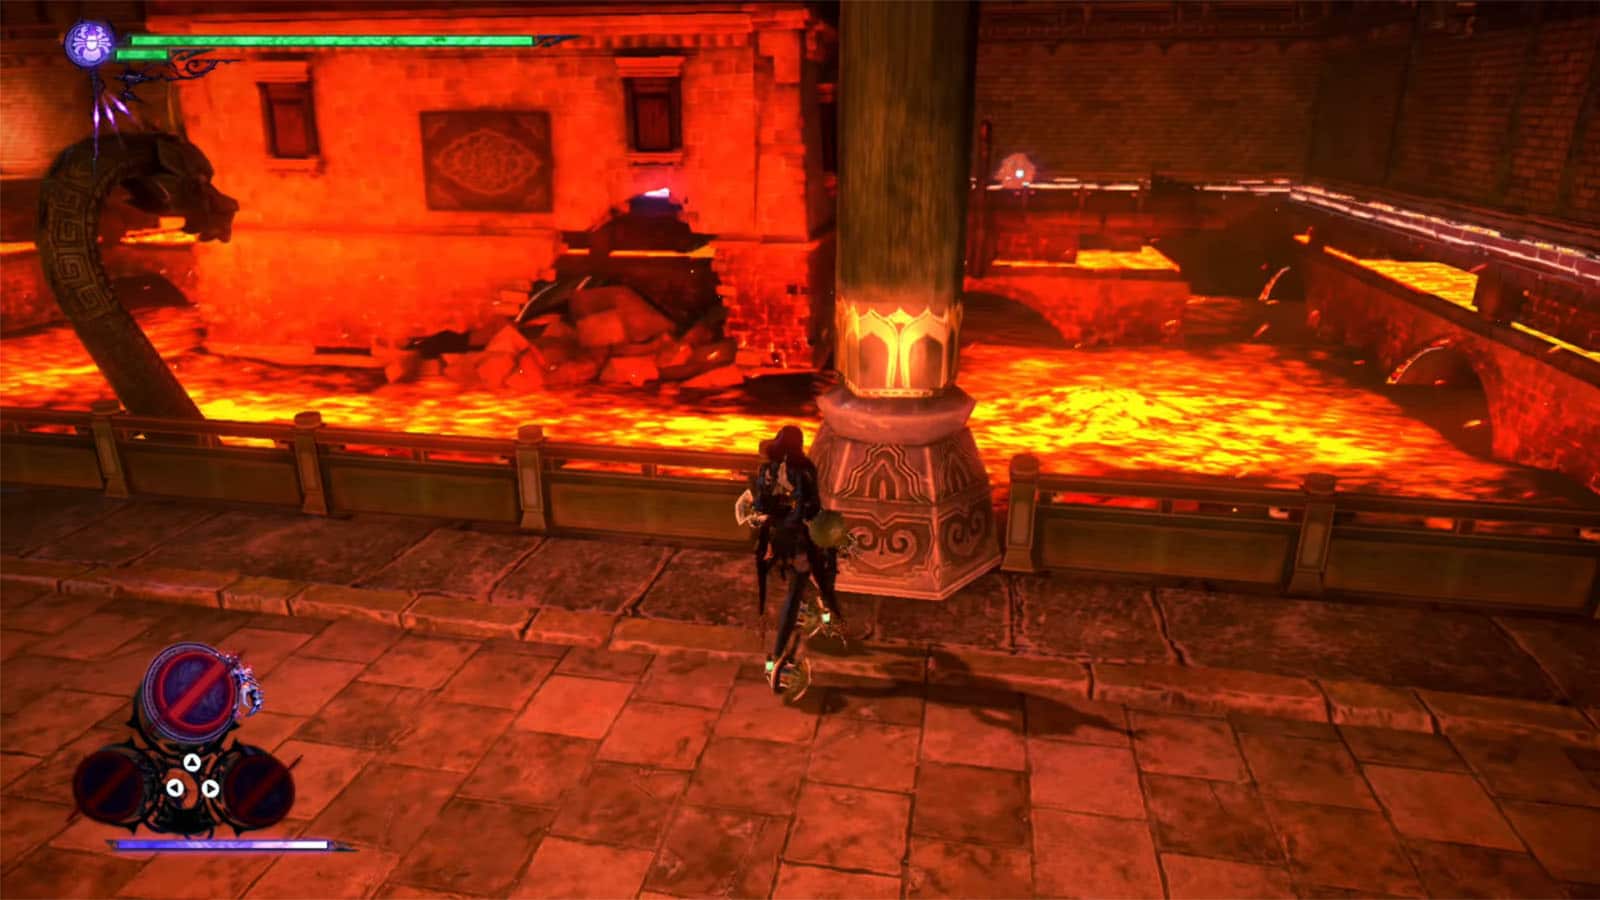
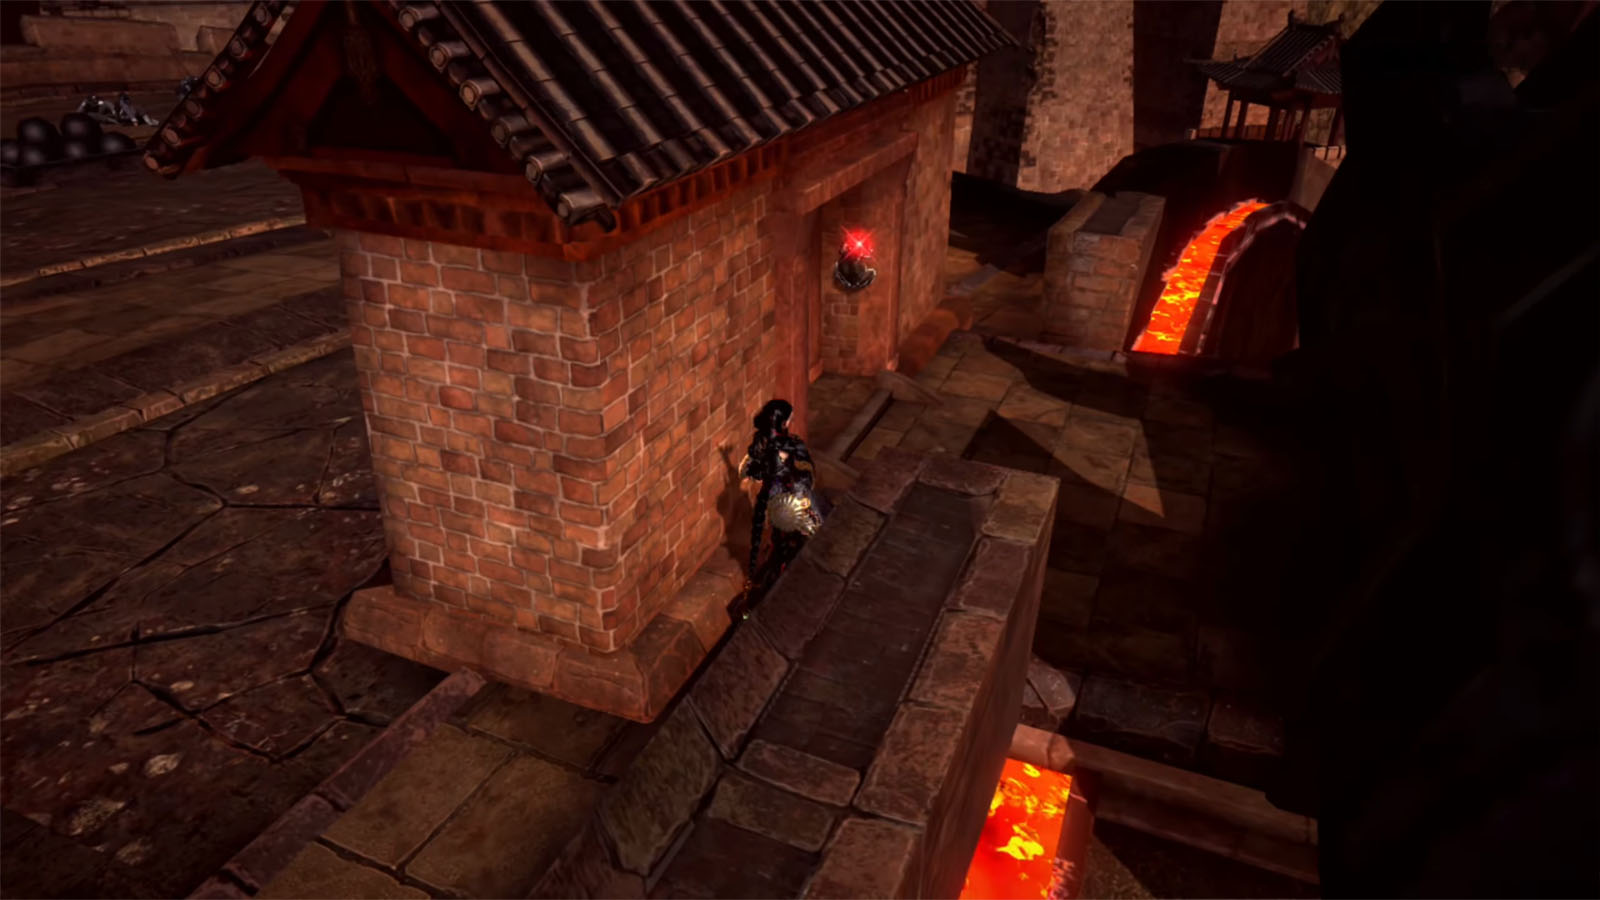
Right off the bat, you can immediately get the Walk over lava while using Phatasmaraneae Masquerade Bewitchment since there is lava on one side of the wall. Make sure you’re doing this near a ledge that you can easily climb up to.
Figure Box #3
Farther down the wall is a staircase and before reaching it, look down to the left side to find the figure box.
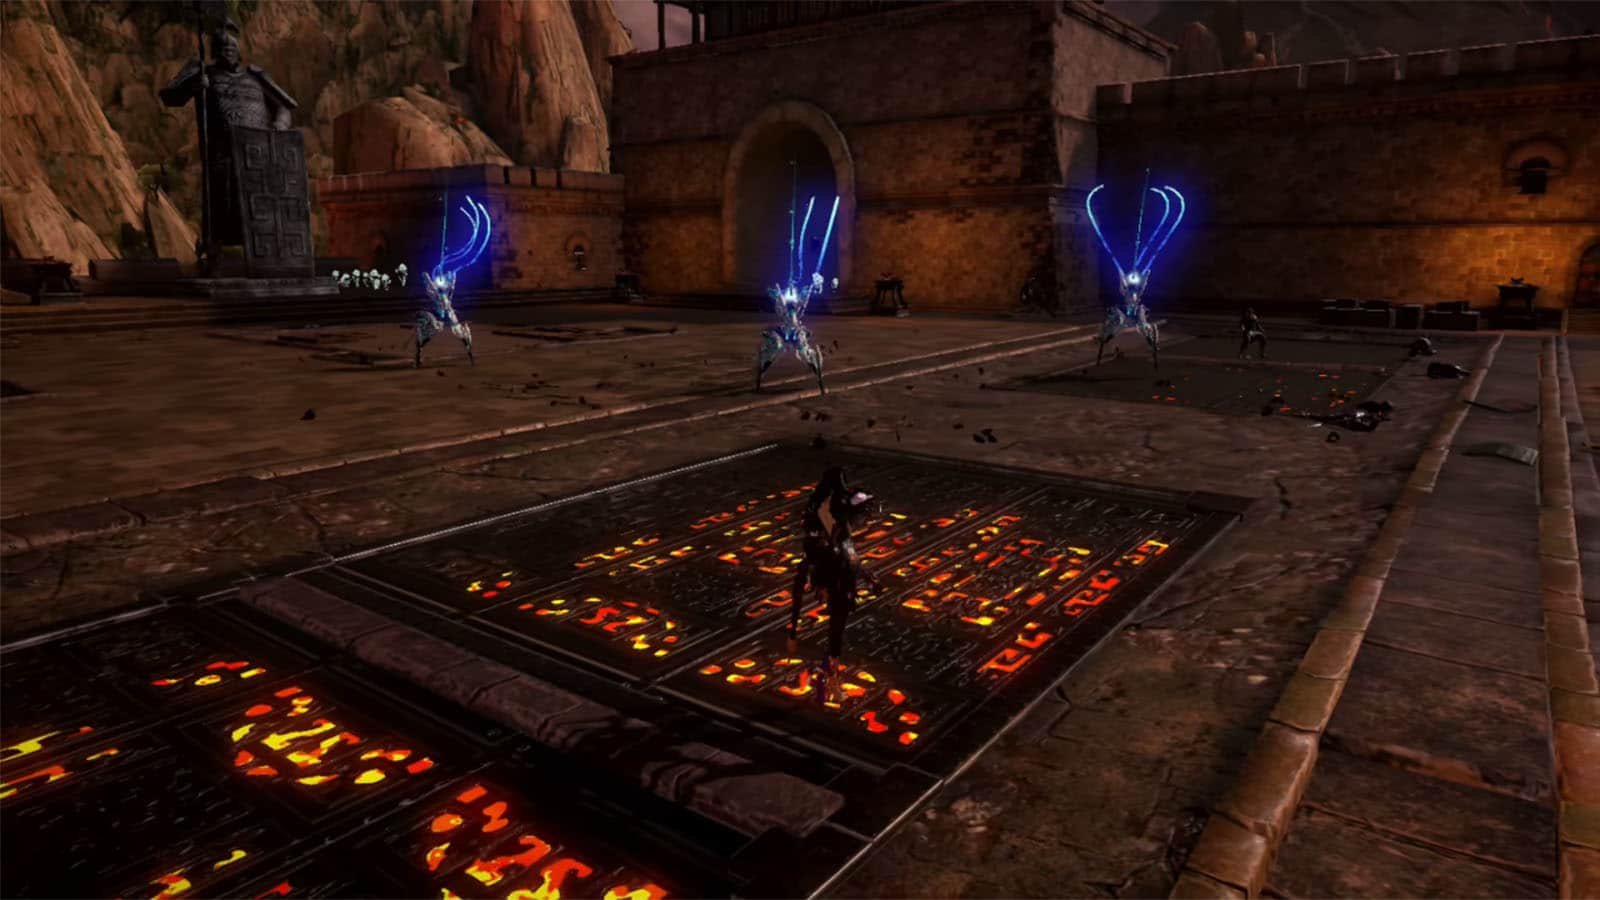
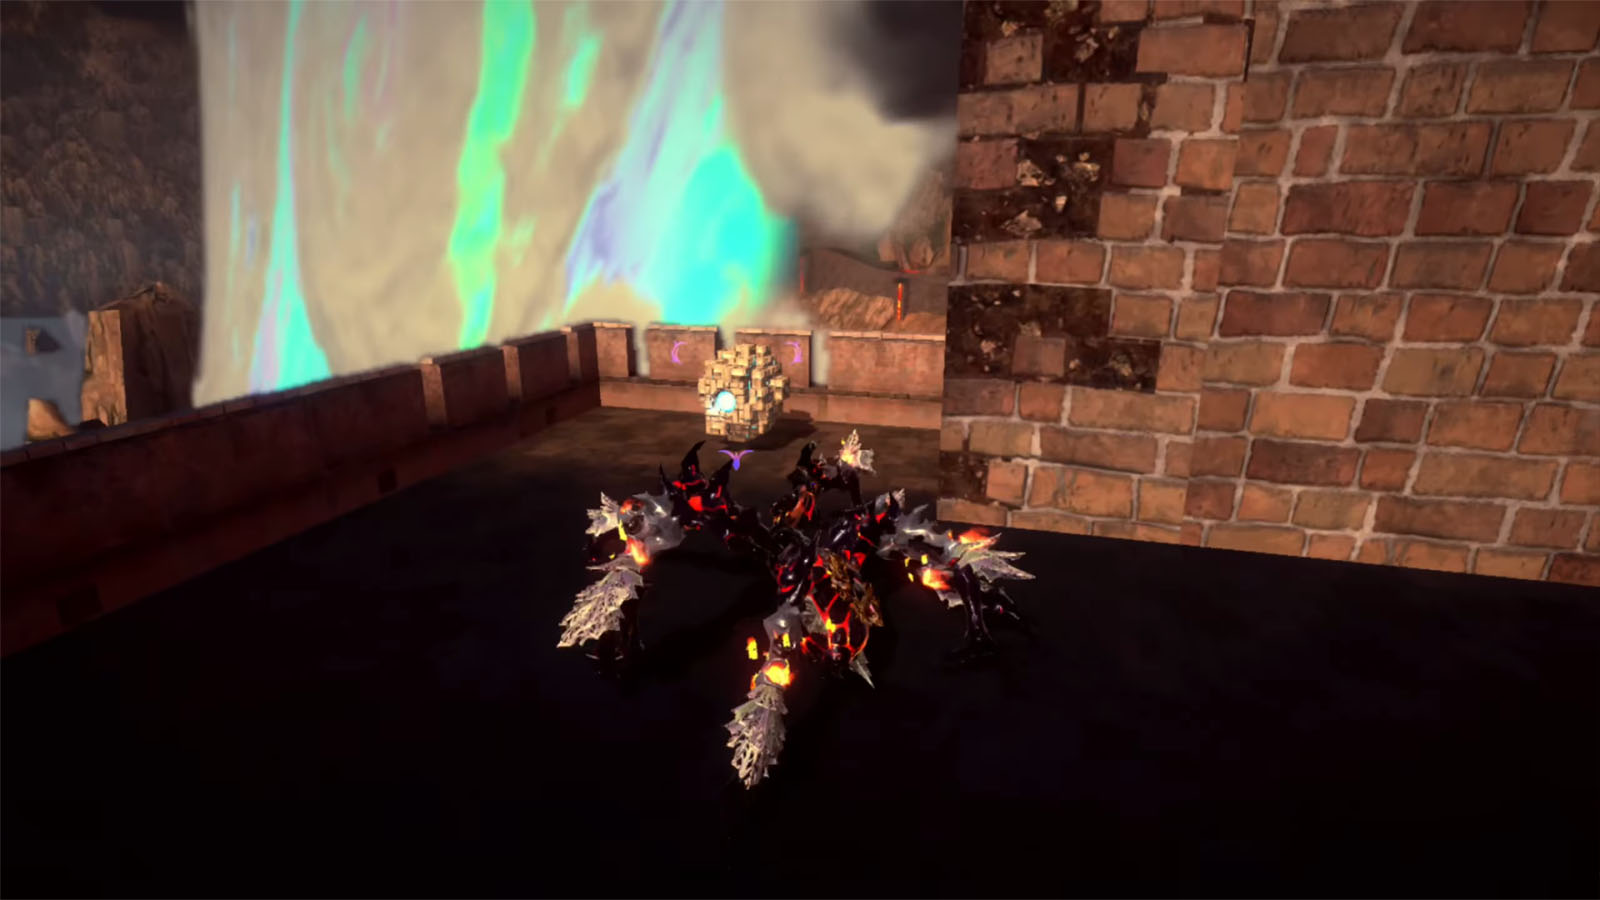
Verse #2 / Bewitchment #3
Go up the stairs into an open area to get the next encounter. You’ll be fighting against the nimble Mediocris which move fast. Time your evades to enter Witch Time and be able to do free hits on them. Chain your attacks to fill up your gauge and do a Wink Slave while having Phantasmaraneae as a summon to get the Hit Mediocris with Infernal Demon attacks 3 times Bewitchment.
Broken Witch Heart #5
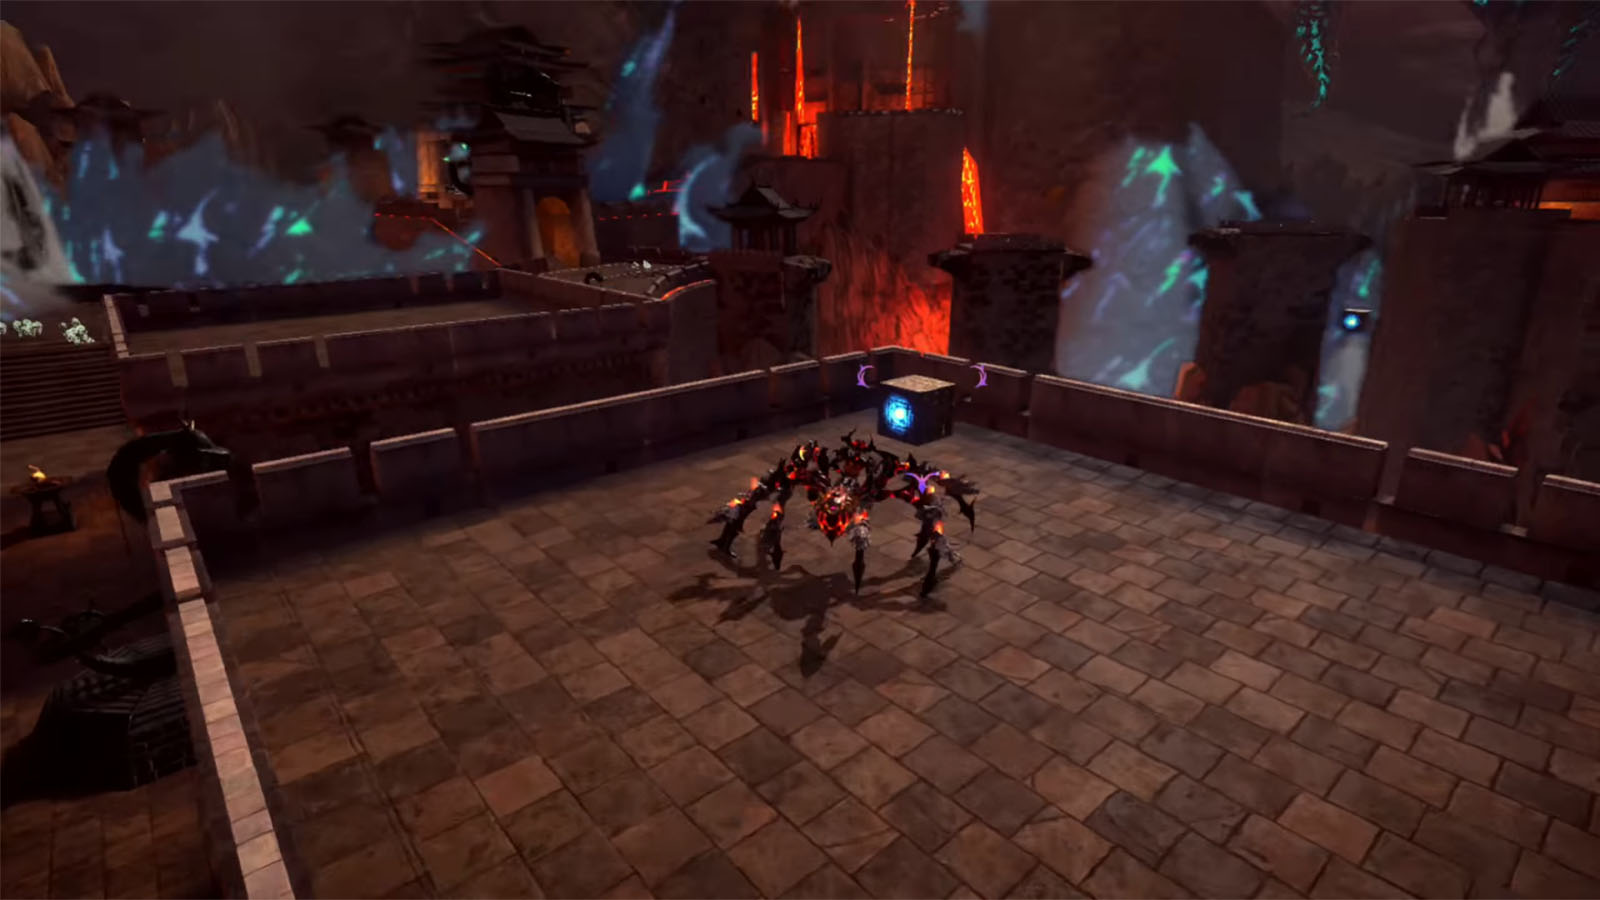
On the left tower of the arena near the stairs is a treasure cube that contains the Broken Witch Heart #5.
Echoes of Memory #2
Head to the right side of the arena and climb the gate wall ahead to find the Echoes of Memory: The Chaotic Abyss.
Card Pack #3
Go past the gate and climb up the next tower nearby to find a card pack.
Umbran Tears of Blood – Crow
Cross the crumbling bridge and climb the wall behind the soldier statue on the left. The crow is perched on top of the wall.
Broken Moon Pearl #2
On the same wall, cross over to the other side where you’ll find another treasure cube. Attack this to trigger the time trial. Once completed, you’ll receive a Broken Moon Pearl.

Figure Box #4
On the same wall, make your way to the tower in the center where the figure box is inside a room.
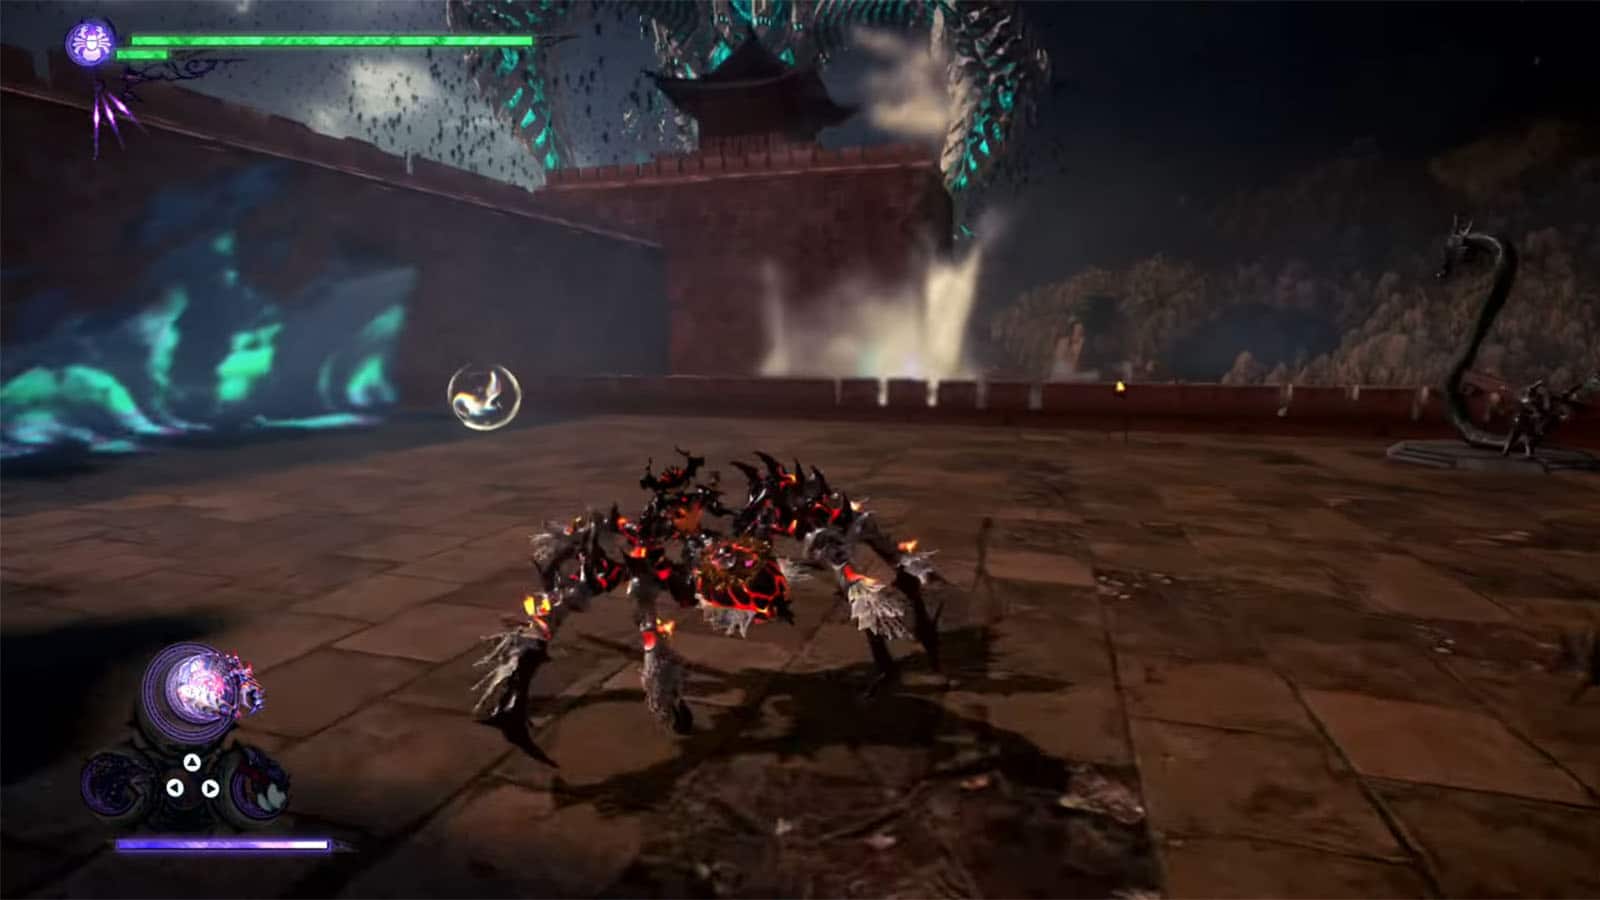
Figure Box #5
On the same wall, to the far right, you’ll find a figure box.
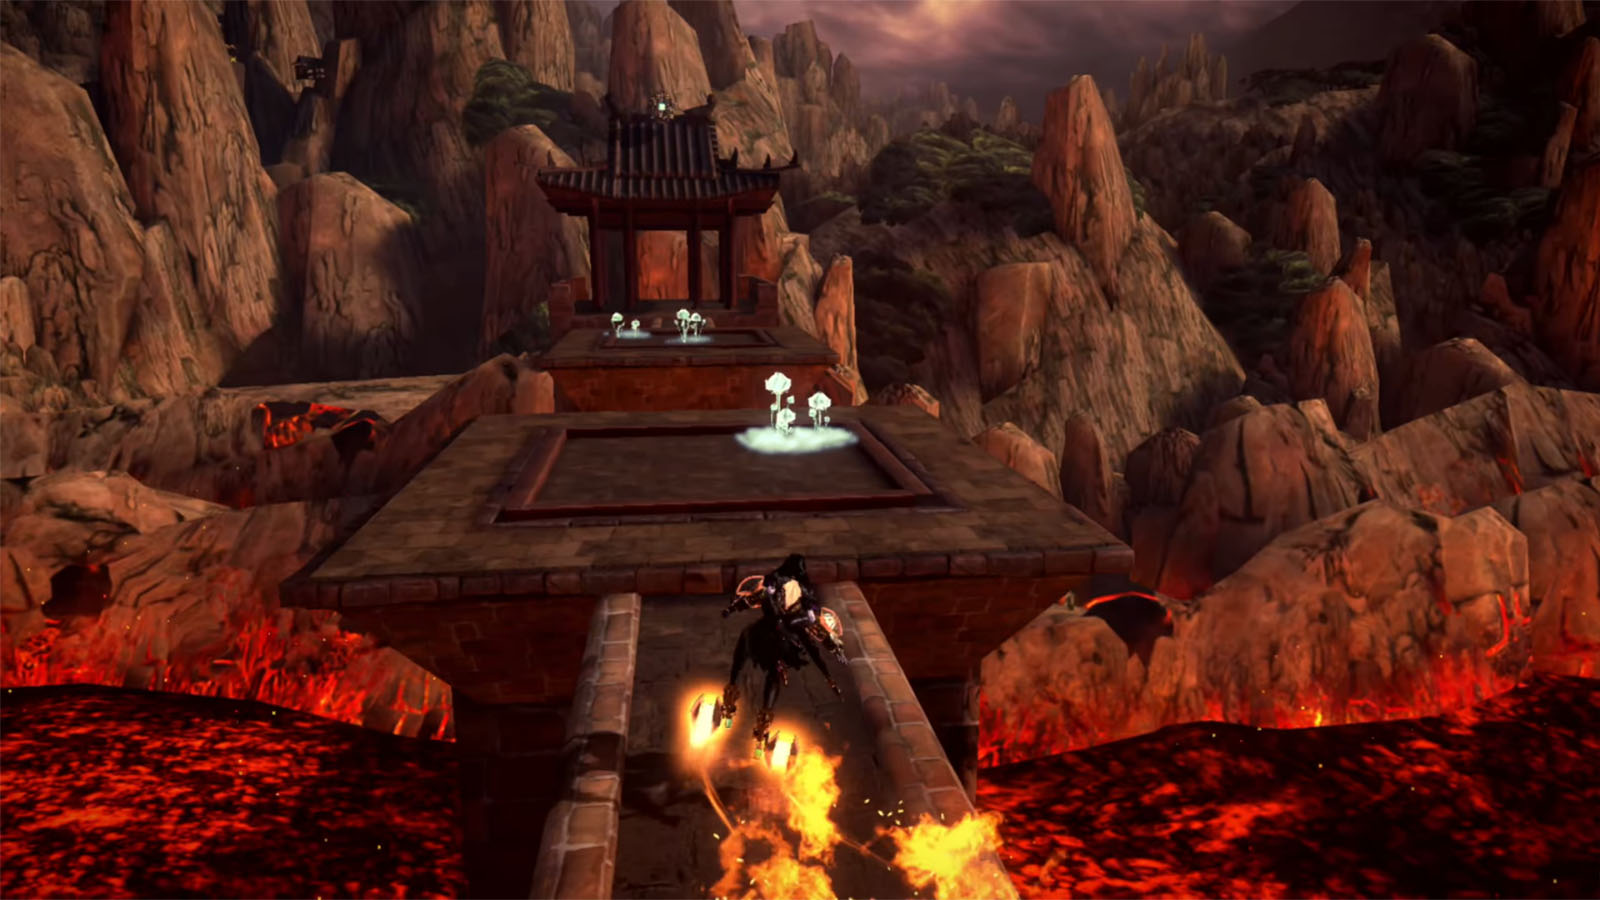
Verse #3 / Broken Moon Pearl #3
Enter the chamber from the main gate and go to the left to see a room ahead with a broken wall. Cross the lava using Phantasmaraneae and break the wall to get access to Verse 3.
In this fight, you will face against enemies using Alruna which is a whip-type weapon. You need to defeat all enemies before time runs out. Once done, you’ll receive a Broken Moon Pearl.
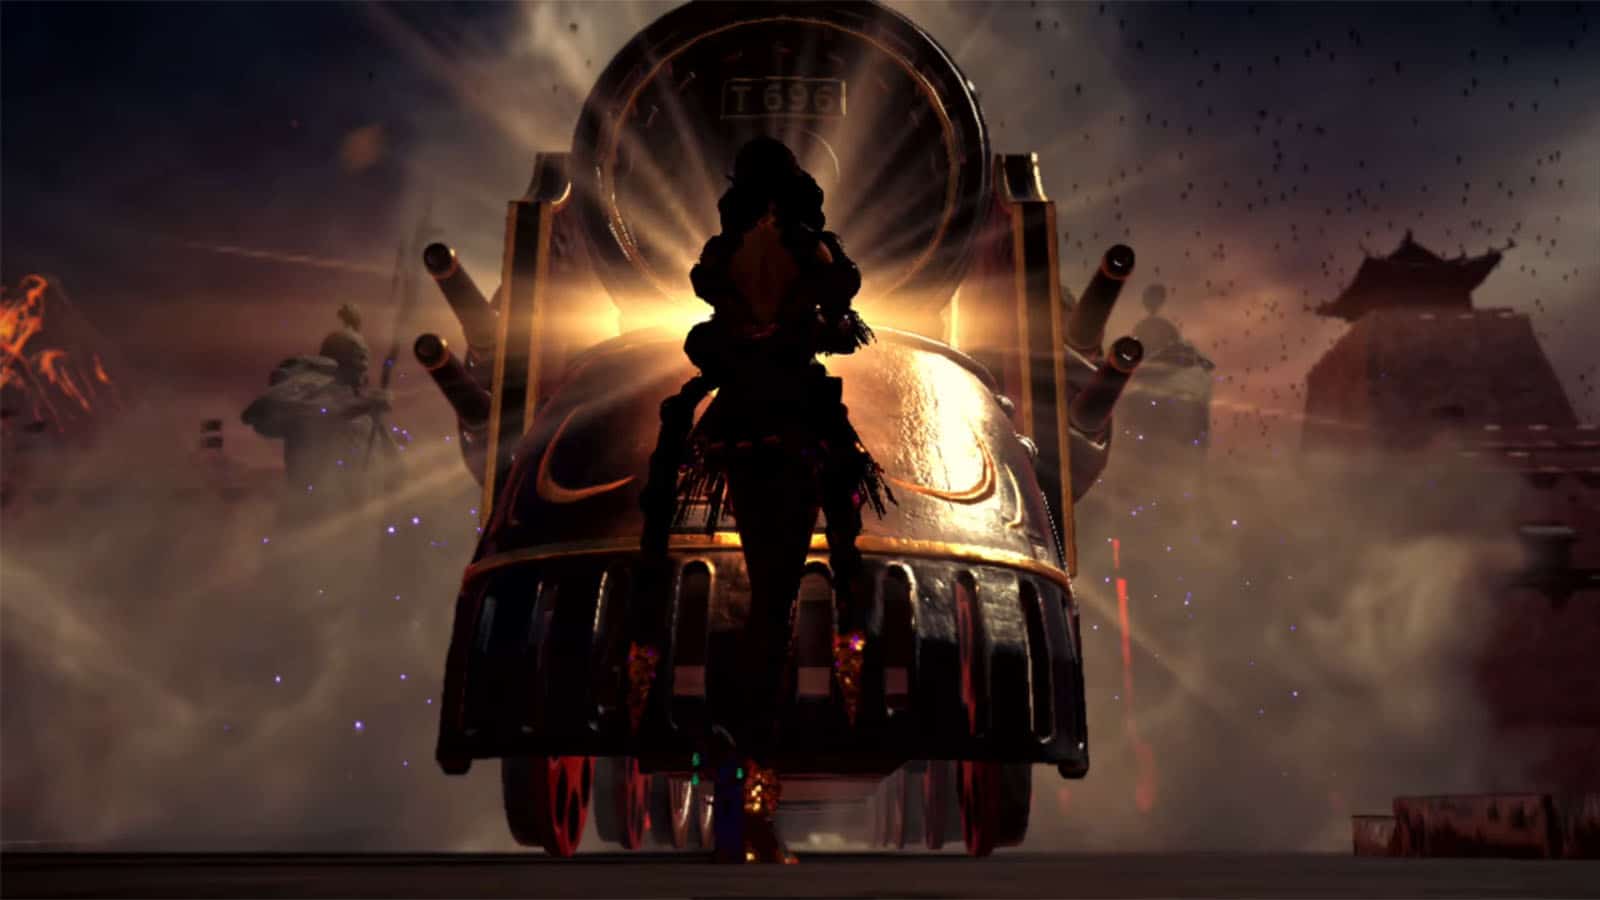
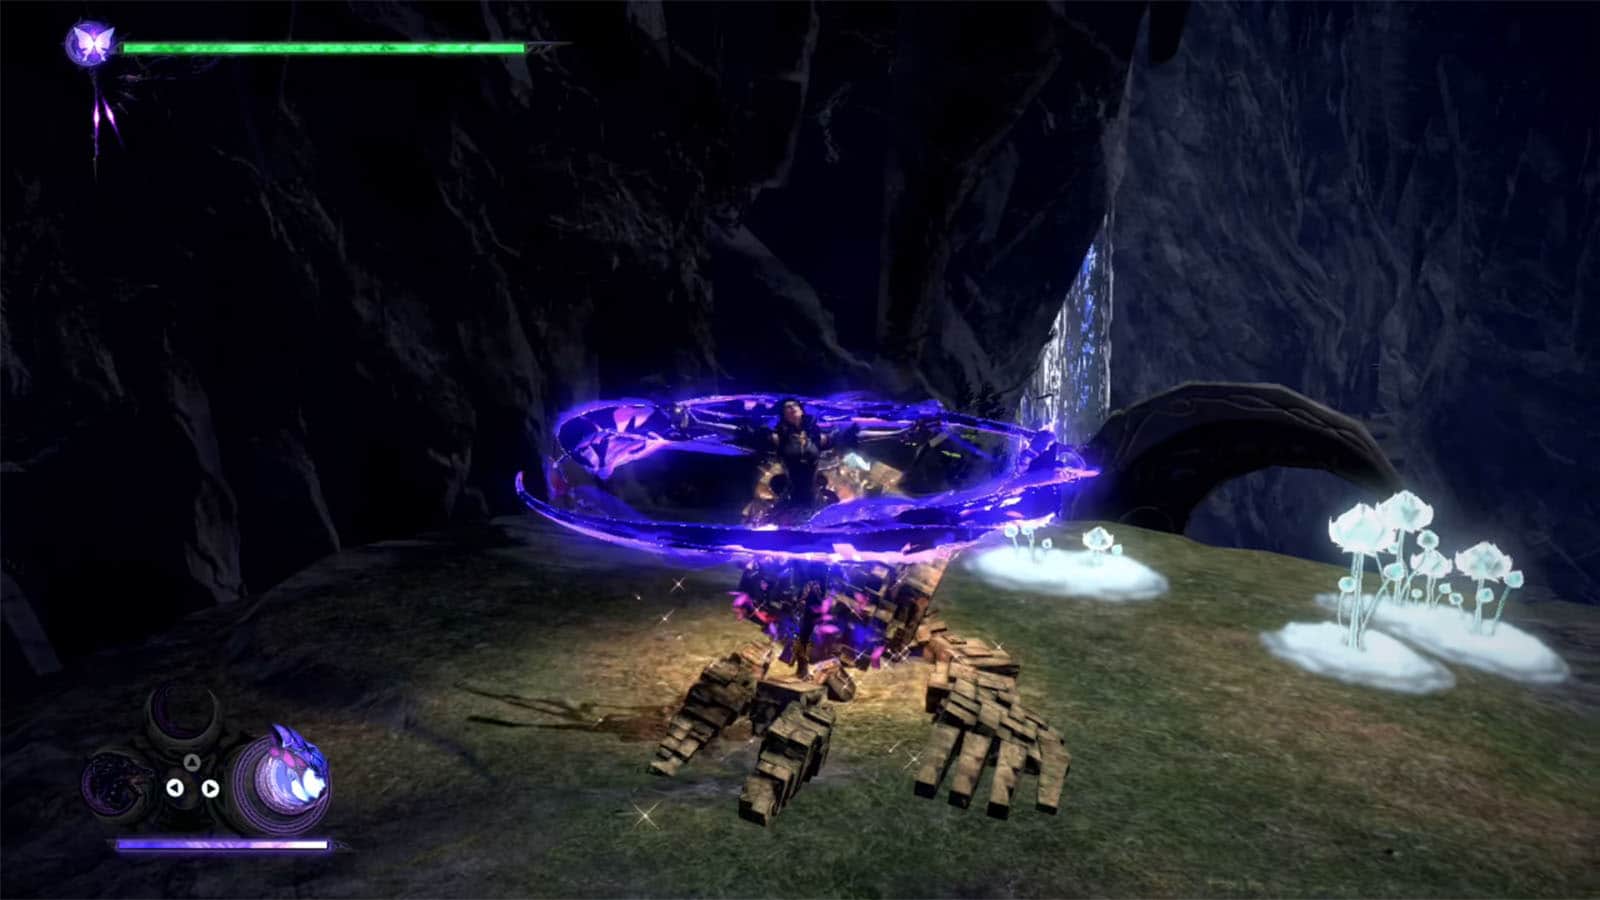
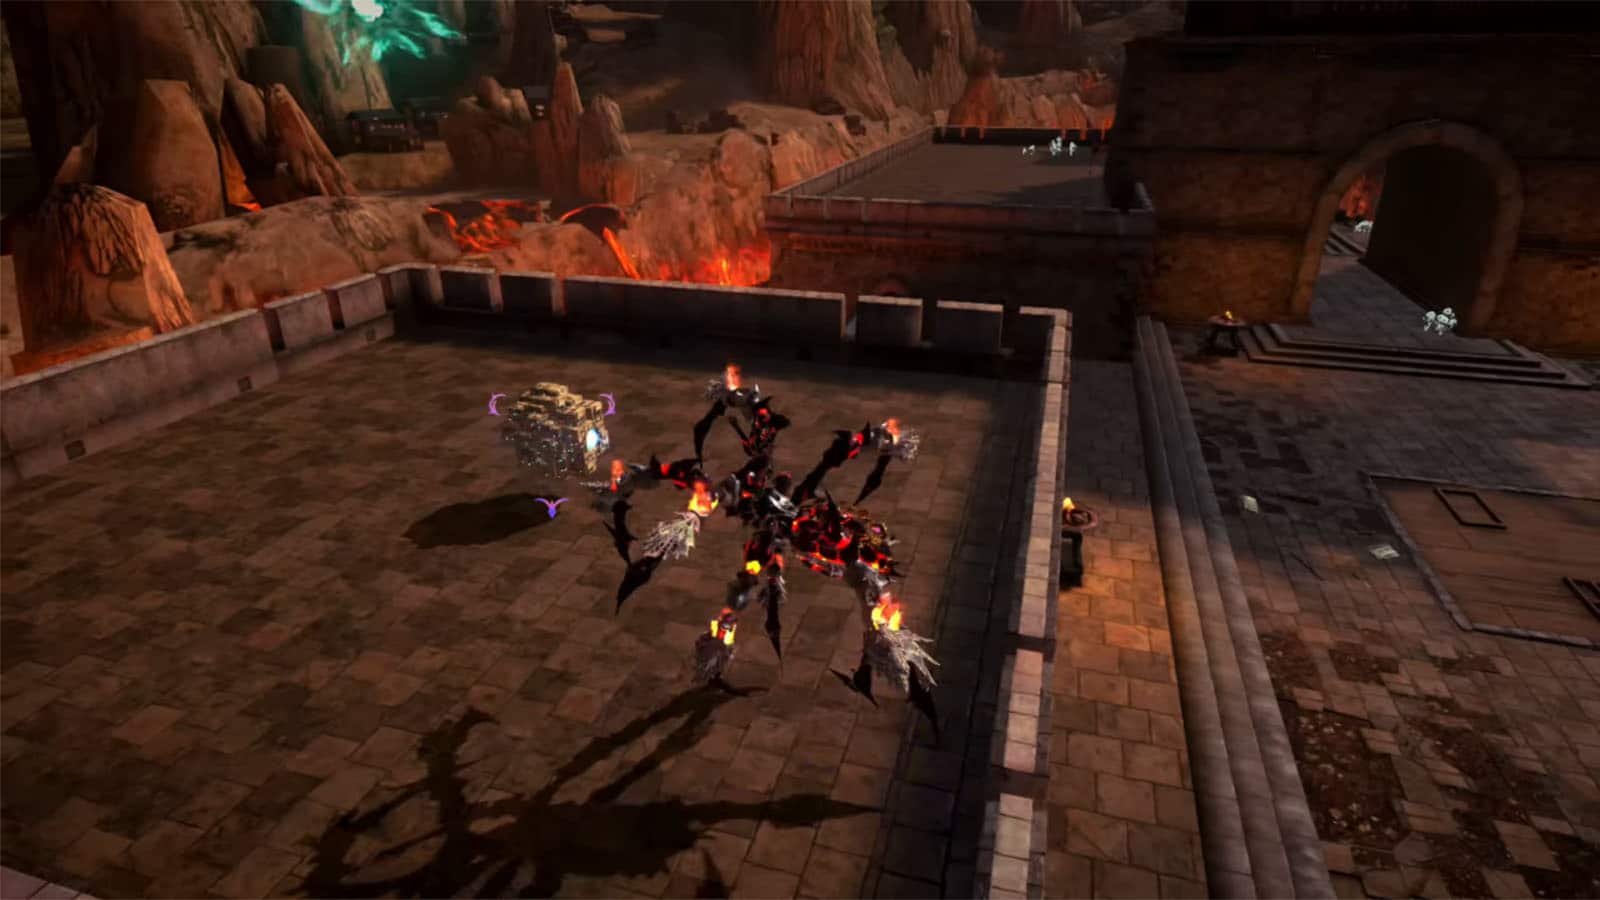
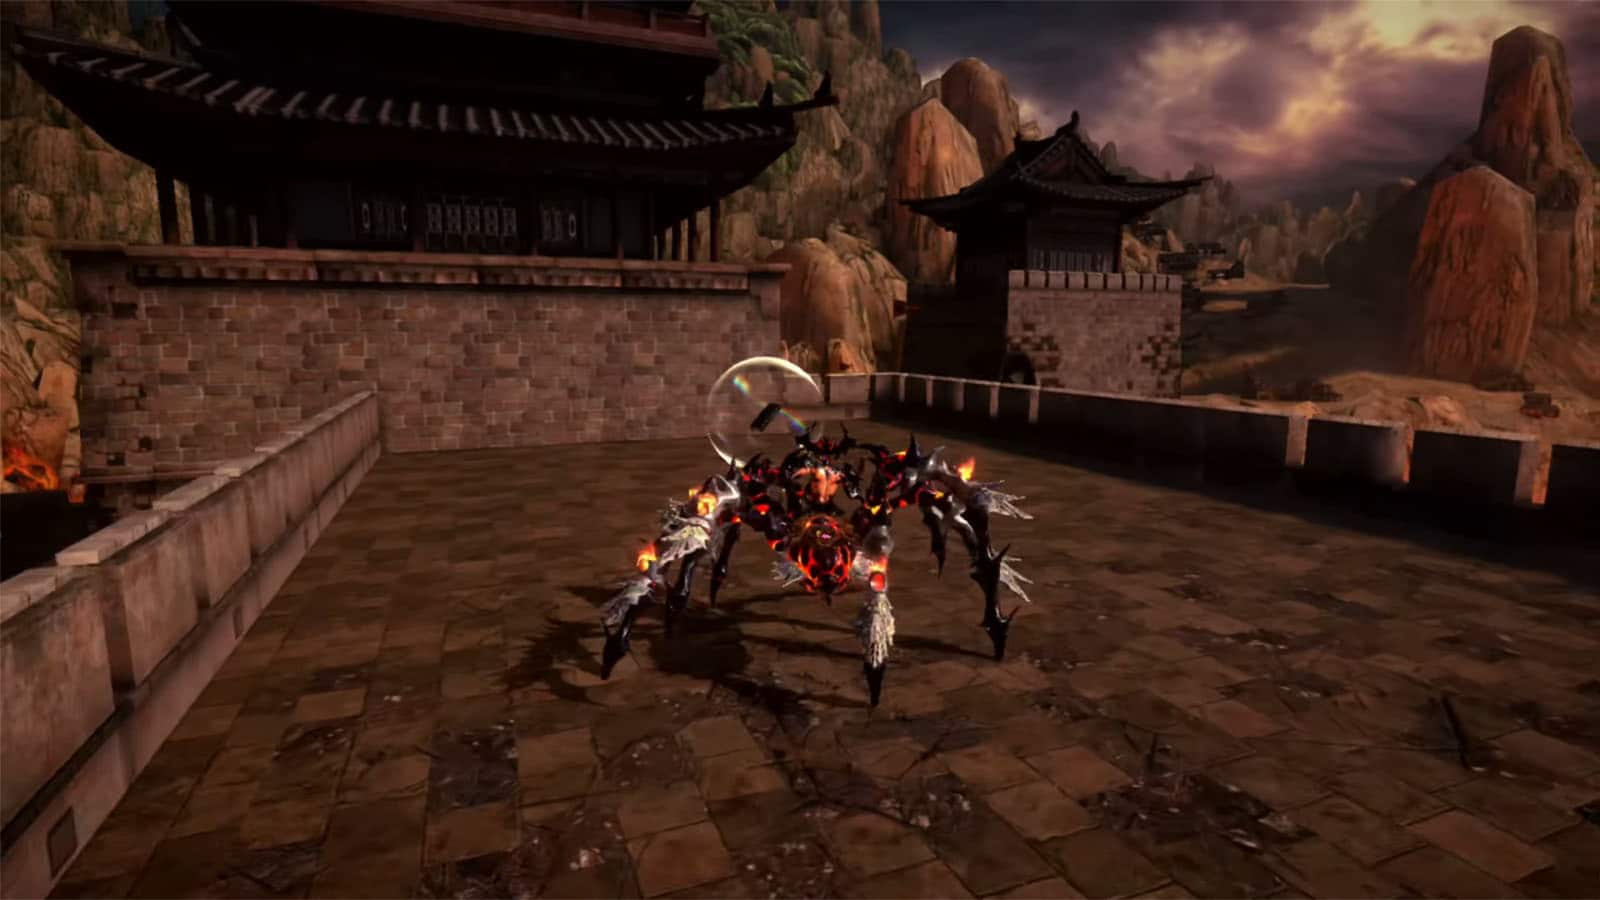
Wartrain Gouon
Bayonetta will see another vision of another alternate version of herself. She will then be able to use Wartain Gouon which is an infernal demon inhabiting a train.
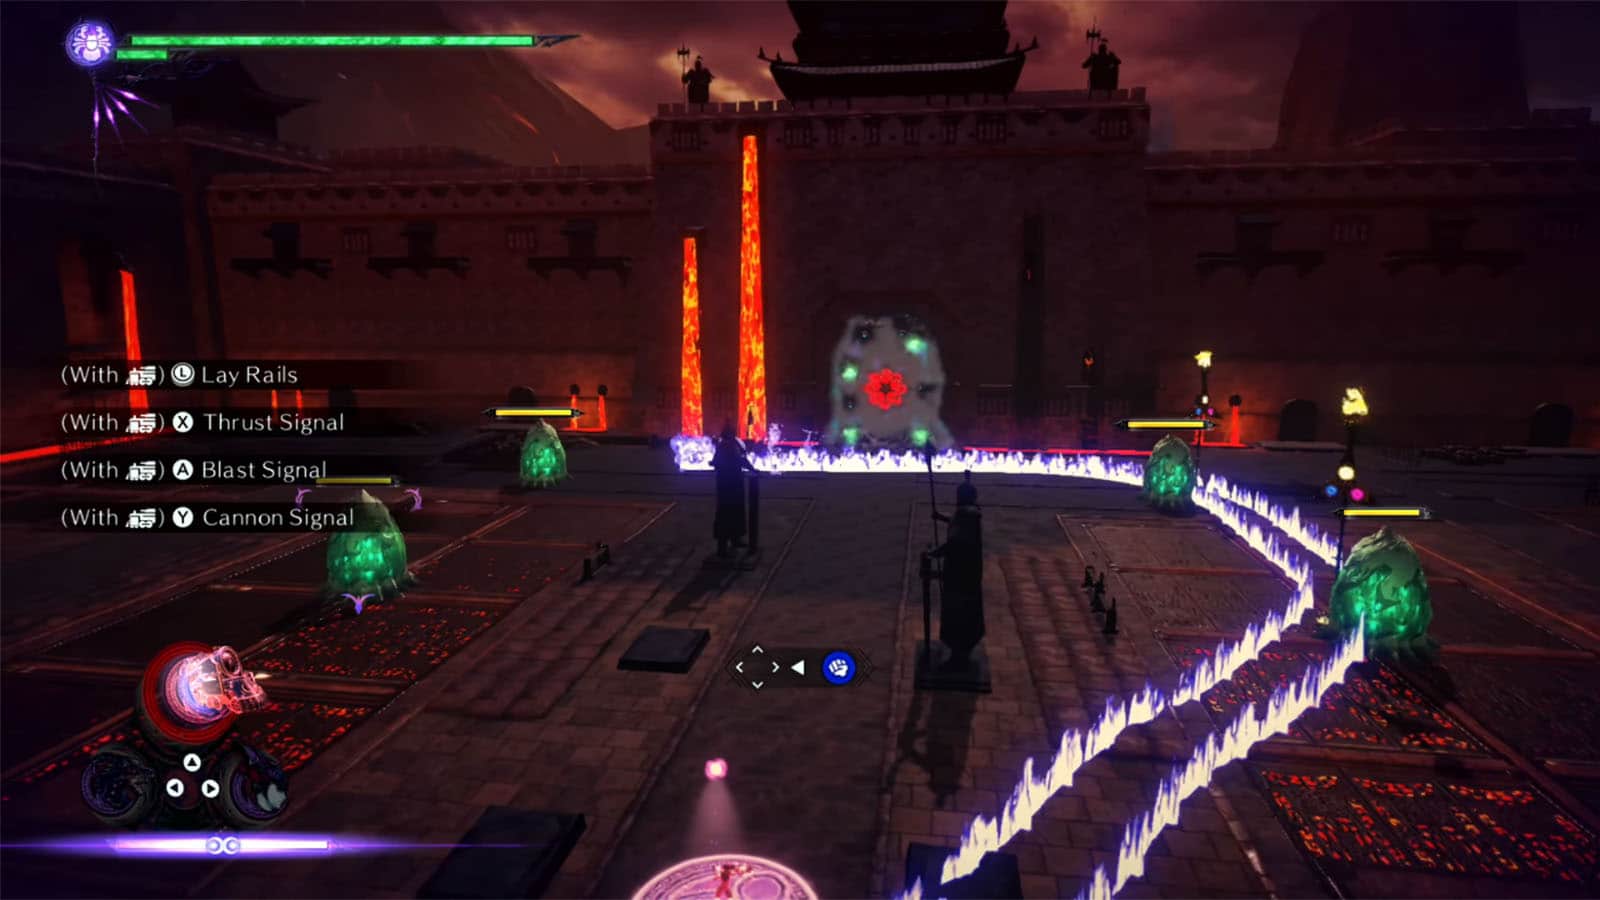
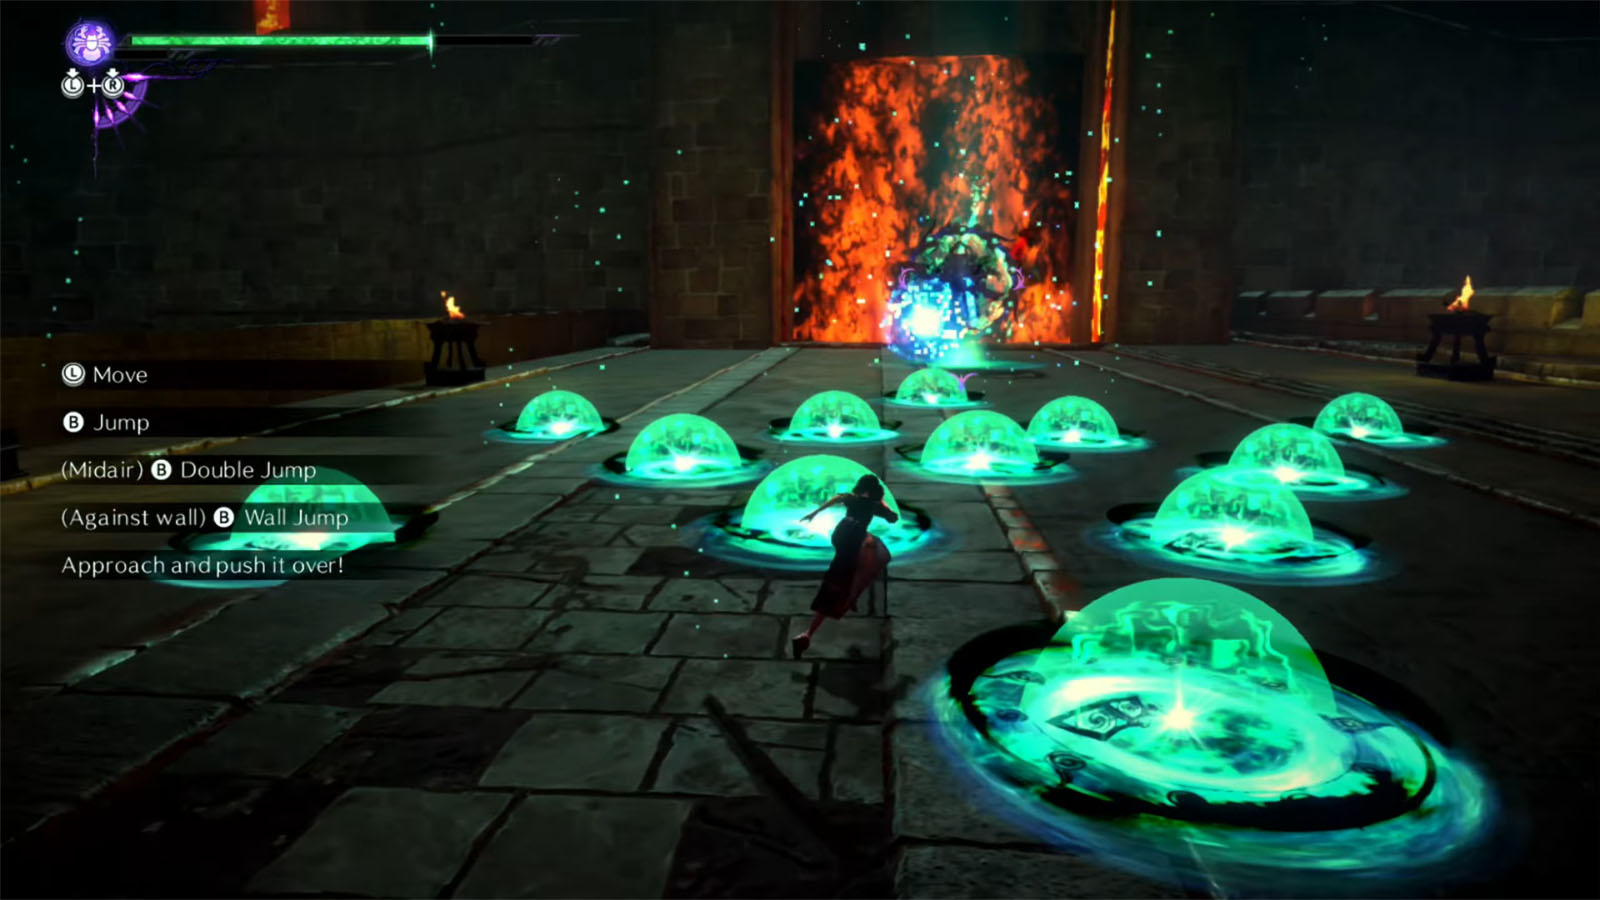
As a tutorial on how to control Wartrain Gouon, you will need to destroy all four trees to open the gate. This can be done by standing on the circle to get unlimited summon power, then lay down the path where Wartrain Gouon should pass. It helps to input the thrust signal just right before you hit a tree to make sure they get destroyed in one go.
Verse #4 / Bewitchment #4
As you break the gate, a new enemy called Virga will appear which you must defeat. This enemy has two life bars, and breaking one will get you the Break Virga once Bewitchment.
Umbran Tears of Blood – Cat
Head through the gate and turn right. Cross the broken bridge to the next building and you will find the cat nearby. You won’t be able to catch it around, so what you need to do is to use a summon attack on the nearby ladder to make it tip over. Then, chase the cat around to make it climb on the ladder to the higher platform. From here, you can simply walk over to the cat to get it.
Card Pack #4
You can get the card pack on the platform where the cat will end up.
Broken Witch Heart #6
Go two levels down from the platform and check on the right to find a treasure cube that contains the Broken Witch Heart #6.
Broken Moon Pearl #4
Head back to the main path and go to the opposite side where there’s a row of towers. Go to the top of the last tower and hit the cube to start a time trial. Get all five pieces before the time ends to get the Broken Moon Pearl #4.
Umbran Tears of Blood – Toad
Continue down the path and you’ll eventually hear croaking near the small arch to the left. Go around it to find the toad.
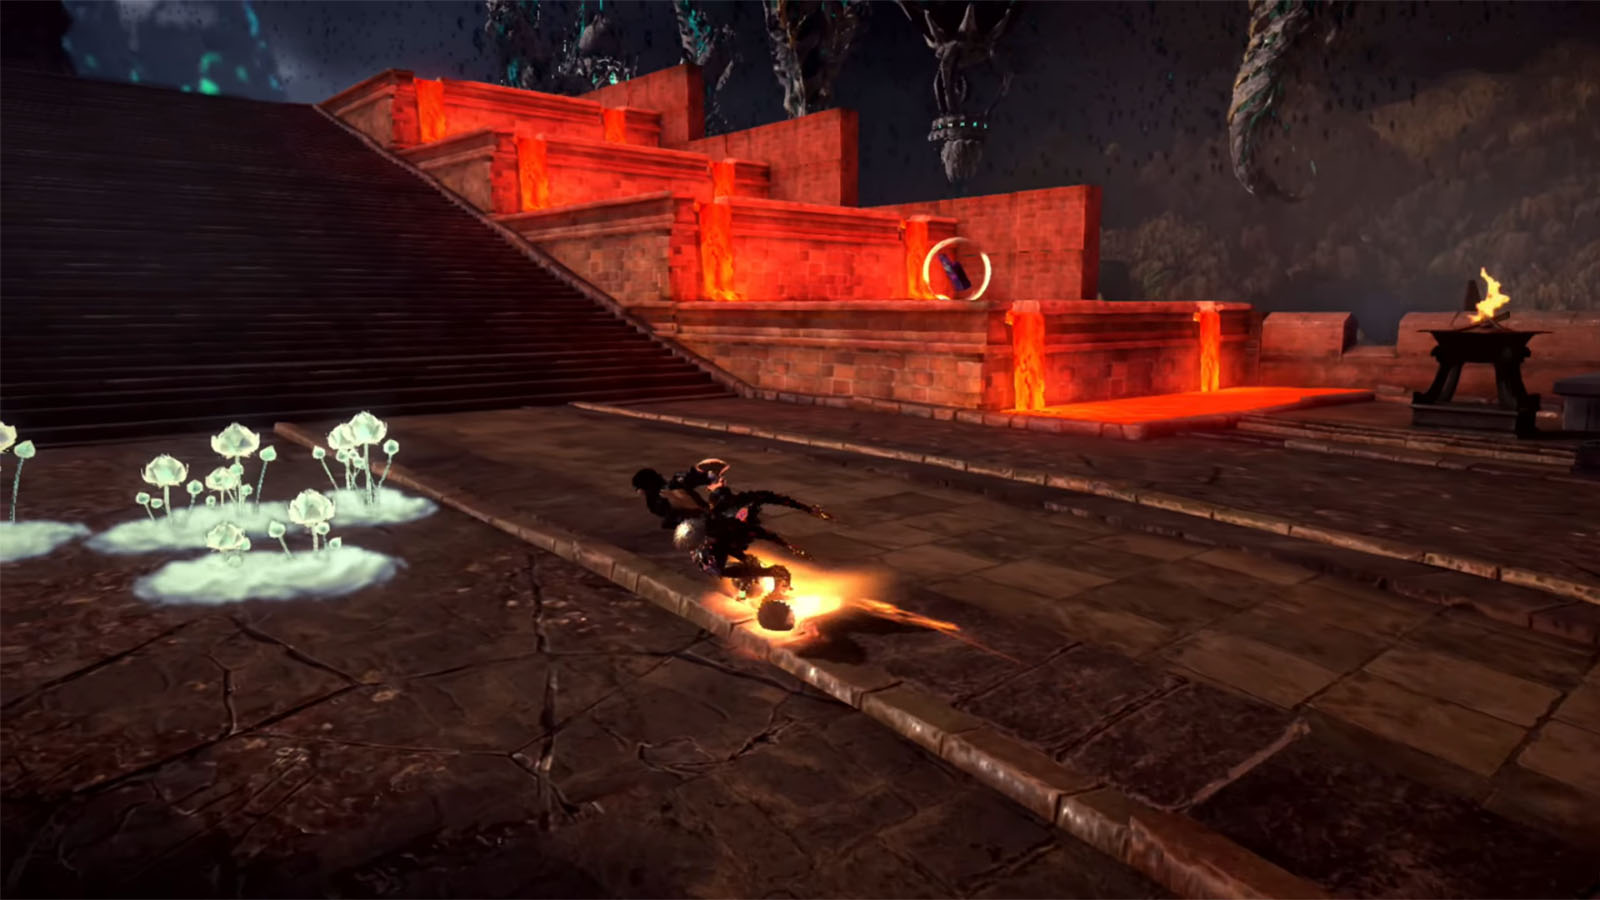
Figure Box #6
Just across the toad, you’ll see the figure box on top of a pool of lava.
Verse #5
Get to the next arena to fight two homunculi. You can use Wartain Gouon or any other summon to defeat them. There are also two more of the turret homunculi at the back that must be defeated.
Echoes of Memory #3
Continue to the other side of the wall and over the gap. Then go to the right side to find a cube that will activate the platforms. Use Wartain Gouon to hit the other floating cube to create more platforms, then go reach the Echoes of Memory: The Protector.
Verse #6
Cross over to the next arena where the gold glow is at. You will just have to clear out all the enemies to proceed.
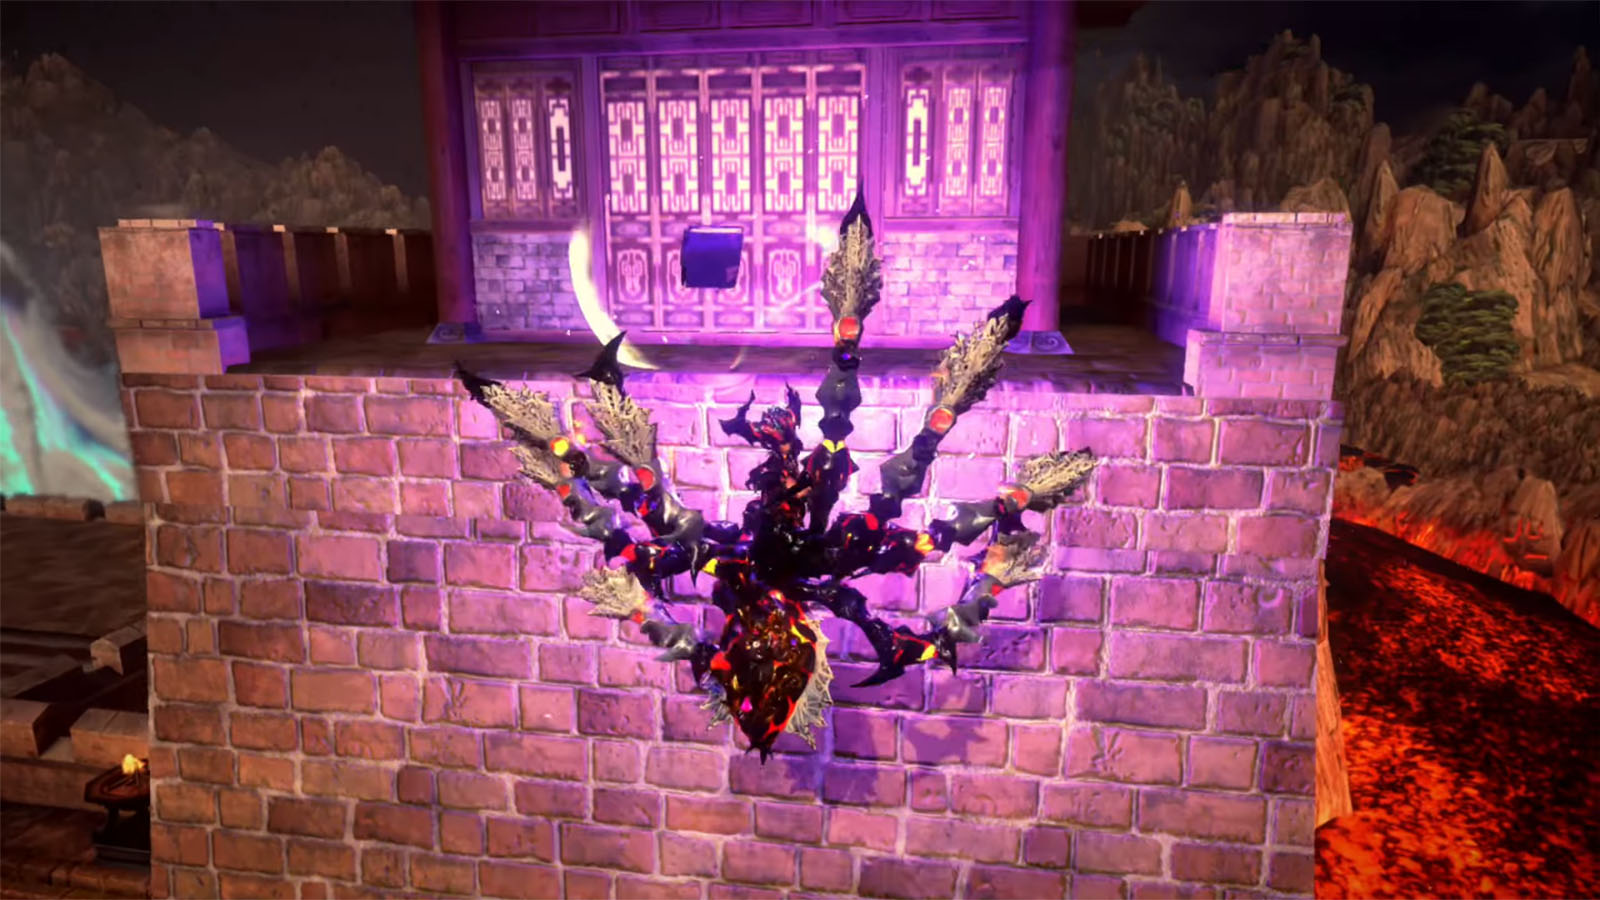
Figure Box #7
Check the rooftop of the middle building around the arena to find a figure box.
The Gates of Hell
At this point, you can head back to the main bridge and take a breather at Rodin’s and gets some upgrades or supplies.
Verse #7 / Broken Witch Heart #7
Go through the arch near Rodin and look for the purple glow to access the verse. In this verse, you will need to attack all enemies in one go using Wartain Gouon. It is going to be tricky not only because of the restrictions, but also because of the two moving enemies and one flying enemy.
First off, if you can, buy the Conqueror’s Veins from Rodin to prevent your summon from going on a rampage when Bayonetta gets hit. Next, use all the thrust, blast, and cannon signals as you pass through the enemies to make sure that they get hit and not just get grazed. Lastly, you can raise the tracks up to reach the flying enemy, but you can’t bring it back down, so attack the flying enemy last.
If completed successfully, you will be rewarded with the Broken Witch Heart #7.
Locked Gate
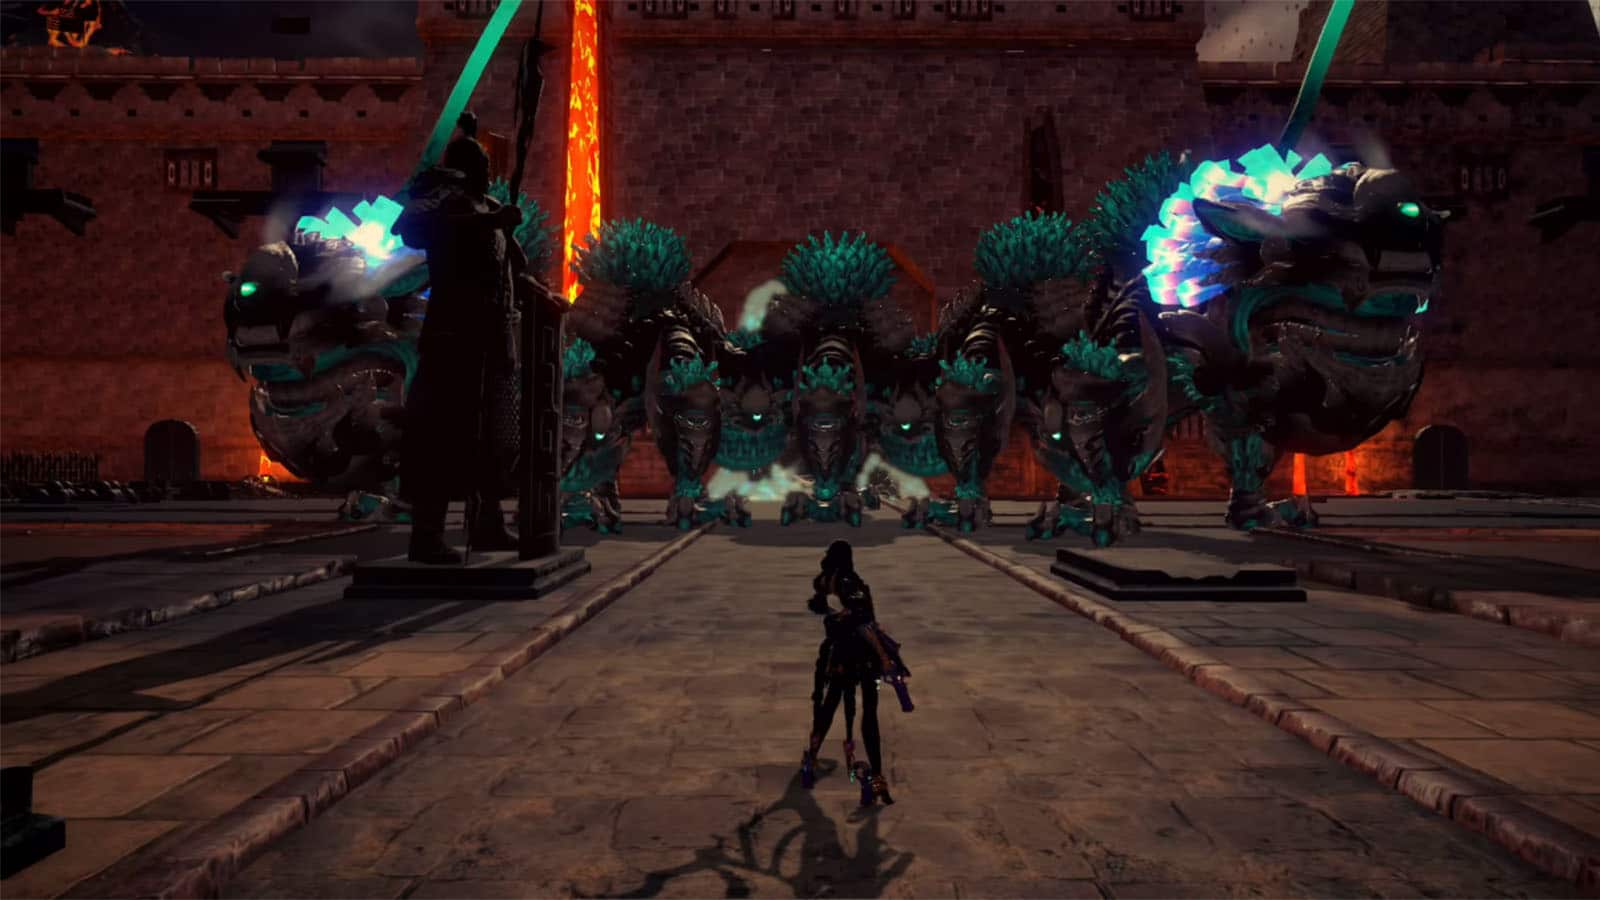
It’s another locked gate similar to the previous one with the introduction to Wartrain Gouon. Break the chest to the left first to replenish your summon energy, then lay the tracks and signals to hit the three homunculi seeds which will unlock the gate.
Echoes of Memory #4
Climb the tower on the back left corner (facing the gate) to find the Echoes of Memory: The Cold, Dark Realm.
Bewitchment #5
There’s going to be another Congestus time puzzle through the gate. Avoid its mines and topple it down. To get the bewitchment, just use your Phantasmaraneae Masquerade and climb the lavafall with it. This will unlock the Proceed without using Congestus’ time control Bewitchment.
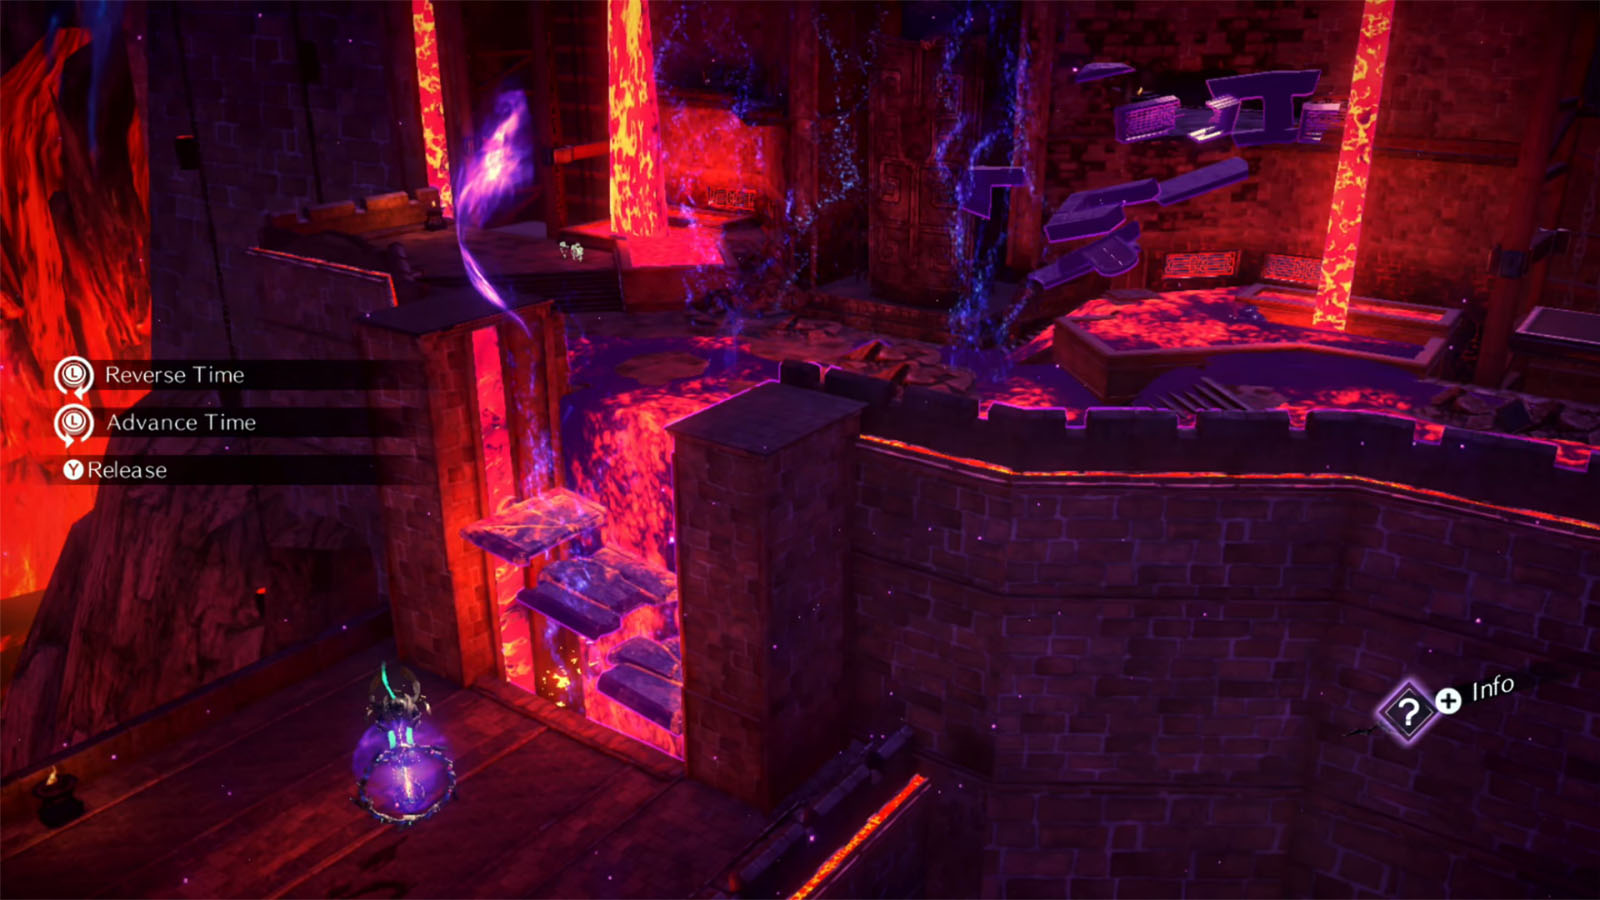
You can still climb up to the hole where the second set of rubble is leading just by using the same masquerade.
Broken Witch Heart #8
Swing up top to reach the hole on the wall on the right. Inside it is a chest with the Broken Witch Heart #8.
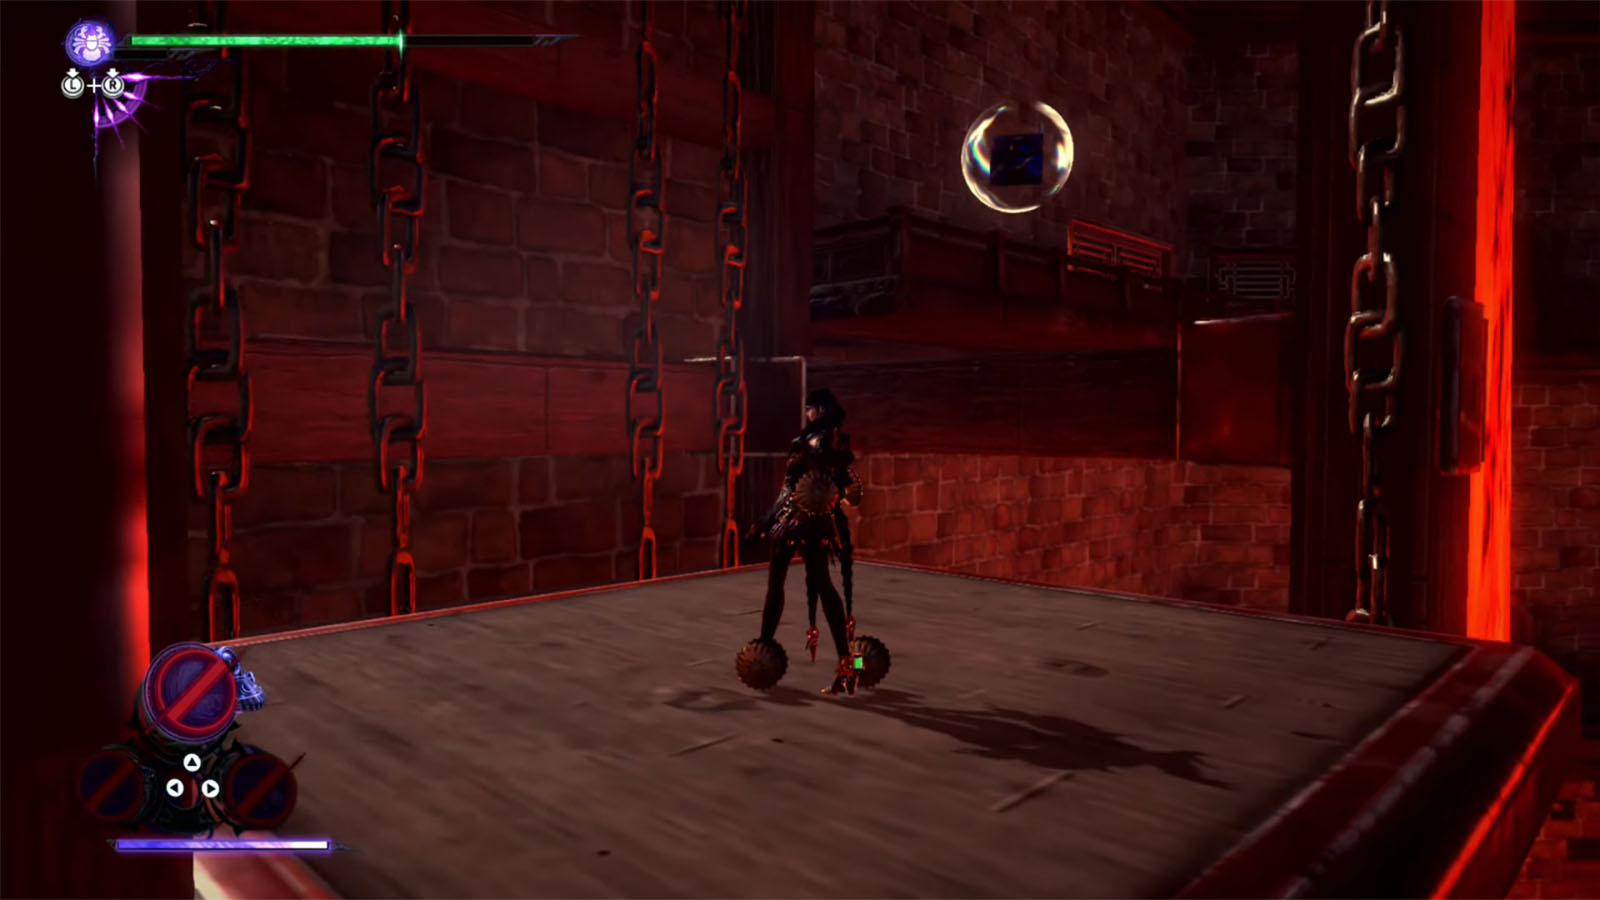
Figure Box #8
From the room, move ahead and drop through the floor, then exit the room. To the right, take the lift up top and then jump to the ledge where the figure box is.
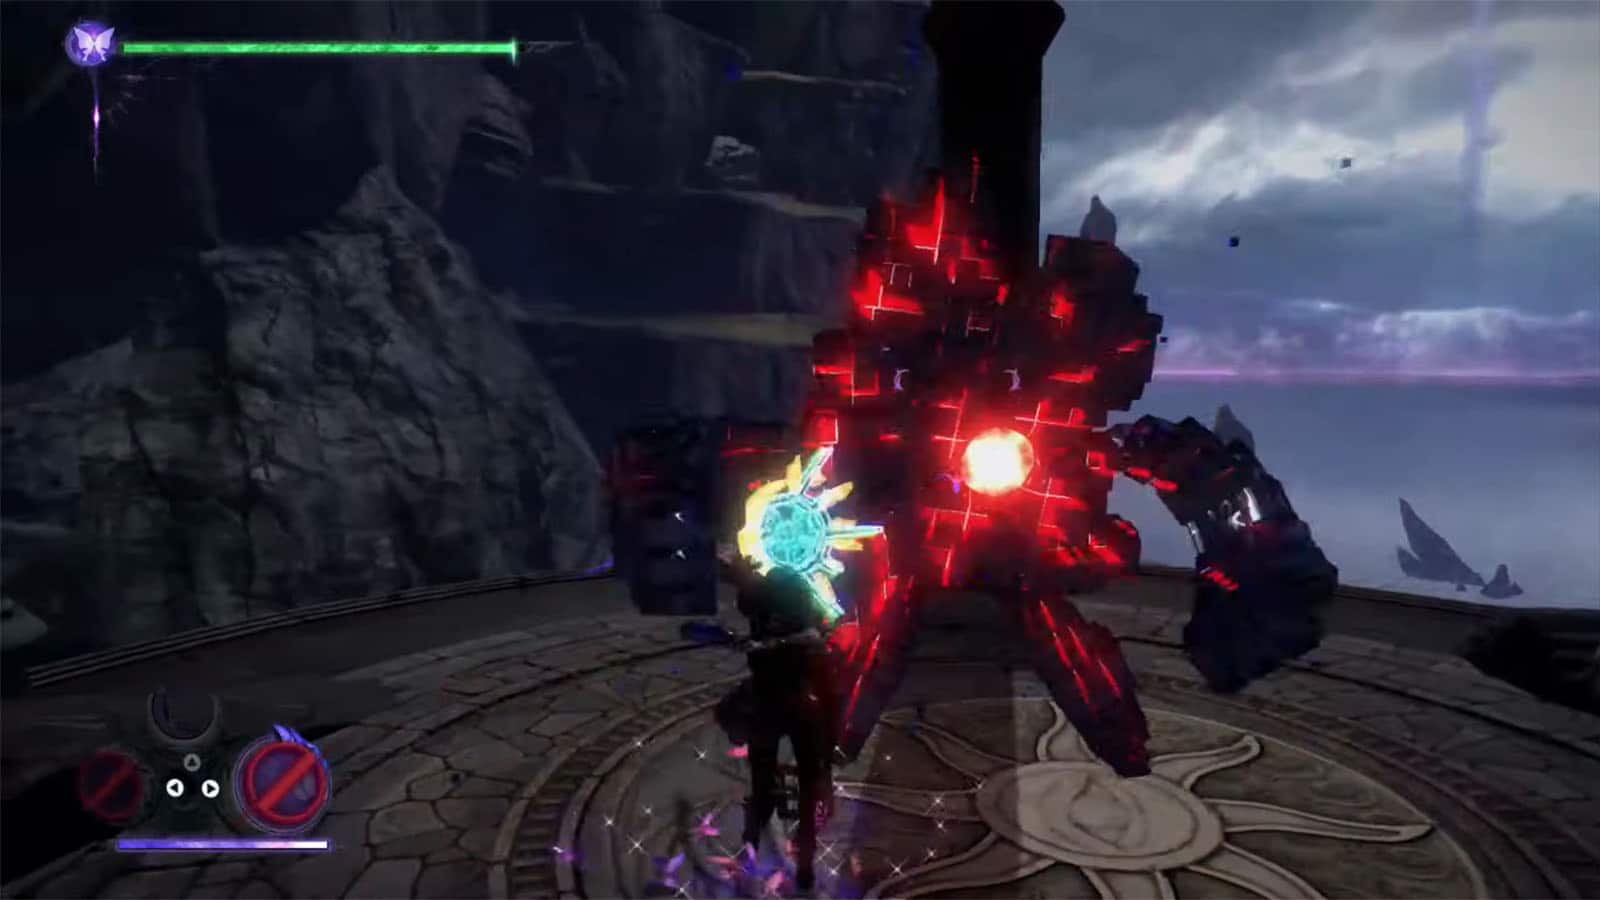
Verse #8
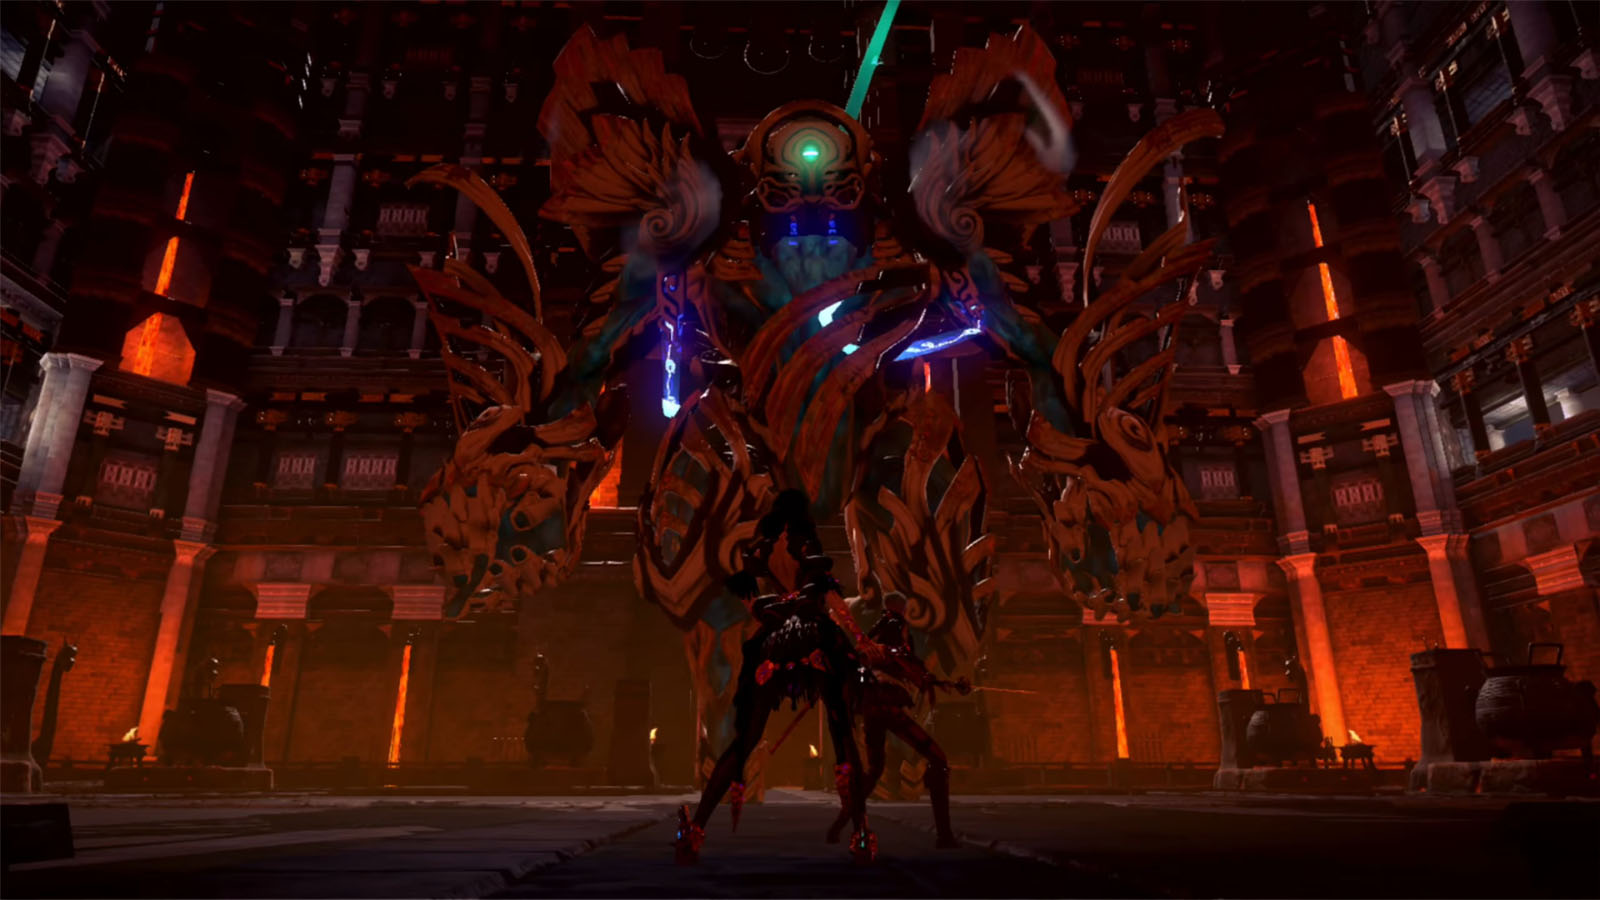
Take the lift to the very top and proceed to the chamber. A short cutscene of Viola will play before the fight starts. Simply defeat the giant homunculi to clear the chapter.
If you like this guide, be sure to check out our other Bayonetta 3 articles:
- Bayonetta 3 Chapter List – How Many Chapters
- Bayonetta 3 Ending Explained
- Bayonetta 3 Singularity (Explained)
- All Outfits in Bayonetta 3
- Bayonetta 3 Weapons and Abilities
- Bayonetta 3 Day One Update Patch Notes Revealed
- How Long to Beat Bayonetta 3 – Game Length
Check out this video by Devil Exe showing the gameplay for Chapter 4:


