
Burning Sands is the seventh chapter in Bayonetta 3 following the journey of Viola through the sands of Cairo to catch up with Luka and get some answers from him. Along the way, she will discover a secret that will change her life.
In this guide, we will go through Chapter 7: Burning Sands, listing along any collectibles as well as Bewitchments that can be acquired in the chapter.
See previous Bayonetta 3 Walkthrough Side Mission 2 - The Lynx Strikes
Chapter 7 – Burning Sands Objectives and Collectibles
- Thule: Secret Hills
- Echoes of Memory #1
- Broken Witch Heart #1
- Card Pack #1
- Verse #1
- Card Pack #2
- Figure Box #1
- Verse #2 / Broken Moon Pearl #1
- Broken Moon Pearl #2
- Broken Witch Heart #2
- Card Pack #3
- Medallion Shard #3/4
- Ginnungagap, the Chaotic Rift
- Verse #3
- Cairo: Tura
- Bewitchment #1
- Verse #4
- Verse #5
- Bewitchment #2
- Figure Box #2
- Broken Witch Heart #3
- Verse #6
- Umbran Tears of Blood – Crow
- Verse #7
- Bewitchment #3
- Figure Box #3
- Broken Witch Heart #3
- The Gates of Hell
- Bewitchment #4
- Bewitchment #5
- Umbran Tears of Blood – Toad
- Echoes of Memory #2
- Verse #8 / Broken Witch Heart #4
- Umbran Tears of Blood – Cat
- Broken Witch Heart #4
- Record #1
- Broken Moon Pearl #4
- Broken Moon Pearl #5
- Verse #9
- Verse #10
- Verse #11
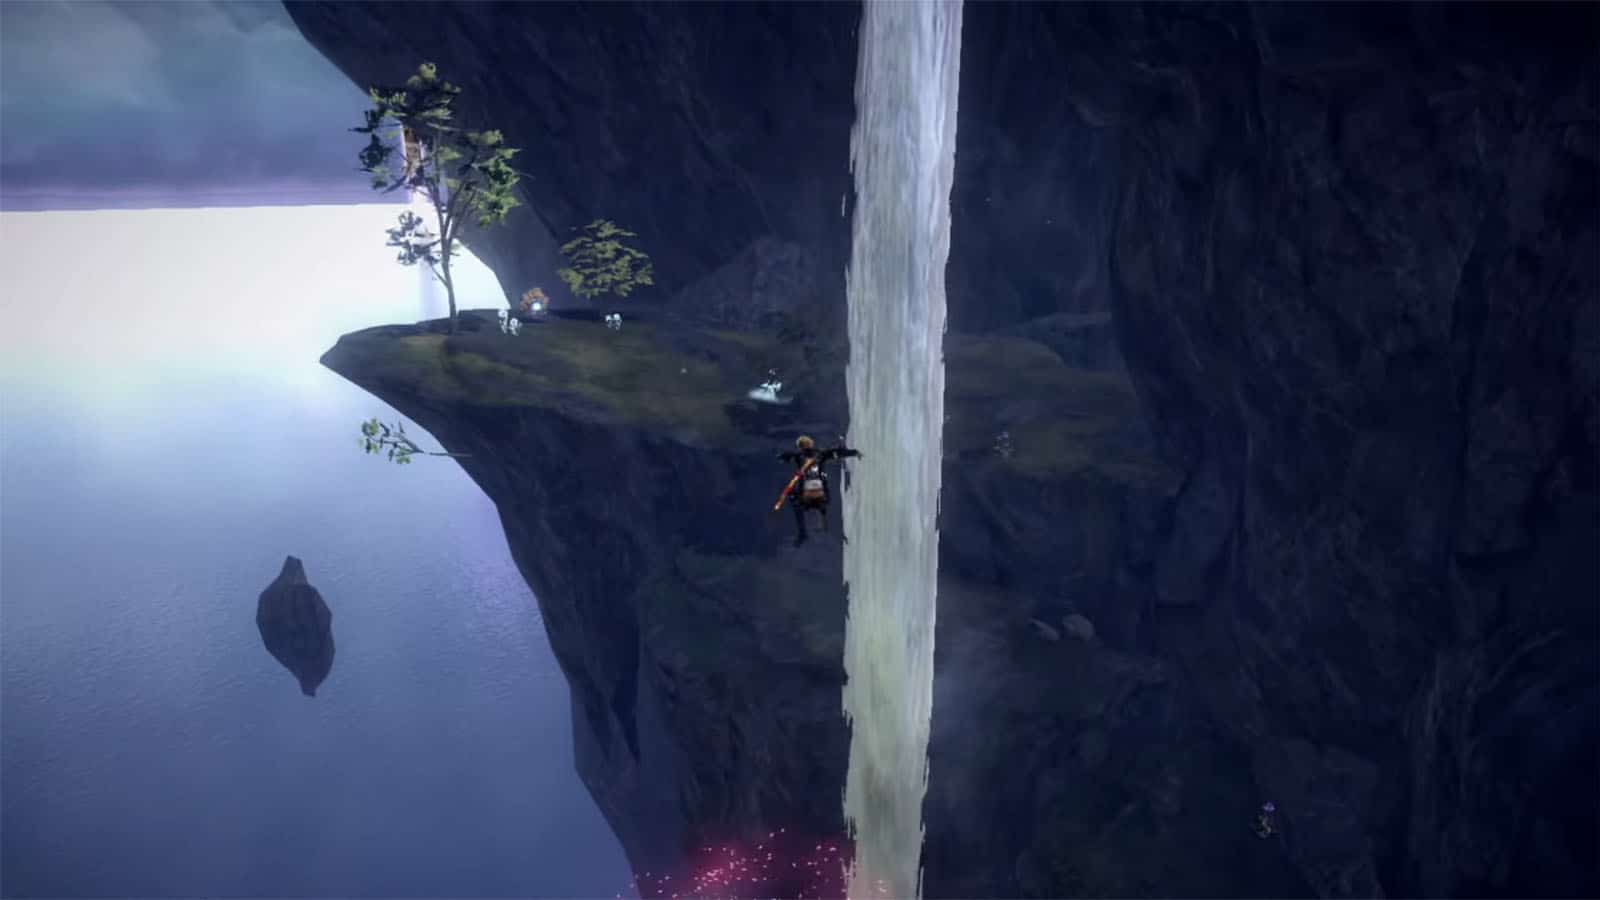
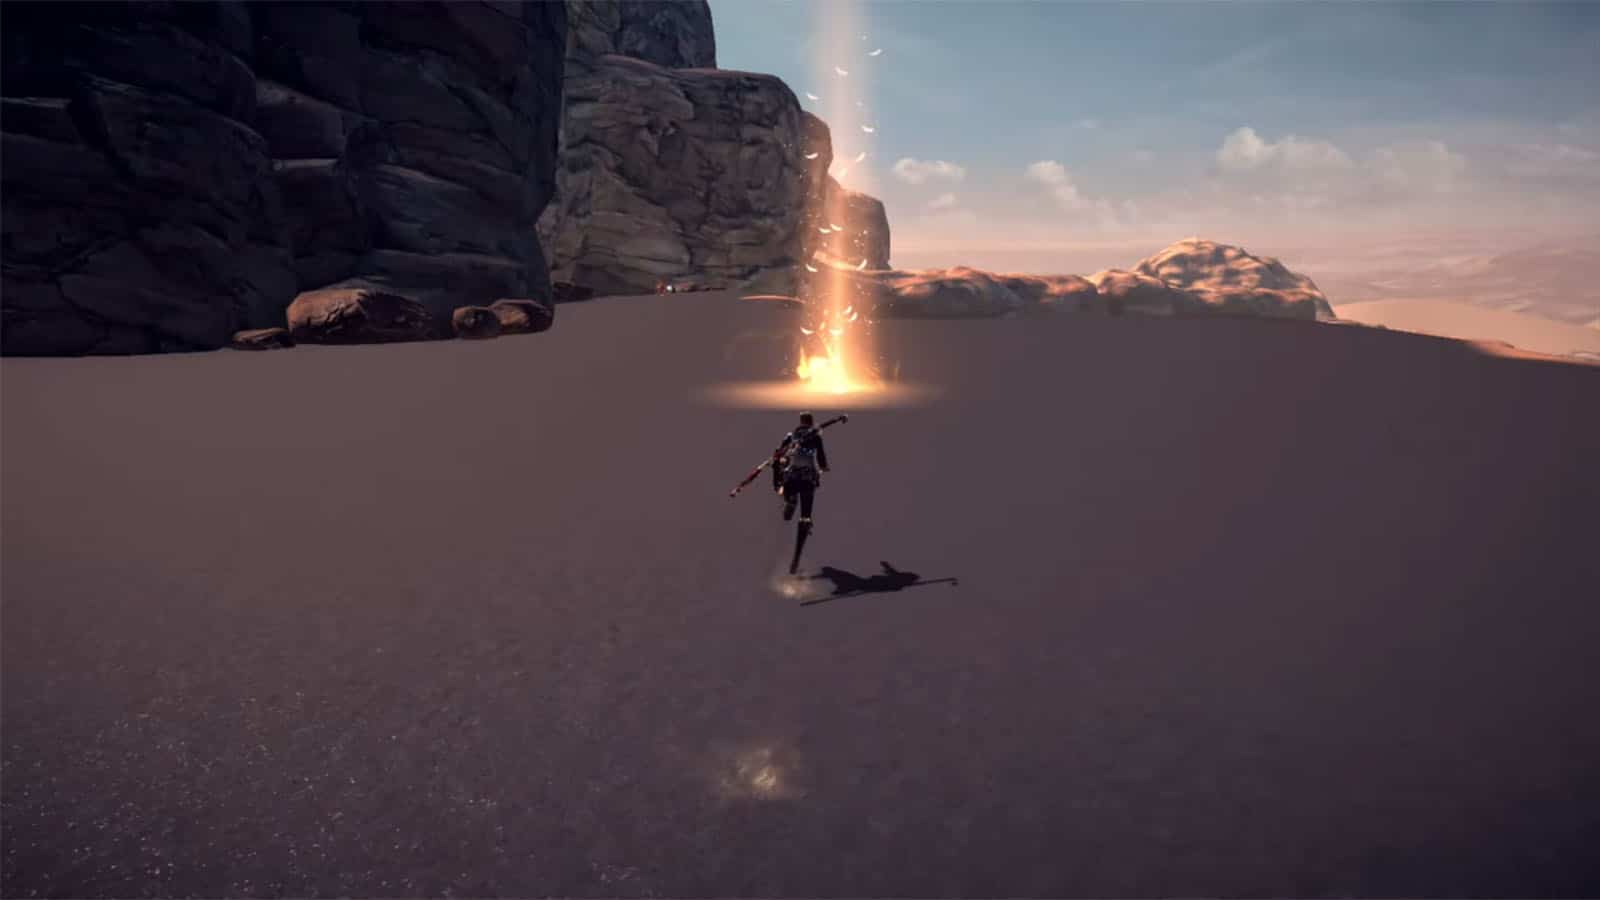
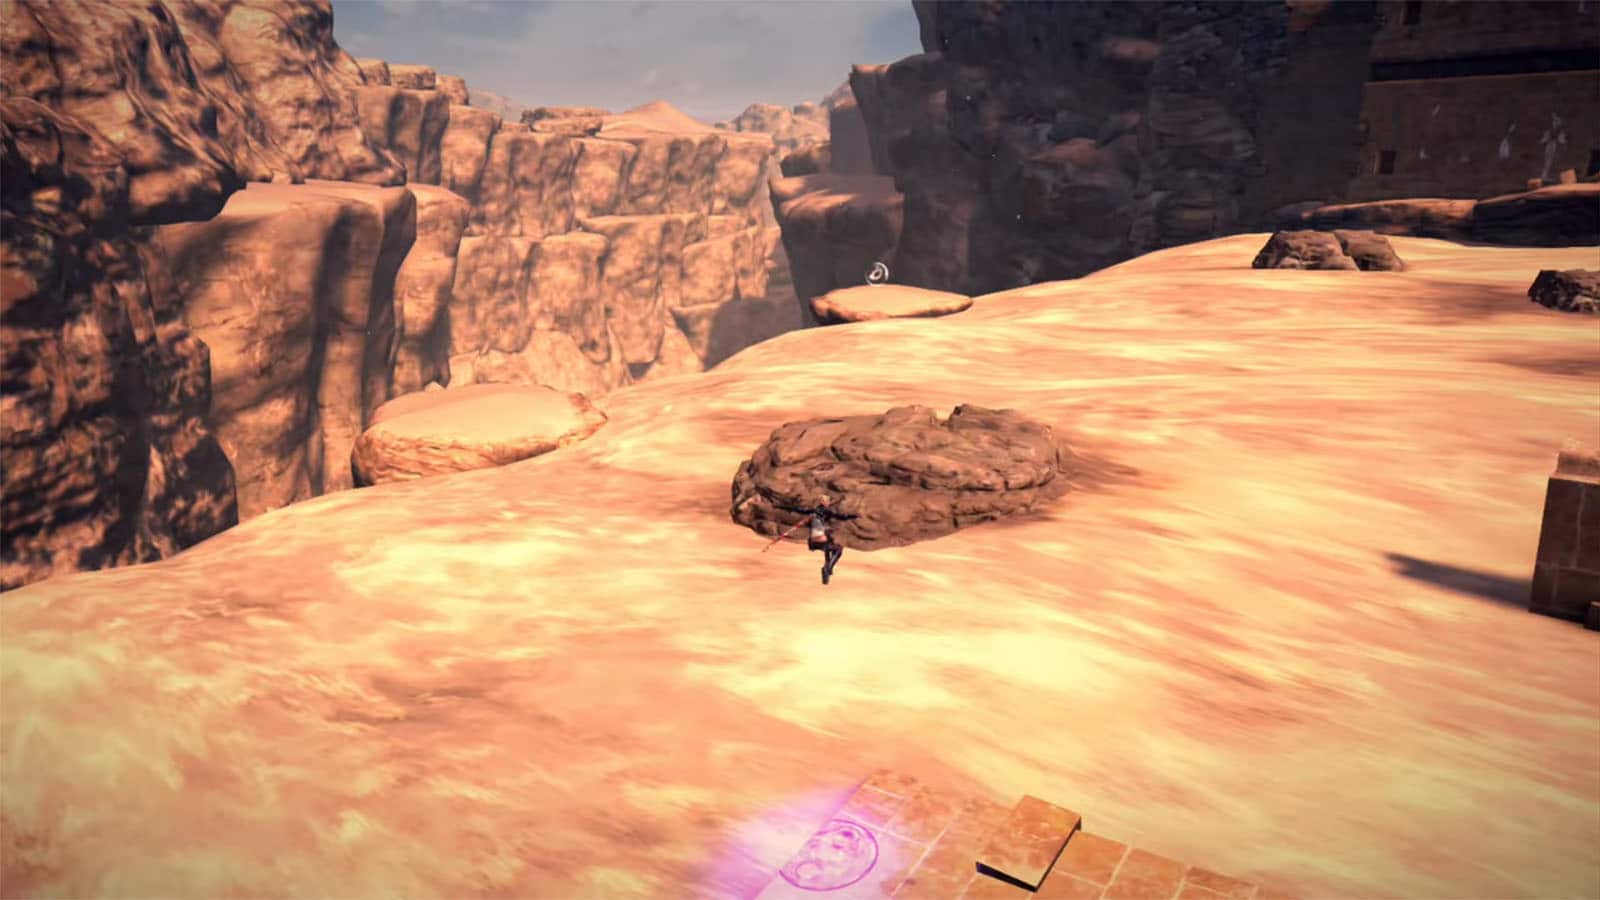
Thule: Secret Hills
The level starts with a cutscene of Viola getting into Thule. Prepare to collect a couple of things in this area before reaching the next area.
Echoes of Memory #1
Move ahead to the purple marker and turn right then climb up the ledge to find the Echoes of Memory: The Isle Between.
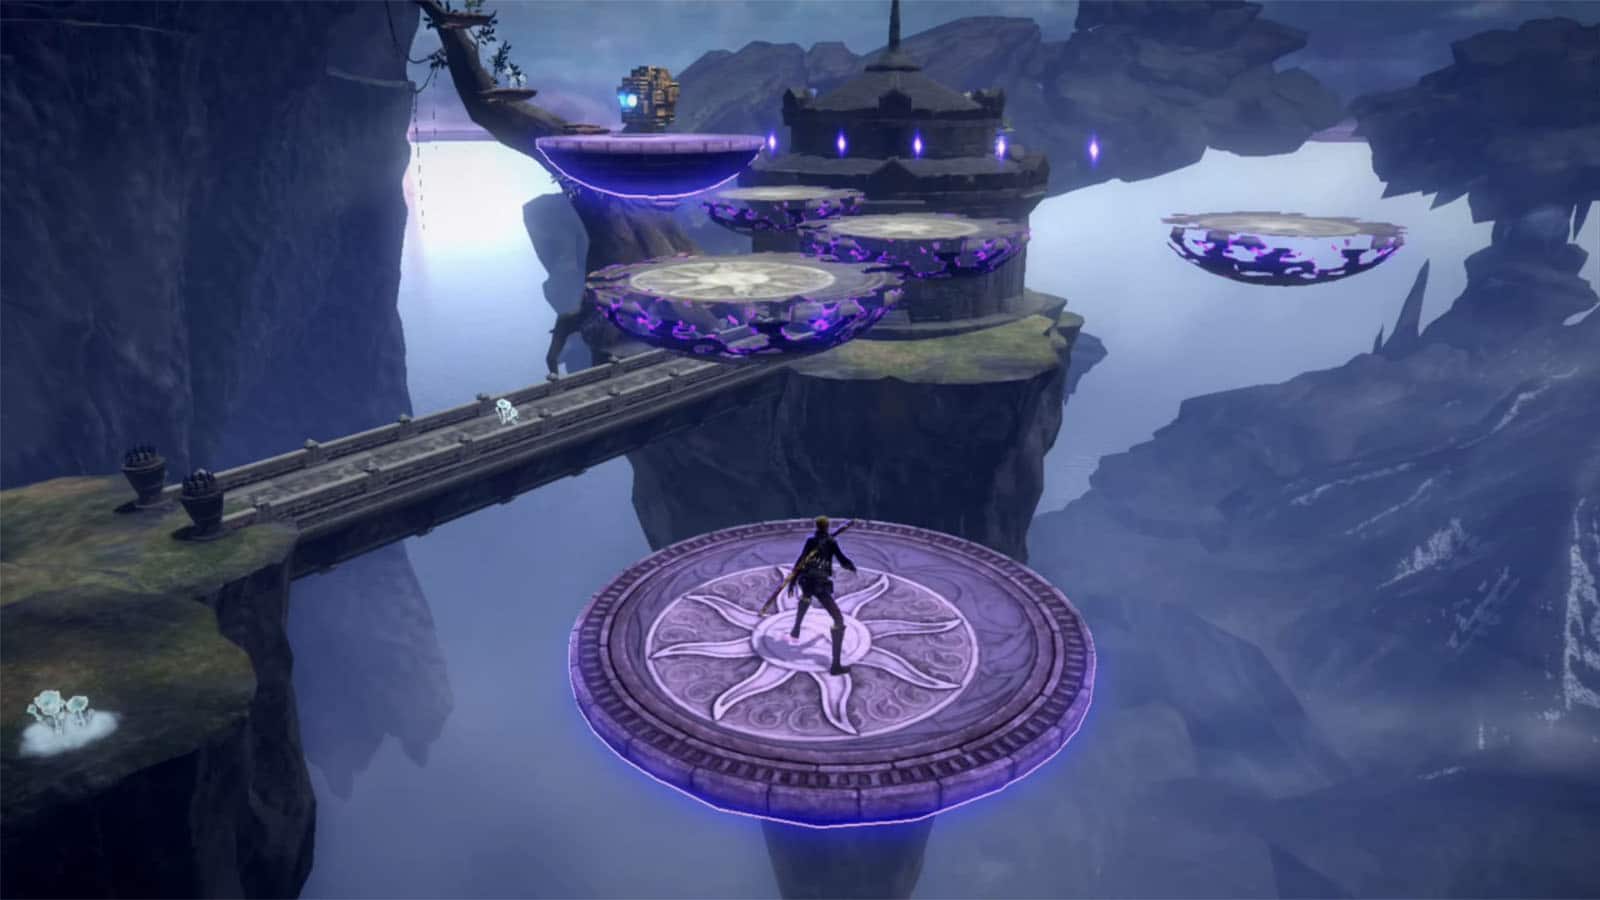
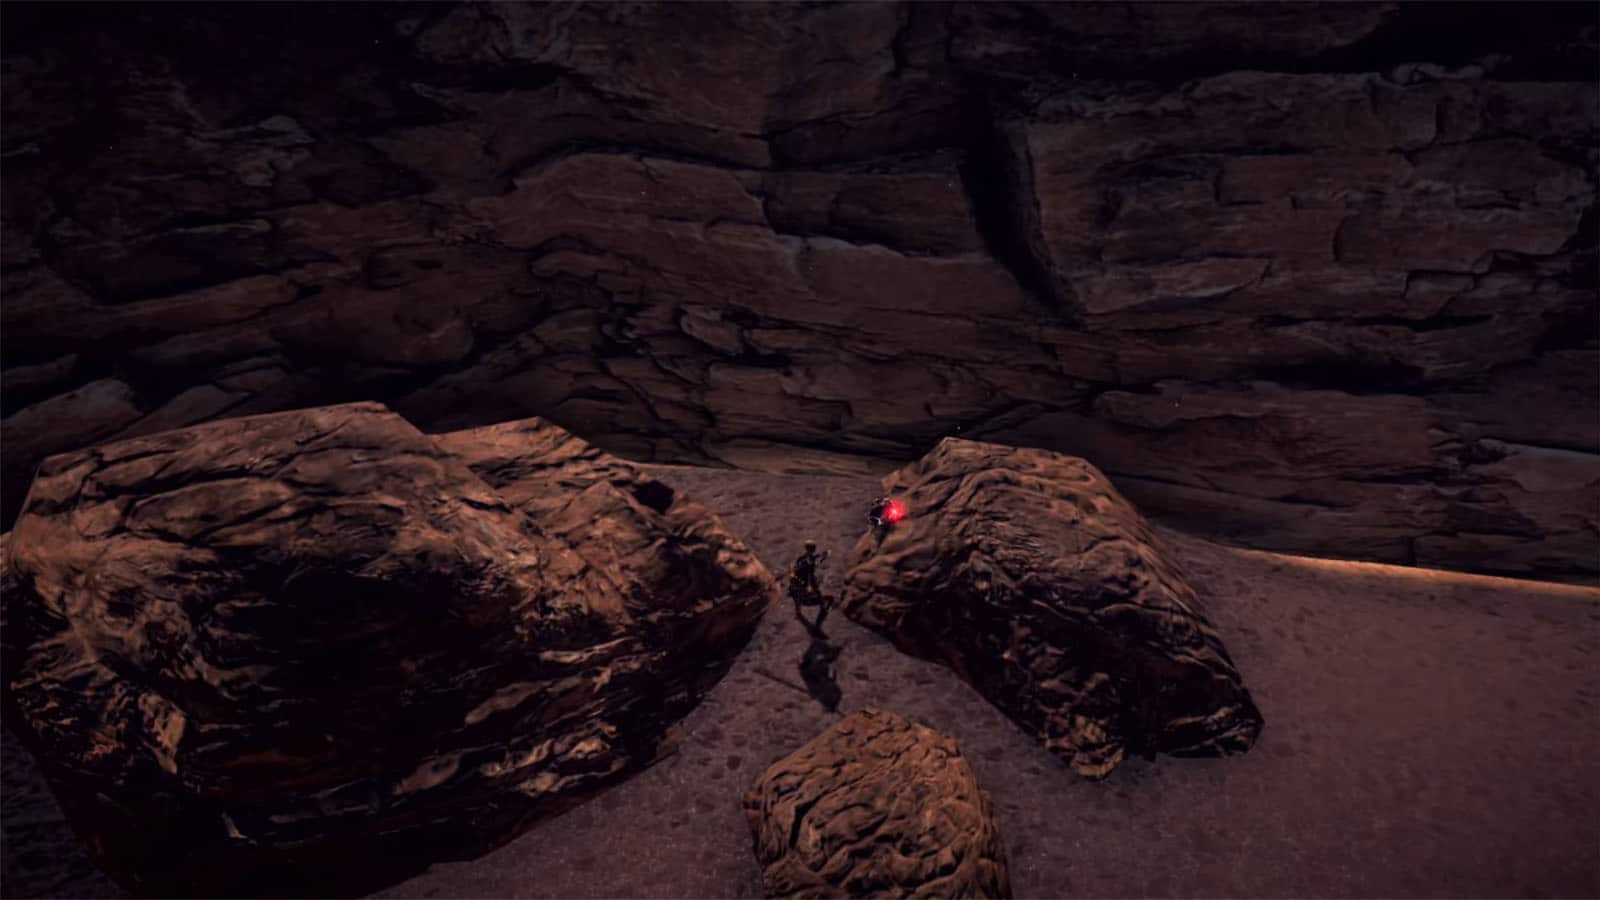
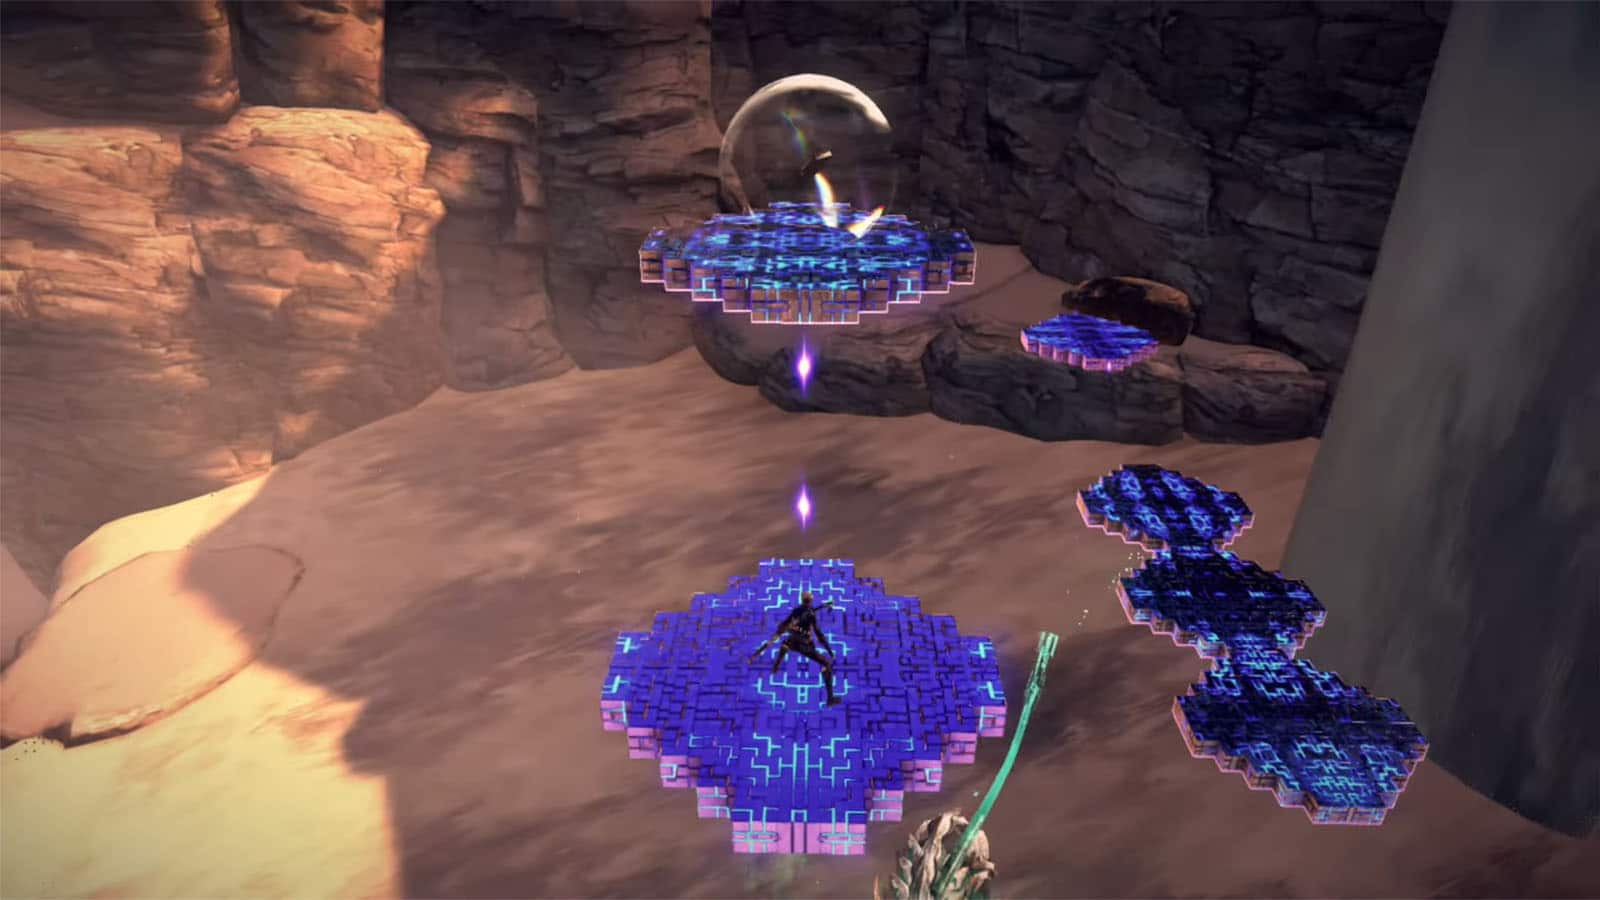
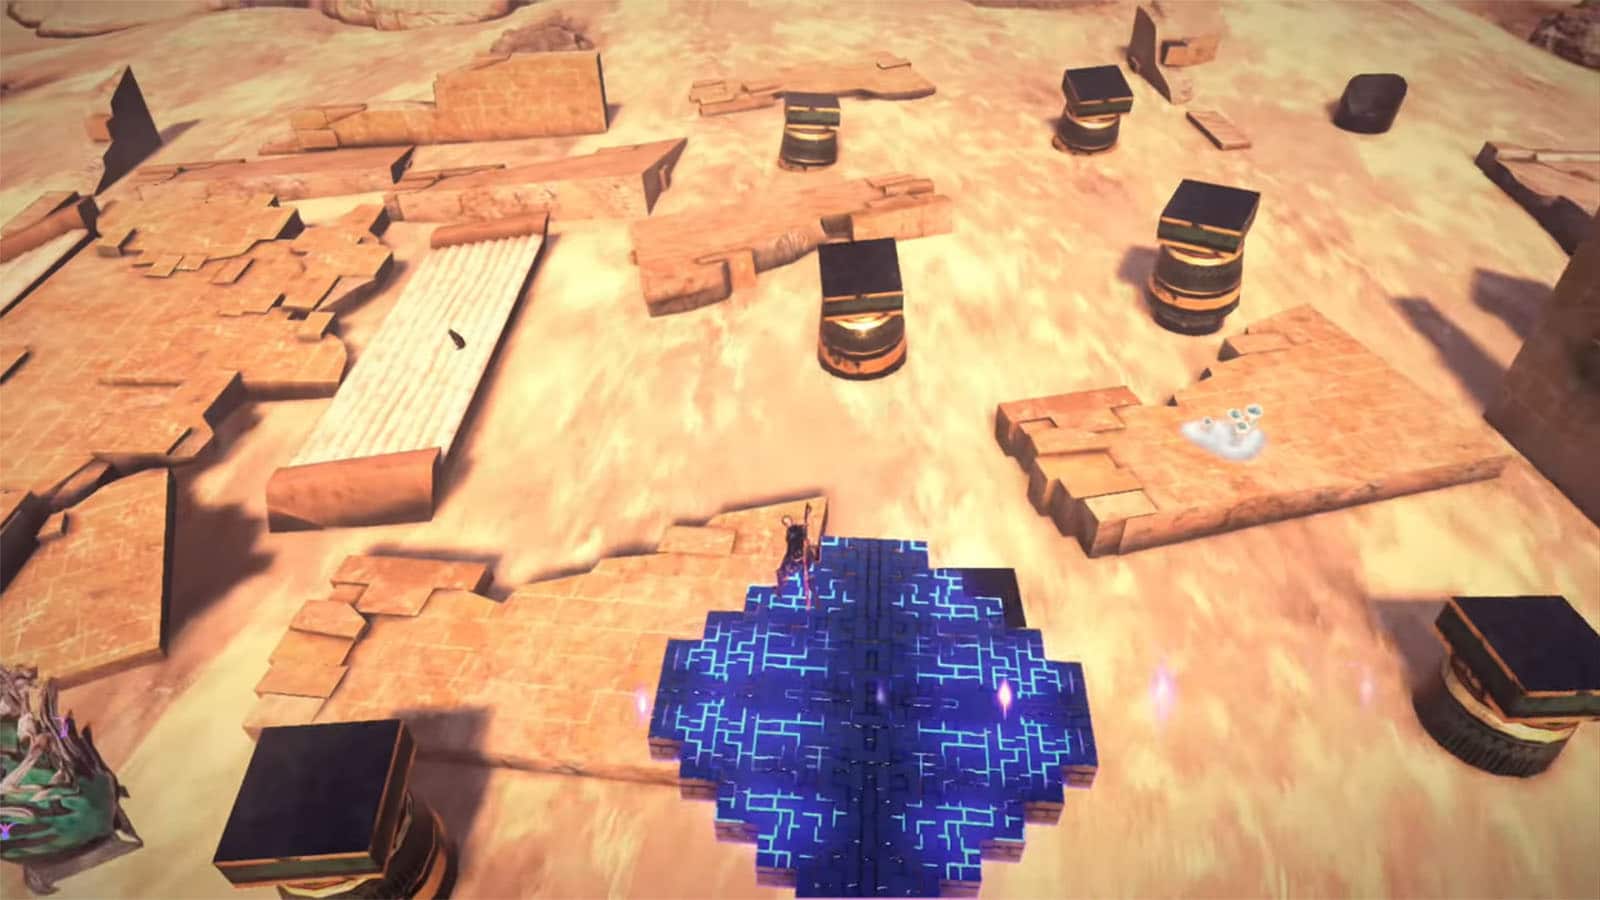
Broken Witch Heart #1
Head down and continue forward, then look to the right to find a floating platform. Ride it to make the other platforms appear. A treasure cube will be on top of the moving platform and you can try to land on it using the other platforms around it as jump points. Open the chest inside to get a Broken Witch Heart.
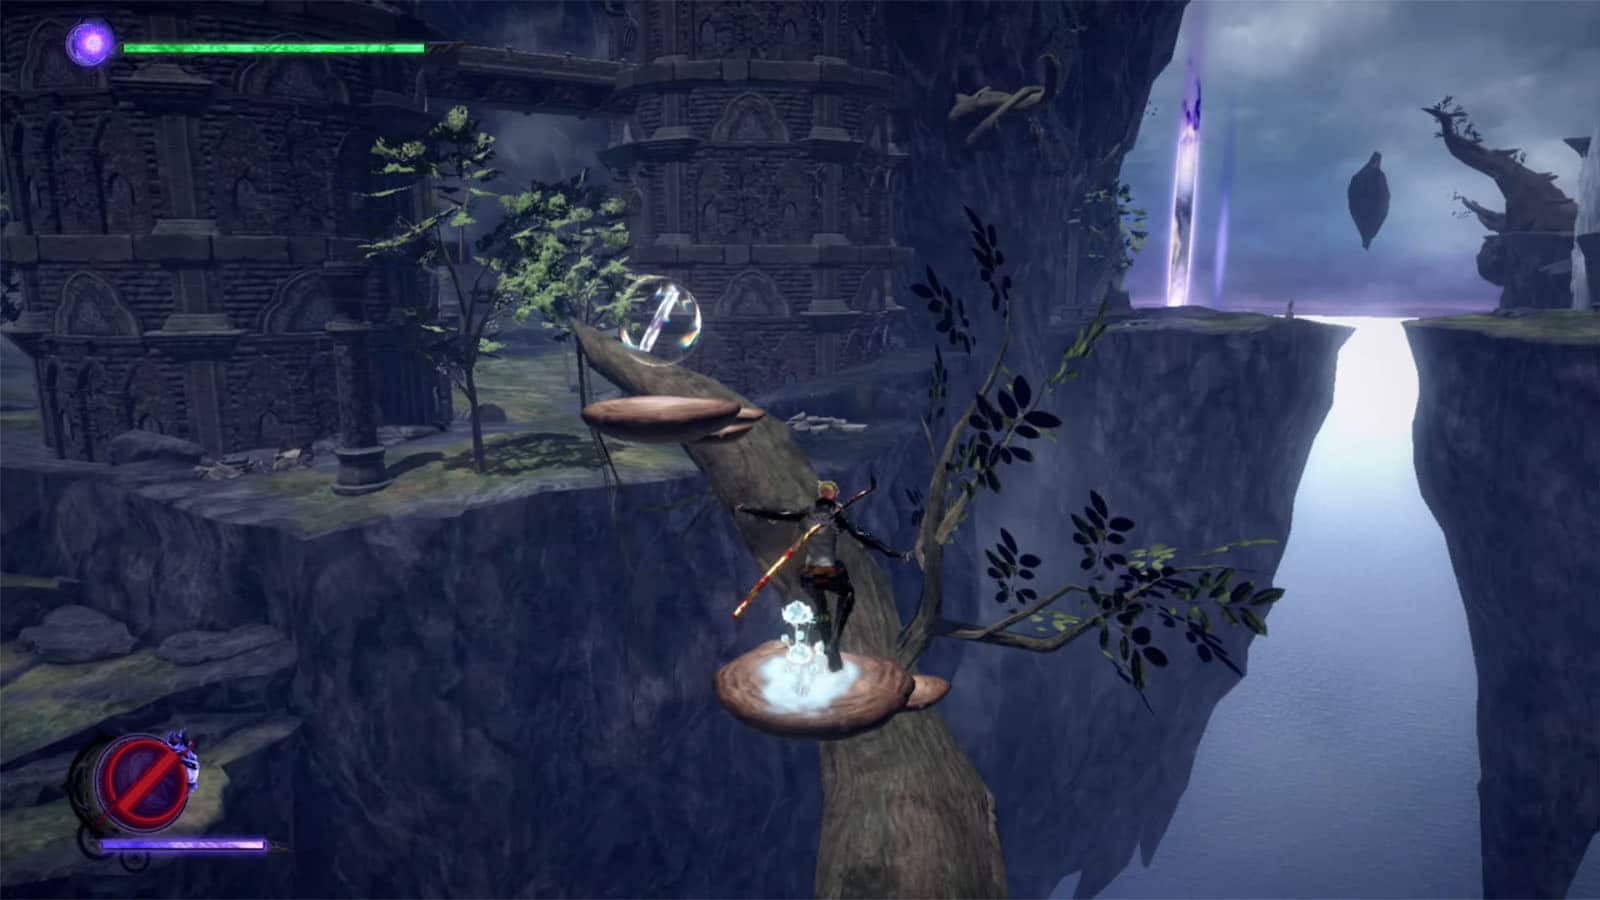
Card Pack #1
Move towards the building up ahead and climb the branch beside it to get a card pack.
Try getting the key inside the building by bashing its wall to prepare for the gate later on.
Verse #1
Go to the area between the towers to trigger the first encounter. You’ll be fighting with a jellyfish homunculus so make sure to not attack it with your summon.
Card Pack #2
From the first verse arena, go to the tower on the right and break its wall. Inside, you’ll find a card pack.
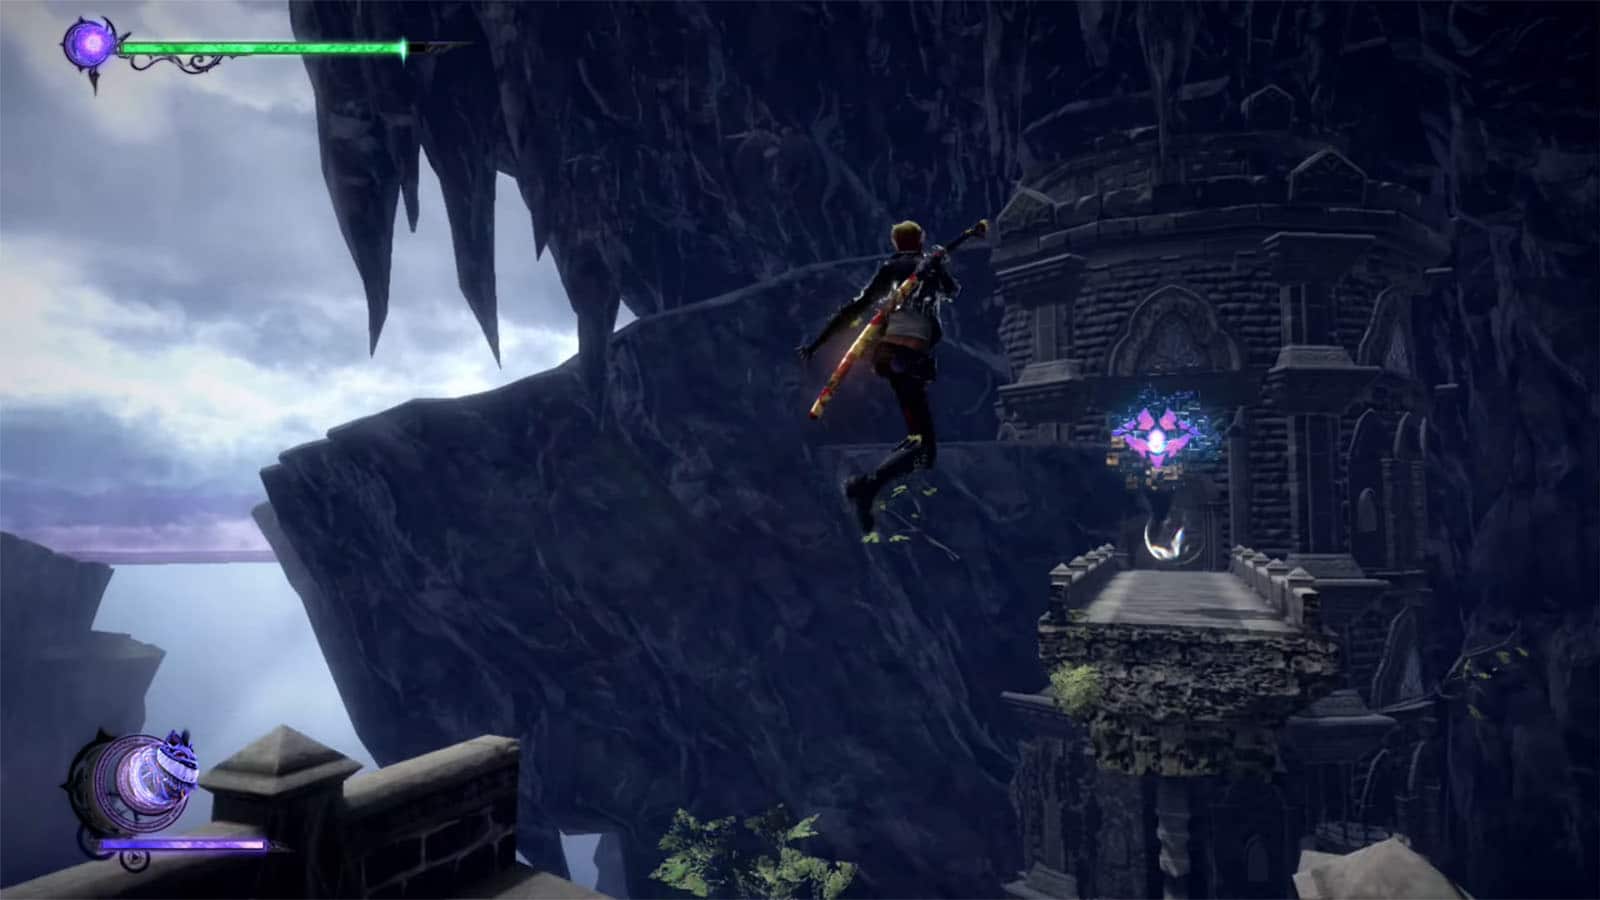
Figure Box #1
Climb the tower and and then cross the broken bridge to the other tower to reach the figure box.
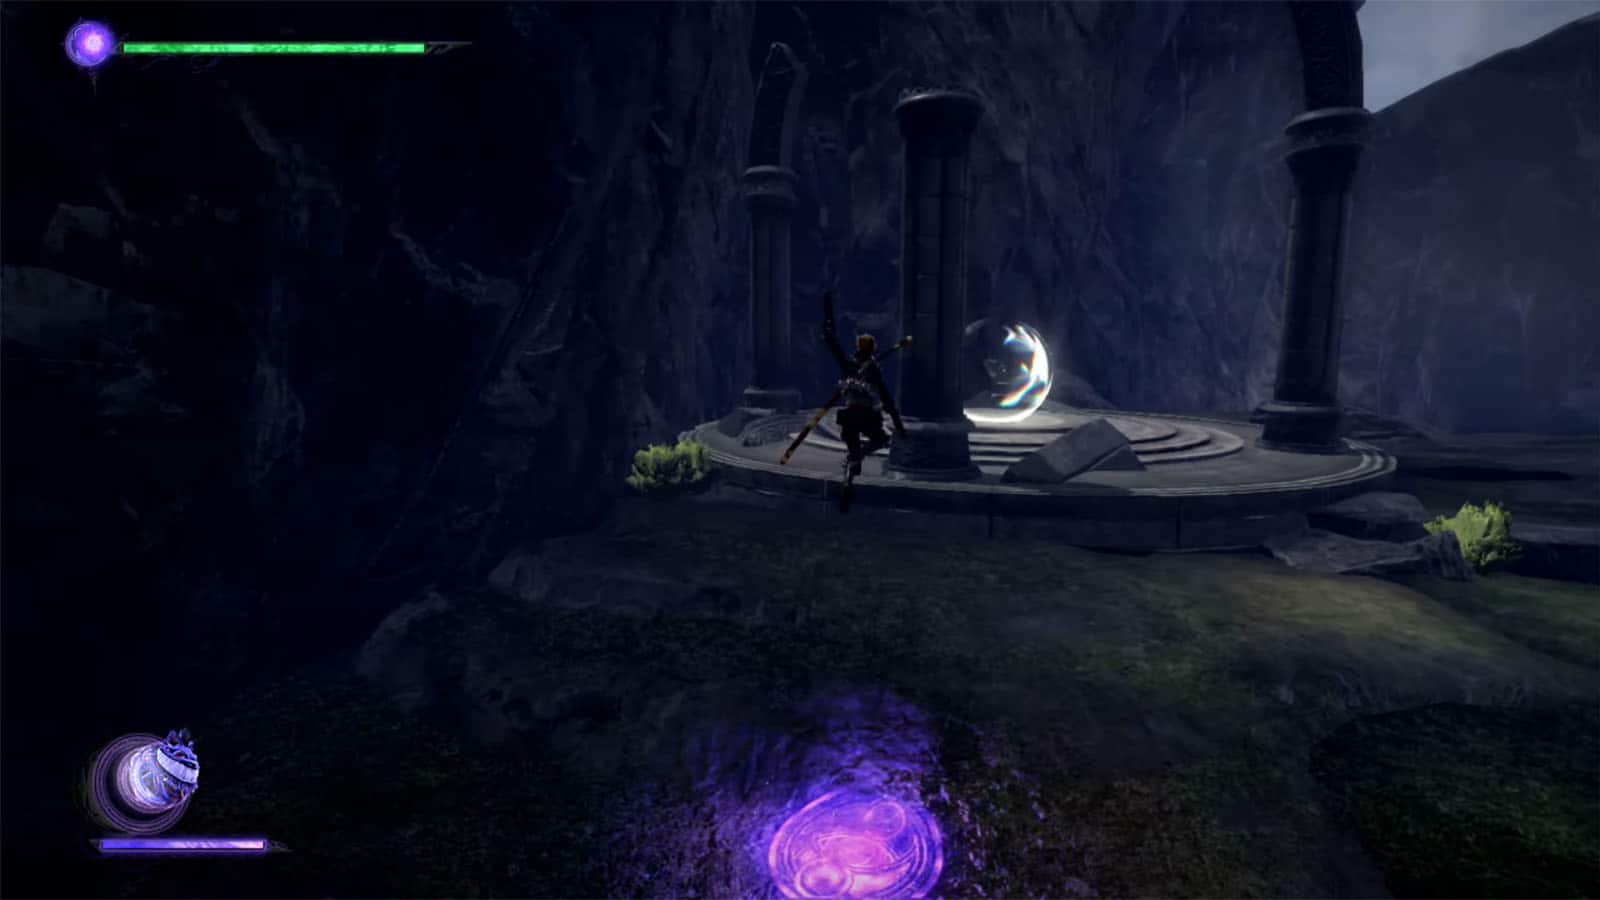
Verse #2 / Broken Moon Pearl #1
Enter the portal nearby to get into the next fight. In this challenge, you must rack up 5,000 points worth of combo points before the time is up. Try not to get hit to avoid breaking the combo, and switch up with Viola’s attacks to keep them going. Once complete, you’ll be rewarded with a Broken Moon Pearl.
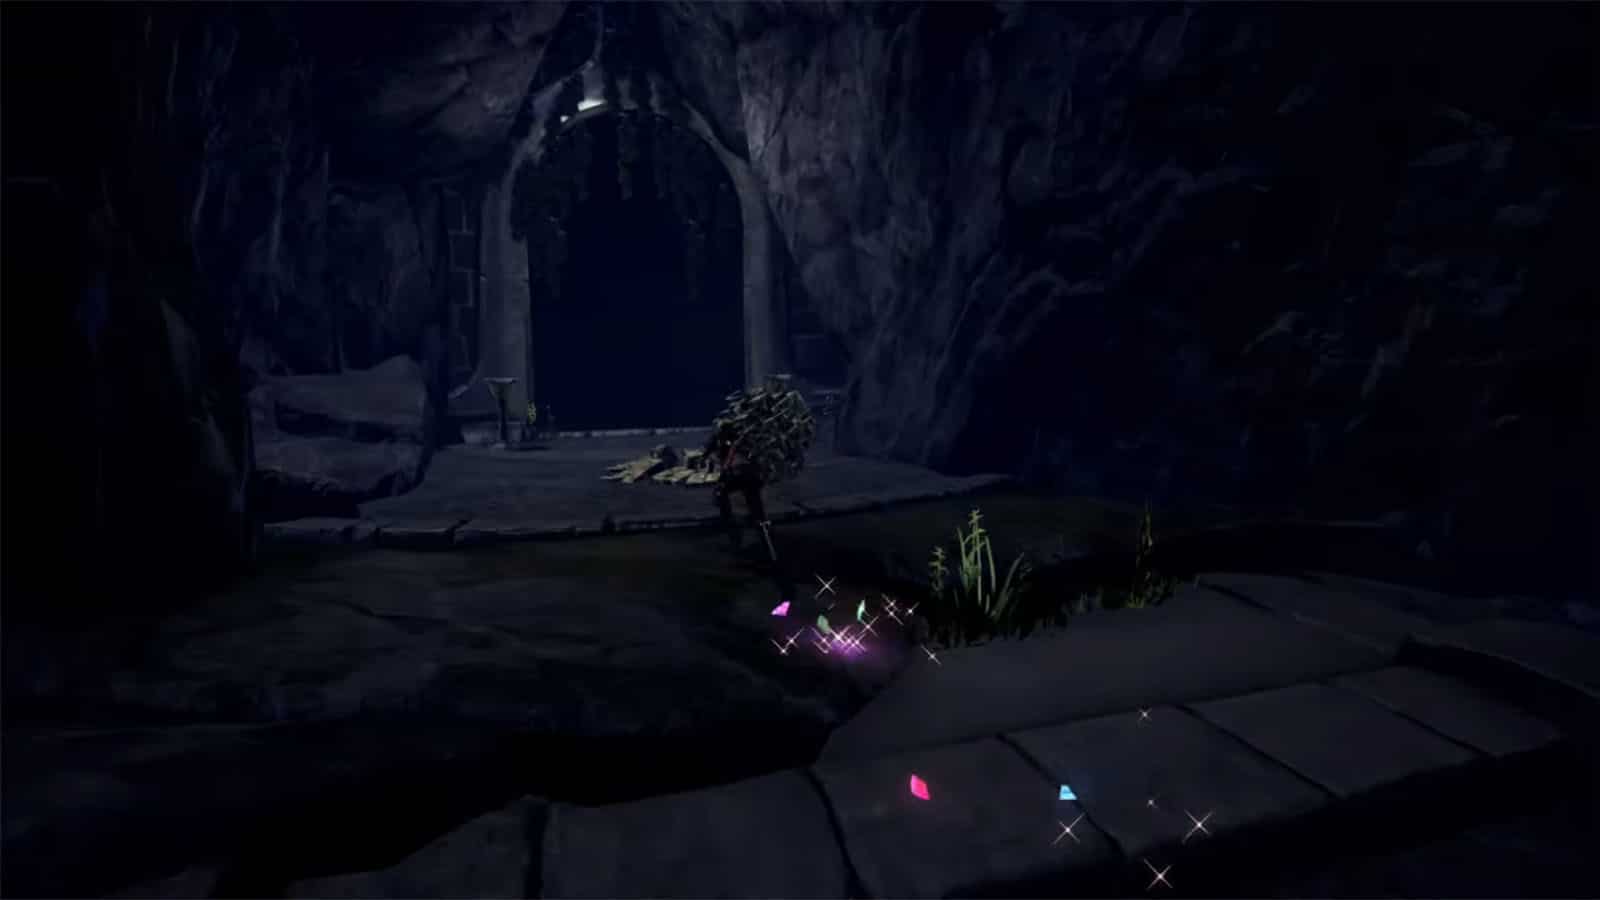
Broken Moon Pearl #2
Past Verse #2 is a door. It should glow once you have obtained the key for it; if not, head back to where you saw the first card pack and break the wall of the small building to find the key in it. Unlock the door with the key to get the Broken Moon Pearl.
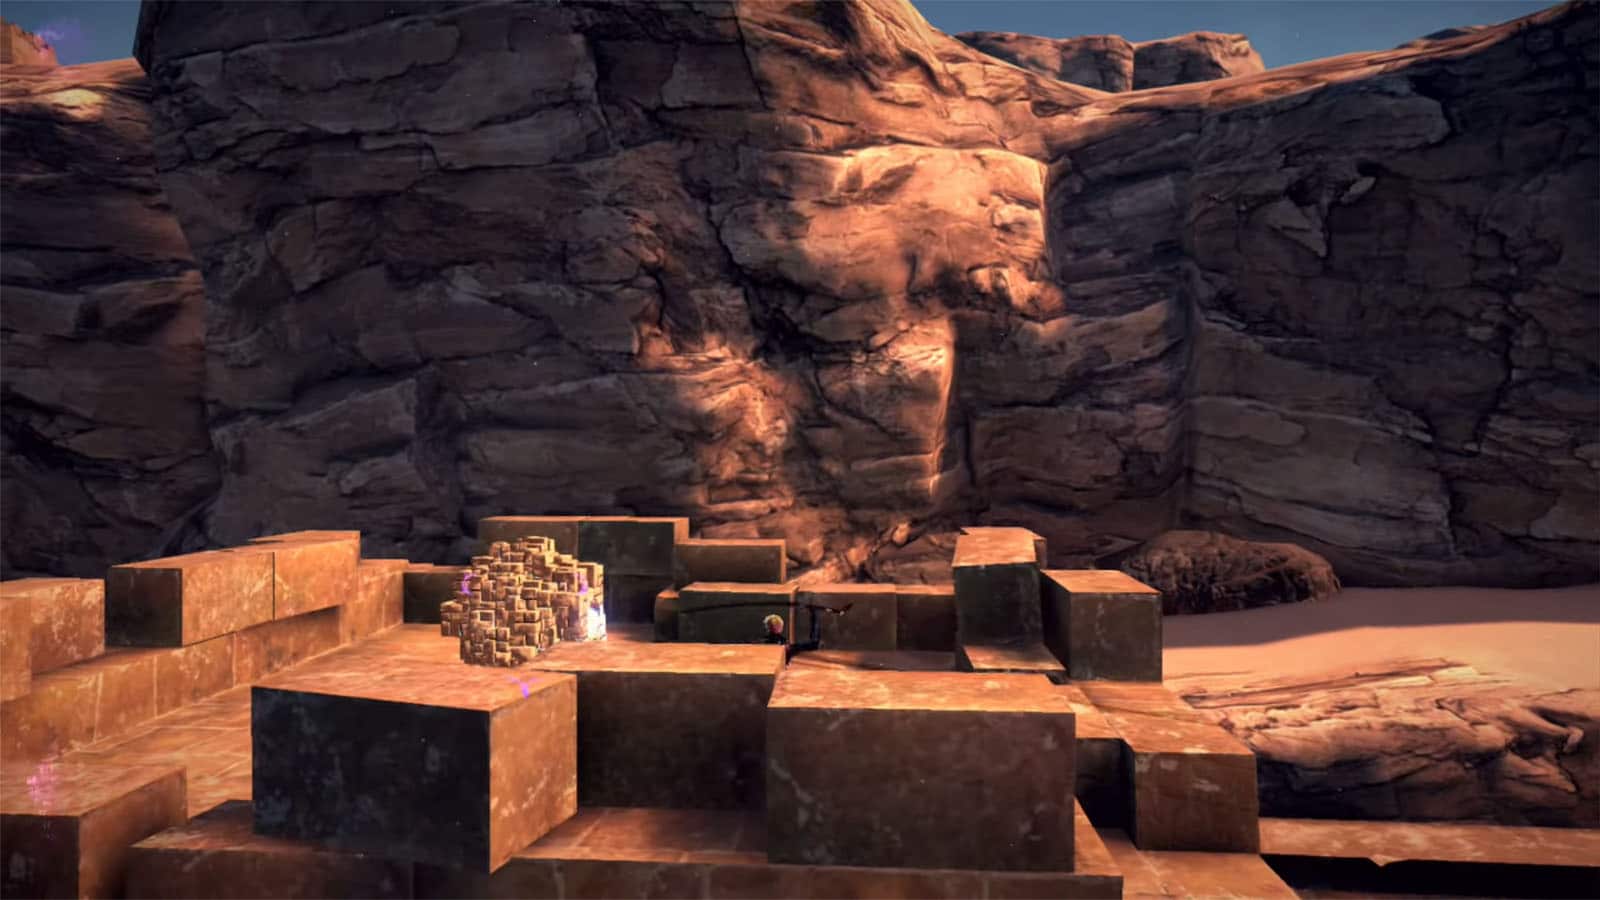
Broken Witch Heart #2
Go towards the path to the left of the sealed door past the branch. You’ll see a treasure cube that activates a time trial. Collect all five pieces to get a Broken Witch Heart.
Card Pack #3
Go down the path from the time trial and head to the left ledge to get the card pack.
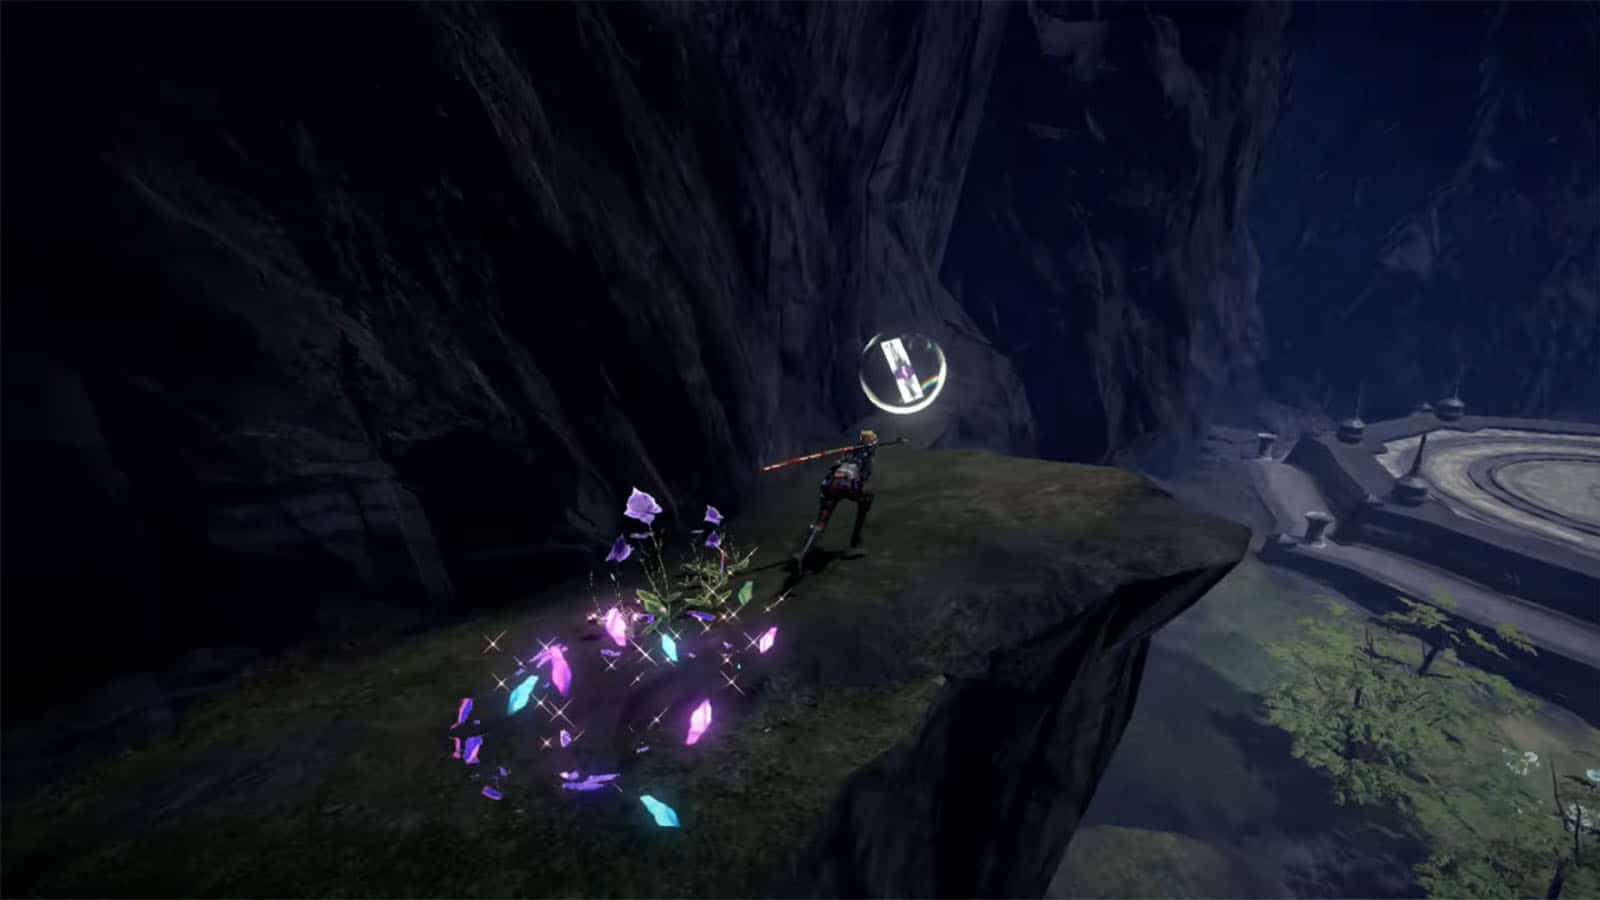
Medallion Shard #3/4
Look to the right from the ledge to find a stair case leading to an ancient mechanoid to get the Medallion Shard.
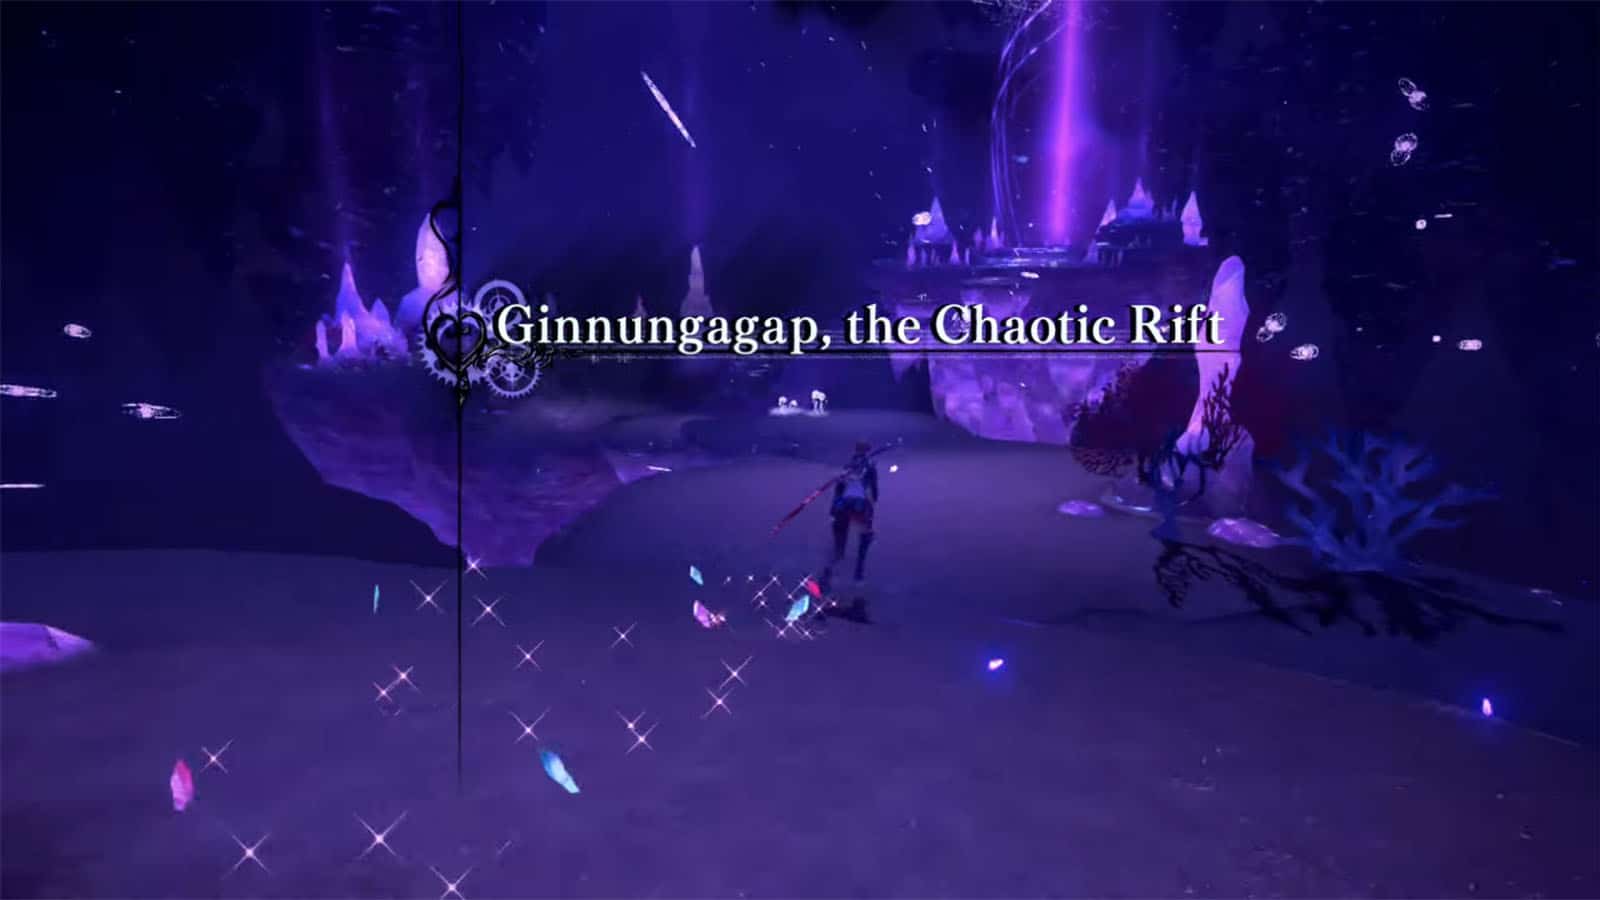
Ginnungagap, the Chaotic Rift
Once you’re good with all the collectibles in the area, approach the platform and head inside the portal. There are no collectibles in this area, there’s only a verse fight.
Verse #3
Continue through the path in the rift and you will eventually encounter the enemies once you reach the large platform. You’ll be fighting a bunch of tree homunculi. Have Viola take care of the regular ones and have Chesire attack the haze-covered one.

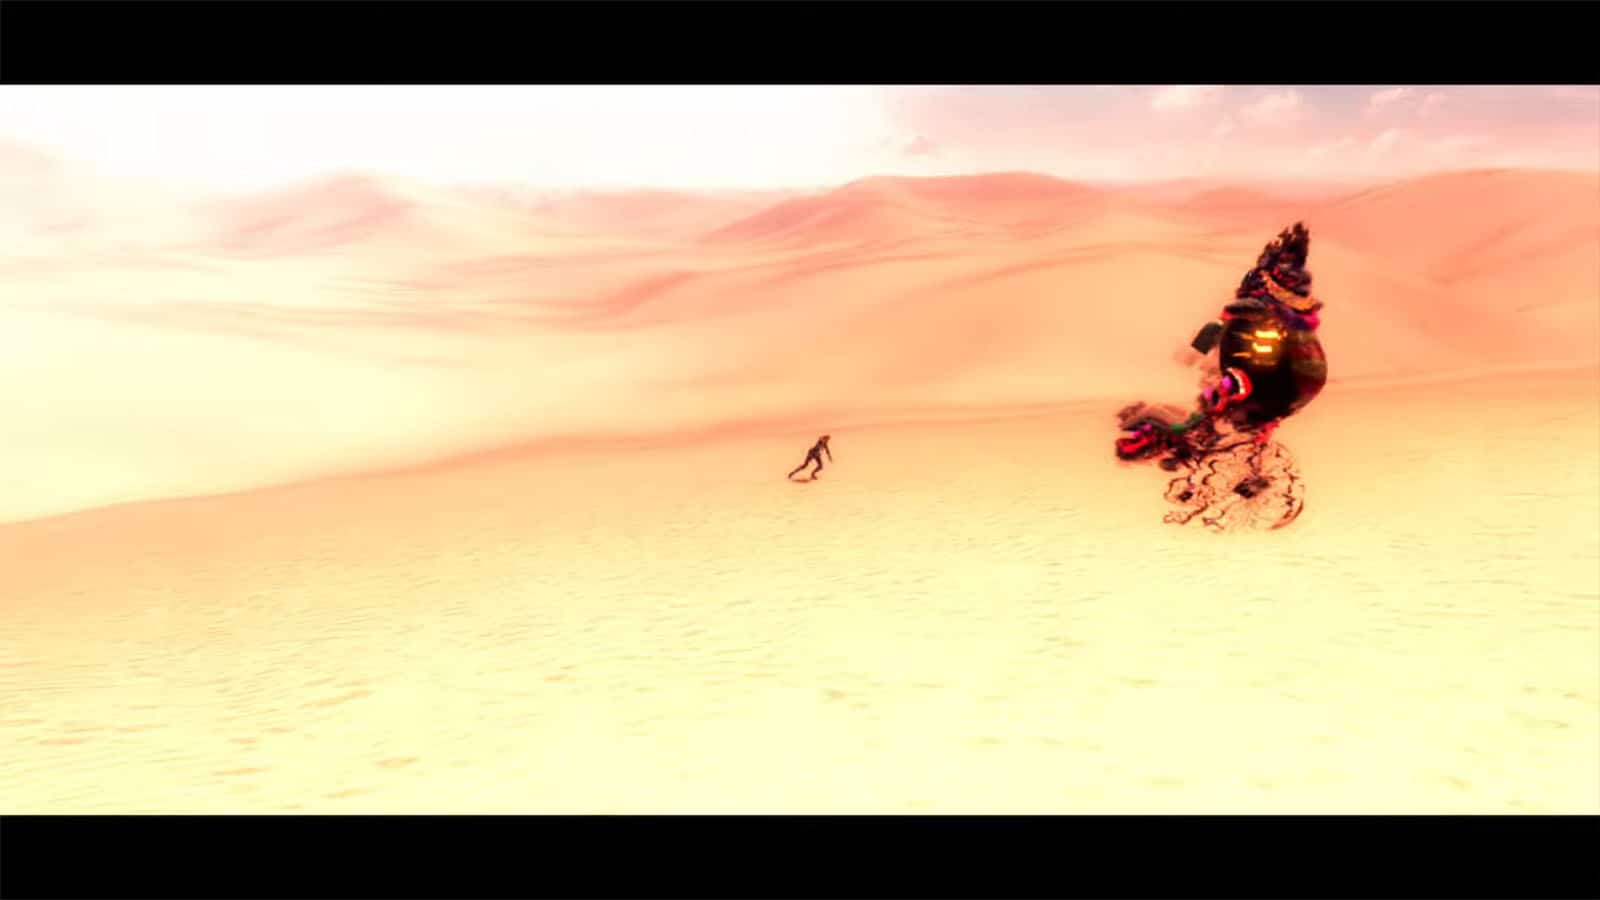
Cairo: Tura
Exit Ginnungagap and you’ll arrive in the desert of Cairo. After the fall, Viola loses Cheshire so she will have to fight with her own weapons. Continue moving towards a direction and you’ll eventually encounter worm homunculi called Uncinus. They attack with charged lasers which can be evaded easily. They’re also weak and can be defeated after a few hits. You can fight some of them or you can simply flee.
Bewitchment #1
You’ll eventually start wandering around looking for Cheshire. Mirages of your summon will start appearing around the desert. Touch at least three of them to get the Touch a Cheshire mirage 3 times while wandering the desert Bewitchment.
Verse #4
After walking for a while, you’ll encounter another enemy called Tuba. One of them will have Cheshire on its back which allows Viola to retrieve her summon. These enemies are another type of sandworm/mole, so try to anticipate where they will pop out and jump out from that spot followed up by a counterattack.
Verse #5
As Viola passes out from the heat and exhaustion, Cheshire carries her on its back. You can then control Cheshire to go through the desert. Use Cheshire’s attacks to thwart off the enemies along the way.
Bewitchment #2
Pay attention to Cheshire’s tail. When it wiggles, it means that you are close to a dig spot. It will wiggle some more as you get closer and it will pop out as a hand tail when you’re on top of the spot. There are three dig spots: one to the left after exiting the narrow path, one to the right side up ahead, and one spring to the far left corner. Find all three spots in this verse to get the Dig up all of the buried treasure while riding Cheshire Bewitchment. Look for the spring last as it will progress the verse to end.
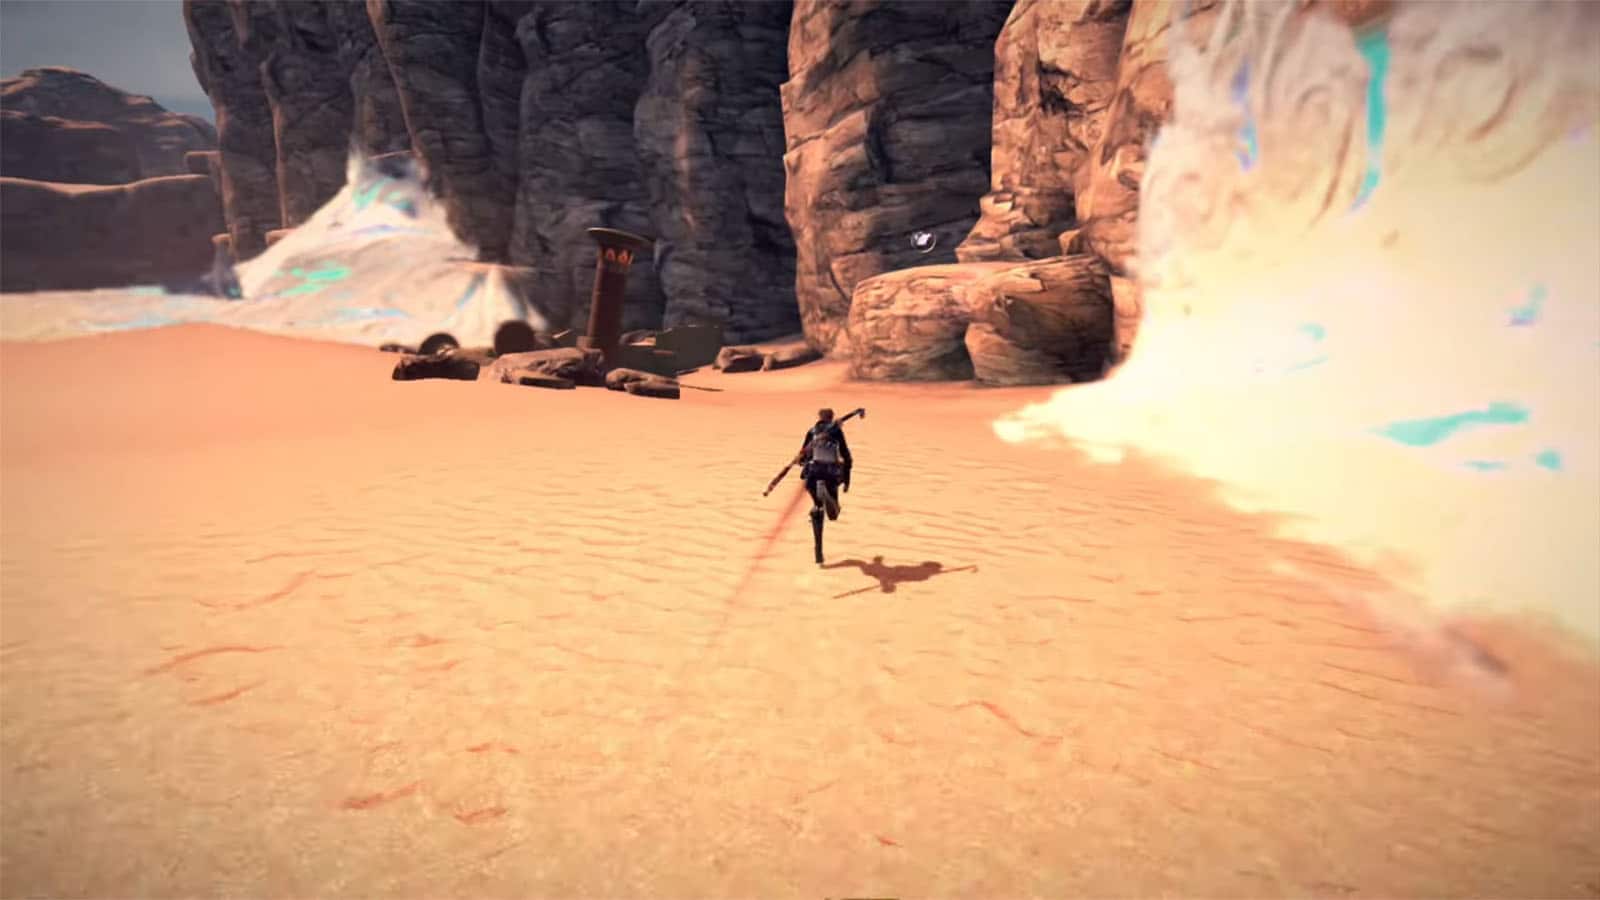
Figure Box #2
To the right of the open area, by the ledge is the figure box.
Broken Witch Heart #3
This is one of the treasures that you’ll dig up as Cheshire, located near the narrow path.
Verse #6
Once Viola is awake, head to the gap in the wall on the right side of the area and proceed until the next open area where the fight will happen. Concentrate on gaining summon energy through perfect blocks and some attacks so that you can summon Cheshire often, who can deal massive damage.
Umbran Tears of Blood – Crow
Continue towards the next path where you’ll find the crow perched on the edge of the cliff. Follow it along the cliff then time your intercept to get it as it moves back towards the cliff.
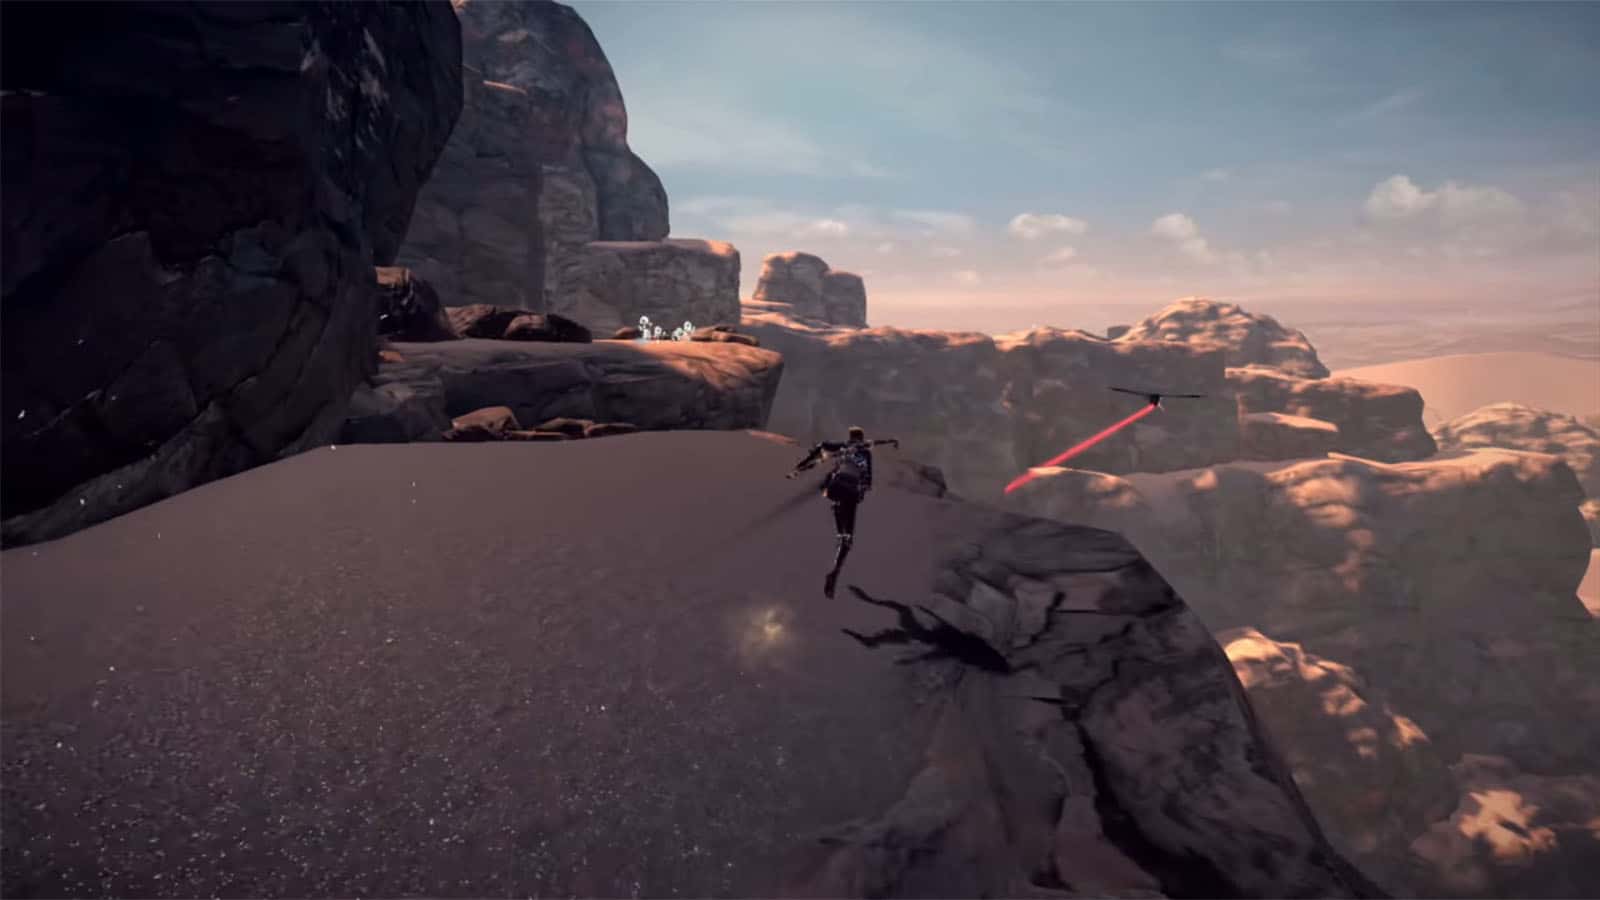
Verse #7
Continue moving forward where you’ll find a glowing marker. You’ll be fighting against shielded angels which can only take damage from their sides or on their back. Use Cheshire to take aggro and help you slip behind them or get perfect blocks to enter Witch Time.
Bewitchment #3
From the previous verse, you’ll find a temple to the right. In order to open its doors, you need to break the broken column that is on top of the left pedestal. Jump off the pedestal to balance the two pedestals and open the door.
Inside, look to the left and stare at the mural for at least three seconds to get the Stare at the mural of Enzo for 3 seconds Bewitchment.
Figure Box #3
Up the stairs inside the temple, you’ll find the figure box in the corner.
Broken Witch Heart #3
Attack the chest inside the room and it will transform into an enemy. Defeat it to get the Broken Witch Heart.
The Gates of Hell
Head back to the first open area where you found the spring and go to the path glowing red to find Rodin’s portal. Use this time to replenish items or buy accessories. Head to the next open area to proceed.
Bewitchment #4
At this point, you can defeat at least Uncinus that show up to get the Defeat 3 Uncinus that appear from the quicksand Bewitchment.
Bewitchment #5
Try not to fall into the quicksand at any point while traversing this area to get the Cross the quicksand river without falling Bewitchment. If it proves difficult while trying to get the collectibles, you can go for this on a different run.
Umbran Tears of Blood – Toad
Follow the path to the right that goes behind the sandfalls. You’ll eventually hear some croaking by the rocks where you’ll find the toad.
Echoes of Memory #2
Continue moving up the path and climb the ledges to see a cube that activates the platforms. Take the platforms to the left to reach the Echoes of Memory: The Quicksand River.
Verse #8 / Broken Witch Heart #4
Take the platform on the right to get to the next portal. The challenge in this fight is to defeat the enemies on floating platforms. Cheshire won’t be able to fit on the platforms and will eventually fall, so attack the enemies using Wink Slave instead. Completing the challenge will reward you with a Broken Witch Heart.
Umbran Tears of Blood – Cat
Use the cube on the side of the portal to make a platform appear which will take you to the ruins in the sand river. The cat will be on tops of one of the debris, but it’s best to take out the enemies that pop out from the sand first.
Broken Witch Heart #4
Near the ruins, you’ll see the floating chest moving through the sand river. Wait for it to pop out to attack it and then open it to get a Broken Witch Heart.
Record #1
Go to the edge of the sand river where you can spot the record on the middle ledge.
Broken Moon Pearl #4
Go to the nearby tower and climb on top of it to get the Broken Moon Pearl.
Broken Moon Pearl #5
Go to the top of the building on the far left to get another Broken Moon Pearl.
Verse #9
Continue towards the path to the temple and you will be ambushed by enemies. Clear them out to proceed.
Verse #10
Head inside the temple where you see Luka. More enemies will come out. Clear them out to proceed.
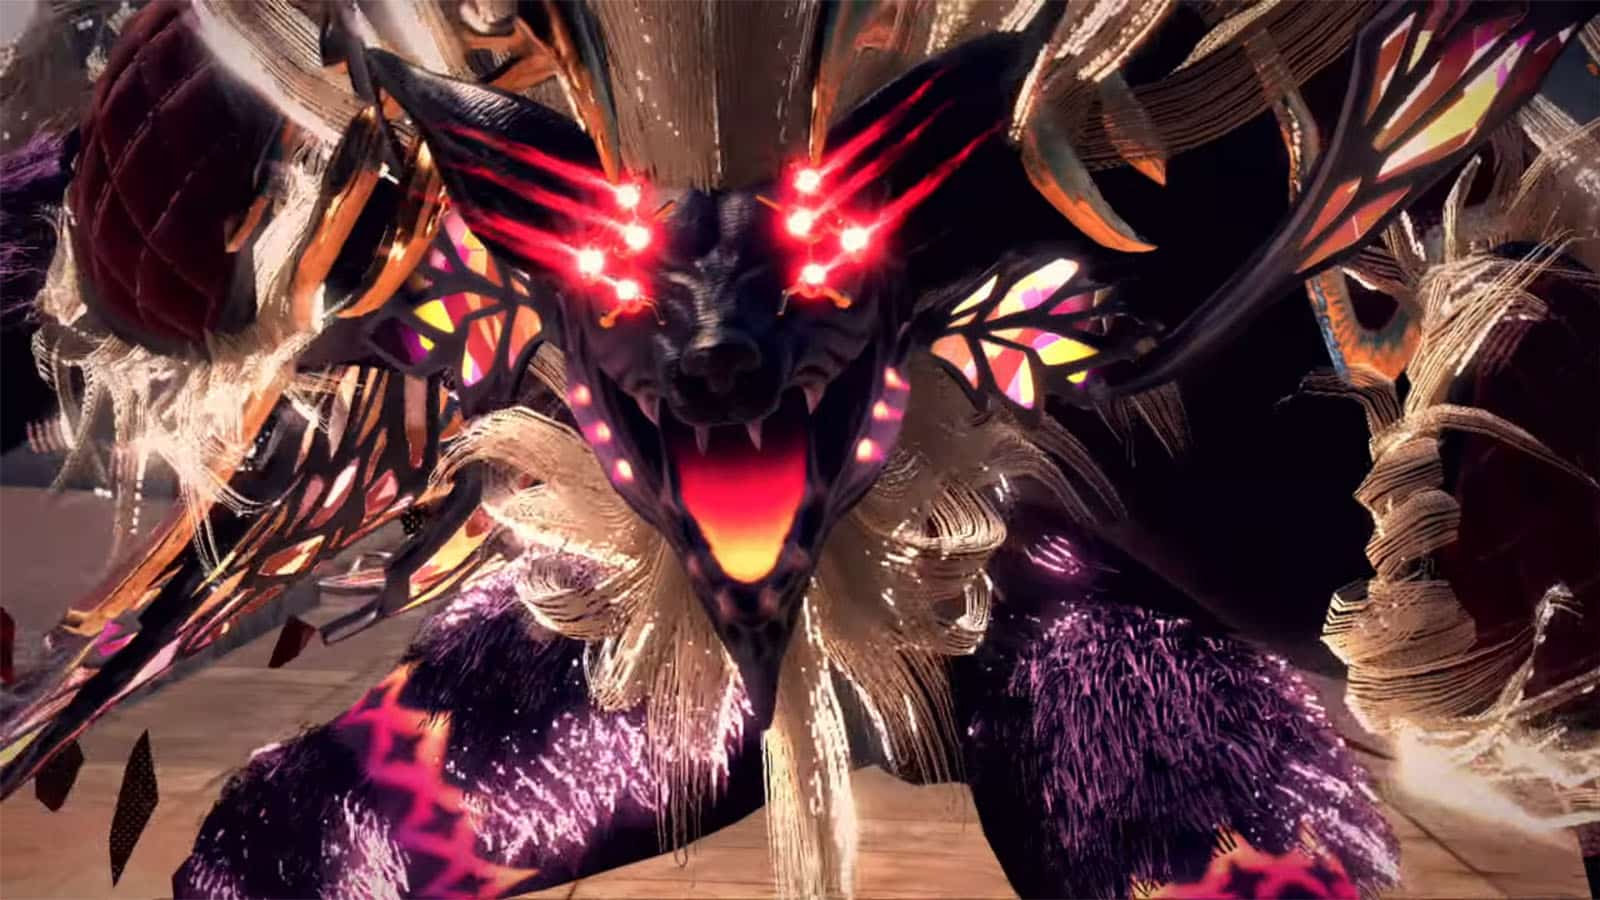
Verse #11
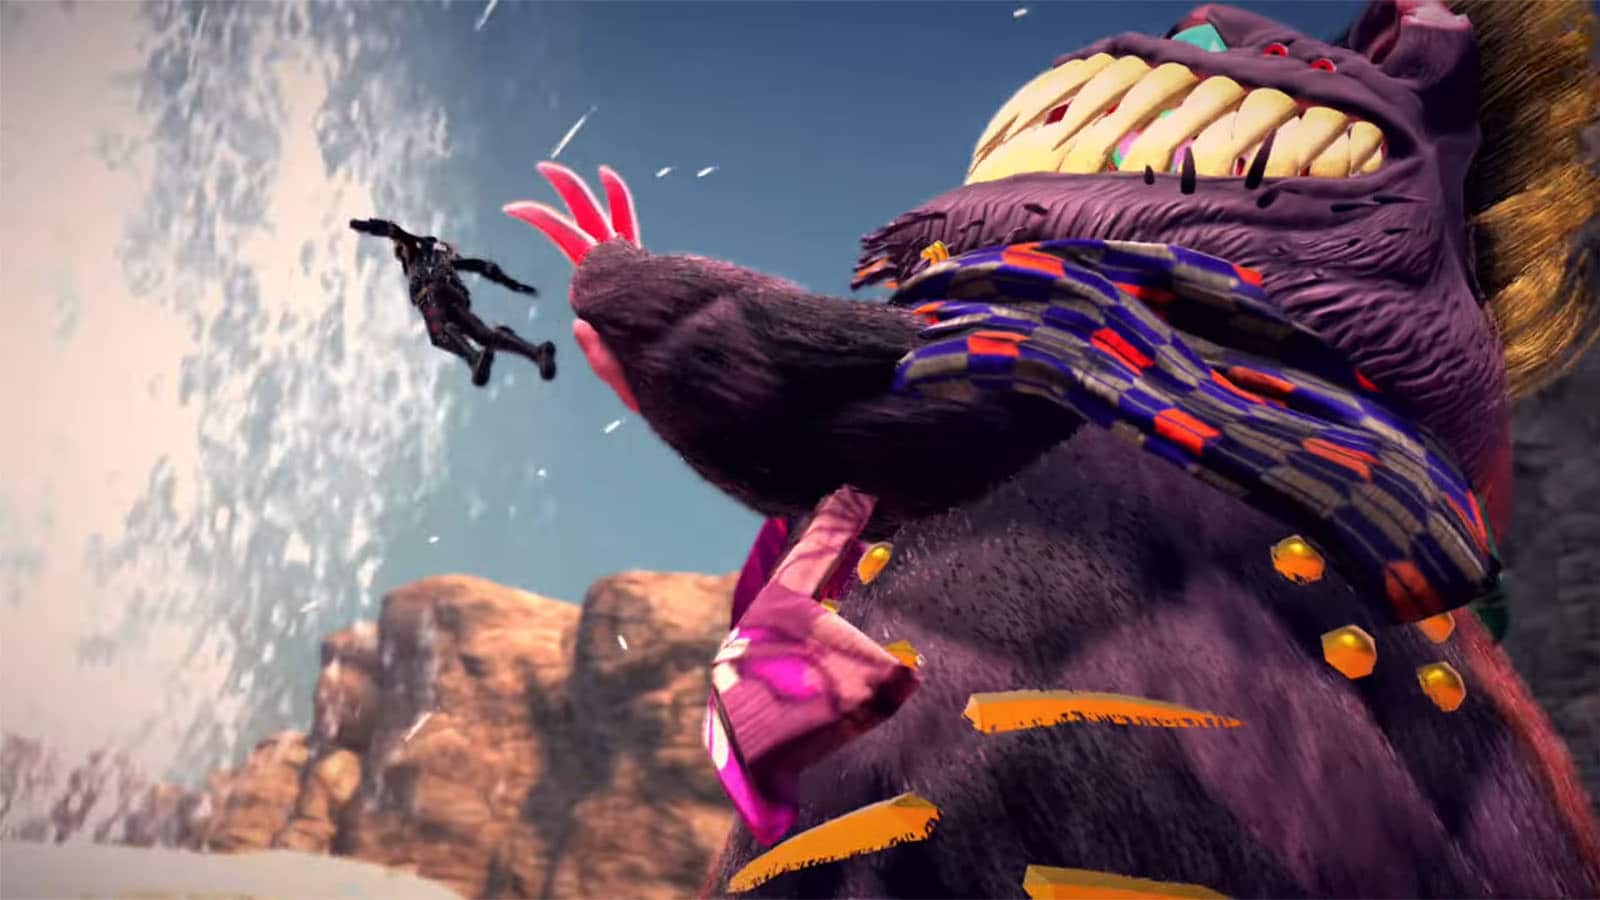
You’ll be fighting against Luka who has transformed into the enemy that Bayonetta once fought in an earlier chapter. He has three health bars, and once two bars are spent, a cutscene will play where Luka mortally wounds Viola.
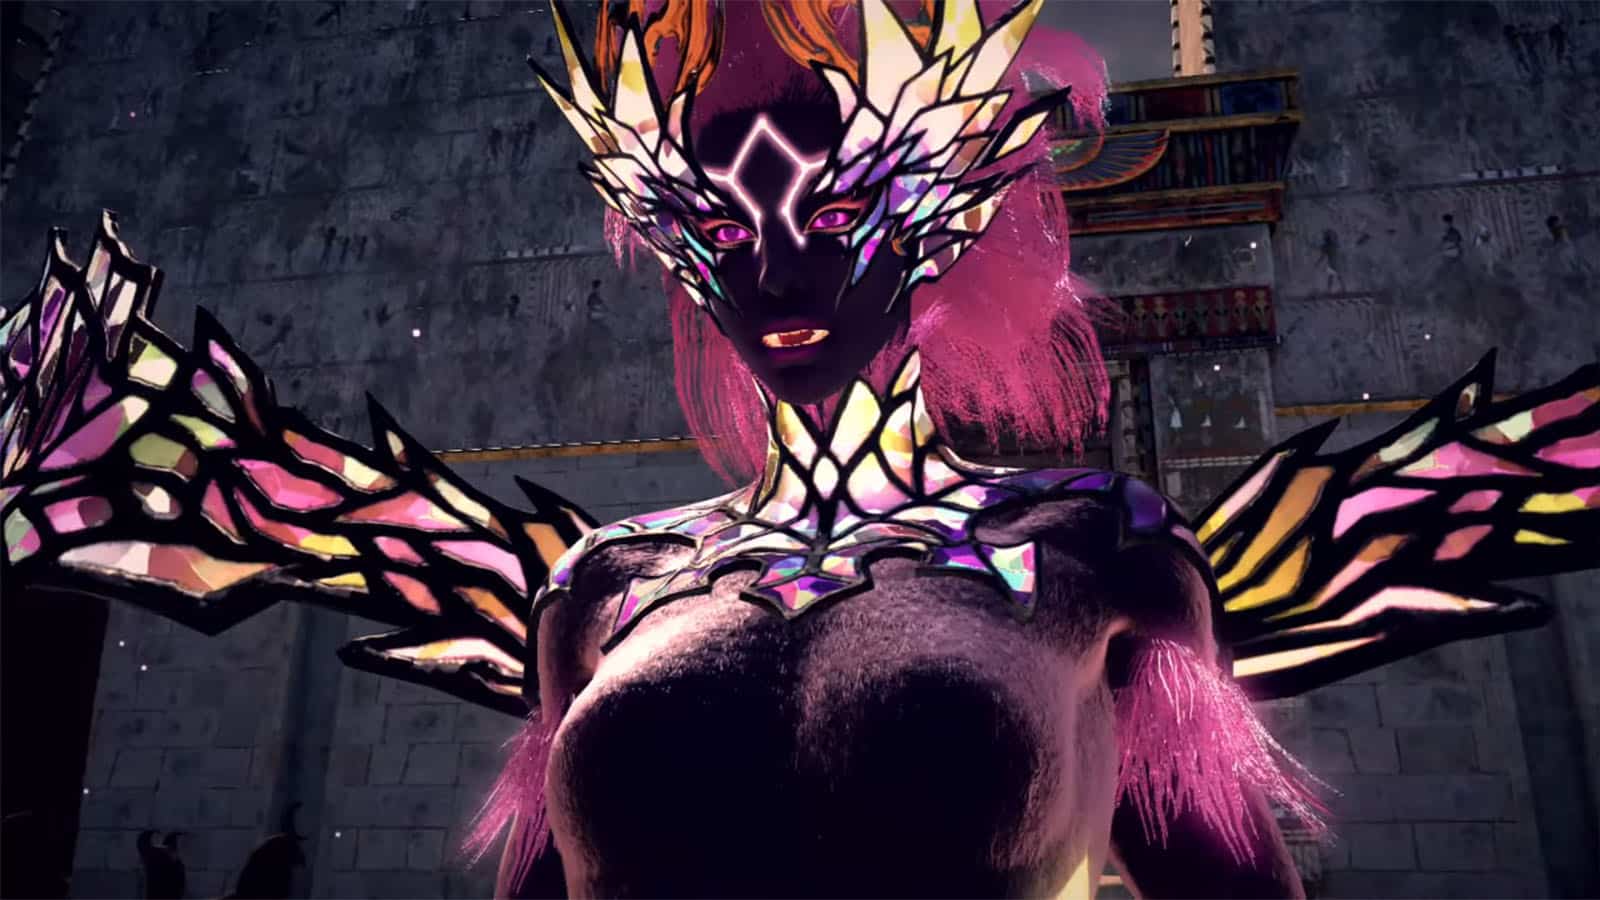
This awakens Viola’s powers and transforms her into her own masquerade. Continue the fight in this form until the last health bar is spent. The chapter ends after the cutscene showing Bayonetta joining in to save Viola.
See next Bayonetta 3 Walkthrough Chapter 8: A Croaking Chorus
If you like this guide, be sure to check out our other Bayonetta 3 articles:
- Bayonetta 3 Chapter List – How Many Chapters
- Bayonetta 3 Ending Explained
- Bayonetta 3 Singularity (Explained)
- All Outfits in Bayonetta 3
- Bayonetta 3 Weapons and Abilities
- Bayonetta 3 Day One Update Patch Notes Revealed
- How Long to Beat Bayonetta 3 – Game Length
Check out this video by BUCCI showing gameplay for Chapter 7:


