
Learning to Fly is the ninth chapter in Bayonetta where Bayonetta continues her journey through Giza to look for the Chaos Gear, as well as follow alt Jeanne to get some answers.
In this guide, we will go through Chapter 9: Learning to Fly, listing along any collectibles as well as Bewitchments that can be acquired in the chapter.
See previous Bayonetta 3 Walkthrough Chapter 8 - A Croaking Chorus
Chapter 9 – Learning to Fly Objectives and Collectibles
- Giza: Al Haram
- Figure Box #1
- Card Pack #1
- Umbran Tears of Blood – Toad
- Echoes of Memory #1
- Verse #1
- Broken Moon Pearl #1
- Bewitchment #1
- Card Pack #2
- Verse #2
- Verse #3 / Broken Witch Heart #1
- Figure Box #2
- Verse #4
- Bewitchment #2
- Giza: Temple of Tempests
- Broken Moon Pearl #2
- Record #1
- Broken Witch Heart #2
- Verse #5
- Windmill Puzzle
- Echoes of Memory #2
- Umbran Tears of Blood – Crow
- Figure Box #3
- Bewitchment #3
- Figure Box #4
- The Gates of Hell
- Verse #6
- Verse #7
- Echoes of Memory #3
- Figure Box #5
- Umbran Tears of Blood – Cat
- Scale Puzzle
- Verse #8 / Broken Witch Heart #3
- Card Pack #3
- Figure Box #6
- Verse #9
- Bewitchment #4
- Card Pack #4
- Card Pack #5
- Verse #10
- Verse #11
- Bewitchment #5
- Verse #12
- Bewitchment #6
- Verse #13

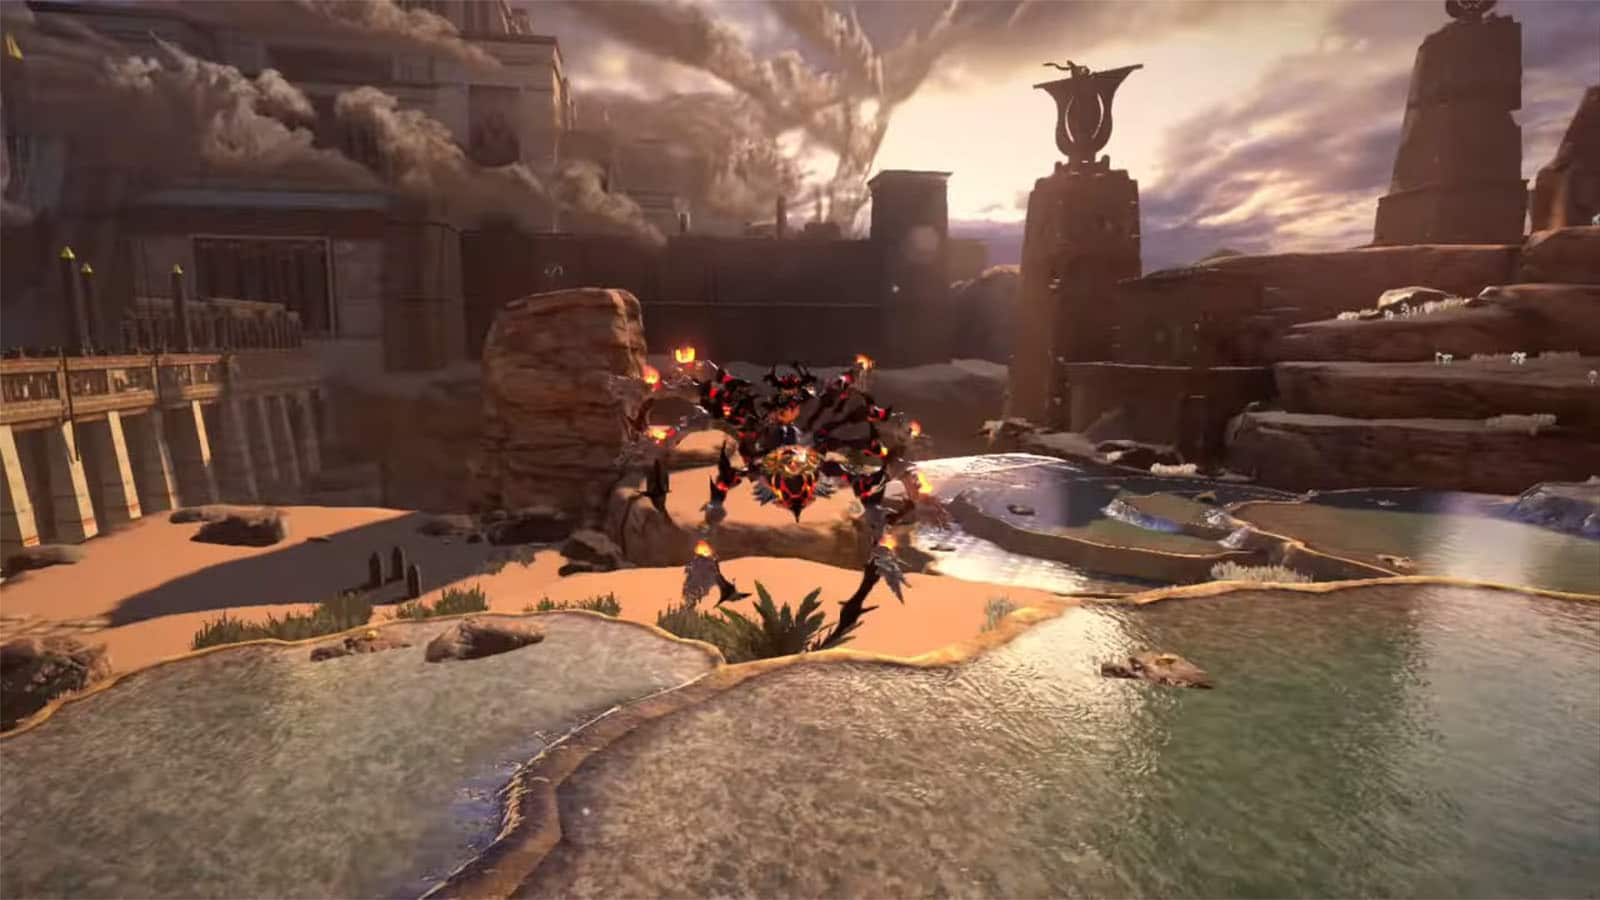
Giza: Al Haram
Bayonetta arrives at Giza after being at Cairo. There’s a temple up ahead, but take some time to explore the area as there are a couple of collectibles nearby.

Figure Box #1
Just below the ledge that you’re on from the starting point, jump down and turn to the right to find the figure box.
Card Pack #1
Up ahead, above a rock, you can find a card pack.
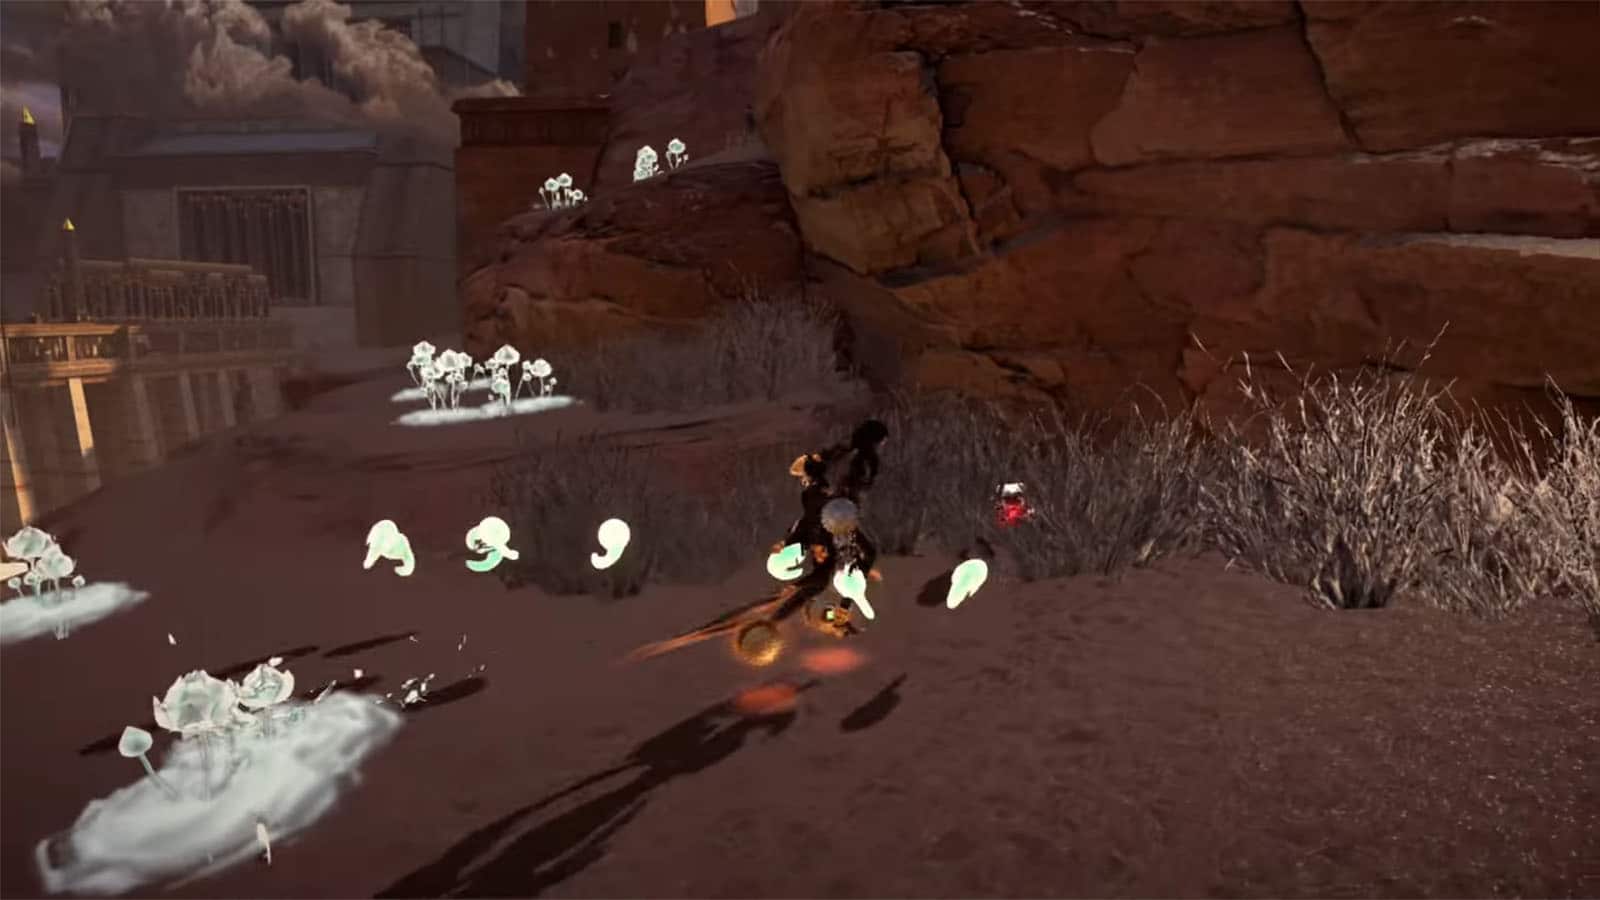
Umbran Tears of Blood – Toad
Climb the water stairs and then jump on the ledge to the left to find the toad within the bushes.
Echoes of Memory #1
Climb up to the very top of the water stairs and go behind the waterfall to find the Echoes of Memory: Crescent Valley.
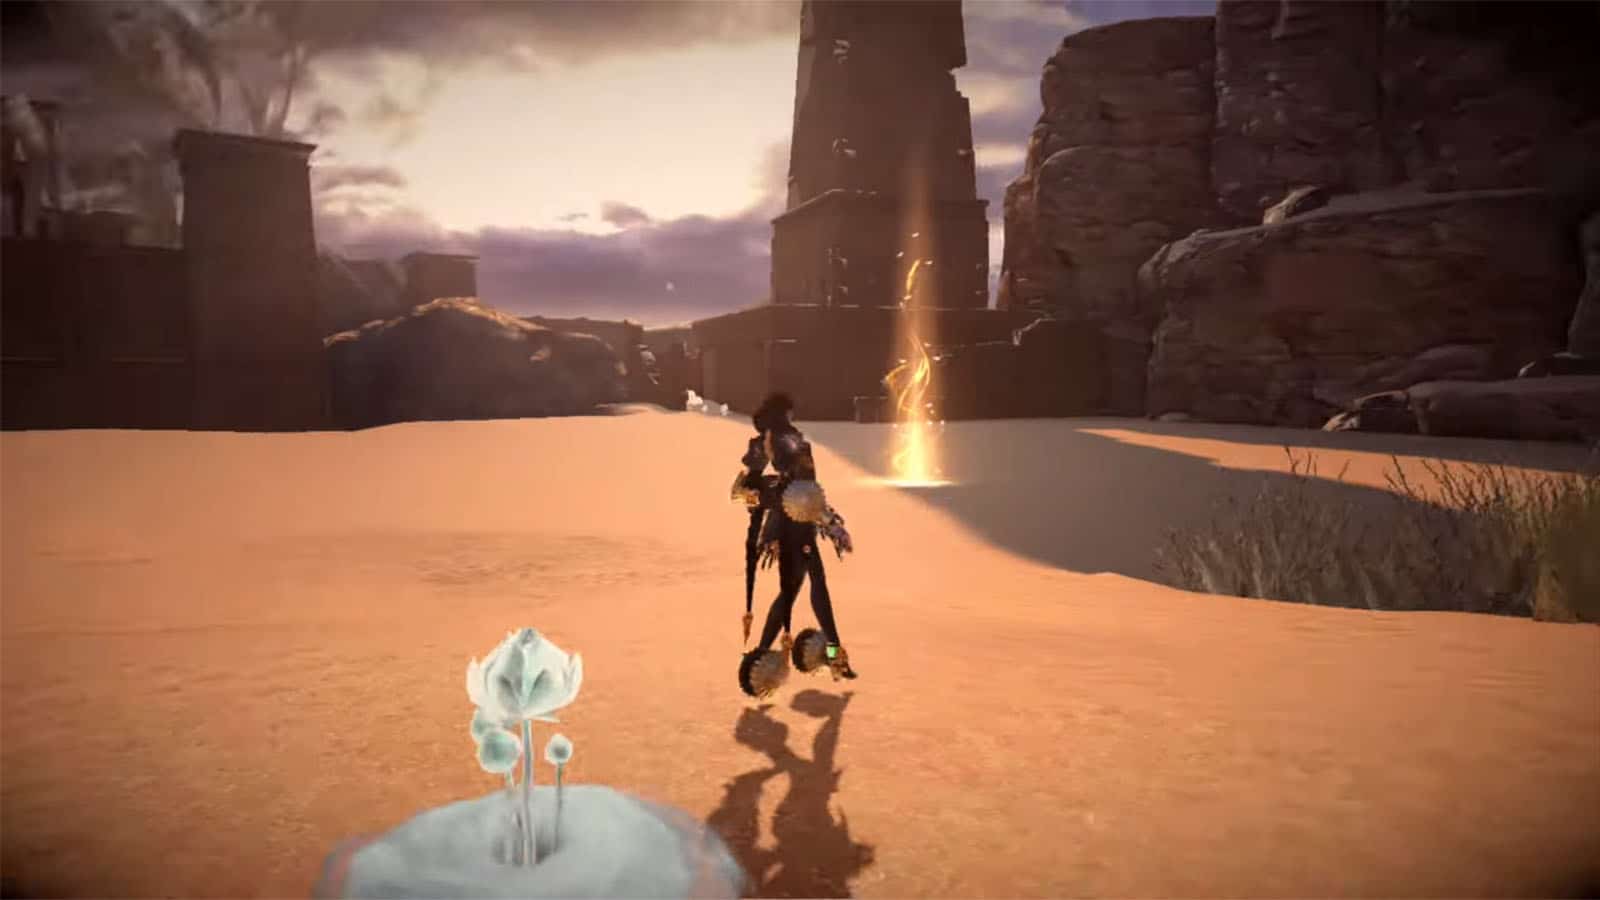
Verse #1
Head towards the glowing marker to fight against angelic enemies. Clear them out to proceed.

Broken Moon Pearl #1
Go to the tower ruins nearby and climb on top of the first floor. Go around the tower to find a chest that contains the Broken Moon Pearl.
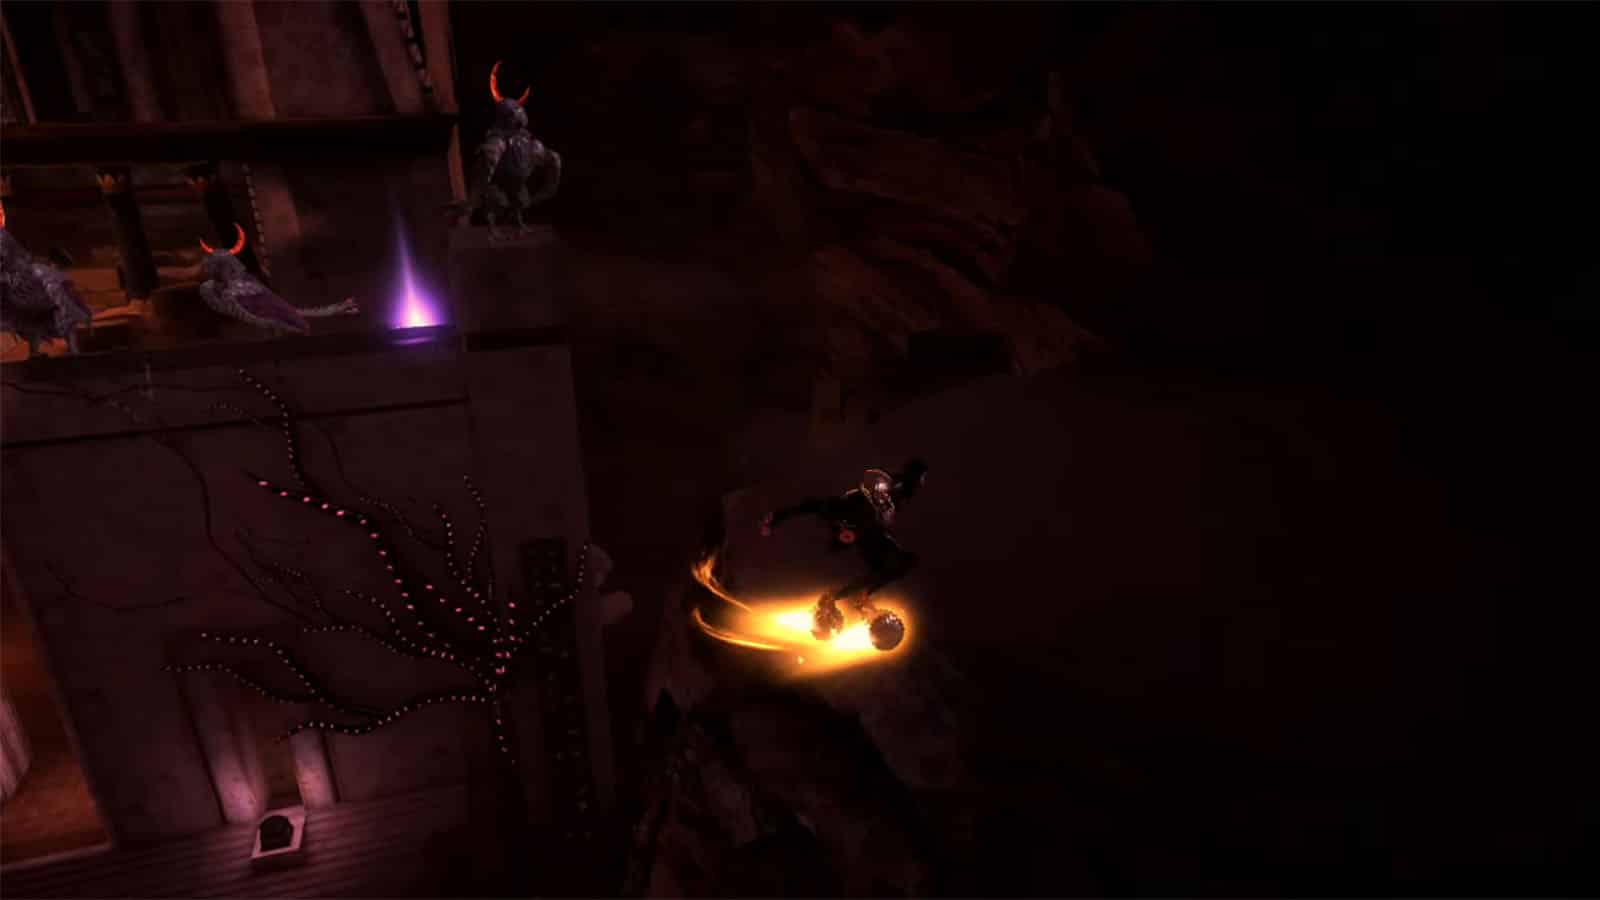
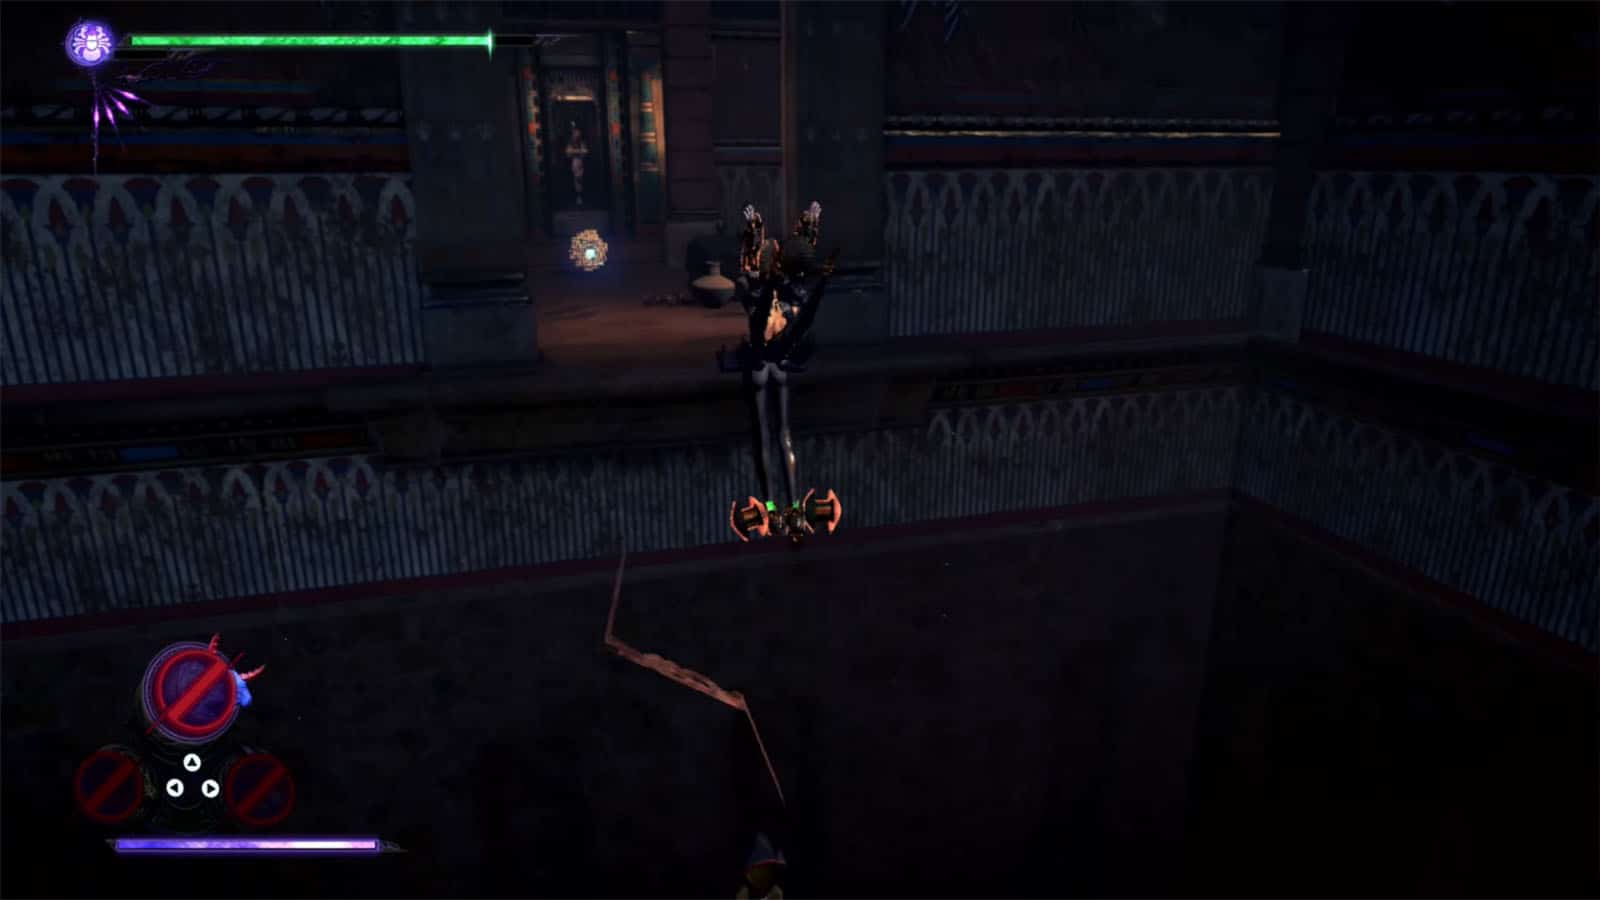
Bewitchment #1
Continue towards the bridge leading to the temple and a cutscene will play. A sandstorm will destroy the bridge and you’ll need to take a detour. Turn around and go to the newly opened cave. Go through the cave to find another temple and a lot of huge birds around that fly off when approached. Go around and scare 20 these birds to get the Scare off 20 resting wild Malphas demons Bewitchment.
Card Pack #2
Hug the cliff wall to the left and you’ll find the card pack on the side of the tower.
Verse #2
Go inside the tower and head to the red glowing marker to start the fight. You’ll be fighting against infernals. Clear them out to proceed.
Verse #3 / Broken Witch Heart #1
Climb up the exterior of the tower and head towards the right to find the verse portal. In this challenge, you will have to rack up 4,000 combo points. Use your evades properly to get into Witch Time and safely land hits. Clear it and you’ll be rewarded with a Broken Witch Heart.
Figure Box #2
Climb the stairs to the left of the tower and look over to the left by the turn to find the figure box.
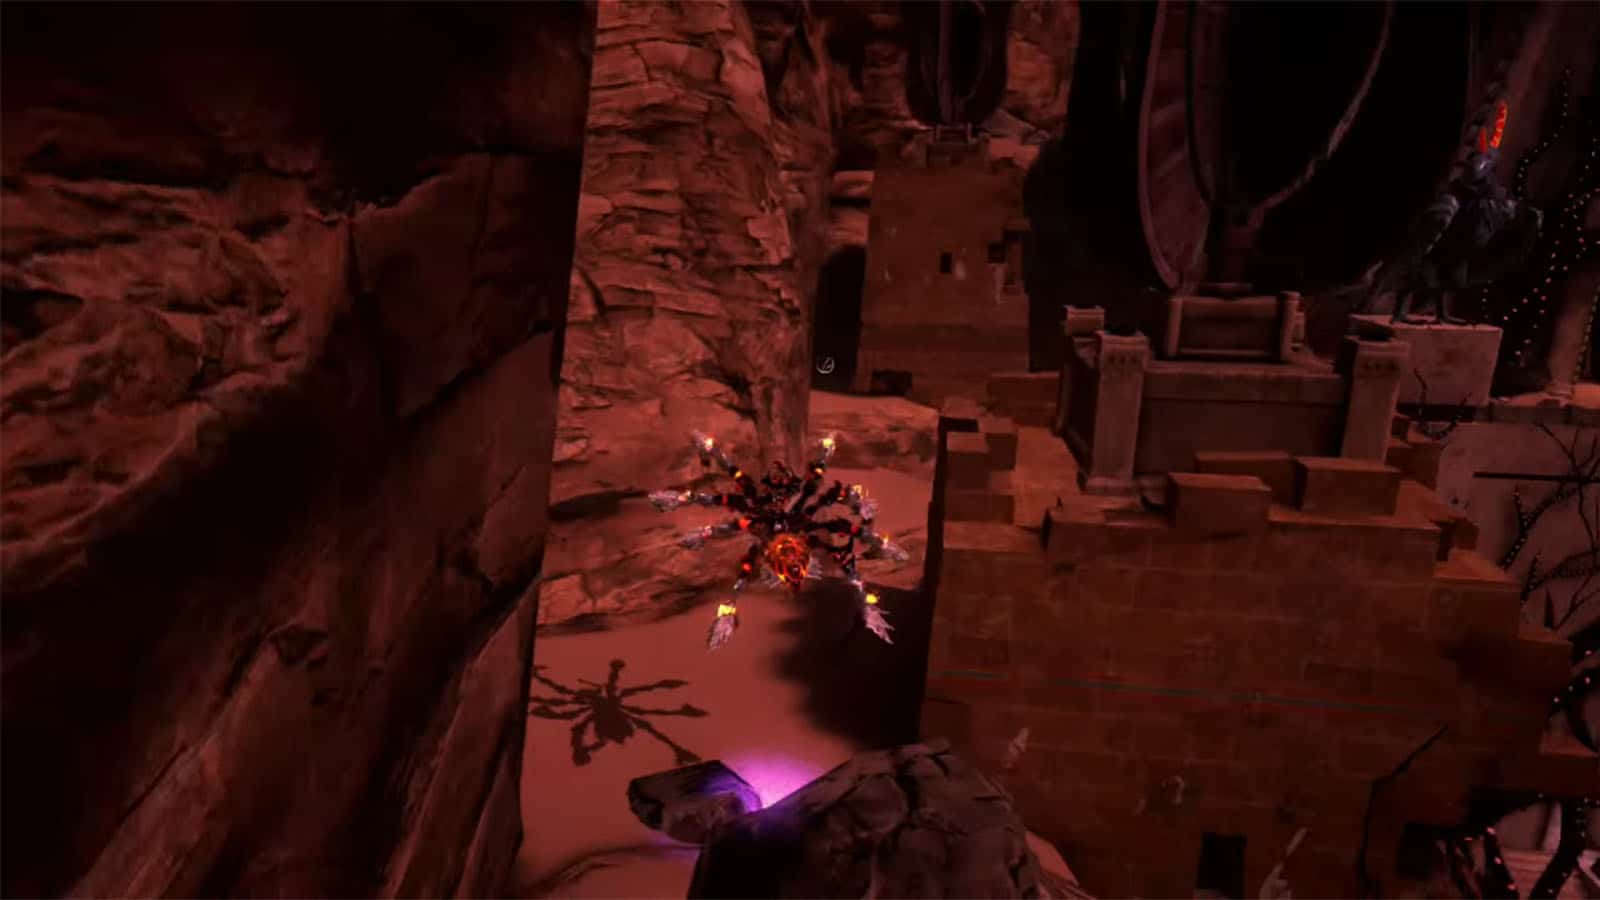
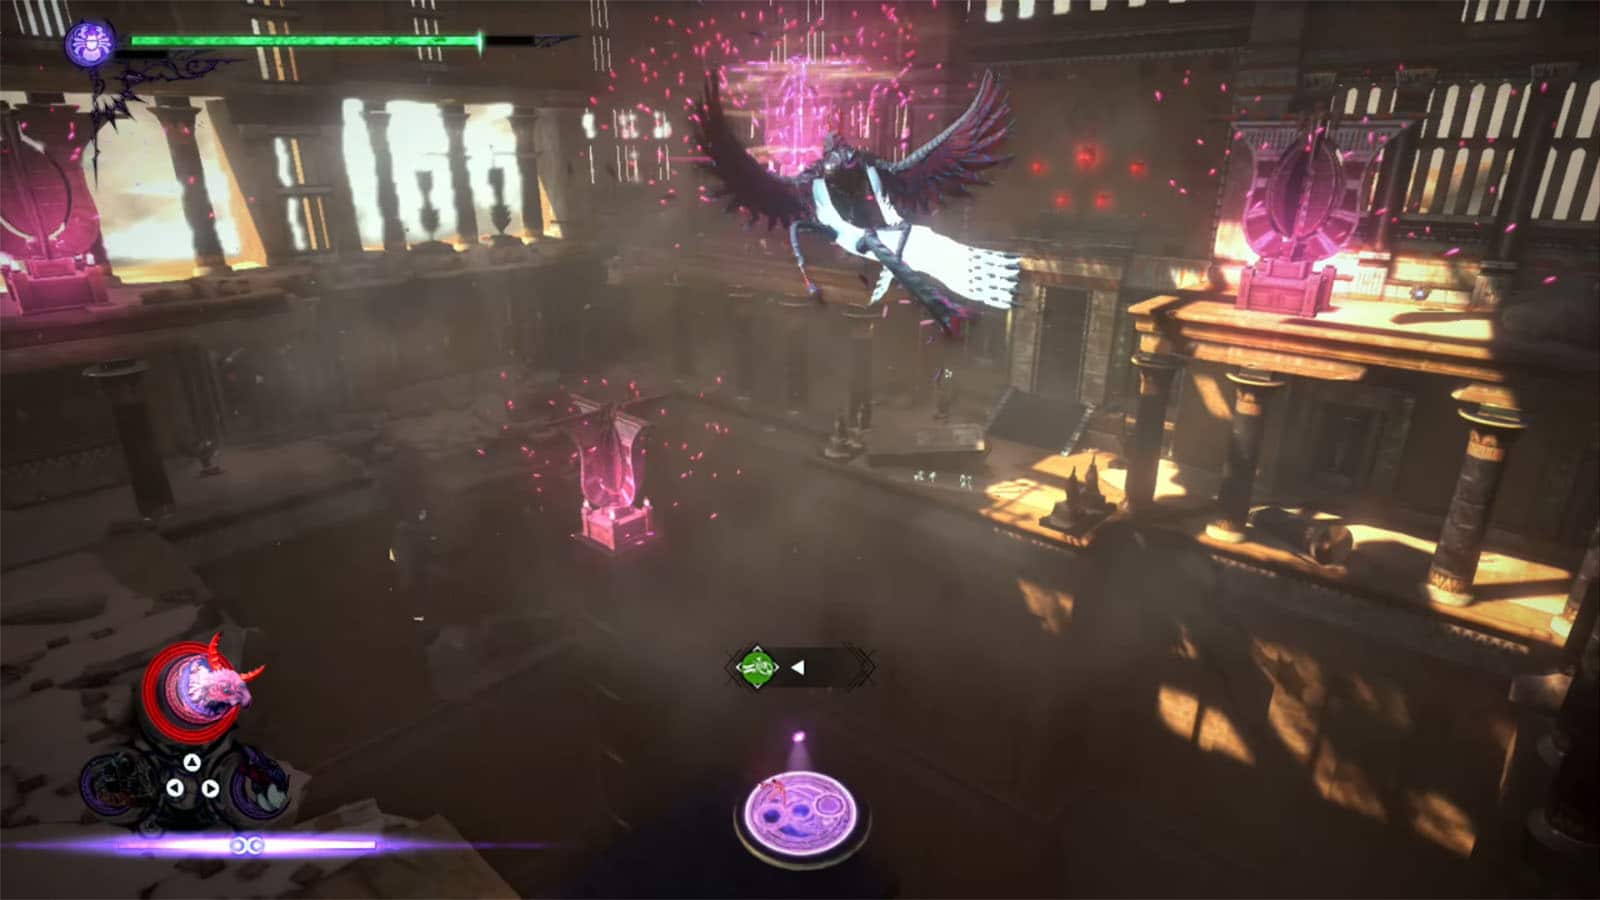
Verse #4
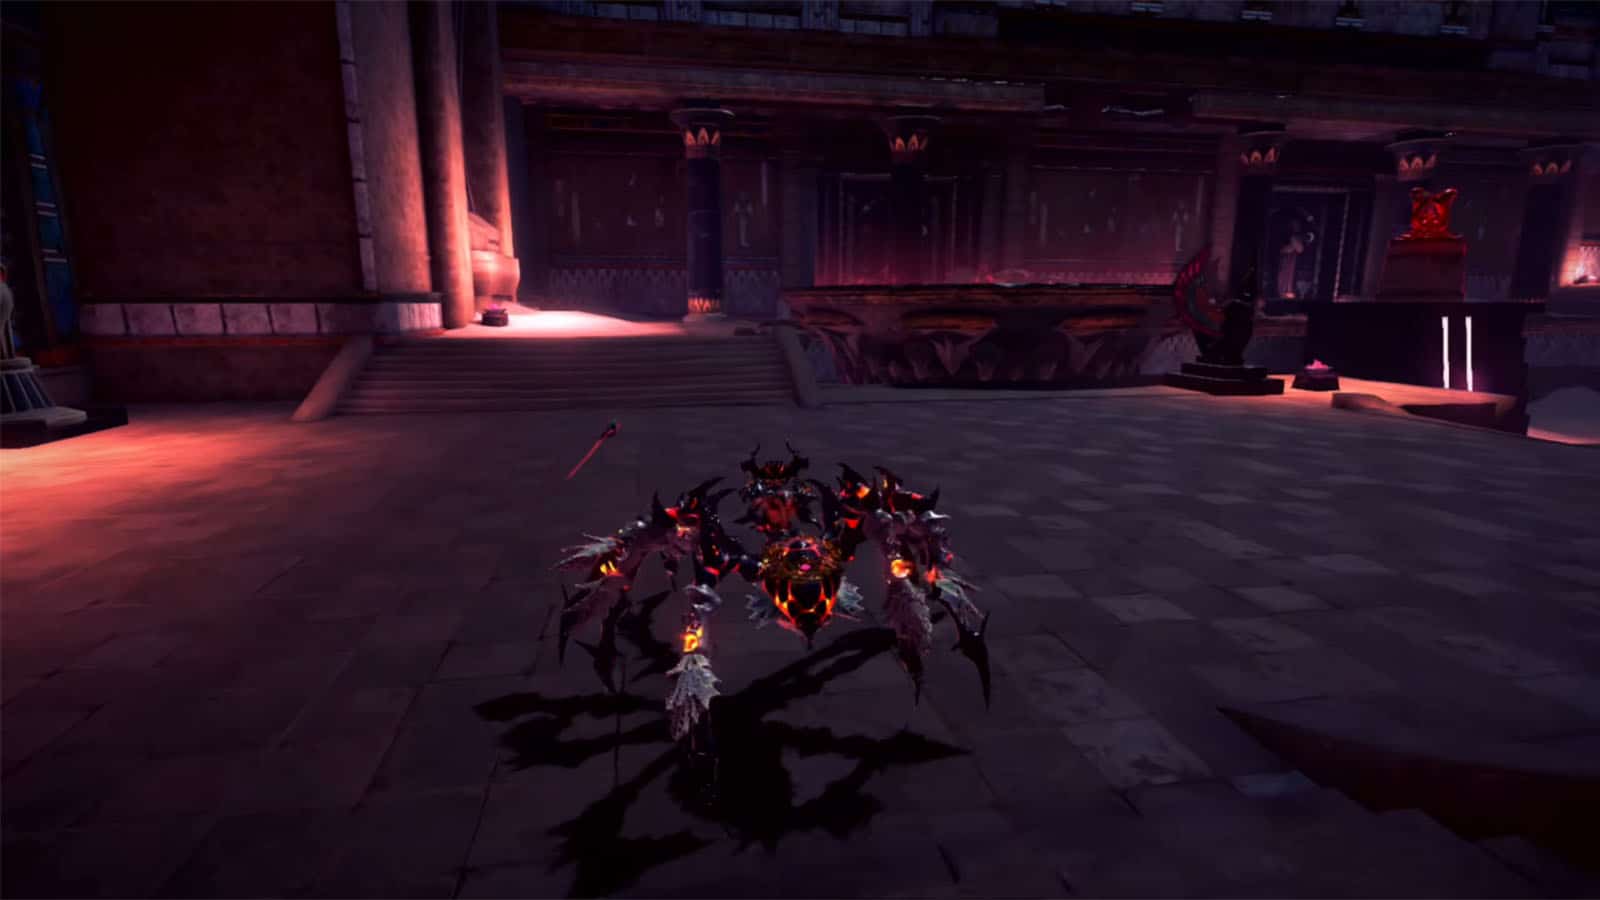
Up the very top of the temple, approach the middle to trigger the next cutscene. You’ll then get the power of Malphas as a summon. The, homunculi will start appearing around. Use this time to test out your new summon and learn its attacks.
Bewitchment #2
During Verse #4, use Malphas’ Gale attack against enemies to get the Perform 5 torture attacks during the battle atop the Tower of Pacts Bewitchment.
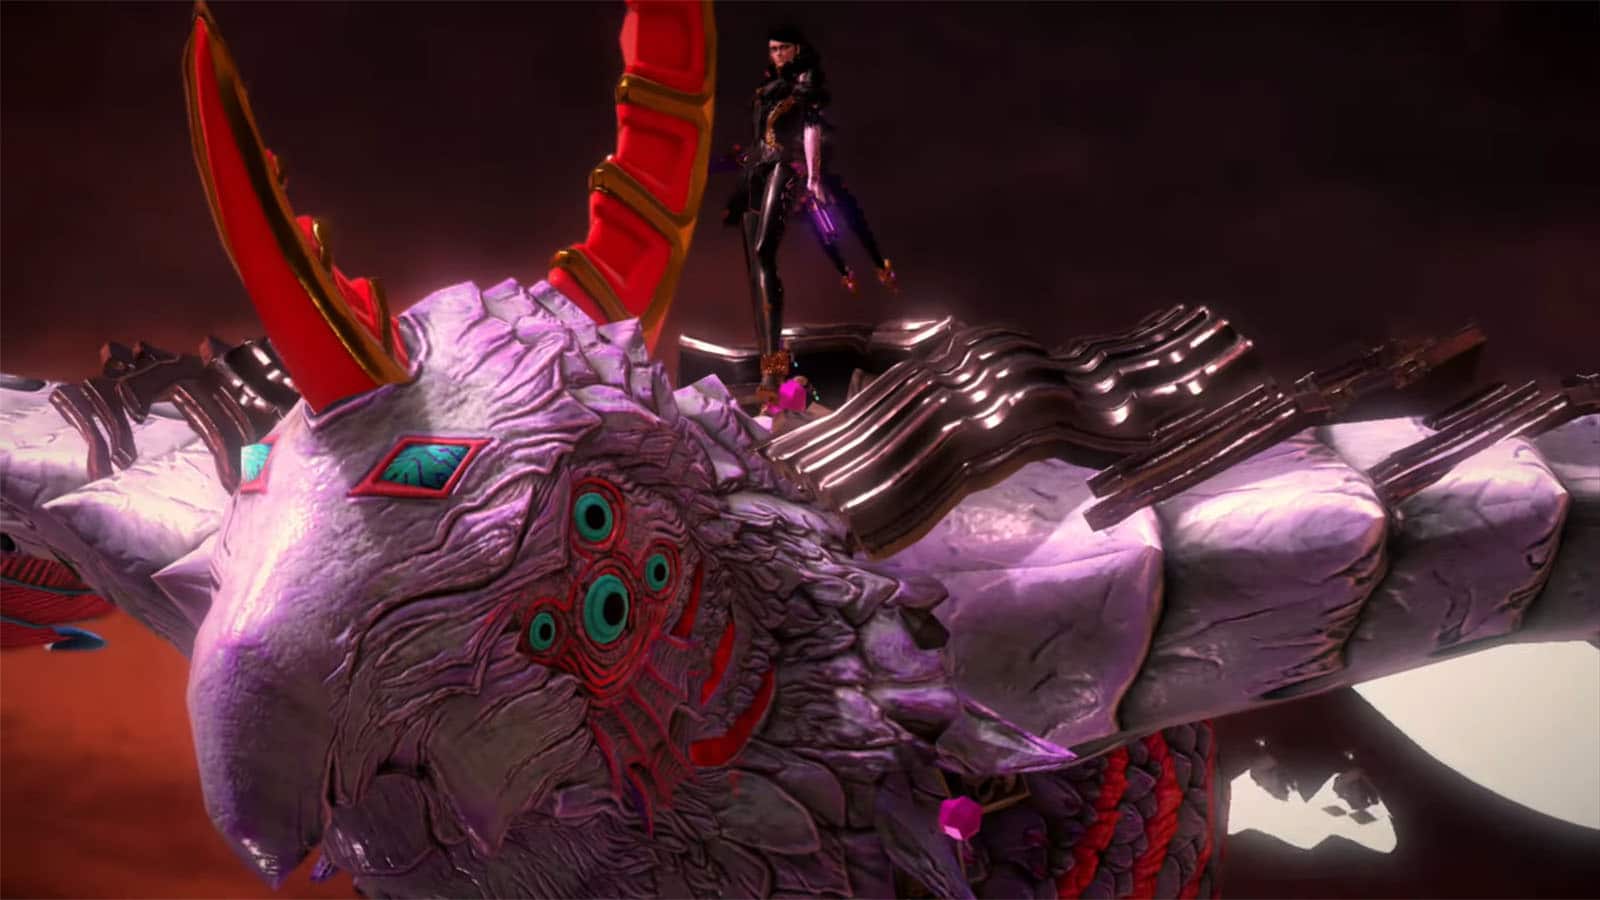
Giza: Temple of Tempests
After clearing out the fight, you’ll be riding Maplhas who will take you to the temple before. Enter the temple to proceed.
Broken Moon Pearl #2
Go to the second room and look at the corner at the far right to find a chest containing the Broken Moon Pearl.

Record #1
The record is in the middle of the second room, in between the rotating spikes, with winds blowing towards the middle. Find a good spot to launch to get the record and not get hit by the spikes.
Broken Witch Heart #2
Go to the next chamber and float up. Turn to the right to find another room with a chest that activates a time trial. Grab all five pieces to get the Broken Witch Heart.
Verse #5
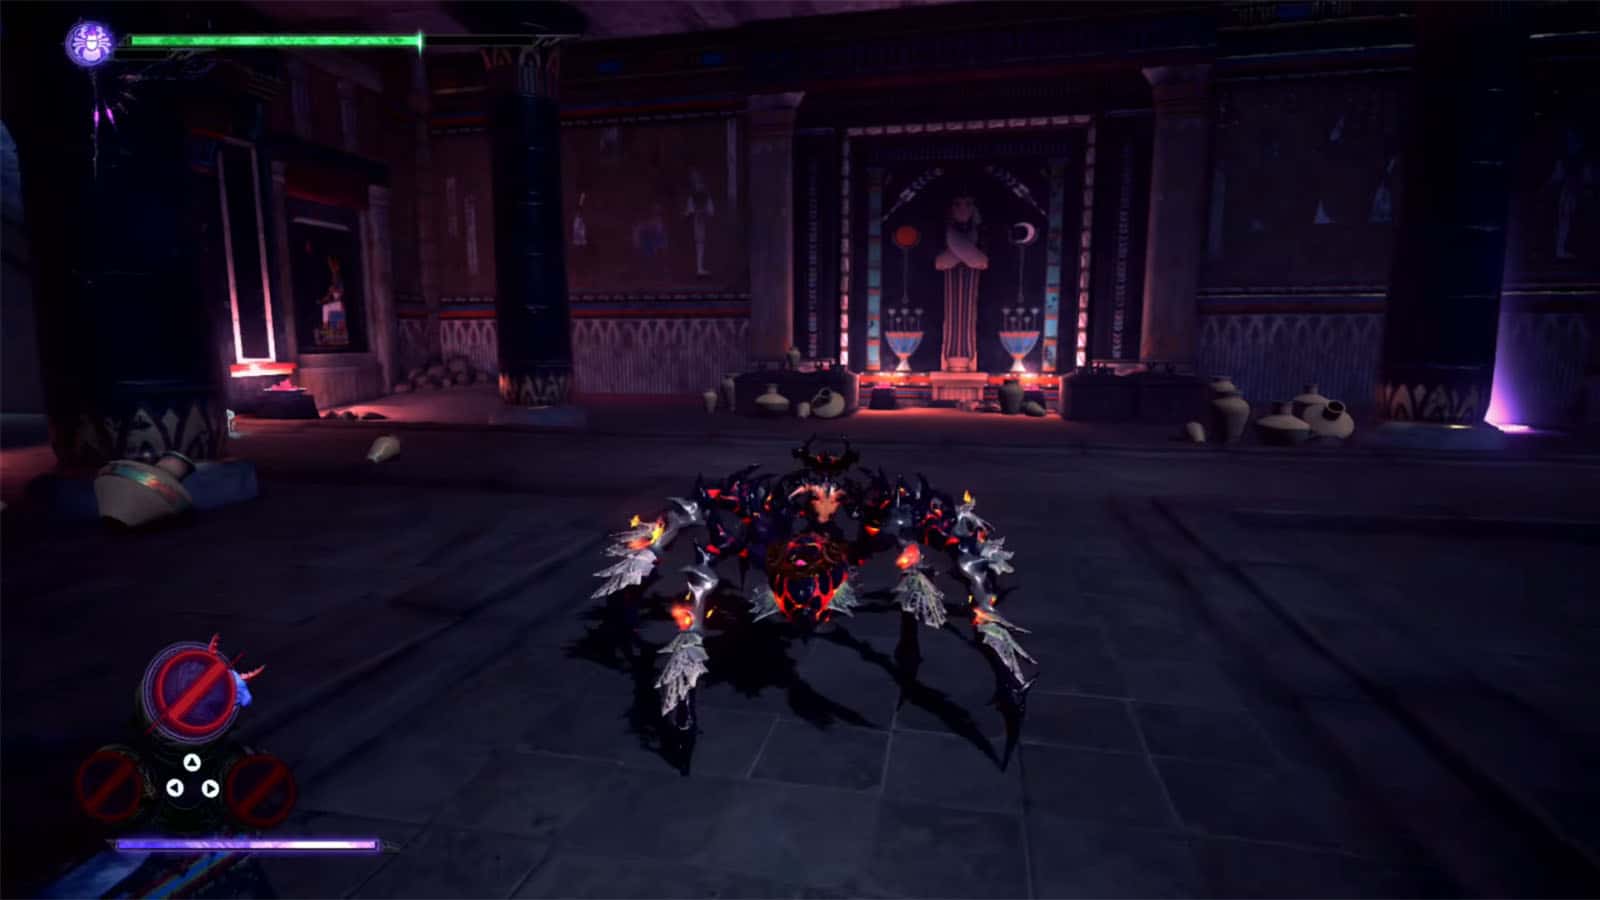
Continue to the next chamber and you’ll fight against another boar homunculus. Defeat it like before or try out Malphas through your Wink Slave combo.
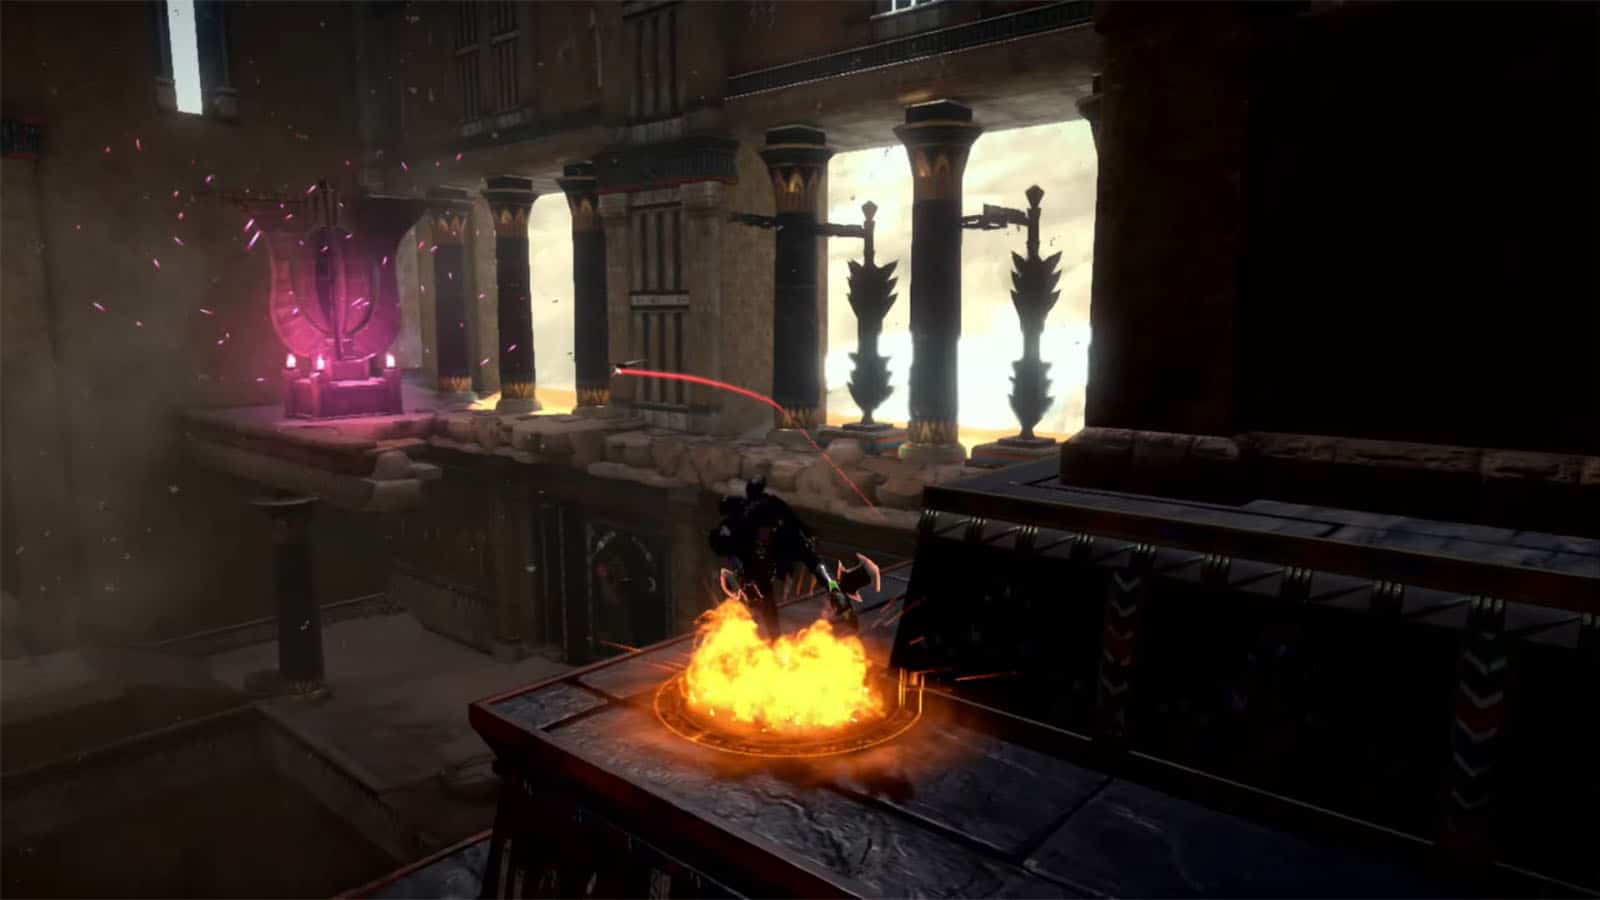
Windmill Puzzle
In the next room, activate the cube to spawn an umbran circle. Then, summon Malphas and use its gale to blow wind towards the windmills and make them turn. Make all four windmills turn to open the next door.
Echoes of Memory #2
From the entrance to the room, look below the ledge to the right to find the Echoes of Memory: The Forbidding Winds.
Umbran Tears of Blood – Crow
Head to the boulder to the left of the exit to find the crow perched up on the pillar base.

Figure Box #3
Go to the next room and check behind the sarcophagi to find the figure box.
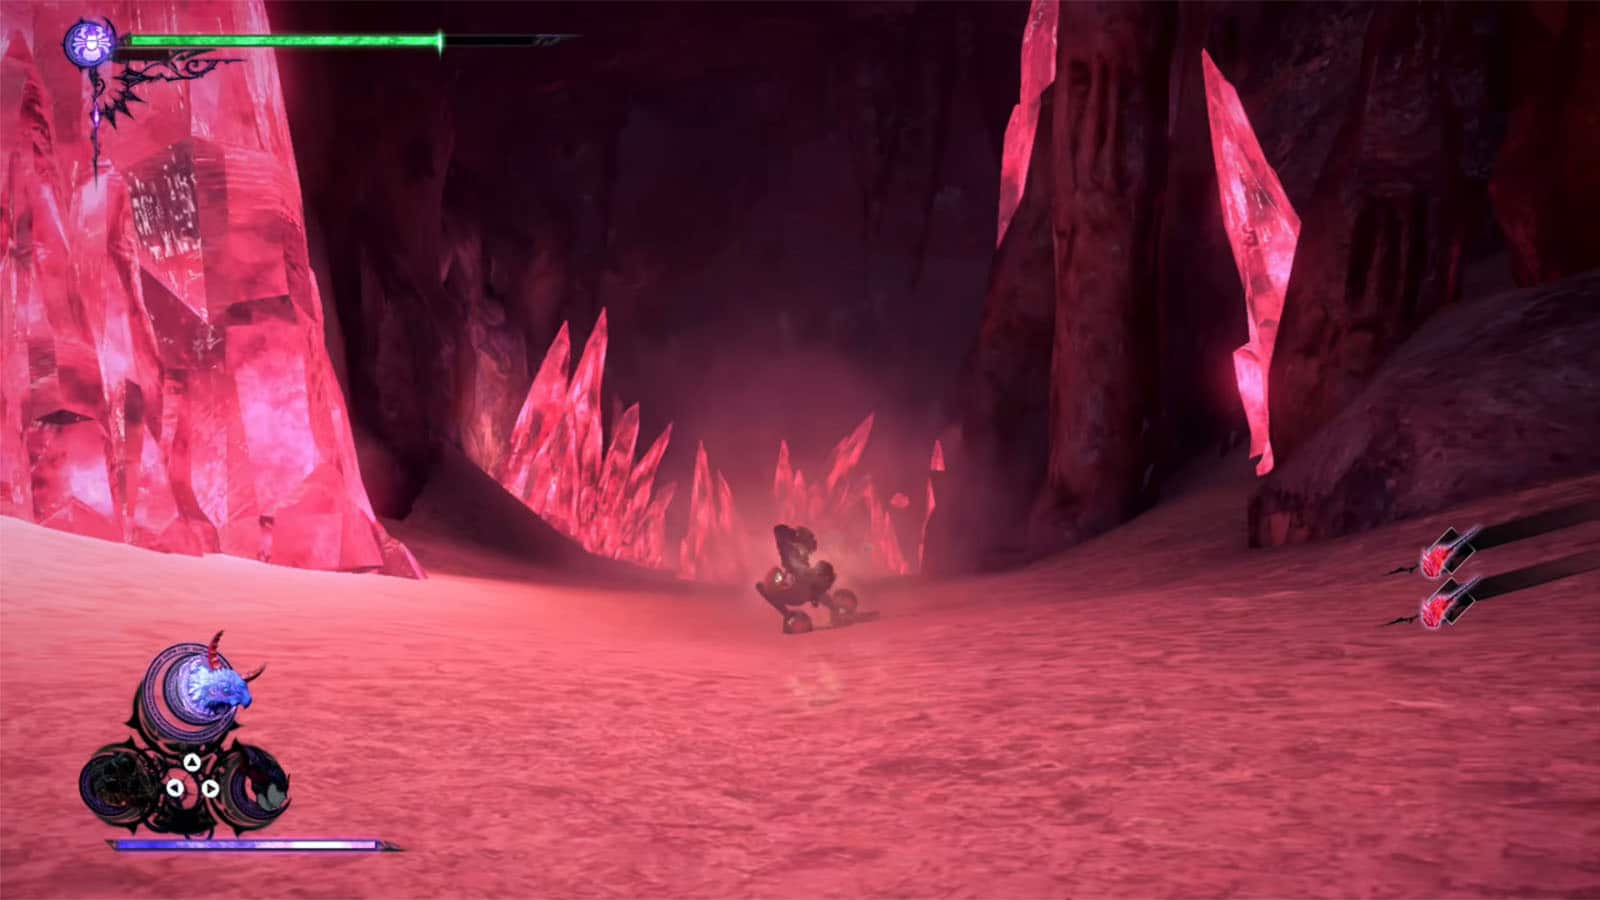
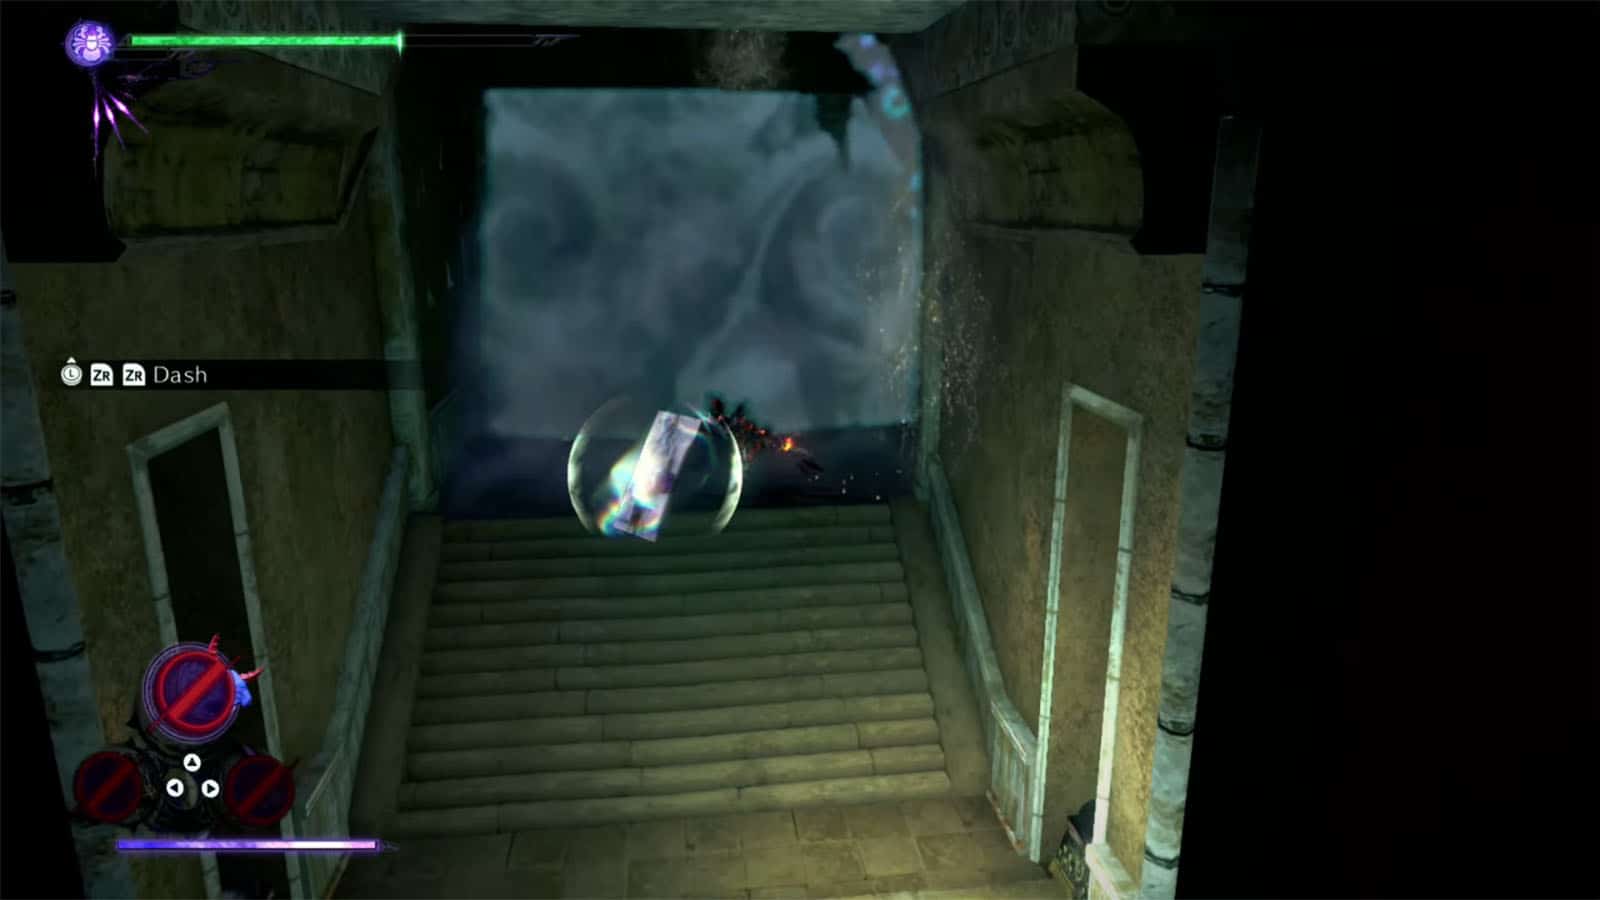
Bewitchment #3
In the next connecting room, you’ll get another cutscene where Bayonetta falls in the cave below. This will be another sliding mini game; try to avoid the crystals to get the Complete the sand sliding portion without hitting any obstacles Bewitchment. You can try to attack the crystals whenever you can to shatter them beforehand.
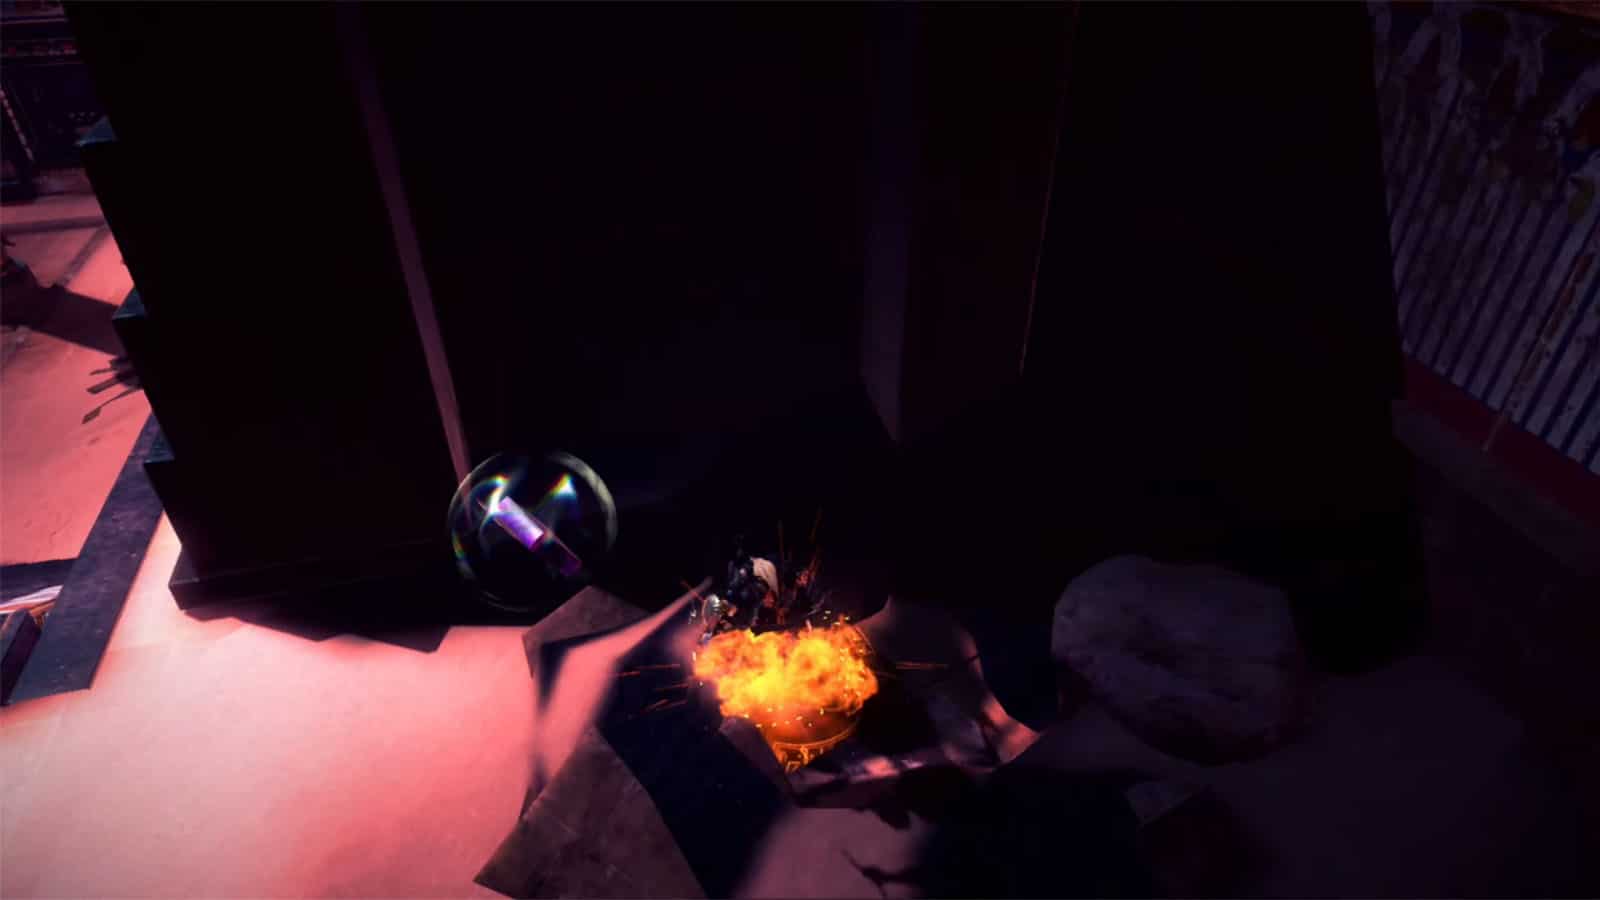
Figure Box #4
As you arrive at the next temple, look up and climb the upper level using the ledges to the left to get the figure box on top.
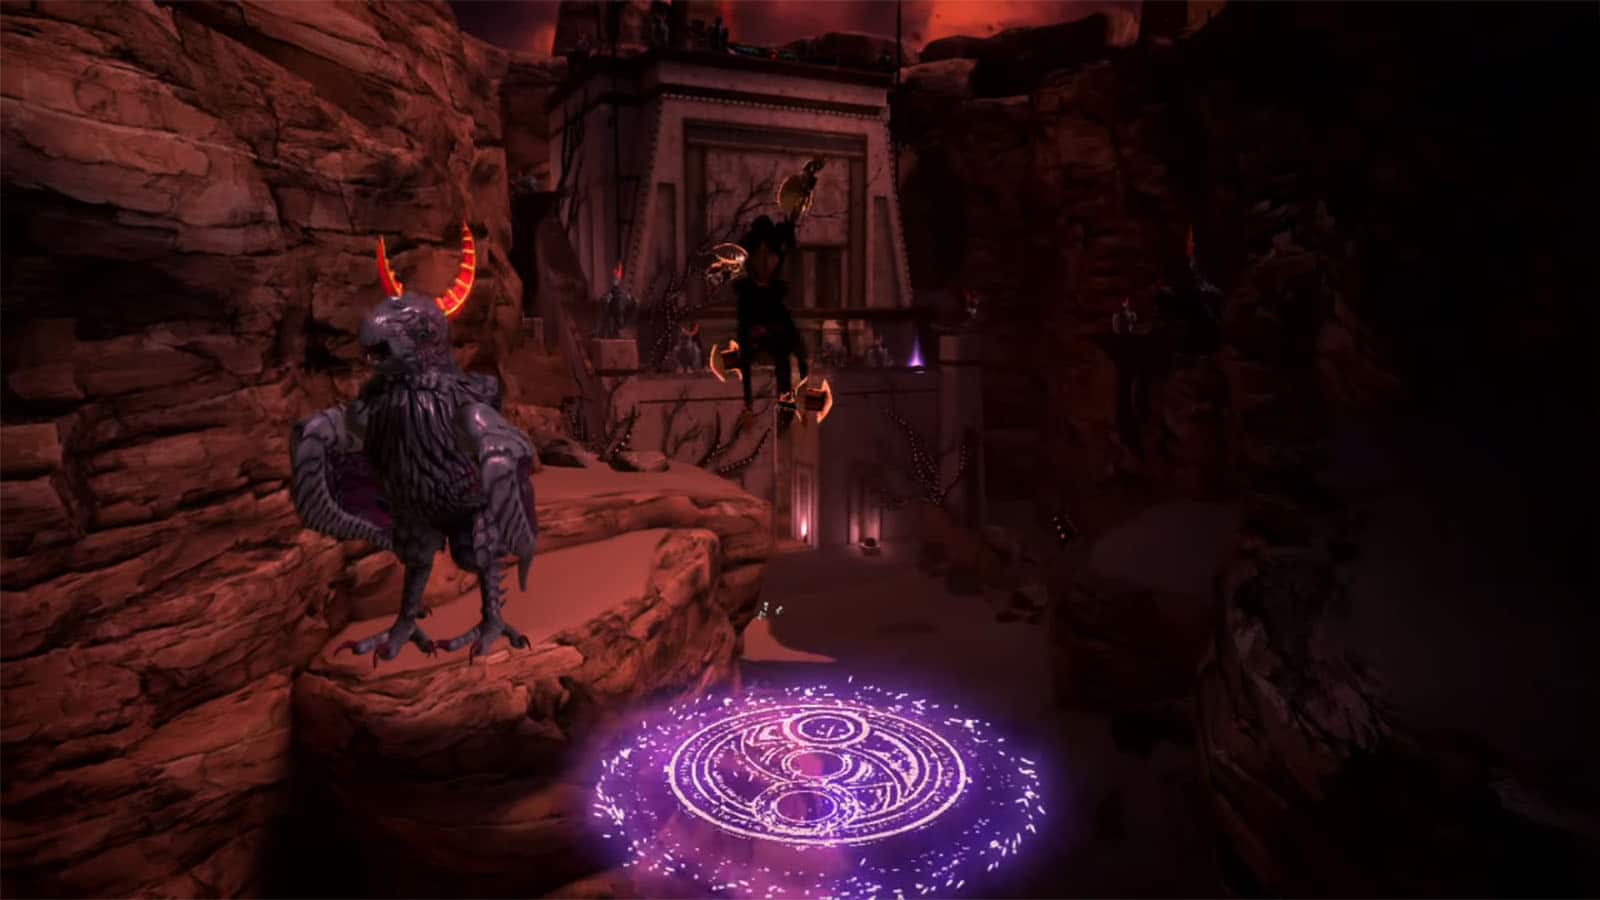
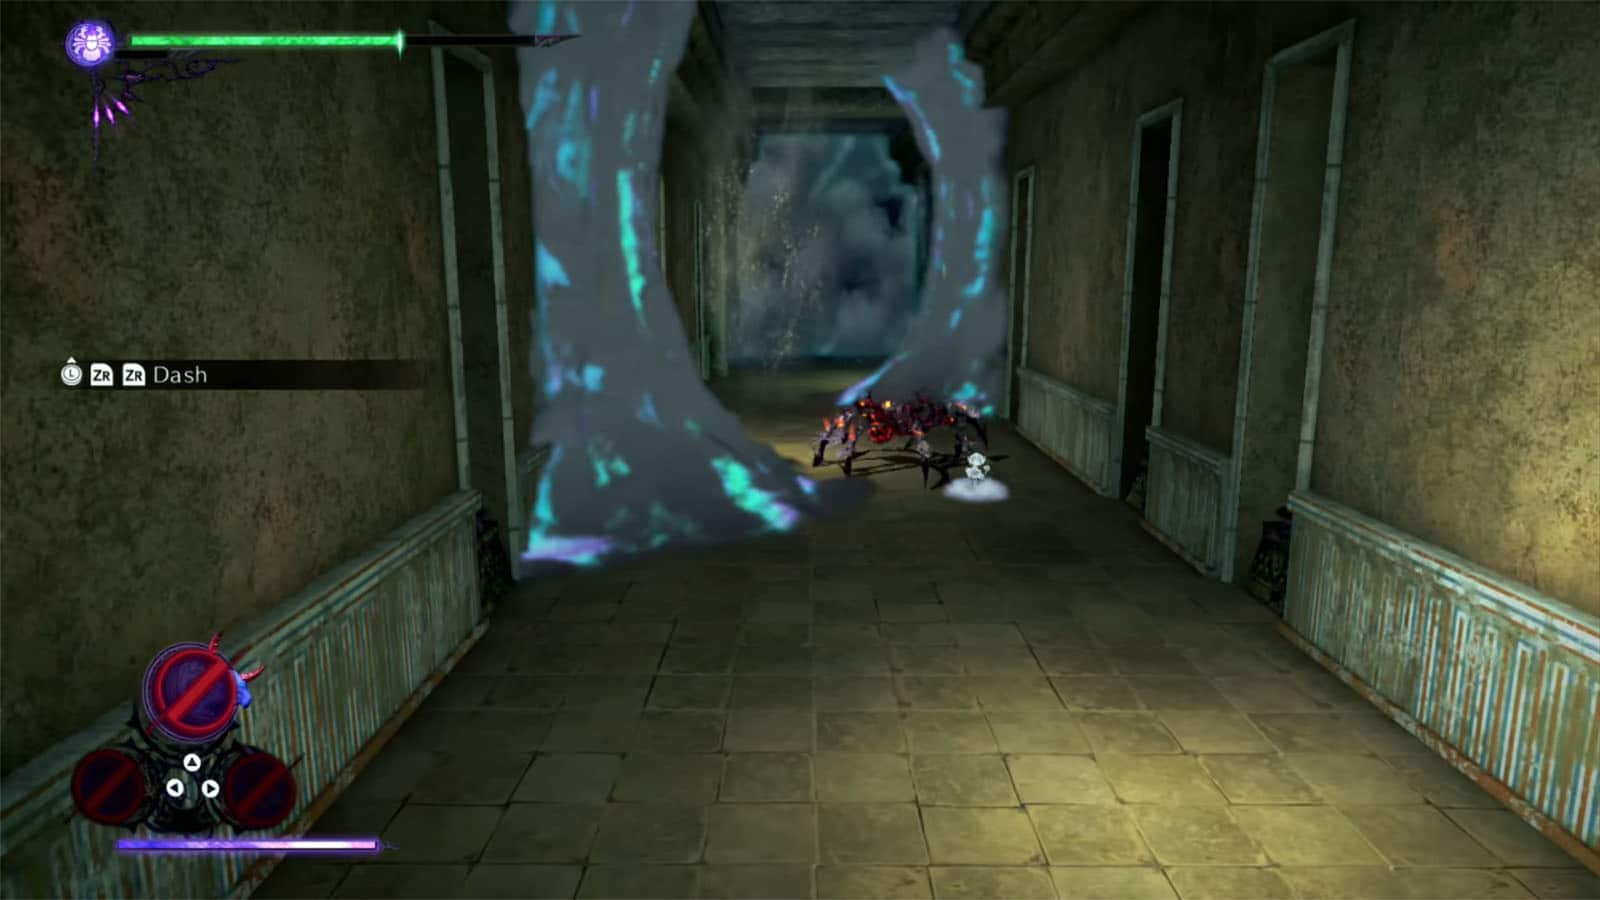
The Gates of Hell
Proceed through the next temple and you’ll find Rodin’s portal at the end of the corridor, in a connecting room.
Verse #6
Continue towards the staircase down to get into the next fight. Clear the enemies to proceed.
Verse #7
In the next room, activate the umbran circle and use Malphas to clear out the enemies in the room.
Echoes of Memory #3
Head to the corridor on the right of the room to find the Echoes of Memory.
Figure Box #5
Go to the corner on the far left side, near the scale to find the figure box.
Umbran Tears of Blood – Cat
At the far right corner of the room is the cat. It will run around the upper level of the room and up the scales.
Scale Puzzle
To open the door to the next room, you need to use Malphas’ Talon of Solomon to grab the weights and distribute them on to the circular scales. You simply need to place one of the big and small weights on each scale to complete it.
Verse #8 / Broken Witch Heart #3
Go to the next chamber and you’ll find the portal to the verse on the right. Clear out all enemies in this fight to proceed and get a Broken Witch Heart. You can use the Talon of Solomon again to pick up the enemies and drop them off the void instead.
Card Pack #3
On the same side of the room, inspect the doorway blocked with rubble to find a card pack.
Figure Box #6
Proceed to the next chamber and turn right by the entrance to find the figure box.
Verse #9
Go to the middle of the chamber to trigger the fight. Clear out the enemies to proceed.
Bewitchment #4
Go through the next corridor and another chase scene will start. Try to avoid touching any of the clouds to get the Escape the clouds of erasure without touching them Bewitchment.
Card Pack #4
As you run through the corridors, prepare to jump as the card pack can be obtained along the way.
Card Pack #5
In the next chamber, use Malphas’ Gale again to make the windmills spin. Platforms will then appear, creating a bridge to walk across. By the end of the bridge, look right to find the card pack in the corner.
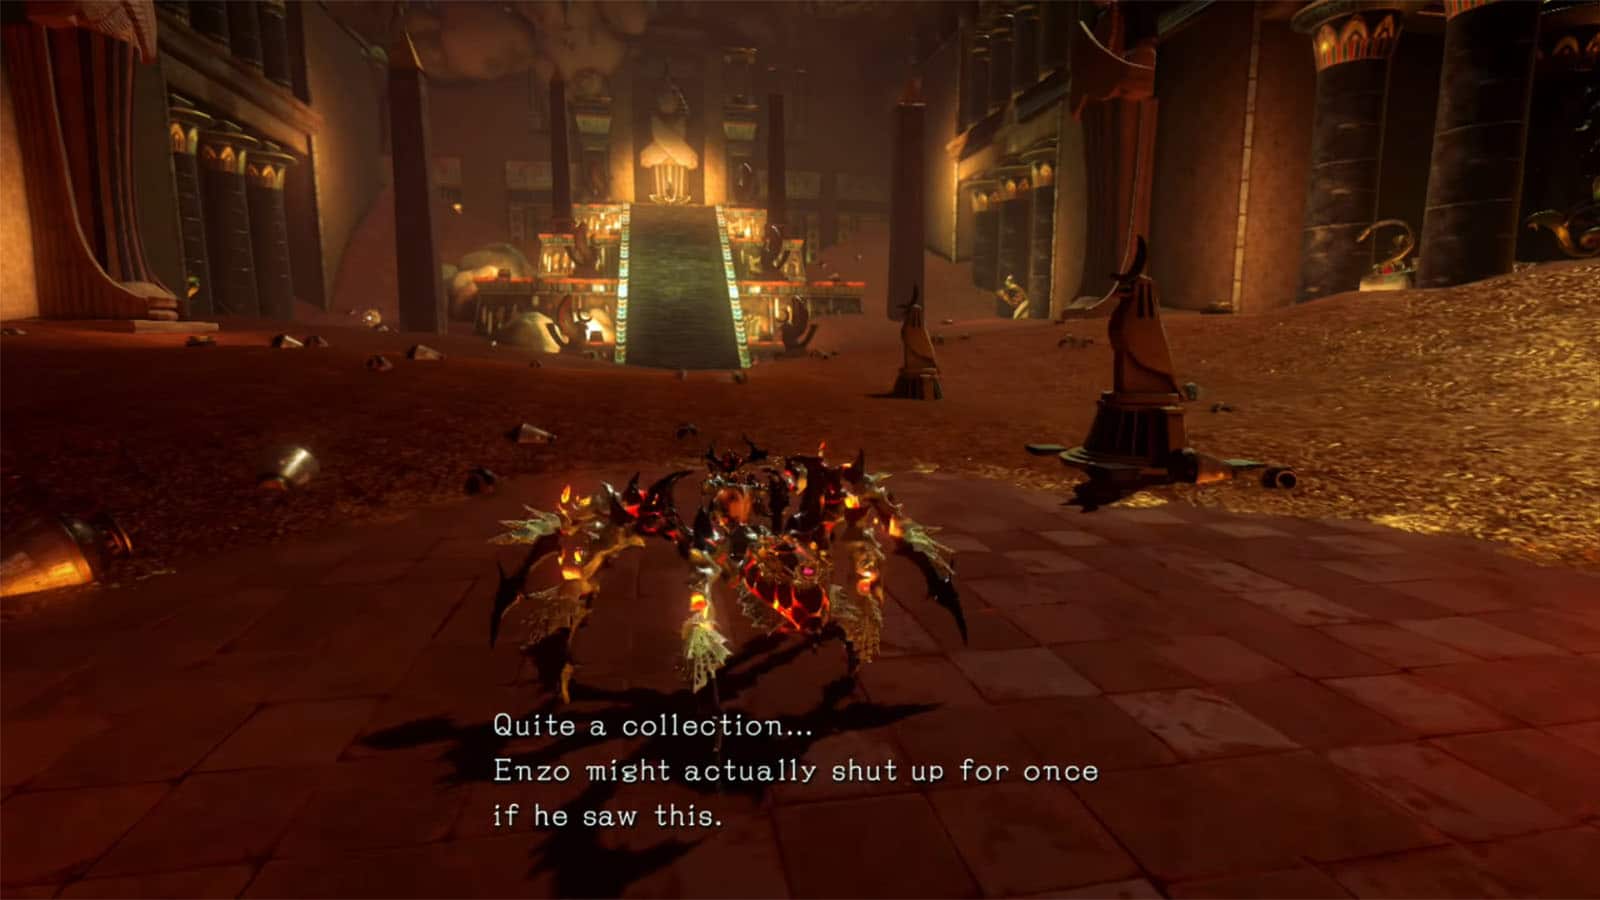
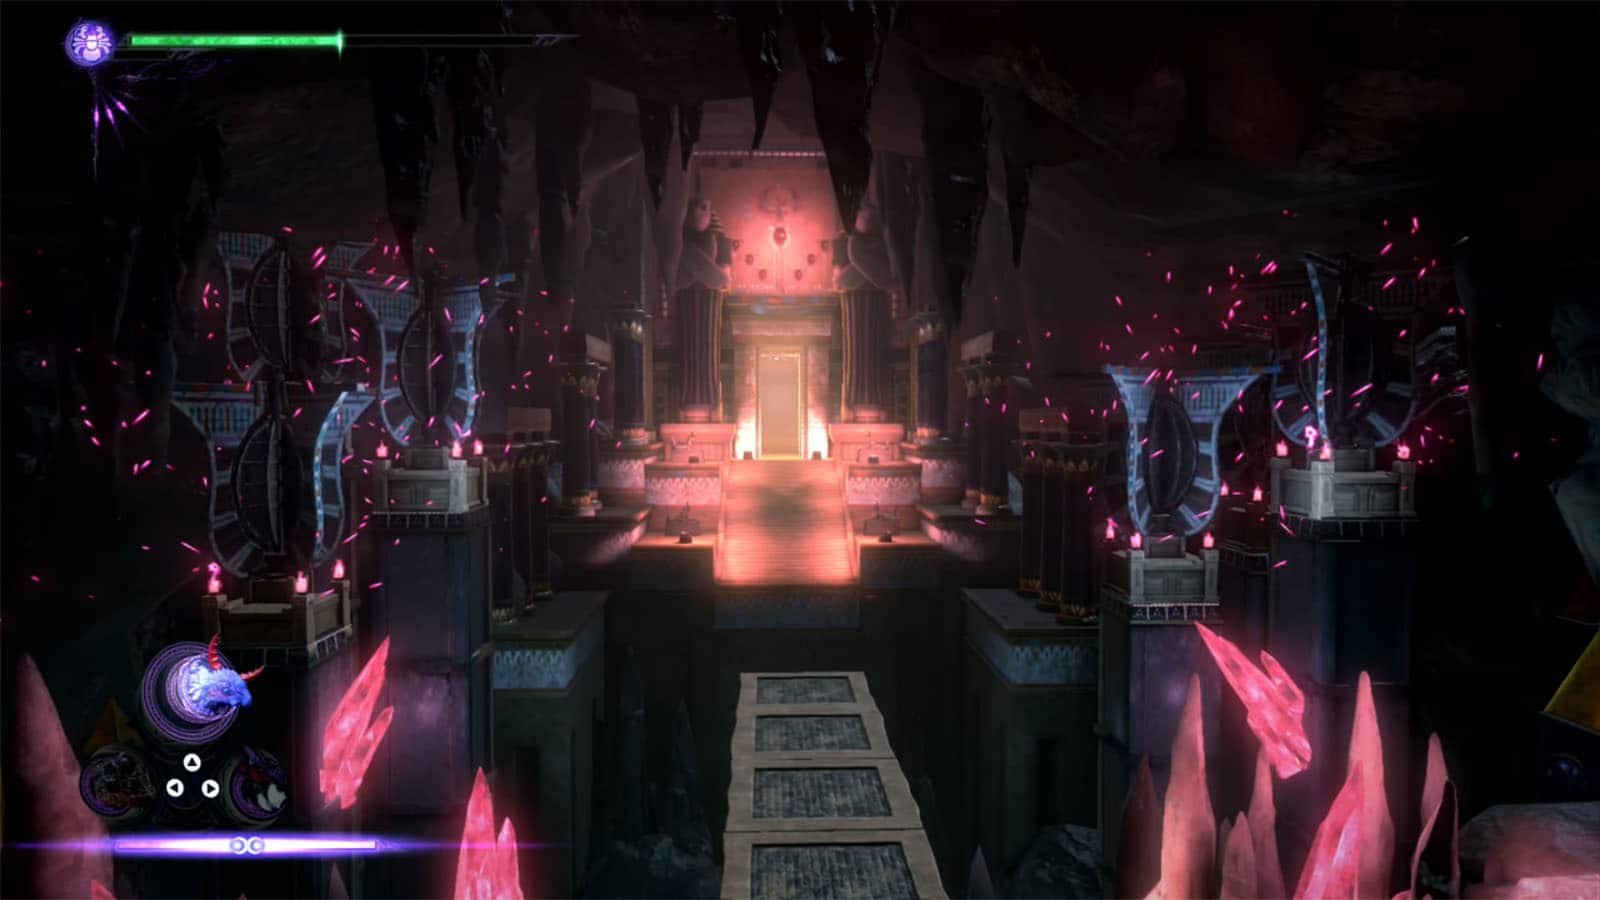
Verse #10
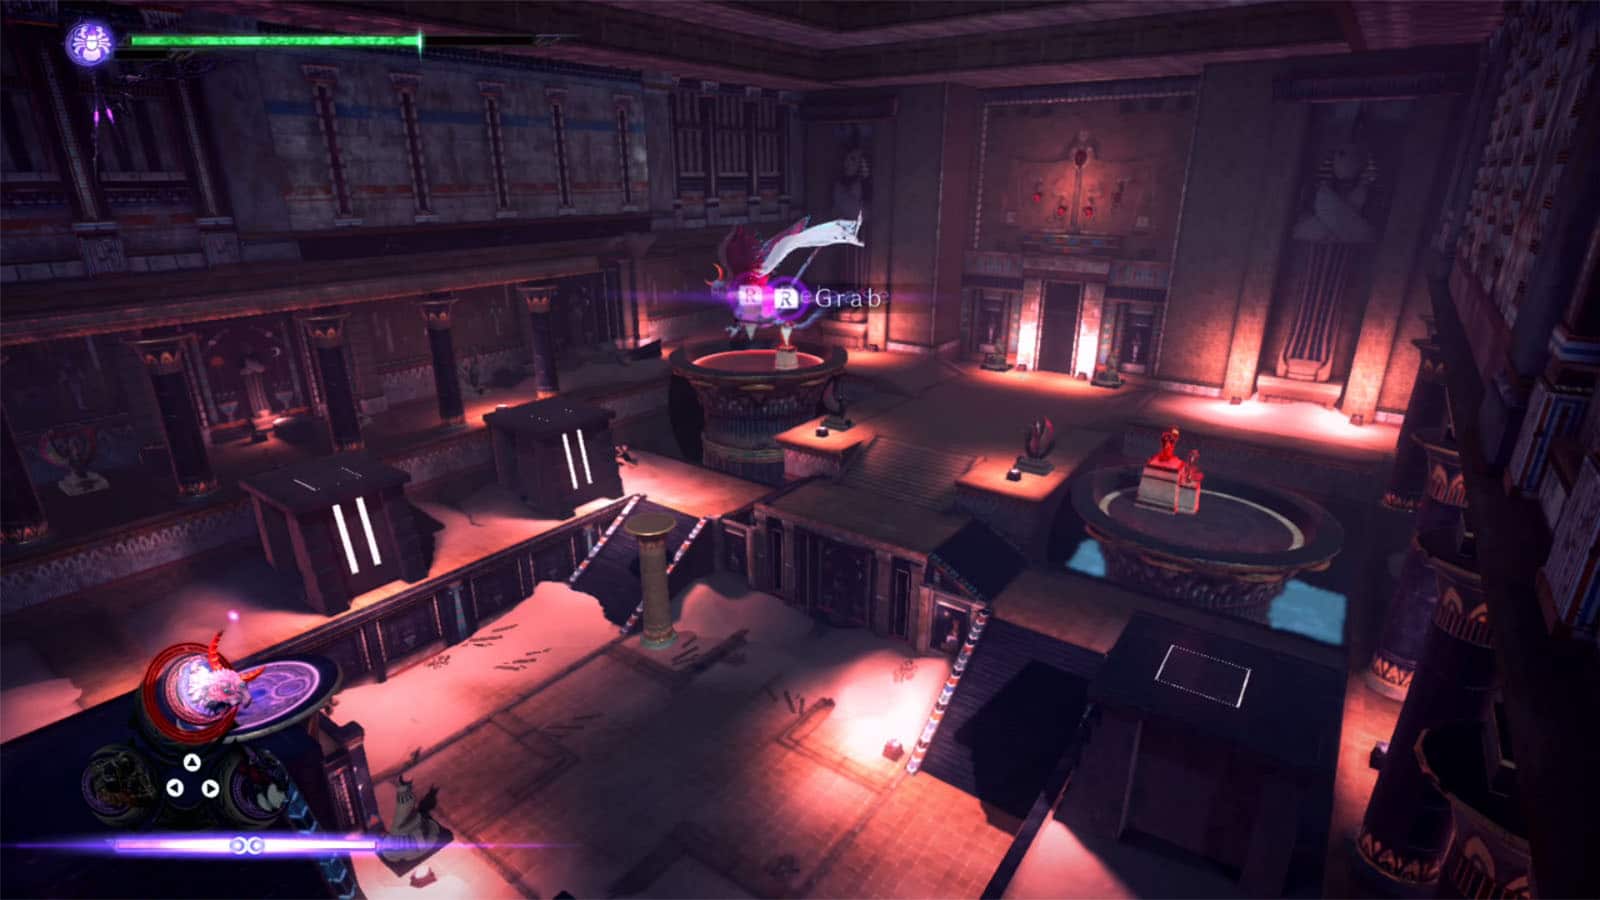
Enter the treasure room and go to the middle to trigger the fight. Defeat the Cumulonimbus to proceed. You can run around the gold piles to get some halos, and then head to the path up top to get the Chaos Gear.
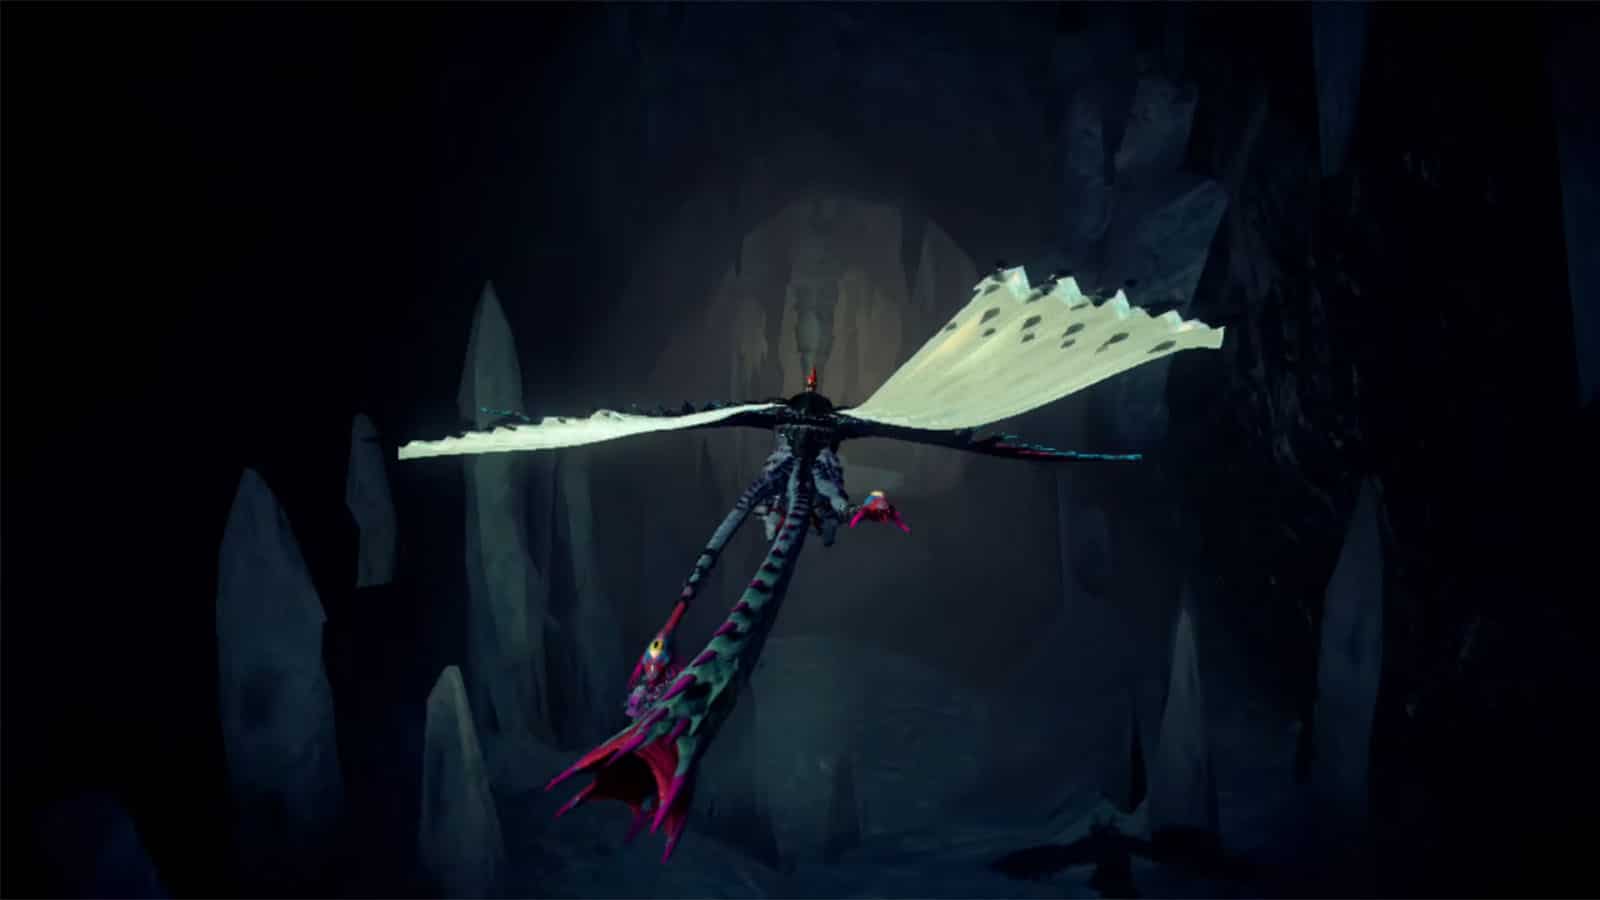
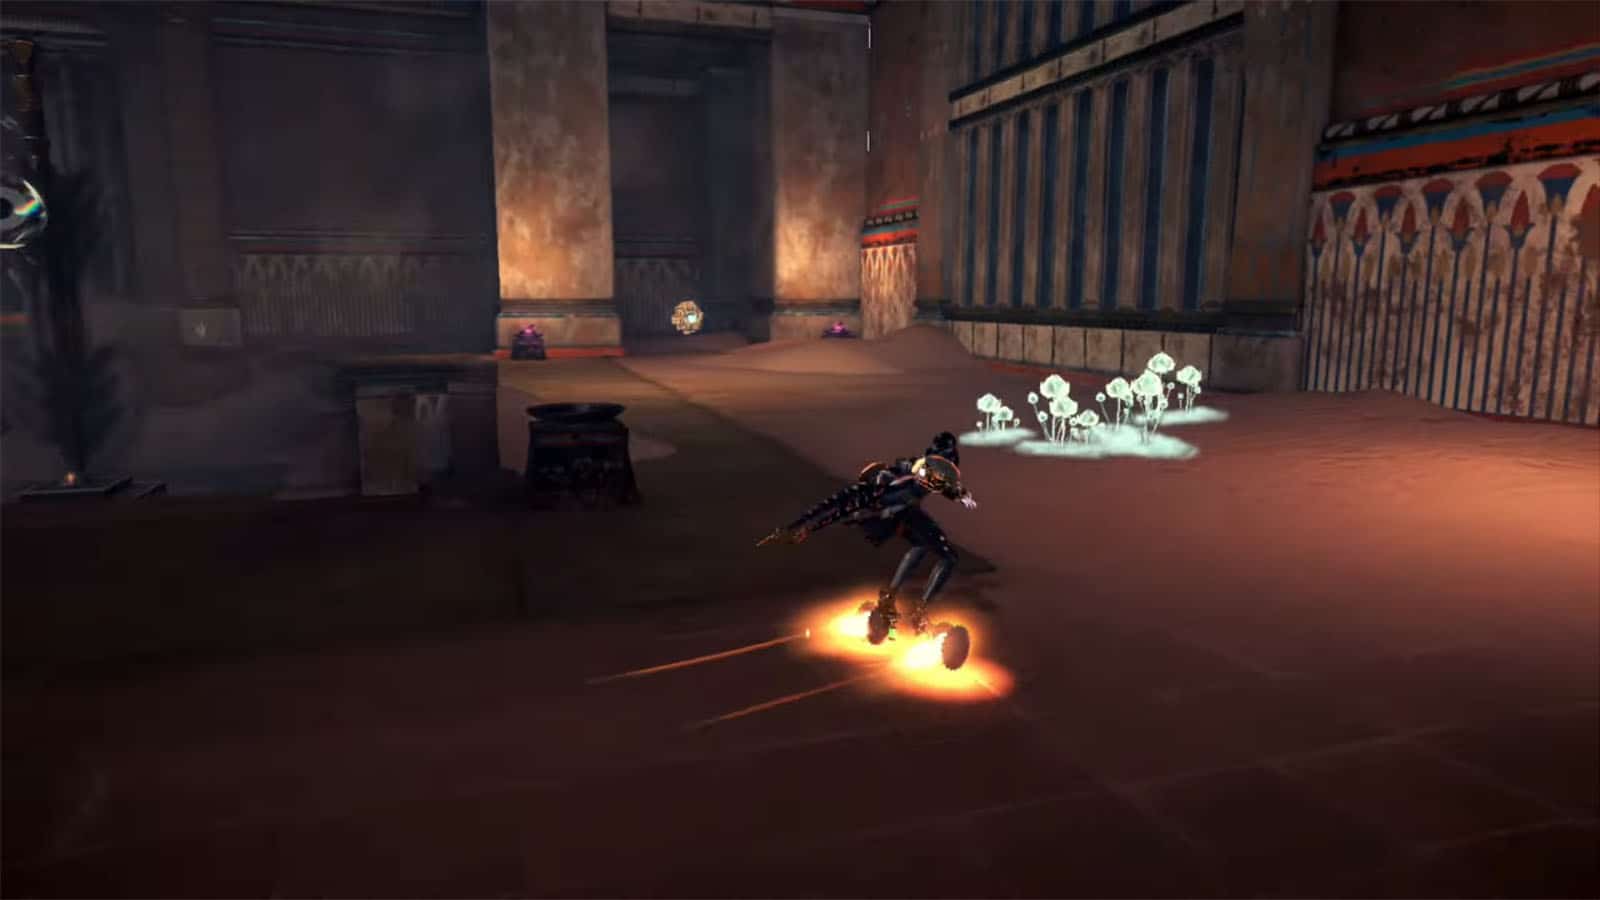
Verse #11
After the cutscene, you’ll be entering the next verse flying on top of Malphas. You’ll need to fly through the cave while destroying the obstacles blocking the way. Eventually, Malphas will get attacked by another homunculus, so you’ll be left sandboarding down the sands. Same as before, weave from left to right to avoid the obstacles. You can also duck or jump across fallen pillars. The final leg of the verse will have you dodging the laser beams thrown your way.
Bewitchment #5
If you manage to avoid all obstacles while sliding on sand, you’ll get the Complete the sand sliding portion without hitting any obstacles Bewitchment.
Verse #12
On the next scene, you’ll be fighting against Cirrostratus and Cirrocumulus, but you’ll also be fighting with alt Jeanne by your side. Be careful about summoning your summons as their weight can make the platform you’re standing on to lower down into the clouds. It’s best to use them sparingly or use Wink or Assault Slave instead.
Bewitchment #6
If you manage to complete the fight while staying on top of the clouds, you will get the Avoid touching the clouds of erasure during the battle on the scales Bewitchment.
Verse #13
After the cutscenes following the fight, another alt Bayonetta comes in to deal the final strike, but the other homunculus manages to consume the corpse of the other and summons Stratocumulus. It will then transition to another cutscene where Bayonetta summons Phantasmaraneae and merges her blood to call upon The Phantom.
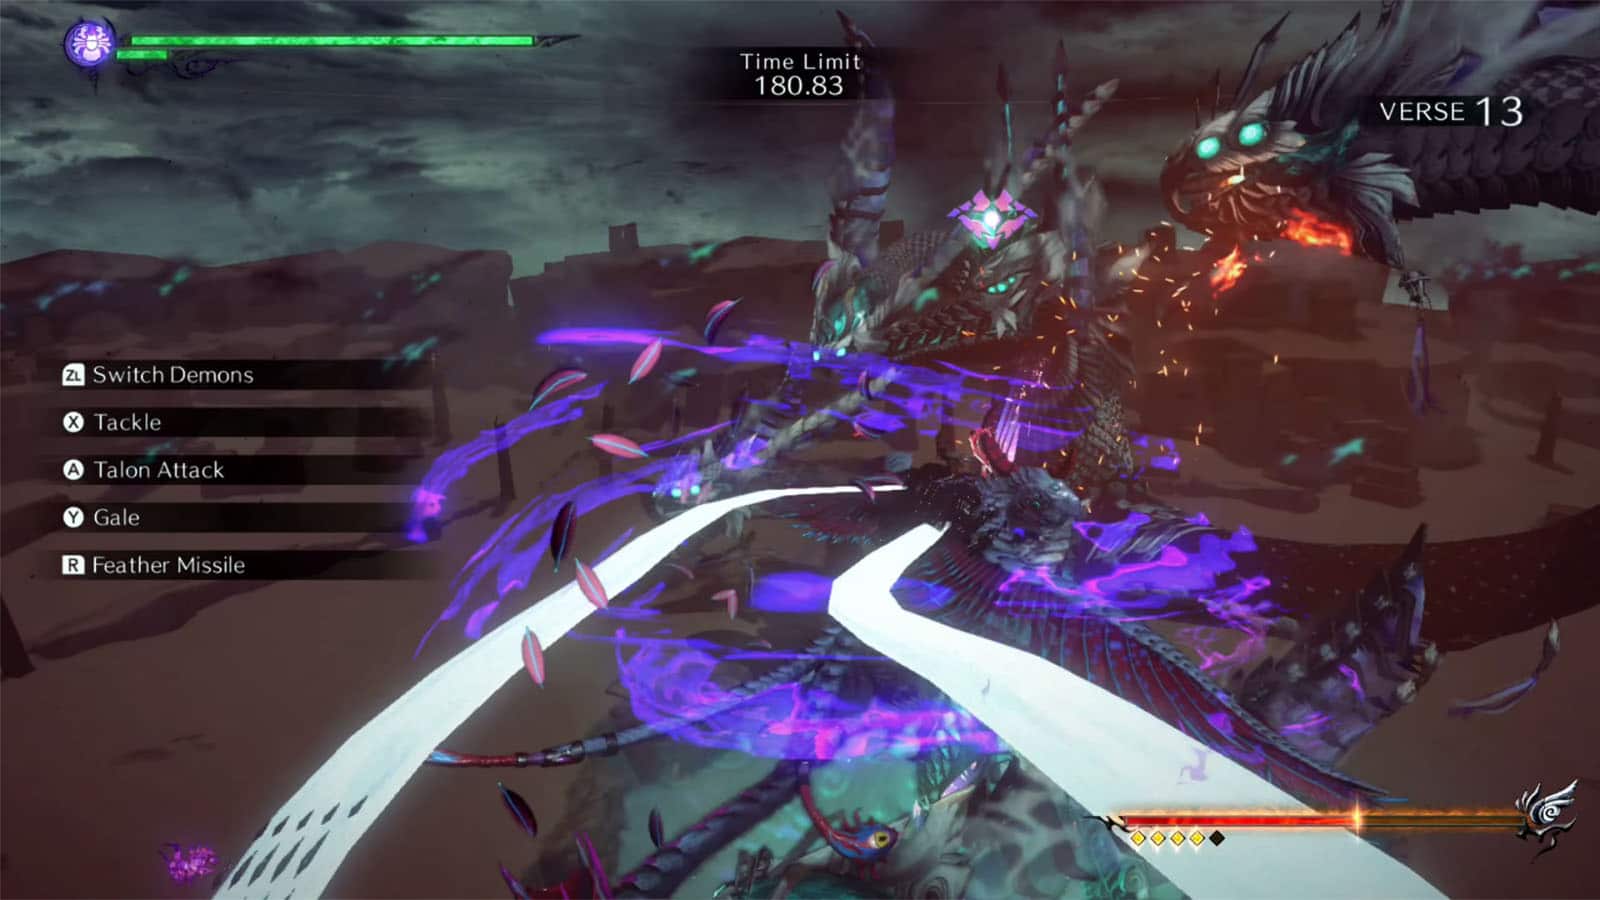
You’ll be using two demons in this fight and you can switch between them depending on what weak point is currently exposed. Pay attention to the chest and the head area to switch between The Phantom and Malphas, respectively.
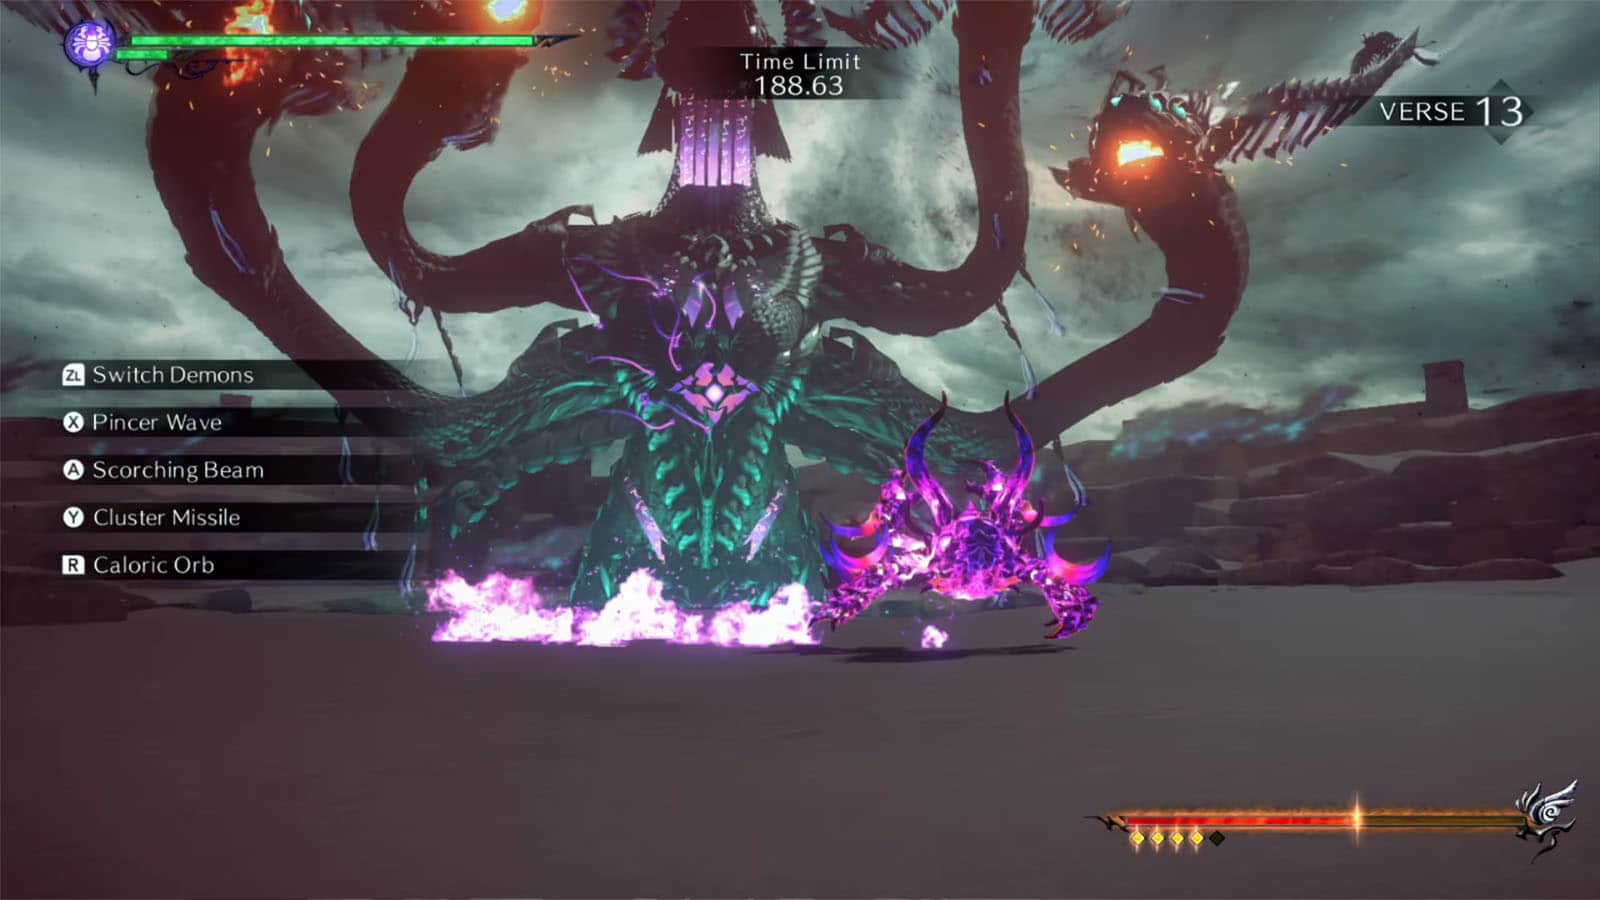
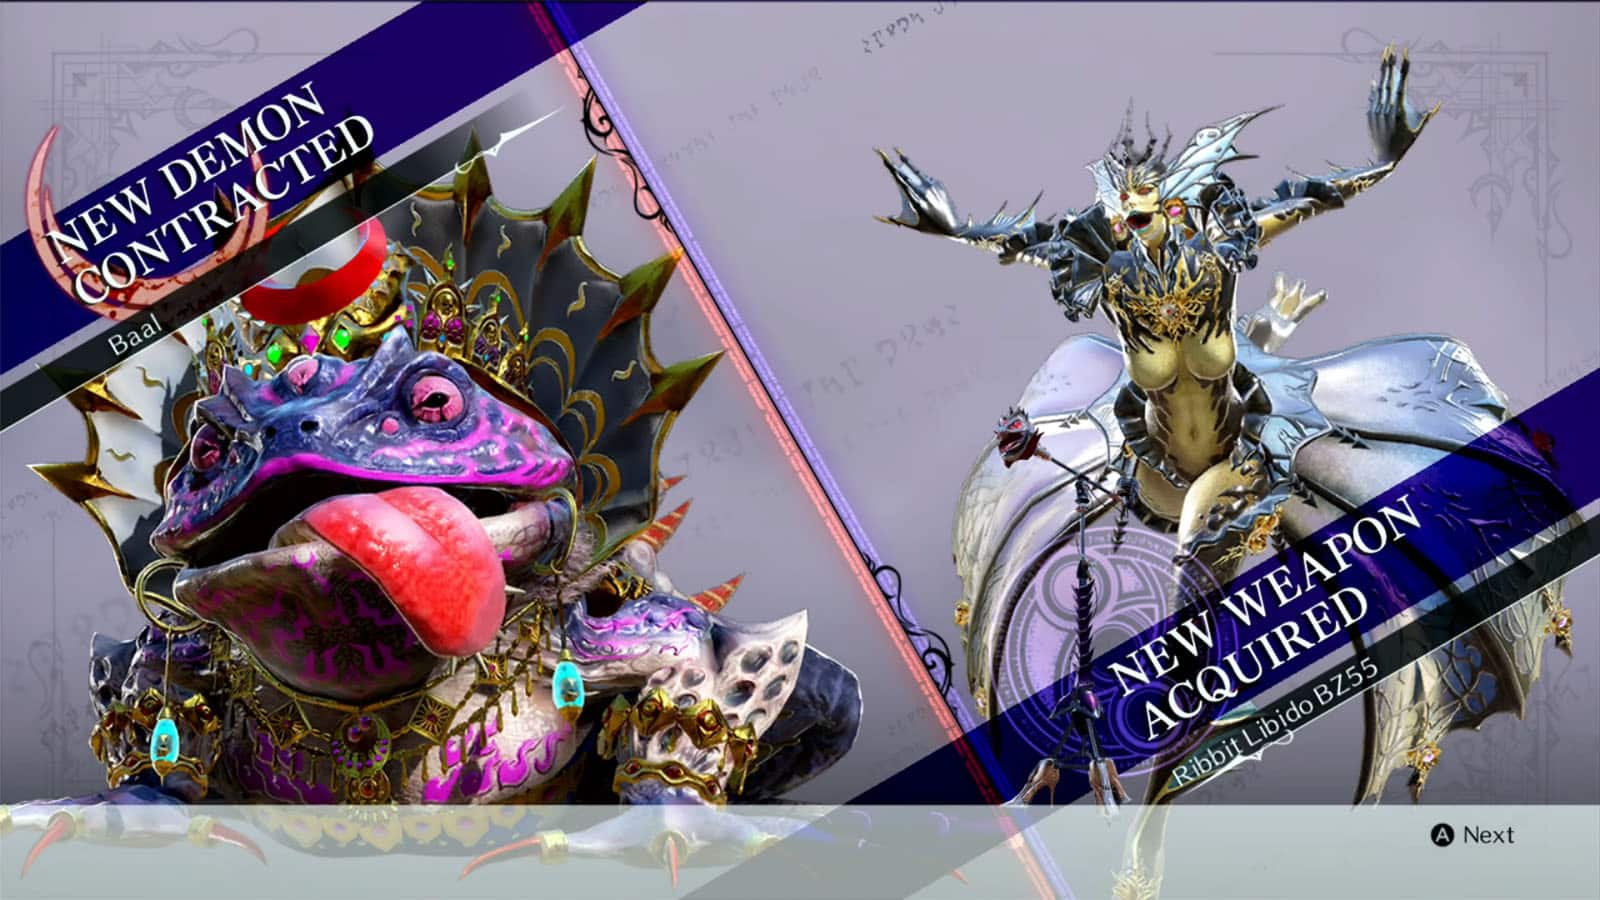
Once the enemy is staggered, you can switch back to The Phantom to climb on top of it and attack the bulb on its back. After all of its health bars are spent, more cutscenes will play and the chapter ends with Bayonetta gaining Baal and a new weapon.
See next Bayonetta 3 Walkthrough Side Mission 3 - High Stakes
If you like this guide, be sure to check out our other Bayonetta 3 articles:
- Bayonetta 3 Chapter List – How Many Chapters
- Bayonetta 3 Ending Explained
- Bayonetta 3 Singularity (Explained)
- All Outfits in Bayonetta 3
- Bayonetta 3 Weapons and Abilities
- Bayonetta 3 Day One Update Patch Notes Revealed
- How Long to Beat Bayonetta 3 – Game Length
Check out this video by omegaevolution showing gameplay for Chapter 9:


