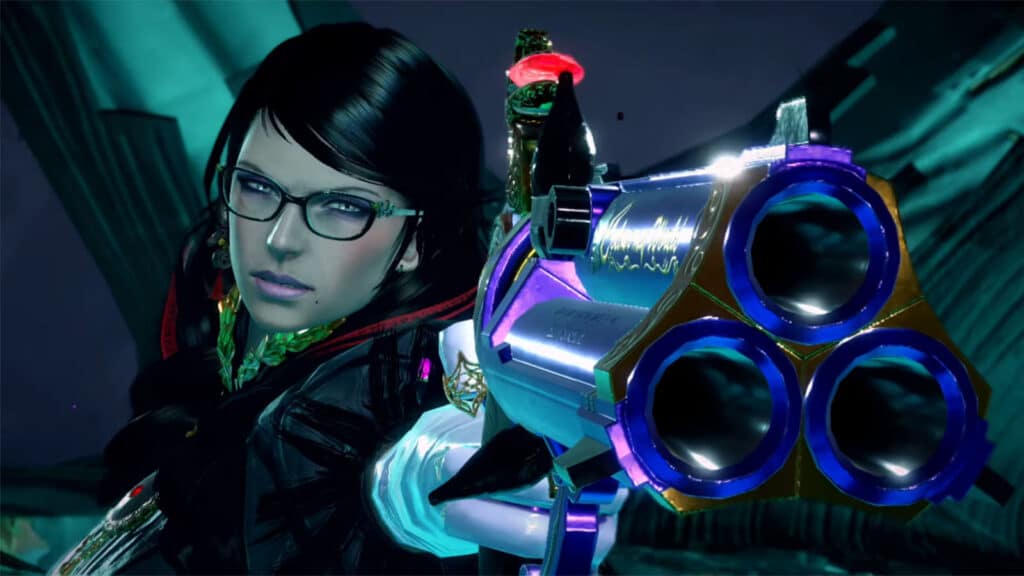
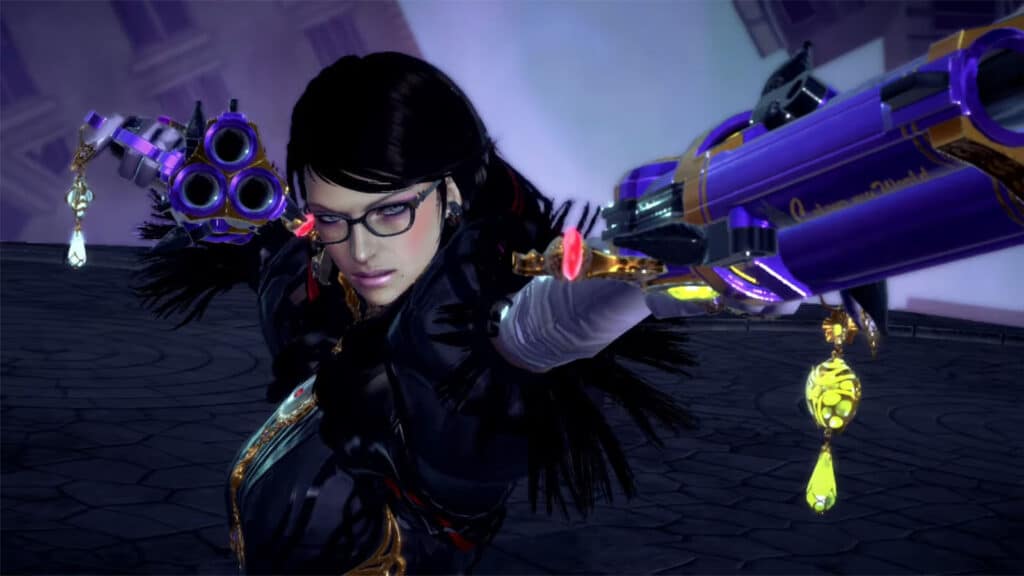
High Stakes is the third side mission in Bayonetta 3 where Jeanne continues to make her way through the homunculus overrun facility in order to rescue Dr. Sigurd, the person who knows how to use the Chaos Gears.
In this guide, we will go through Side Mission 3: High Stakes, listing along any collectibles as well as Bewitchments that can be acquired in the chapter.
See previous Bayonetta 3 Walkthrough Chapter 9 - Learning to Fly
Side mission basics
You’ll play as Jeanne as you go through the facility, using her unique skills to sneak through or eliminate enemies. Though you have access to your weapons, unless you’re using the shotgun or bow, it’s easier to to clear out the enemies using stealth kills.
Enemies will have a vision cone showing you the extent of their vision. You can do stealth kills when you are behind them, or you’re hiding behind a door or a vent. There are also turret enemies that latch on to the ceiling; they can be easily passed through and there’s no point to kill them. There is an additional enemy that acts as a proximity mine that explodes when you get too close.
Every time you do a stealth kill, you’ll be put in Witch Time, giving you the opportunity to chain kills. You can also make multiple kills if the enemy you throw lands on another enemy.
Side Mission 3 High Stakes Bewitchments
There are five bewitchments to obtain in this side mission:
- Reach the end without the elevator getting fully stopped – Simply kill all the minor enemies (excluding Affinity) before the elevator gets to the boss fight. The easiest way to do this is to get the Col. Slade homing missiles or Garnet Roses shotgun that can one shot enemies.
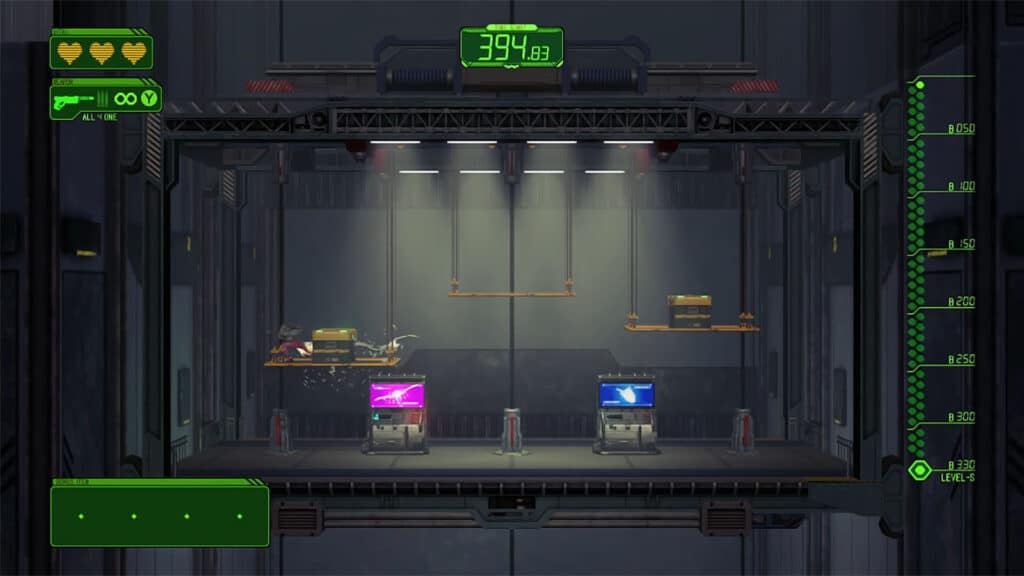
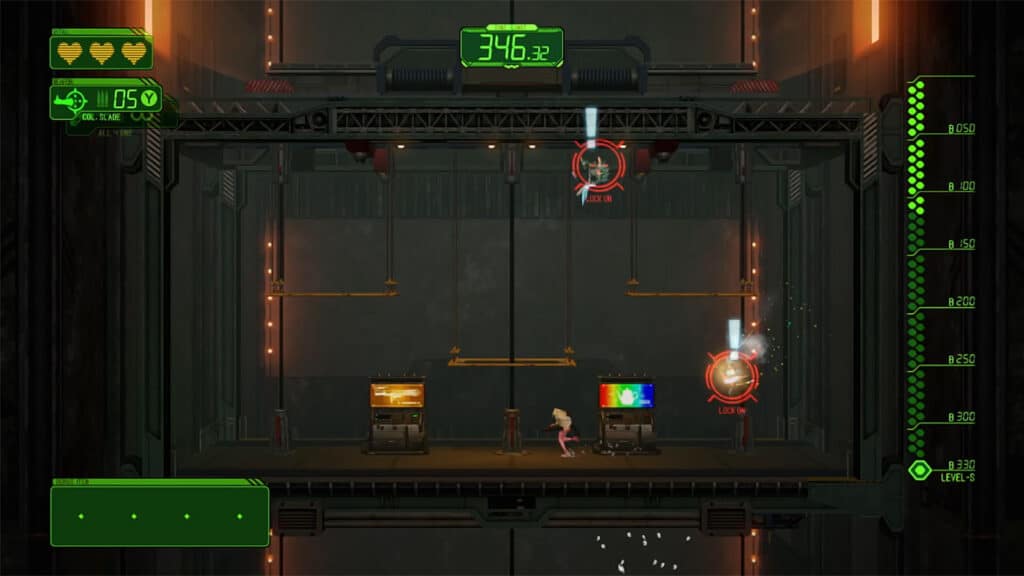
- Get a teapot from the supply system – The supply system on the right cycles through different items including the teapot which has a rainbow colored screen. To make the teapot appear, you must first stop the screen at the blue screen at least once. Then, stop the screen on the rainbow screen.
- Defeat 2 or more enemies with one shotgun blast – Simply get the Garnet Roses shotgun, line up two enemies and fire up close.
- Stealth kill and throw an enemy into another enemy – This can also be accomplished with the shotgun, but make sure that you’re only hitting one enemy that is close to another one to give the shot the chance to blow the enemy on to the other one. Or it can also be done via a stealth kill; wait for those enemies that climb up the elevator in pairs.
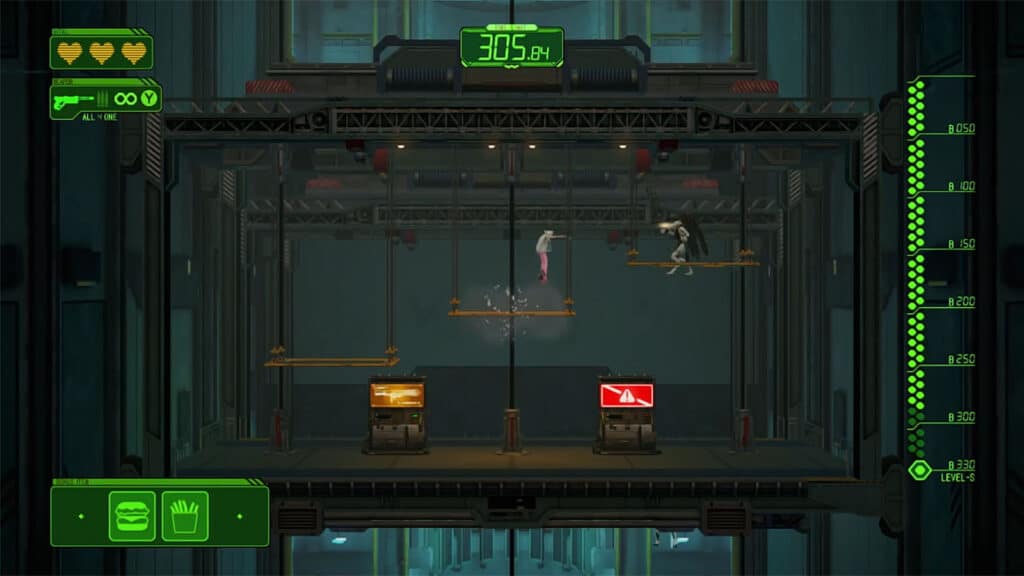
- Find and defeat Affinity – To summon Affinity, you must get the red warning screen on the supply system on the right three times.
Collectibles
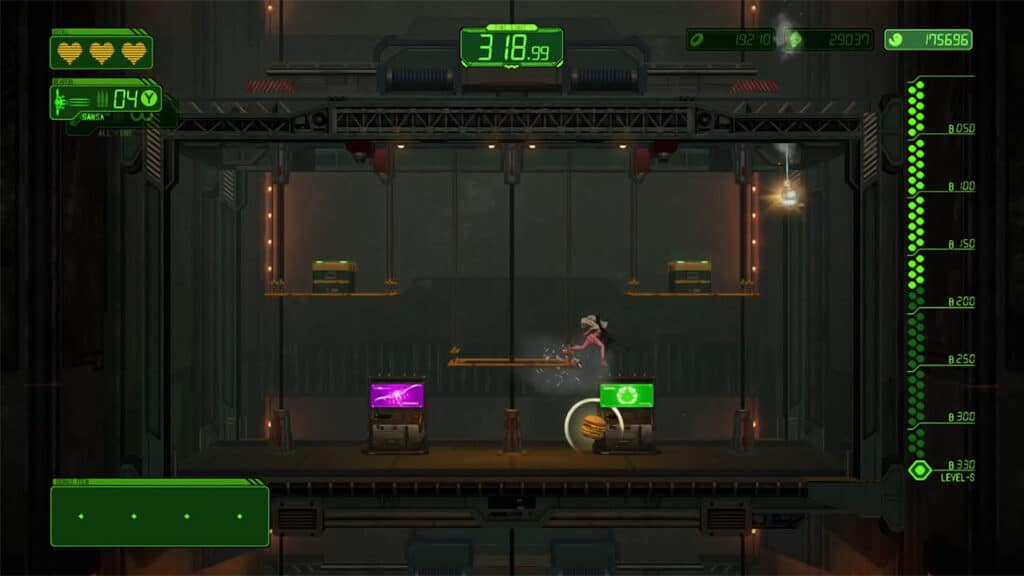
All collectibles in this level can be obtained from killed enemies as drops. Kill a lot of enemies as they spawn to make sure you get all of them.
Boss Fight
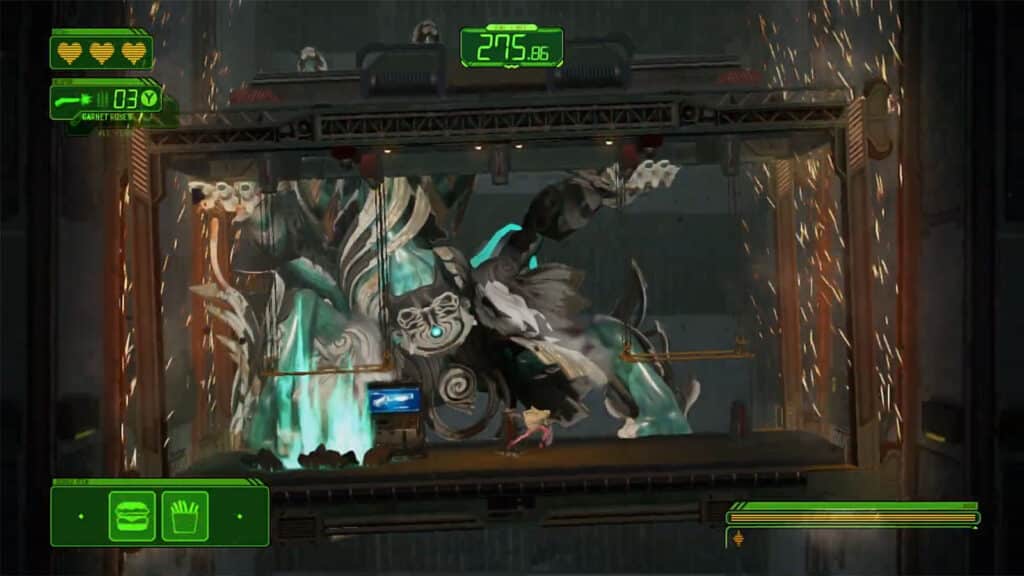
The boss has two bars of health and will switch positions depending on how many bars is left. Its weak points are its head and its arms, but only if they are holding on to the elevator.
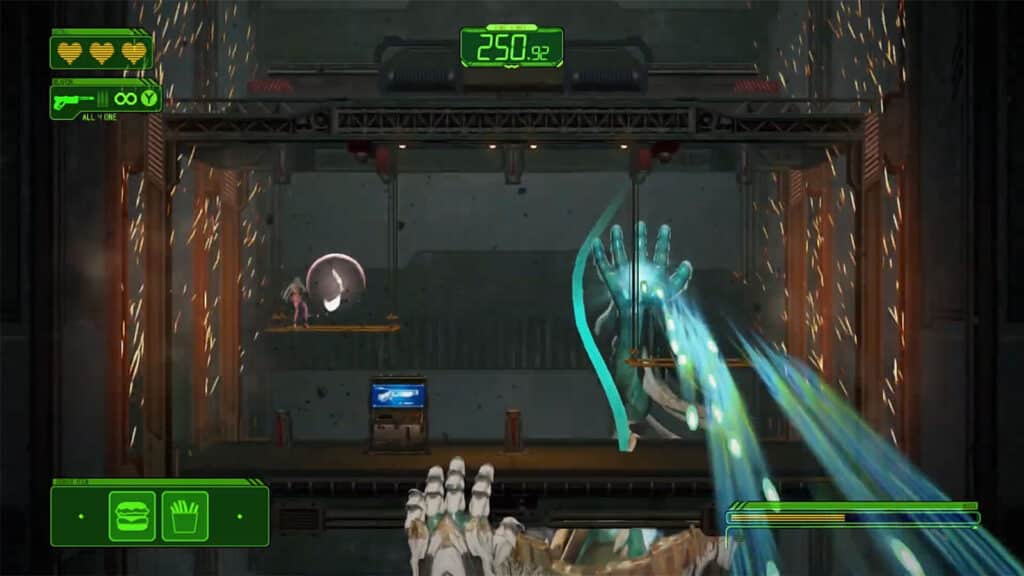
- Ground Punch – The boss does this attack on the first phase. It punches the floor with one hand that sends out a wave towards the other side.
- Bullet Shower – The boss does this attack on the second phase. It clings underneath the elevator and uses one hand to send bullets down the floor from side to side. Use the hanging platforms to evade.
See next Bayonetta 3 Walkthrough Chapter 10 - Cover of Night
If you like this guide, be sure to check out our other Bayonetta 3 articles:
- Bayonetta 3 Chapter List – How Many Chapters
- Bayonetta 3 Ending Explained
- Bayonetta 3 Singularity (Explained)
- All Outfits in Bayonetta 3
- Bayonetta 3 Weapons and Abilities
- Bayonetta 3 Day One Update Patch Notes Revealed
- How Long to Beat Bayonetta 3 – Game Length
Check out this video by Linkmstr showing gameplay for Side Mission 3:


