
Cyberpunk 2077 Gig: Spy in the Jungle is one of the Gigs you’ll be doing for Mr. Hands in the Phantom Liberty DLC. Missing people are a dime a dozen in Night City but when an intelligence agency wants to find you, they will. In this Gig, they’ll hire the services of V who’ll once again have to make some tough choices.
In this guide, I’ll be teaching you the best way to complete Spy in the Jungle.
In this guide:
Spy in the Jungle Walkthrough
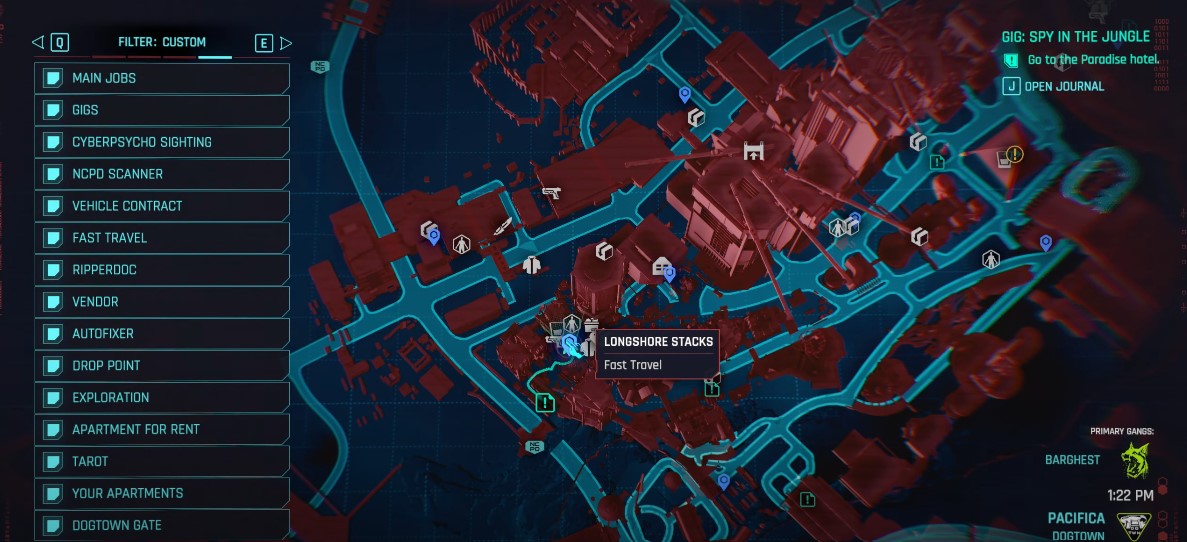
The Spy in the Jungle Gig is unlocked only after completing the main quest called “The Damned” from the Cyberpunk 2077 Phantom Liberty DLC. Travel to the green Gig icon on the map southwest of the Longshore Stacks fast travel point to start the gig. You will receive a call from Mr. Hands, who will brief you on a missing person named Mark Bana, sought after by Brazilian intelligence agents. These agents will provide you with the necessary coordinates to proceed.
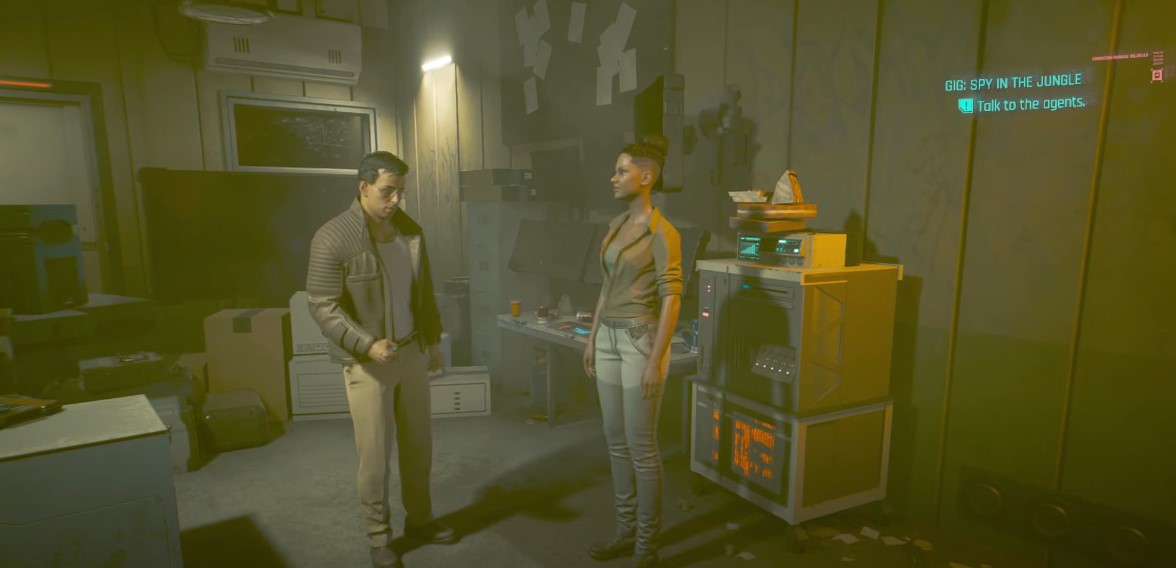
Head over to room 203 in Paradise Hotel and meet up with the two intelligence agents who’ll introduce themselves as Steven and Ana. Steven initially runs a background check on V and finds they can’t figure out who exactly they are while Ana is in a hurry and accepts V on the spot. They need you to find the target named Mark Bana, and will instruct you to go to Organitopia, where his biomonitor was last detected.
After your conversation with the two Brazilian Intelligence agents, proceed to Terra Cognita and deal with the scavs guarding the entrance to the underground facility.
Once inside, locate the entrance to Organitopia. You will need at least a Body 3 ability to force open the far left set of shutters of the window.
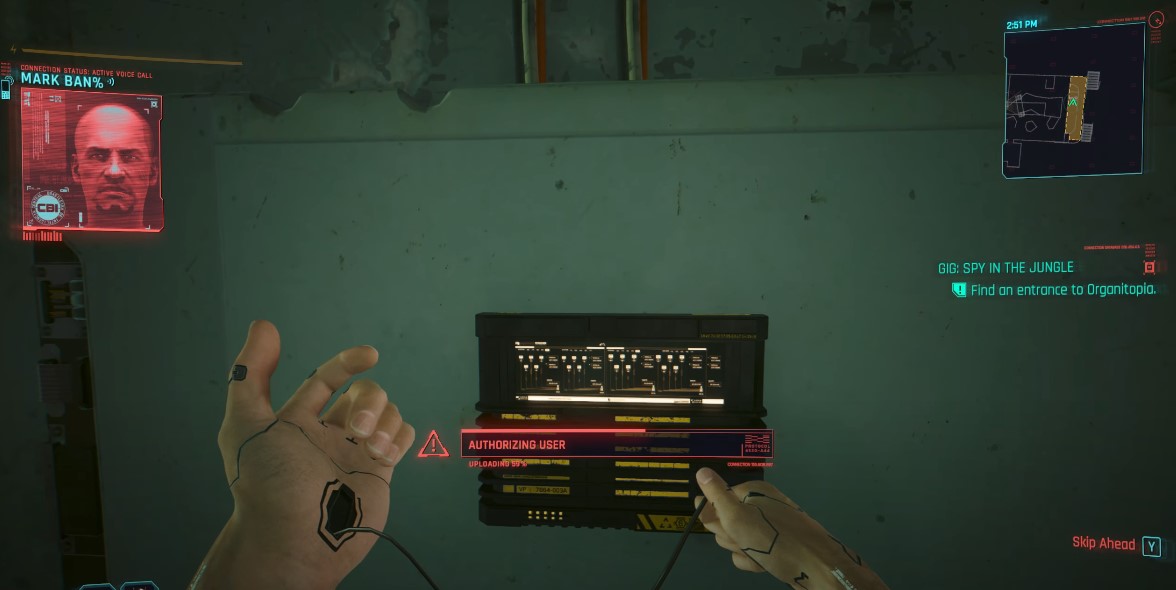
Interact with the panel on the right wall to get authorization for your entry. Shortly after, you’ll then receive a call from Mark Bana, and the doors to the Organitopia facility will open. Head through either door, leading to the main atrium area.
Be cautious of scavs and landmines as you move toward the museum hall.
Sneak around the leftmost path until you reach the back of the facility. There is a hallway with stairs at the end where two scavs are stationed. One of them makes a crude joke about cyberpsychosis. When their conversation is done, one of the scavs will go upstairs so it’s your chance to sneak up behind the one with you and eliminate her.
Head upstairs and you’ll find yourself in the gift shop. It’s being guarded by a few scavs. There’s also a camera and a turret nearby that’s turned off by default. Hack control into the camera and turn on the turret. Then enable its friendly fire mode. Sneak inside and take out the scavs. If you’re spotted, the turret will help you out.
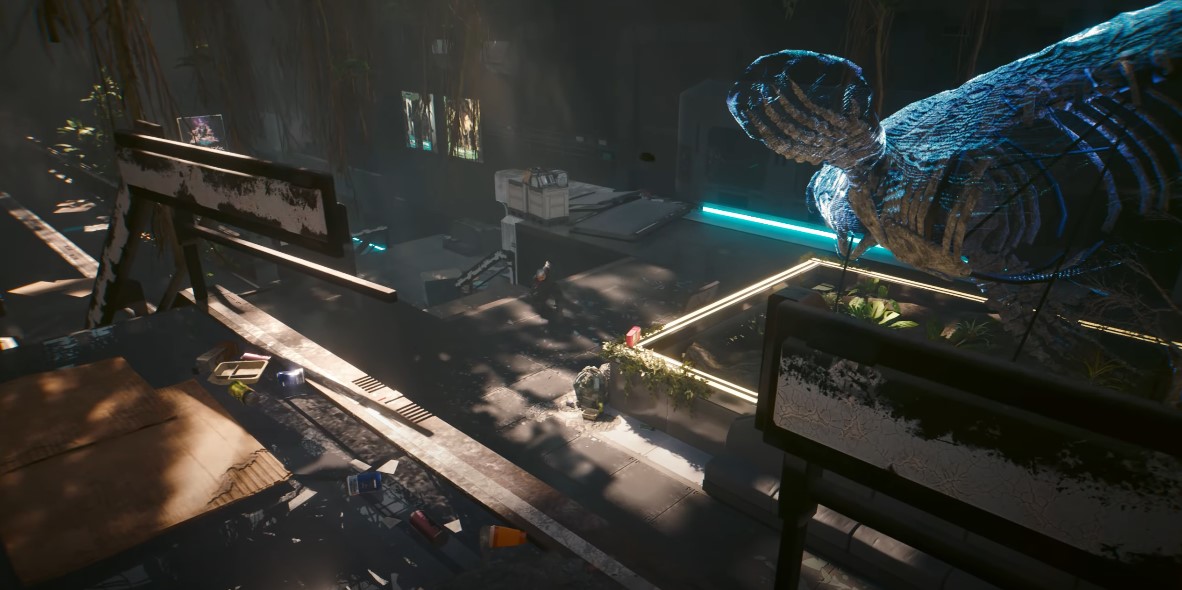
Continue to the back of the room and ascend the staircase, entering an arcade room. Eliminate any enemies inside and proceed down the hallway to reach the museum hall.
You will receive another call from Mark, advising you to take the staircase in the back of the next room to reach his location. He warns you that an elite soldier, Ribokov, is nearby. Surely enough before you open the door upstairs to Bana, Ribokov drops from the ceiling forcing you into a boss fight.
How to beat Boris Ribokov Boss Fight
Boris Ribokov is a boss who moves around fast and uses smokescreen to cover his tracks. Fighting him feels like fighting against a ninja because he moves swiftly around the room to evade your attacks. Look for the red markers on the map to track his location. You can also follow the direction of incoming shots. He will use the platform with grapevines to gain a vantage point and shoot at you from above. Shoot him down when he’s standing still.
Use hacking whenever possible to disrupt Ribokov’s implants and weapons or stun him temporarily. This will give you an advantage in the fight. When Ribokov creates clones, watch for the red marker to find the genuine enemy. This makes it easier to target him.
When you wither down Ribokov’s health near 60%, he will spawn four Griffin Drones and disappear. You’ll need to eliminate all the drones quickly before Ribokov returns to the fight. Make it a priority to defeat these drones as Boris can regenerate health if left alone. After the drones are dealt with, Ribokov will appear by a trail of smokescreen this time taking the fight to the lower floor. Fighting on the same floor as him makes combat more manageable.
Finish off Ribokov and loot his body for his Tier +5 Iconic Smart Submachine Gun, Pizdets. It has an +85% Headshot Damage Multiplier and a 1.2sec Lock-on Time.
After the boss fight, ascend the staircase and enter a room where you’ll discover an empty office. Scan the wall in the back right corner to reveal a hidden doorway. Enter the room to where Boris should be. You’re getting closer to Boris’ signal, but as you draw near, you’ll uncover the truth.
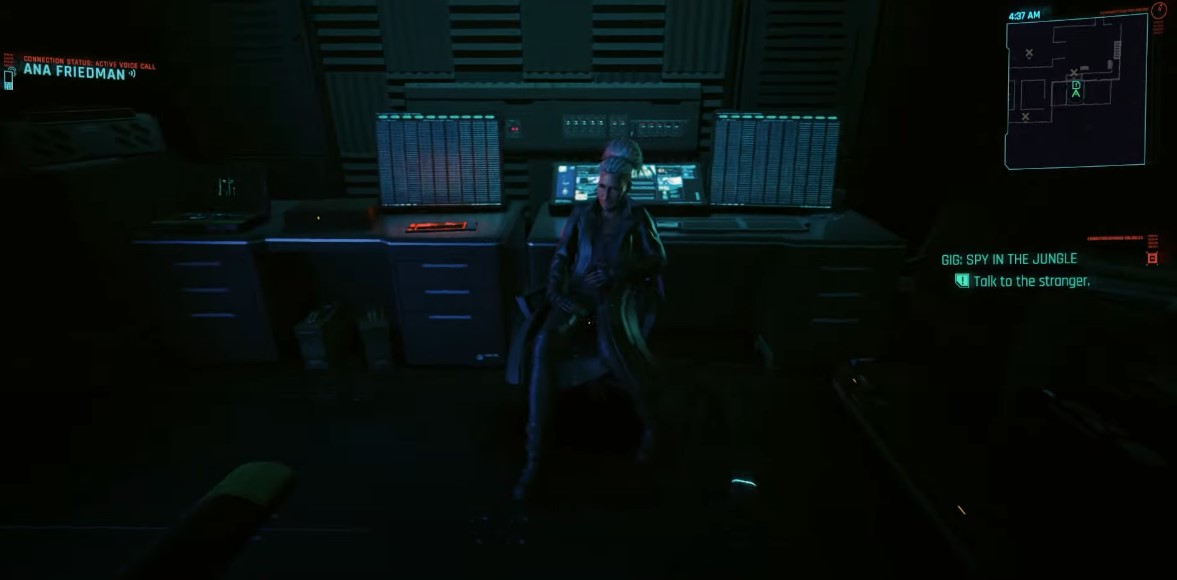
The person on the other end emitting the signal isn’t Mark Bana. She’ll introduce herself as Katya Karelina. Ask her where Bana is and she’ll reveal that he’s already dead. It turns out that Katya is a SovOil agent who fell out of favor and wants to cut a deal with Brazilian Intelligence to get out alive. Ana tells you that Katya is an interrogator for SovOil and it turns out that it was her who captured Bana. Though Katya claims she kept Bana alive and someone else killed him.
From here you’ll have to make a tough choice of sparing Katya or eliminating her and taking the biomonitor. Ana orders you to take her out before cutting communications and you’re left with the decision. Katya promises you her stash if you let her live. But which is the better choice?
Whatever you pick, you’ll have to pick up the biomonitor from the case. V once again has to make another tough decision. Take the biomonitor to the drop off or go back to the Brazilian Intelligence agents? If you choose to hear out what the two agents have to say, Steven reveals that the Brazilian government wants the biomonitor shard destroyed to cover their tracks. Ana is against it and wants to honor her friend’s memory. What do you want to do with the biomonitor?
Should You Spare or Kill Katya?
Depending on your dialogue choices, the outcomes will be different on each of the choices below:
Sparing Katya Choice
I would think that sparing Katya is ultimately the best choice because you get to unlock a side quest to finding the location of her stash. Aside from the goodies it provides, her stash gives you 16,737 eddies which is more than what the Spy in the Jungle Gig offers.
Select these dialogue options to get this outcome:
- “Where’s Bana?”
- “How you know he’s dead?”
- “Said I gotta kill ya.”
- “Make it quick.”
- “Fine. Deal”
After V tells Katya to run off, you will receive the location of her secret stash. It’ll be marked on your quest log as Money For Nothing so you know where to find it. Go to the parking lot and move the large garbage bin which only requires 3 Body stat. Open the hatch on the floor and take the goods.
Killing Katya Choice
V tells Katya that she’s got no deal and you have to kill her. You can then loot her corpse and find an archived conversation about Bana. It turns out Katya is well aware that all interrogators involved with Bana’s death are being hunted down, including her. You won’t be able to get Katya’s stash this way.
Once you meet Katya, choose these dialogues to get this outcome:
- “Where’s Bana?”
- “How you know he’s dead?”
- “Said I gotta kill ya.”
- “Make it quick.”
- “Unfortunately, I do care.”
It is possible to get both Katya’s stash and kill her at the same time. By agreeing to spare her life, she’ll tell you her stash’s location. You can then shoot her just before she leaves. Not very honorable but justice served regardless.
Should You Give Ana the Biomonitor?
Once you deal with Katya, you’ll have the option to pick between depositing the Biomonitor at the drop point, destroying it, or giving it to Ana. The outcome and your reward will be different depending on your choices below:
Give Biomonitor to Ana Choice
It’s better to give the biomonitor to Ana because she gives you more eddies for it. Steven will be upset that you ignored orders but the Gig is finished regardless with your wallet a little heavier. And you don’t have to track to the drop point with this choice as well.
When you go back to room 203 in Paradise, pick these dialogue options:
- “Knock yourself out.”
V gives the biomonitor shard to Ana and Steve gets upset, leaving the room. Ana thanks you and promises you the creds will be delivered soon. You’ll get 6,000 eddies for this outcome.
Destroy Biomonitor Choice
V apologizes to Ana but destroys the biomonitor shard. She gets upset and leaves the room. Steven thanks you for the decision and promises your eddies will be delivered soon. You’ll get 4,000 eddies for this outcome.
- “Hold up, Steven?”
- “You got a plan, Ana?”
- “Sorry… I can’t.”
Deliver Biomonitor to Drop Point Choice
V delivers the biomonitor to the drop point. Gig is done without any fanfare. You’ll get a call from Mr. Hands and get your 4,000 eddies. There’s no need for any dialogue choices with this outcome. Just head straight to the drop point.
Regardless of your choices, you’ll complete Spy in the Jungle Gig. Mr. Hands will contact you and give you your reward. How much eddies you get depends on the outcome of the Gig. Your final decision leads to one of two outcomes:
- If you protect the Brazil deal and drop the biomonitor into the designated box, you will receive $4,000 Eddies upon completion.
- Alternatively, delivering the biomonitor directly to Ana will yield $6,000 Eddies, albeit upsetting Steven in the process.
Spy in the Jungle Rewards: 4,000-6,000 eddies, +1,685 XP
For more Cyberpunk 2077 Phantom Liberty Gig Walkthroughs:


