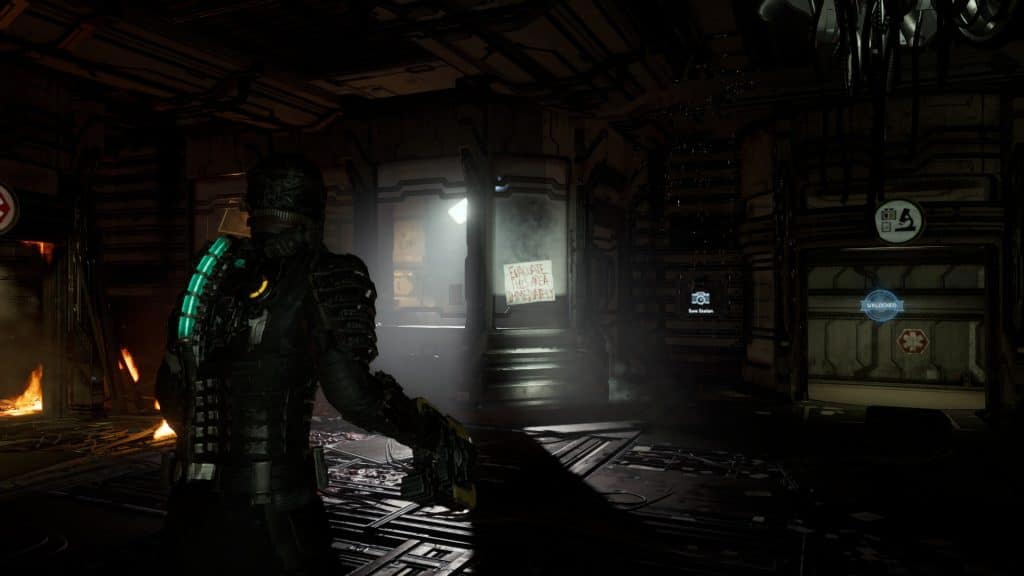
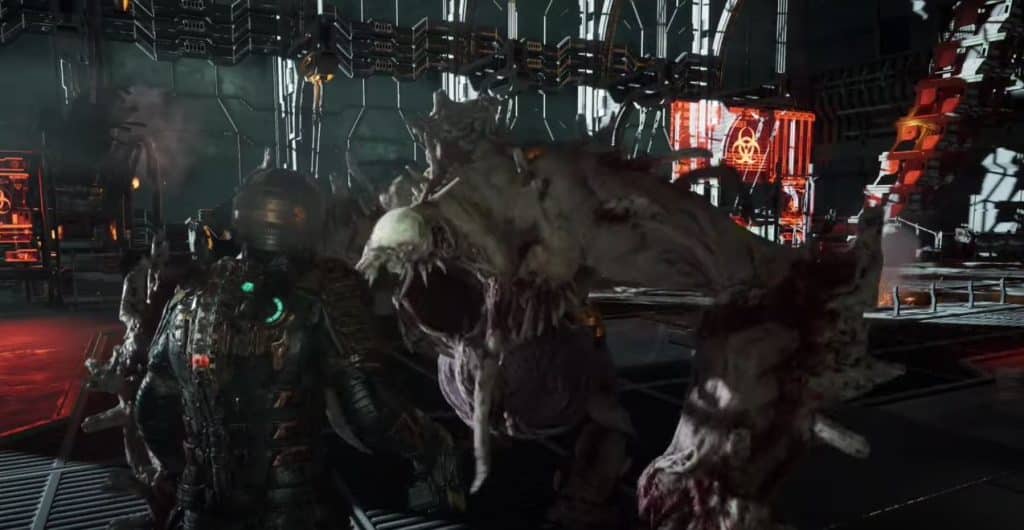
In Chapter 2: Intensive Care of the Dead Space Remake, Isaac has to go to the morgue in order to find the RIG of Captain Mathius. However a large barricade is preventing him from moving forward and a slew of deadly Necromorphs stand in his way. Here’s a walkthrough that shows you how to complete Chapter 2 of Dead Space Remake.
This is a continuation of Dead Space Remake Chapter 1: New Arrivals Walkthrough.
Get the Kinesis Module
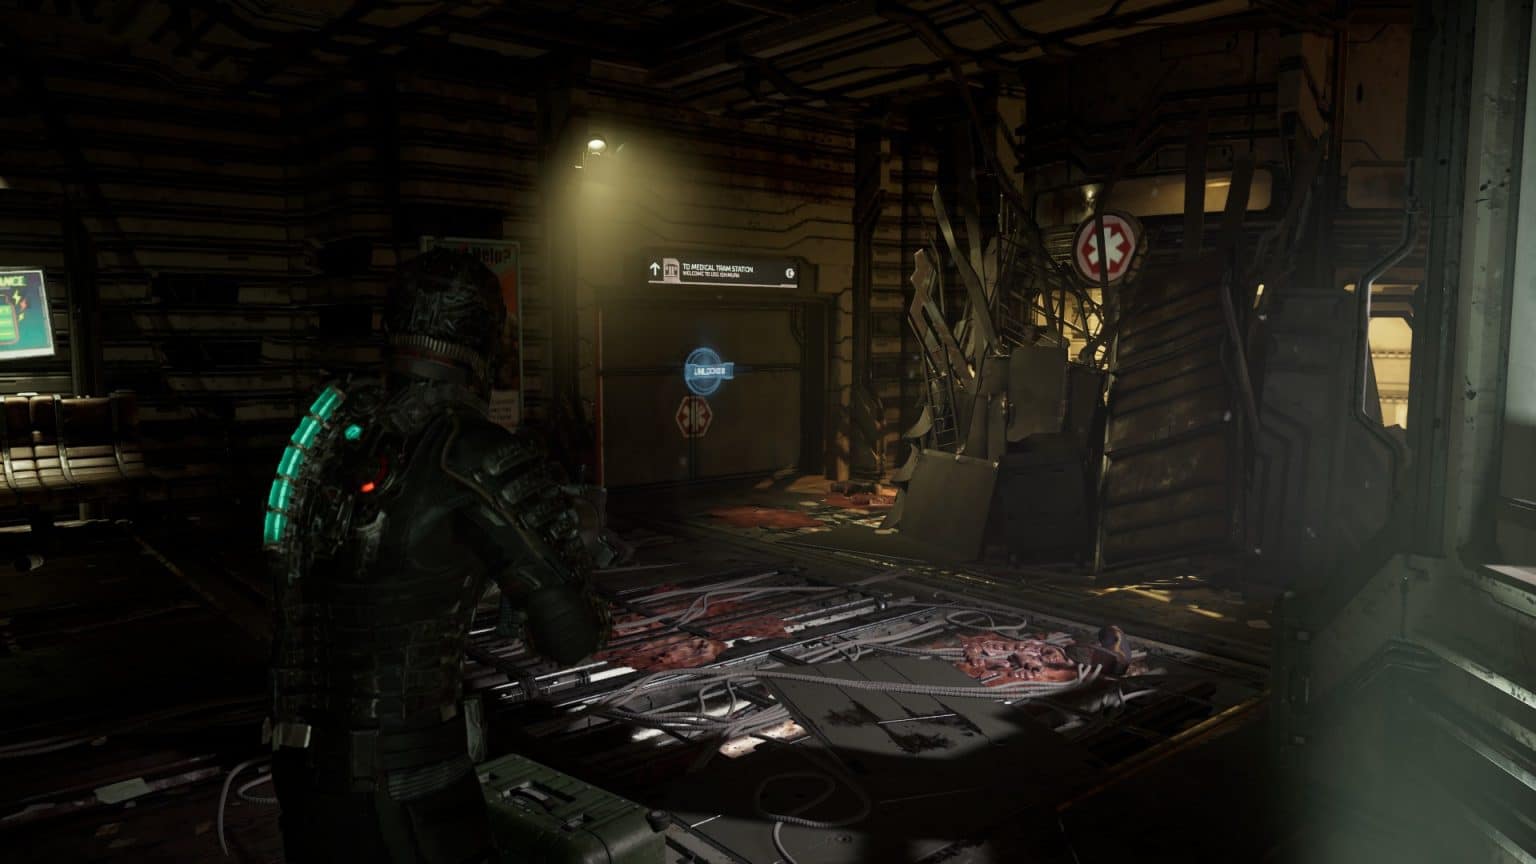
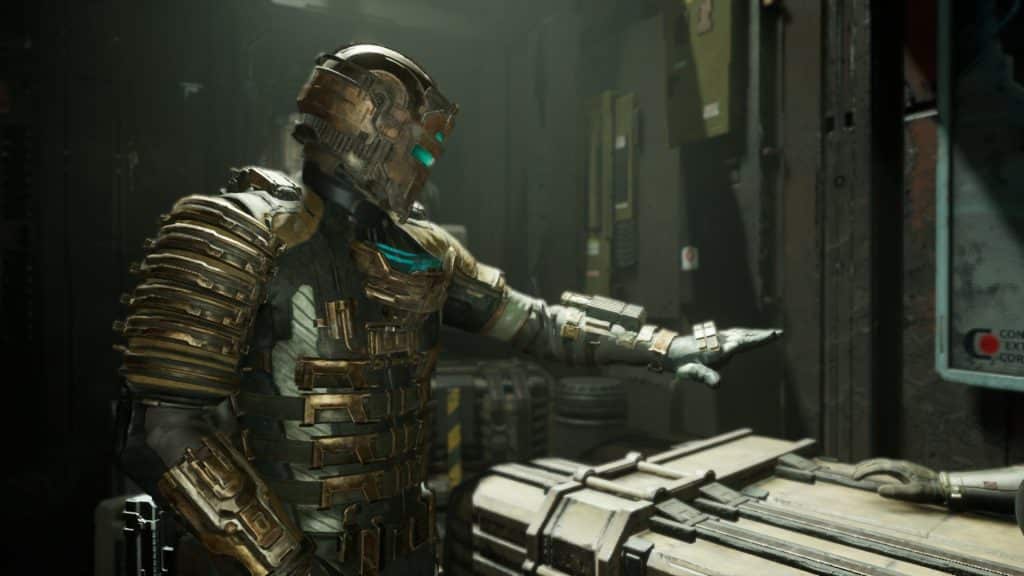
Chapter 2 will start as soon as you get into the Medical Deck. The first thing you’ll notice is the Kinesis Module to the right which you can pick up right away. This will help you move objects like the large crates blocking Isaac’s way.
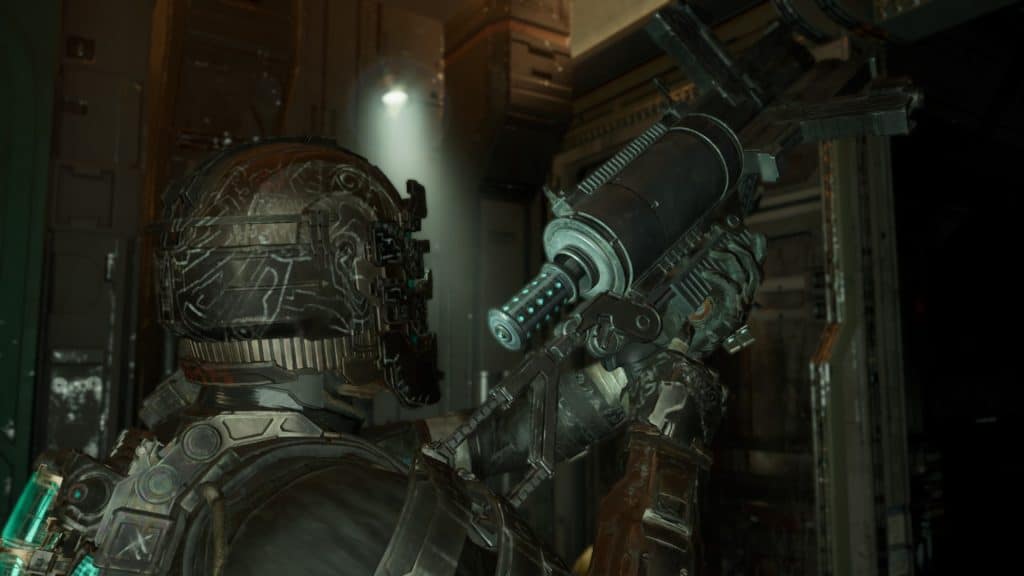
Aim at the crates in the way and then press L1/LB or F to move them until you make a path. Continue on until you reach the tram station where you can pick up the Plasma Rifle from the dying woman on the floor.
Head inside the Security Station where Isaac finds out that the way to the Morgue has been barricaded. He’ll contact Hammond to tell him of the situation before going off to find a Hydrazine Tank and a Shock Pad. Hammond warns him that there’s probably something in the morgue they wanted to keep from escaping.
Destroy the Barricade
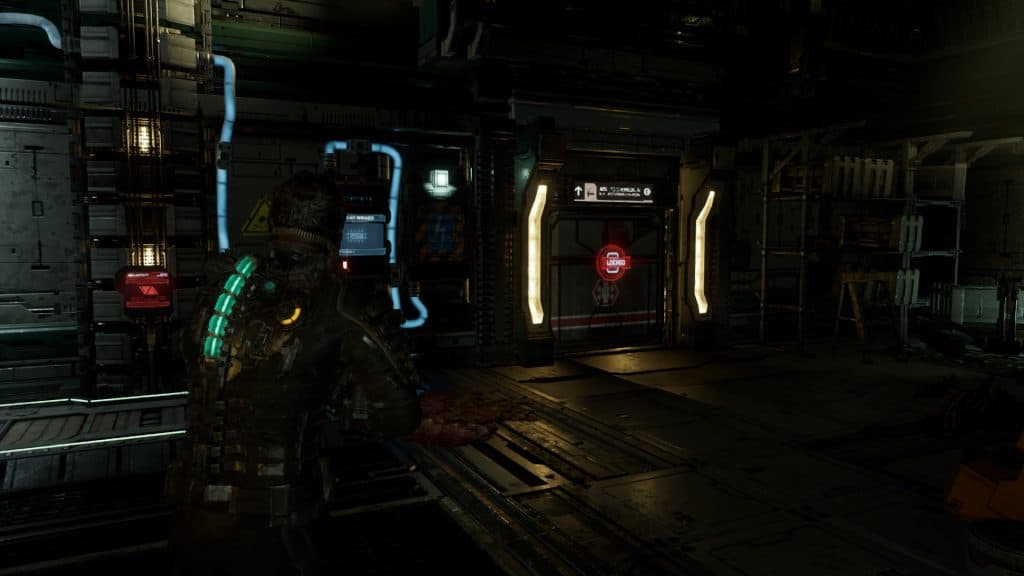
To destroy the Barricade, Isaac will need to find both a Hydrazine Tank and a Shock Pad. The objective locator will guide him to looking for a Hydrazine Tank first which can be found in the Zero-G Therapy Maintenance room. Go to the Diagnostics Wing where you’ll reach a room where you need to use the kinesis to put back a battery to power a circuit breaker. Be careful as a few Necromorphs could attack you in this area.
You could choose to power the cargo lift right away and proceed to the objective or power a room in the back where you can find some items. There’s a Node in the next room and Bench if you want to upgrade your equipment. When you’re ready, take the cargo life to the upper floor where you can make your way to the Zero-G Therapy room.
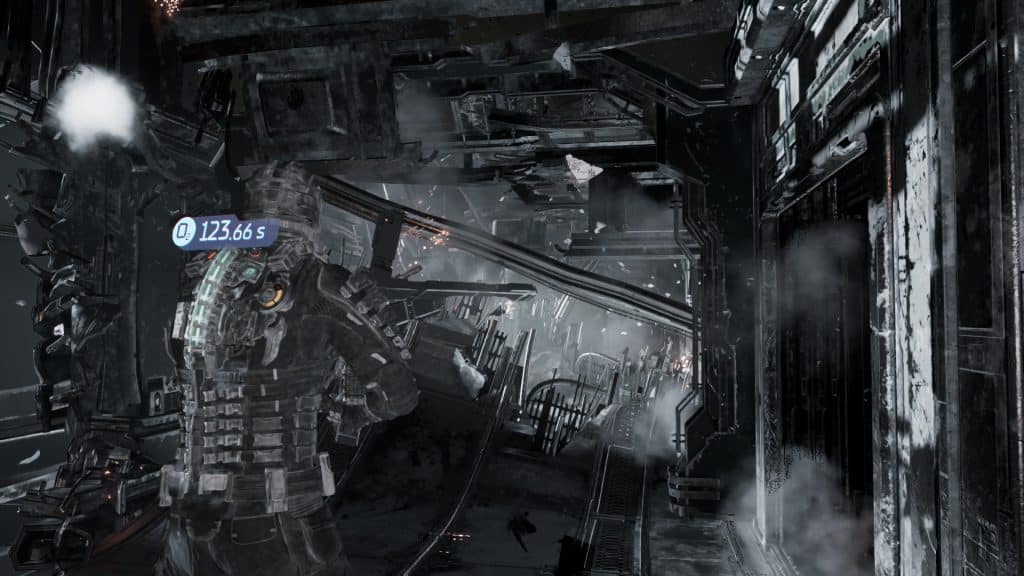
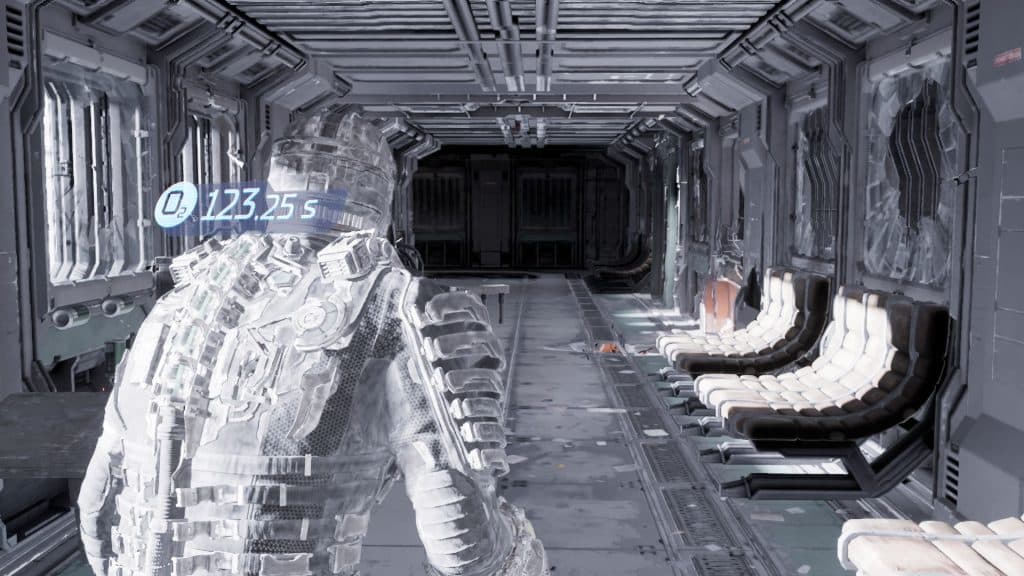
On the upper floor, there’ll be Necromorphs that burst through the vents to attack you. There’s the Observation Deck in the hallway before going to the Zero-G Therapy that has some items you can collect. Once you exit the hallway, you’ll arrive in an exposed part of the Ishimura where the ship has been hit by meteors. You’ll have a limited time to get to the Zero-G room which should be more than enough.
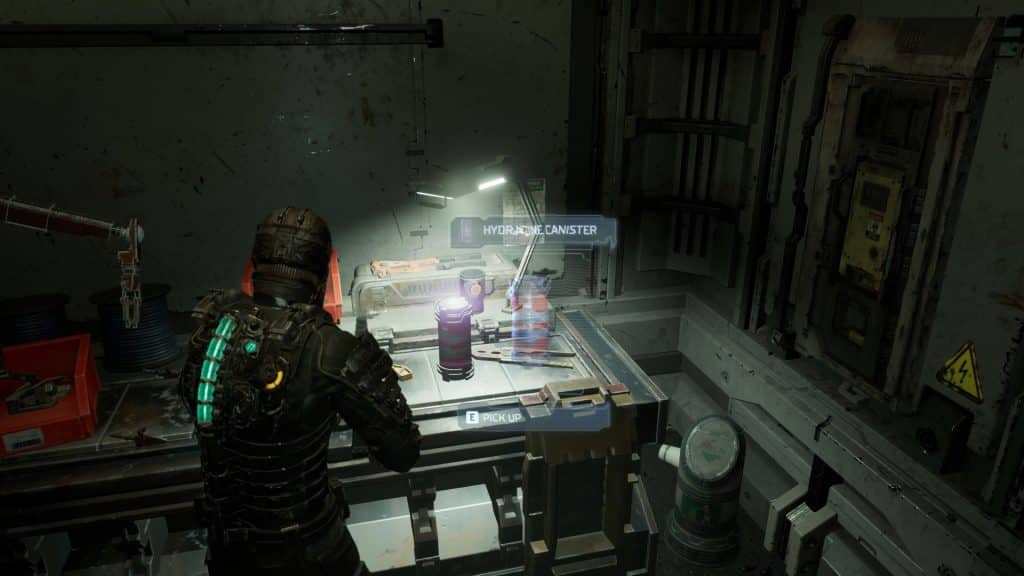
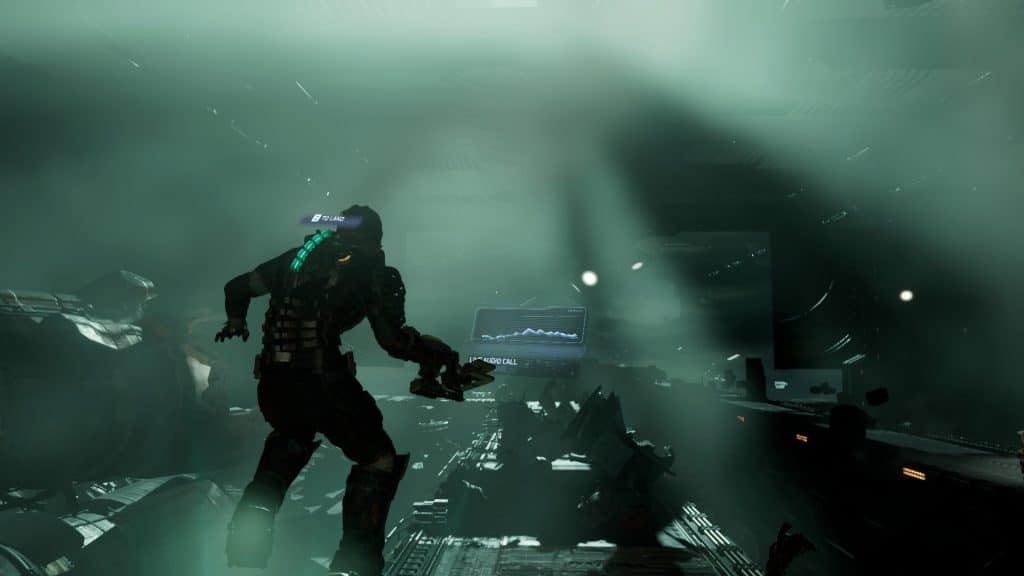
The moment you enter the Zero-G Therapy room, you’ll get your first experience in using zero gravity controls in the Dead Space Remake. It functions similarly to the original where you have a full range of 360 control which can make it hard to tell up from down. Go inside the next room, the Zero-G Therapy Maintenance, and pick up the Hydrazine Canister.
After heading back out again, you’ll get attacked by a Necromorph from the other side. Shoot it down from a distance and then continue back out where the ship will rumble and Isaac will be contacted by Hammond to ask him if he felt that. The way back will now be blocked by rubble and Isaac has to use Zero-G to float up a floor and find a way back to the Security Station through the Coolant Pipelines.
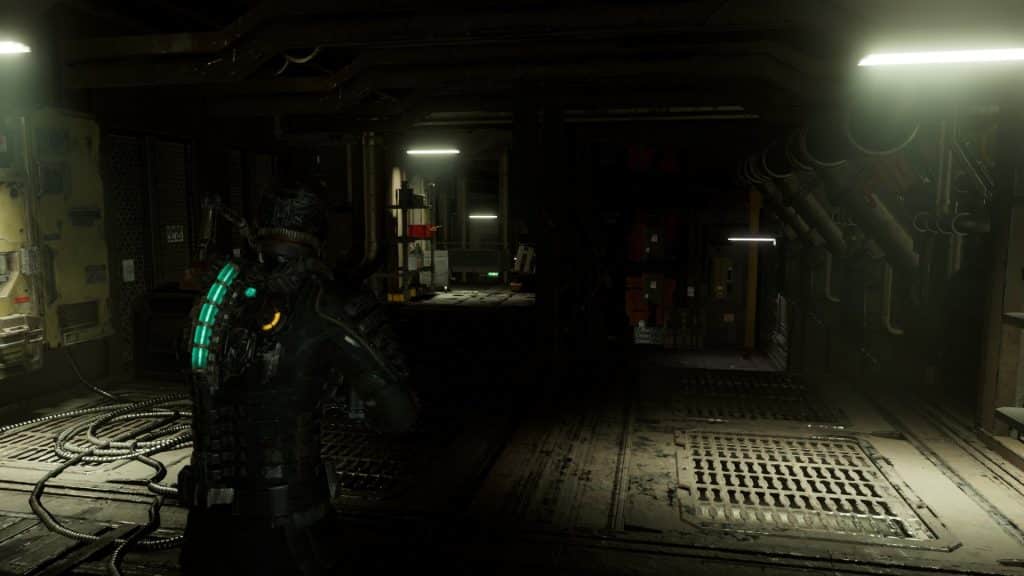
When you head into the Coolant Pipelines after descending down the elevator shaft using Zero-G, the Pulse Round schematics are on the table to the left side. Take it before going as this will make Pulse Rifle ammo available on stores. After you go past the steam underneath, Necromorphs will ambush you in this room.
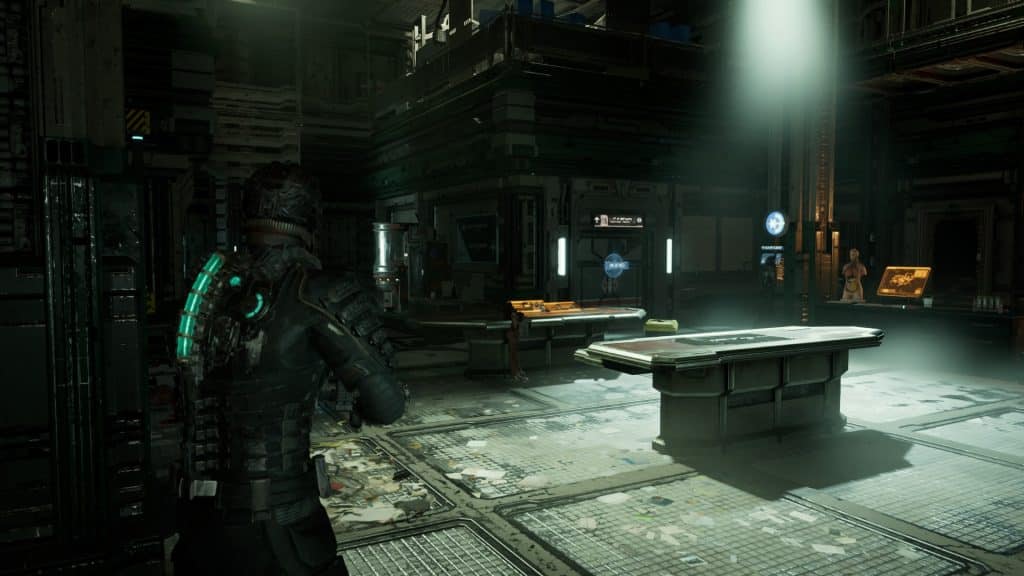
Once you make your way back to the Security Station, you’ll be looking for a Shock Pad. First, buy anything you need from the store before moving on as there’s a lot of fight in the next couple of rooms. Once you descend into the Main Lab of the Medical Deck, a lockdown will ensue where multiple Necromorphs will burst into the room.
We recommend using Kinesis to take advantage of environment objects to throw them at Necromorphs. You can even cut off their sharp tendrils and then use Kinesis to throw those back at them. This helps save ammo which you’ll be in desperate need of. You’ll need to go down a level and take care of the Necromorphs there too to lift the quarantine.
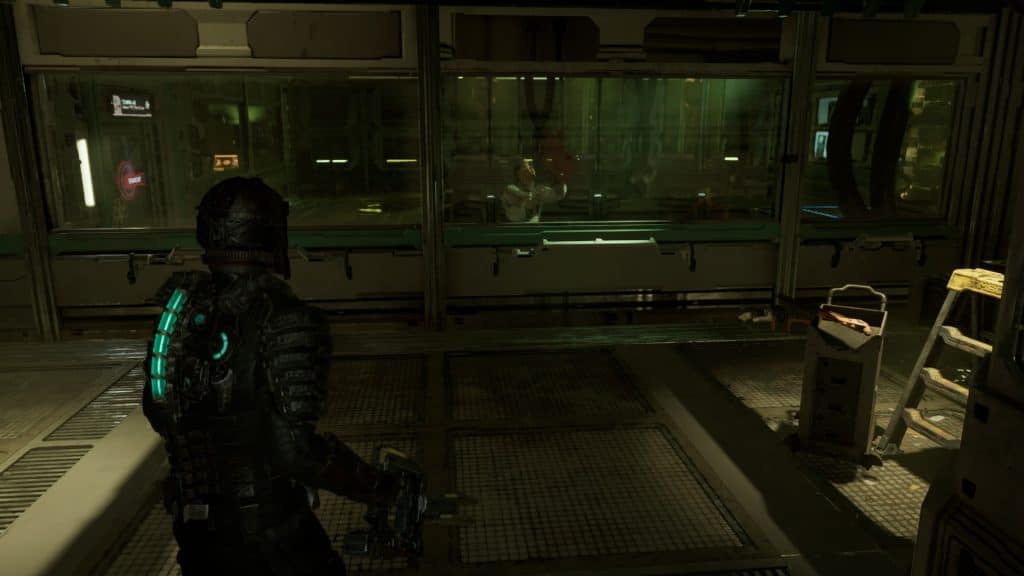
After the quarantine, explore the offices to get audio and text logs before moving on. Then go to the Main Lab Changing Room and pick up the Stasis Schematics on bench to the right before proceeding. The moment you get into the other room, a guy will call for your help on the other side of the glass. This is where you’ll first be introduced to the Lurker Necromorph.
This type of Necromorph has three tentacles that it can extend on its back which are its main weak points. It can stick to walls and usually prefers to attack Isaac from a distance. Your best bet is to wait until it extends its tentacles and aim for those. The biggest problem when dealing with Lurkers is they’re often hard to see due to their small size.
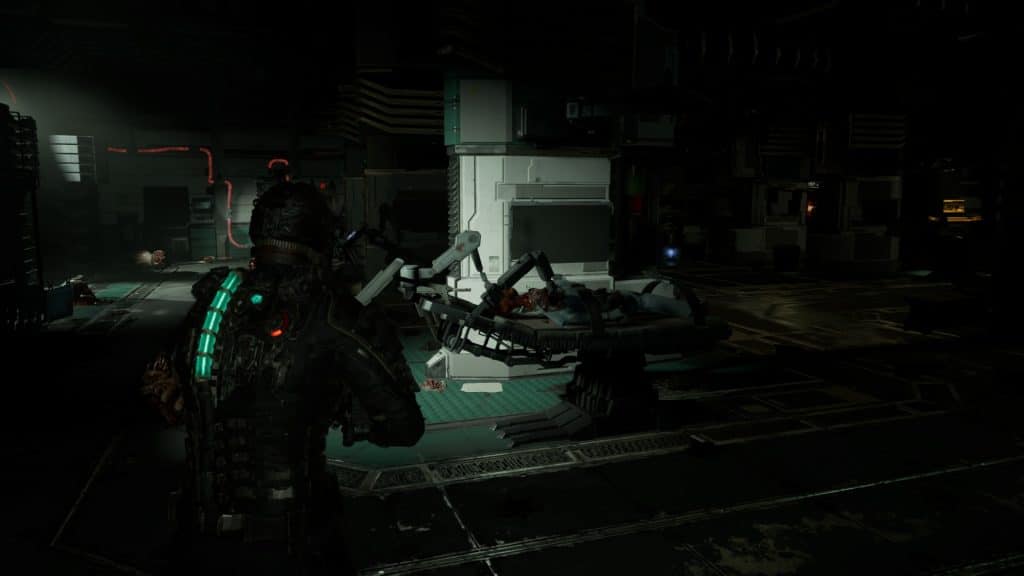
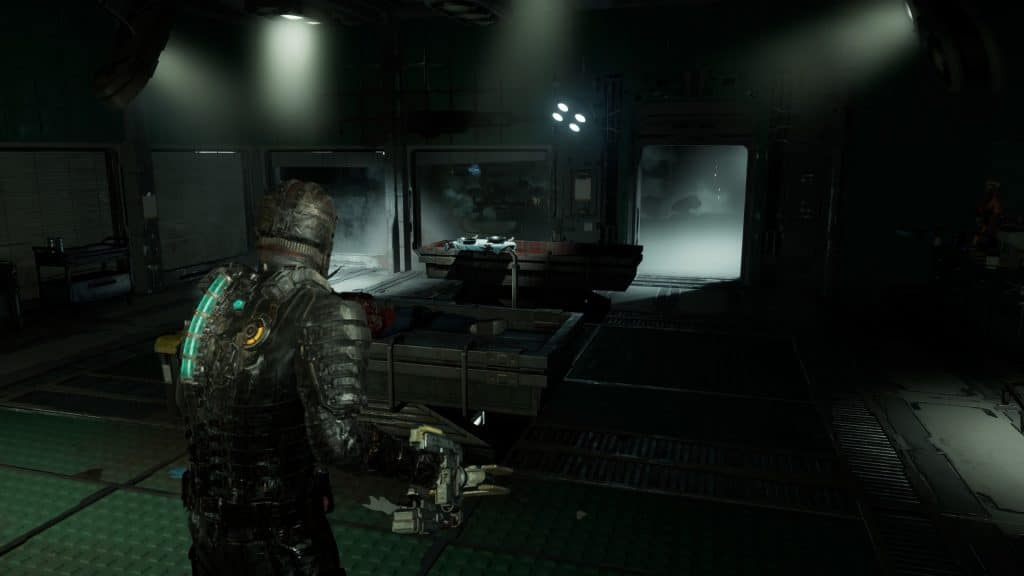
You can finally get the Shock Pad after heading into the Limb Stimulation Therapy room. Interact with the Circuit Breaker to divert power to the doors and get the Shock Pad from the corpse on the bed. You can now go back to the Security Station and plant the explosive charge to destroy the barricade.
Once you plant the explosive charge, go behind the reception area to take cover as it explodes and makes way. You can now head into the Ishimura Clinic and make your way to the morgue.
Get to the Morgue
The only way to continue to the morgue is by removing the lights in the Emergency Room. This is also where one of your side quests for Dr. Nicole Brennan takes place if you grabbed her audio log from the Main Lab. Use the Circuit Breaker to power the showers and this will open up an area to the left where you can use kinesis to grab the sliding door to enter a hidden room. Take the audio log from inside and this side quest is complete.
Be warned that you’ll be attacked by Necromorphs once you power down the lights or take the battery out of the slot. You’ll need to do the latter in order to power the door to get to the ER Hallway A. The hallways leading to the morgue will have a few Necromorphs in it so be prepared for combat.
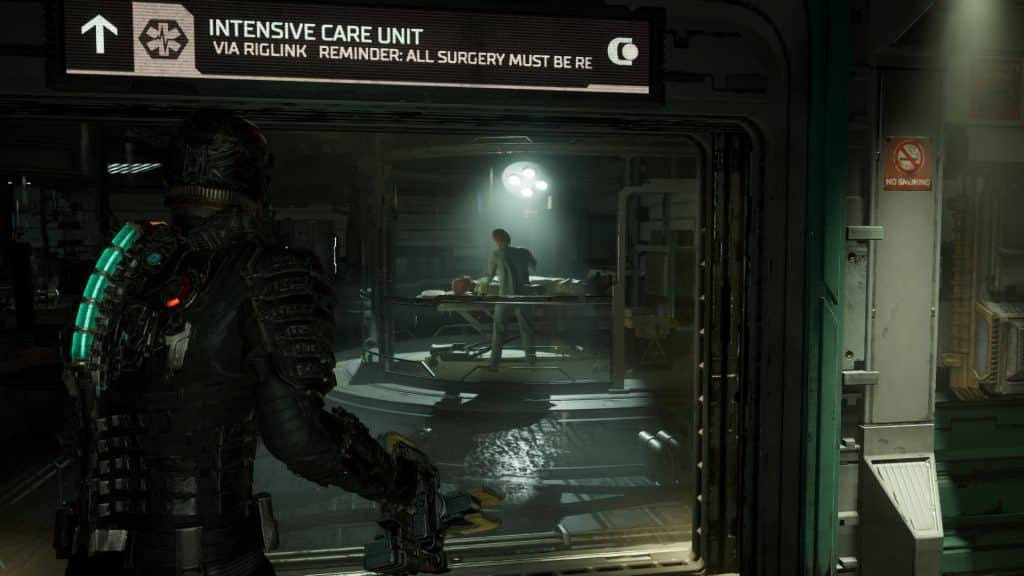
Once you enter the Intensive Care Unit, you’ll find two survivors who don’t last really long. Make your way into the next hallway before the elevator descends into the morgue. A hull breach will occur where the hall will be exposed to the outside for a bit before closing, then a few Necromorphs attack.
Get the Captain’s RIG
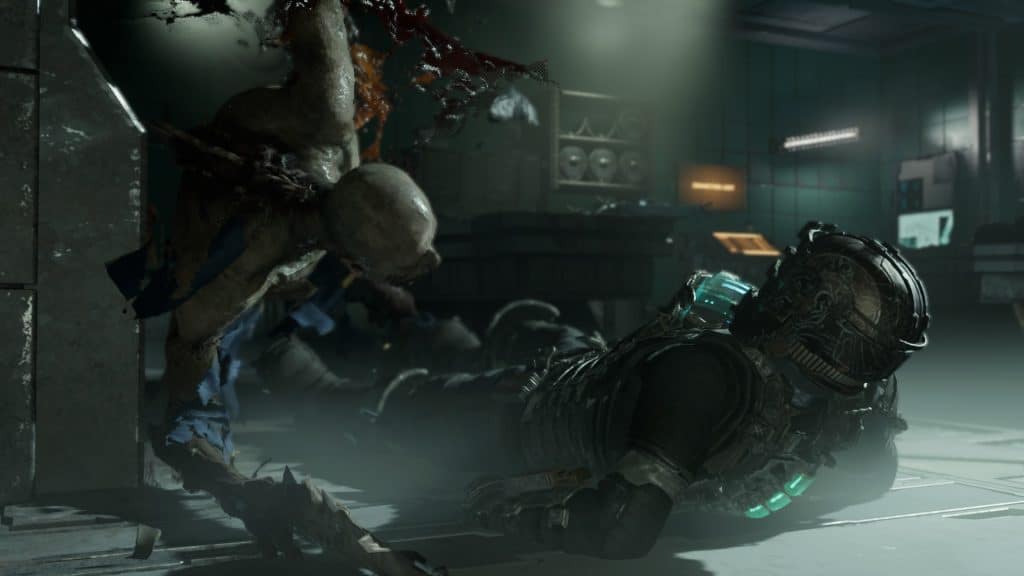
After descending down the elevator, you’ll finally be in the morgue where things are deadly quiet. Stock up on supplies around before heading inside the room where the captain is. The moment you enter that room, a cutscene will trigger where you’ll first be introduced to the Infector which turns Captain Mathius into a superior Slasher Necromorph.
It’ll take a bit more ammo to put down Captain Mathius, but he can be taken out like any other Necromorph. Use Stasis at the start of the fight as his close range means you need to at least gain some distance. Fire at his limbs to quickly bleed him out.
Even after taking out Captain Matthius, you’re not out of the woods yet. More Necromorphs including the Infector will emerge from outside the room you’re in and you need to take them out before proceeding. It’ll be a tough fight but if you utilize the small entrance they have to enter one at a time, you can get out safely.
Wait for Hammond to contact you after putting down all the Necromorphs and he’ll give you Level 1 Clearance which lets you access the elevator at the back. This should take you straight to the Emergency Room in the Ishimura Clinic. The Security Station is just outside.
Go to the Hangar
Hammond will contact you again telling you to go back to the Flight Lounge for an alternate route to get to the Engineering. Head outside of the Security Station into the trams and use your newly acquired Level 1 Security Clearance to lift the lockdown. This will enable fast travel to Medical.
Go ahead and use the trams for a quick way to the Flight Lounge. Your goal is to head to the Hangar where the USG Kellion once was and make your way to Engineering. Once in the Hangar, use Zero-G to float to the objective.
After taking off on Zero-G, you’re finished with Dead Space Remake Chapter 2: Intensive Care.
If you like our article, here’s more Dead Space Remake content that you’ll love:
- All Dead Space Remake Suits (RIGs) & how to unlock them
- Dead Space Remake: How to increase the inventory space
- Dead Space Remake: How to restore Stasis?
- Dead Space Remake: How to save the game?
- Dead Space Remake: How to heal?
Here’s a Youtube video from Megaspartan23 showing a no-commentary playthrough of Chapter 2: Intensive Care in Dead Space Remake.


