")
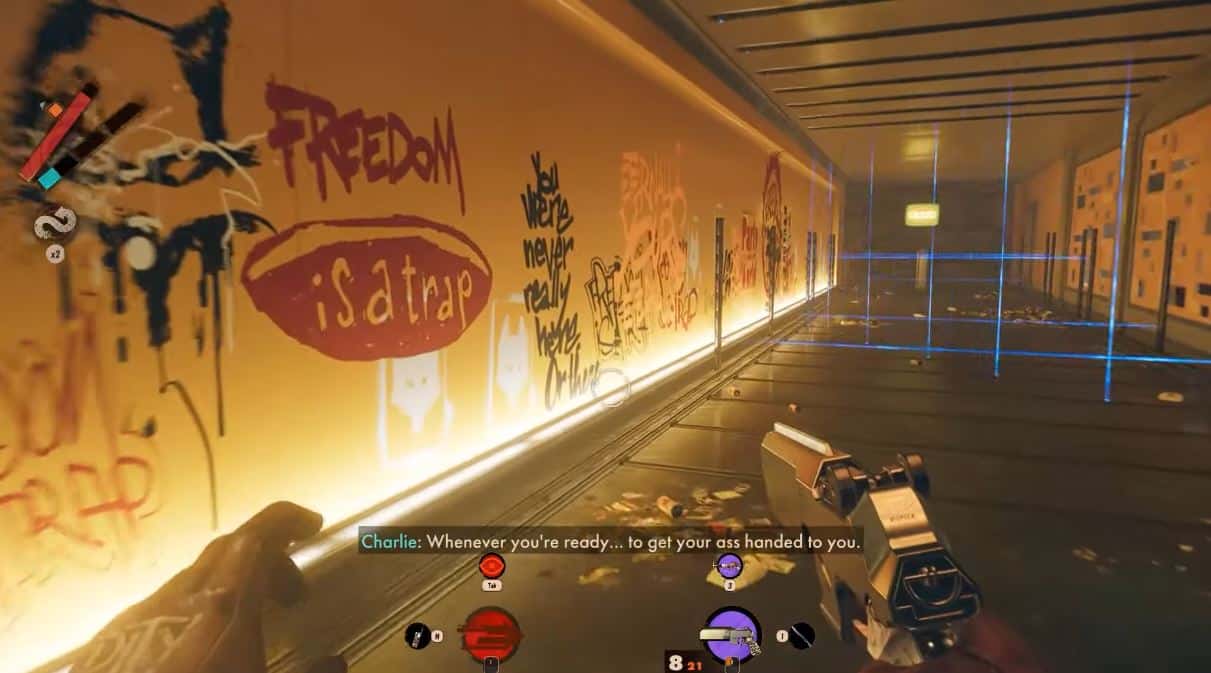
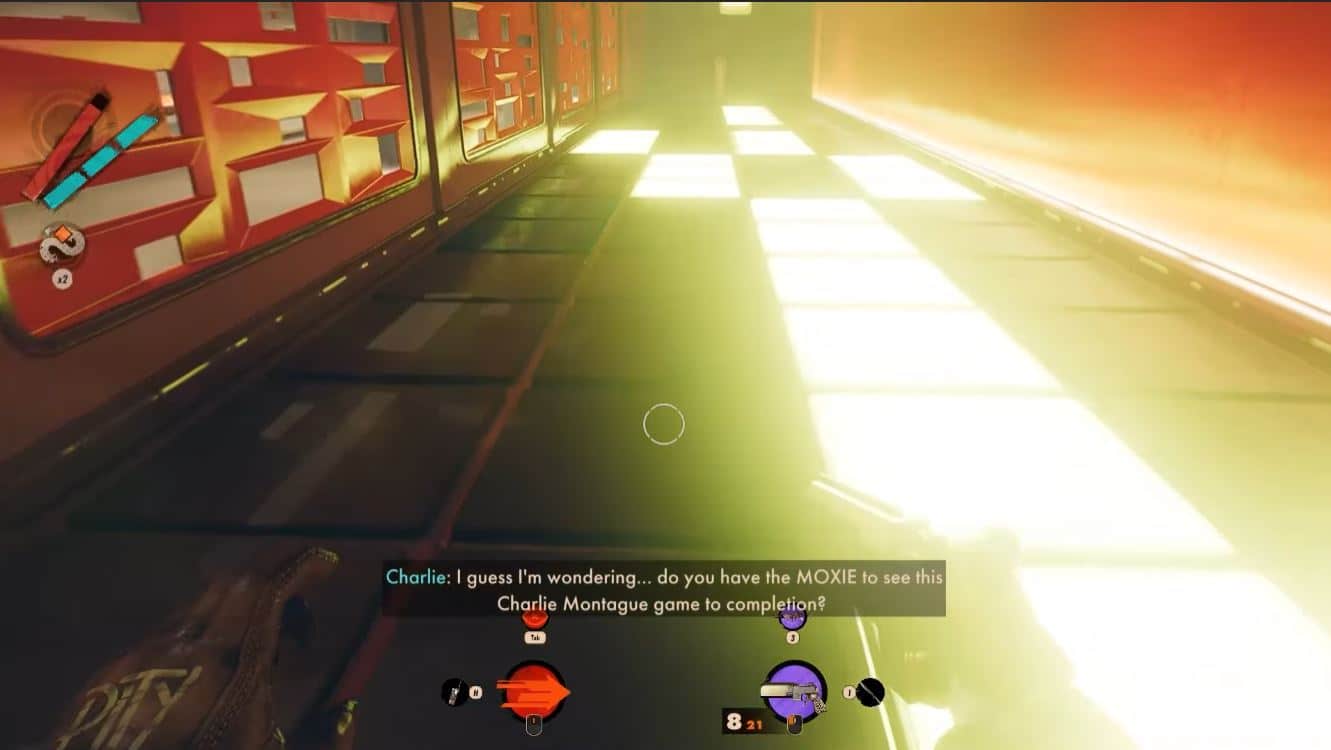
You are probably thinking that you need to bust out some dance moves and move funky when it comes to the word, Moxie. But in Deathloop, it is not for it is a labyrinth of lasers wire and light-up floor panels that players must get through in a short amount of time. We have created the perfect guide to get through this hard course in the game.

How To Reach The Moxie in Deathloop
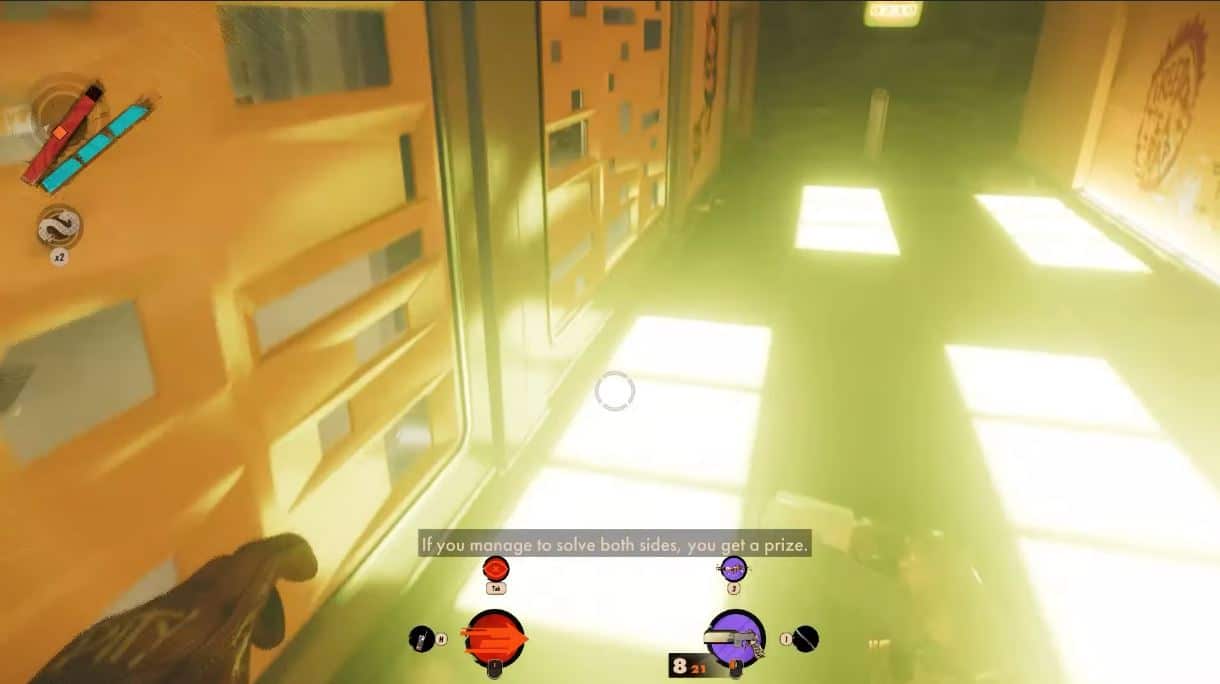
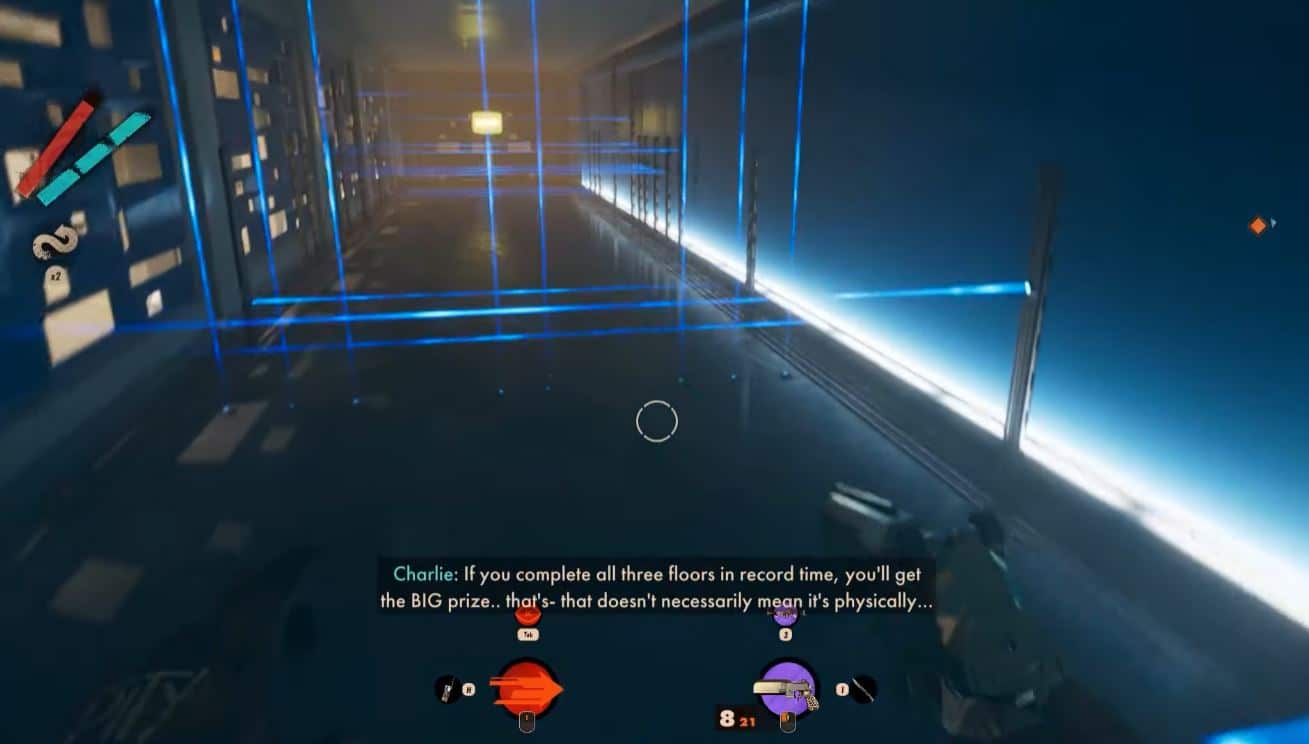
The Moxie is located at the Updaam, right outside of one of Colt’s tunnels, and opens during the afternoon. There are 3 floors in total to tackle in The Moxie and completing this challenge within the required time will award players a very advantageous gift for them to use in completing the game.
1st Floor Of The Moxie
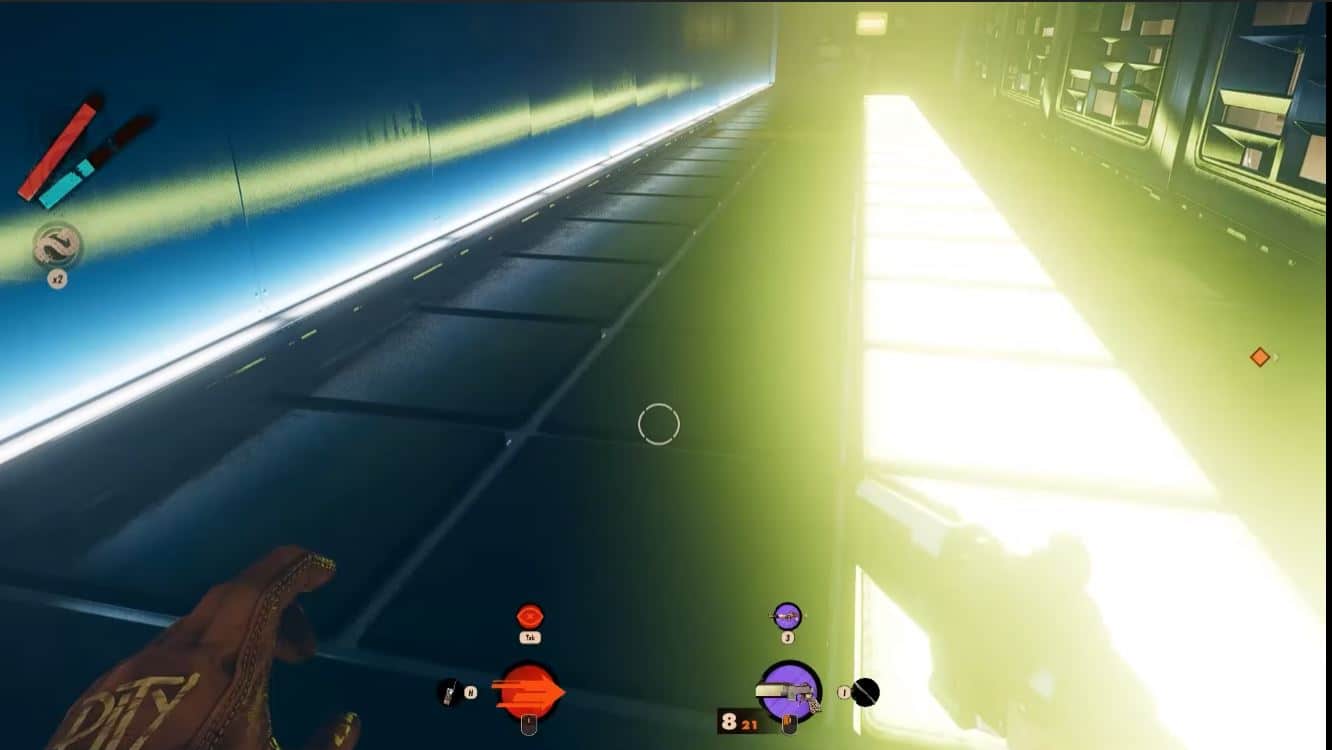
The 1st floor of the Moxie is very easy to solve as it requires squeezing through the lasers. Using the Shift Slab is the best solution as you can zip past through them.
Go under the 1st beam and shift past through the laser grid moving side to side. Head straight down until you see a room. Continue shifting through the remaining lasers.
Finally, after getting through the lasers, there will be a room full of floor panels. There are pressure plates that light up in blocks of three and move down towards you. Jump between them and anticipate when it’s the right time to move in. After clearing them, you will succeed in clearing the 1st floor and can head upstairs.
2nd Floor of The Moxie
The 2nd floor will start with a room full of pressure plates. Like the 1st floor, it’s easy to avoid them as it requires doing a single jump as the block of lights moves one square left or right in a uniform fashion every second. Avoid using double jumps as it will end badly for you.
After getting through the panels, the laser beams will come next. This time it will be harder to get through as they are numerous. Hop the 1st laser beam with a single jump and then shift forward to the left side to move past them. At the last laser, move underneath it and shift again to reach the end.
3rd Floor of The Moxie
The final floor is the last area to get through as it starts with lasers once more on the left and pressure plates on the right. Like the first two floors, either using a single jump or shifting through is required.

At the 3rd set of lasers, you need to line up three quick Shifts. In the middle room, there are three sets of lasers moving forwards and backward with the two on the outside moving the opposite way to the one in the middle. Shift through them in a zig-zag direction starting left side to get through easily.
In the pressure plate area, it is very easy to get through. The start and end of this puzzle are the same as the floor below where the blocks move in a long line altogether. Shift past through the scattered blocks in the middle and shift again towards the end. Doing all this will not only complete the 3rd floor.
Deathloop The Moxie Rewards
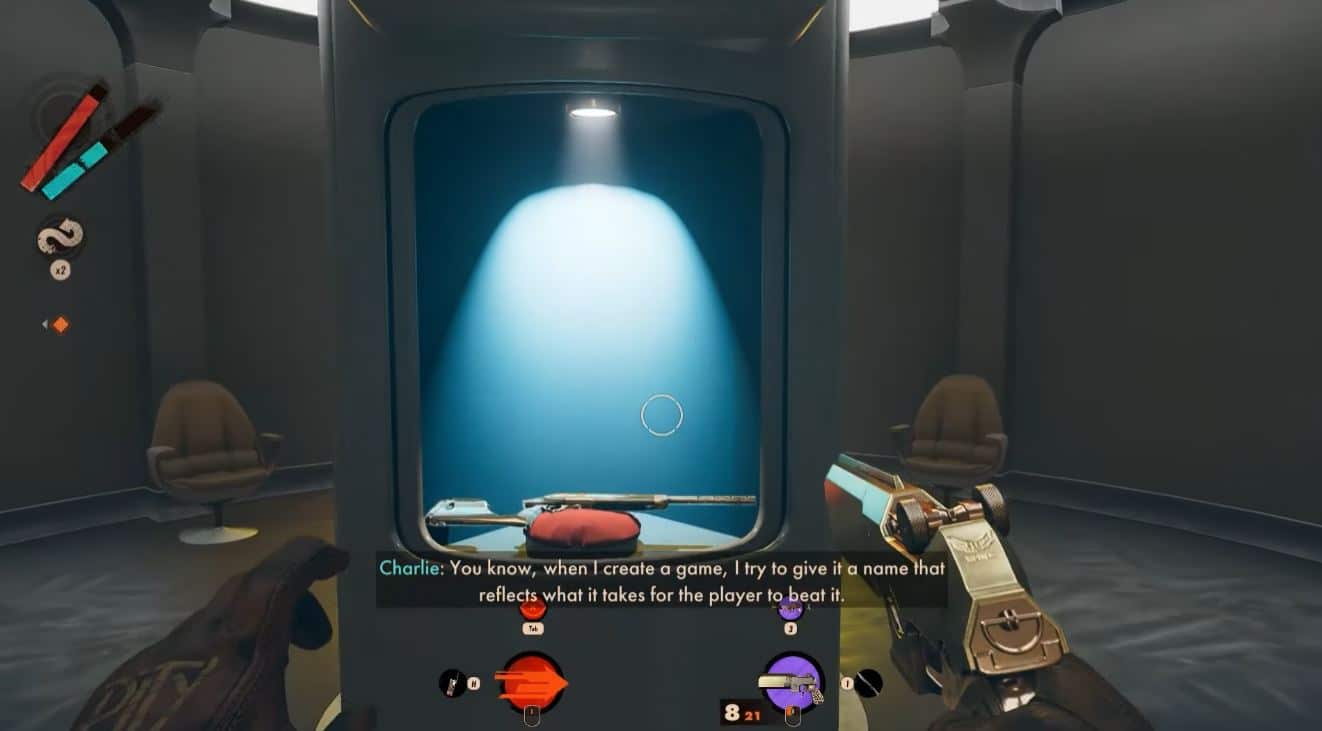
Completing this unexpected labyrinth will be awarded. Players can claim the infinite ammo weapon known as the Rapier and can wreak havoc against the Eternalists and more.
To see all of the Deathloop Guides and other related articles, check them out here below:
- Deathloop Xbox Version Confirmed
- Deathloop Game Update 3 Released Today Adding New Interesting Free Features
- Deathloop Update Addresses Players’ Biggest Issues
- Deathloop Trophy Guide and How to Get Platinum
- Deathloop Guide: The Complete Weapons List and the Best Ones
- Deathloop Updaam Combination Location Guide
- Deathloop – Review
Check out this guide by I Suck @ Gaming to see how to get through the most difficult maze, The Moxie found in Deathloop.


