
A relic of its time, the Xenophage quest is a long and convoluted multistep quest that unlocks the Xenophage Exotic Machinegun. The weapon is a very powerful machine gun and is the bane of many a player in Gambit.
This Destiny 2 Exotic guide will tell you all the steps necessary to unlock the elusive machine gun. But before we proceed with the guide, you should know that to have access to the Xenophage, you first need to have access to the Shadowkeep DLC and the Pit of Heresy Dungeon. We don’t believe that you start the Exotic quest without the DLC.
As an alternative, if one of your friends has access to the Pit of Heresy Dungeon, you will have to tag along in order to complete steps 3 and onward.
Oddly enough, you can’t get the quest from the quest kiosk. It’s just odd considering you can get the Wish Ender quest from one of those kiosks. Buckle up everyone, this is going to be a long quest.
How to Start Xenophage Quest in Destiny 2
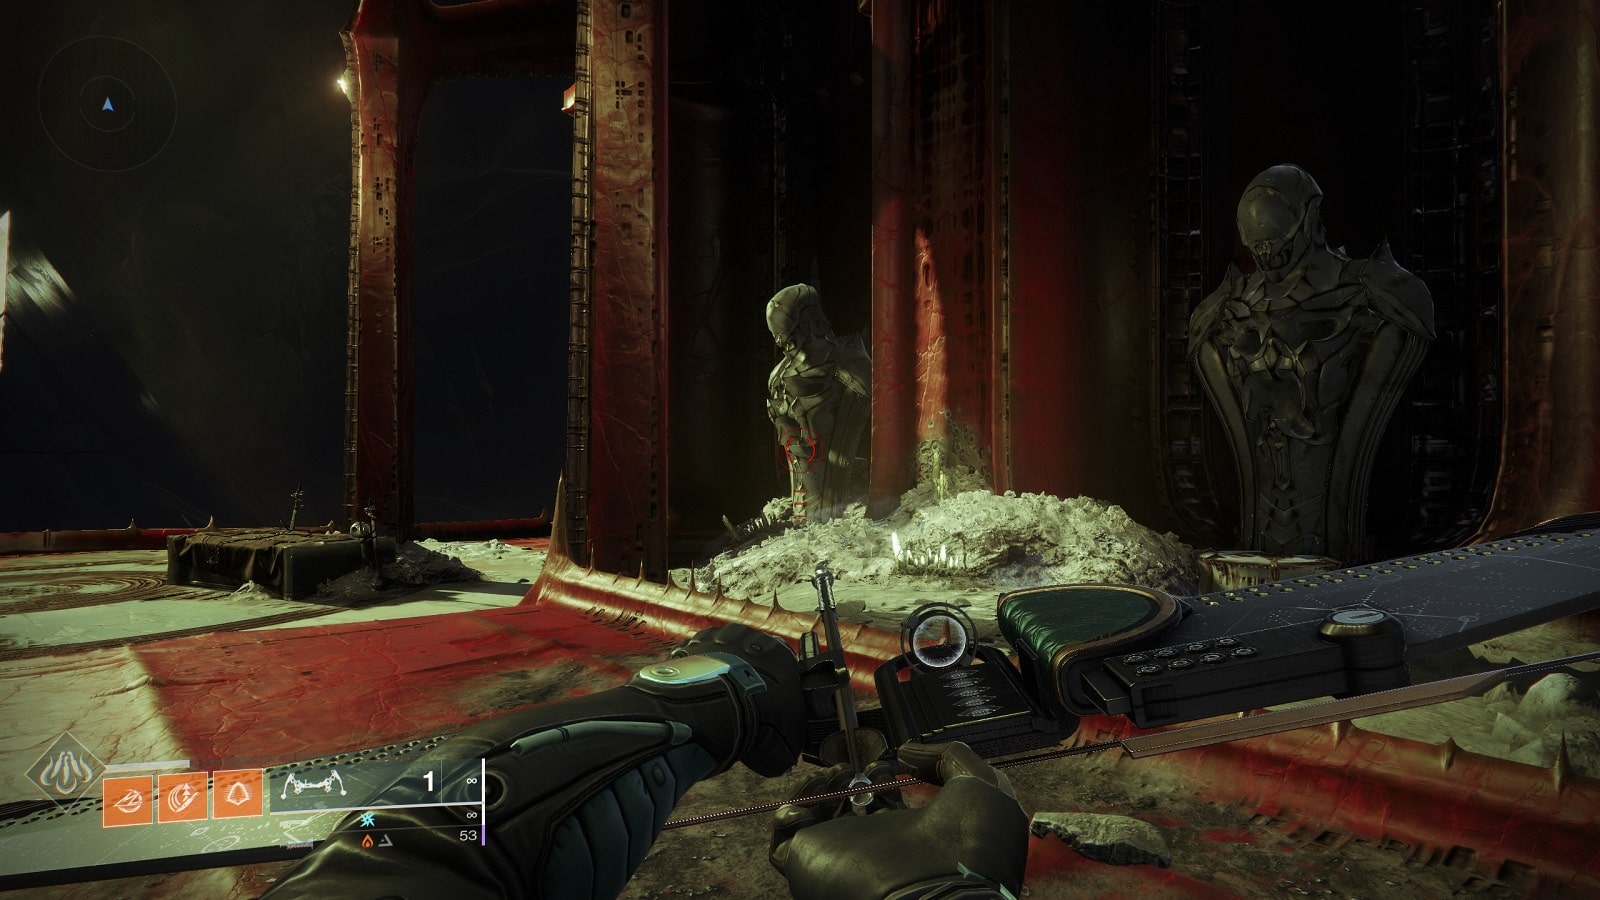
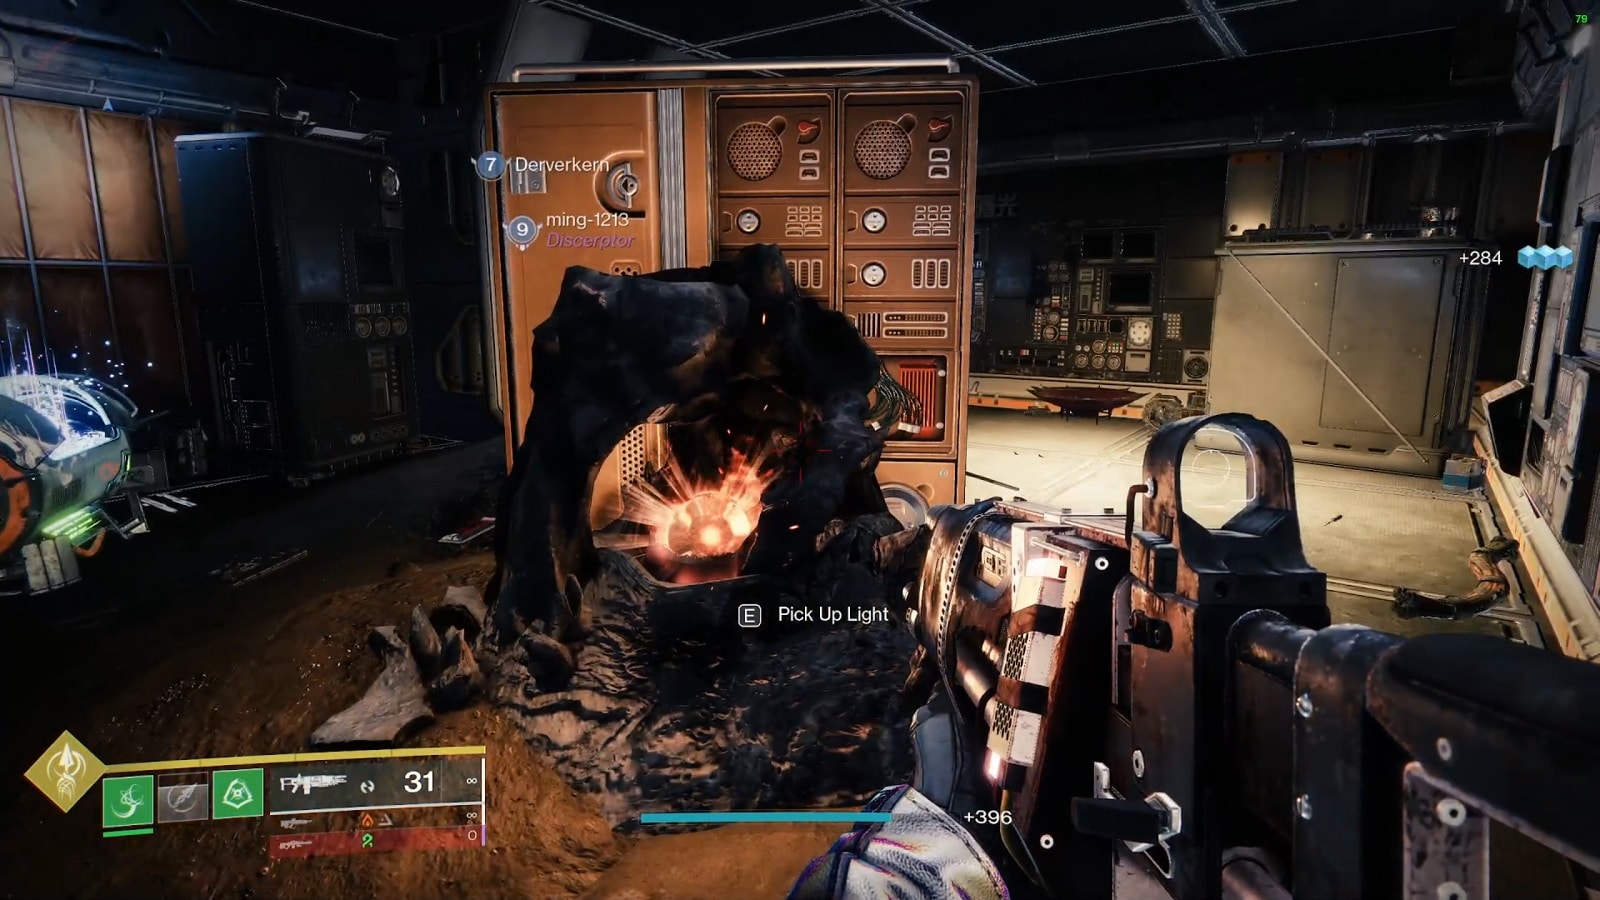
In order to get the quest, you first need to go back to the Scarlet Keep, preferably after completing the Shadowkeep campaign. Then you’ll need to summon a chest that holds the Xenophage quest.
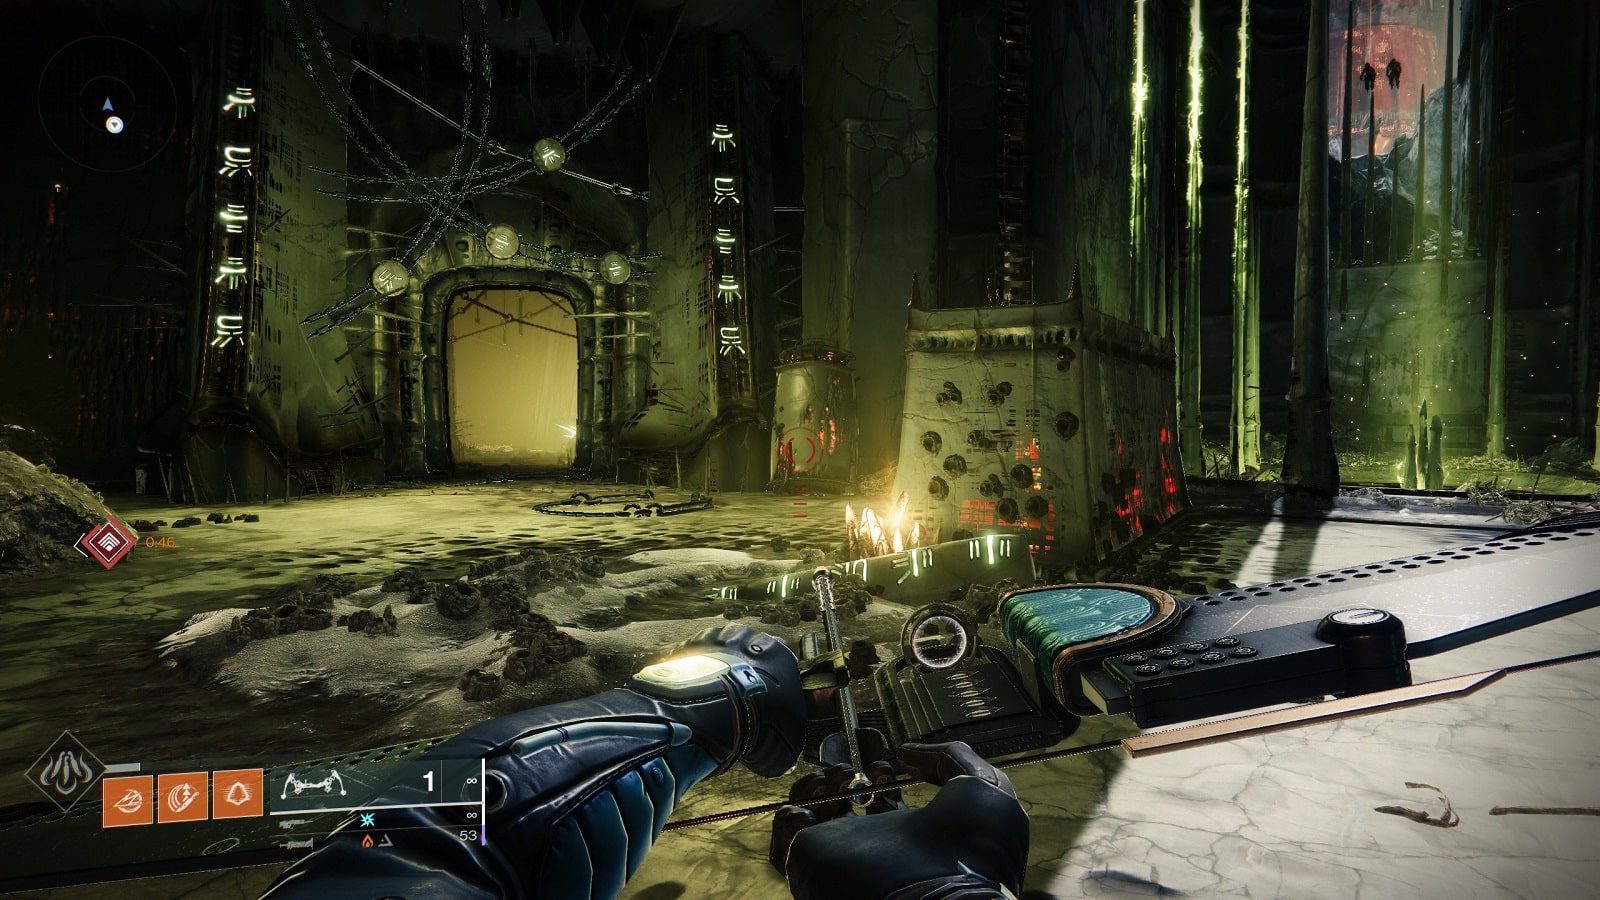

Go through the left door and keep going down the tunnel until you see a glowing lantern on the ground. Above it, you’ll find a side passage that leads to an open-air chamber. You will find four statues around the chamber. You need to activate the statues in this order to make the chest that holds the quest appear.
The reference point is where you entered the chamber. The front side is closer to the entrance and the back one is the one beside it.
- Front right
- Back right
- Front left
- Back left
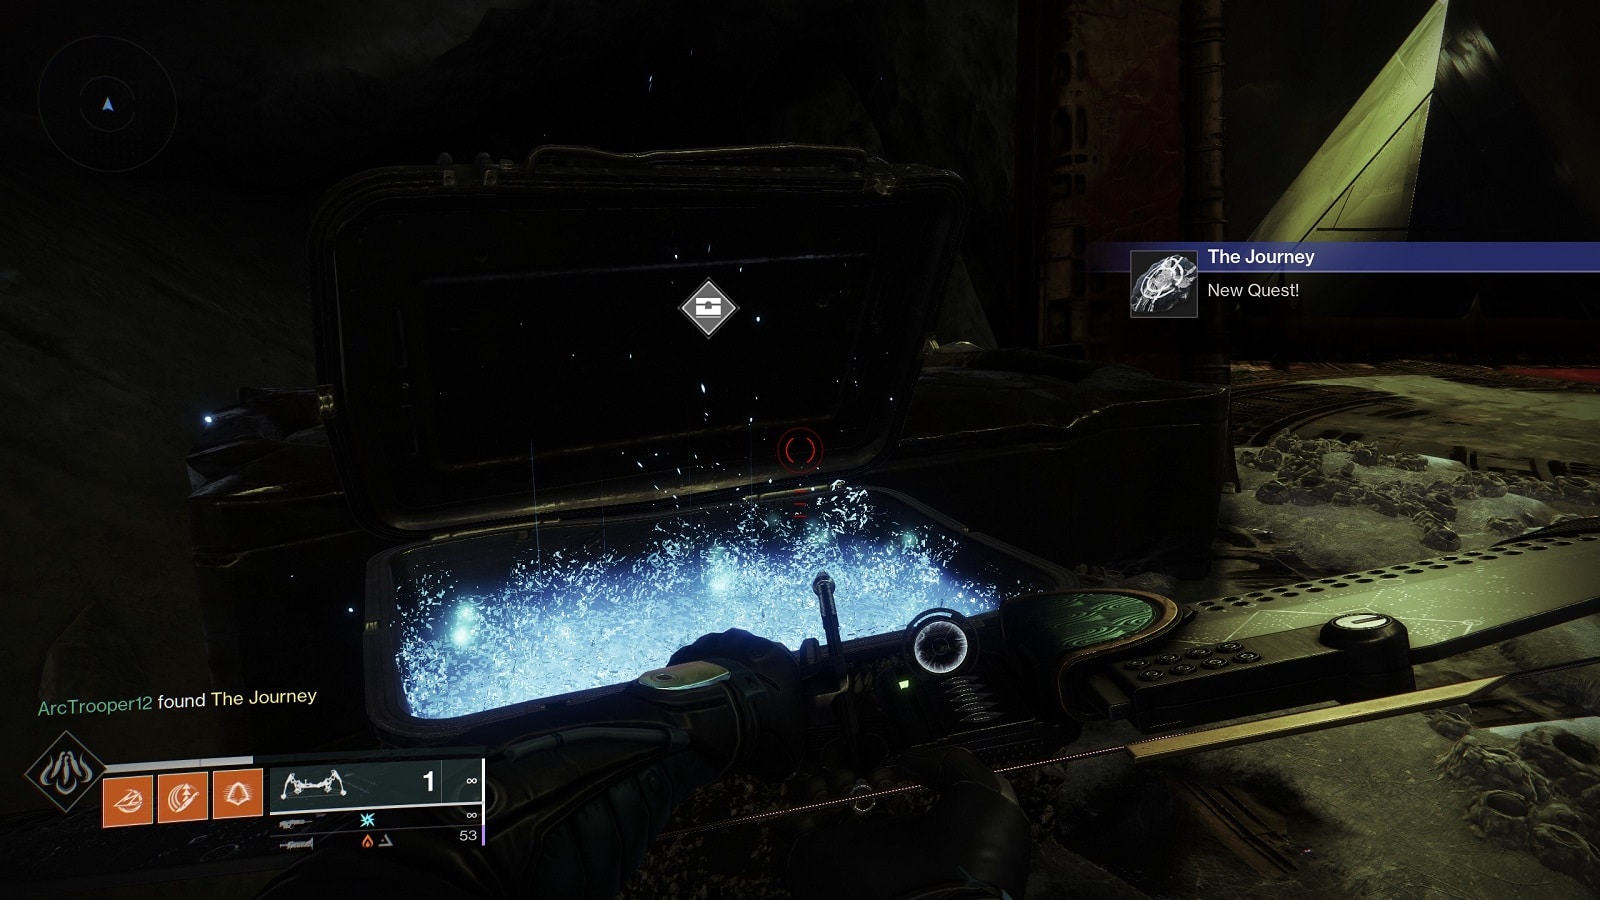
The Journey Quest Steps
There are 6 steps to this Destiny 2 Exotic quest. They will take you all over the Moon and several of the steps will take you through the depths of the Pit of Heresy Dungeon.
The Journey Step 1
Around you… darkness. If you are to discover your path, you much anchor yourself to light.
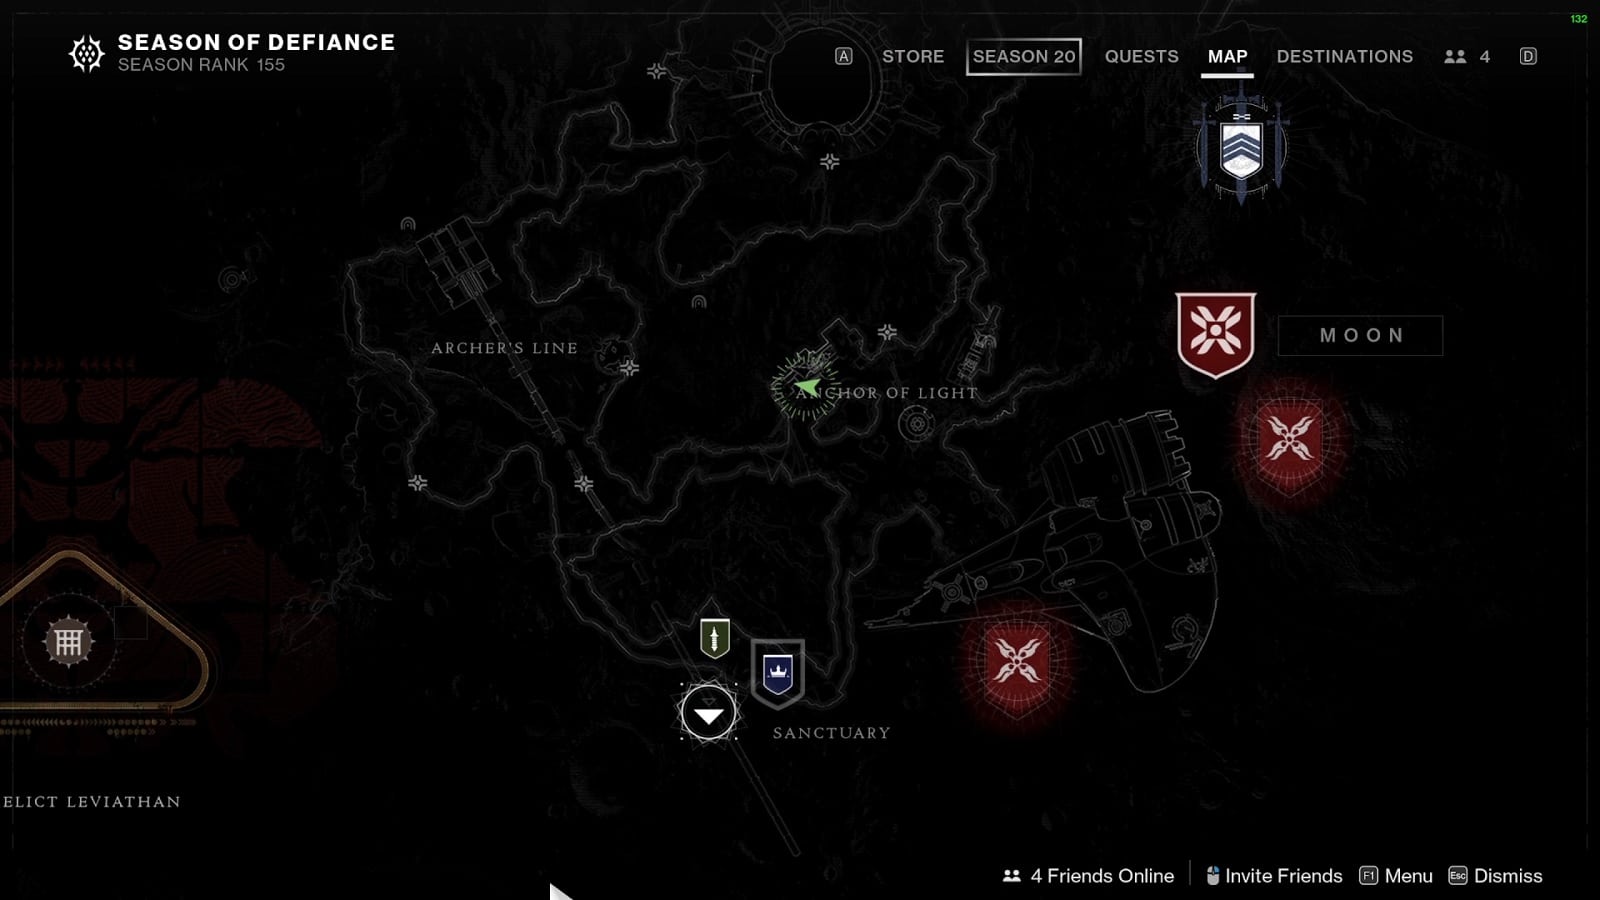
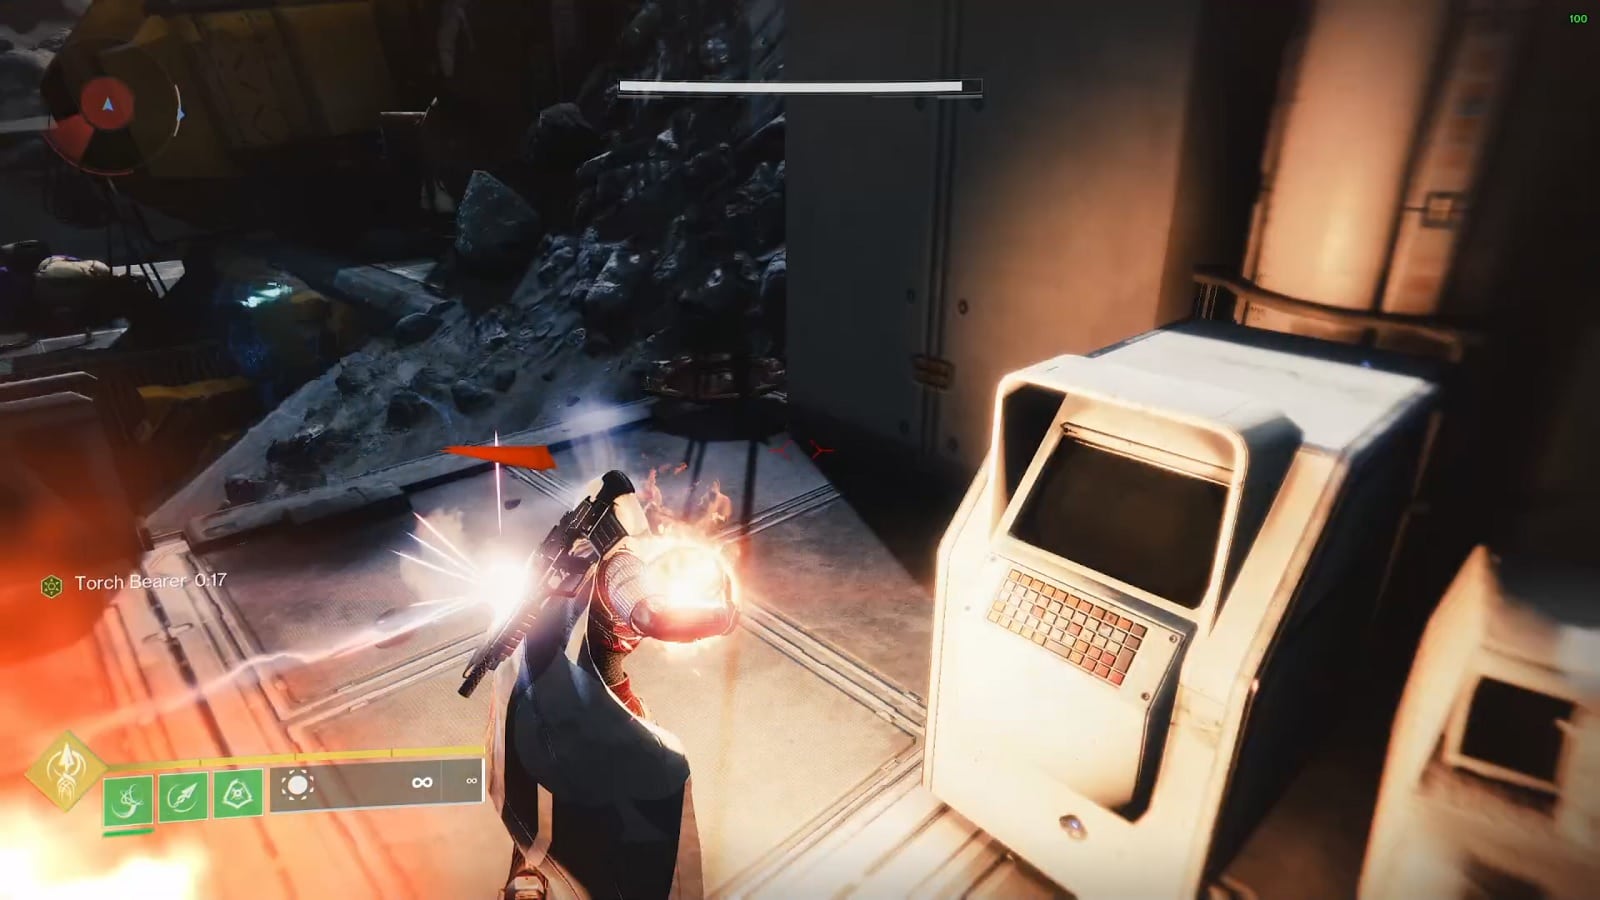
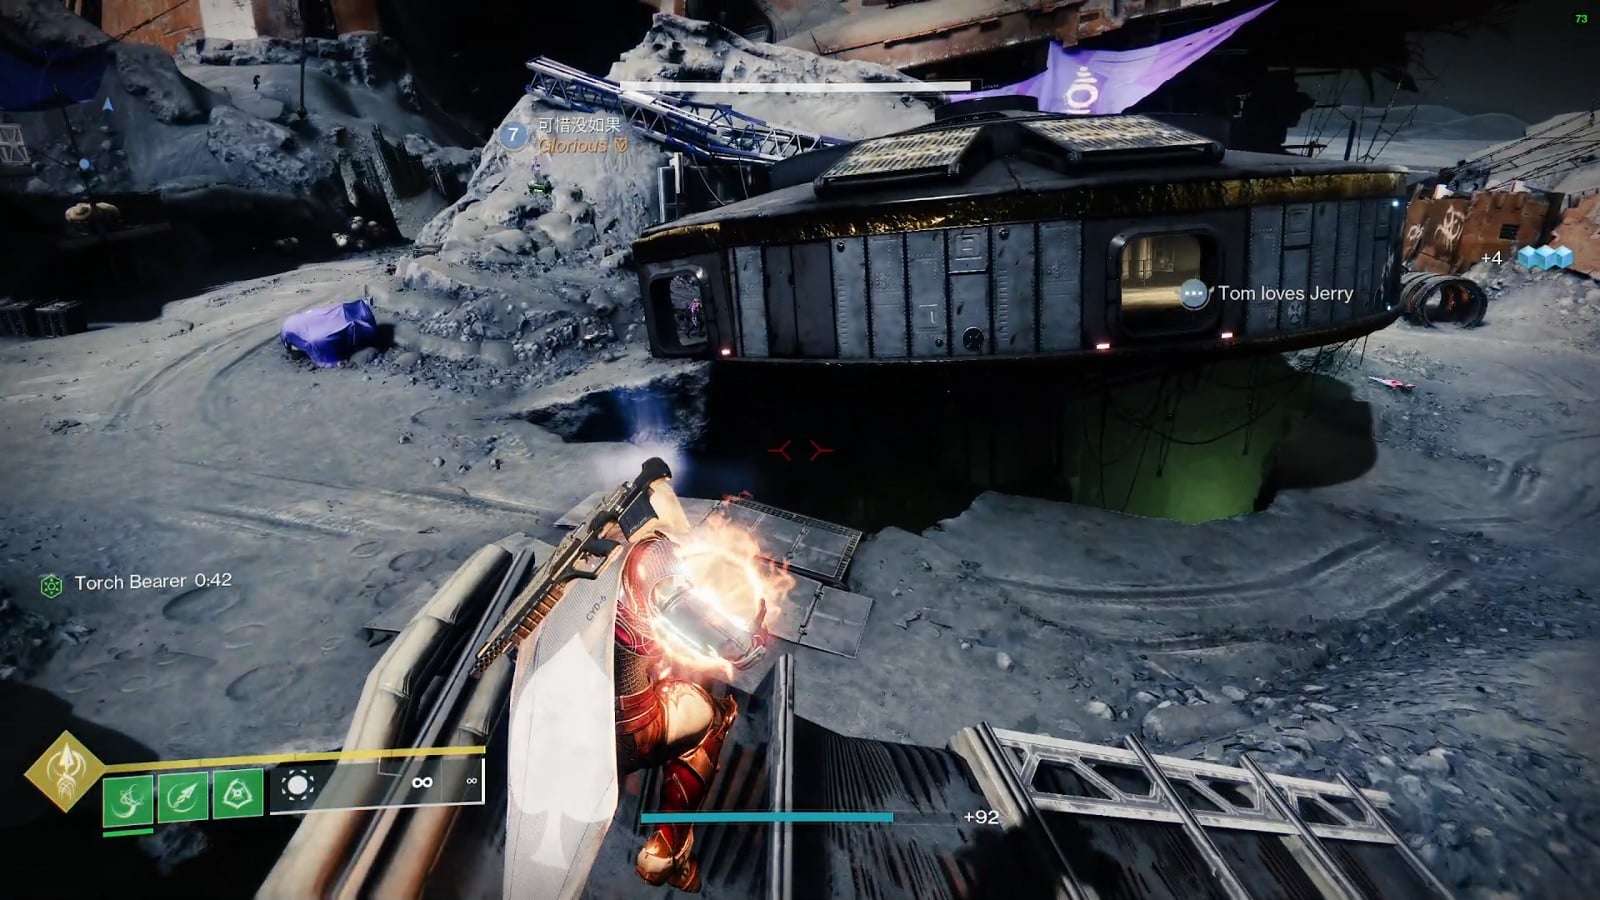
For this first step in the Xenophage quest, there will be six braziers that you will need to light ignite using your Light. Start by going to this location on the West side of Anchor of Light. (Refer to the image above.)
All six braziers are located all around the immediate area. Even so, the braziers are located in some pretty obscure places. It may take a few tries until you get it right since you have to do it in this specific order.
If you have the quest active, the brazier will be visible to you even if you don't have the ball of Light in your possession. This will allow you to find them before-hand and plan your route.
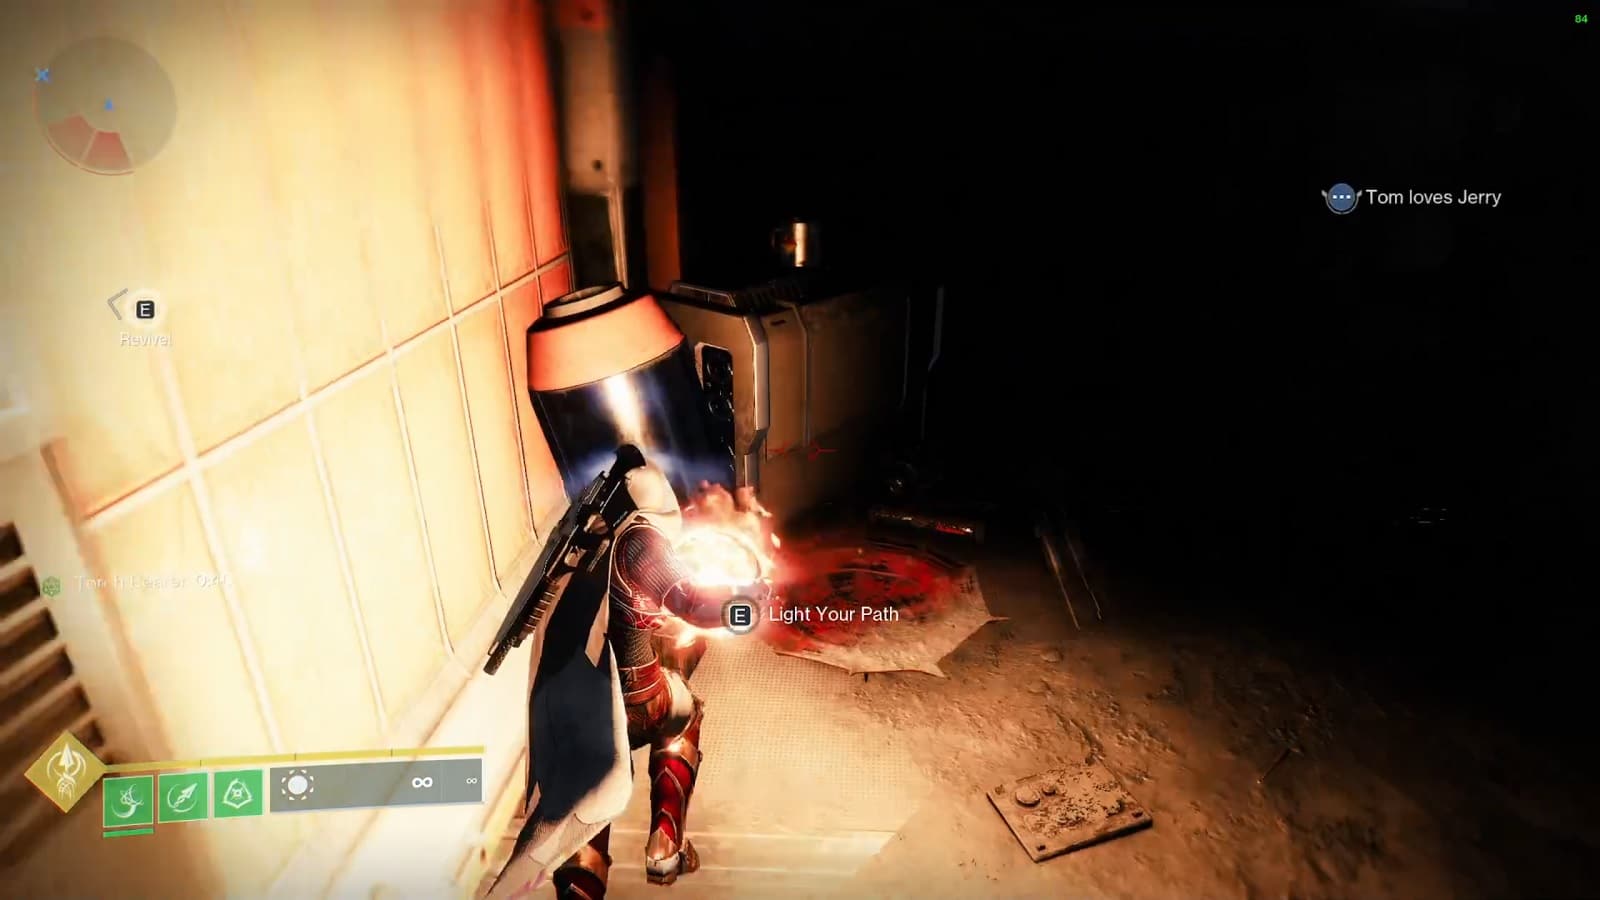
1st Brazier
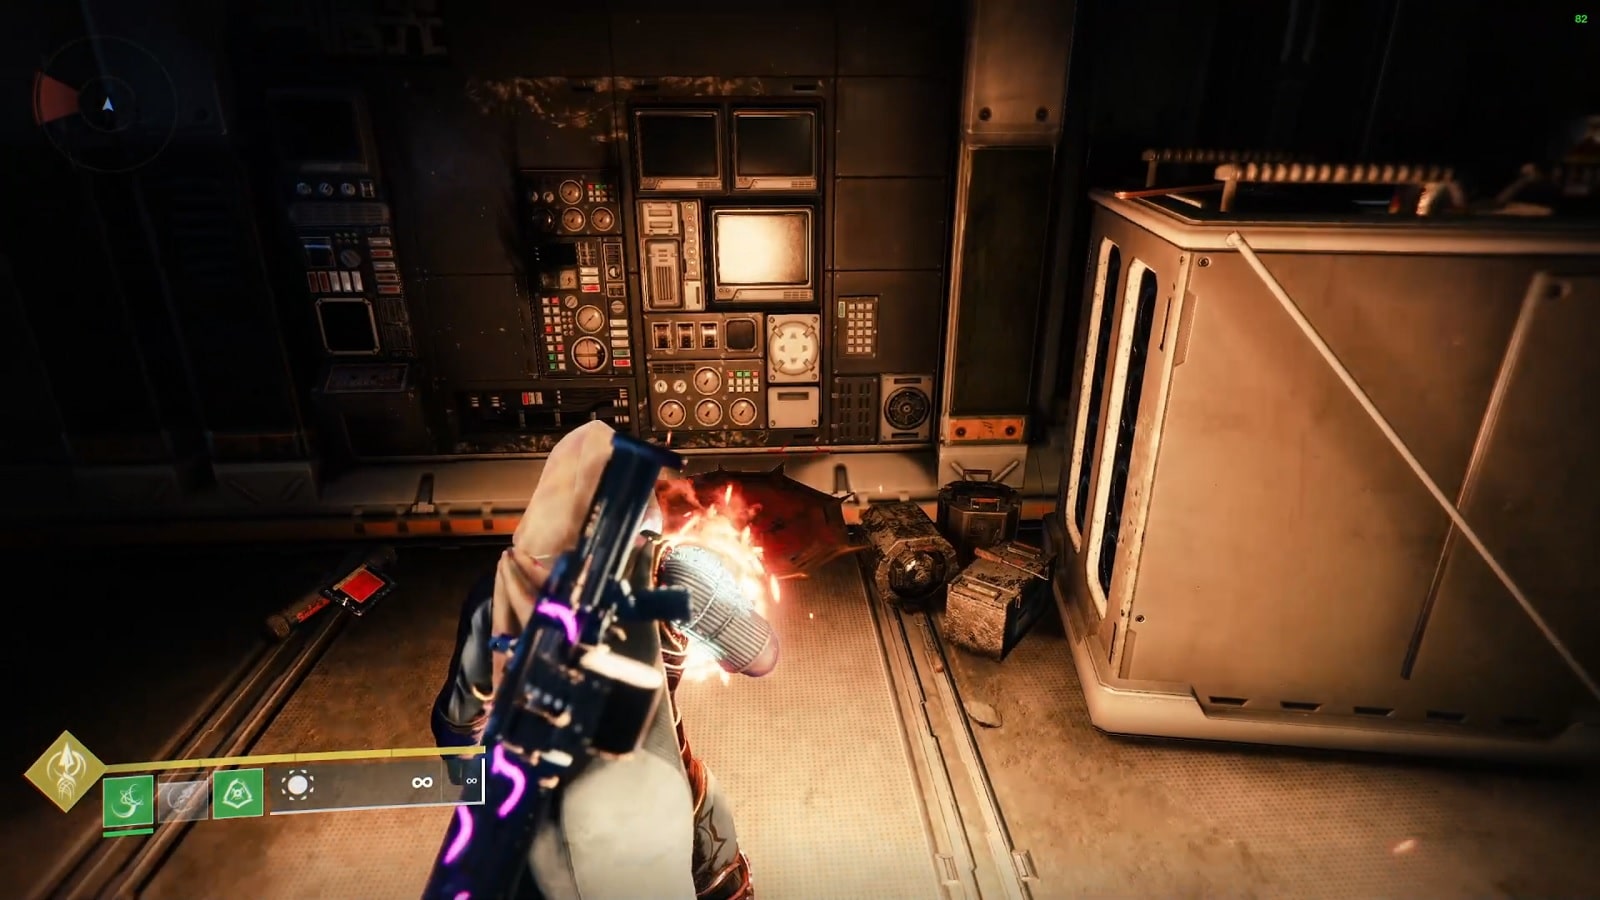
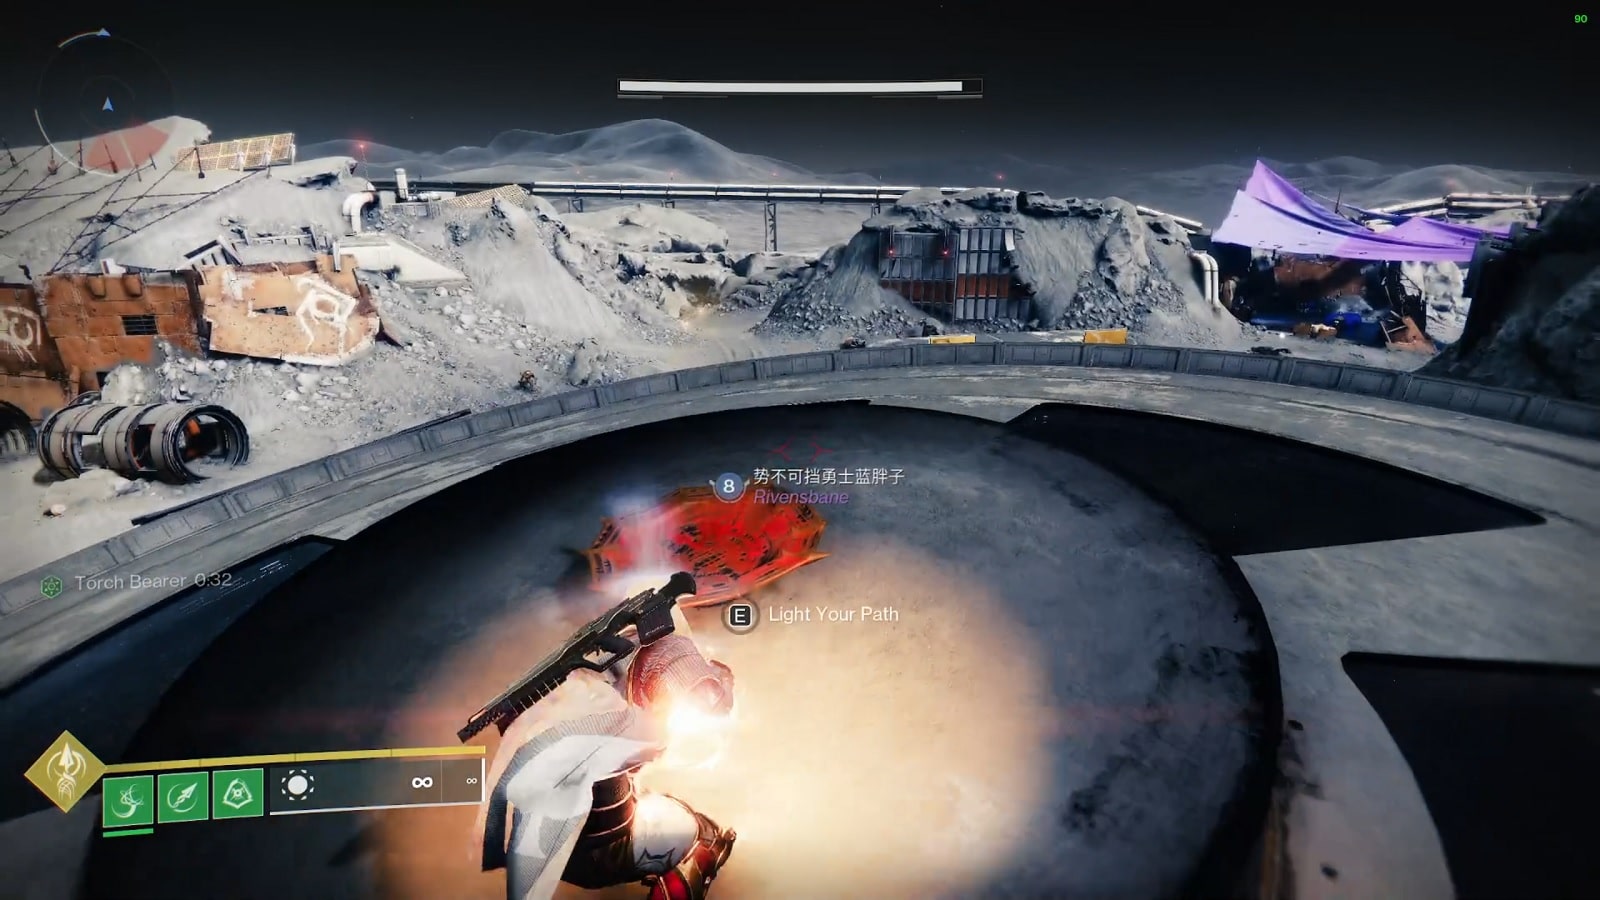
The first brazier is located beside the receptacle. Once you light it up, you’ll receive the Torch Bearer buff and now you have 60 seconds to get to the next brazier. Quickly exit the area and head for the main road.
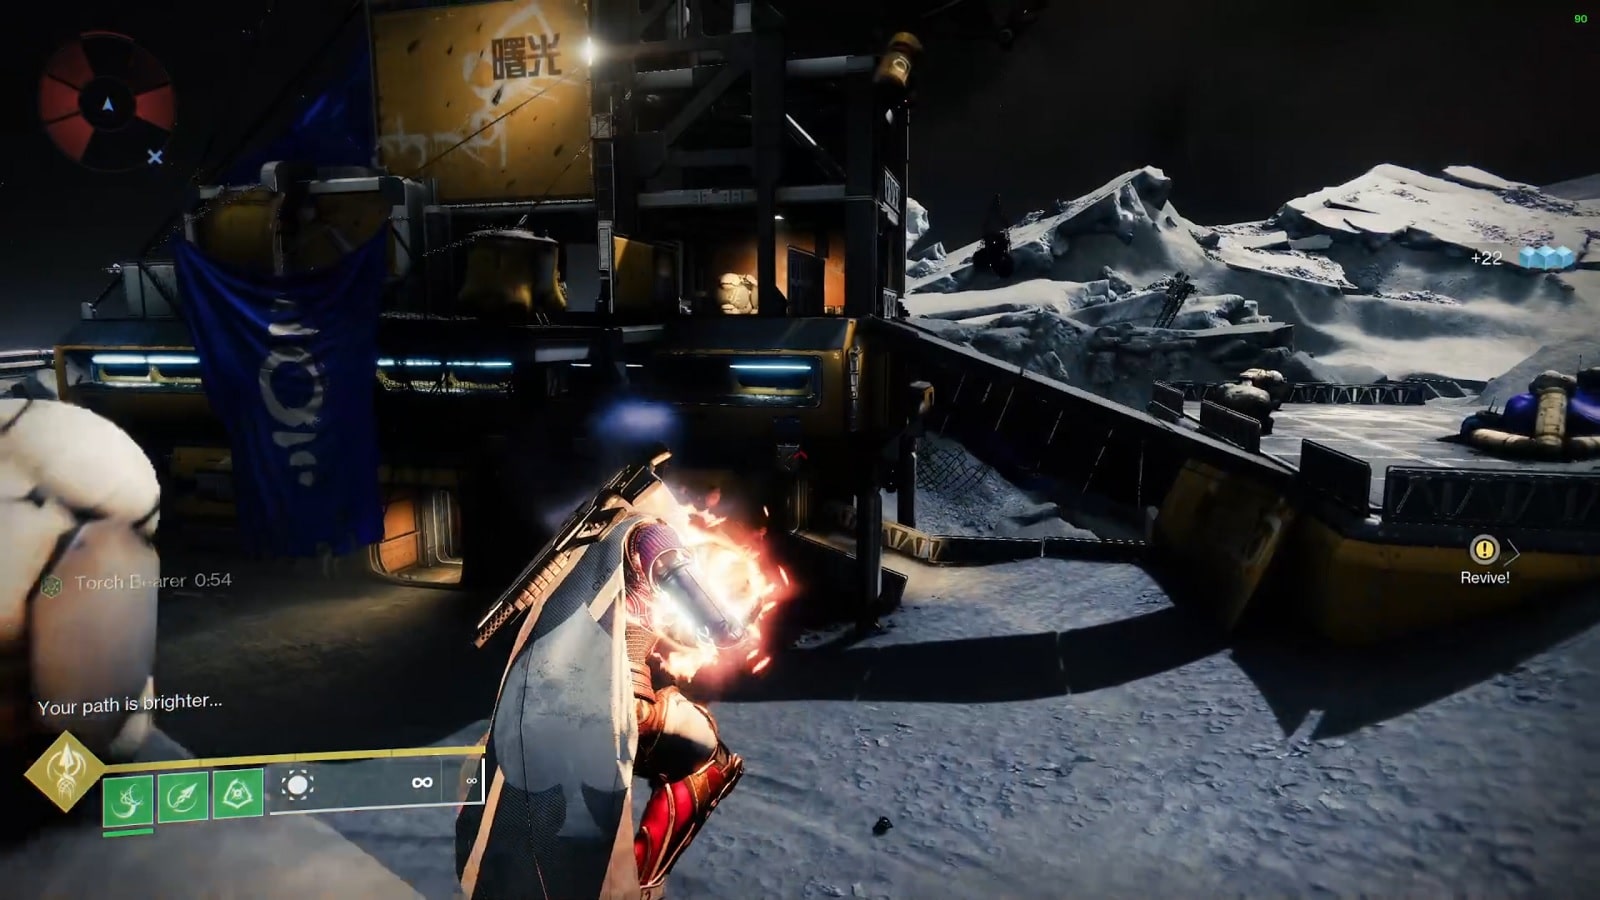
2nd Bazier
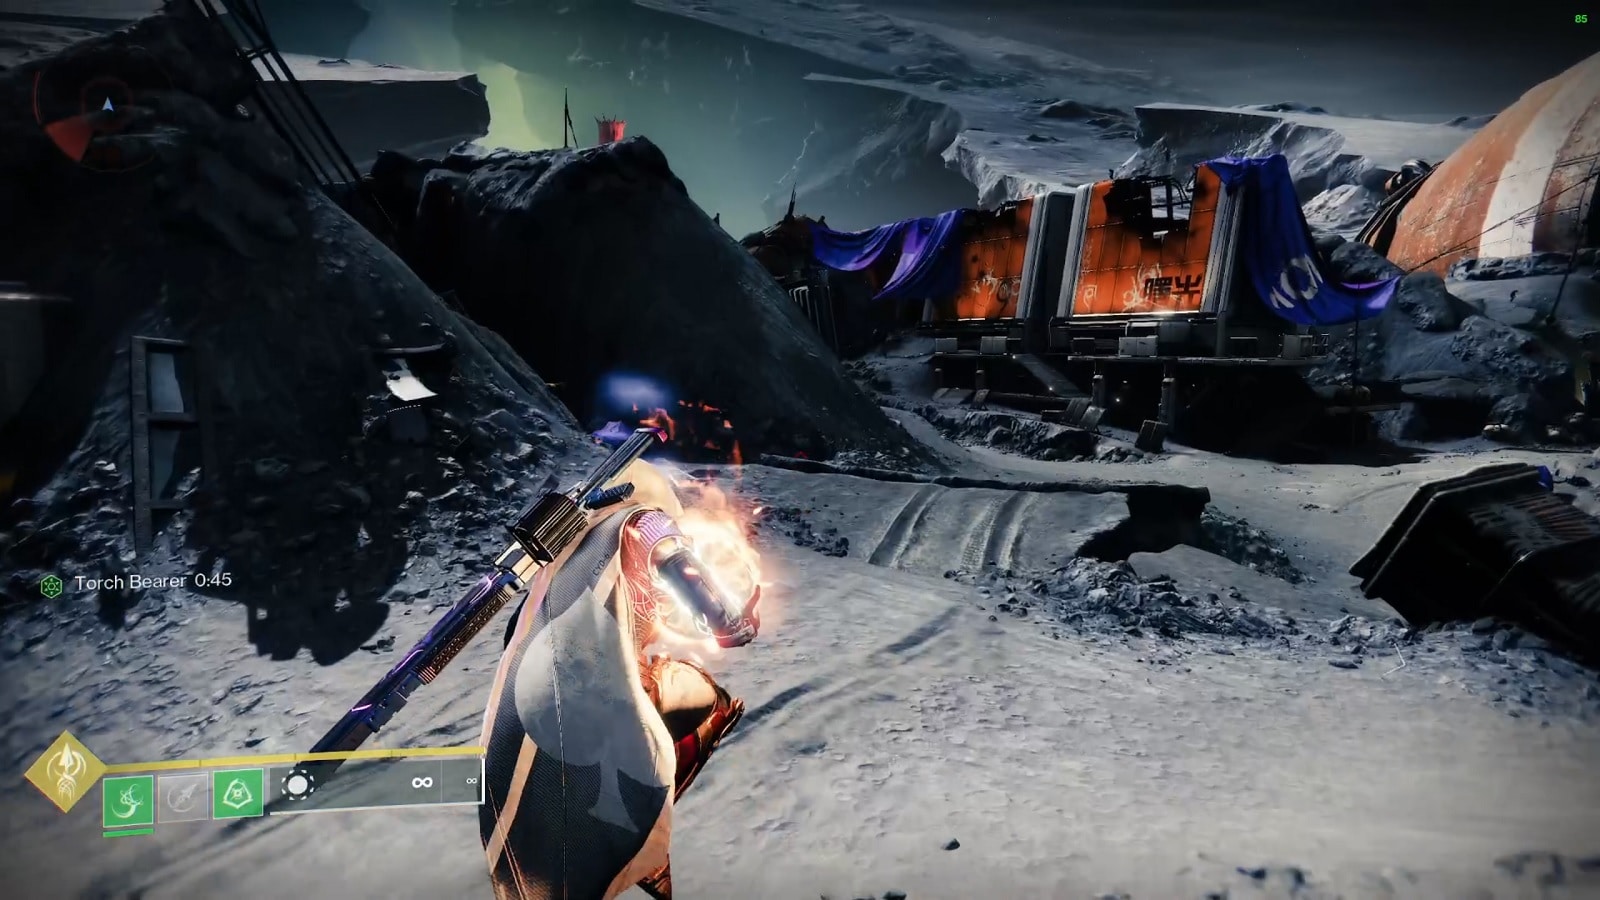
The second brazier can be found on the slopes along the main road. (Look for that orange building if you lose your bearings). It is located on top of some platforms. Light it up and head back in the direction you came from.
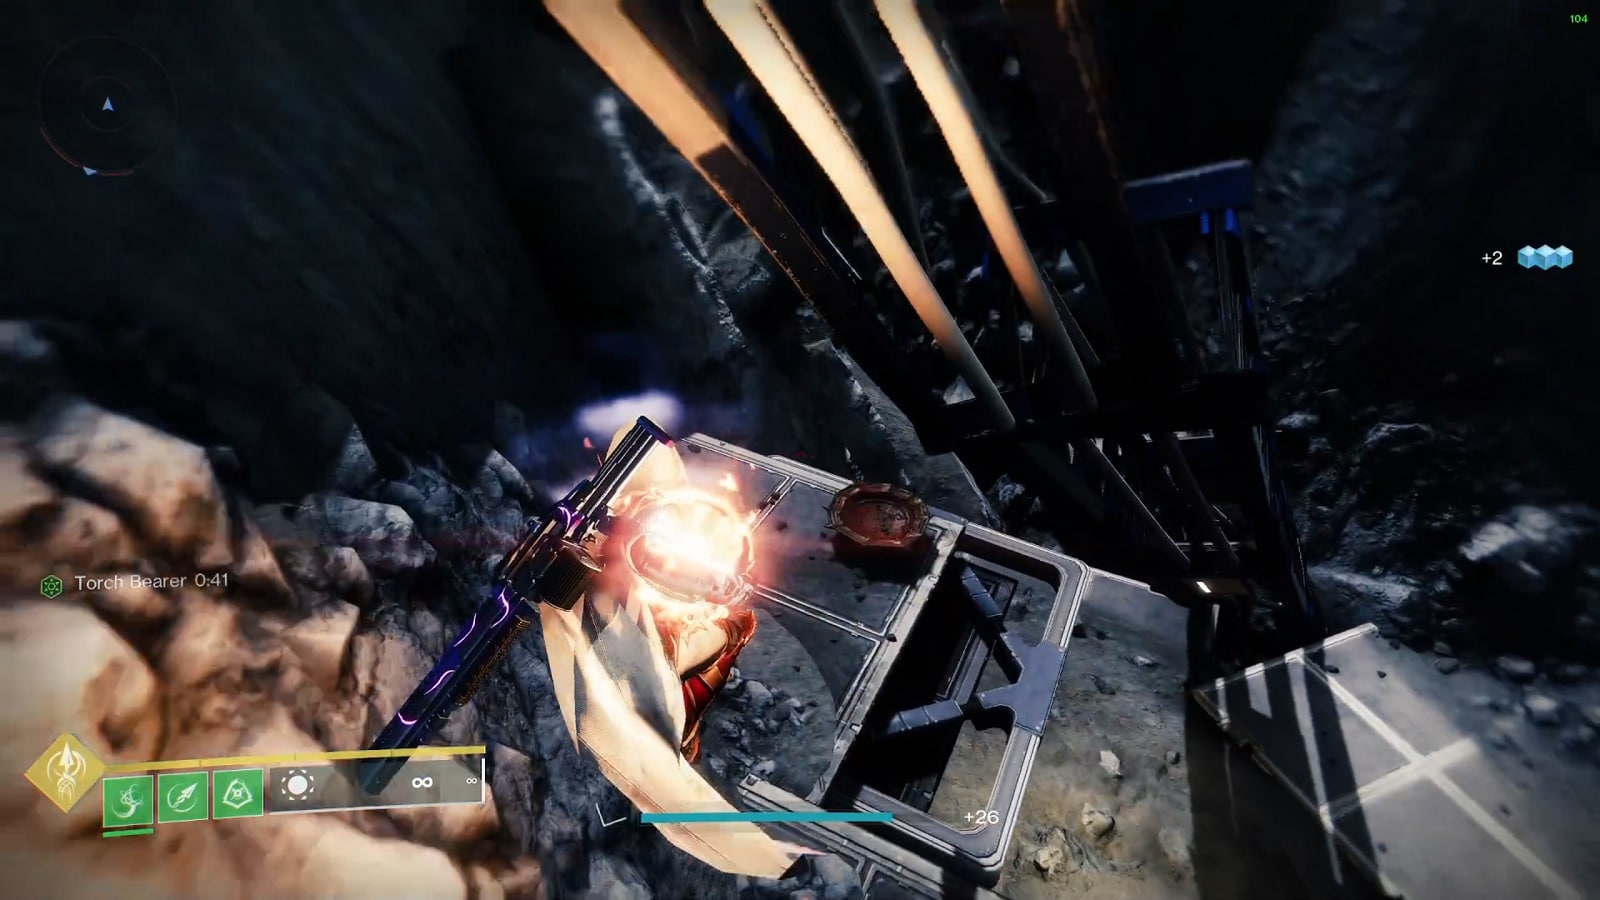
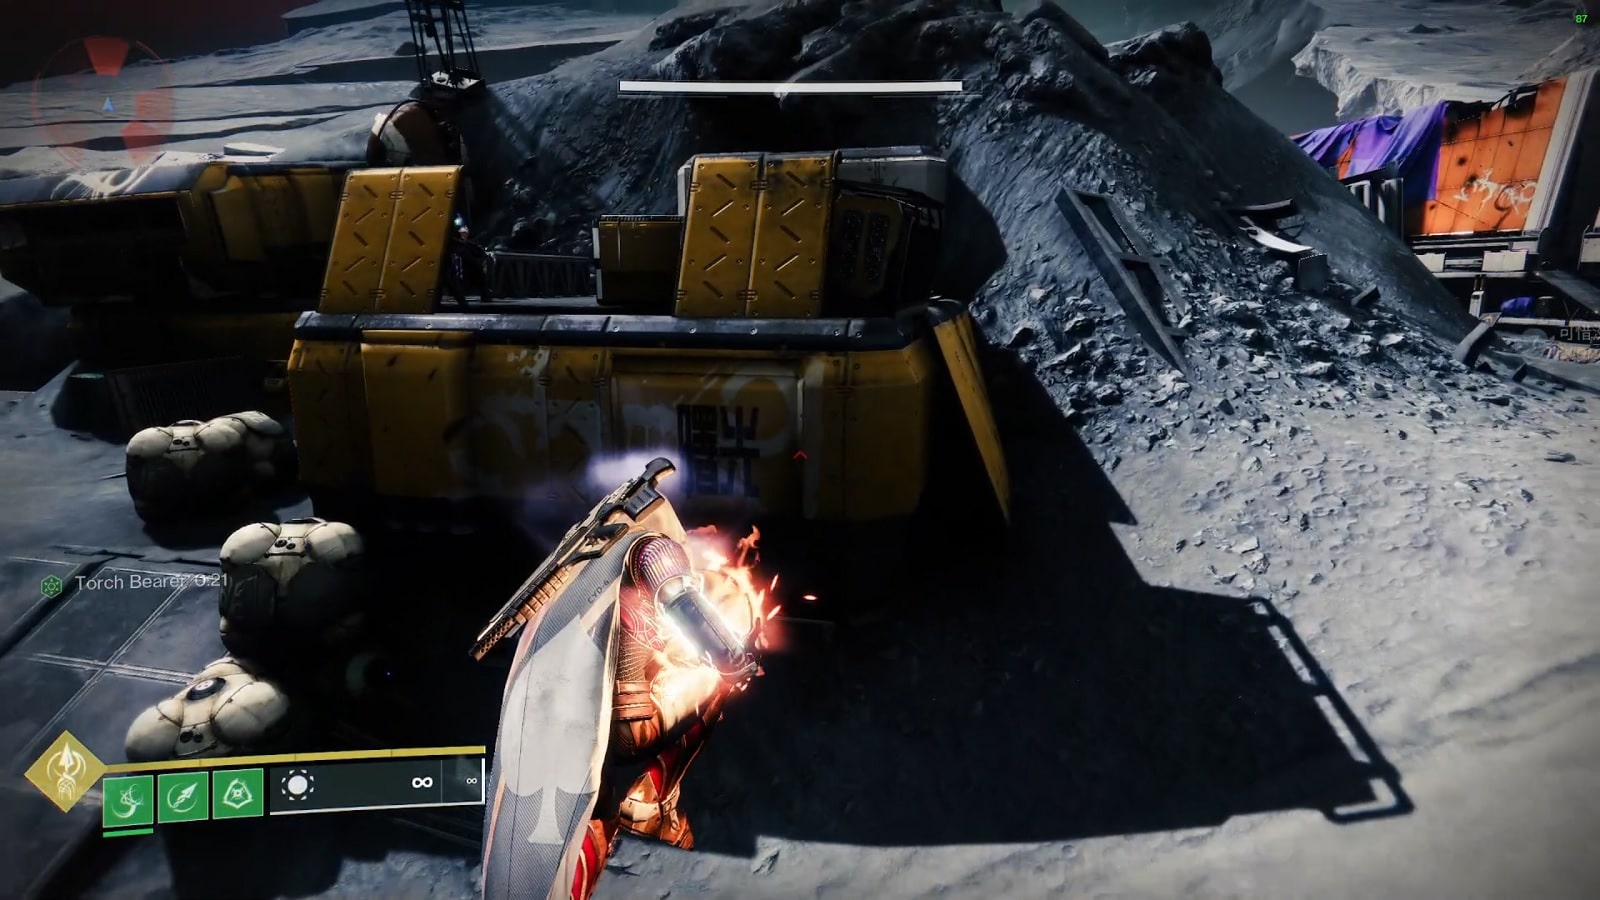
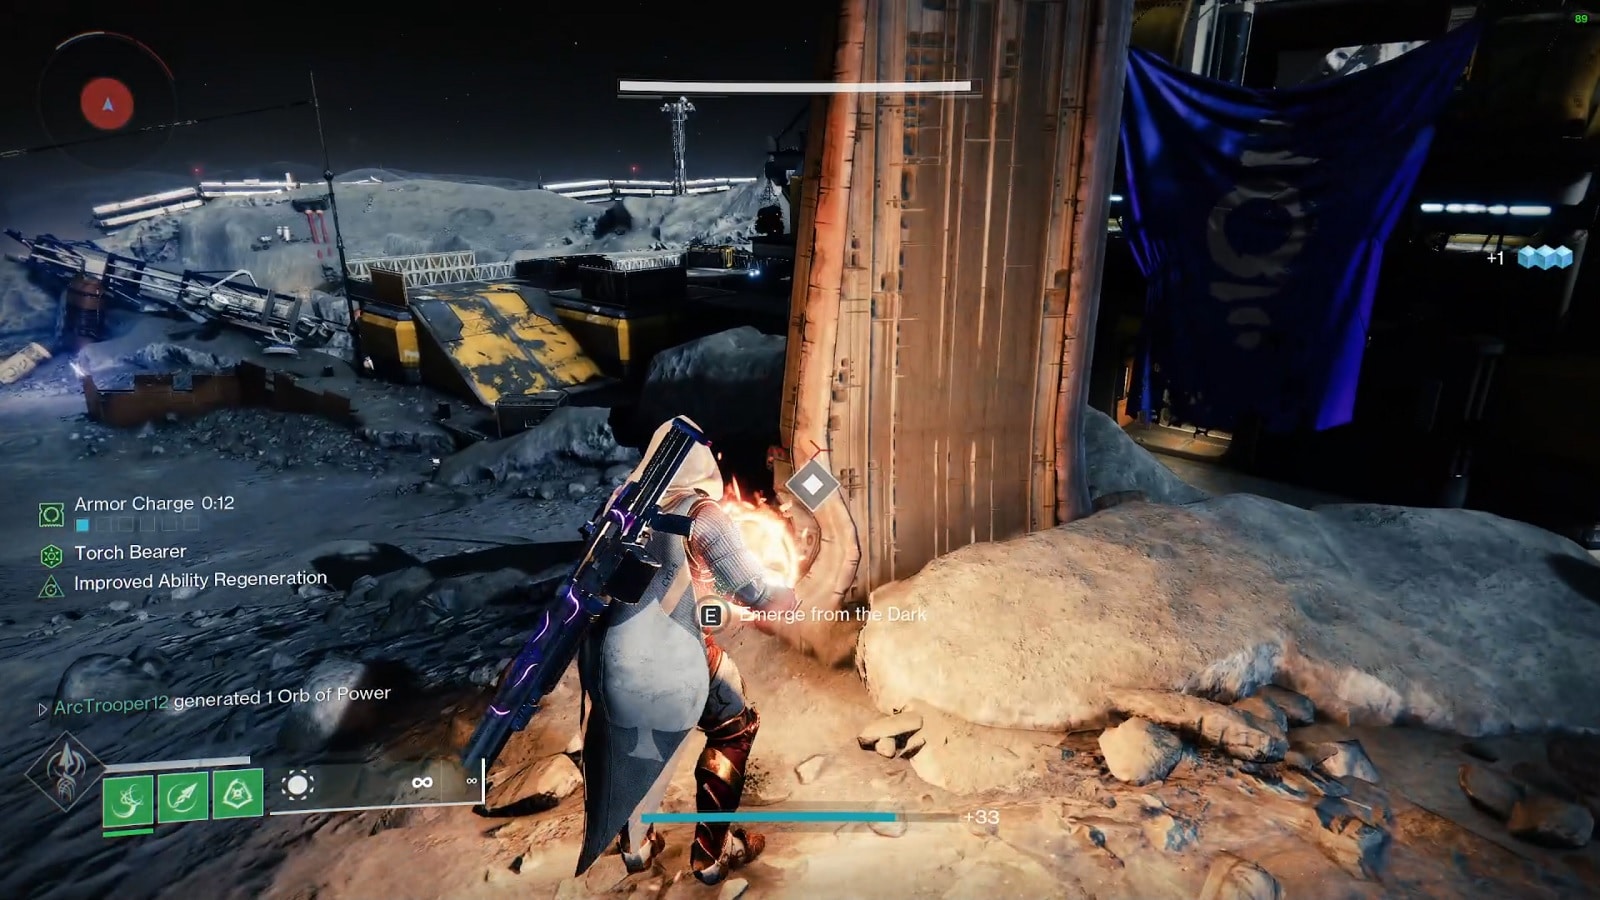
3rd Brazier

Once you light the brazier, turn around and make your way back to the initial building. You can find the third Brazier in the corner of this buried yellow building a little ways away. (Refer to the left picture above.)
4th Brazier

Exit East and go to the multi-floor building to get to the fourth brazier. (See the picture above.) This one is located on the very top. Enter the top floors on the right side and go along steel beams to find the brazier in the back.
5th Brazier
Turn back and immediately look to your left. The fifth brazier is located on top of this yellow building.
6th brazier
The sixth and final brazier is located on top of the cylindrical building along the main road of the area.
Once you’ve lit up all 6 braziers, you no longer have a countdown timer. At the same time, a new waypoint will appear. You will need to go there to progress the quest.
Insert the Light into the receptacle to start Step 2 of the quest.
The Journey Step 2
A light shines on your path. But you have yet to bring it into focus. Until then, your path remains among the lost.
- Archer’s Line Path Fragment found
- Sorrow’s Harbor Path Fragment found
- Hellmouth Path Fragment found
- Anchor of Light Path Fragment found
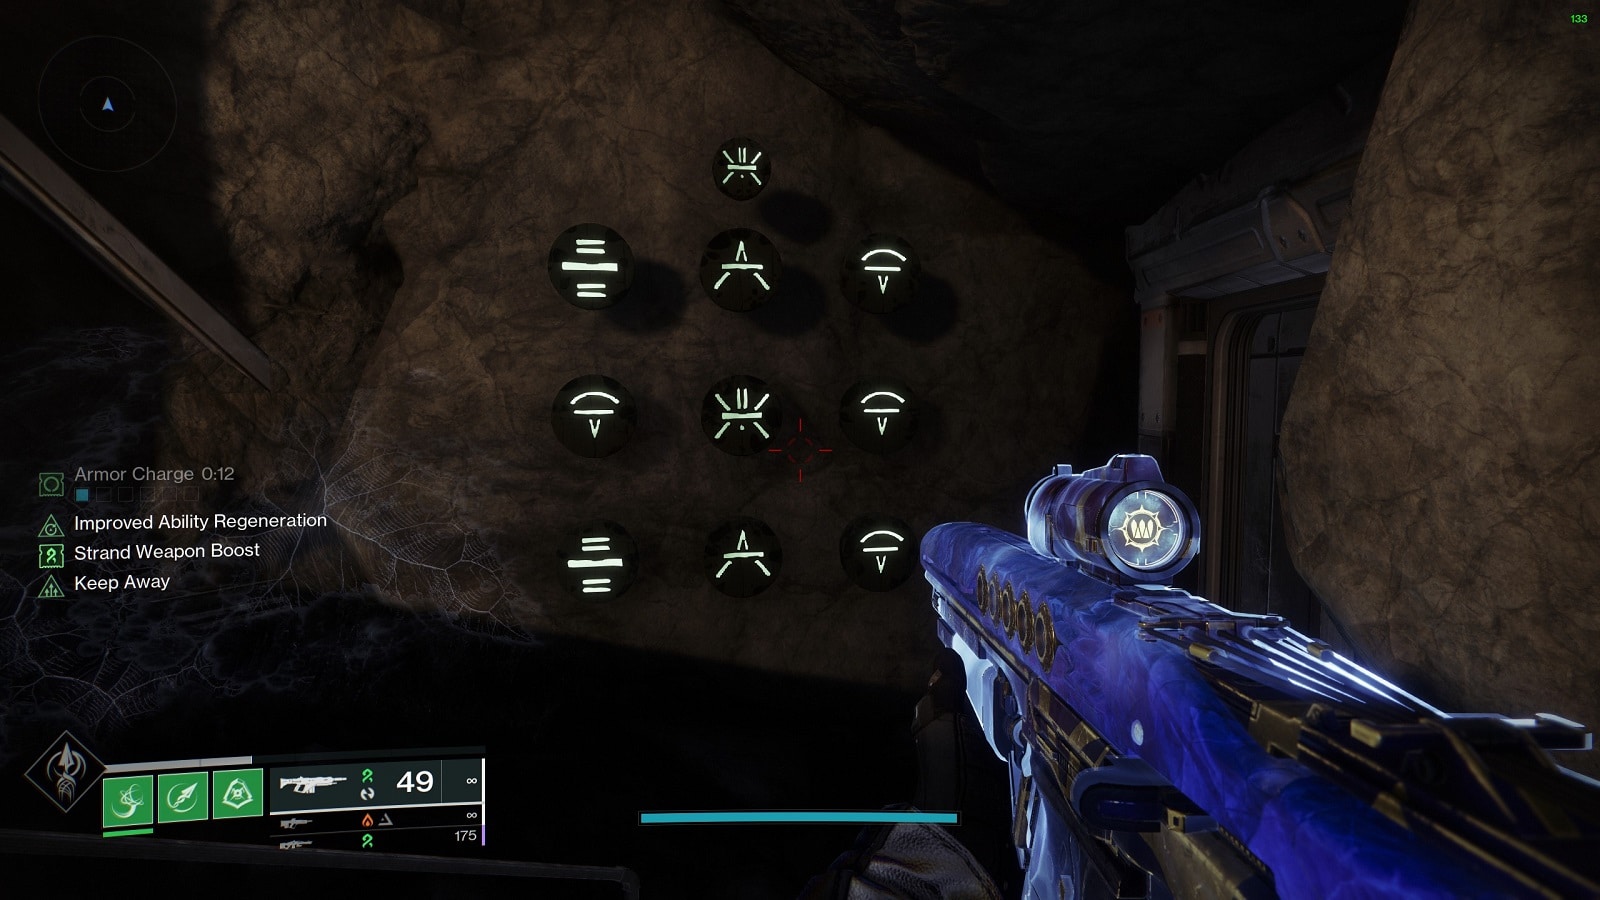
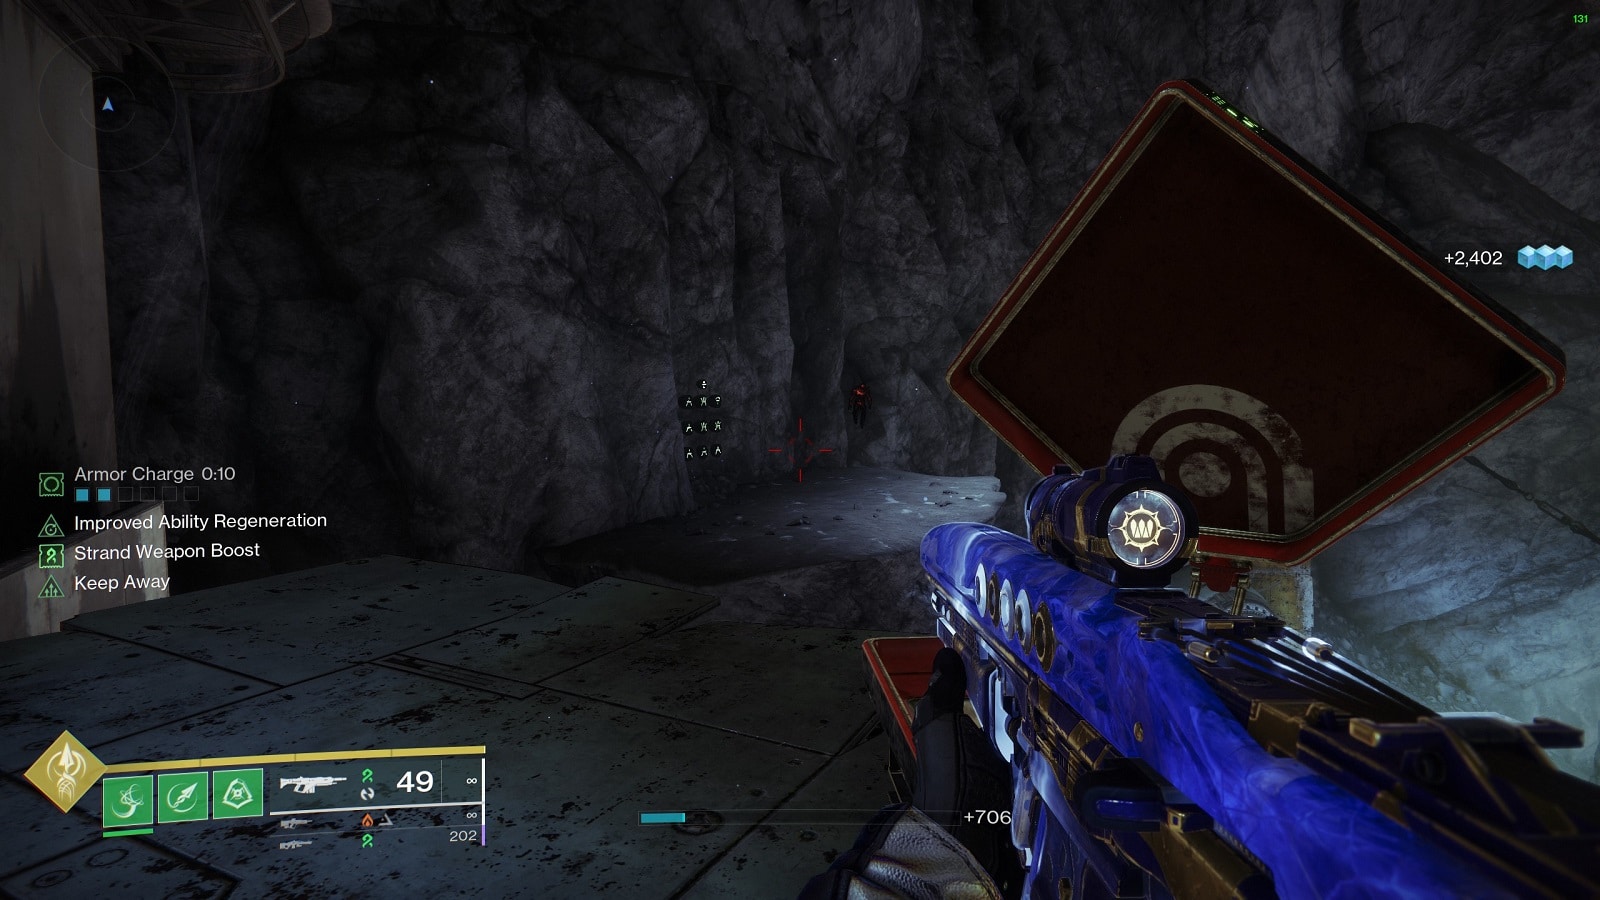
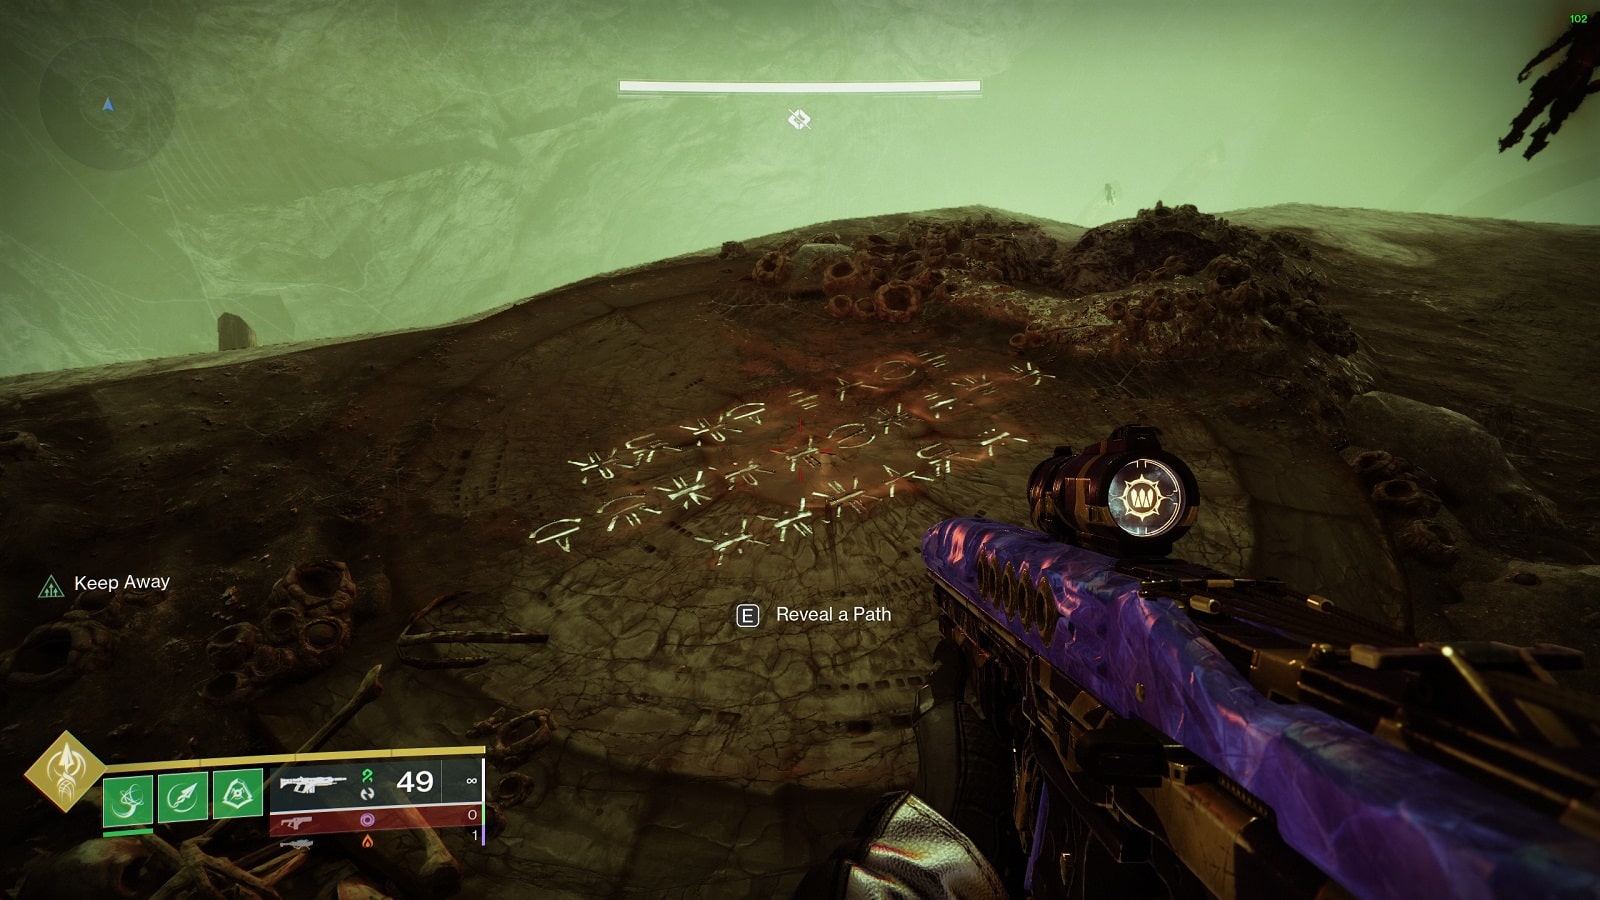
For this second step, you’ll be asked to go to the end of Lost Sectors and decode a series of glyphs in order to progress the quest. Decoding the sequence requires you to shoot them so we don’t recommend any weapon that uses Ricochet Rounds or Explosive Rounds.
Important: If you mess up the sequence, you'll have no choice but to exit the area and redo the whole Lost Sector.
Anchor of Light Path Fragment Location
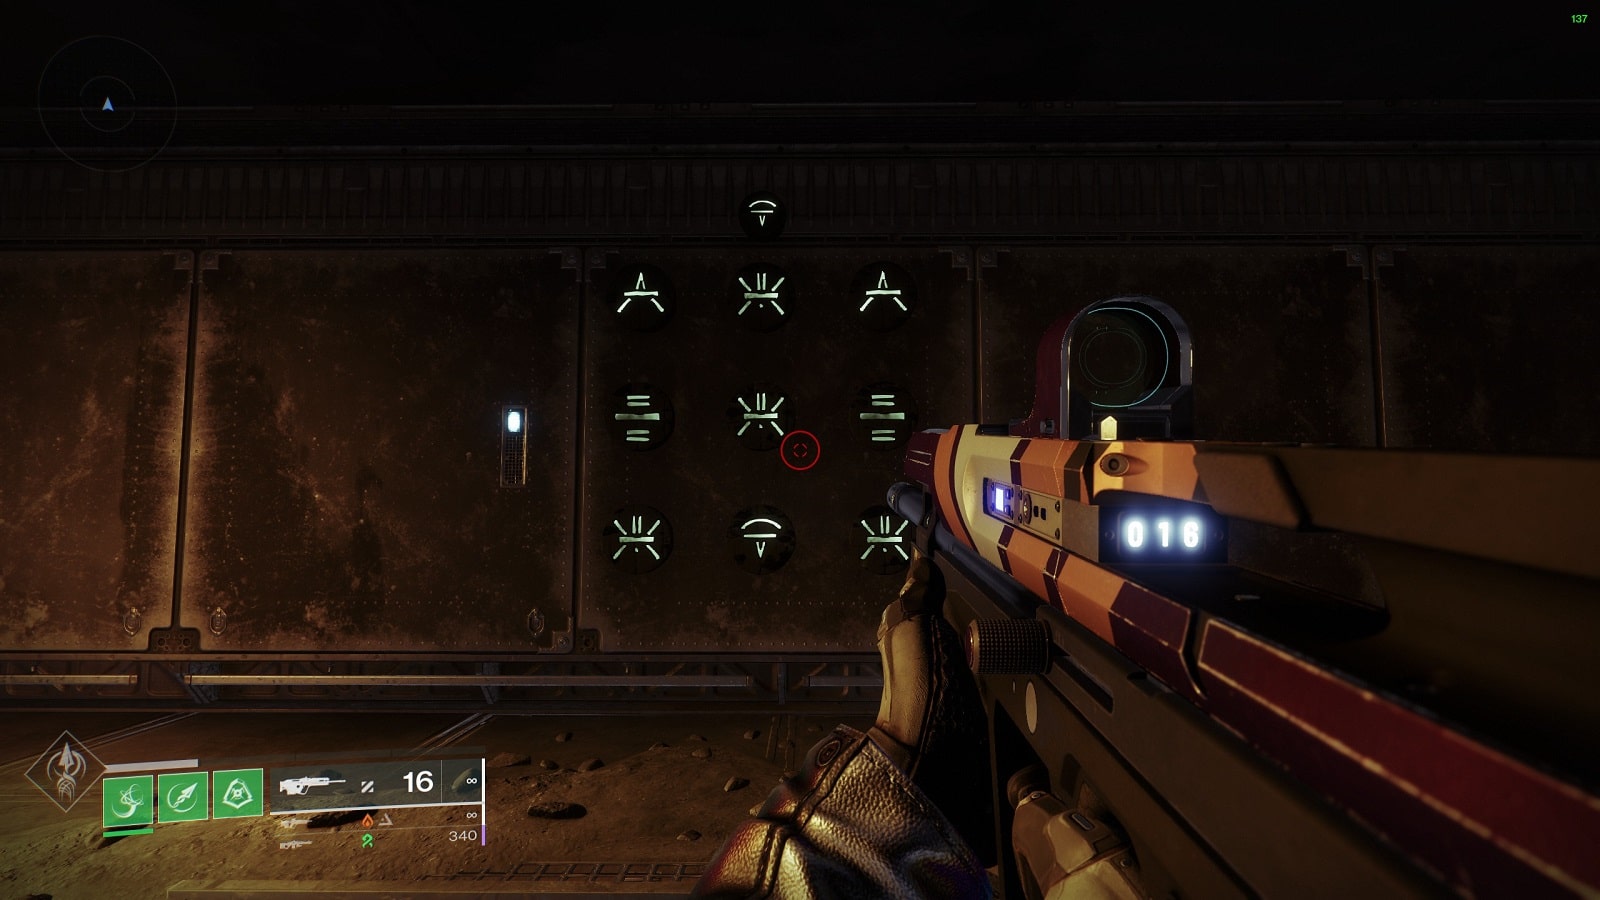
The Anchor of Light Path Fragment is located at the end of the K1 Communion Lost Sector. You’ll need to open the chest to get to the puzzle’s location. From there, you’ll need to shoot the following glyphs in this exact order.
- Bottom left
- Bottom right
- Top middle
- Top middle
if you do everything correctly, a chest will spawn containing the Fragment.
For the rest of the fragments, you’ll only tell which Lost Sector to go and the order in which the glyphs need to be shot. This should all work out as it did the first time around.
Archer’s Line Path Fragment Location

The Archer’s Line Path Fragment is located at the end of the K1 Logistics Lost Sector.
- Top left
- Bottom left
- Middle
- Middle right
Sorrow’s Harbor Path Fragment Location
The Sorrow’s Harbor Path Fragment is located at the end of the K1 Revelation Lost Sector.
- Middle left
- Middle
- Middle
- Middle left
- Middle top
- Middle bottom
- Middle
- Middle right
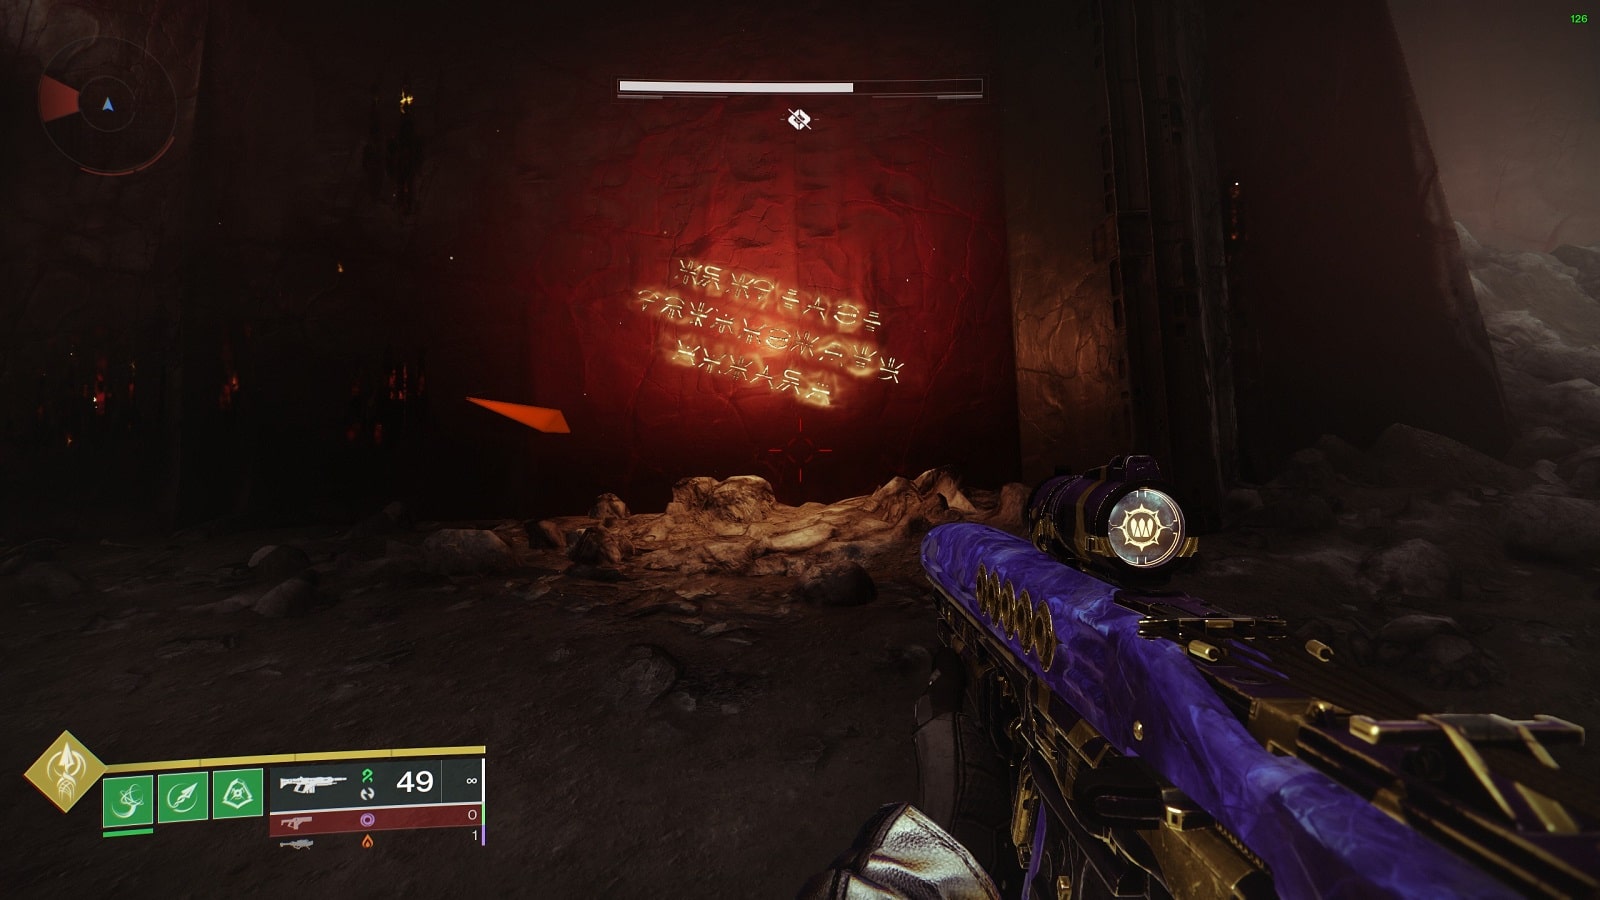
Hellmouth Path Fragment Location
The Hellmouth Path Fragment is located at the end of the K1 Crew Quarters Lost Sector. This one’s a bit different. To the left of the chest, you’ll a ledge with the puzzle on it. Jump onto the ledge to get a view of the puzzle.
- Top right
- Middle left
- Middle
- Bottom middle
- Bottom right
- Bottom right
- Bottom middle
- Bottom middle
The Journey Step 3
Your path brightens, shining through the barrier of emerald, beneath a harbor built from sorrow.
The third step in this Xenophage quest takes us all the way past the first encounter and into the first jumping section of the Pit of Heresy Dungeon.
Once you reach this section, reach this exact door, as shown above. You can use the ledges to get up there the conventional way or you can do what the cool kids do and Strand your way to the location.
Look above the doorways for a hint about the right door. If you see a doorway without a glowing green chain then you’re looking at the correct one.
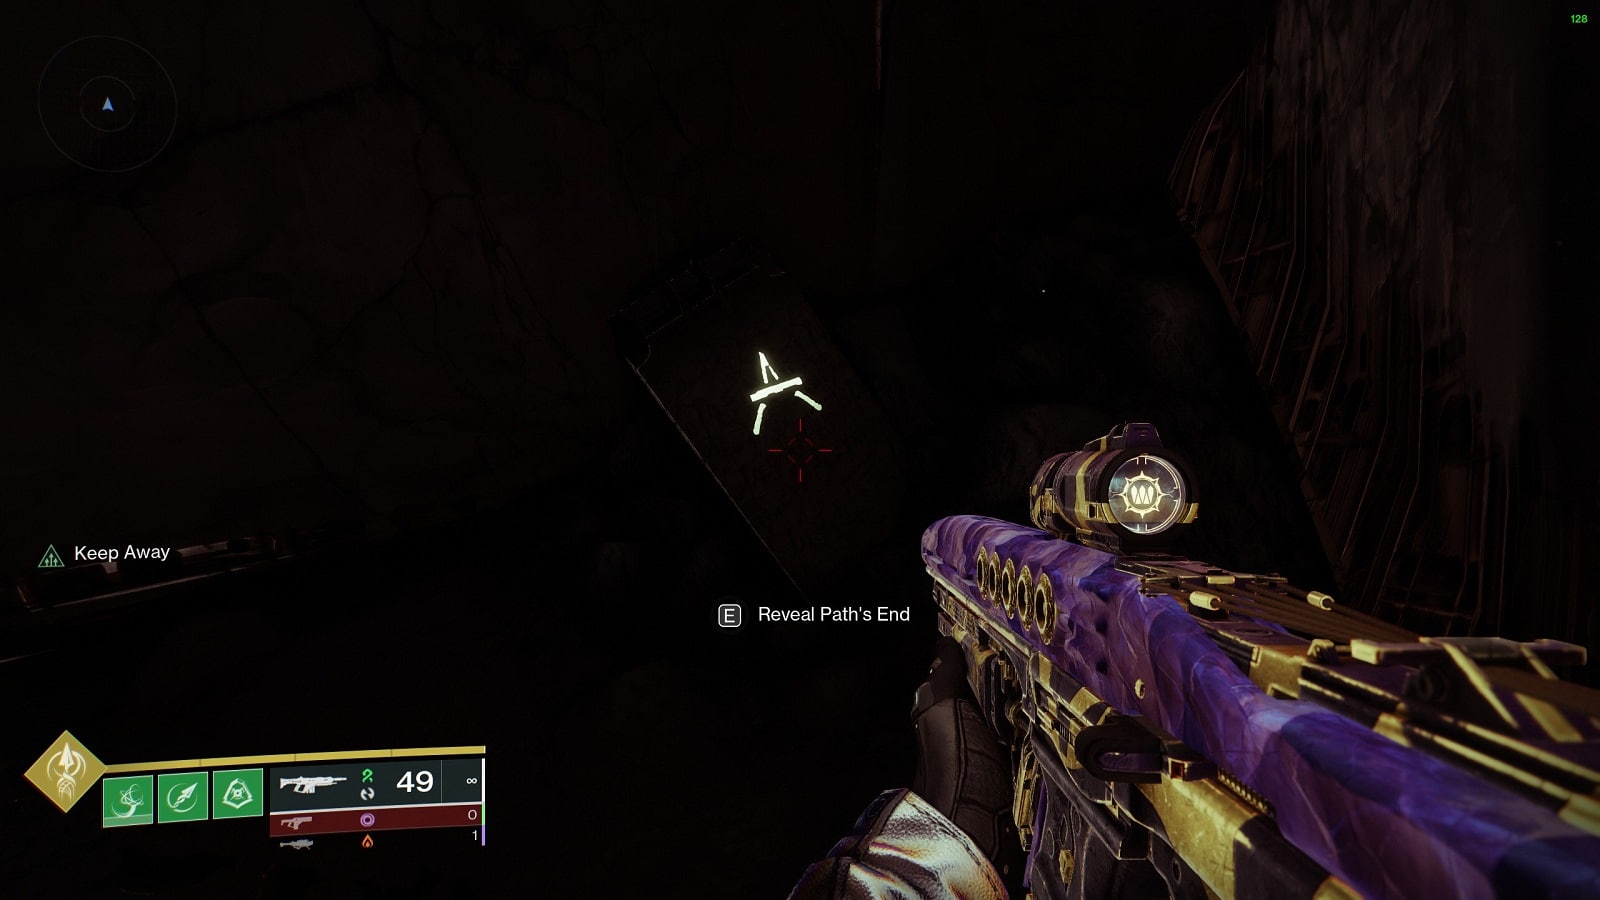
Interact with the glyph on the other side of the door to get to the next step. After revealing the Path’s End, you are then going to go to the next part of the Dungeon.
The Journey Step 4
The Pariahs stand guard over far more than just despair, for within these tunnels lie many secrets.
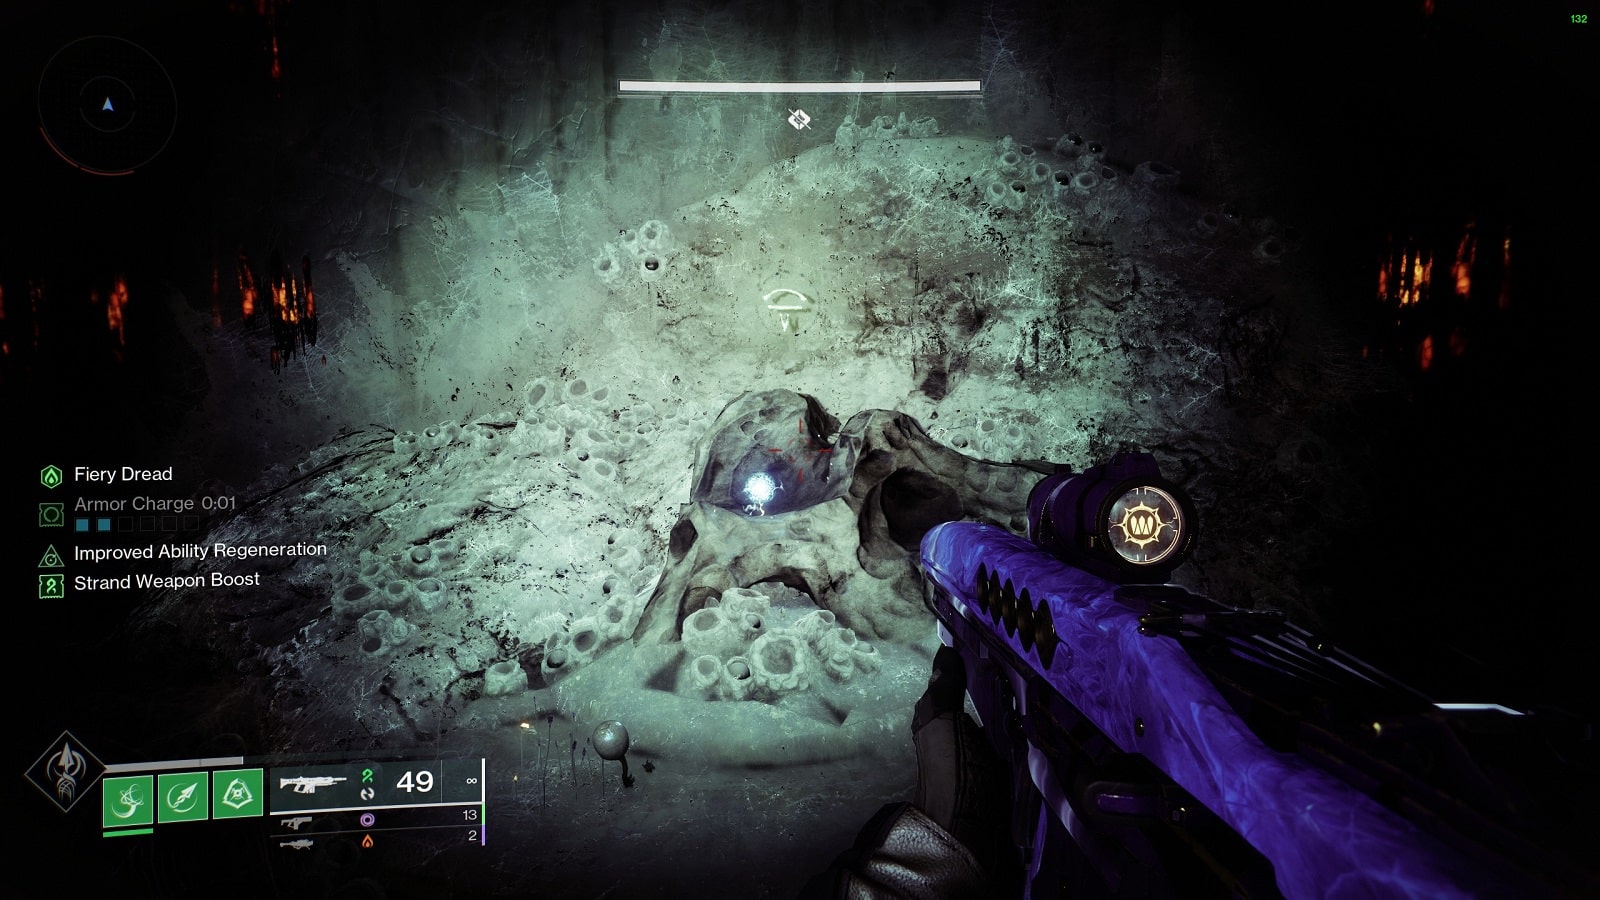
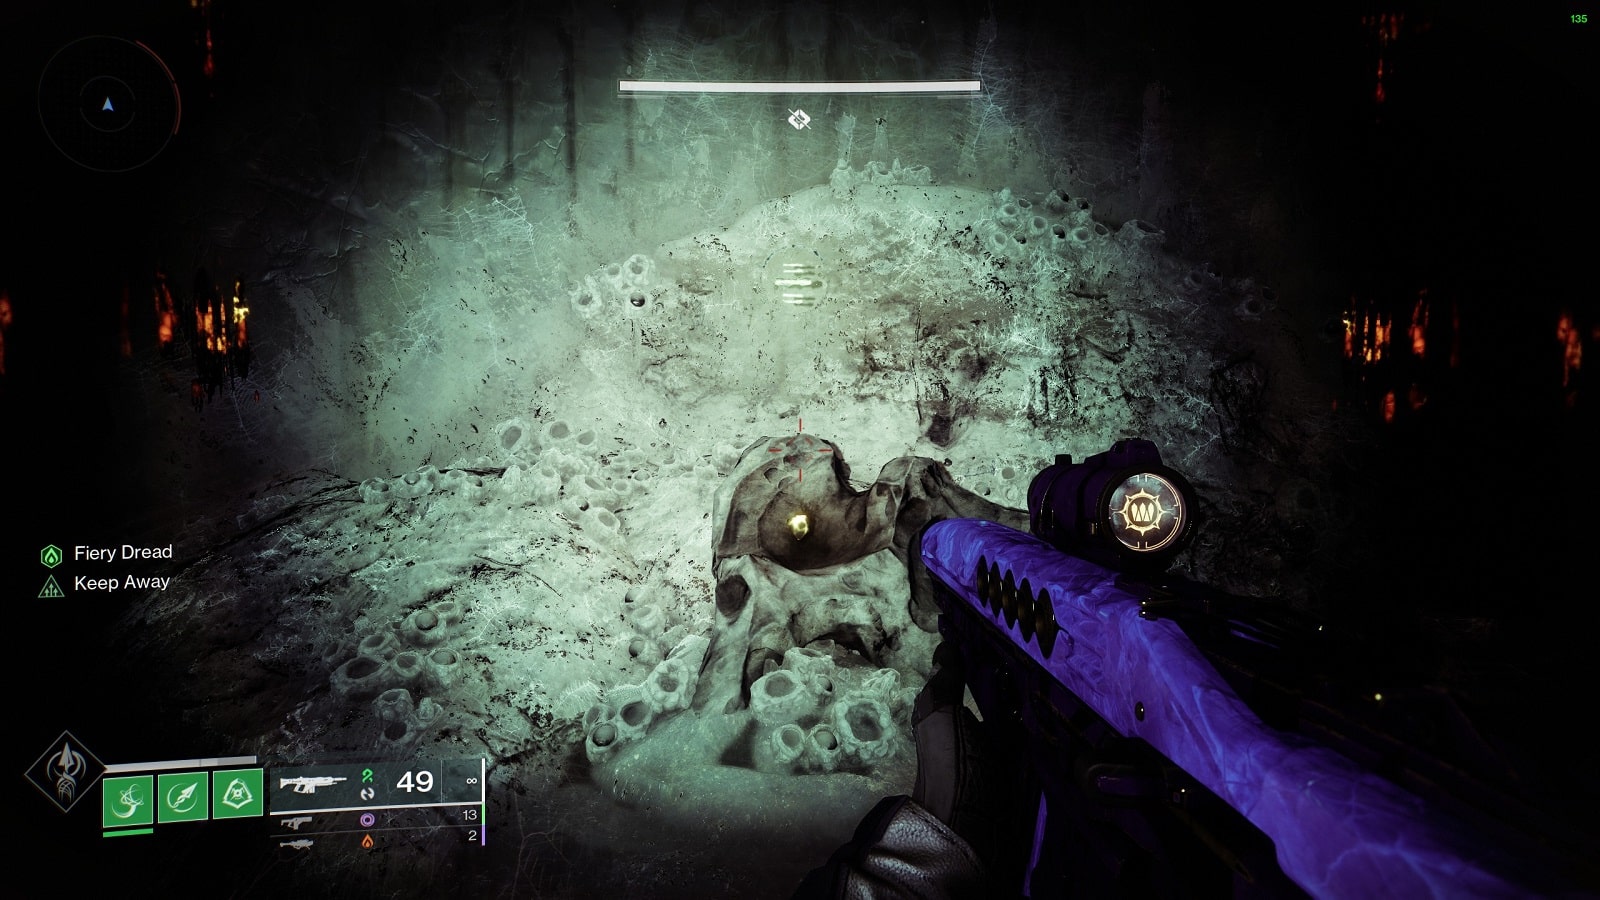
The fourth step takes place in the maze section of the Dungeon. There are three long passageways guarded by invulnerable Ogres. Usually, you’ll need to pick up orbs and transport them to the door of the next encounter, but not this time.
To progress the Exotic quest, you’ll need to go to the left passageway and go along the area above the glowing above below. If the ogre is going you trouble, just drop down to the ledge below. You are to look for glowing markings on the floor. Interact with them to cause a series of platforms to rise from the Abyss. Go to the third platform and pick up the orb.
The ogre might not like what you’re doing so chill for a bit behind the receptacle before proceeding onward.
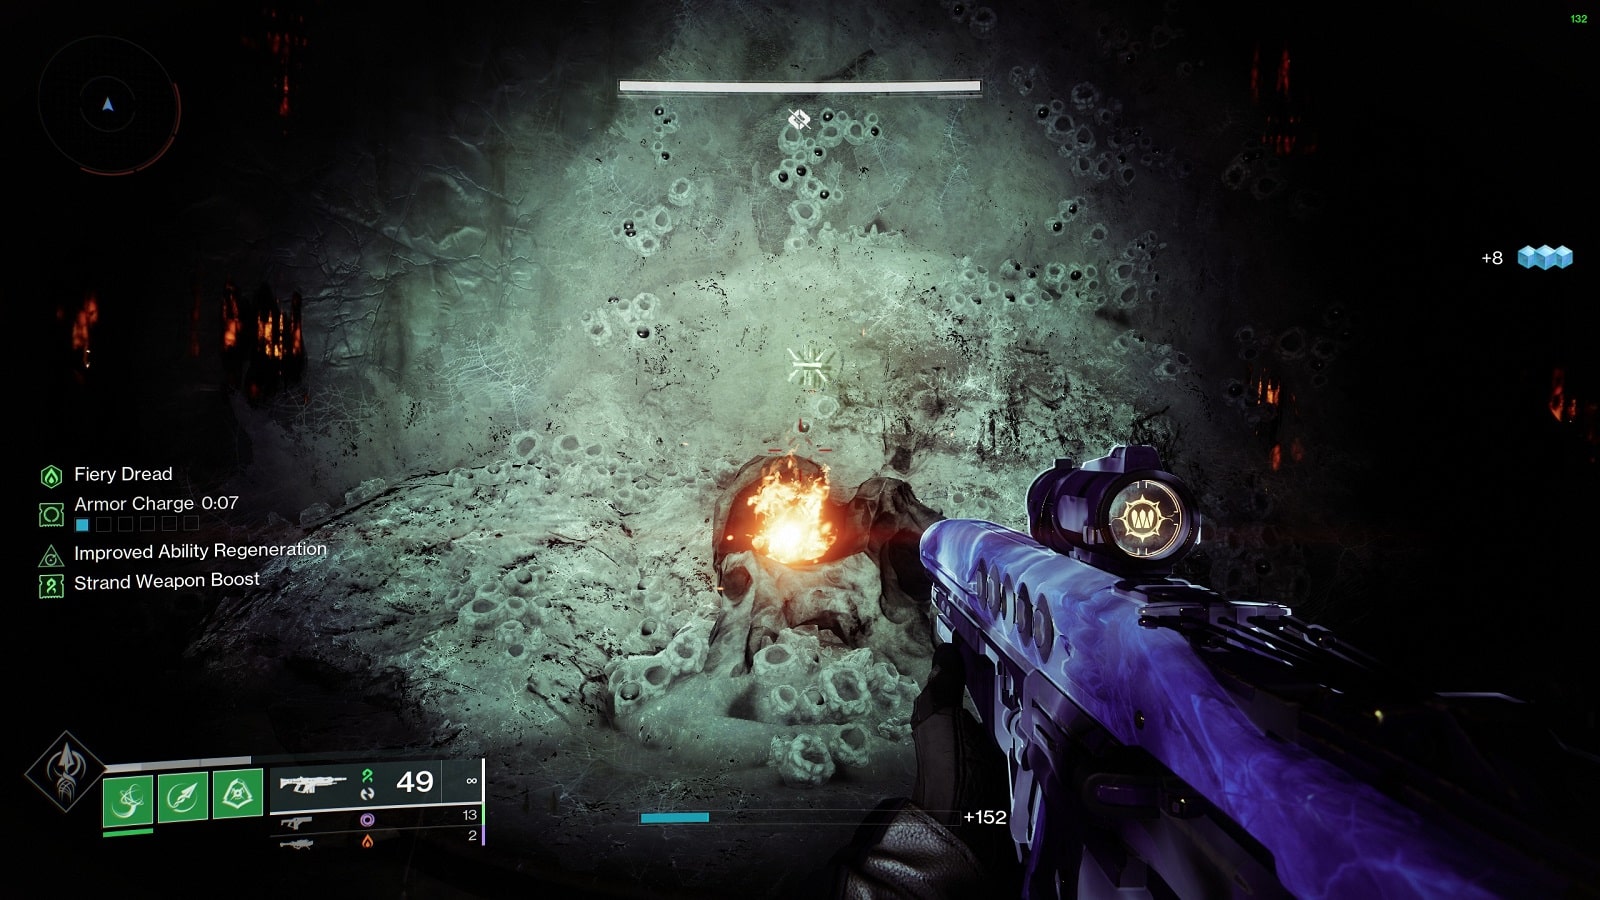
Orb in hand, bunny hop your way to the far side of the right passageway where you will find a doorway. As seen above, if you see these glyphs then you’re in the right place. There are two discs on either side that you will need to light. Do so while avoiding the ogre’s eye beams. (Feel free to hide in the nearby side passage.)
Enter the doorway and the next step in the quest will begin.
The Journey Step 5
The end of your path is in sight. Defeat those who would keep you from it.
The fifth step requires you to defeat Volmar, the Tempted slain. You are so very close to the end, so take this fight with the utmost caution.
If you look on the left side of your screen, you will see an elemental buff has been activated. This is the mechanic of the fight. In the next room, Volmar will be hanging around the central platform. On the platform is an orb of Light. You are to pick up this orb and deposit it into one of the receptacles located in the corners of the arena matching the damage type. This will initiate the damage phase.

The images above match a symbol to an element. Use them as a guide in case you’re not sure which is which. You can also look around the prep room while in game. Destiny 2 is quite forgiving in that regard.
- Solar and Arc receptacles are located in the lower half of the arena.
- While the Void and Kinetic ones are located in the upper half.
You have just around 30 seconds to deal damage that corresponds to the active buff. So make sure you go into the instance with a weapon for each element. Or bring a weapon that changes elemental affinity. Also, ads will continuously appear throughout the fight. It’s a good idea to thin their numbers before depositing the orb.
It’s worth noting that Volmar is quite tanky and might require more than a few resets before the Hive Wizard goes down. The game won’t give up Xenophage that easily. But seeing as we are above 1800 in this year of Destiny 2. It shouldn’t take us more than 3-4 resets to clear the encounter.
Once Volmar dies, you’ll get a new quest item. You are now one step away from getting Xenophage.
The Journey Step 6
Return to Eris Morn with the Hive bug.
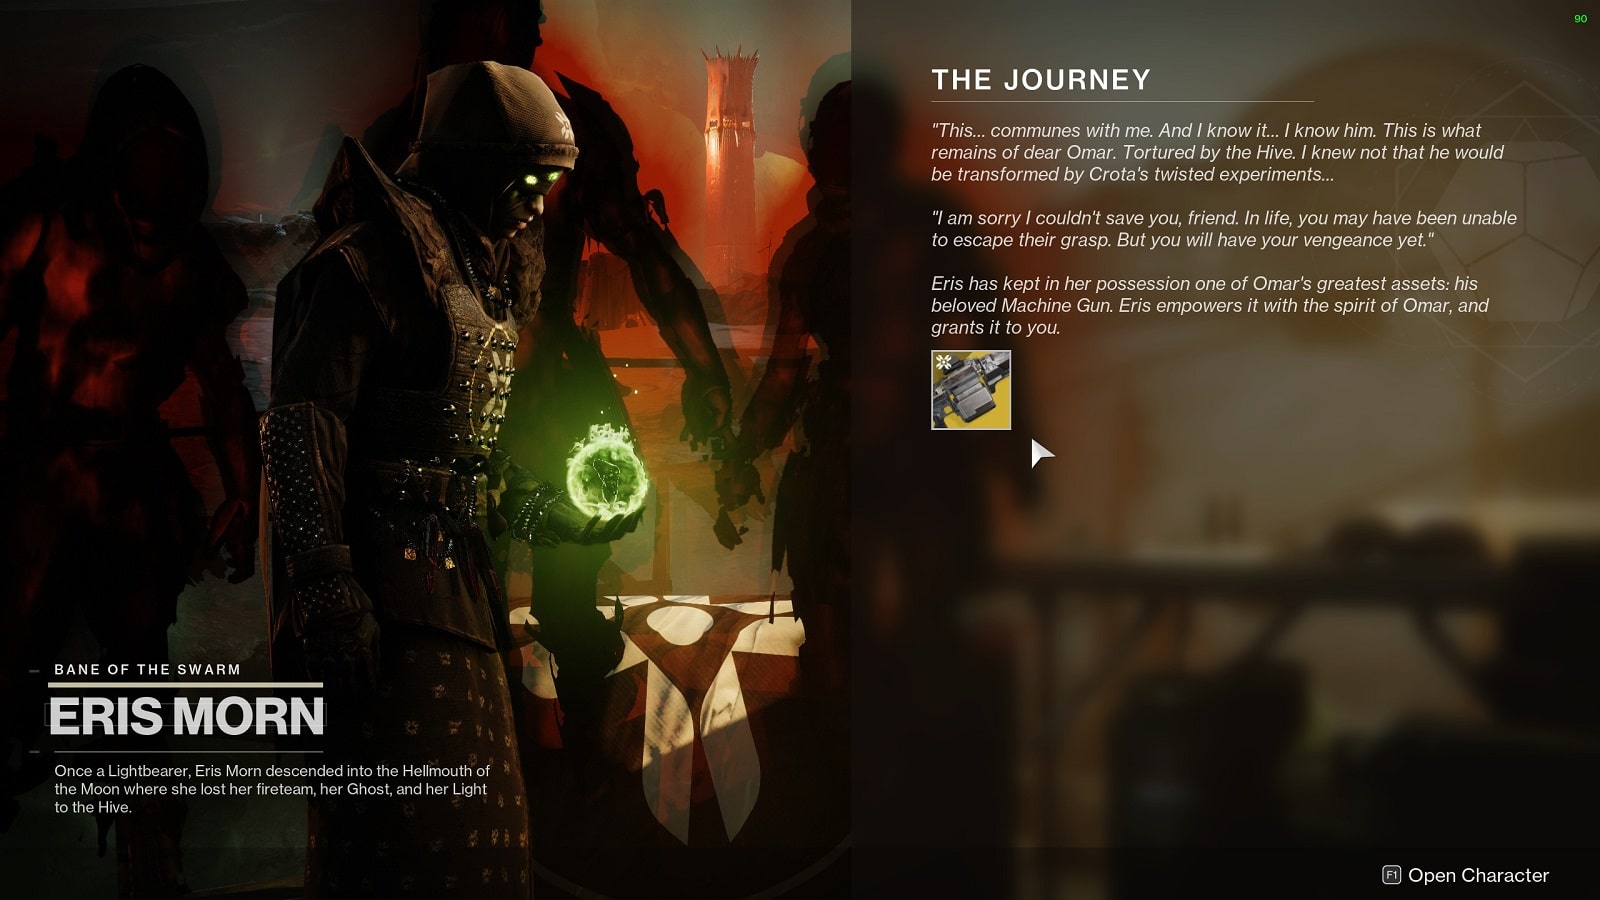
The last step in the Xenophage quest is to report back to Eris Morn back in Sanctuary. Once you’ve given her the bug, she’ll give you Xenophage in return.
Congratulations! You have just completed one of the longest active quests in Destiny 2. Pat yourself on the back and enjoy your new destructive weapon.
And that’s all the steps for getting the Xenophage machine gun in Destiny 2. It’s a bit of a long one but if you’re already familiar with the Pit of Heresy Dungeon, there’s no reason why you can’t do everything within a couple of hours. But hey, it’s all worth it for this beast of a gun. Good luck and have fun out there, Guardians.
Check out this lengthy Xenophage guide showing you step-by-step the things you need to do to get the Exotic machine gun courtesy of YouTuber TriGs.


