
Every good detective game starts with a tutorial, and Master Detective Archives: Rain Code Chapter 0 teaches you all the basics of everything you need to know. If you’ve played any games from Spike Chunsoft, then you know their games are anything but ordinary. We’ve made this Master Detective Archives: Rain Code: Chapter 0 walkthrough to help you get past the prologue.
Note: This is a detective game so a guide without spoilers isn’t completely possible. We will do our best to keep spoilers to a minimum.
Master Detective Archives: RAIN CODE Chapter 0 Walkthrough
The first thing you’ll be asked to pick in the game is a difficulty setting. You have Lenient, Mean, Troublesome, and Adorable. You can feel free to pick any option to progress. The truth is, is that it doesn’t matter because the difficulty selection is just a joke and a nod to the same options you get in Danganronpa.
After being told by the ghost figure that it wasn’t at all serious, she then asks you if you really want to start the game. Select either “Yup, seriously” or “Start for real” to continue. This is when you’ll finally begin Master Detective Archives: Rain Code for real.
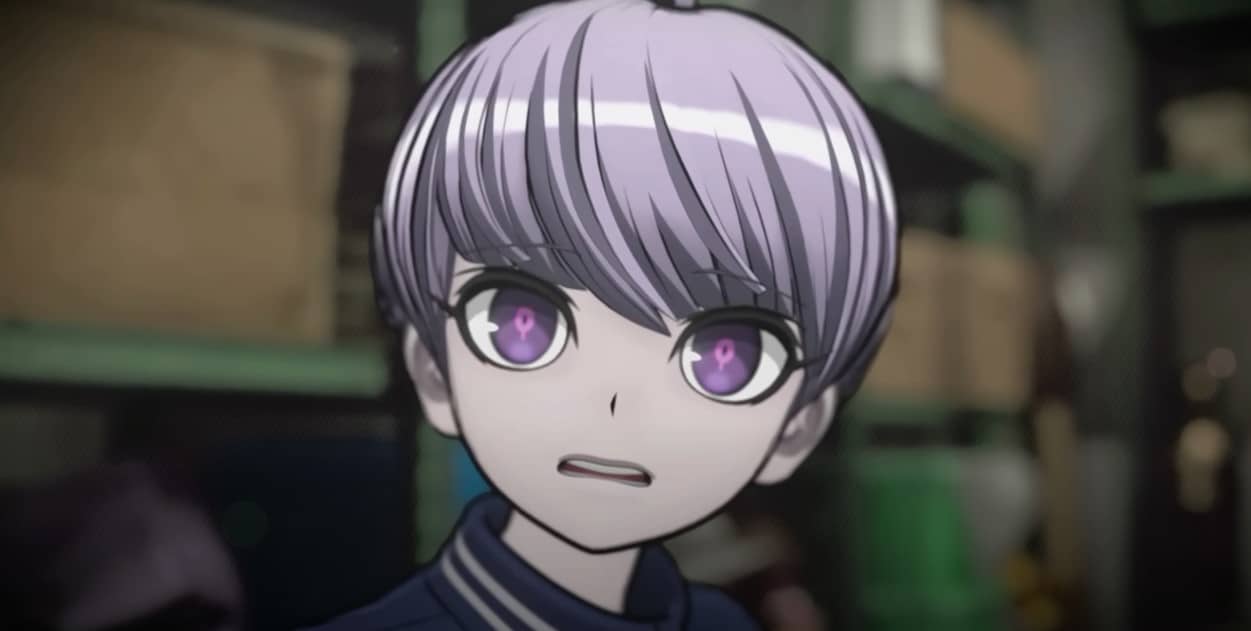
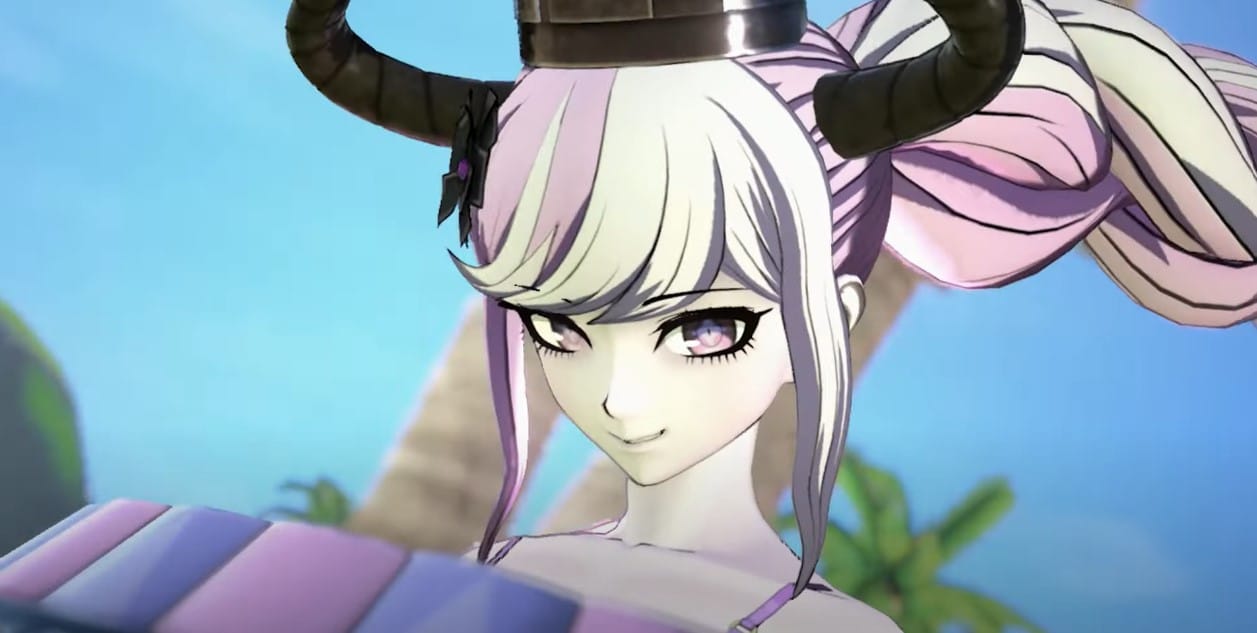
Meet our amnesiac protagonist who can’t remember anything at all. The only reason he learns his name is Yuma Kokohead is because of the paper from the World Detective Organization who invites him to go to the train. Eager to learn more about himself, Yuma accepts the invitation but finds that he’s almost late.
Before you begin, you’re taught the basic controls of the game. Besides the basic movement, you’re shown how to investigate, skip dialogue, and most importantly earning Detective Points. Detective Points (DP) are essentially the game’s equivalent of EXP and you earn them as you conduct investigations. Once you’ve accumulated enough DP, you rank up which grants you skill points and increases your memory cap.
In the room you wake up in, you can choose to explore for a bit before leaving. There’s nothing really much here except Yuma commenting on items. When you get out of the room, Yuma will make a deduction of where he was and you can select from the following options:
The place I was sleeping was…
- Gym storage
- Station’s lost and found
- Pawn shop
Answer: Station’s lost and found
The reward for answering correctly is more DP points. You’ll want to collect as many of these to rank up. After some dialogue, Yuma will run to the train and catch it before time runs out.
After entering the train, you’ll get another tutorial. This time about the Notebook Menu. This is where you view the Case Files, Profiles, Glossary, and etc. More importantly, this is where you’ll save your progress and access the Options menu to change the settings.
You are now in Car 1 of the Amaterasu Express. Feel free to explore around but make sure to take a look at the Map Guide hanging near the Main Control Room A. This will give you extra DP and give you a layout of the train. Then, go to the bathroom and look at the mirror and the toilet stalls. These will give you extra DP points. The Infirmary is locked but you can peak inside through the window for DP points. Interacting with Main Control Room A and B will also give you DP.
Once you enter Car 2 of the Amaterasu Express, you’ll be greeted by a cutscene where you meet all of the detectives you’ll be working with.
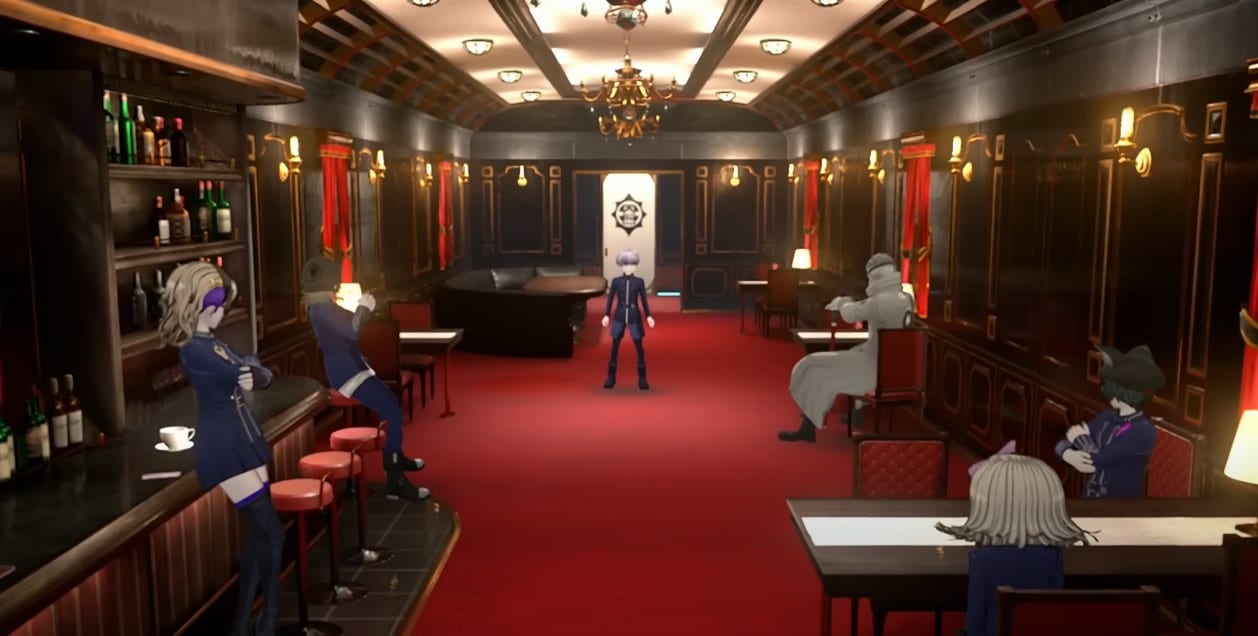
After the cutscene, talk to the detective with the exclamation point at the top of his head. He’ll explain what the WDO is about and what Master Detectives are. When you’ve spoken with him, introductions for each of the Master Detectives will begin. Speak with everyone who has an exclamation point on their heads to learn their identity.
Speaking with the Master Detectives one by one, you’ll learn their names and most of their supernatural abilities called Forte. After you’re done, speak with Zilch Alexander to continue. You’ll be treated to a cutscene which gives you another mystery.
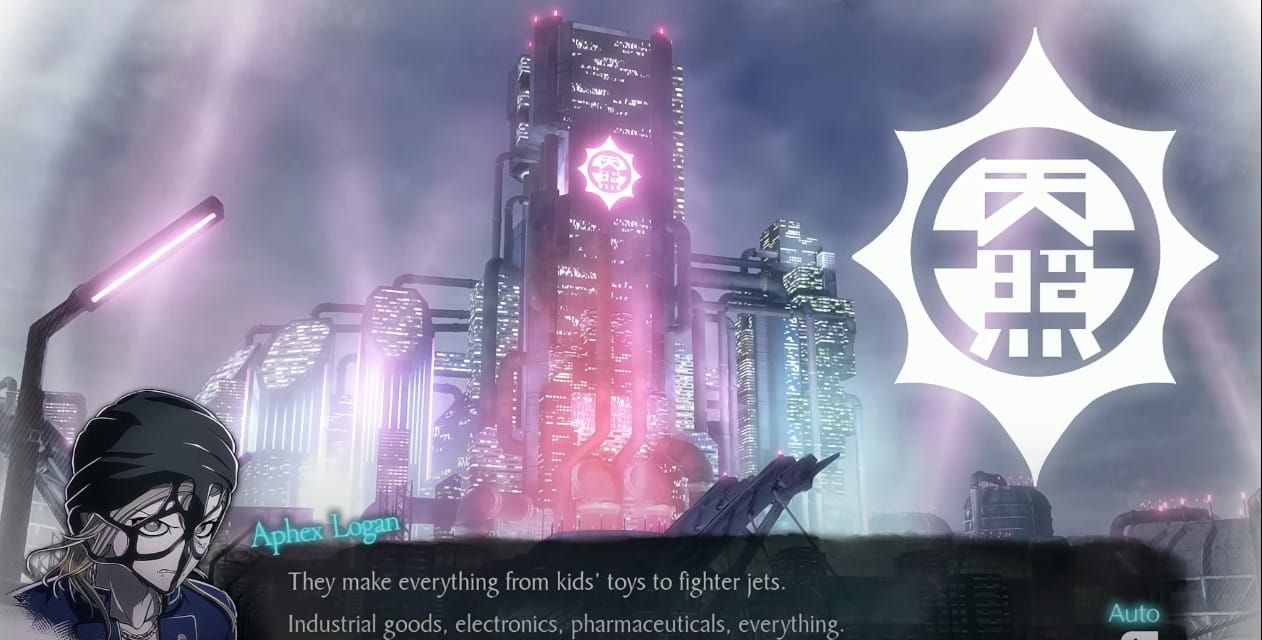
After the cutscene talk to Pucci. She’ll user her Forte to verify if what Aphex is telling everyone. There will be a long cutscene afterwards where characters will interact with each other and share details. You’ll get the chance to ask about the Amaterasu Corporation and everything about it.
Eventually Yuma will be asking himself who the most suspicious person in the room is. You’ll be able to select from six different people in the car, including yourself. It doesn’t matter who you select here but you will get a different dialogue. Afterwards, Aphex will call you to witness Zange’s Forte.
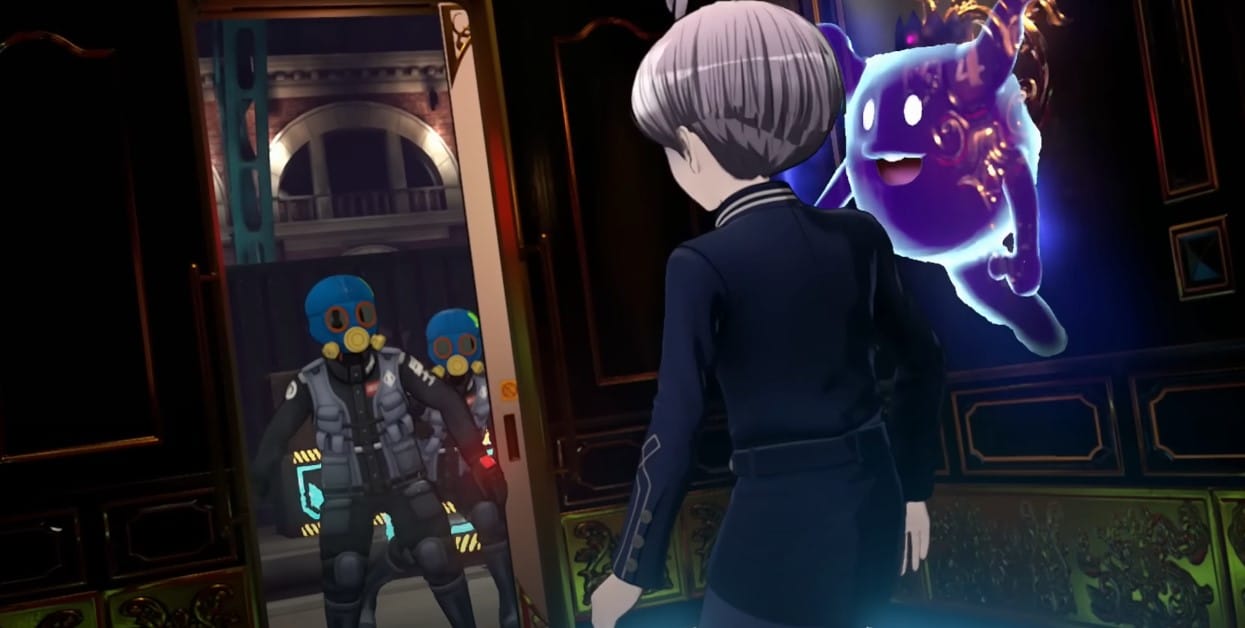
Yuma won’t feel well after the cutscene. Go to the Infirmary back in Car 1, but you’ll find that it’s locked. A scene will occur where you’ll be heading to the bathroom instead. This is where you’ll get introduced to Shinigami. After the introduction, leave the bathroom and Yuma will notice that smoke is coming out of the Infirmary.
Approach the Infirmary window, and you’ll see that Zilch is inside and isn’t moving. In a cutscene, Yuma will break inside the window. Shinigami will ask you to investigate the corpse. This is when you look around the Infirmary for details. After you’re done, go get the other Master Detectives in Car 2.
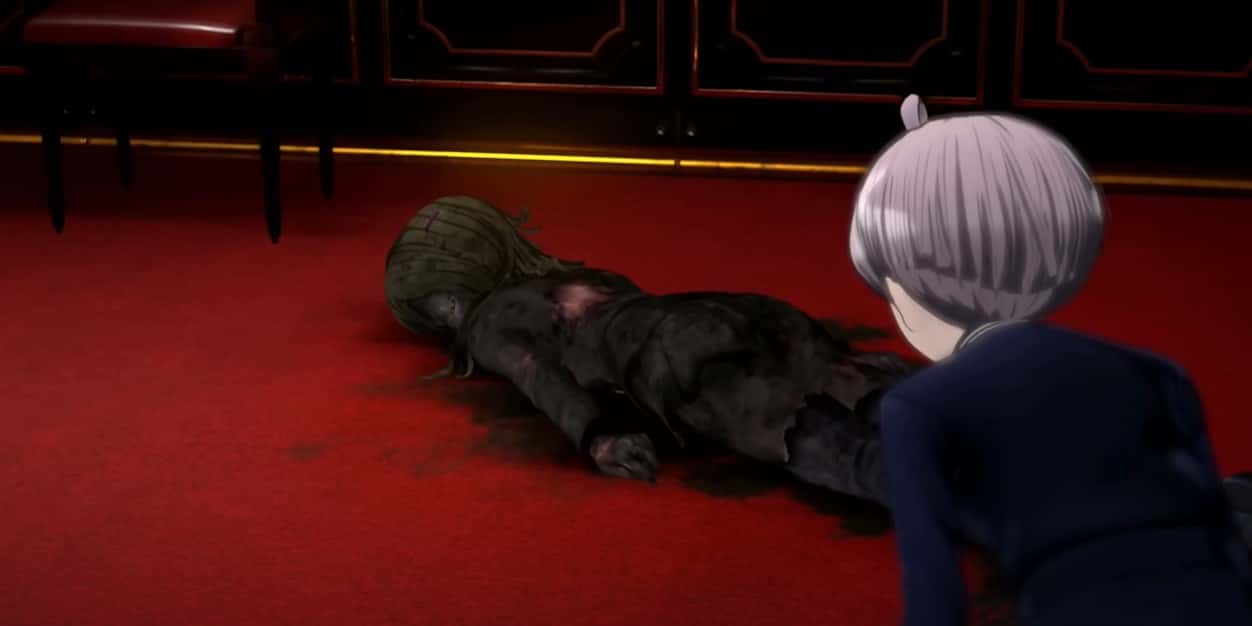
Unfortunately, as you arrive in Car 2 you will discover another burnt body. Yuma confirms that it belongs to Melami. Investigate the dining car, especially the bottle of liquors. After that, go to the Car 3 to continue looking for the other Master Detectives.
The moment you arrive in Car 3, you’ll also see another burnt body. This time it belongs to Pucci. Investigate her room, including her teddy bear and the briefcase. Then go to the next room where you’ll find items belonging to Zilch. Search around this area as well for details. Then head to the next room where you’ll see the monitoring device.
Yuma will try to contact Control Headquarters but get no response. Instead, you’ll have to investigate the monitoring device for details. Check the Route Map and the Backup Control System. When you’re done, head to Car 4. The first room you’ll encounter belongs to Aphex but he’s nowhere to be seen.
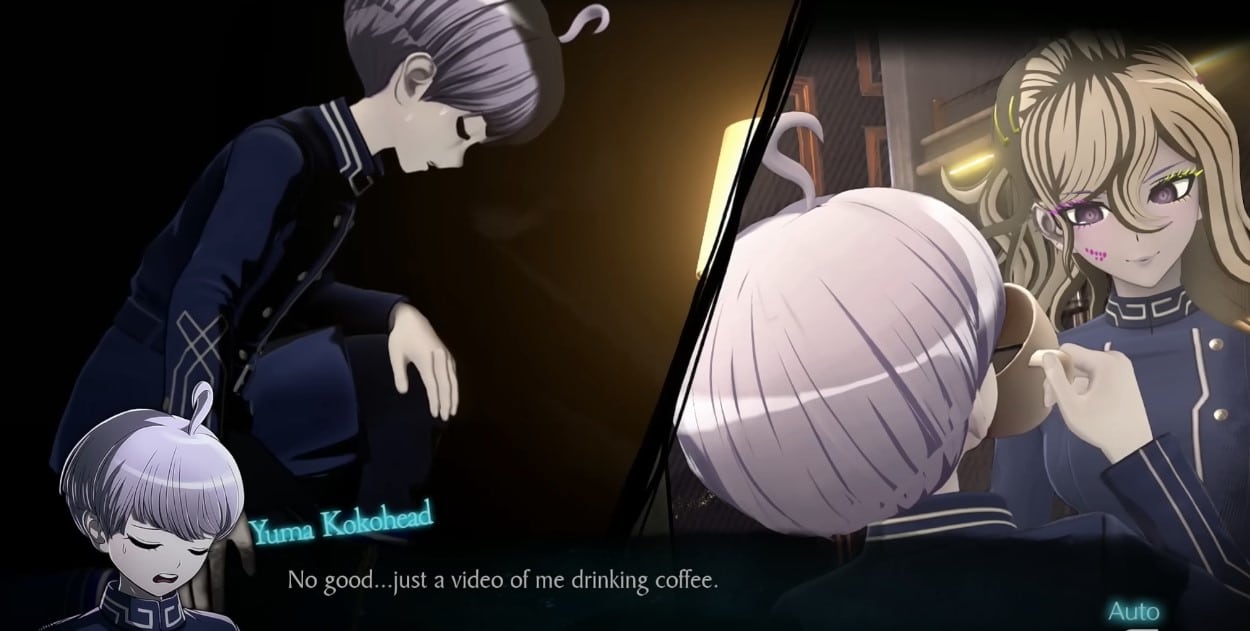
In the next room, you’ll find Zange’s body who has also been burned. Yuma will pick up his phone which displays a photo of him drinking coffee made by Melami. Investigate his room for clues then head for the next one. That’s Melami’s room which you can investigate further.
After you look over details in Melami’s room, head to the door of Car 5. You’ve been told that it’s broken and can’t be entered but after a cutscene, it’ll open up. Yuma will enter the last car of the train only to find that Aphex has also been killed.
Here where you’ll investigate Car 5, which has the same layout as Car 1. Go to the Infirmary and look at the scene. The burned bed, the entrance door, and the AED. Then go into the bathroom and investigate there where Yuma will notice several details. The area next to Main Control Rooms A and B also need to be investigated.
After investigating, the train will automatically announce that you’re almost at the Kanai Ward. Shinigami beckons you to catch the culprit before that happens. Unfortunately you won’t have the time because the train arrives before Yuma can do any actual investigation.
This is where you’ll get introduced to the QTE segments of Master Detective Archives: Rain Code. You’ll have to press the on screen prompts in order to get safety. This section plays like a typical QTE so long as you press the buttons on time, you’ll be fine.
Even after passing the QTE section, you’ll still get cornered. Thankfully, Shinigami cuts in with her powers and introduces you to the second gameplay half of Master Detective Archives: Rain Code, just in the nick of time.
Chapter 0: Mystery Labyrinth Answers
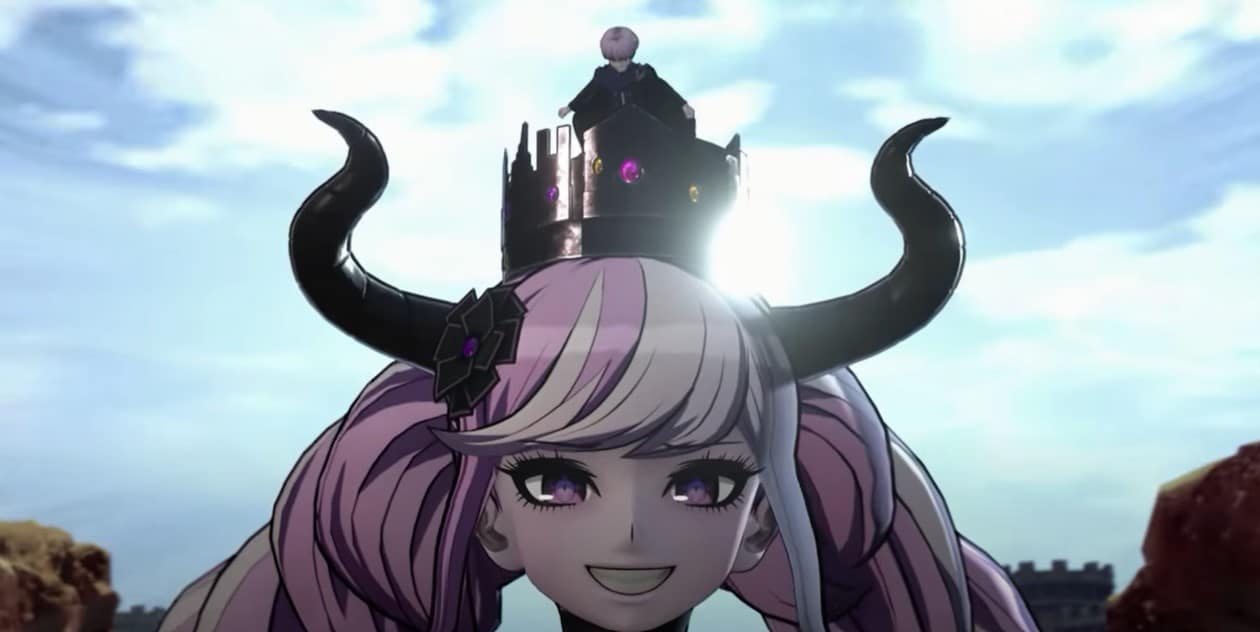
The Mystery Labyrinth is where you’ll be putting all the pieces together to solve the Amaterasu Train Massacre. In short it’s a maze that materializes mysteries from the real world.
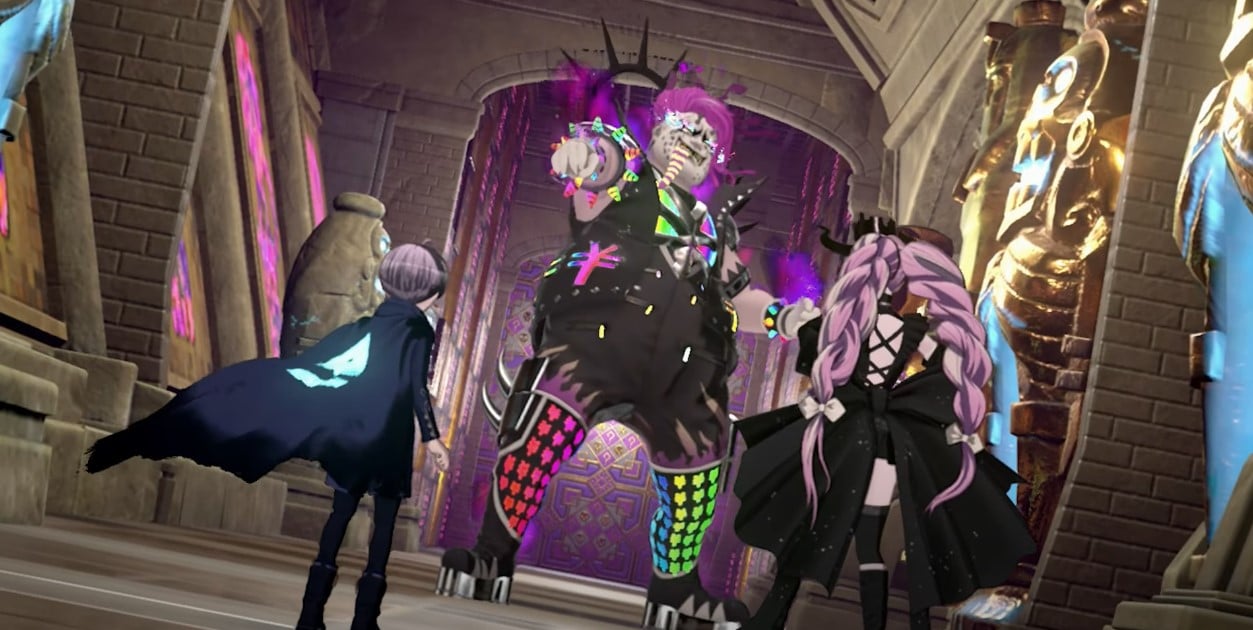
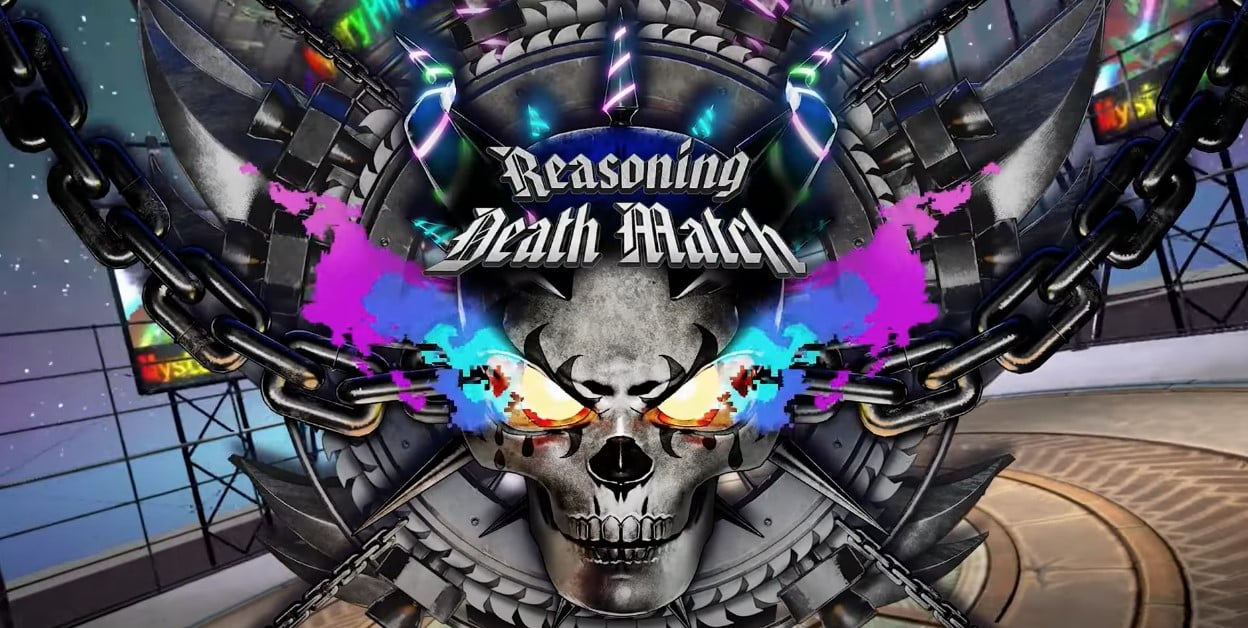
Shinigami will transform into her true form and take you to a different dimension where you’ll have to complete a series of mini-games and pick the right path to get to the answer behind it all. After a lengthy information dump and exploring the labyrinth for a bit, she’ll teach you about Reasoning Death Battles after encountering your first obstacle. Here are the answers:
Reasoning Death Match One Answers
- Dodge the accusations
- Equip Coffee in the Dining Car Solution Key
- Slash “You’re the only one who could’ve done the crime.”
- Equip Thoughtography Image
- Dodge accusations
- Slash “And only pretended to drink it.”
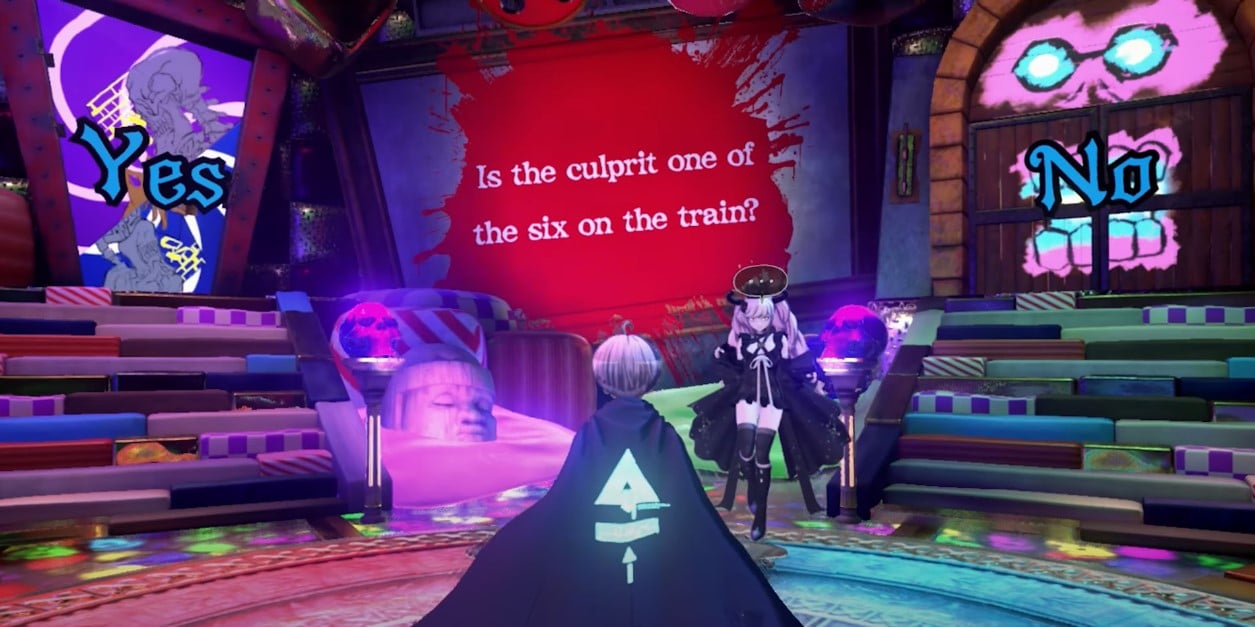
Mystery Labyrinth Options Answer
- Pick “Yes.”
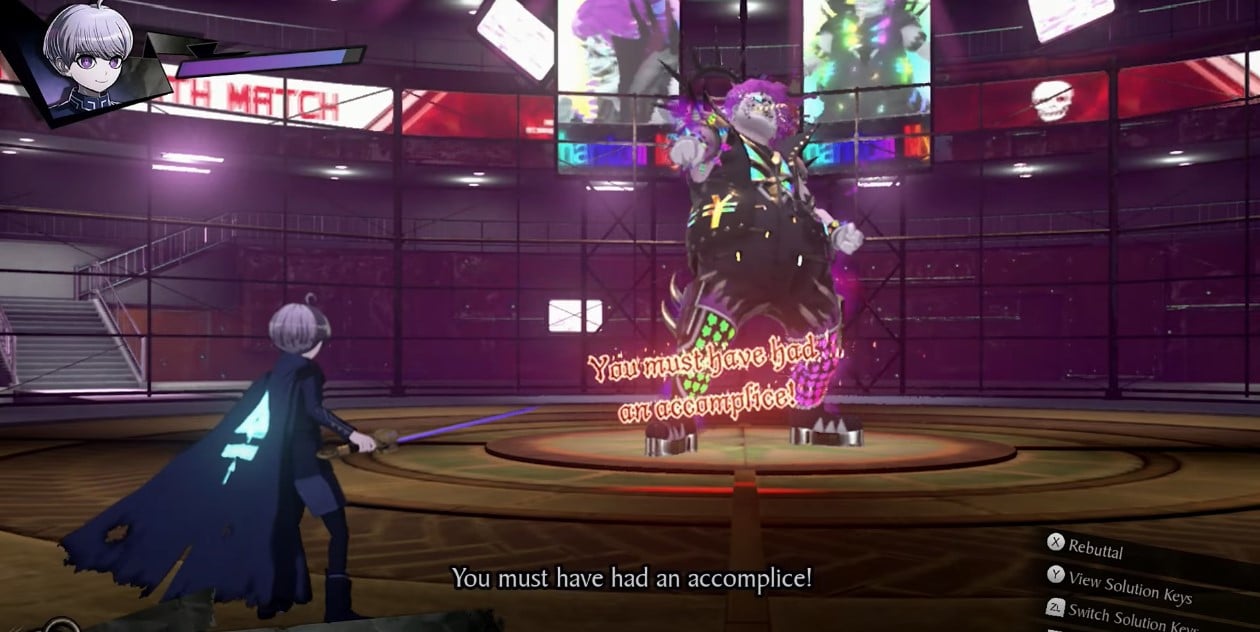
Reasoning Death Match Two Answers
- Equip Testimonies of Two Detectives
- Dodge first two accusations
- Slash “You must have had an accomplice!”
- Equip Operation Log
- Continue dodging
- Slash “You secretly stopped the train and let your partner board!”
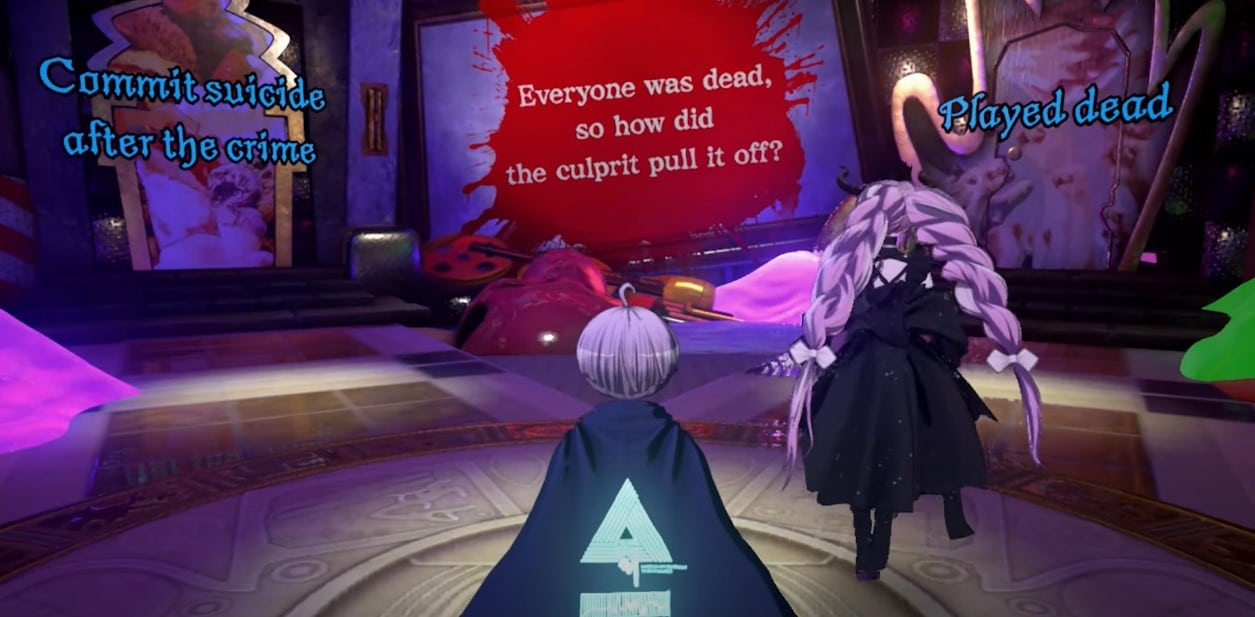
Mystery Labyrinth Options Two Answer
- Pick any of the options
It won’t matter what you pick in Mystery Labyrinth Options Two. Shinigami will tug you into picking “Played dead” and you’re forced to play along. Afterwards, you’ll get dropped into a mine cart where you’ll have to select the right options. Here are the right answers for each question:
Who was the last person to die during this incident?
- Answer: The culprit
Who set fire to the dead culprit?
- Answer: The culprit
Who was the last person to be burned to death?
- Answer: Zilch
Demolish the conclusion door at the end and then another Reasoning Death Match will begin. This is when you’ll get introduced to a new mechanic called Noise. These obstructive sentences show up in red and can be cut down. You get a bonus for doing this.

Reasoning Death Match Three Answers
- Dodge accusations
- Equip Knife in Corpse
- Cut “And died from immolation!”
- Equip Coffee in Dining Car
- Cut “It was to knock himself out!”
Afterwards, Shinigami will procure an exact copy of the crime scene. Investigate the cushion beside the bed and the burnt blanket to get new details. Afterwards you’ll be introduced to another mini-game called Shinigami Puzzle.
Shinigami Puzzle Answers
- Pick out the letters R, E, D in that order.
When walking back, Shinigami will complain that it’s taking too long. Instead she offers to use one of her powers as a shortcut. You’ll have to pick the right answer to the follow up questions.
What’s convenient?
- Z*OM
What proves the culprit played dead?
- Zilch’s corpse
Was what Yuma saw through the window actually Zilch?
- Yes
Was the burnt corpse in Car 1 actually Zilch?
- No
Zilch swapped places with the corpse in the infirmary…
- Before Yuma entered
Where was the burnt swapped-out corpse hidden?
- In the bed, under the blanket at the end
After answering the questions, you’ll be taken to another Reasoning Death Match. This time, a new mechanic called Assist will protect you from damage allowing you to peer closer to what the Mystery Phantom’s Statement is saying.
Reasoning Death Match Four Answers
- Equip Aphex’s Corpse
- Dodge statements until you can slash “There was no corpse to replace anyway!”
After that continue until you get to the point where there is a fork in the road. You’ll be asked to answer another question.
“When moving the body from Car 1 to Car 5, the culprit…”
- Answer: Moved through the train

Reasoning Death Match Five Answers
- Keep dodging until a cutscene appears
- Equip Blackout and Shaking
- Wait until “No issues occurred during the train’s operation…” to slash
- Equip Backup Control System
- Wait until “The blackout was just a bad contact!” to slash
The main control system was lost when Car 1 was…
- Select D, E, T, A, C, H, E, D in that order to form DETACHED
The body was transported along with the entire…
- Select C, A, R in that order to form CAR
Reasoning Death Match Six Answers
- Equip Route Map Solution Key
- Dodge until “There’s no way to shuffle the train cars around!” then slash.
From the start, the Amaterasu Express was a _-car train…
- 4
After answering all of that, the next mini-game is the last one. GOD Shinigami where you jump, tackle, and kick any obstacle that comes your way. With the minor obstacles, you’ll just have to respond with the appropriate action to avoid taking damage. However bigger walls will block your path, requiring the correct Solution Key to solve.
GOD Shinigami Answers
- Push through the obstacles until “There’s no evidence they ever swapped!” and answer with Distorted Plate
- Push through until “You have no hard evidence proving that location was the first car!” and answer with Bloodstains on Interior Lock
- Push through until “Where was Zilch hiding?” and answer with Main Control Room A
After GOD Shinigami, Chapter 0 is nearly finished. In true Danganronpa fashion, you just have to put the final pieces together with a closing argument through the Deduction Denouement.

Deduction Denouement
- Where did Yuma rush to? Amaterasu Express
- What was used to put the detectives to sleep? Knockout Drug
- What was used to break the window? Fire Extinguisher
- What was used as a red herring? Knife and Cushion
- Where was the culprit hiding? Under the Bed
- What was the culprit doing in the Main Control Room? Train Detachment
- What happened when Car 1 was detached? Blackout
- What did the culprit burn? Car Number Plate
- What happened after exiting the tunnel? Attachment to Car 1
- Which body was found last? Aphex’s Body
- Who is the culprit? Zilch
After the Deduction Denouement, the work for Master Detective Archives: RAIN CODE – Chapter 0 is done. All you have to do is watch the events unfold. You can check our chapters list to get an idea of how long RAIN CODE will be to complete.
")

