
Rollerdrome has a variety of enemies that wants to put a stop to your jam. These enemies vary from how they fight you, how tough they are, and how to beat them. In this guide, we’ll explore all enemies in Rollerdrome and teach you how to beat them.
Rollerdrome has a grand total of 7 enemies, baring the final boss. They each differ in tactic and weaponry so you’ll have to adjust your approach. Here are all the enemies you encounter in Rollerdrome:
- Grunt
- Sniper
- Warhead
- Riot Guard
- Polybeam
- Mecha Brut
- Stomper
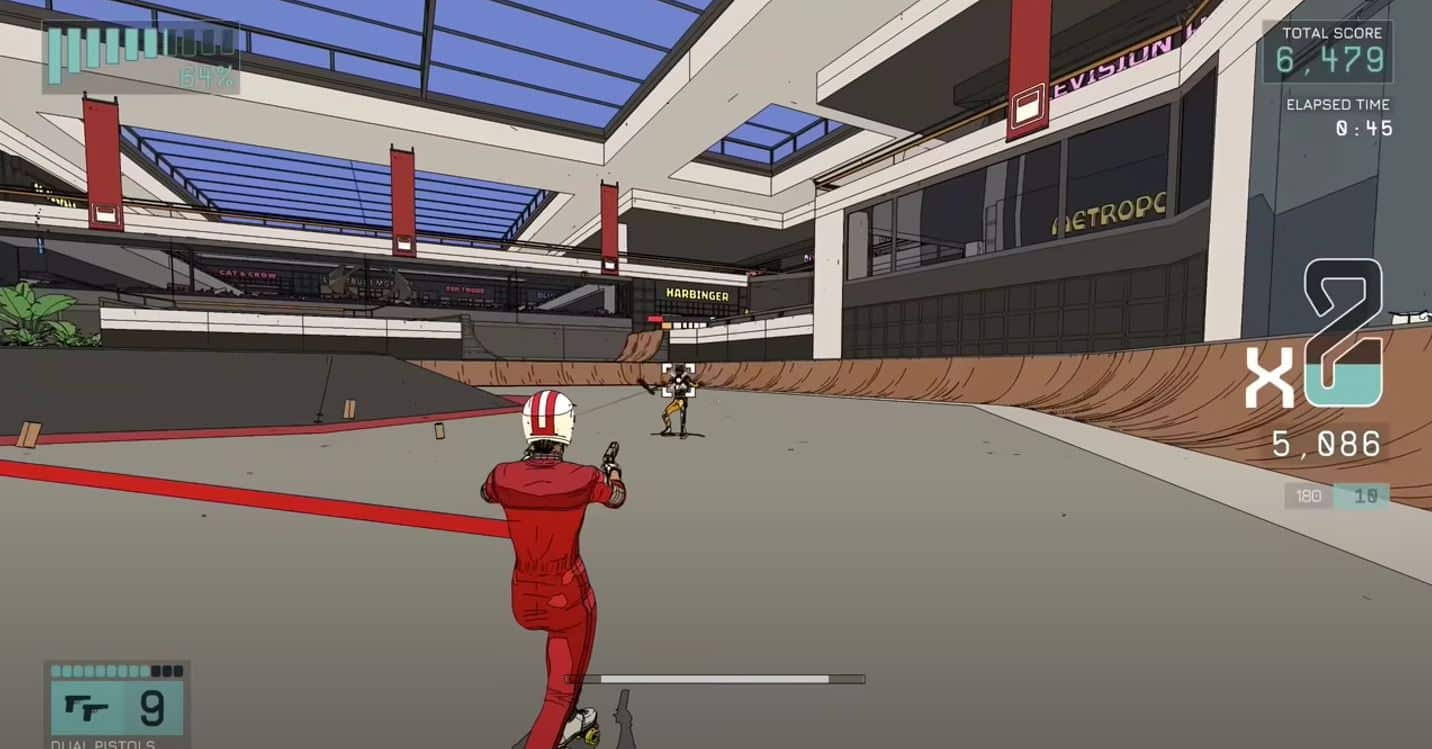
During the beginning of Rollerdrome, the common enemies you encounter aren’t enough to give you a challenge. However as you progress through the campaign, these enemies will start to pile up and really push you to your limits. It’s best to know how to effectively deal with each enemy type to get rid of them quickly.
Grunt
The Grunt is the basic enemy type that you’ll have no trouble dispatching. They have just one attack: they hit you with their bat. The only real danger they posses is when they’re grouped with other enemies and you become careless. They can only damage you when you skate close to them. This makes ranged fighting a death sentence for your average grunt.
Despite how easy they are to dispatch, you might want to save them for last. Grunts are an easy source for health or prolonging combos. Take care of the real threats in the environment and only focus on the Grunts when you have to.
Shots to Kill the Grunt
- Dual Pistol: 4
- Shotgun: 2
- Shotgun (Slug Shot): 1
- Grenade Launcher: 1
- Z-11: 1
- Z-11 (Fully Charged): 1
Sniper
The Sniper is a long ranged enemy like the name implies and can hit you from long distances. This enemy type can hit you from pretty much anywhere so long as there isn’t an obstacle in the way between their shots.
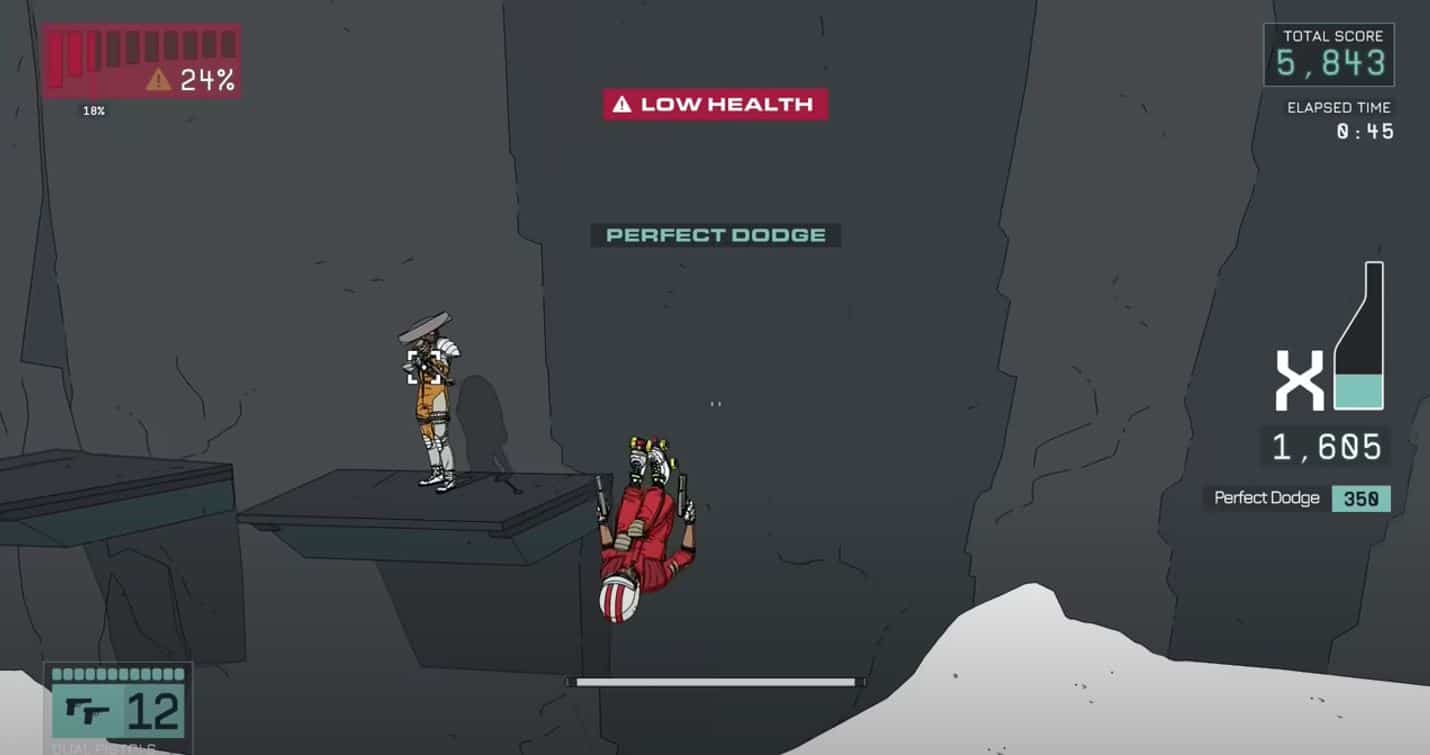
Snipers can be used to your advantage to enter Super Reflex Time. If you dodge their fire when the laser turns white, this gets you the Super Dodge which allows you to enter the above mode. For this reason, you might want to keep them around in the environment longer than most enemies.
If you’re focused on prolonging your combo, the Sniper enemy type can be a pain to deal with. Since they’re usually placed in long isolated areas in the map. They can be taken out with one hit from a fully charged Z-11 which can hit them from a good distance.
Shots to Kill the Sniper
- Dual Pistol: 8
- Shotgun: 4
- Shotgun (Slug Shot): 2
- Grenade Launcher: 1
- Z-11: 2
- Z-11 (Fully Charged): 1
Warhead
The Warhead is an enemy that shoots target seeking missiles your way. These missiles are easy to dodge but avoiding them entirely is tricky due to how they actively follow you.
They’re main quirk is that they put up a shield to protect themselves if you take time between shots. This means that the shotgun and grenade launcher is inefficient against them. Their shield makes them invulnerable for a short window.
The best way to take out the Warhead is by barraging it with your Dual Pistols or a fully charged Z-11 shot. If you plan to use your Dual Pistols to take them out you need a full magazine to do so.
Shots to Kill the Warhead
- Dual Pistol: 11
- Shotgun: 5
- Shotgun (Slug Shot): 2
- Grenade Launcher: 2
- Z-11: 2
- Z-11 (Fully Charged): 1
Riot Guard
The Riot Guard is the first enemy you’ll encounter with two attacks. The first attack is them throwing landmines in your direction. The second is a shockwave that hits anything in front of them. Those shields of theirs make them impossible to damage until you’ve depleted it.
Your Dual Pistols are almost entirely useless against the Riot Guard. They’ll only do damage in Super Reflex Mode so you’re better off using any other weapon against this enemy type. Due to their durability they’re a pain to deal with since you’ll lose your combo streak when trying to deal with their annoying shields.
There is a silver lining when fighting the Riot Guard. They have attacks that are easy to dodge and if you time it right, you’ll get the desired Super Dodge with gets you into your Super Reflex Time.
Shots to Kill the Riot Guard
- Dual Pistol: Invulnerable
- Shotgun: 5
- Shotgun (Slug Shot): 4
- Grenade Launcher: 2
- Z-11: 5
- Z-11 (Fully Charged): 2
Polybeam
The Polybeam shares a common trait with snipers in that they hit you from a very long range. There are differences that put them a league above their counterpart. Their laser stays active even after dodging it and they can teleport around upon being hit. This makes them annoying to put down and a real combo killer.
The silver lining here is that the lasers can be used to get into Super Reflex Time that much easier. By dodging away at the correct moment, you can farm Super Dodges which gives you an edge in the fight. However you do need to watch where you skate since these laser beams leave behind walls of fire as an after effect.
The Polybeam enemy types are also tougher since you’re Dual Pistols will need more than a full magazine to down them. It won’t be until you get the Z-11 that you can hit them with a fully charged shot from far away. The best way to take them down is by utilizing Super Reflex Time and a charged shot from your Z-11 to put them down in one hit allowing you to keep your combo score.
Shots to Kill the Polybeam
- Dual Pistol: 14
- Shotgun: 7
- Shotgun (Slug Shot): 4
- Grenade Launcher: 2
- Z-11: 3
- Z-11 (Fully Charged): 2
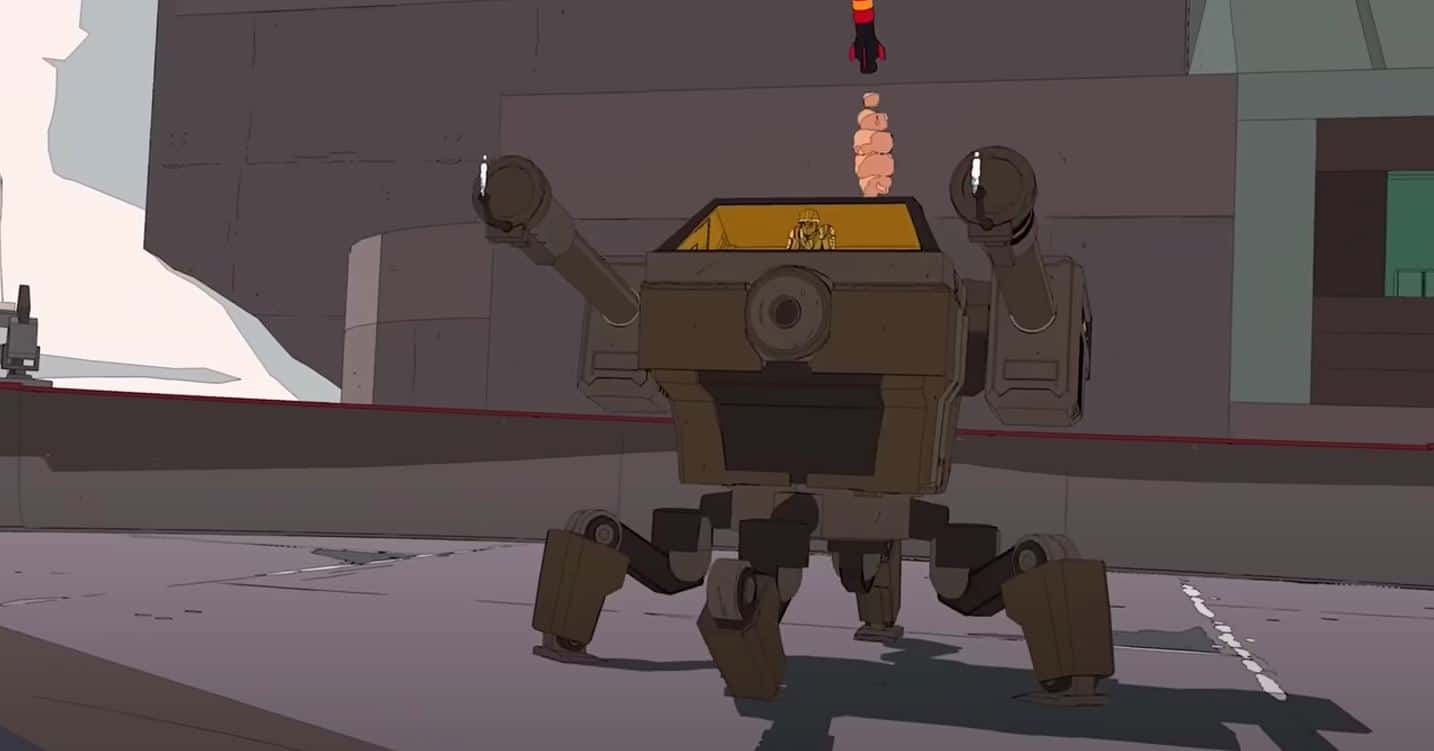
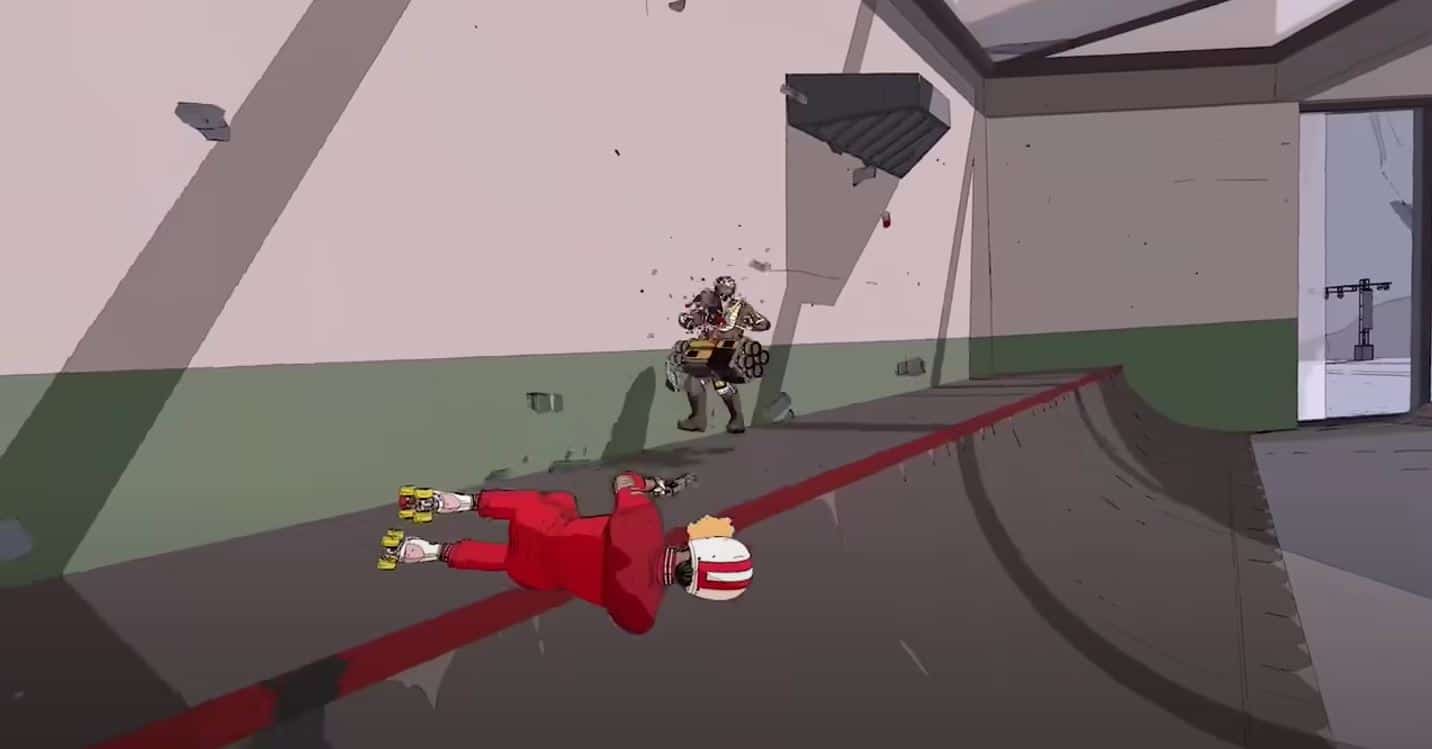
Mecha Brut
The Mecha Brut arrives late into the game and they’re no doubt the toughest enemies in the game. They have flamethrowers which makes it hard to come close to them without being barbequed. Those can be taken out in which the Mecha Brut will switch to homing missiles to get rid of you.
You’ll have to take out the flamethrowers first if you want to get near the Mecha Brut. This is tough since neither the Dual Pistols nor the shotgun will do much damage here. This is where your Grenade Launcher will shine as aiming for center mass of the Mecha Brut will deal damage to both the flamethrowers and put them down in two hits.
Shots to Kill the Polybeam
- Dual Pistol: 14
- Shotgun: 7
- Shotgun (Slug Shot): 4
- Grenade Launcher: 2
- Z-11: 3
- Z-11 (Fully Charged): 2

Stomper
The Stomper is the last enemy type that will be introduced in Rollerdrome. It only has one attack: it hovers over you and stomps the ground. While it doesn’t sound that much impressive, it deals a lot of damage and leaves behind acid. This makes getting caught once potentially a game over.
This is where we don’t recommend relying on Super Reflex Time to take out an enemy. Stomper can be taken out if you Super Dodge their attack but it’s high risk. You’re better off damaging it from afar with a fuller charged shot from your Z-11 which puts them in a daze on the first hit. This will give you time to reload your weapon and fire another fully charged shot again.
We advise you finishing off the Stomper before any other enemy as they can become a nuisance quickly. Leaving yourself open to those stomps will only be a risk in the long run.
Shots to Kill the Stomper
- Dual Pistol: 18
- Shotgun: 9
- Shotgun (Slug Shot): 5
- Grenade Launcher: 3
- Z-11: 4
- Z-11 (Fully Charged) 2
That’s our Rollerdrome All Enemies and How to Beat Them guide. We hope you found this article to be informative. We have more on Rollerdrome so don’t skate away just yet.
Check out this Youtube video from Ben-Gun showcasing all grinds and grab moves in Rollerdrome.


