Sometimes finding the right information in Warhammer 40K Darktide feels more like a series of experiments. Let’s face it, the game isn’t really forthcoming about what the numbers on blessings actually mean. The task then falls onto the community to find that out themselves.
In this guide, we’ll go over the keywords that appear on blessings and how they can help you determine which ones are going to go on your weapons. We’ll also tell you on which blessings these keywords appear on.
Warhammer 40K Darktide Blessing Keywords Explained
This information is provided by the fine folks over at Darkmass. They do experiments and other stuff the developers do not provide information for.
Bleed: Applies stacks of bleed to the enemy, which deal damage over time. Maximum stacks are 16, which last somewhere between 2-5 seconds. Does less damage to enemies which have some form of bleed resistance, such as Crushers and other armored enemies.
This is good to know since players can assume that we can inflict the bleed status on armored units as a way of supplementing the little damage the knife does.
Seen on:
- Bloodletter
- Flechette
- Flesh Tearer
- Lacerate
- Mercy Killer
Brittleness: Equates to armor penetration against armored enemies. Different from Rending in the sense that Brittleness is a debuff applied to enemies, rather than a buff to the player. Each stack of Brittleness reduces enemy armor by a certain percent lasts a certain amount of time.
Seen on:
- Thunderous
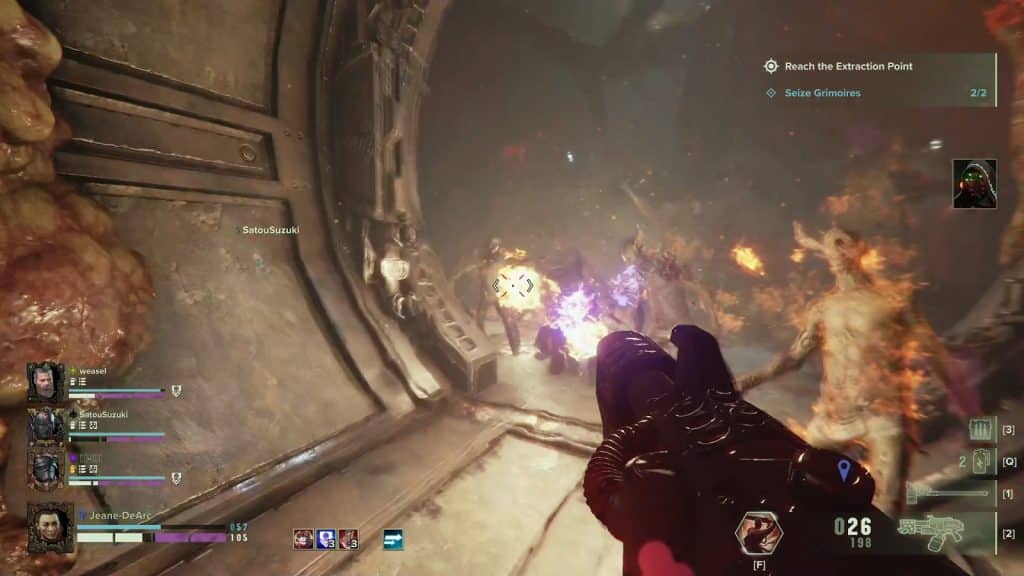
Burn: Applies damage over time effect to enemies. This damage is applied through stacks, in a similar vein to bleed. Burn damage is tied to stacks, which are capped at 16 in the same way as bleed. The Burn bar affects the DoT application rate, as well as the maximum number of stacks.
Through the application of certain mods, you can apply the burn stacks faster and thus causing more damage over time. The max stacks remain at 16 though.
Seen on:
- Fan the Flames
- Infernus
Cleave: Refers to the additional targets hit by a weapon after the first enemy is hit. Directly affected by the Cleave Damage and Cleave Target bars. The former modifies how many targets your melee weapon passes through, whereas the latter modifies the damage dealt to these additional targets.
Seen on:
- Man-Stopper
- Savage Sweep
- Sunder
- Wrath
Critical Chance: Chance to inflict a critical hit on an enemy. Actual values differ depending on factors such as weapon type and mods equipped.
Seen on:
- Bash
- Bloodthirsty
- Cavalcade
- Crucian Roulette
- Gets Hot!
- Headhunter
- Point Blank
- Riposte
- Scattershot
- Shred
- Smackdown
- Surgical
- Warp Nexus
Corruption Damage: Inflicted by Pox enemies and the Plague Ogryn monstrosity. Can be mitigated by the corruption resistance modifier on certain curios.
Hounds actually do a startling amount of corruption damage once it pounces on you. Should be worth noting that corruption applies at fixed intervals. It doesn’t stack up as burn does. It’s more additive than it is multiplicative. You’ll still really feel it if you have 2 grimoires in your possession while a Daemonhost is beating you down.
Damage: Damage dealt to enemies. Multiplicative with other stats, partially multiplicative with crit stats.
Seen on:
- Dumdum
Damage over Time: Does a flat amount of damage to enemies. This damage varies depending on the armor type of enemies.
Health: Received damage targets toughness before HP, but you will receive chip damage when taking melee whilst under 100 toughness. Only possible to regain through medpacks, a medicae station, or through certain class-specific talents.
The chip damage part is something most players seem to overlook. It’s hard to pay attention to these kinds of things when bodies are being thrown at you.
Impact: Increases the effectiveness of stagger on enemies. It is a direct increase to stagger damage, allowing you to stagger certain enemy types which have a higher stagger resistance.
Seen on:
- Hammerblow
- Thunderstrike
- Trauma
Mass: Determines how ‘dense’ an enemy is.
For example, “If a weapon has 8 cleave and an enemy has 3 mass then the weapon can cleave two enemies with 2 remainder mass. Because there is remainder mass, the swing will pass through the second unit and hit the third and be stopped on it because it has a mass greater than the remaining cleave so, with an 8 cleave weapon, you could cleave three mass enemies.“
A stockier enemy will actually take the brunt of a melee blow and even stop a sweeping weapon mid-swing. This explains why the axe is just a god-tier weapon against mobs of enemies. It doesn’t care about the mass of the enemy 99% of the time.
Seen on:
- Brutal Momentum
- Deathblow
- Devastating Strike
- Perfect Strike
- Pierce
- Shock & Awe
- Unstoppable Force
Power: An overall increase in damage. Calculations are currently unknown, but it increases damage, cleave, and stagger values simultaneously.
Seen on:
- All or Nothing
- Blaze Away
- Deathspitter
- Decimator
- Expansive
- Fire Frenzy
- Full Bore
- Headtaker
- Limbsplitter
- Opening Salve
- Overpressure
- Pinning Fire
- Pinpointing Target
- Punishing Fire
- Slaughterer
- Superiority
- Tenderiser
- Thrust
- Trickshooter
- Unstable Power
Rending: Increase armor penetration. Rending is a player buff, compared to Brittleness which is an enemy debuff.
Unclear how it calculates. Leading theories suggest that it either reduces armor defense by 10% per stack or downgrades enemy armor by 1 level.
Seen on:
- Can Opener
- Decapitator
- Rending Shockwave
- Ruthless Backstab
- Shattering Impact
- Supercharge
- Uncanny Strike
Salvo: One salvo is all the shots that happen until recoil fully resets either by swapping off and back onto the weapon or just not firing for a period of time. Can be affected by blessings such as Opening Salve, which increases the power of the first shot in a Salvo.
Looking at this description this blessing is best used on cannons, and not so much on burst auto rifles.
Seen on:
- Opening Salve
- Sustained Fire
Soulblaze: Similar to Burn, but exclusive to the Psyker. Applied by the flame staff and some specific talents. The DoT is multiplicative, resulting in it applying low damage at one stack, but very high damage past 4 stacks.
Seen on:
- Blazing Spirit
Suppression: Suppression against an enemy usually causes them to run away and seek cover. Suppression against you causes your weapon to knock around whilst in ADS and increases inaccuracy.
Seen on:
- Between the Eyes
- Ceaseless Barrage
- Powderburn
- Terrifying Barrage
Stamina: This represents the ‘chunks’ of the stamina bar. Altered by factors such as character class, equipped weapon, etc. These chunks are used when sprinting, blocking and pushing. For sprinting, each ‘chunk’ on the bar roughly represents one second of sprinting.
Curios with stamina modifiers very slightly increase each bar depending on its percentage. It’s not much but looking at the working, the increase from a curio provides a fraction of a second to each bar.
Seen on:
- All or Nothing
- (Related) Deflector
Stagger: Interrupting enemies on hit; directly linked impact. Staggering enemies knocks them off balance and weapons with the crowd control bar gain the biggest increase to stagger. Stagger is also applied on cleave, meaning that high cleave weapons can stagger multiple enemies at once.
Seen on:
- Falter
- Fan the Flames
- (Related) Focused Channelling
- No Respite
- Pinning Fire
- Skullcrusher
Toughness: Blue shield above your health bar. Receiving damage reduces toughness until 0, where you then take HP damage. However, being hit in melee when below 100 toughness will cause chip damage to your HP.
Seen on:
- Born in Blood
- Confident Strike
- Gloryhunter
- Inspiring Barrage
- Momentum
- Reassuringly Accurate
Weak Spot: Weakspots of enemies, which most weapons deal some sort of increased damage. This is the head for the majority of enemies. An exception is the Beast of Nurgle monstrosity, where the yellow spot on its back is the weak spot.
Seen on:
- Brutal Momentum
- Deadly Accurate
- Executor
- Exorcist
- Falter
- Ghost
- Lacerate
- Mercy Killer
- Precognition
- Punishing Salvo
- Transfer Peril
- Trickshooter
- Uncanny Strike
Wounds: An extra ‘chunk’ of HP. Doesn’t change the player’s actual HP number, it just increases the number of times you can go down and be revived before dying. In Uprising (Difficulty 1) you gain an extra wound, whereas in Heresy and Damnation (4 and 5, respectively) you lose one. For example, a Veteran in Heresy with no curio modifiers to wounds will have only 2 wounds, whereas that same player in Uprising would have four instead.
Check out our other Warhammer 40K Darktide guides:
- Warhammer 40000 Darktide – Weapon Attributes and Ratings Explained
- Warhammer 40K Darktide Beginner’s Guide – Things You Need to Know to Survive and Thrive
- Warhammer 40K Darktide Grimoire Guide – What Are They, Where to Find, and More
- Warhammer 40K Darktide Shrine of the Omnissiah Explained
- Warhammer 40K Darktide Mission Types – What Are They and What to Expect
- Warhammer 40K Darktide Penance Guide – How to Unlock Them
Check out this video from YouTuber ItalianSpatacus where he talks about specific Blessings Keywords in Warhammer 40K Darktide.
