
Warhammer 40K Darktide is not your older sibling’s Vermintide. Though they share similarities, Warhammer 40K Darktide is a completely different beast in terms of encounter intensity and the ways enemies can mess you up from seemingly anywhere.
In this Beginner’s guide, we’ll give some tips and tricks to help you understand the game better, give you a headstart, and teach you how to survive and thrive.
Do note that we will be using words like drop points to signify the end of a level phase and leads to a new one.
Warhammer 40K Darktide Tips and Tricks
The first and most important thing every player should do in Darktide is to stick together. The entire game is designed in a way that the entire team is strongest together. The skills and passives each class has take effect when allies are close. And every special enemy in the game is designed either to separate you from the team or to pick you off one by one.
Now, let’s go over some situational tips.
Staying Alive
- Corruption in Darktide reduces your maximum health and limits how much you can heal. You gain corruption by being in the presence of a creature of the Warp and carrying Grimoires. You also acquire a chunk of corruption every time you get knocked out. The only way to remove it is by paying a medicae station a visit.
- Being close to teammates increases the rate at which your Toughness (aka blue bar) recharges.
- Pressing Q instantly switches between your melee and your range weapons. You are free to use the mouse wheel but there is always the danger of scrolling past them and bringing out your grenade by accident.
- Don’t be afraid to spam dash and block actions since the recovery time for both is kind of short. Pre-emptively blocking can save you from a potential hit. But it’s better for you to strike first and then block just before an enemy’s attack lands.
- While blocking, you can press the left mouse button to push enemies that are up in your face. Press it again to perform a quick hit for extra damage.
- Time your abilities well. Get a feel for knowing to use your “F” ability. Having it on cooldown when a group of enemies is on top of you is just asking for a quick down.
- Pay close attention to the audio cues. If you hear a howling from the distance, that is a sign that a Poxhound is inbound and ready to maul you. And if you happen to hear a tik-tok sound, watch your corners.
- Although a bit risky, you can hold down the crouch button while running to allow you to slide for longer distances and potentially avoid incoming fire as you approach enemies. Not recommended when you’re already getting slowed.
- Random pieces of cover are your best friends in the field. They will occasionally throw off enemy pathfinding and shield you from incoming ranged attacks.
Enemies
- Getting close to enemies forces them to take a melee stance. They will put away their ranged weapons and will start to engage you. Be careful though melee strike deal more damage than ranged attacks.
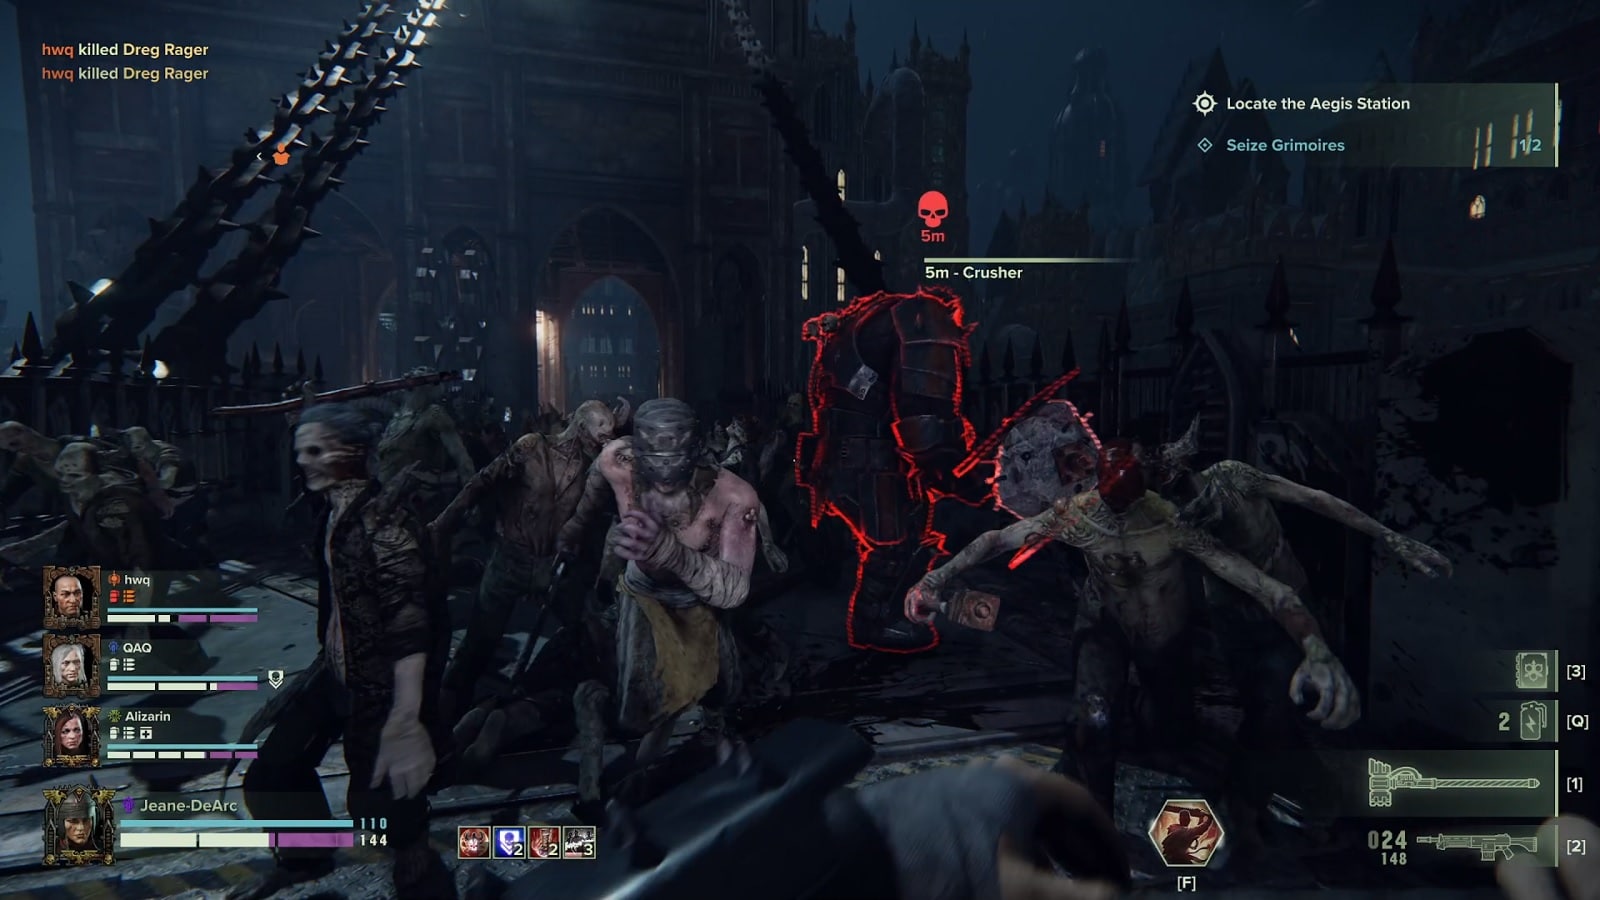
- Every Special Enemy in the game has their own unique sound indicator. You’ll be able to catch it once they are close enough to use. The only exception is the bomber as your allies will most likely call them out first.
- For Captain enemies like Captain Kjatan Bockrill at the end of Assassination missions, using melee attacks on the shield is far more effective compared to dumping shot after shot at it. Once the shields are down, you can switch to ranged weapons and burn through his HP.
- In harder difficulties, it is best to save up your grenades for boss fights. If you encounter the Beast of Nurgle, grenades deal heavy damage since they hit the weak spot on the back no matter where they land.
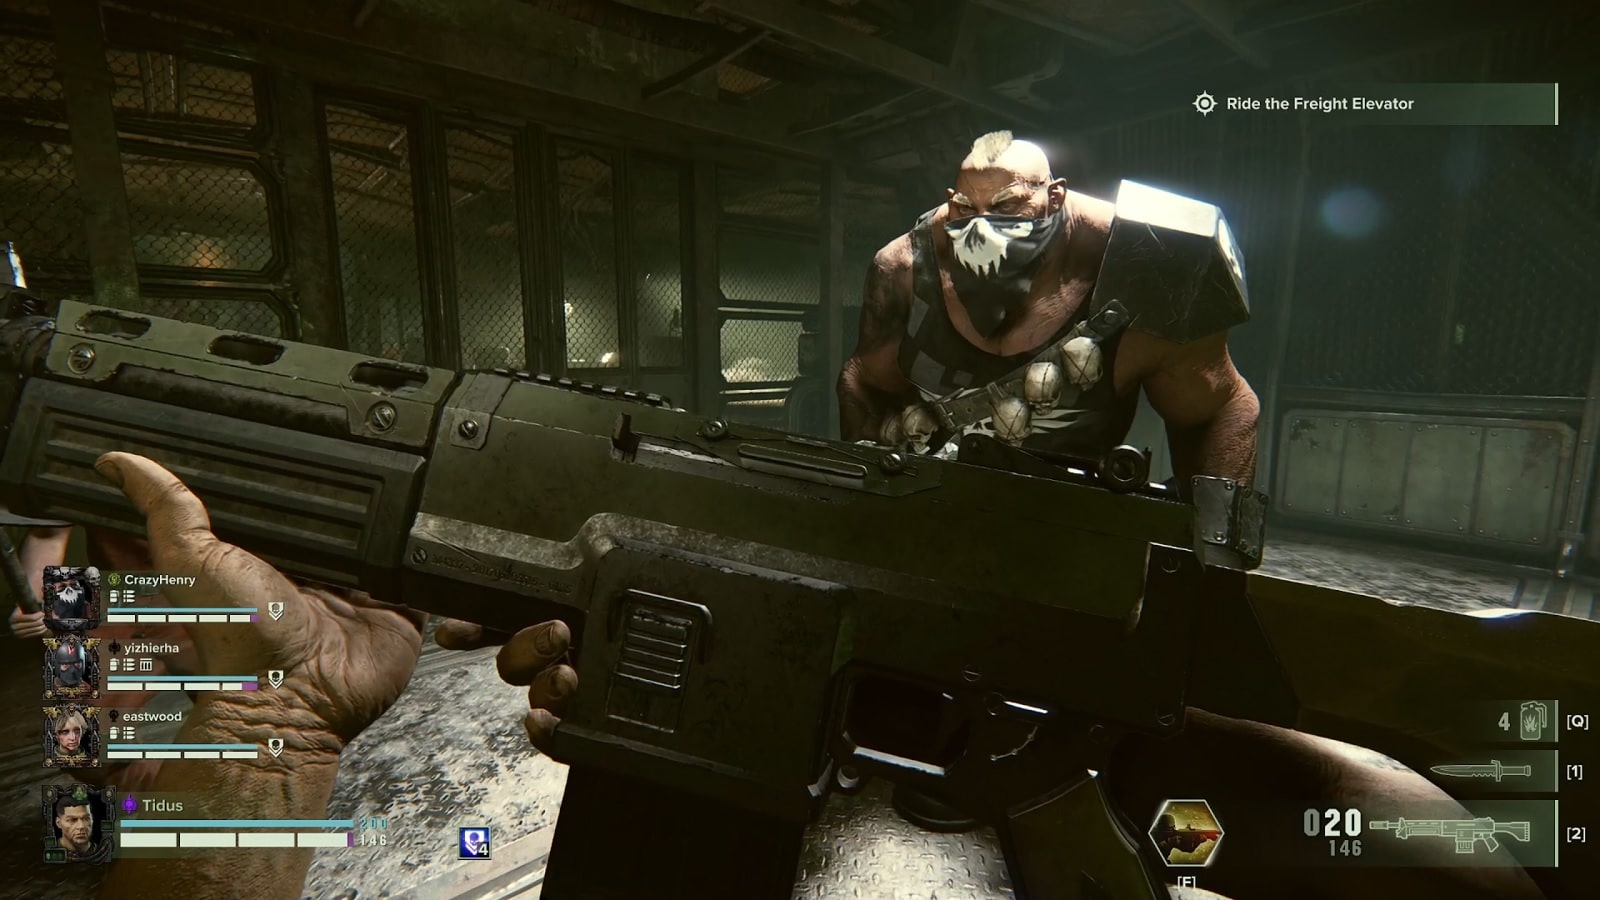
- The weak spot of the Plague Ogryn is its head. Only switch to melee if you are the creature’s focus. At that point, it’s better for you to play defensive and let the others shoot at it.
- If you have the option to not confront the Daemon Host, do not take it head-on. This is one terrible enemy that’s comparable to a Witch from L4D… but it teleports.
Weapons
- A good standard: Bring one weapon that has good crowd control capabilities and one that has high single damage.
- Every weapon in Darktide has an alternate fire mode. Be it a flashlight on a rifle or a special melee attack that’s unique to the weapon.
- Running and dashing cancels reloading. Reload your guns before entering densely populated enemy areas to avoid any rude surprises.
- Most charged melee attacks deal heavy first-target damage. Weapons like the Thunder Hammer are the opposite of that. Its base attack does a considerable amount of first-target damage while its charge attack does sweeping collateral damage over a wide cone.
- Buy weapons with the highest rating. Vendors like the armory take your highest weapon into account and will adjust accordingly. Buying the highest level available raises the average level of weapons on your next visit.
- Melee weapons deal more consistent damage than shooting. Unless you’re a Veteran Sharpshooter, you will end up burning through ammo really fast.
- Focus your money spending on tools that are right for the mission at hand. If your has the “fewer hordes” modifier, you may want to bring a weapon that’s effective against special enemies. You’ll see more of them on those kinds of missions.
Teamplay
- Positioning is everything in this game. The further away you are from the team, the more likely you are going to be targeted by special enemies. If someone dies before the drop point, they are practically lost.
- Ammunition is limited. If you have a choice between melee or shooting. Prioritize melee, if you can help it. It saves your life more often than you think.
- Grenades are very valuable. At any given time you are looking at a reload of 3-4 times max in any mission. Go grenade happy for too long and you might not have them when you need them the most.
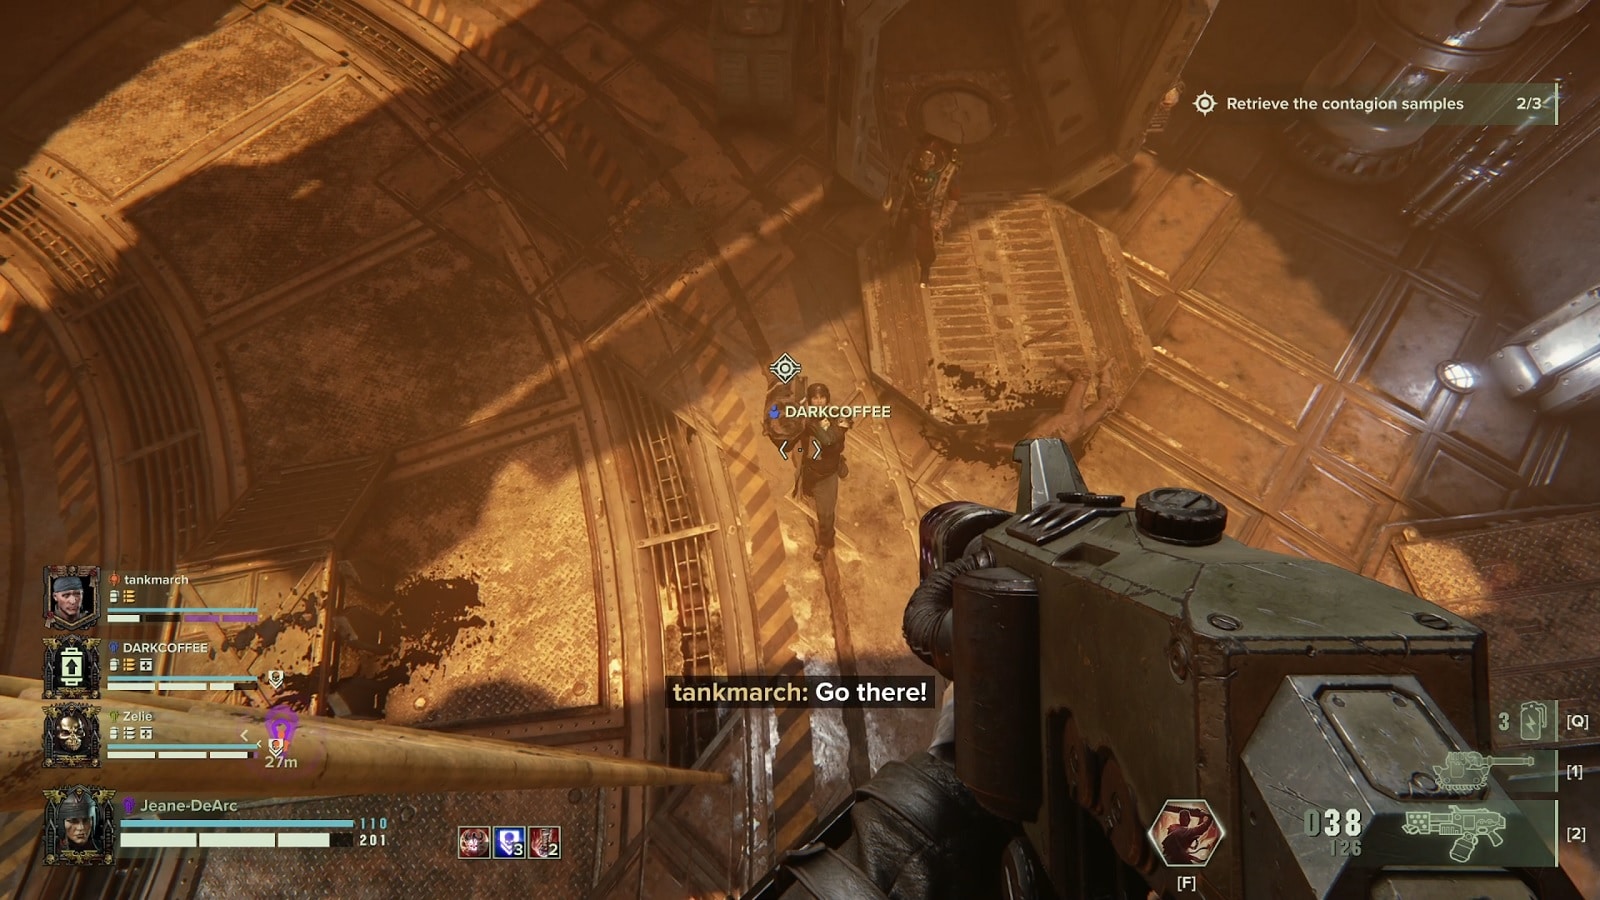
- You can recharge the medicae station using a nearby battery. They are usually 30-40 meters around. When you see one before a drop point, chances are the medicae station is located in the next part of the mission.
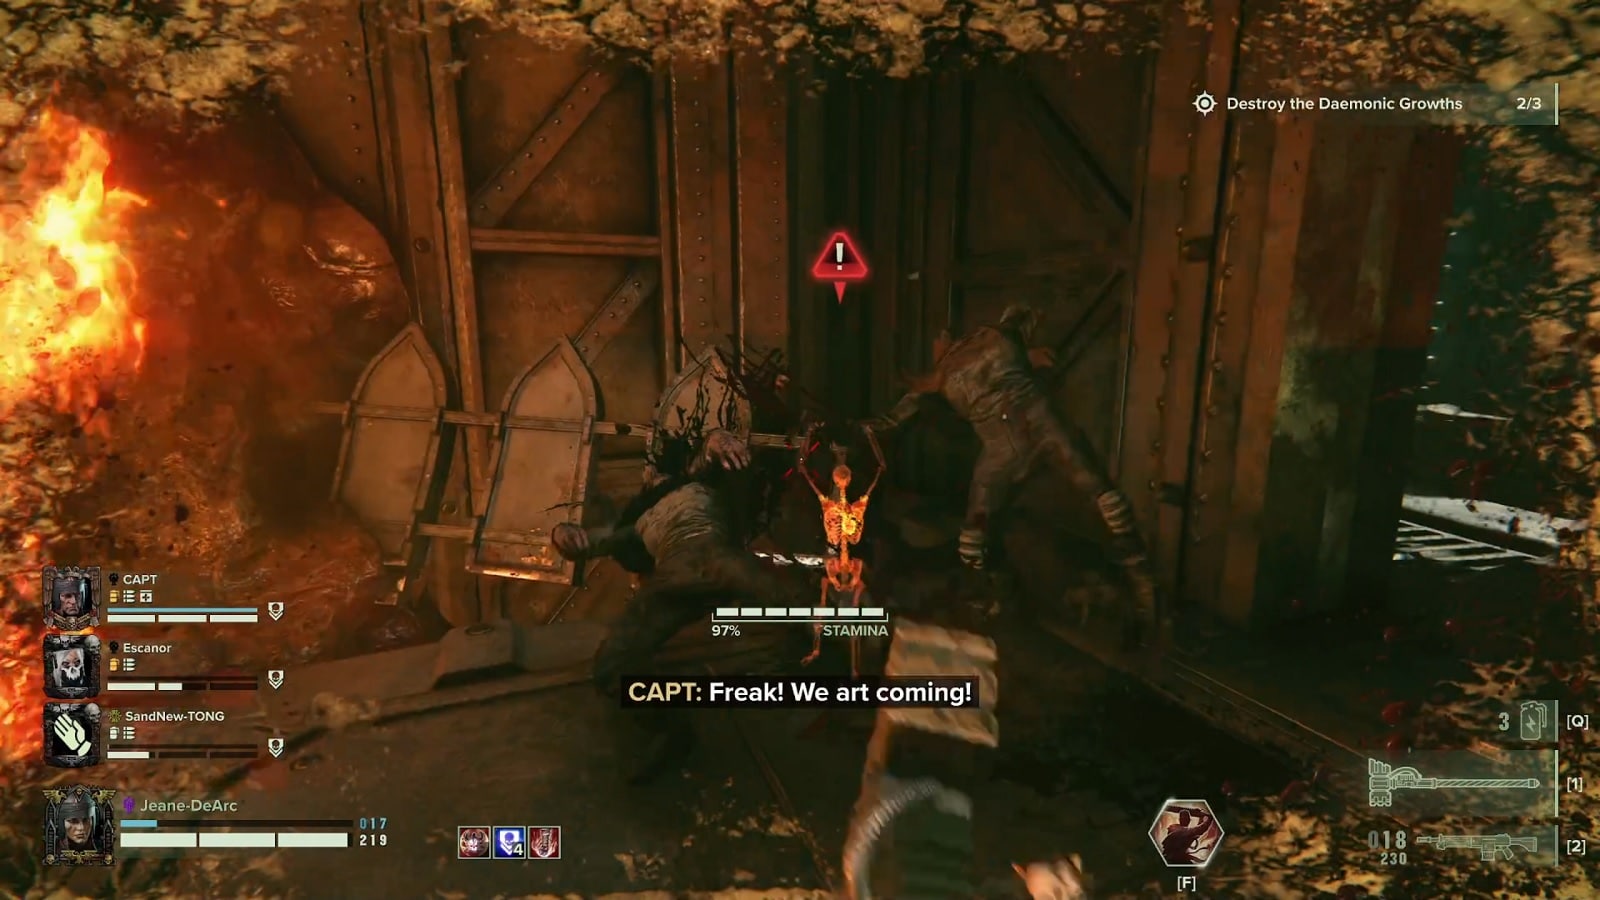
- You can see how much time a teammate has left on the rez by looking at the exclamation mark at their location. Once all the color is gone from the marker, that player has been taken out.
- You can check how much ammo a player on the strike team has by looking at the ammo icon next to their portrait. White means that they are full on ammo, yellow means they have half ammo left, orange means they’re nearly out, and red means that they’re completely out.
- Let’s face it. There are times when a player loads into a match and goes AFK. You can actually vote to kick a player by opening the pause menu and pressing the Socials button and clicking on that person to initiate the ‘Vote to kick from Strike Team’ option. Harsh? Maybe. Necessary? Definitely.
- Ogryn can carry sizable objects without suffering the movement penalty the other characters have to endure. If you have someone like this on the team, they should be the ones taking the initiative in transporting batteries and special ammo crates.
General Advice
- To improve your game’s performance, the best option is to turn the rectals option all the way down to 3. This removes most if not all stutter from the game in horde fights and it is barely noticeable while playing and doesn’t impact the way the gameplay looks or feels in any way or form.
- The grimoire side objective cause you corruption. Corruption permanently lowers your health points over time unless you use a healing station.
- Discarding your old gear at the shop gives you a portion of gold back. This way you can speed up the process of buying newer and higher rating weapons
- Do not rez allies who are in fire or goo. They will drag you down with them. They can stay in the down state until the effect disappates. But as long as it stays on, the more perilous it is to go for a rez.
- Learn about your Feats and compliment them with your weapons. Take the Zealot for example.
And that’s it for our Warhammer 40K Darktide Beginner’s Guide. We hope this list of tips and tricks can help you out while weeding out the enemies of the Emperor!
Check out our other Warhammer 40K Darktide:
- Warhammer 40K Darktide Beginner’s Guide – Things You Need to Know to Survive and Thrive
- Warhammer 40000 Darktide – Weapon Attributes and Ratings Explained
- Warhammer 40K Darktide Grimoire Guide – What Are They, Where to Find, and More
- Warhammer 40K Darktide Shrine of the Omnissiah Explained
- Warhammer 40K Darktide Mission Types – What Are They and What to Expect
Check out this video from Youtuber Legacy Gaming where he goes over 20 minutes’ worth of tips and tricks new players can make use of.


