")
We Were Here Forever is the fourth installment of the We Were Here series. It is a co-op puzzle game where two players have to help each other out in solving puzzles while navigating through mazes and obstacles within a castle.
This guide will cover the solutions to Chapter 1’s Prison Cells to the Dial Rooms.
How to Solve We Were Here Forever Chapter 1 Puzzles (Part 1)
The first area of Chapter 1 will serve as a tutorial stage for you and your partner to learn the basics of the game. If you are familiar with the previous We Were Here games, the controls and mechanics are fairly similar. We will be dividing the chapter guides section by section to make them easier to follow along, and we’ll also try our best to talk through both players’ perspectives.
Prison Cells
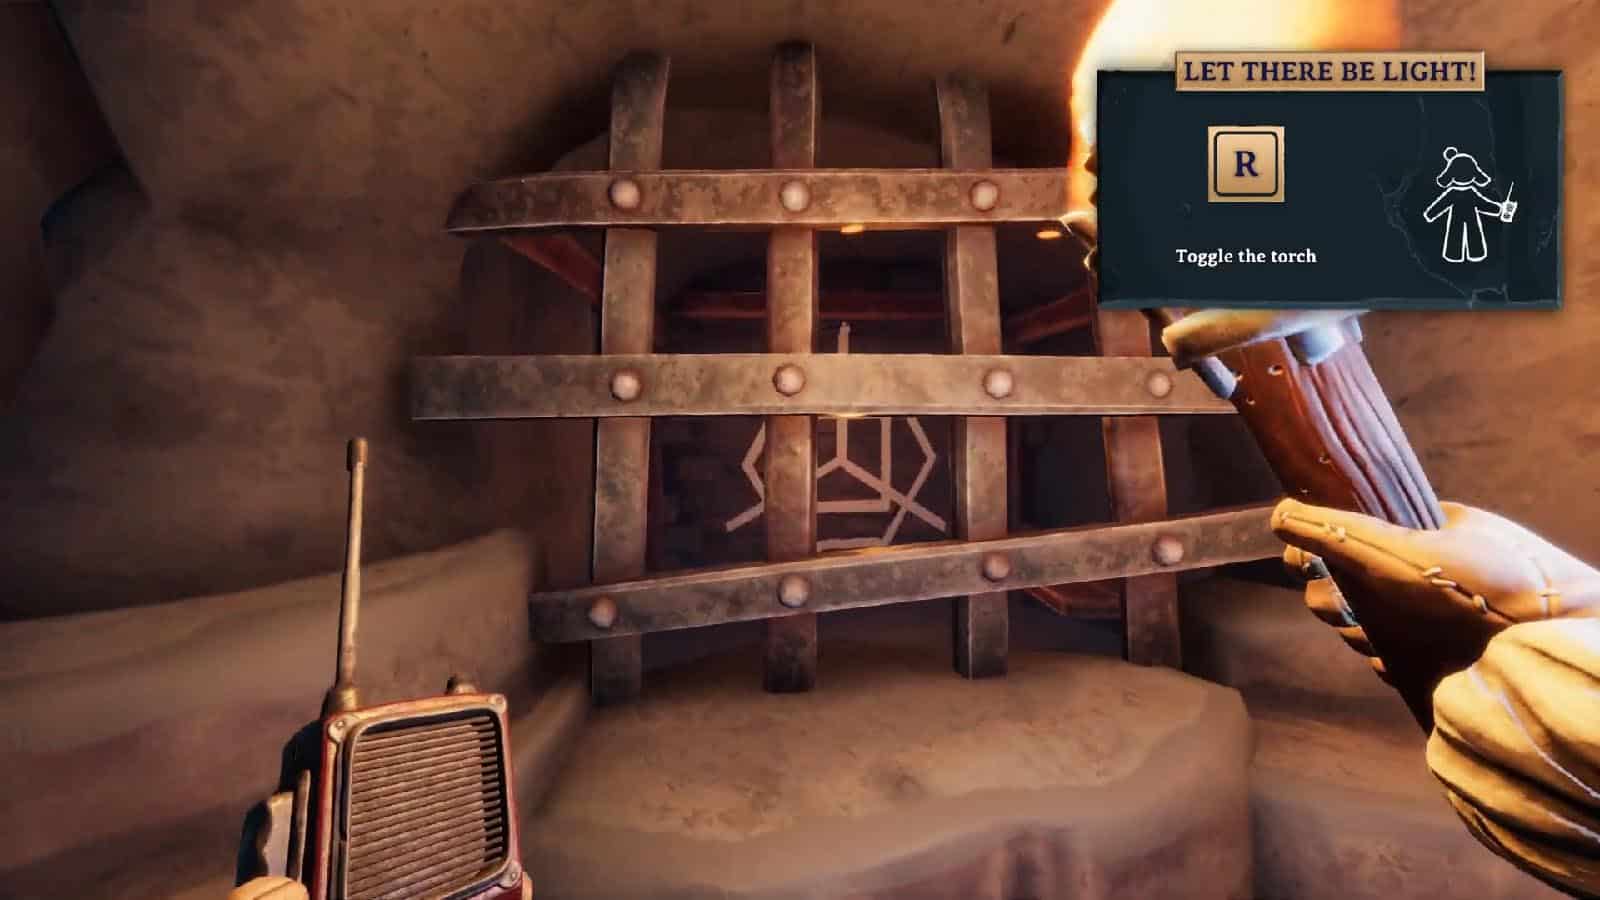
You and your partner wake up in a prison cell with your walkie-talkie on hand. The prison door opens up and you get to test the walkie-talkies and talk to each other. Though both of you are in prison, you’ll be in different prisons so you won’t see each other yet.
You both need to go to the middle section of the prison and find the doors that will open up. Inside, you will see small cells with messages. One player will see “We are the sum…” and a door with a 3-combination lock with symbols, while the other will see “… of our parts” and another cell with shapes; a star within a triangle (pointing right) within a circle.
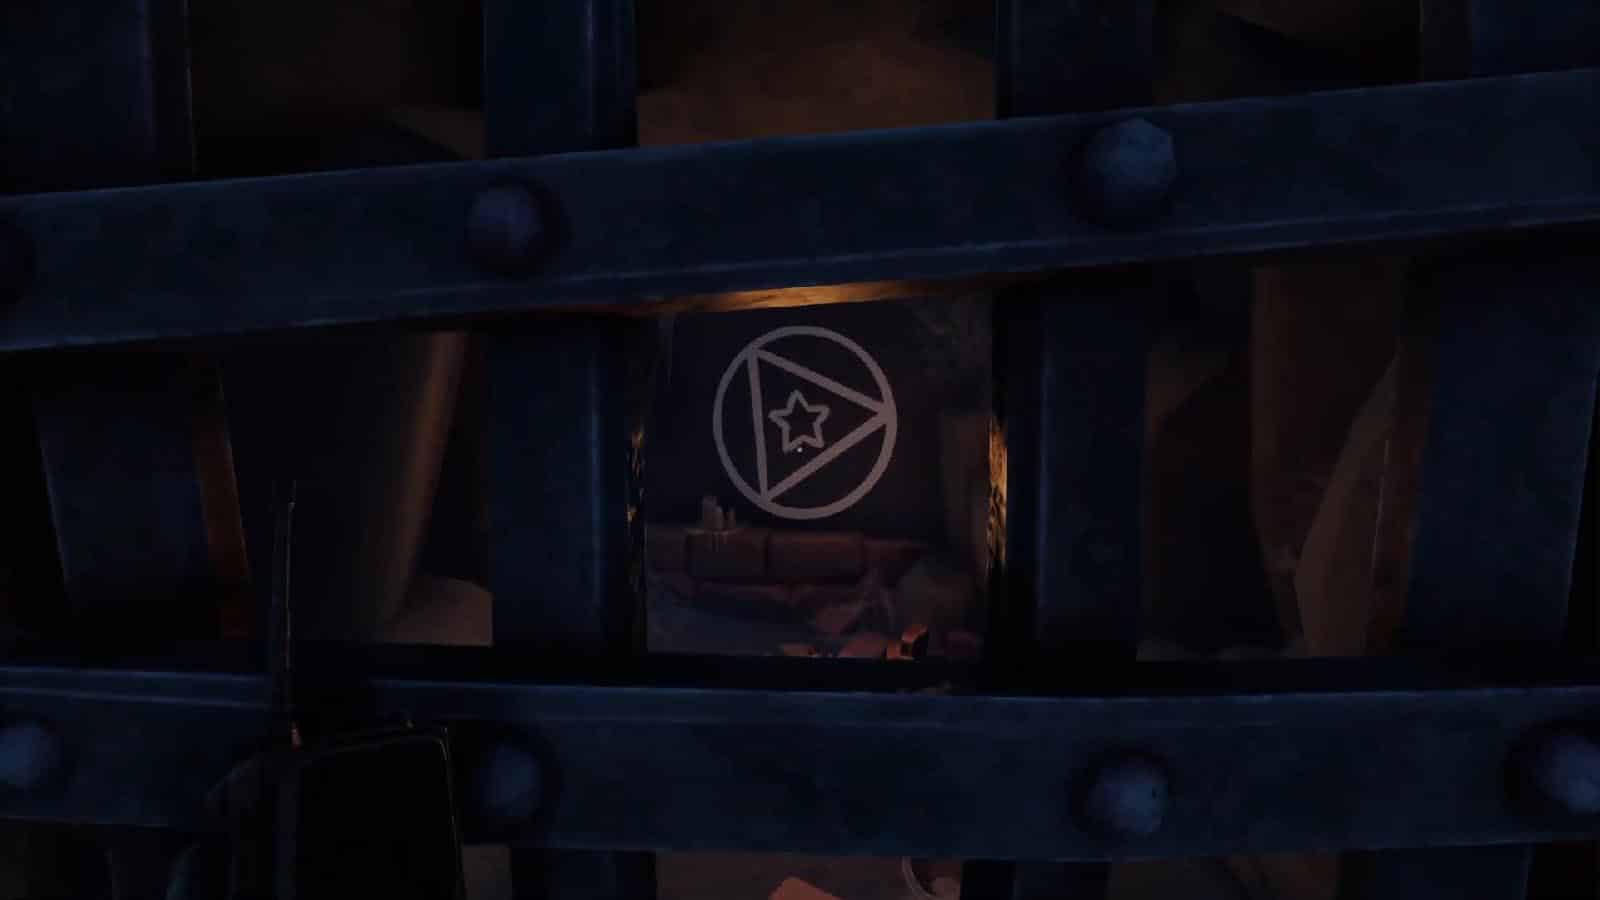
Simply communicate the shapes to each other, with the player on the combination lock scrolling through the shapes to match the right ones. From left to right, the combination goes: star – triangle – circle.
This will open up a locked door on both of your ends. Follow the prompts to navigate the area as you need to jump and crouch to get through obstacles. Both of you will find a lever mechanism that opens a door on a far end of a hall. At this point, you and your partner are still in different prisons.
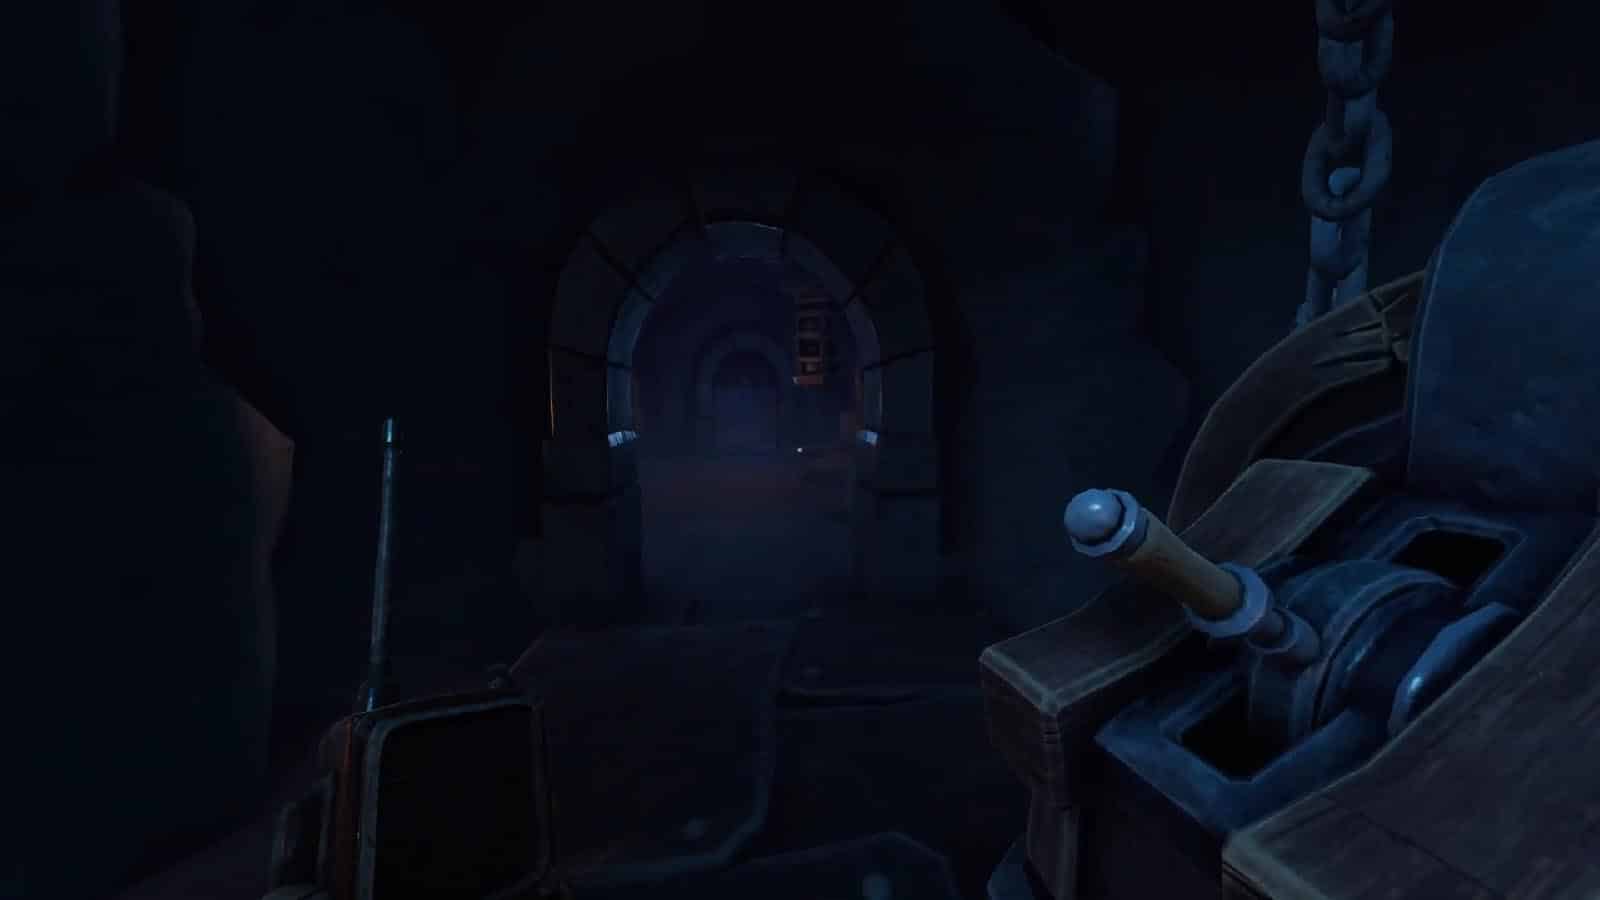
Once the lever is pulled, you only have a few seconds to get to the door as it slowly closes back down again, so make sure to sprint to the door quickly You can start moving to the door while it is still opening up.
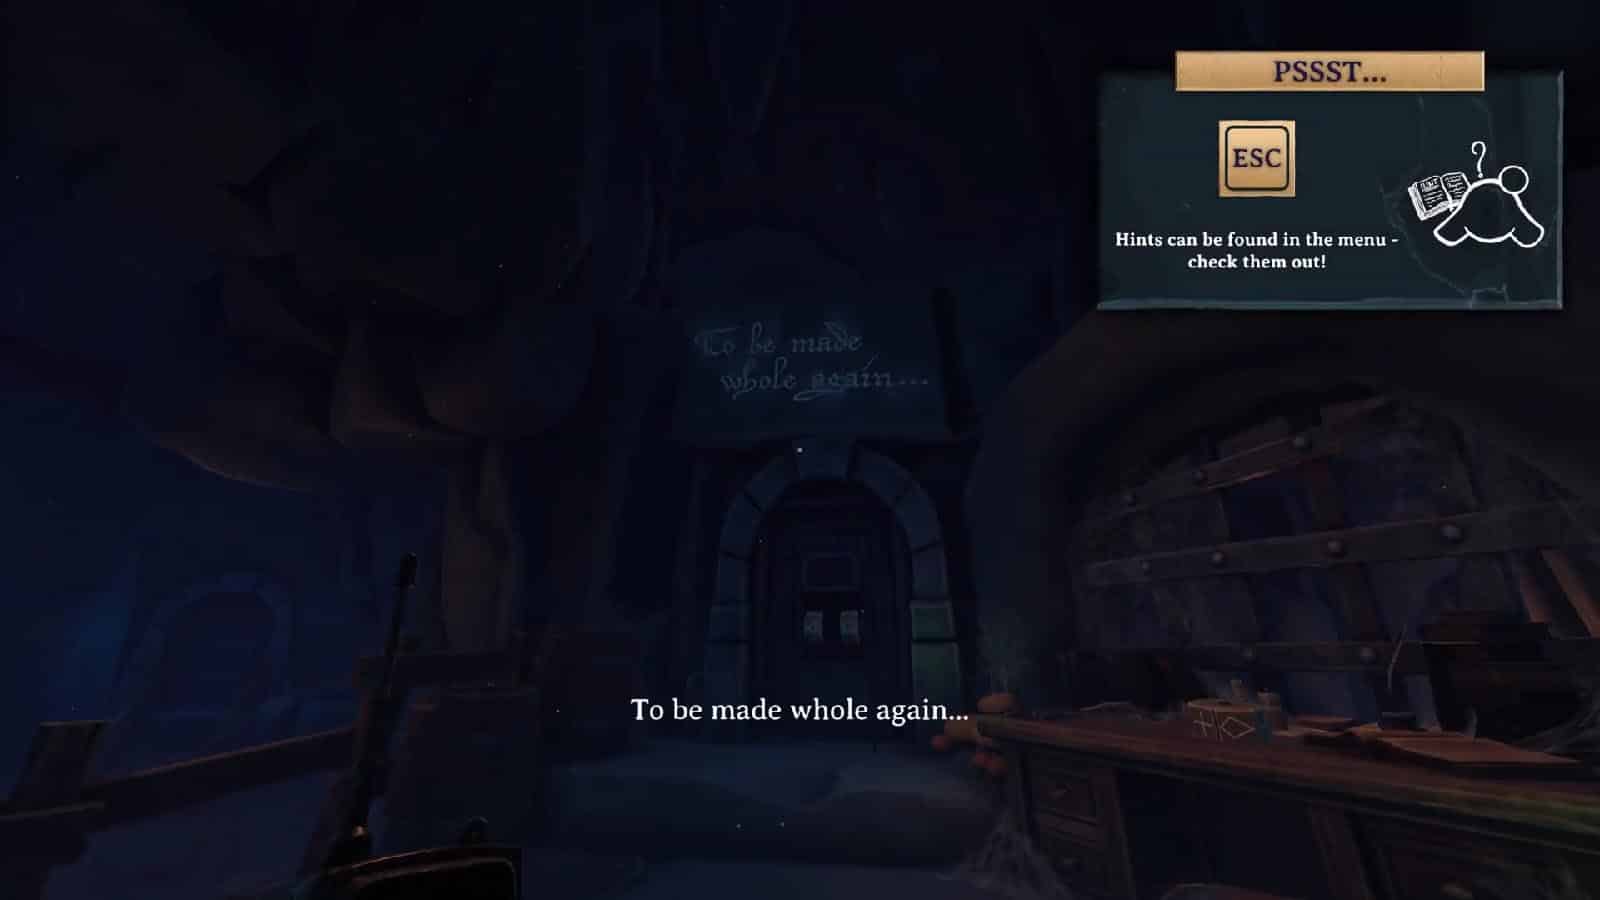
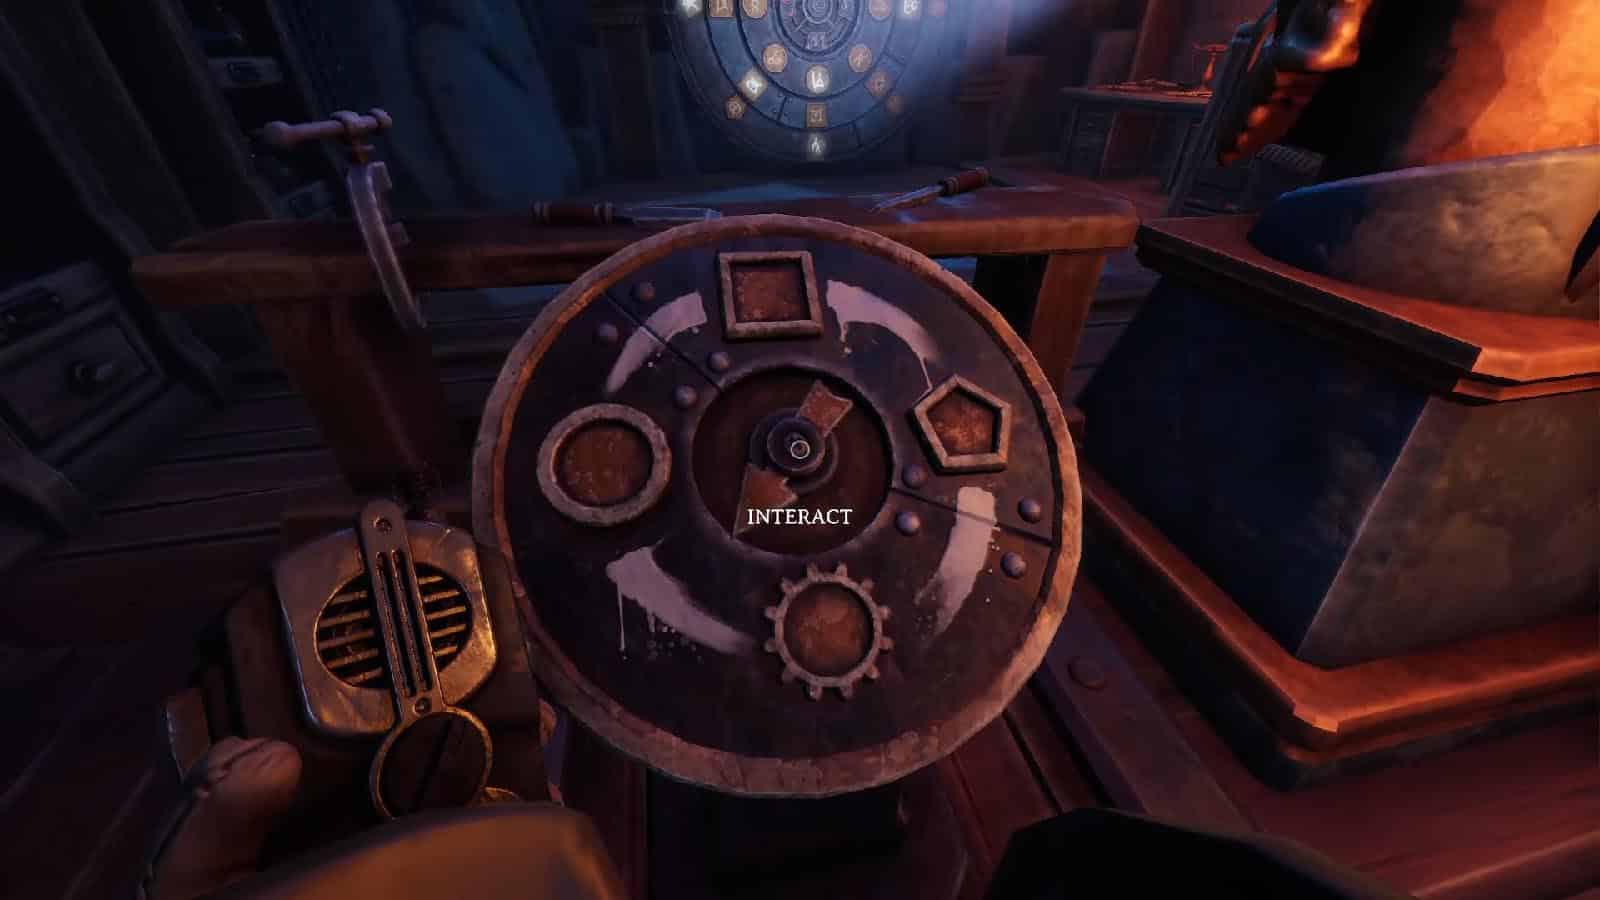
Once both of you get through the timed door, you’ll end up in another section of the prison. Both of you will now see another door with a 3-combination lock, but one of the pieces has been detached, which can be found either on the floor or on a table near it.
Place the lock pieces back into your respective doors. Within each of your rooms, you will once again see three shapes arranged in a concentric pattern. Communicate these shapes with each other as these will solve both of your doors’ locks. One combination goes diamond – pentagon – circle, while the other goes lightning – trapezoid – half circle.
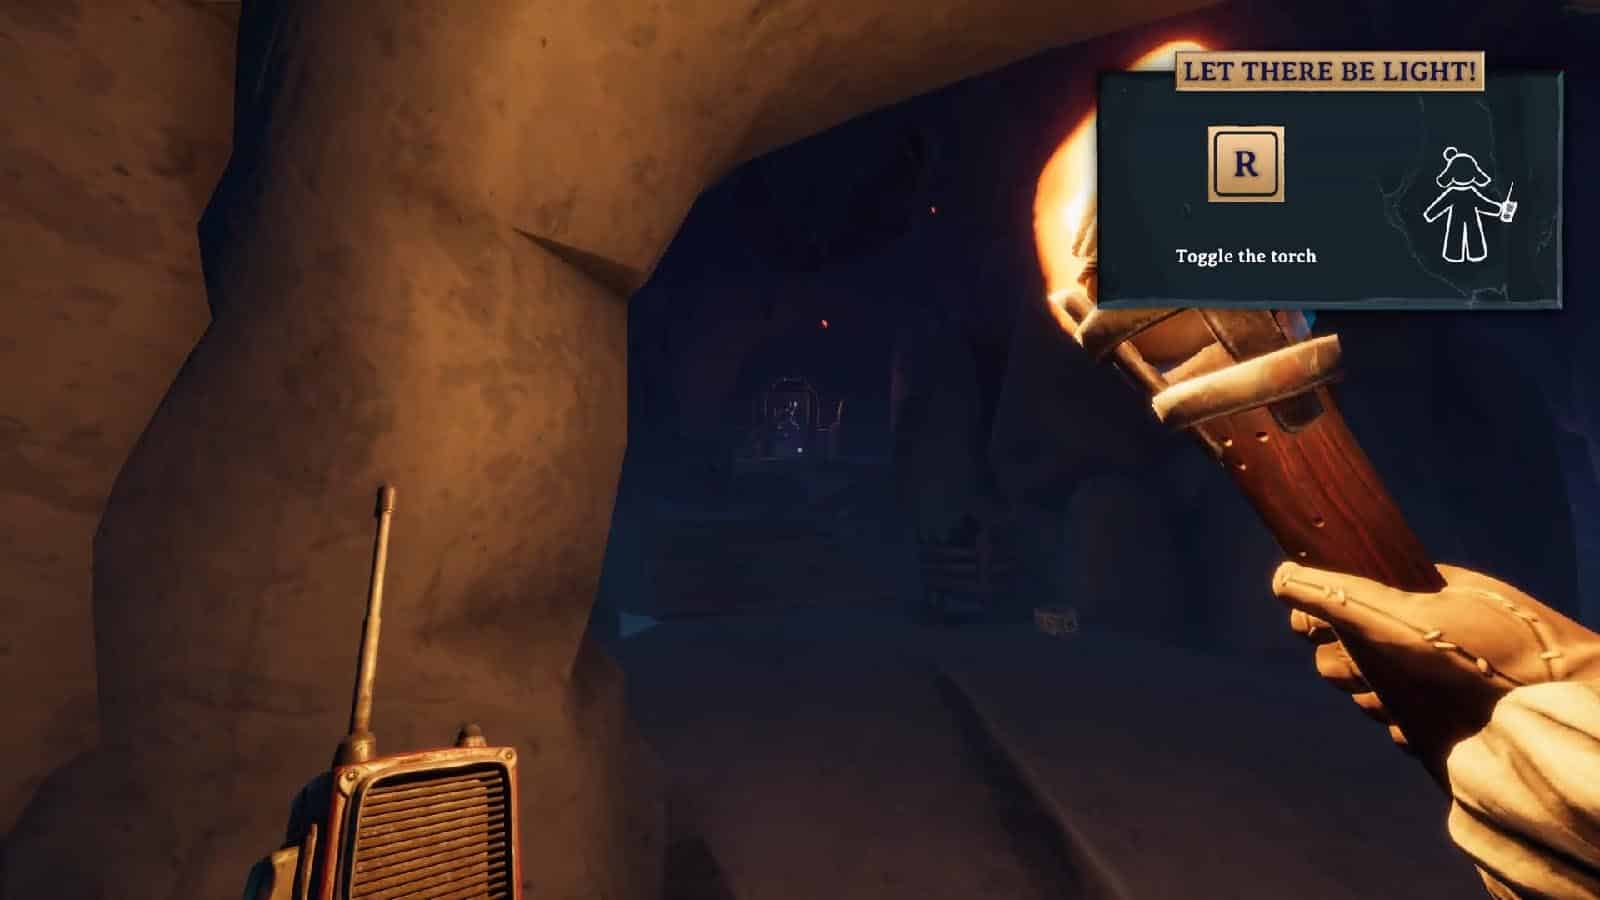
The doors will then open up and you’ll both be able to pick up a torch. You can light up the other torches and braziers along the path. You will also be able to see other lock pieces along the way as it leads you to another section of the prison. Navigate your way through the paths in this section and you will find another set of concentric shapes and another door.
Place the lock pieces into your respective doors and communicate the shapes to each other again to open the locks. One combination goes left triangle – hexagon – crescent moon, while the other goes caltrop – hexagon – square.
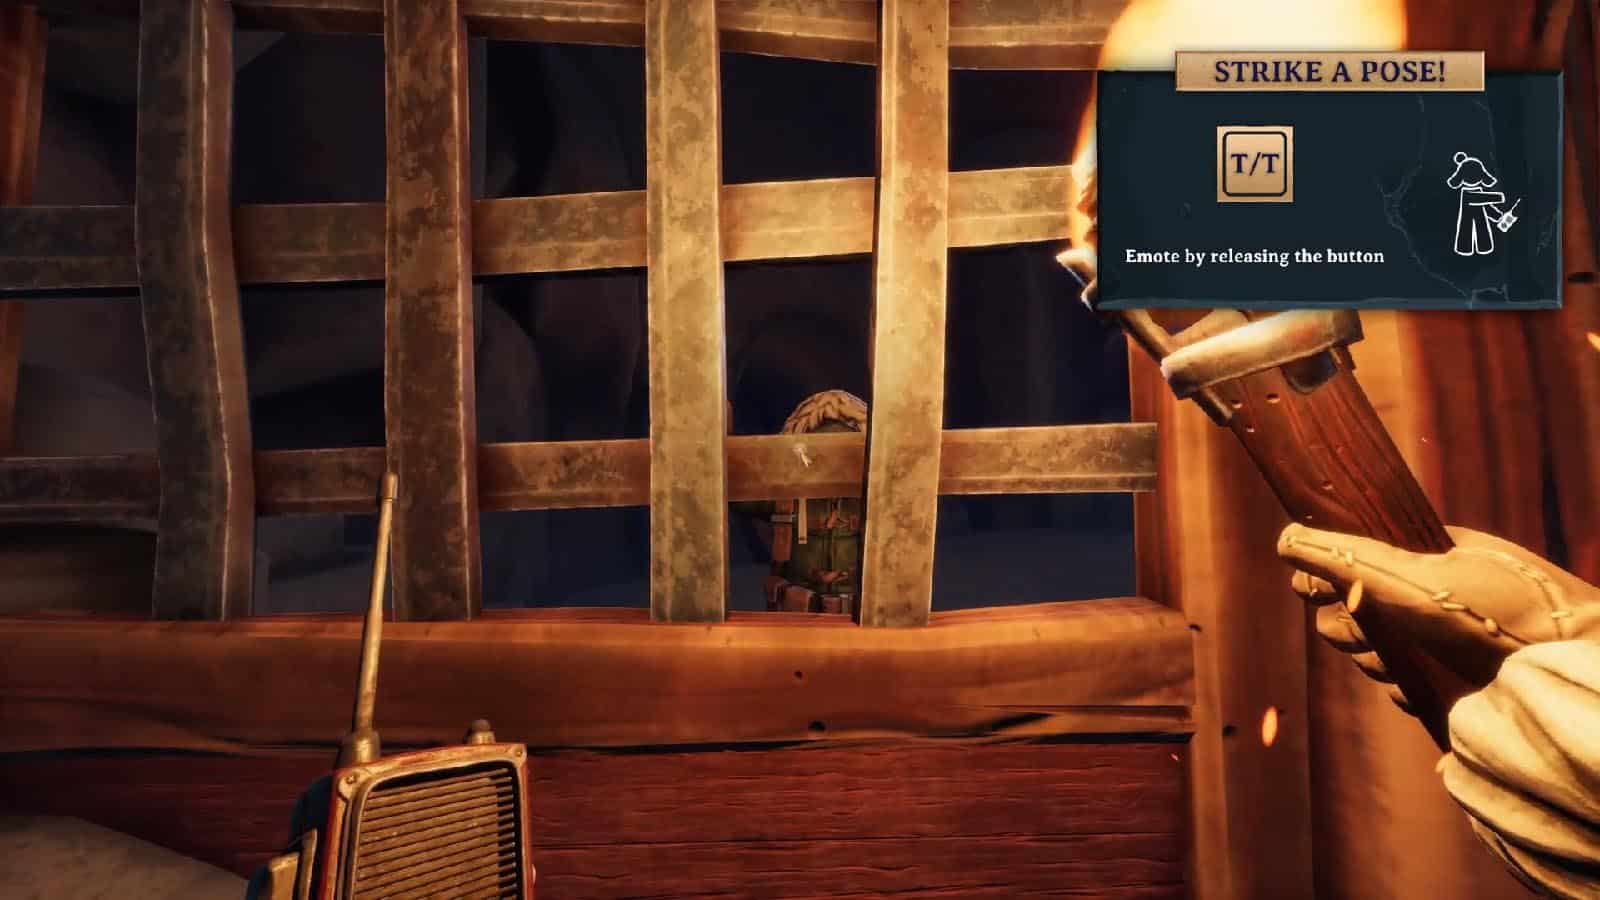
Once your doors open, you will be lead to a corridor where you will finally see each other, albeit with a fence between you. Continue going down the path until you see another lever. Pull the levers down to open the gates and you’ll proceed to the next section.
Deep Dungeons
You and your partner will end up in the Deep Dungeons facing a chasm that goes all the way down. In between the chasms are carts on pulley systems.
At this point, you will still be separated, so head to the path on either your left or your right. For this section, we will also be distinguishing the sides of the chasm as left and right. The person heading to the right should get the green round key and open the door on their end, while the person heading to the left will see a door that needs the round key.

The blue cross key is on the basket on the pulley, but instead of getting this, the player on the left should send the key over to the right by pulling the lever and activate the pulley. The player on the right should get the cross key and place the round key on the basket to send it back again to the left side.
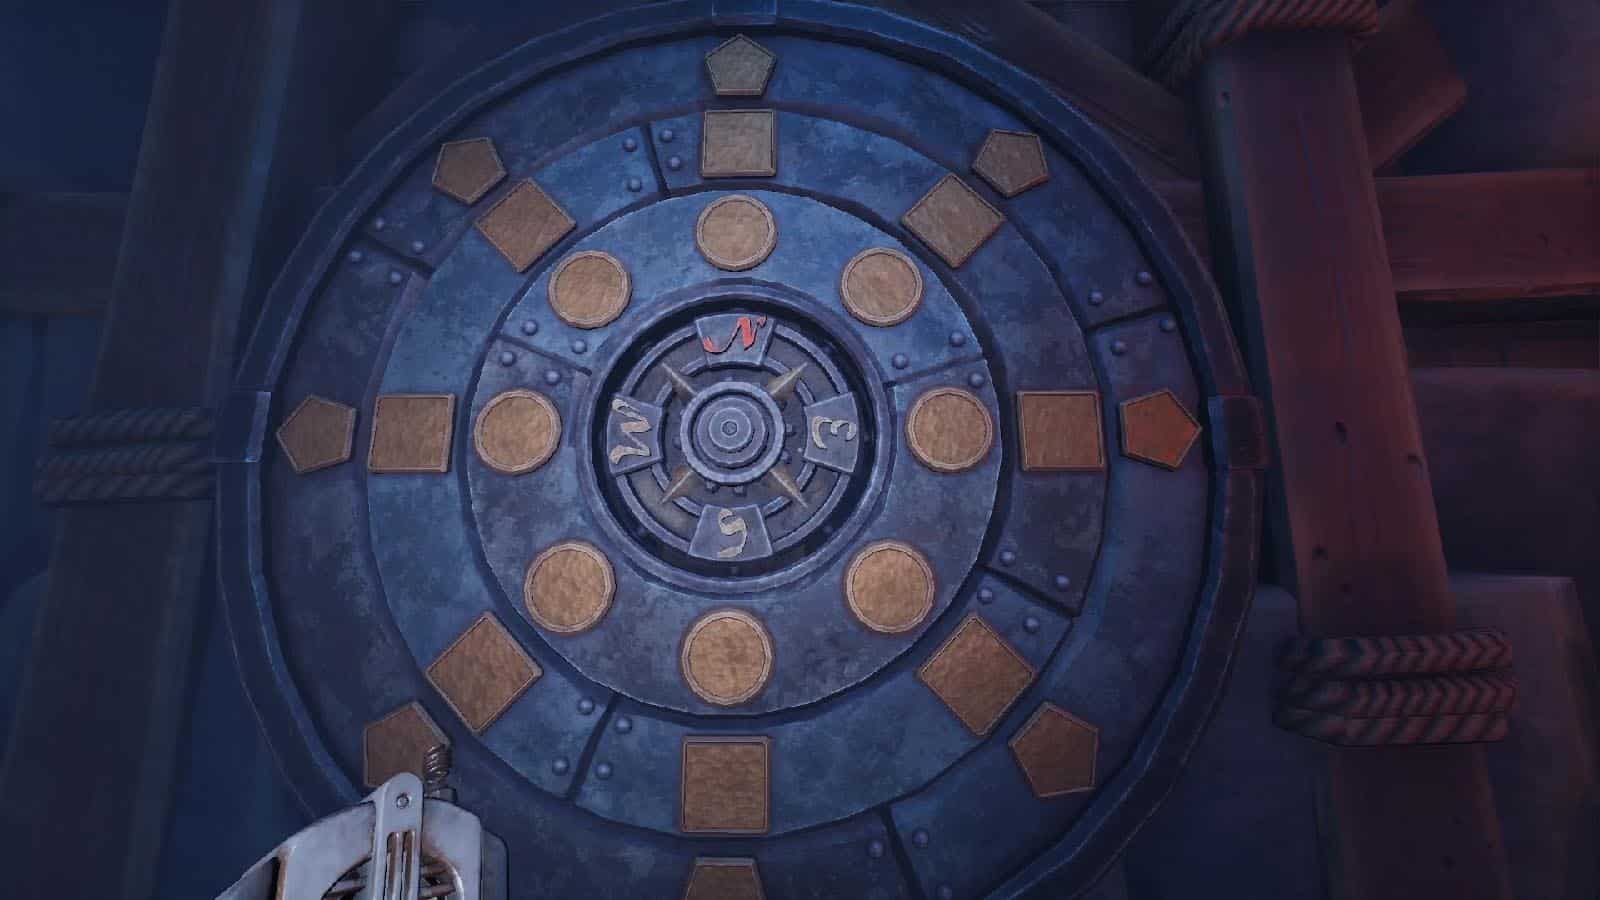
Once the doors are open, the person on the left will see a lit desk with a note with four sections each with arrows pointing at different directions: (from upper left to lower right) north, southwest, northeast, southeast.
On the right side of the chasm, the other player should look for a small cage holding the red circle key and four dials on the side. Match the arrow direction on each dial and it will open up the cage for the red circle key. Use the key on the lock on the gate nearby and it will open the gates on both sides of the chasm, allowing access to a cart, but it needs to be powered up.
Knob Around
On both sides, look for a panel that has knobs with different symbols: 5-point crown, jester hat, 3-point crown, priest hat, and a flask. There will also be four nodes that match the symbols on the knobs, all except for the jester hat. The knobs are either circle or square shaped, and the shapes are swapped on each knob on the other side’s panel. For example, on the right side:
- Square knobs: 3-point crown, jester hat, flask
- Circle knobs: 5-point crown, priest hat
And then for the left side, just swap the shapes for the knobs.
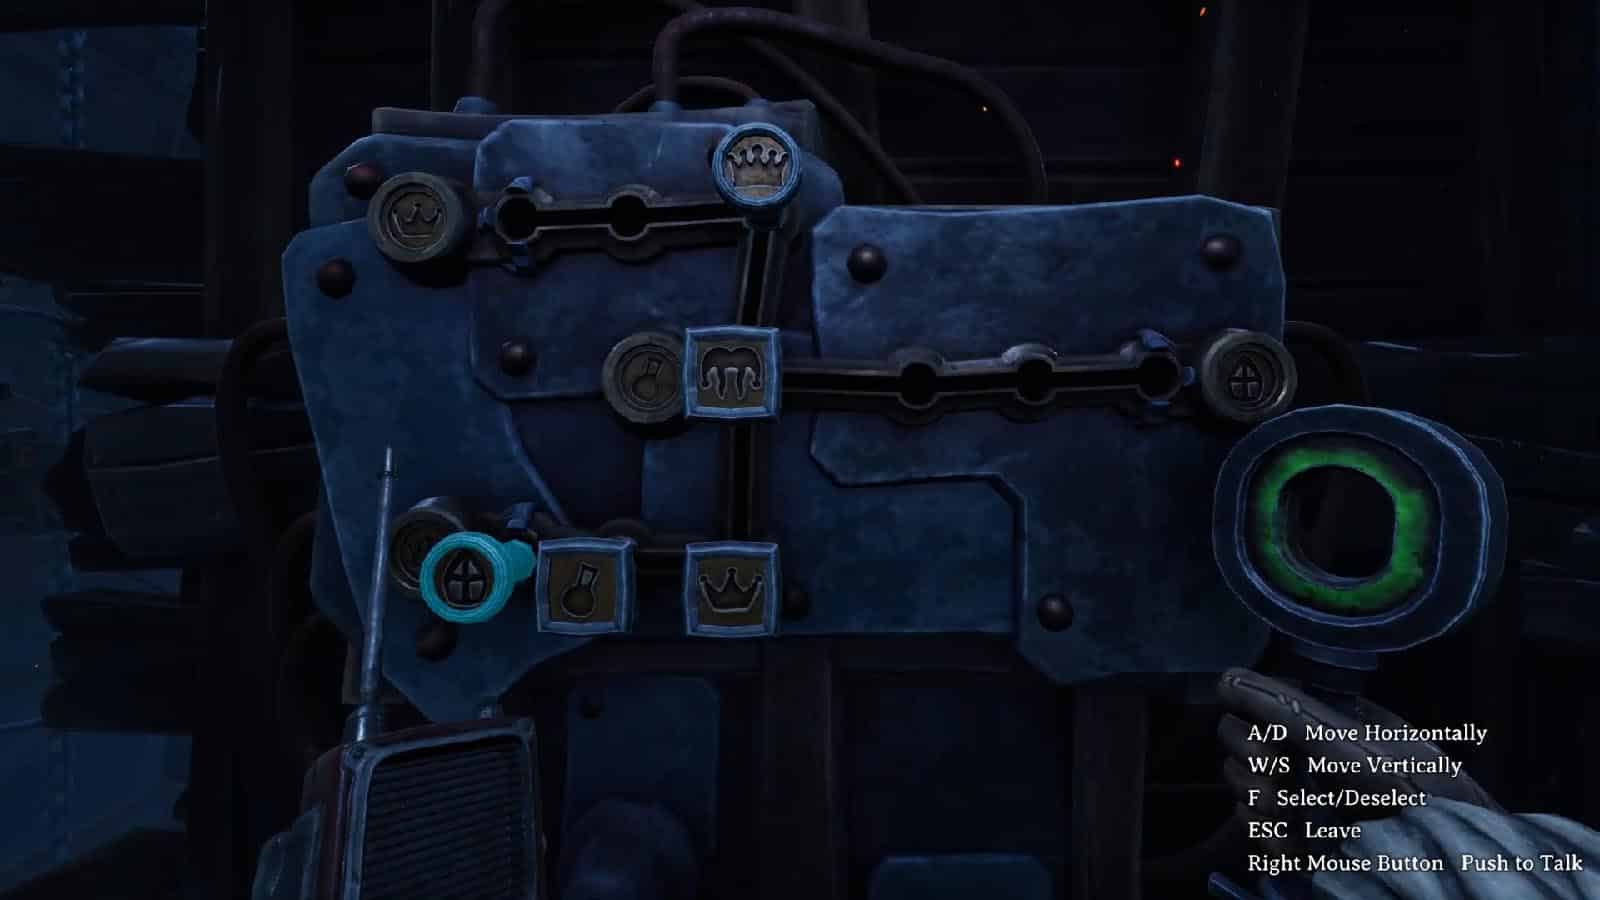
The goal is to move the knobs to the right spots so that they will be adjacent to their respective nodes. Either sides can only move the square knobs, so each side should coordinate which knob has to be moved to what direction.
To solve this, follow these steps:
- Move the jester hat three holes to the right, then move the 5-point crown next to the jester hat. Move the 3-point crown all the way up and to the left where its proper place should be.
- Then, move the 5-point to the left and bring it down next to the flask. Move the jester hat to the right and up next to the 3-point.
- Move the 5-point up next to the jester hat. Then, move the flask to the right, up, and then right two times, followed by the priest hat next to the flask. This opens up the path to move the 5-point down and to the left to its proper position.
- Then, move the priest hat to the left and then down. Move the flask to the left as well, and then up. Then, move the priest hat to the right, up, and right until its proper position.
- Lastly, move the flask back to the middle where it should be at and the puzzle is solved.
At this point, the carts in the middle of the chasm should start moving towards the gate. You can use it to finally meet up with your partner on either side of the chasm.
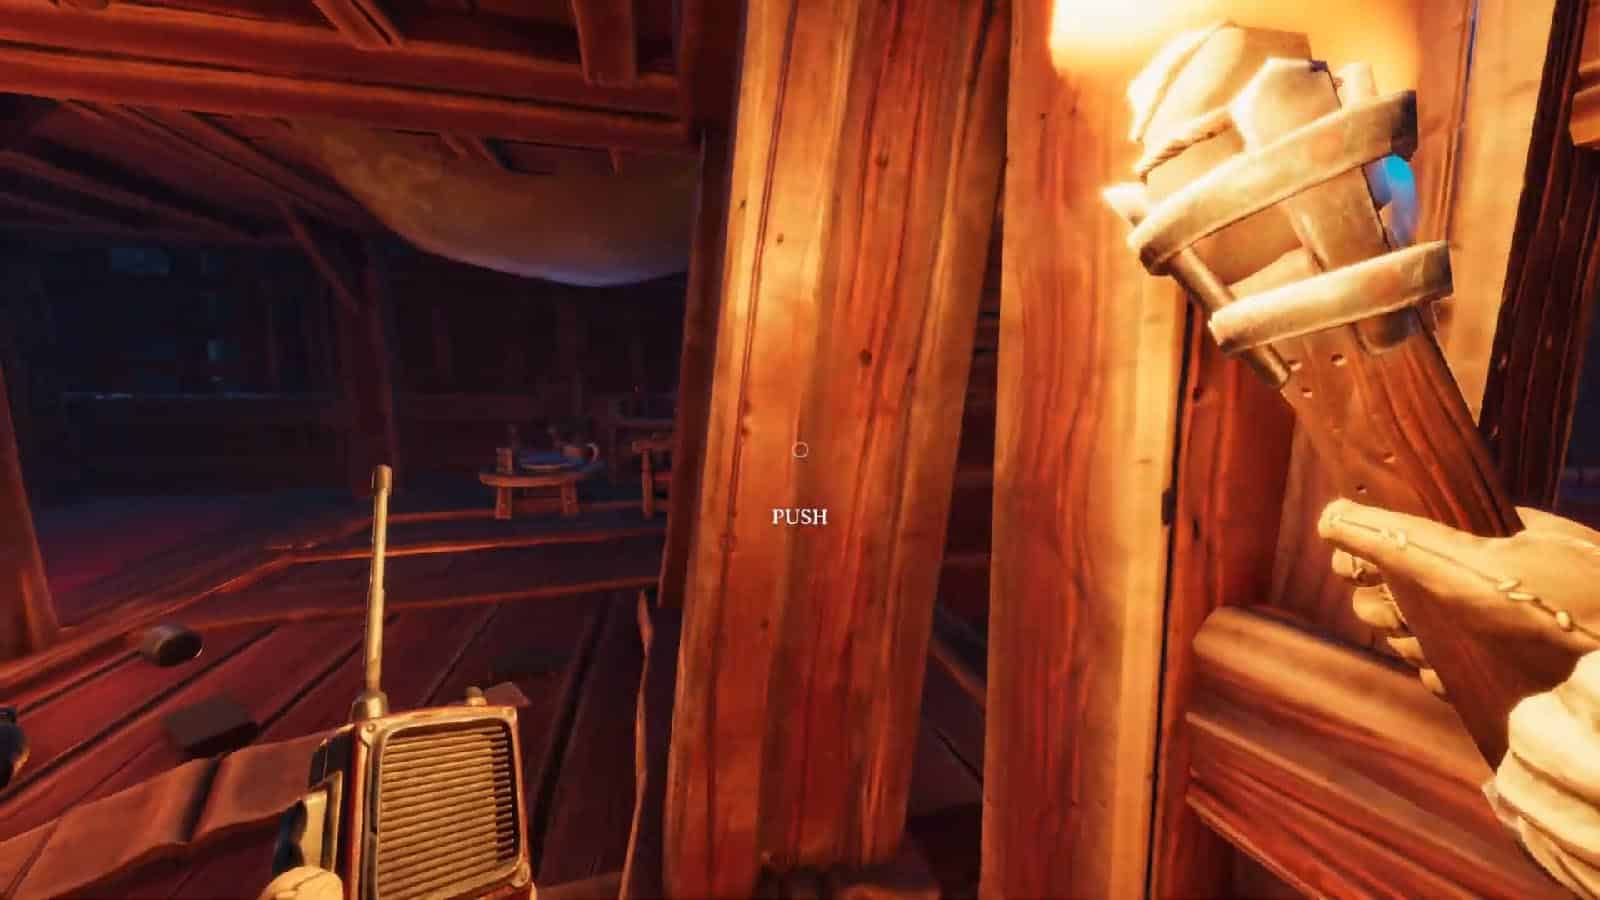
On the right side, there is a fallen bookcase that is blocking a room to where the red diamond key is at. You and your partner should help each other in pulling the bookcase away from the entrance to the room. Then, grab the red diamond key and the #1 film reel from the inside.
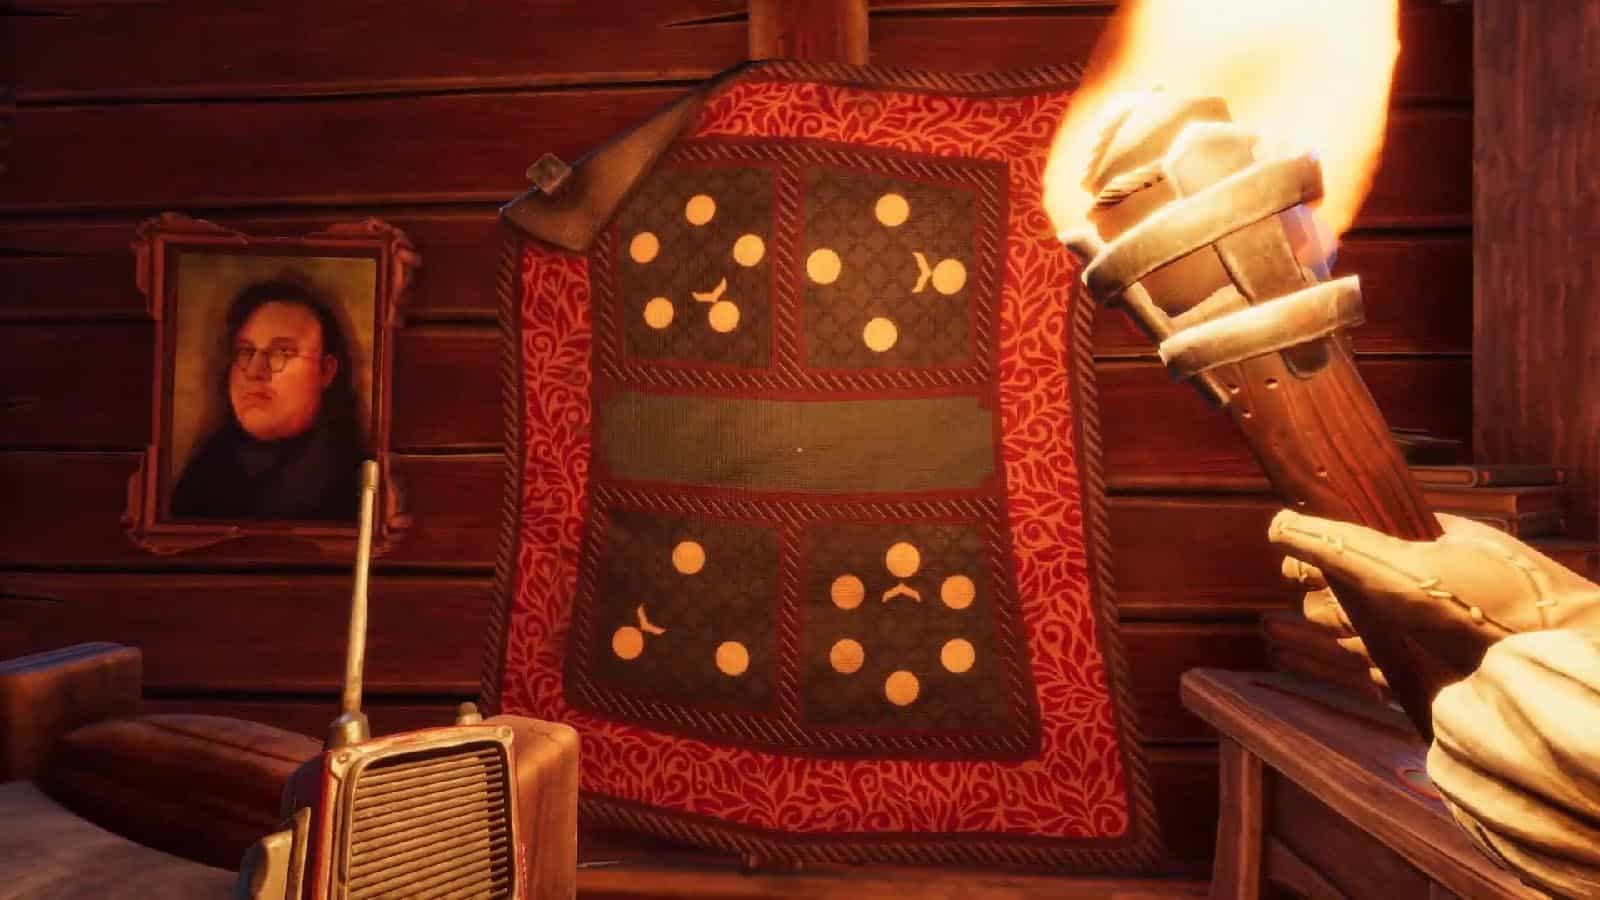
Go to the left side, and on the table where the note with the arrows is at is the #5 film reel that can be picked up, and going up the staircase, there is another #2 film reel on a bed. On the wall is a portrait of someone and a carpet with four sections that has dots and arrows, and back on the lower level is a slot-machine looking kind of contraption that requires a certain combination Go to the other locked gate just between the upper and lower floors and use the red diamond key to open the lock and access another cart.
One of you should use the cart to get to the middle section of the chasm where there is a capstan or the mechanism that turns around when pushed is at, while one stays on the machine. The one who uses the cart should turn left where there are two flights of stairs side by side. Take the one on the left to reach the panel of the vault that holds some things inside.
Shell Locked
First of all, both you and your partner should familiarize yourselves with the different symbols or shells as shown on the buttons and on the machine. Decide on what you should call each of them.
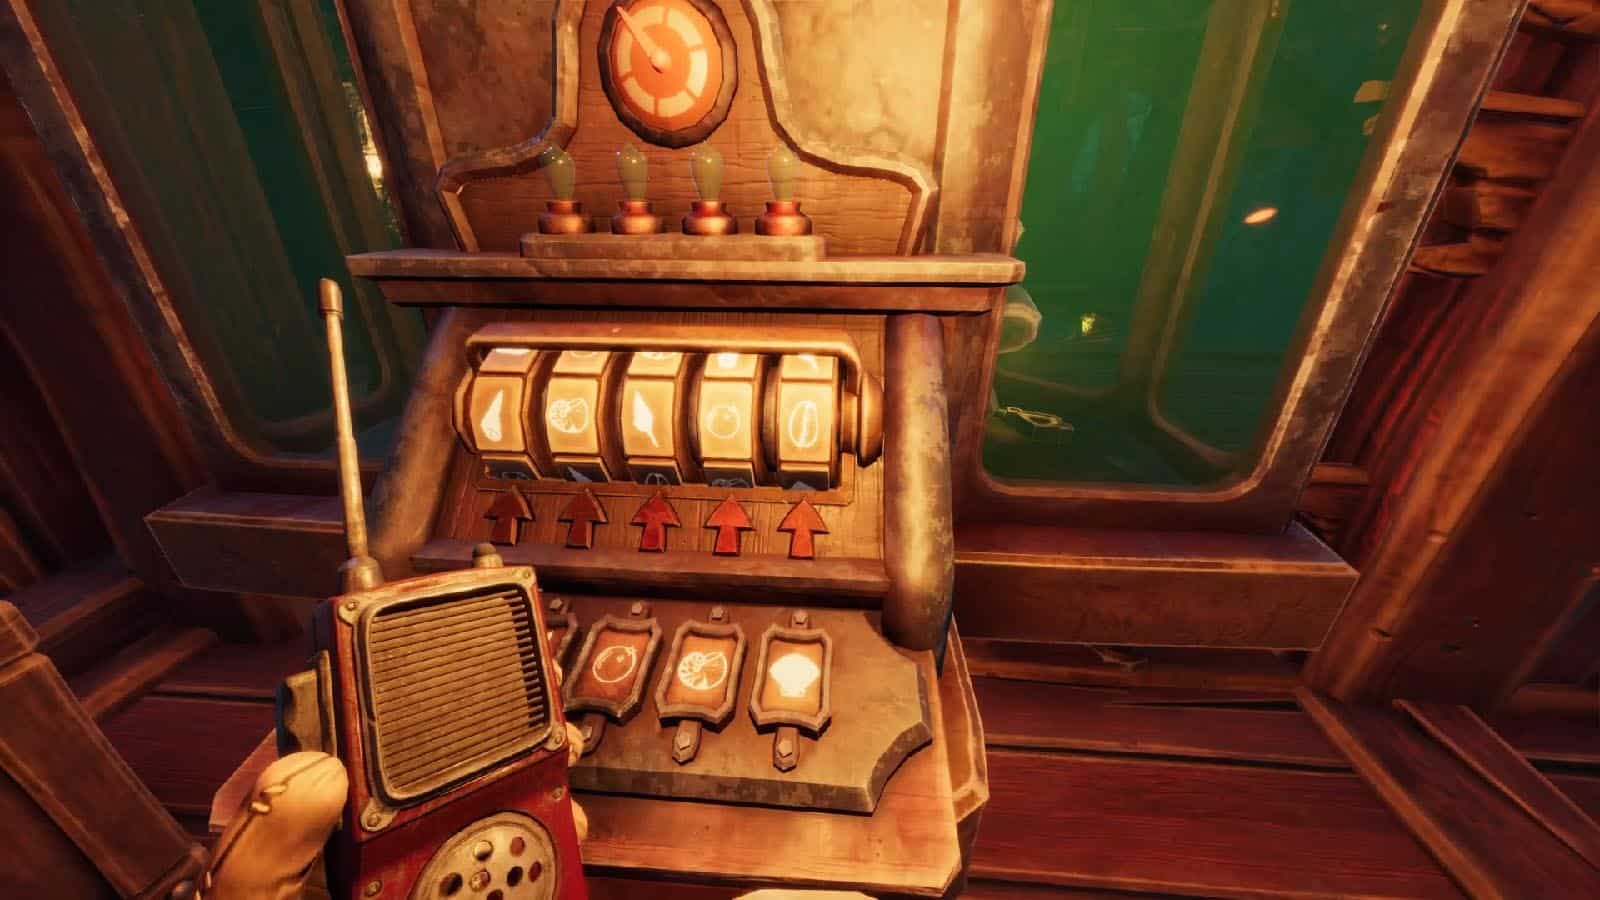
How this works: The buttons panel will show a particular symbol beside the timer, which should then be matched to the plates on the opposite side. The symbol on the wheel above the plate should be called back out to the opposite side, and the button matching that symbol should be pushed. This should be done four times.
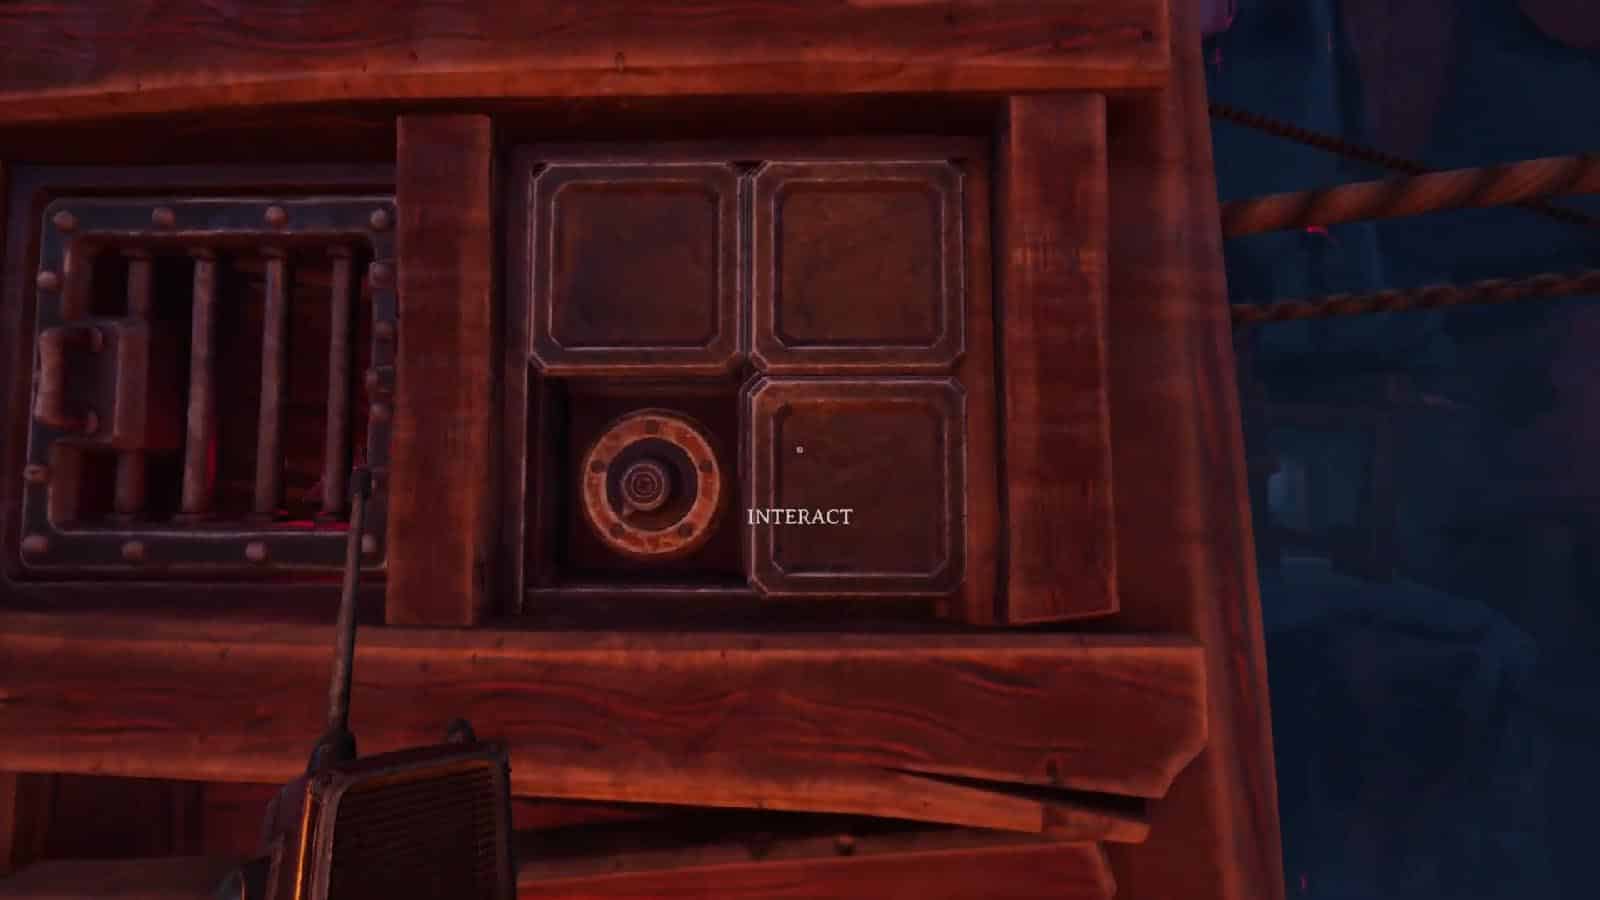
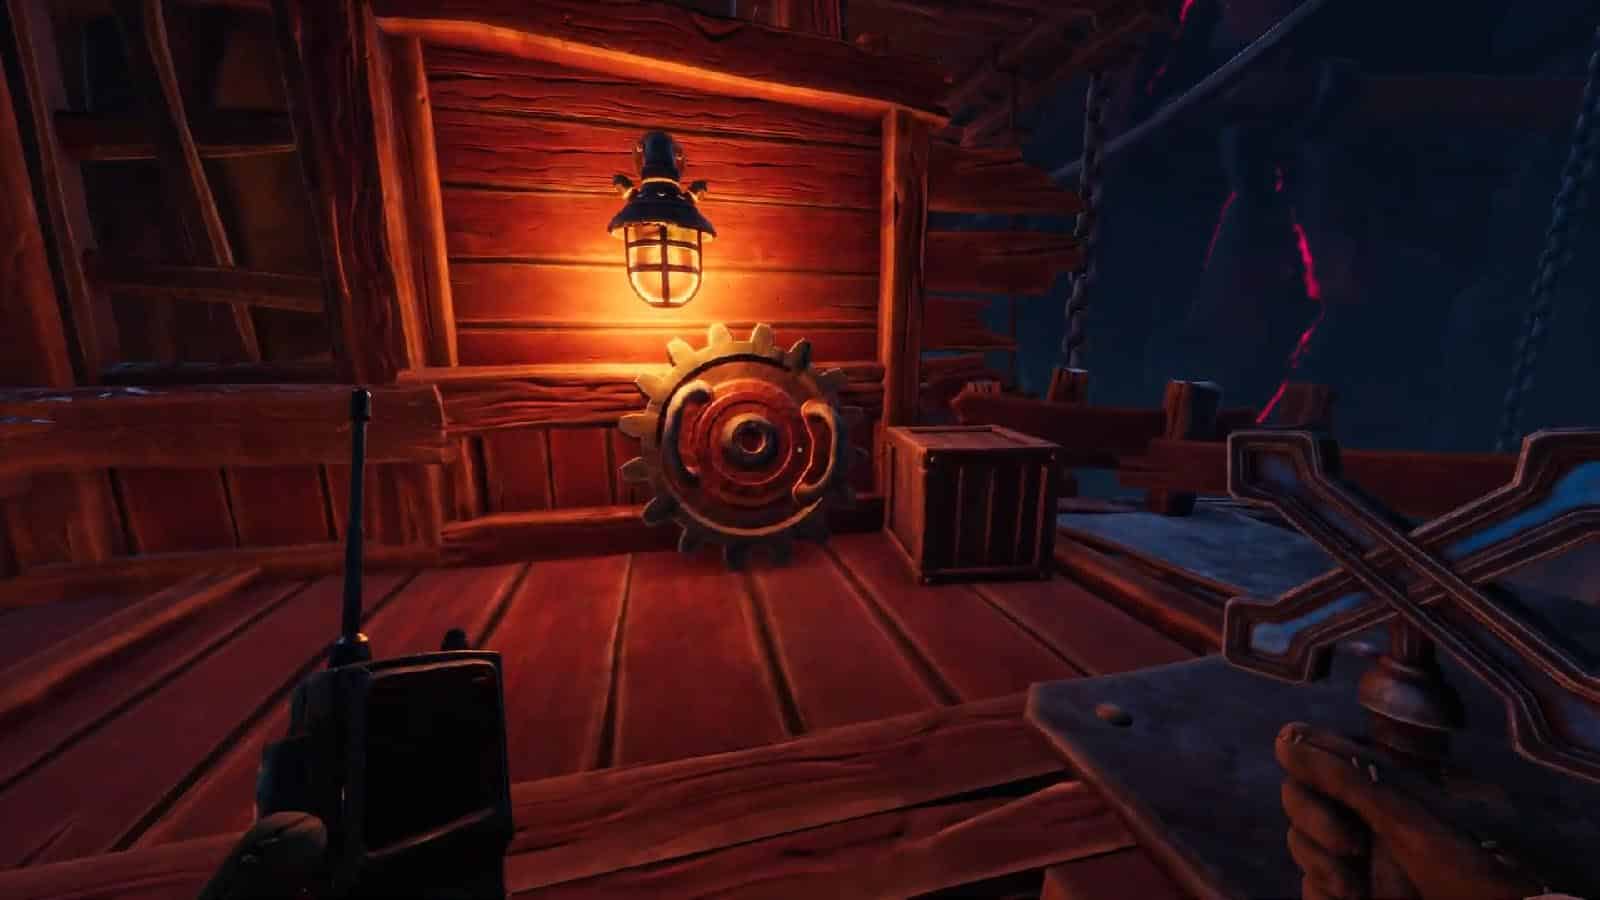
Calling out the right shells before the time runs out is needed to solve this puzzle. Once done, grab the gear, the yellow key, and #4 film reel from inside the vault. The person on the button side can use the key to open the door to the side of the vault.
Prisoner Extraction Protocol
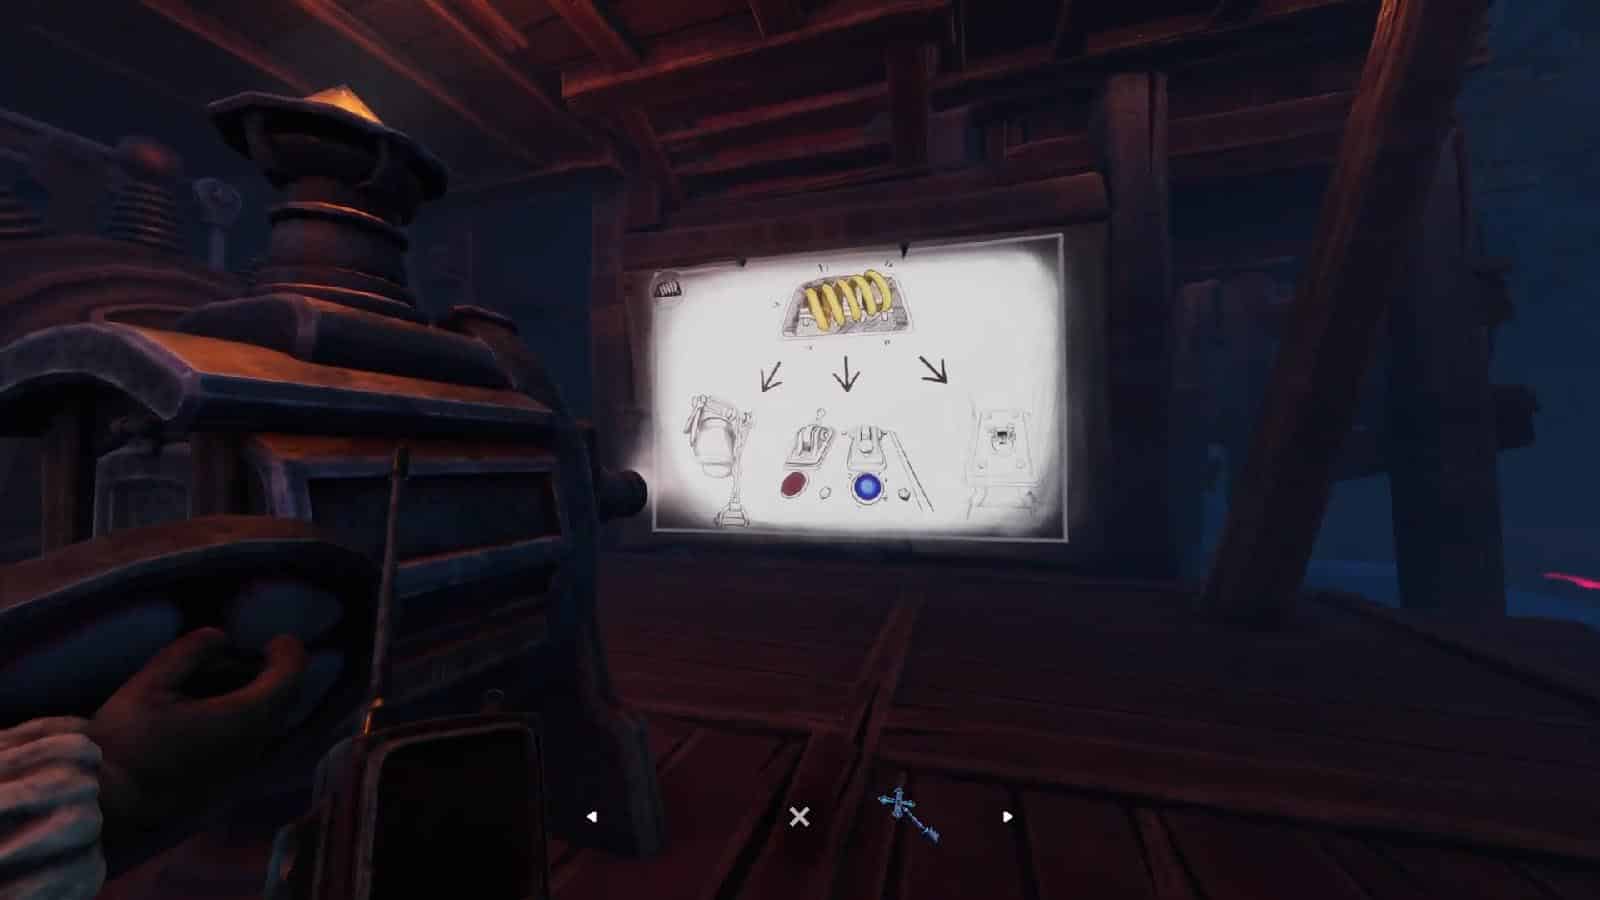
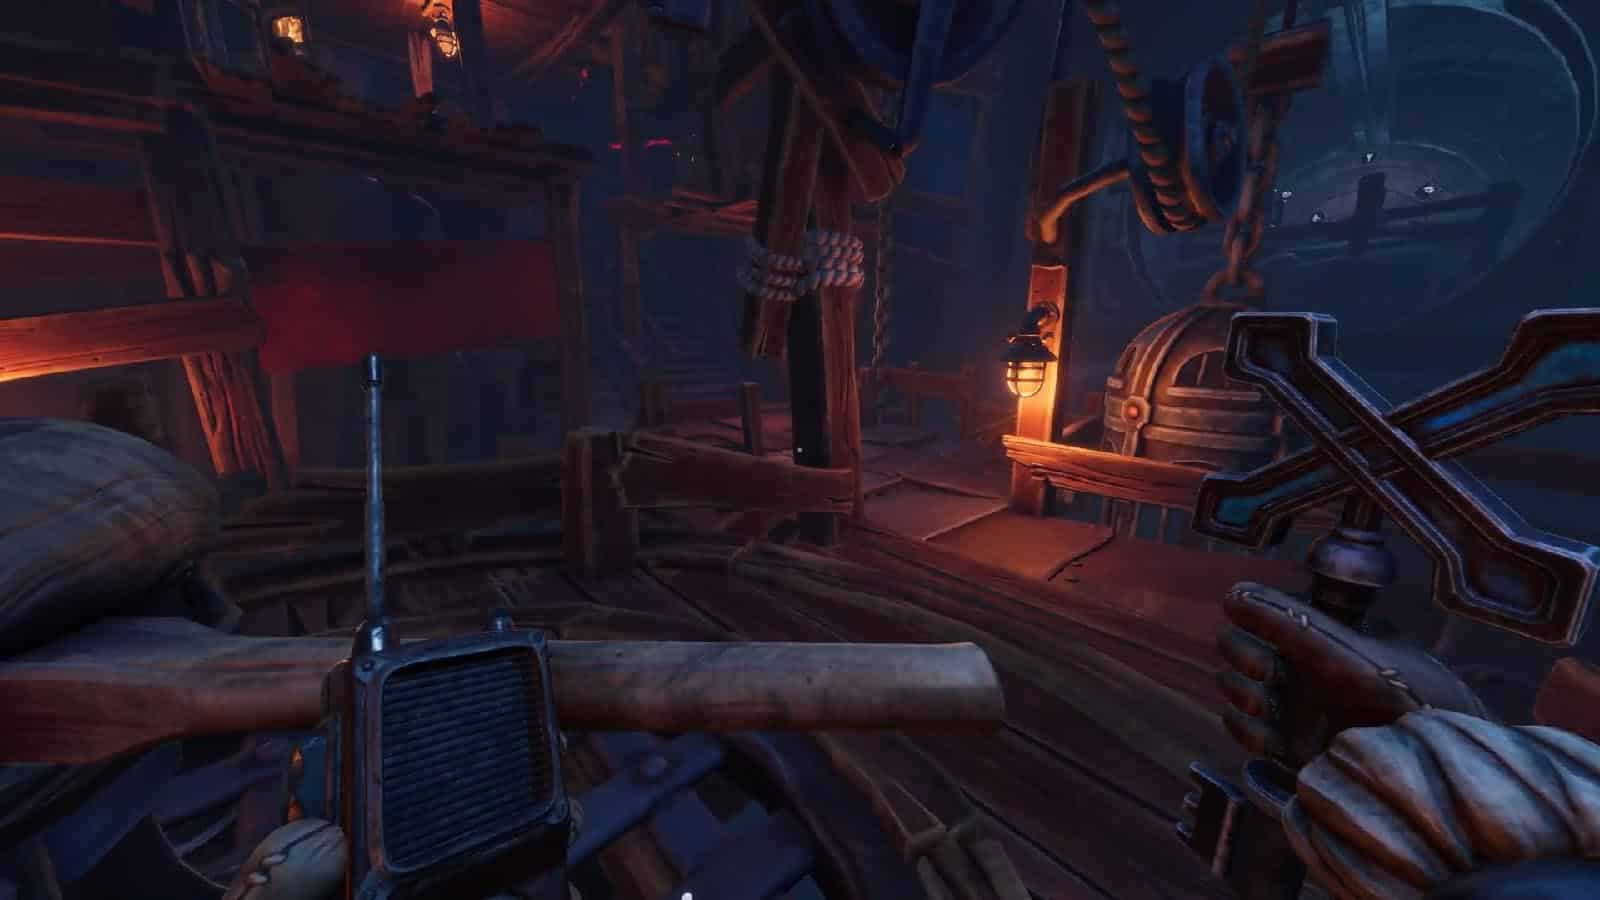
Go to the capstan in the middle and head down the side of it to set the gear in place. Then, head to the right side and use the key again to open the door to a boiler room. On the side of this room is a film projector where you can place the film reels. Take out #3 from the #1 slot and then place the other film reels into the correct slots. Use the torch to light up the wick in the projector. These reels will then show the instructions on how to operate the Prisoner Extraction Protocol.
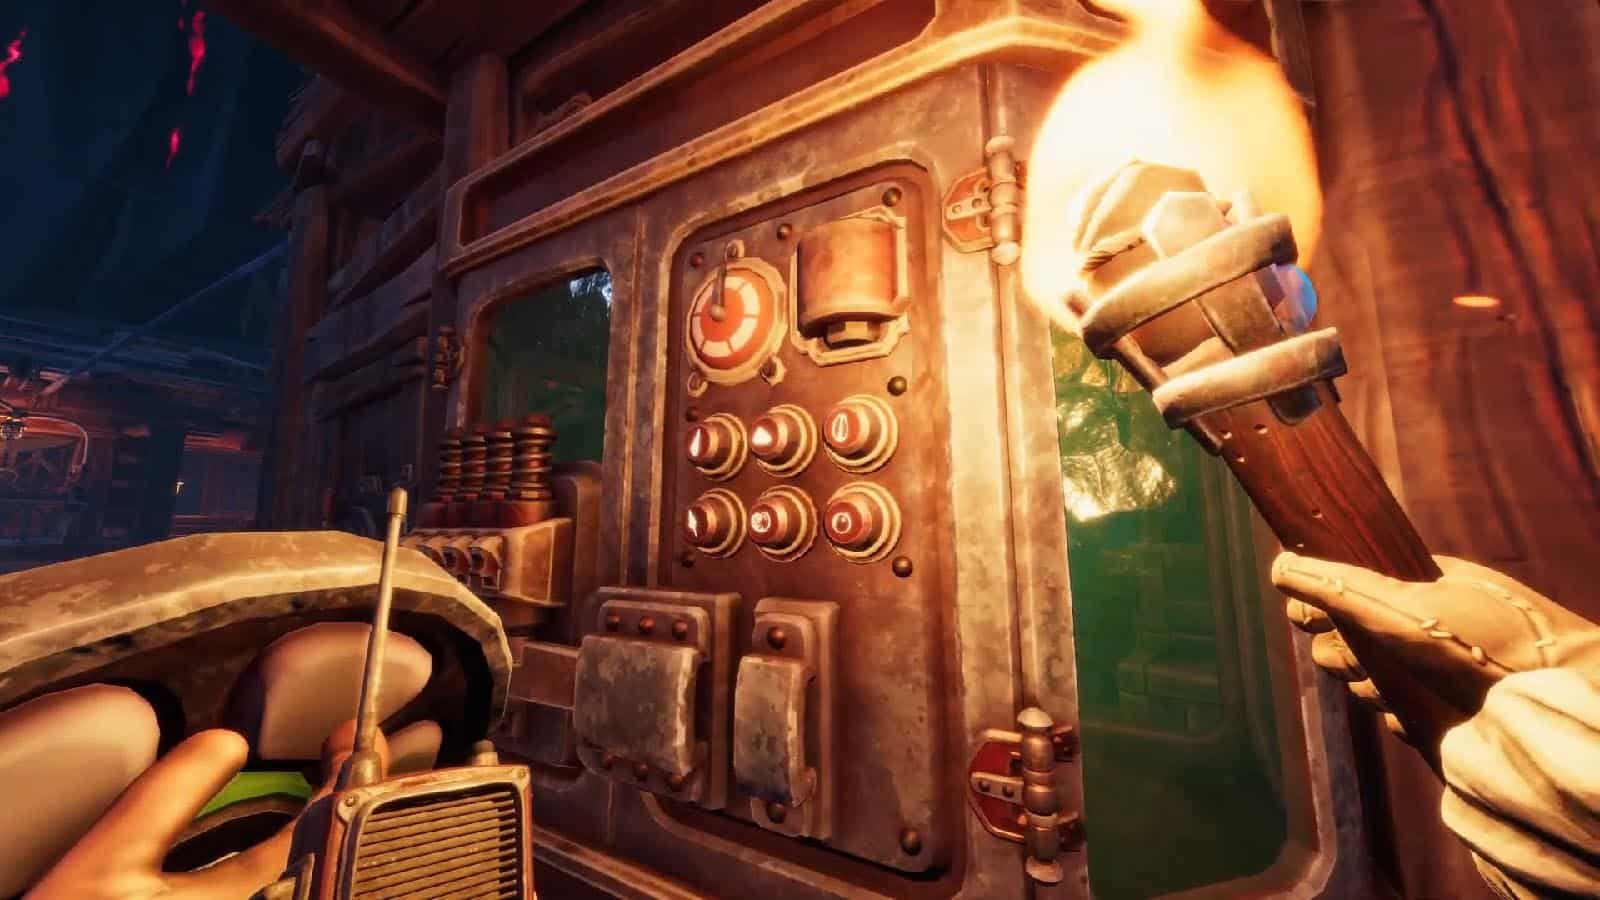
Before doing this puzzle, make sure to familiarize yourself with the following: the key at the side of the boiler, the button panel, the levers in front and behind the boiler, the levers by the red and blue lights, and the small wheel next to the big flywheel. It will take a couple of tries to get the timing right.
To solve this, follow these steps:
- Turn the key next to the boiler, then immediately press the buttons top right, bottom left, top left just once. Purple smoke will come out of the boiler if done correctly.
- One should go in front of the boiler to pull down the lever until the light above it glows red. Simultaneously, one should pull the lever on top of the red light that is next to the blue light. The big flywheel should start turning.
- The one at the red/blue light panel should then push the smaller wheel using its handle against the now spinning flywheel, while the other one runs behind the boiler to pull the red lever. The spring near the wheels should then glow.
- Lastly, one should pull the lever above the blue light while one goes to the side of the boiler to pull the chain down, and finally use the key next to the boiler once again to complete the puzzle.
Once it’s done, you’ll turn your gaze to the huge vault door opening. Then, head to the elevator beside the projection wall to go up a level.
Slide Dials
Exit the elevator and use the green round key to open a door. Behind it is another cage holding the red triangle key and another four dials with sliding panels covering the other three. One should go back to the left side of the chasm and head back up to the bed to see the carpet that has the solution for the dials:
- 3 dots: lower left
- 4 dots: right
- 5 dots: lower right
- 6 dots: up
Grab the red triangle key, as well as the other round key on the basket hanging on the pulley system nearby.
Back on the right side, open the gate using the red triangle key and use the cart to move to a higher platform on the left side. There will be a huge gear that can be picked up, however it renders the holder unable to use anything else and their vision will mostly be obscured by it, so the other person must try to guide them back to the side of the capstan. Place the huge gear and then you and your partner should work together to turn the capstan around until an elevator appears from below.
One should enter the elevator while the other one stays to operate the button on the side of it. The elevator will then move up into the huge vault, while the other player will be whisked to the top by the entire platform and led to a different room.
Dial Rooms
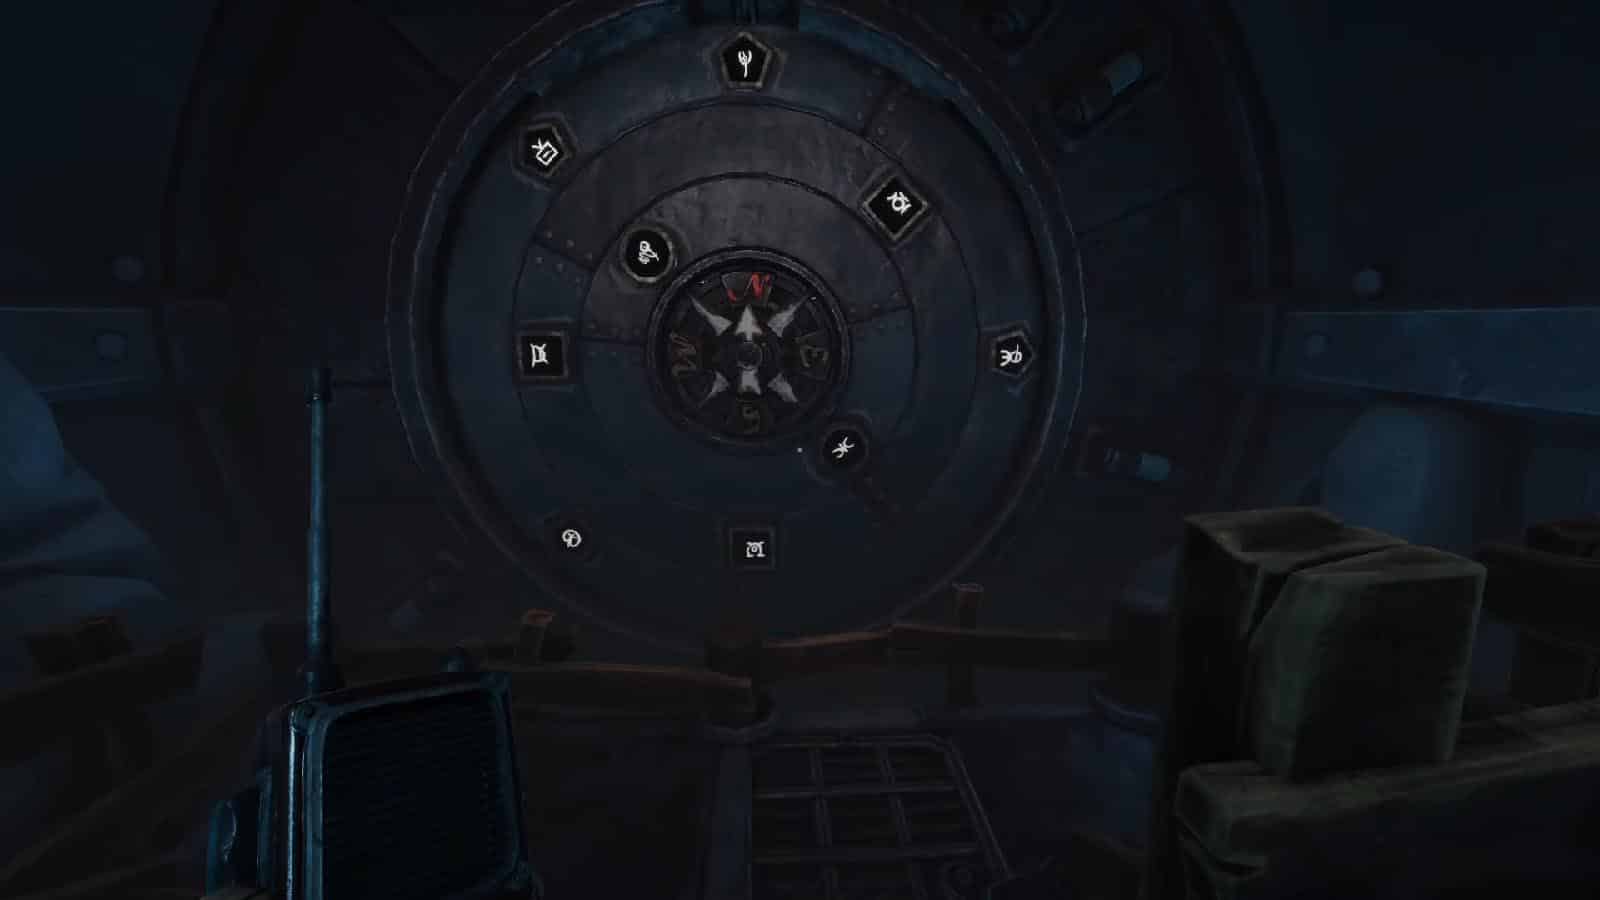
Both you and your partner will be in two different rooms with huge dials in it. Both dials have three concentric rings and a compass in the middle that are both pointing north upwards. The outer ring has pentagons, middle has squares, and inner has circles, but the one within the vault shows symbols in them at random intervals.
The one in the room with the full dial should use the torch to light up the projector. Then, go to the table where the books are. Each book corresponds to each of the rings: left for circle, middle for square, right for pentagon ring. Also, in each book, there are several pages with different orientations of the glyphs on the dial which are numbered from 1-3, 1-4, and 1-5.
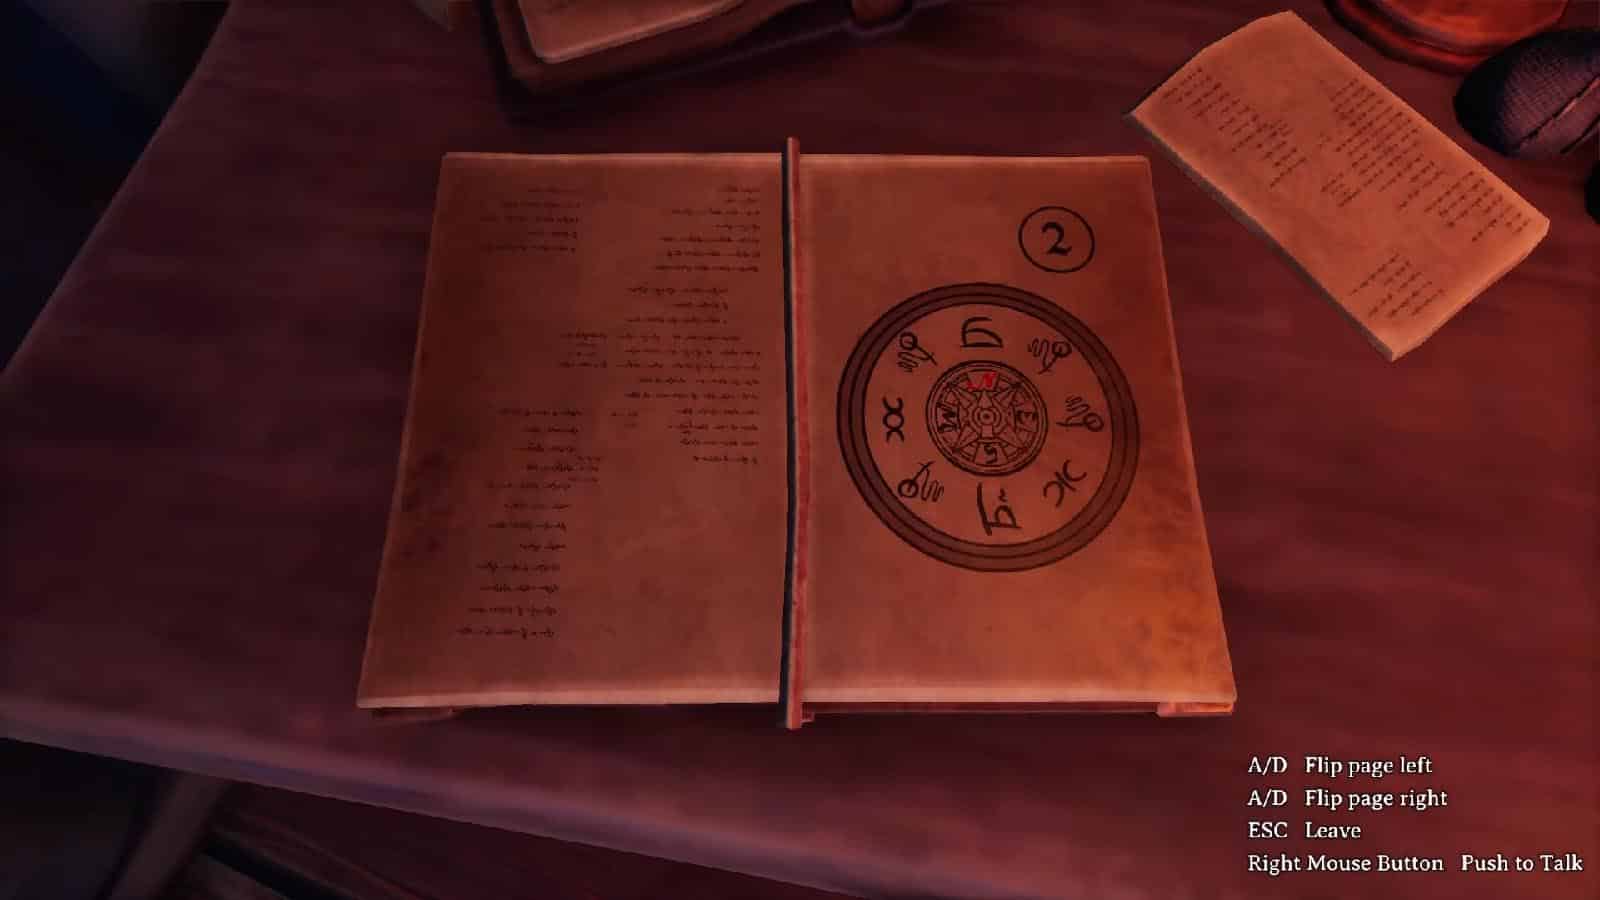
How this works: the dial on the vault serves as the key for the person in the room to find out which pages on the book will give the right number combination to input in the projector.
Here’s the solution:
- Circle ring: Left book, 2nd page
- Square ring: Middle book, 4th page
- Pentagon ring: Right book, 4th page
The person in the room should then punch in 2-4-4 on the projector and push the lever to reveal the projection on the room’s dial and a hatch will also open on the left wall containing a book and a lens. Prepare for a jumpscare, though.
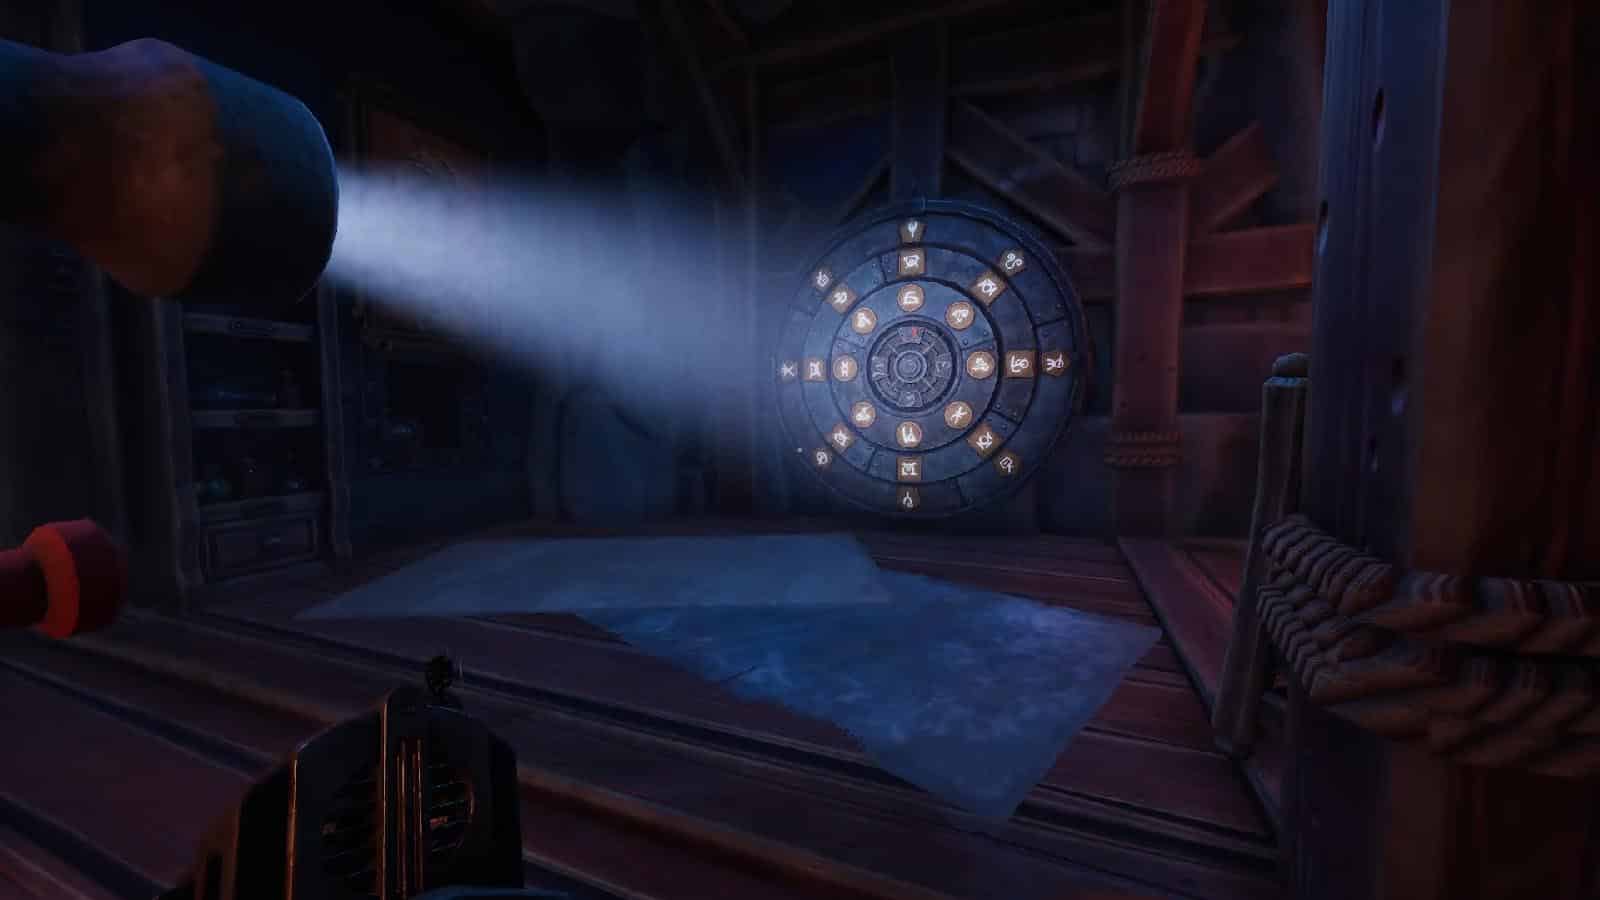
Place the lens on the projector to light up particular glyphs on the dial, while the one in the vault should ride the cage again to move to the new section of the vault. Pay attention to the dial in the room as its orientation will now have the north pointing to the left. The roles will be reversed as now the dial in the room will serve as the key while the dial in the vault has to be moved.
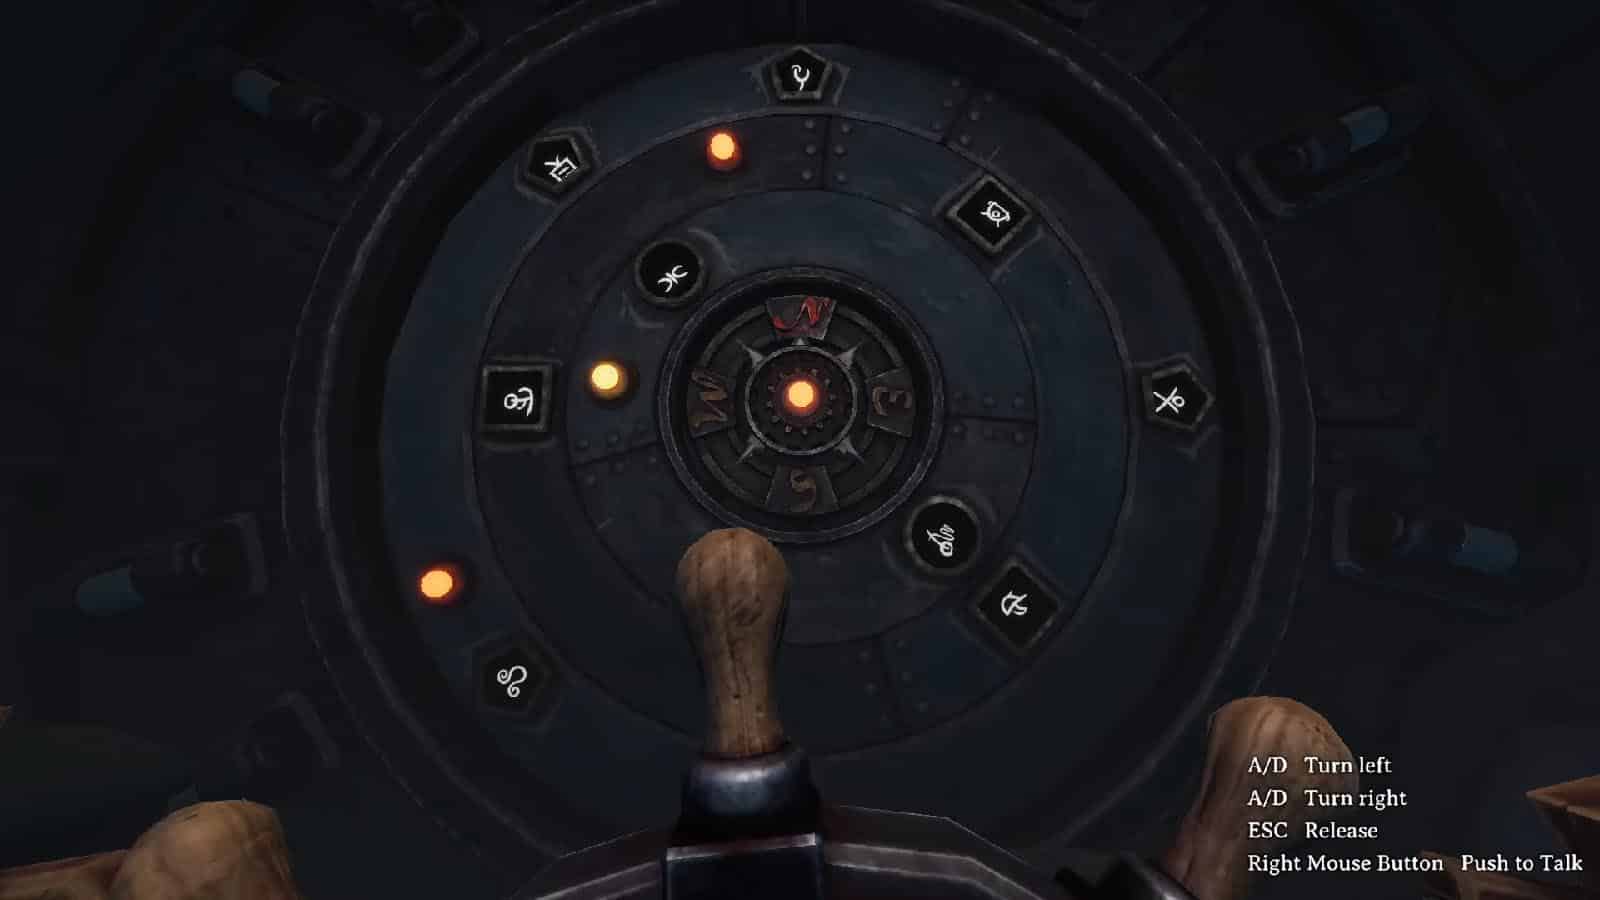
The vault dial can now be turned with the use of a ship wheel. It also four lights that indicate if the entire glyphs will rotate or if the rings will rotate. The person in the room can turn the small dial next to the projector to control what part of the vault dial can be rotated.
How it works: The vault dial’s windows should match the lit glyphs in the room dial first, and then the glyphs board can be rotated to match the glyphs on the room dial.
Here’s the solution using the vault dial’s lights as the direction:
- Circle ring: East-northeast
- Square ring: North-northeast
- Pentagon ring: West-northwest
- Glyph board: The iron glyph in the Circle ring should be on the East
Once it is solved, it will open up the the vault dial once more, while a door in the room will open up leading to the next area.
This ends just the first half of out Chapter 1 guide. The second half is now available here. For easier navigation, check our complete We Were Here Forever Walkthrough – All Puzzle Solutions:
- Chapter 1
- Chapter 2
- Chapter 3 – Ruins of Rockbury
- Chapter 4
- Chapter 5 – Royal Cemetery
- Chapter 6 – Final Chapter
If you like this Guide, be sure to check out our other We Were Here Forever articles:
- We Were Here Forever Walkthrough Chapter 1 (Part 2)
- We Were Here Forever Walkthrough Chapter 2
- Castle Rock Doors Are Open, We Were Here Forever is Available Now on PC
Check out this video by Retromation with his friend Orbital Potato as they do the first rooms of We Were Here Forever:
